
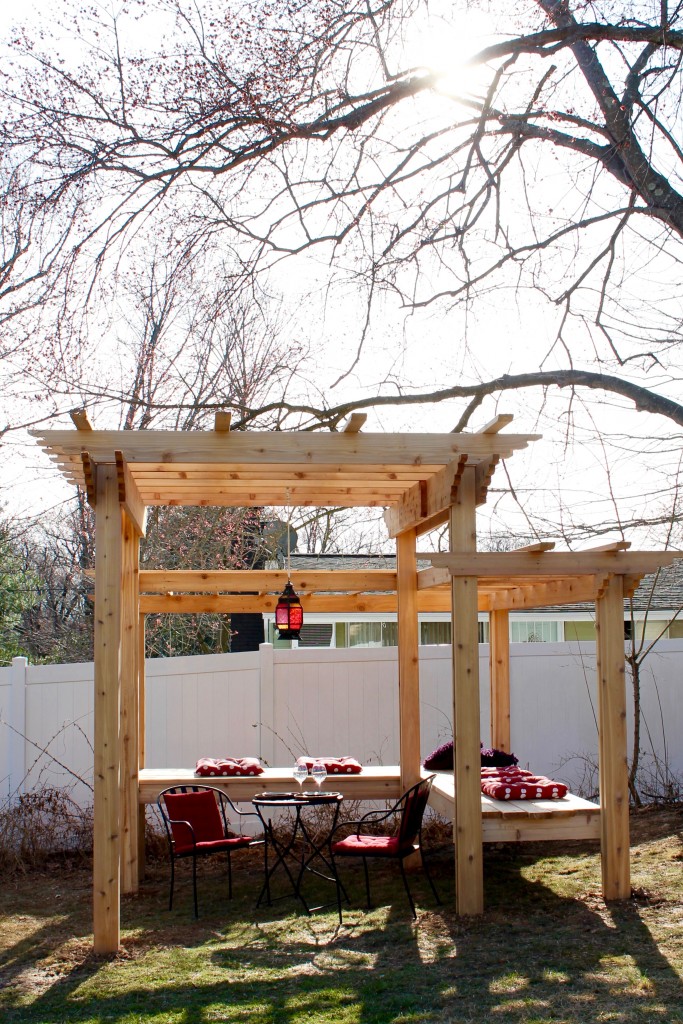
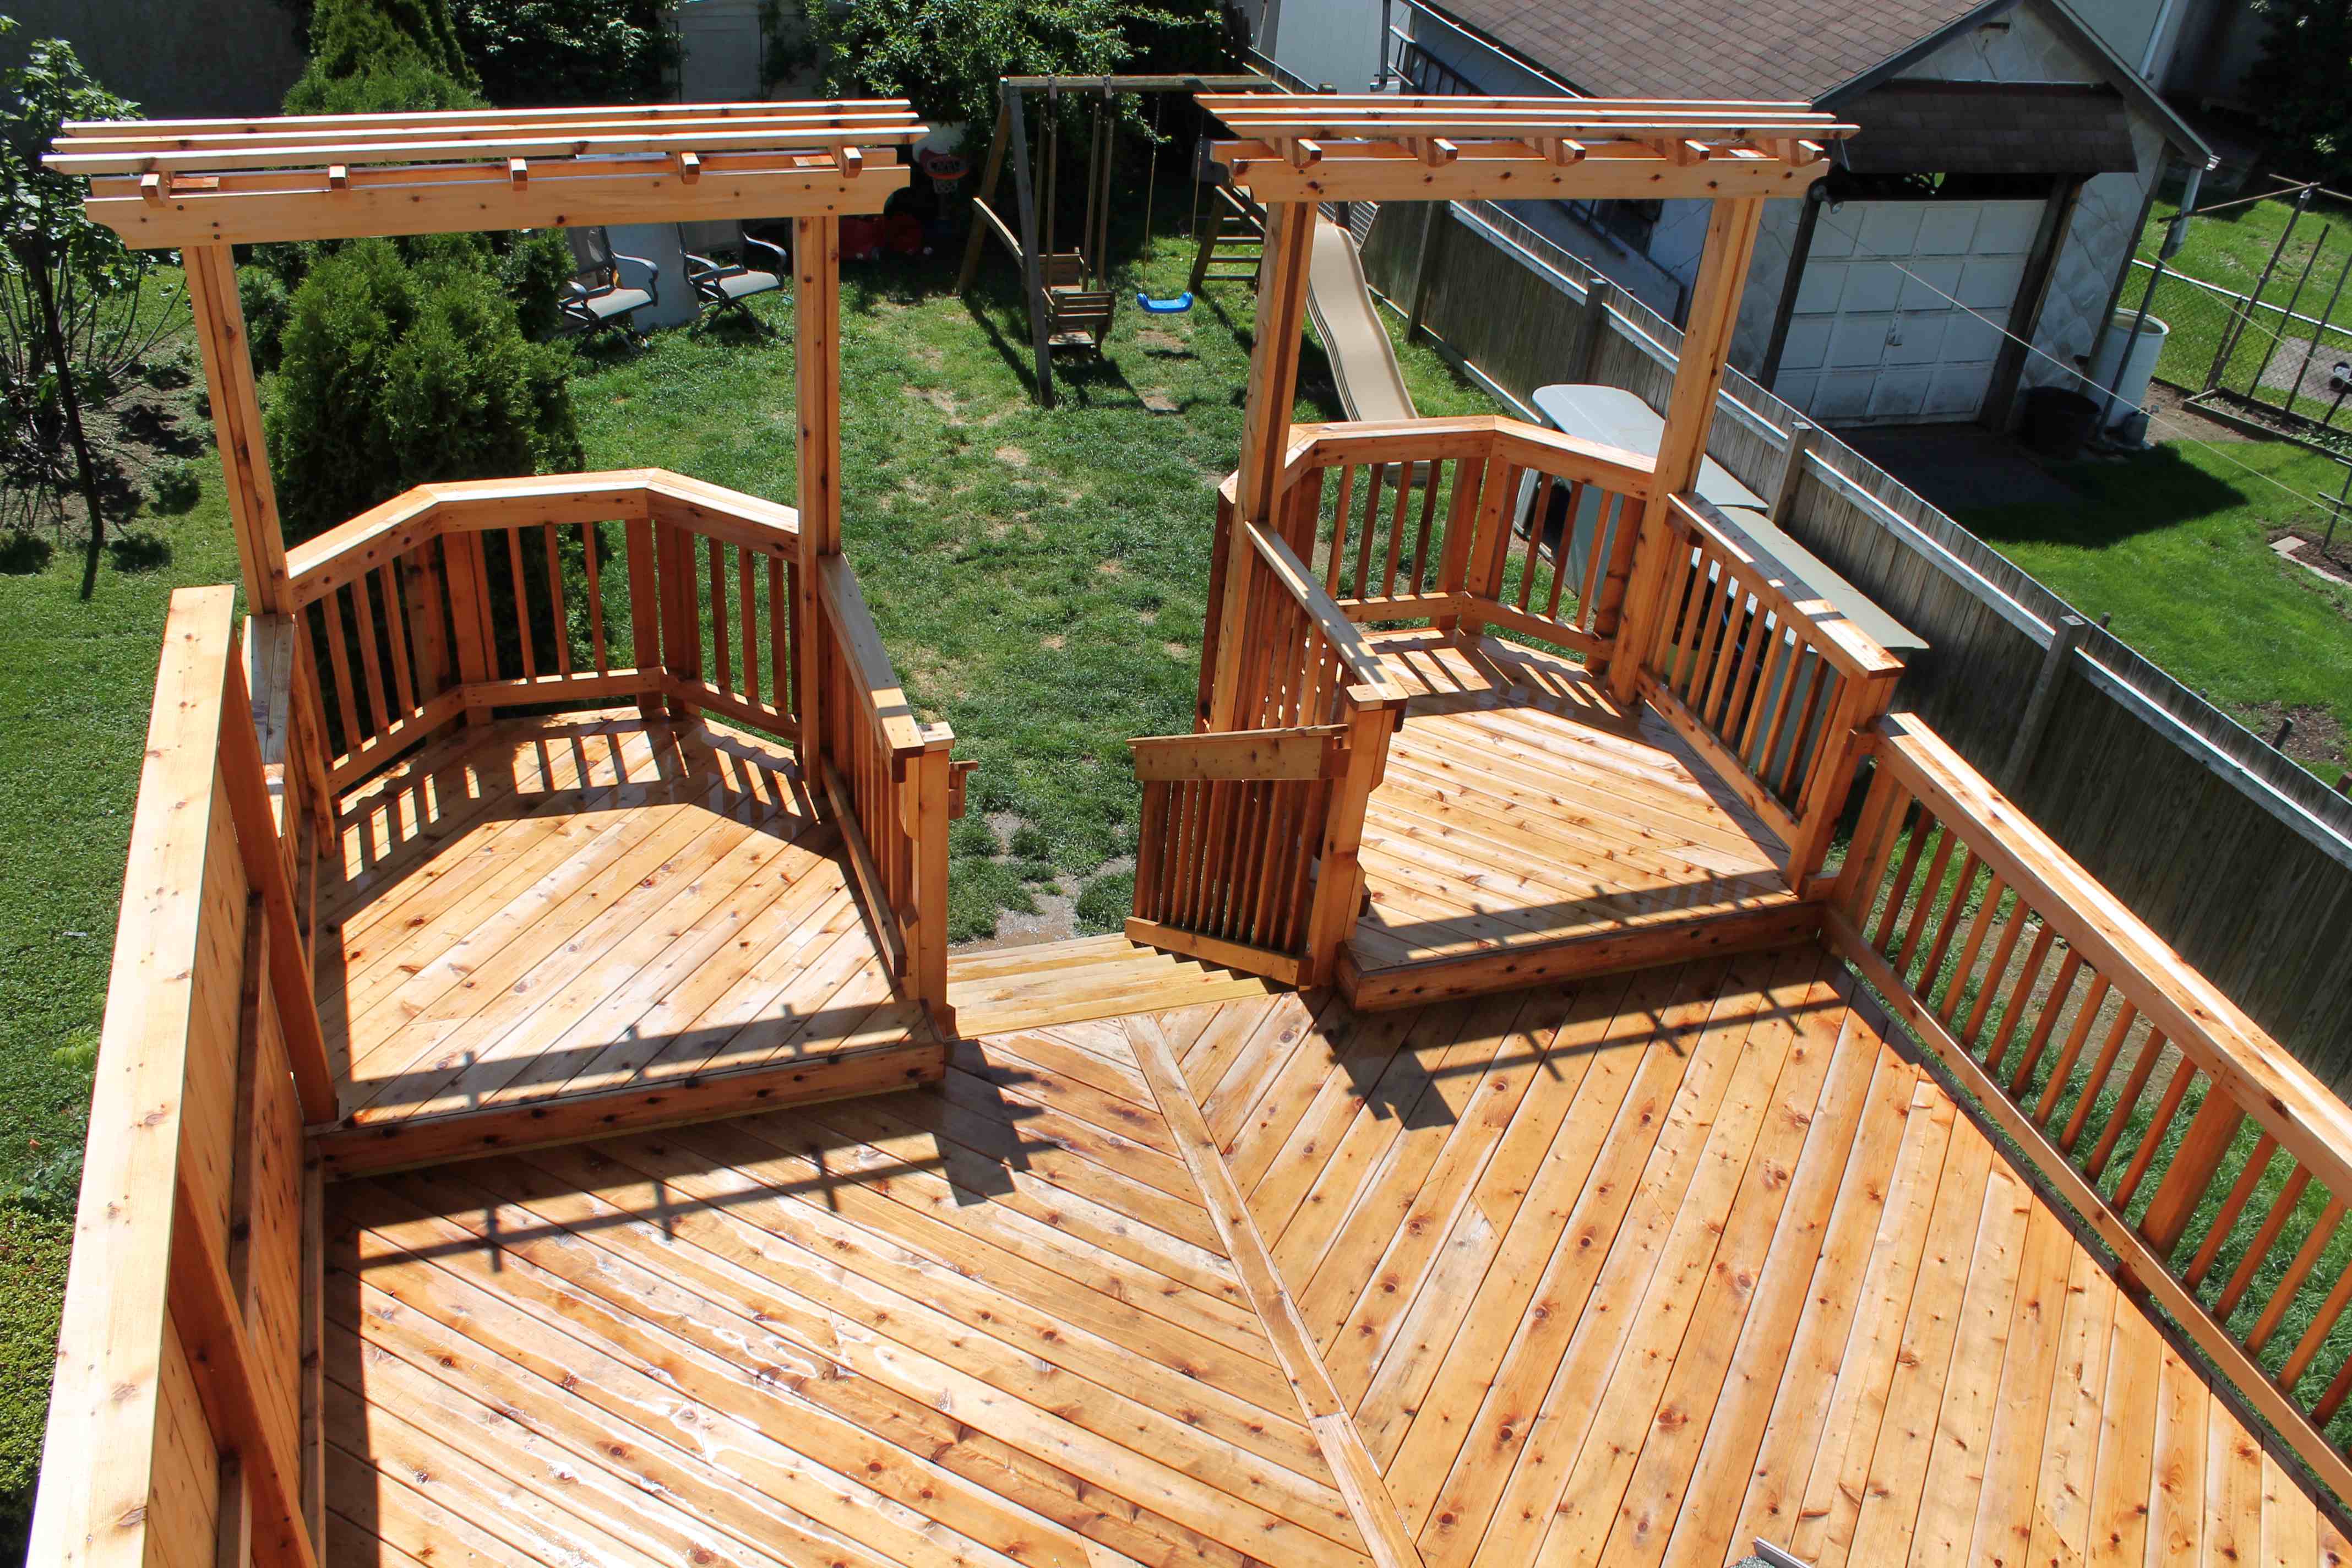
If you’ve got grand backyard landscaping ideas, then how to build a pergola with seating–that rocks—should be on your list.
This pergola is a one-of-a-kinder with a multi-use space for seating and serving. We hope you love it as much as we do.
Decide the pergola shape and layout
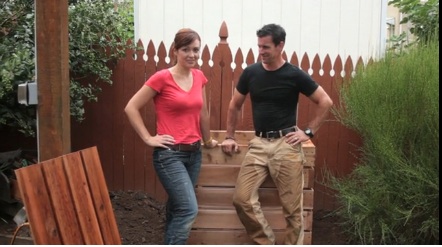
After picking the perfect location and determining a size that fits the space we make the best how to build a pergola buddy going: A box.
It’s not just any box. It’s a ‘full-size template’ and it rocks. We use it for layout, assembly and it can even be the starting point for a wood deck floor.
Design the pergola posts
The posts are set in a 10-foot x 10-foot square so we built the box 131 1/2-inches x 131 1/2-inches so the posts will fit inside the box at a 10-foot spread. Next, we install bracing on it to keep it square and so we can lift or drag it easily.
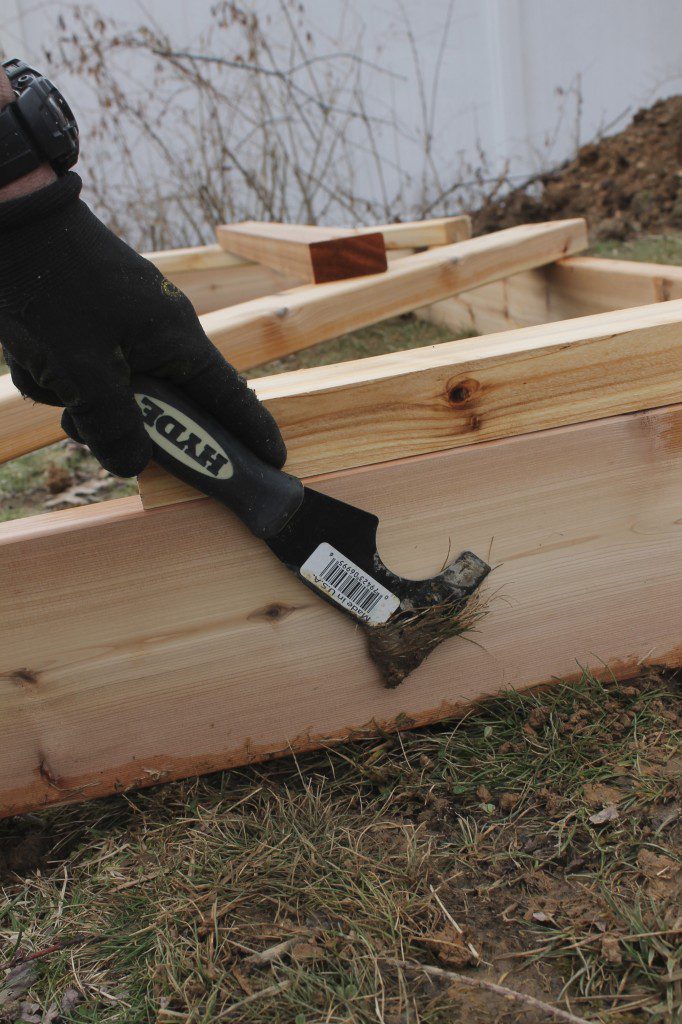
Dig the post holes
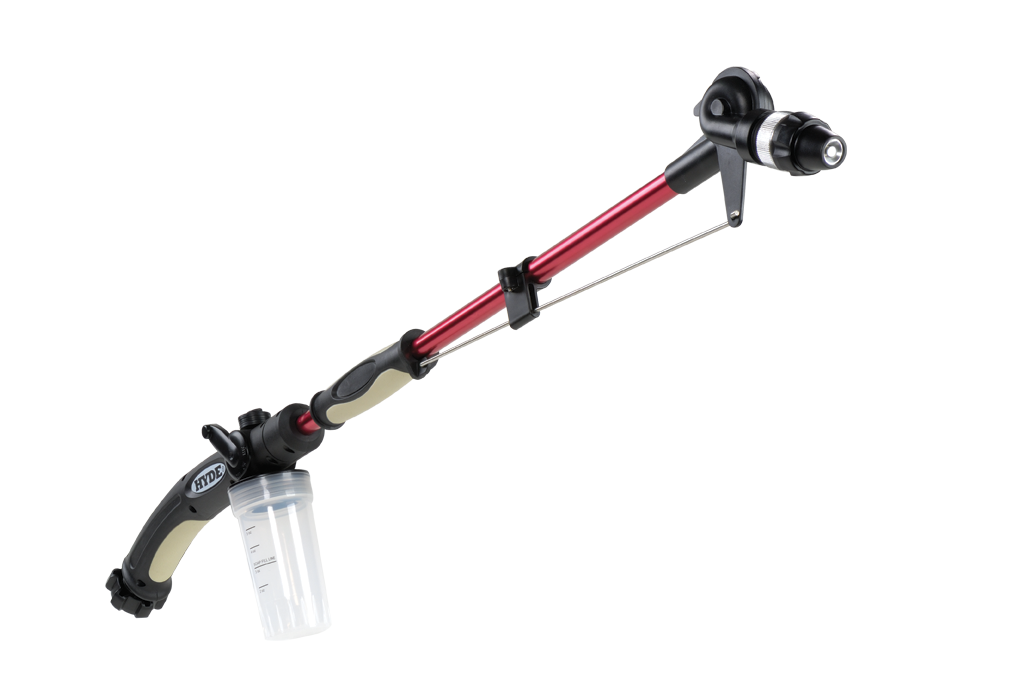
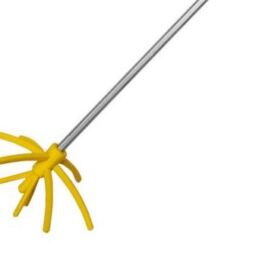
We place the box on the exact spot where we want to dig our posts and use it to mark the post hole locations. Then we move it and dig the holes. Before moving the box, we found yet another use for our Hyde multi-tool—marking the ground so we knew exactly where to replace the template.
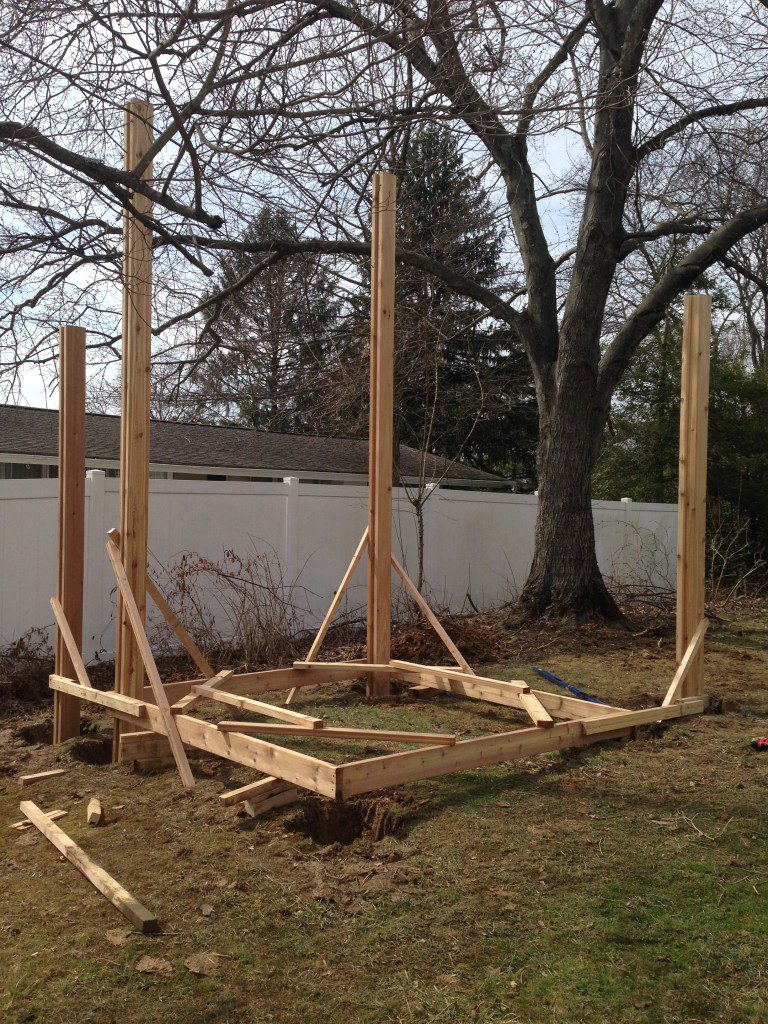
Place the posts in the holes
With the holes dug, we replace the template and then and use it to help hold the posts as we set them in the holes. Make sure the box is level before installing posts.
On this pergola, we fancied up the posts by making them from two 2x6s and one 2×4. It creates a cool, custom look we enjoy. And when it comes to how to build a pergola that’ll last and look good doing it, we used Western Red Cedar. It lasts outdoors and brings a great, natural feel to an outdoor space. And, cedar 2-by stock is great for ground contact.
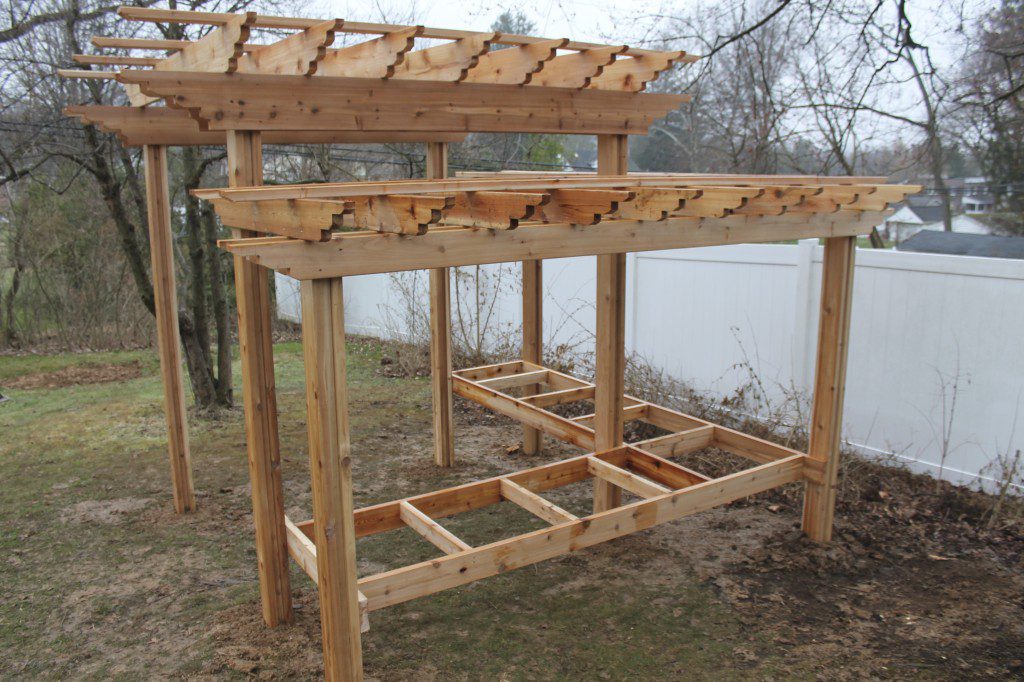
Set the girder and rafters
We set the girder at about 9-feet above the ground. It makes the pergola feel comfortable. The rafters cross the girder. The purlins cross the rafters.
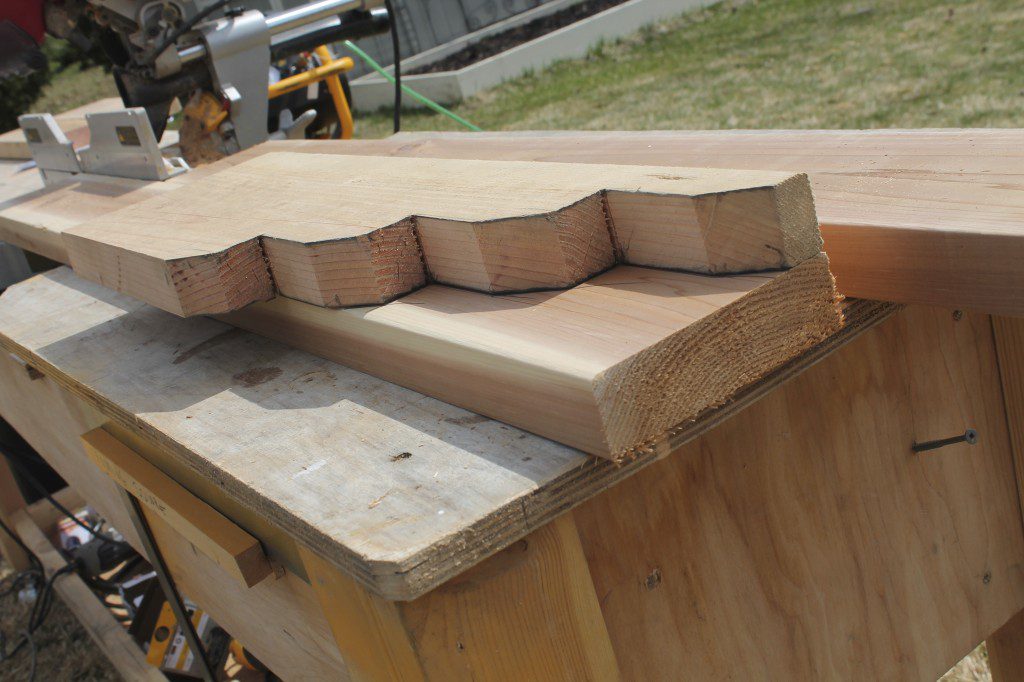
Before we started building, we settled on a funky rafter tail design that we love and that fits the house style.
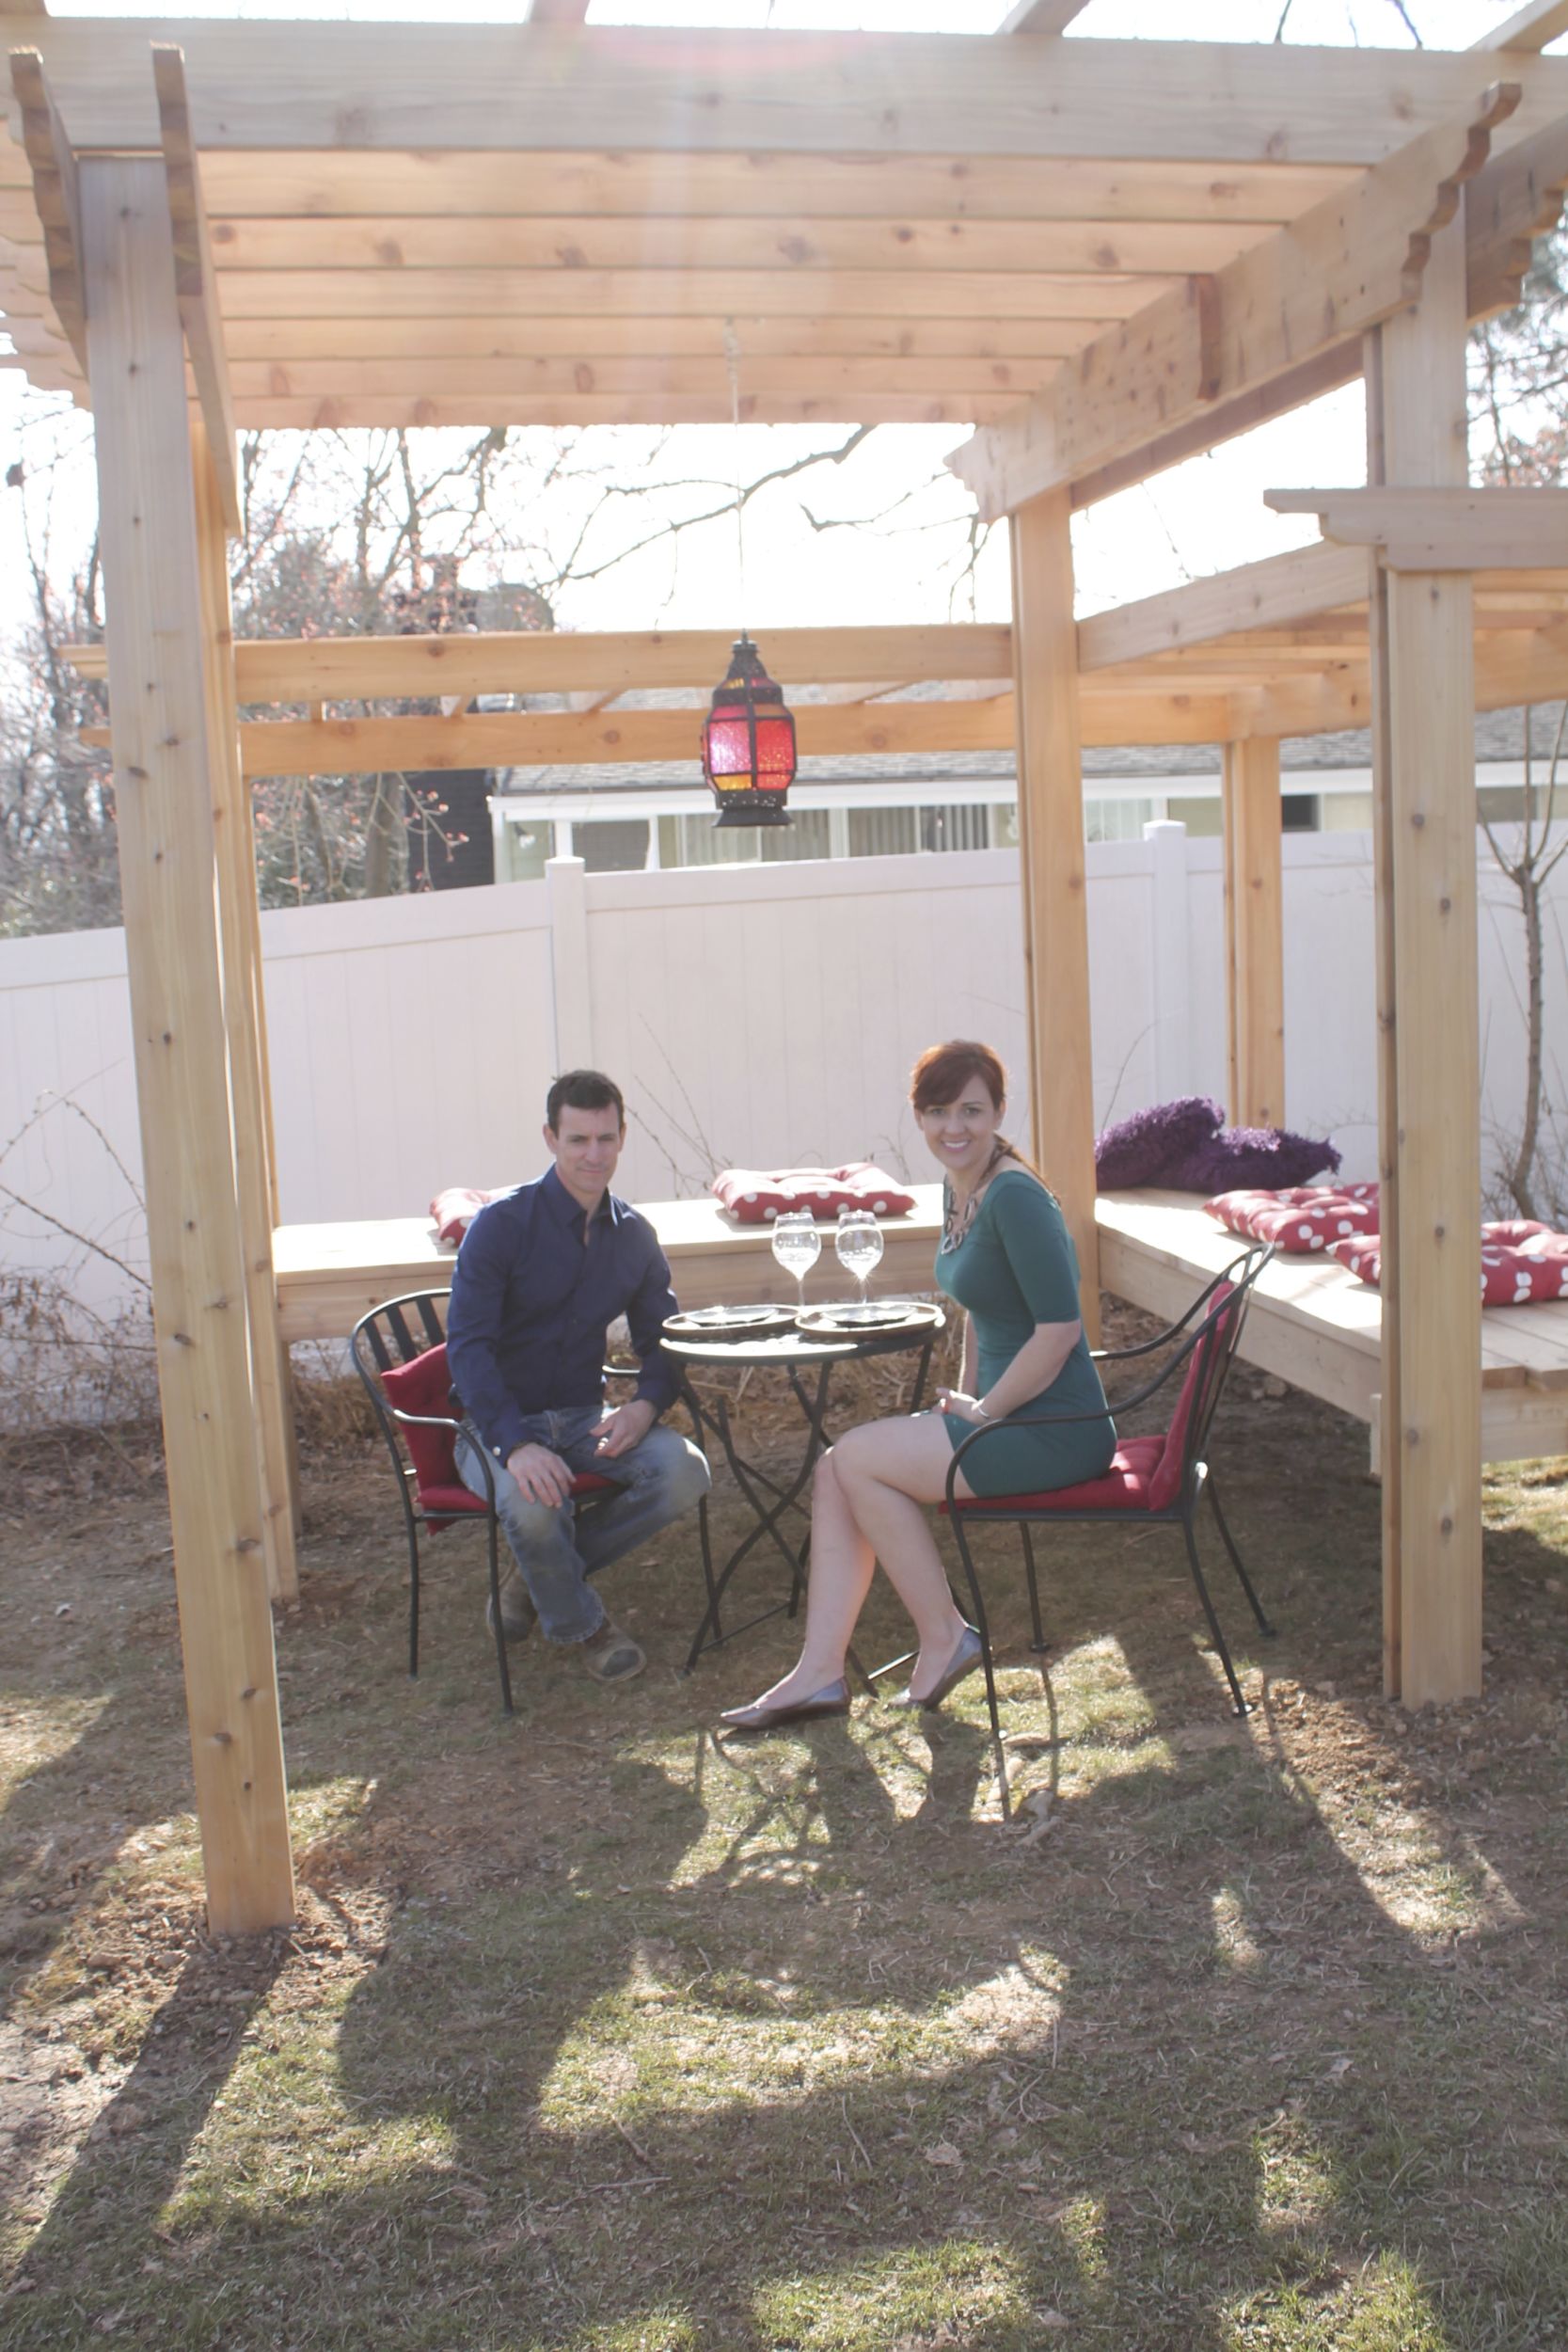
Add a built-in seating and serving area
And Theresa’s dual-purpose seating/serving area might just be a pergola-first. It’s low and wide enough to use as a couch, but also high enough to lay out plates, cups and platters for a cookout.
What kinds of fasteners and tools did we use?
We used a combination of deck screws (posts), gun nails (rafters and purlins) and structural screws (girder connections) to hold it all together for backyard fun.

About the Author


Hello! This is my 1st comment here so I just wanted to give a quick shout out and tell you I really enjoy reading your blog posts. Can you suggest any other blogs/websites/forums that go over the same subjects? Thanks a lot!
I couldn’t resist commenting
I just couldn’t depart your website before suggesting that I extremely enjoyed the standard info a person provide for your visitors? Is gonna be back often to check up on new posts
I really appreciate this post. I have been looking all over for this! Thank goodness I found it on Bing. You’ve made my day! Thanks again
[…] it’s finishing a basement or clearing snow, stopping a leak or building a pergola, getting the right person—not just any person—has been the right formula for them. And […]
[…] had great luck using Spax PowerLags for everything from big projects like pergola connections (pergola video here) to smaller weekend jobs for our kids like this cedar playset (watch the playset video […]
[…] these bad boys cut their way into material like a boss. Finicky framing in an old house. A new pergola outdoors. Woodworking assemblies. Whatever. They are the reason to throw away the no name drywall […]
[…] pressure treated or cedar will work for sure, which we use in ground contact for everything from a pergola to a playset. As an added precaution you could further protect the sleeper joists by wrapping them […]
[…] house was designed with porches rather than a deck, our summer outdoors-ing is centered around our pergola where we have a nice place to sit and hang out—but no place (other than sinking into the […]
[…] Volume-wise, it holds about one bag of bark mulch which makes it perfect for lugging open or emptied bags as you see fit. You can roll the bag to the garden bed, open it up and spread mulch that way. Or fill the Aerocart in a common location where you store all the bags, like in the driveway, and lug loose mulch. Either way. It’s also plenty durable for handling dirt, rocks, lawn edgings and other hard core debris found around a DIY project, including trash bags full of demo debris to bags of concrete for a mailbox project or pergola. […]
[…] love pergolas. We love designing them. We love building […]
[…] used cedar 2×6 for the base of the doghouse. Cedar takes paint really well and is perfect for outdoors. […]