Pinterest makes it look easy to design a DIY pallet project. It can be easy-ish if you know a few little tips.
I’ve been intrigued by pallet upcycling and have wanted to design a DIY pallet project for longer than I’ve seen them popping up on Pinterest, but my craftsman-carpenter husband Mark has poo-pooed them. He has many reasons why, and he wrote a blog that has 13 of his DIY pallet project grievances.
Yes, it’s easier to work with new lumber. New lumber is sized perfectly, has few imperfections, takes paint and stain with mostly the same result, and is easily stacked for transport.
For me, working with pallets is like going to the thrift store for a fun vintage find. I’m diving into a world of unknown opportunities. Everything is different, they might not have what I love in the size I need, and while functional, an item may need some enhancement or alteration to truly work for what I’m envisioning.
With Mark’s arm successfully twisted by my promise to be brutally honest about the project in my blog, we set out to acquire, design, and build a DIY pallet project.
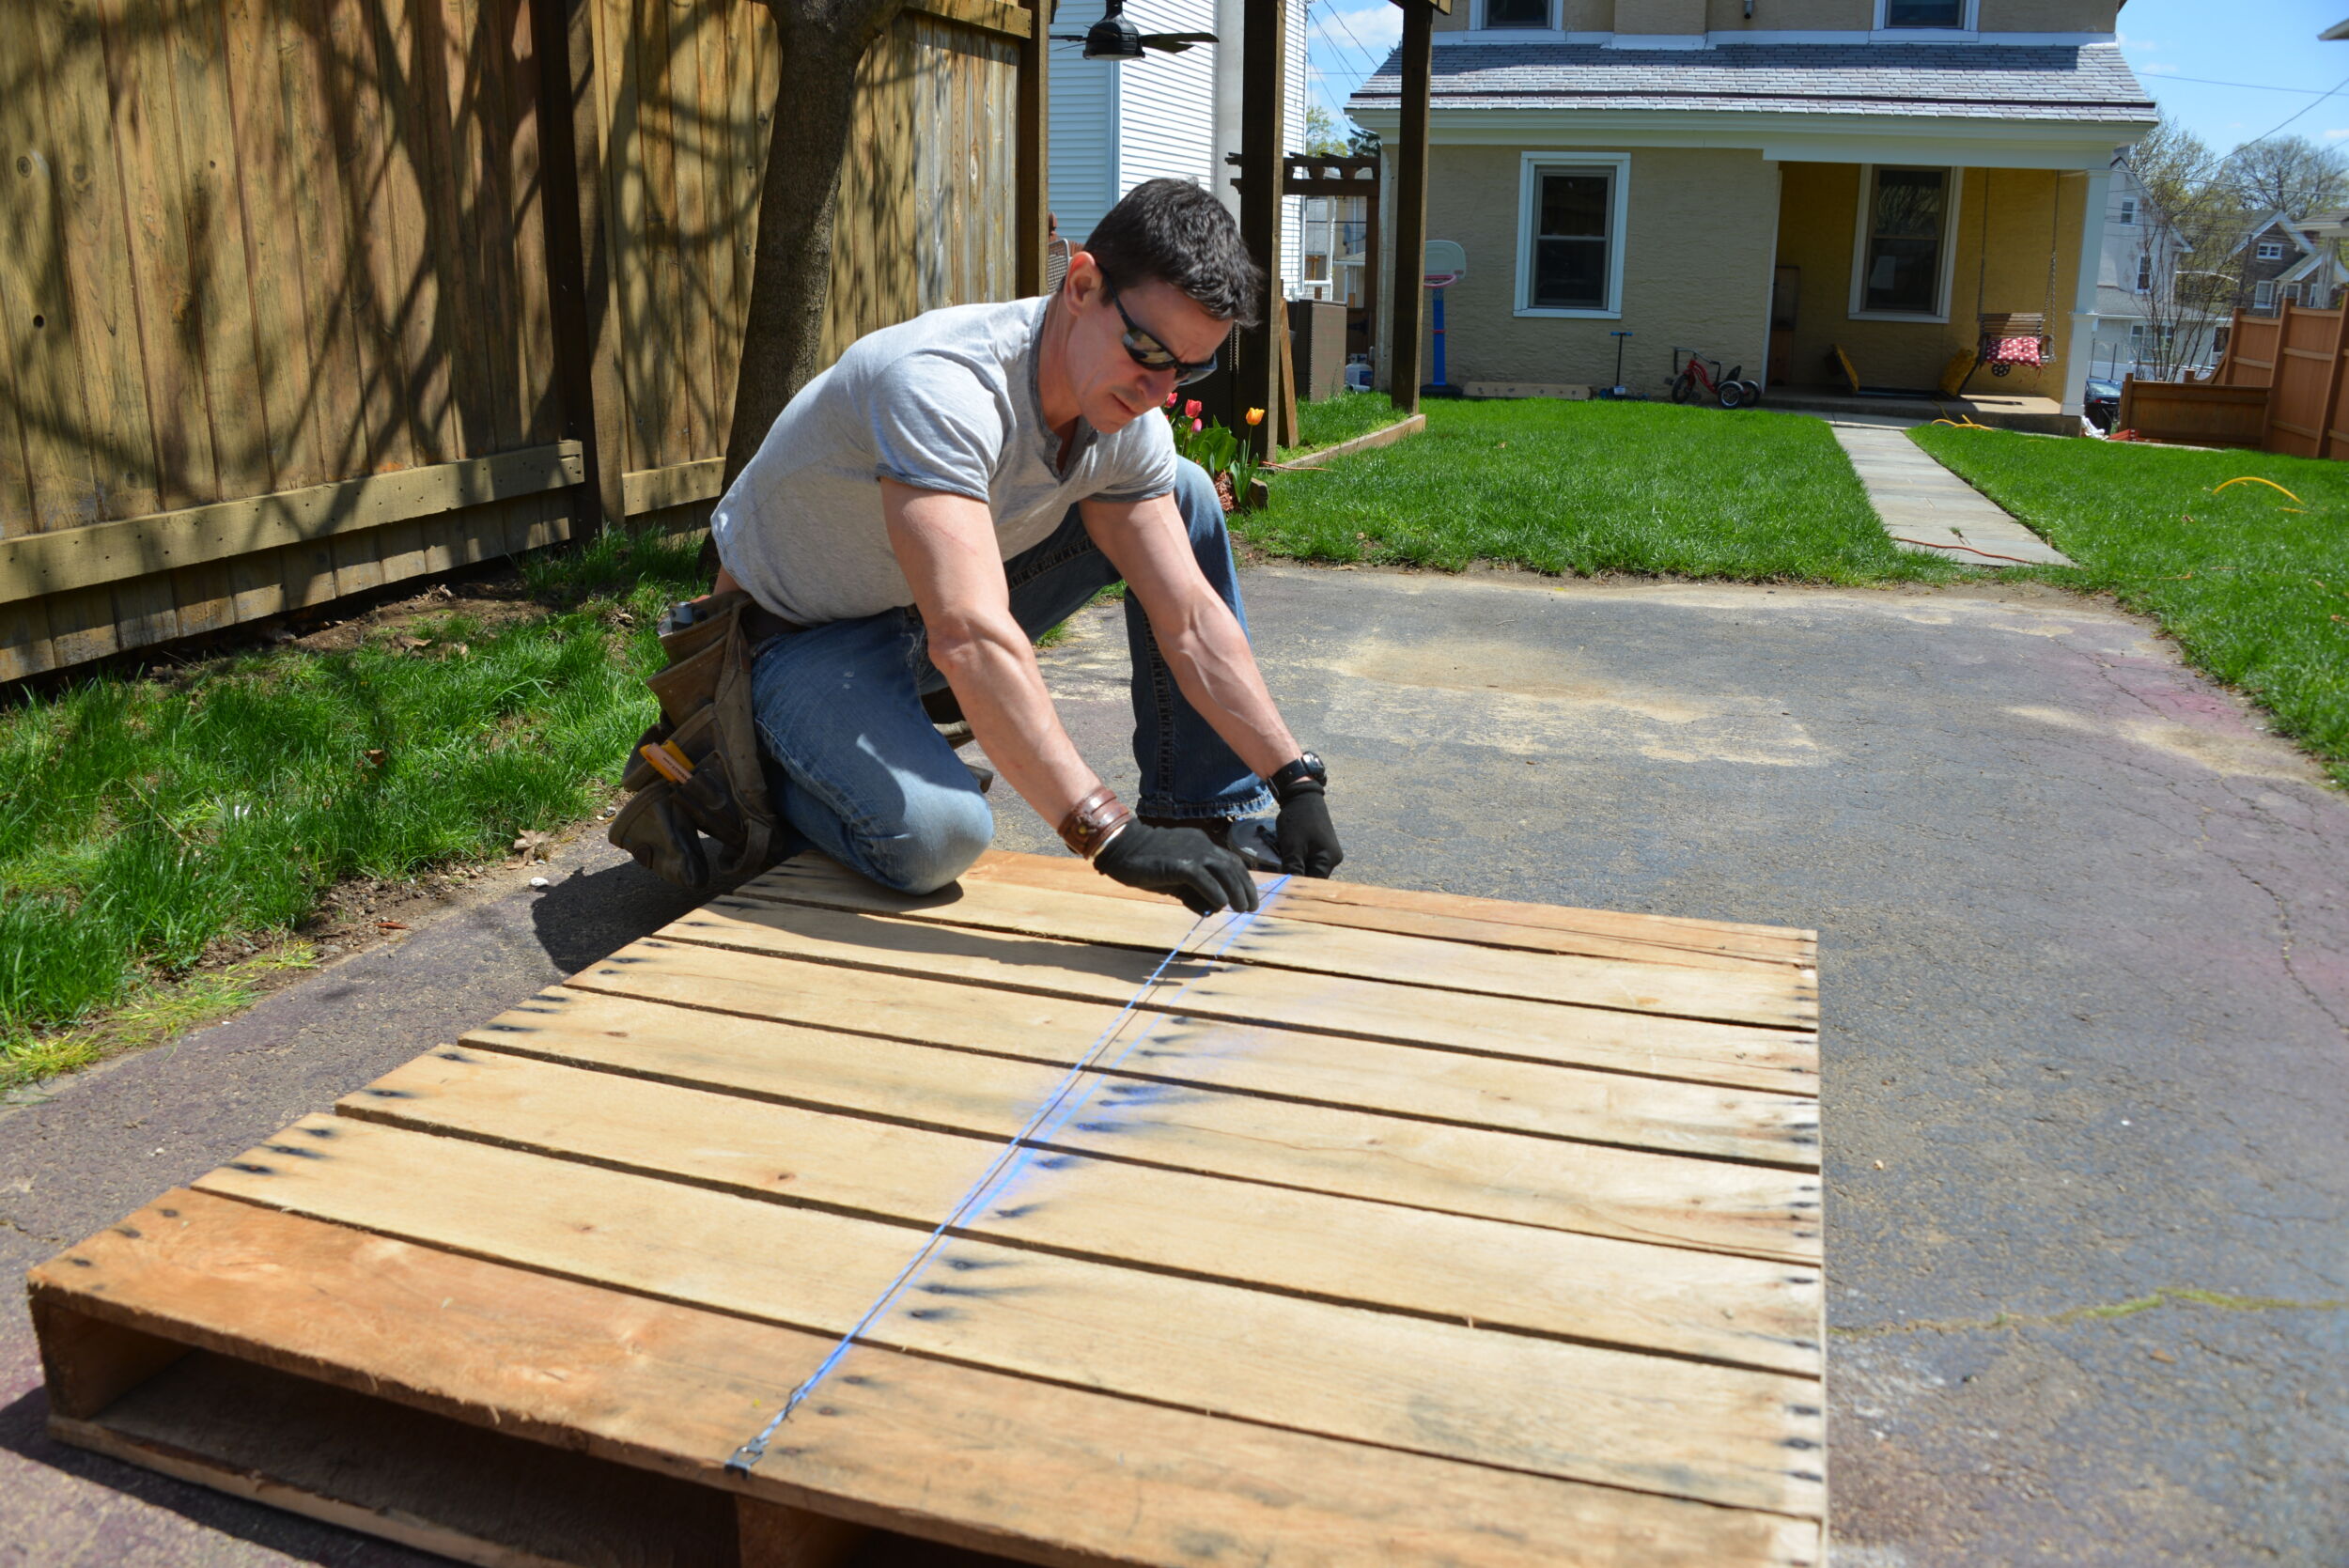
So you’ll notice that I said acquire before design. It’s not the typical process for creating a backyard seating area. But when you are working with unknown sizes, it’s important to keep an open mind and a handy sketchbook at the ready to make some quick decisions and design plans.
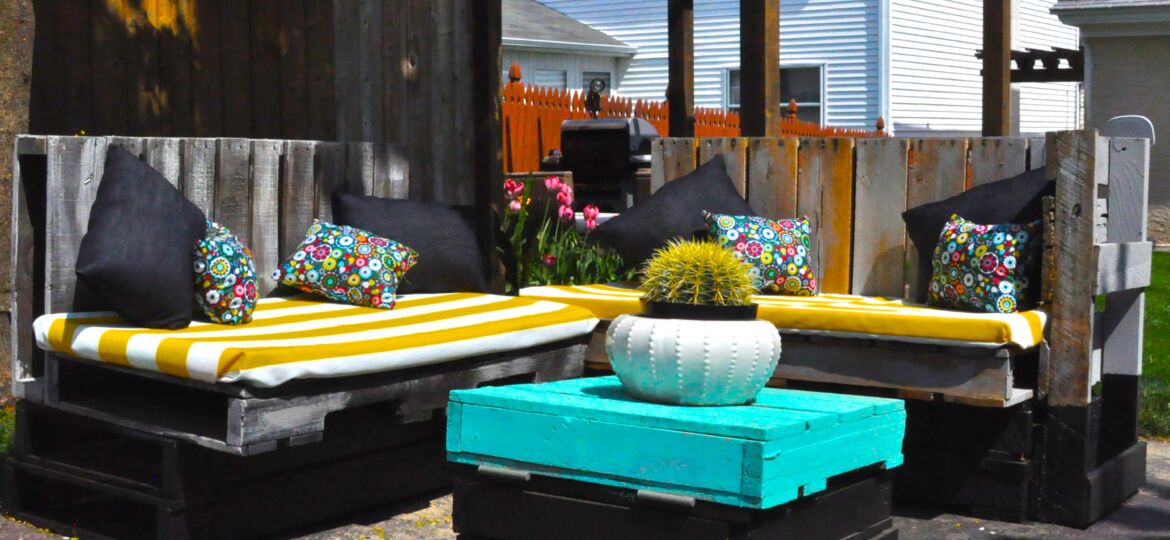
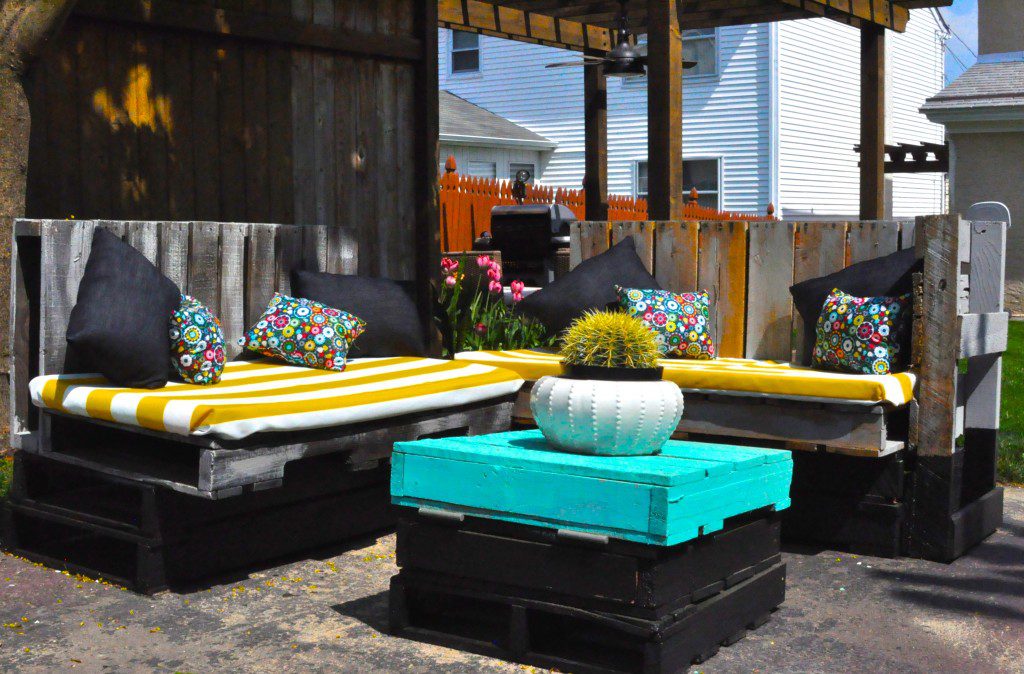
Design. I took inspiration from a popular project we shared on Facebook when I started to design a DIY pallet project, and altered the size and design elements for our yard and our life. It’s an outdoor niche with two love seats and storage tables, perfect for drinks and snacks on top, and for storing pillows inside.
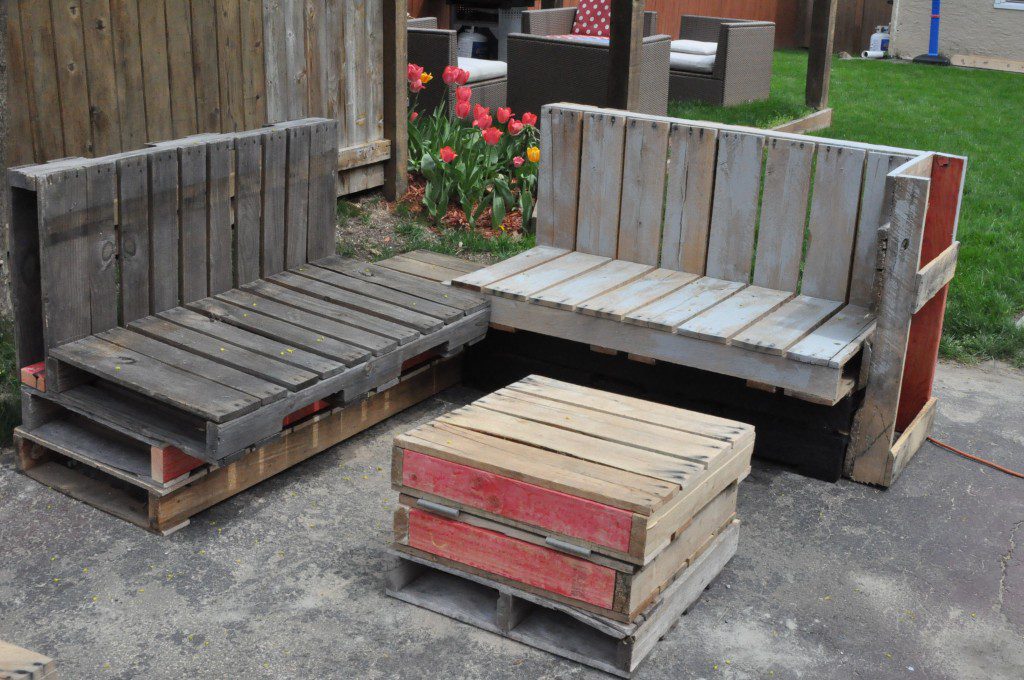
Each seat base is one pallet cut in half, stacked and screwed together. The seat and seat back are a second pallet, also cut in half. The back is screwed down to the seat base. The seat is screwed to the seat back and the seat base. So each chair requires two pallets that are roughly the same size as each other.
The table base is a pallet cut in half, then cut in half (ish) again. Those 1/4-pieces are stacked and screwed together.
For the table top, we quartered a second pallet. To connect them we added door hinges. And to make the storage deeper, we cut some of the pallet slats away on the table base inside the table (before installing the lid).
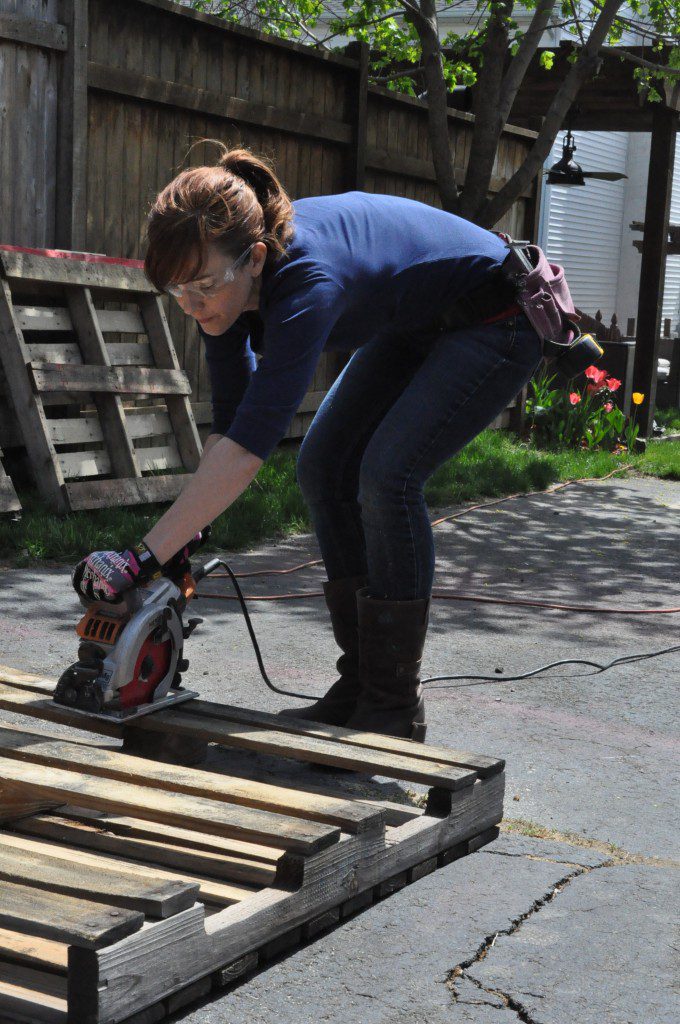
Any time you cut a pallet in half, one of the halves is missing the center stave. So there’s no support between the top and bottom rails. You’ll need to add one back in. Usually a 2×4 will do the trick. On this project we needed a couple 2x4s for repairs. We used staples to re-attach the slats. Framing nails or screws are better.
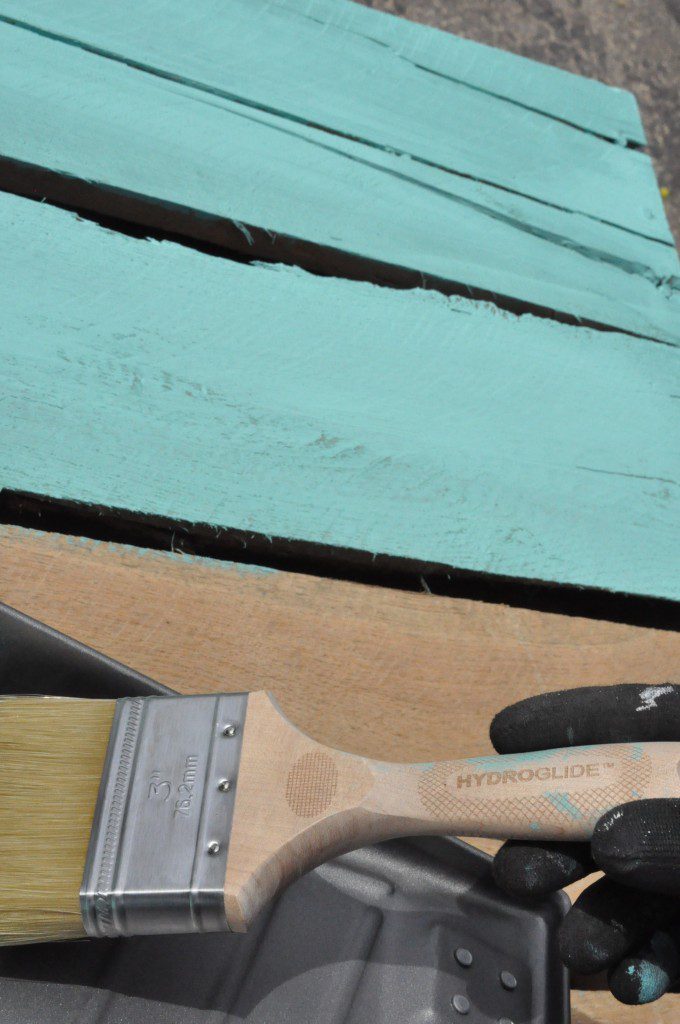
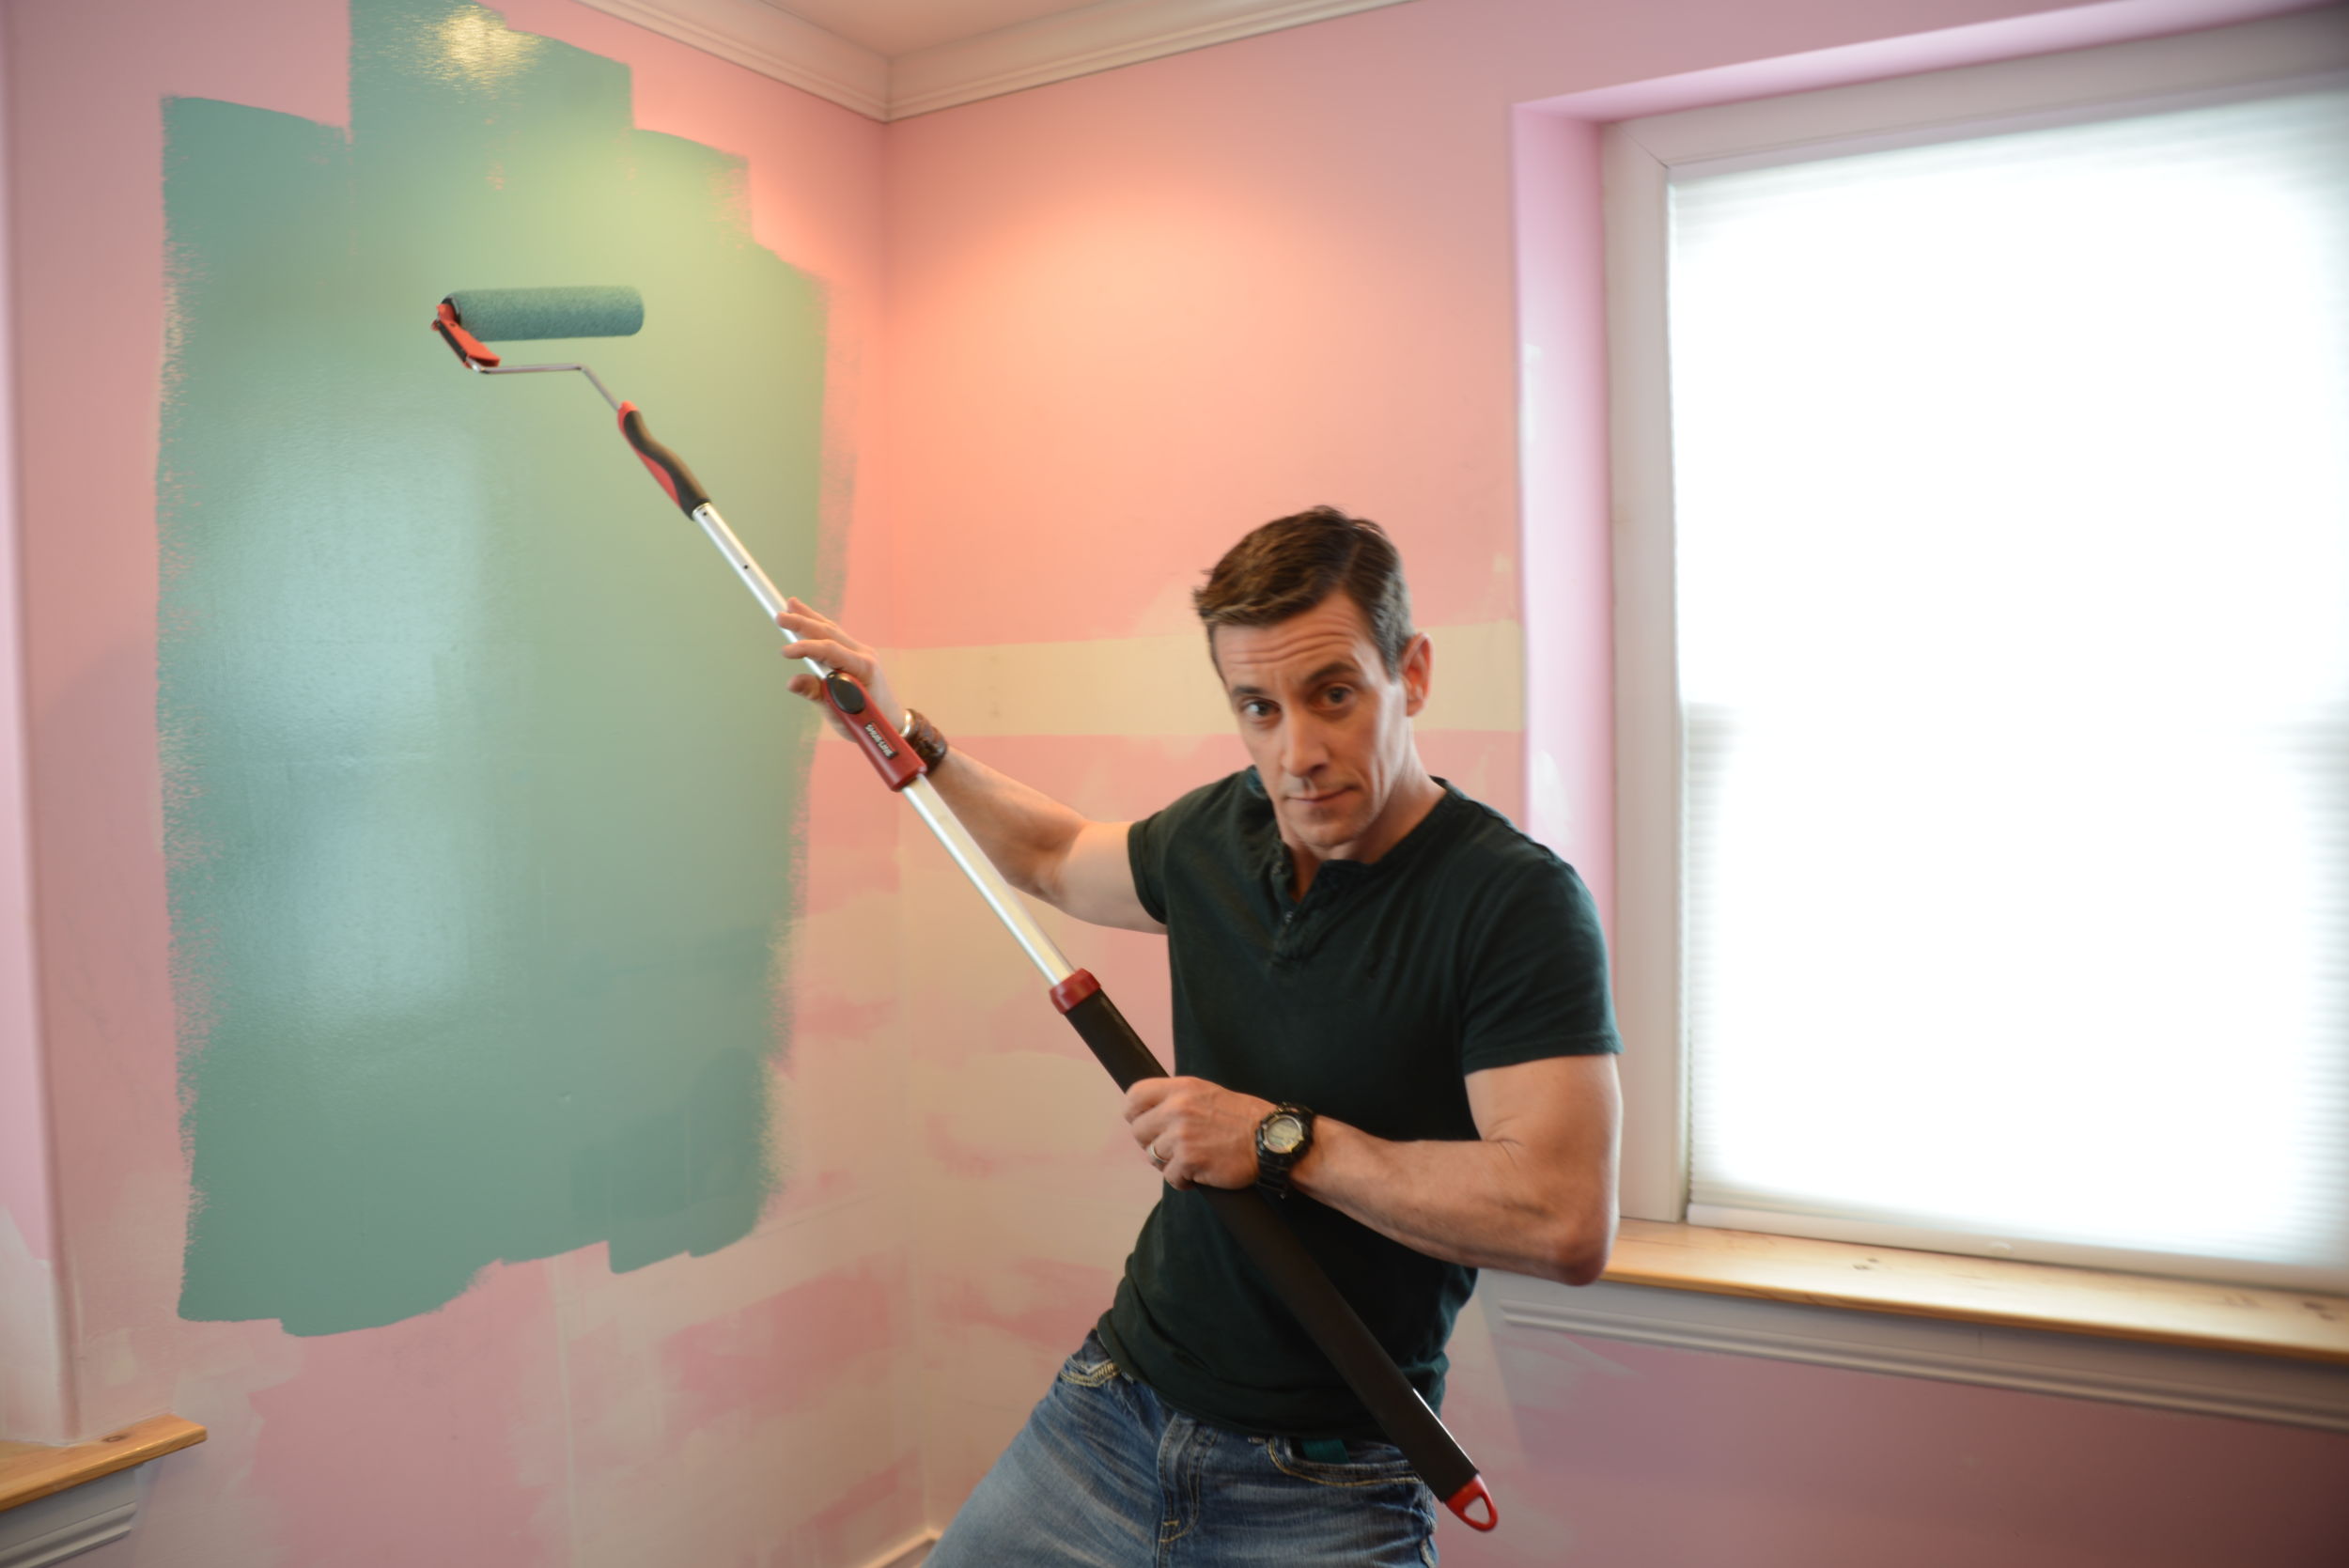
Color. More than just color, paint helps to keep the pallet intact as its braving the elements in our yard. I decided to go with the aged look of the pallets when selecting the color palette. Painting old wood can be a challenge, especially old wood that we’re aren’t sure how it has been treated. It’s rough, it’s smooth, it’s not the same from pallet to pallet. Pallet wood takes paint differently. You may need more paint than you think, and you need more patience, too. (And of course, I used my handy Shur-Line brushes and paint can lid covers to make sure there’s less mess and less stress.)
For any project and anything else in life, I like to embrace the imperfections and celebrate them. Run after the uniqueness of the wood, the shapes, the structure. We’re creating something that isn’t intended to be perfectly replicated. If that’s the goal, we’d be driving out to a big box store for new outdoor furniture.
Using a wash technique on the back and seat of each pallet loveseat, we let the color of the natural wood come through. With a bright turquoise as the tops of the storage tables, I chose black for all of the bases. And I was inspired to sew custom cushions and pillows to help give the new seating area style.
Like every project around our house, I don’t think I’ll ever truly be done.
Love to read your comments about how you would design a DIY pallet project. Please share below, or send me a note info@myfixituplife.com.


Great post. Love the additional storage and I’d agree some painting is a no-brainer.
Gail, What did you use to get the pallets apart?
[…] We’ve proclaimed HGTV host Matt Blashaw as the ‘Pallet King’ for his creative DIY pallet projects featured on DIY Network’s ‘Yard Crashers.’ Not only has he designed and shared the how-to for his famous pallet into a chair project with Men’s Health and USA Today, he also did an entire Las Vegas background in pallets for a showgirl. We believe that Matt has successfully created the current and trendy DIY love for DIY pallet projects. […]
Great job on the outdoor pallet set guys! I have NEVER actually done a pallet project before. But I see one in my future, because I ordered a new tool off of Amazon today to help me take them apart. (hopefully) I’ll keep ya posted!
miss y’all!
gail
ps pinning!!!!
[…] you how to upcycle old doors (and you’ll find plenty at the ReStore!), paint a room, and start a DIY pallet project. Get inspired, then get started at the Habitat […]
[…] Design a pallet project that makes sense for our real […]