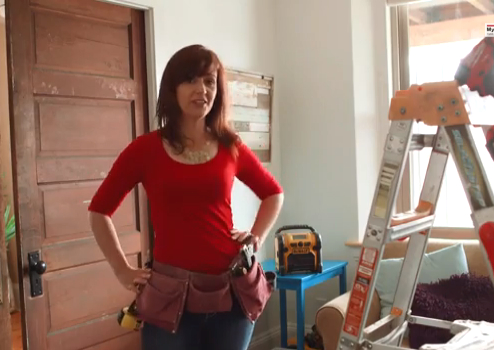
If you look at your ceiling and decide that next up on your list of DIY projects HAS to be changing that magnificently boring light fixture for one with a dash of design, then this is for you.


All you need are a few simple tools and a light fixture you love.
For DIY projects like this, we like to have a ladder (step stools don’t usually have a place to hold ‘stuff’ and are harder to work on), screwdrivers or drill/driver, a voltage-tester and wire-stripping pliers, and our favorite floor protection: Our Stanley Utility Mat.
To take out the light fixture that is boring you to tears, carefully remove the glass or globe. I always like to have a spot set aside to put it down because the older a light fixture is he more schmutz like dust and dead bugs are in there and I don’t want it to spill all that lovely grime in my living room. Then I remove the body of the fixture from the ceiling. And even though I’ve de-energized the circuit at the breaker panel, it can’t hurt to throw your voltage tester on there as a double-check before you expose the wires.
To install the new light fixture—ours is upcycled—match up the wires: red to red, black to black, if the wires are color coded. I like to tighten wire nuts securely too, not just spin them a few times, to make sure they grab. Tuck the wires neatly back into the junction box, attach the new fixture then install the new globe.
Boring gone. Light on. DIY projects—DONE.
For more how-to tips for your DIY projects, click here.









[…] the ceiling. When we install a ceiling fan it usually means means removing an existing light fixture and replacing it with the […]