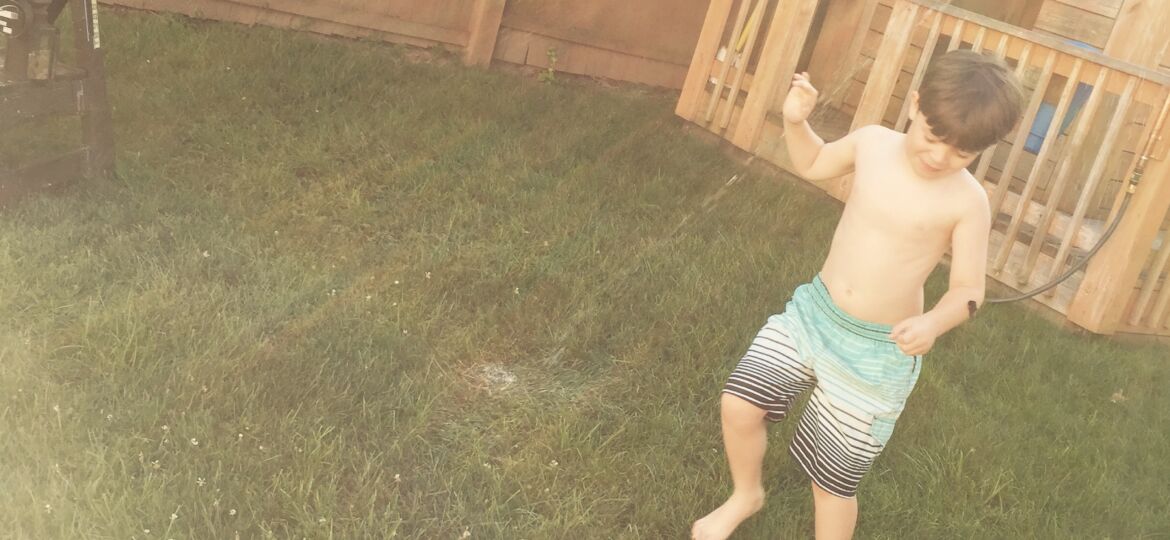
A quick search for ‘DIY sprinkler’ shows an array of…um…items…that (A) sprinkle and (B) I do not want in my yard. Or garage, shed, or, well, anywhere.
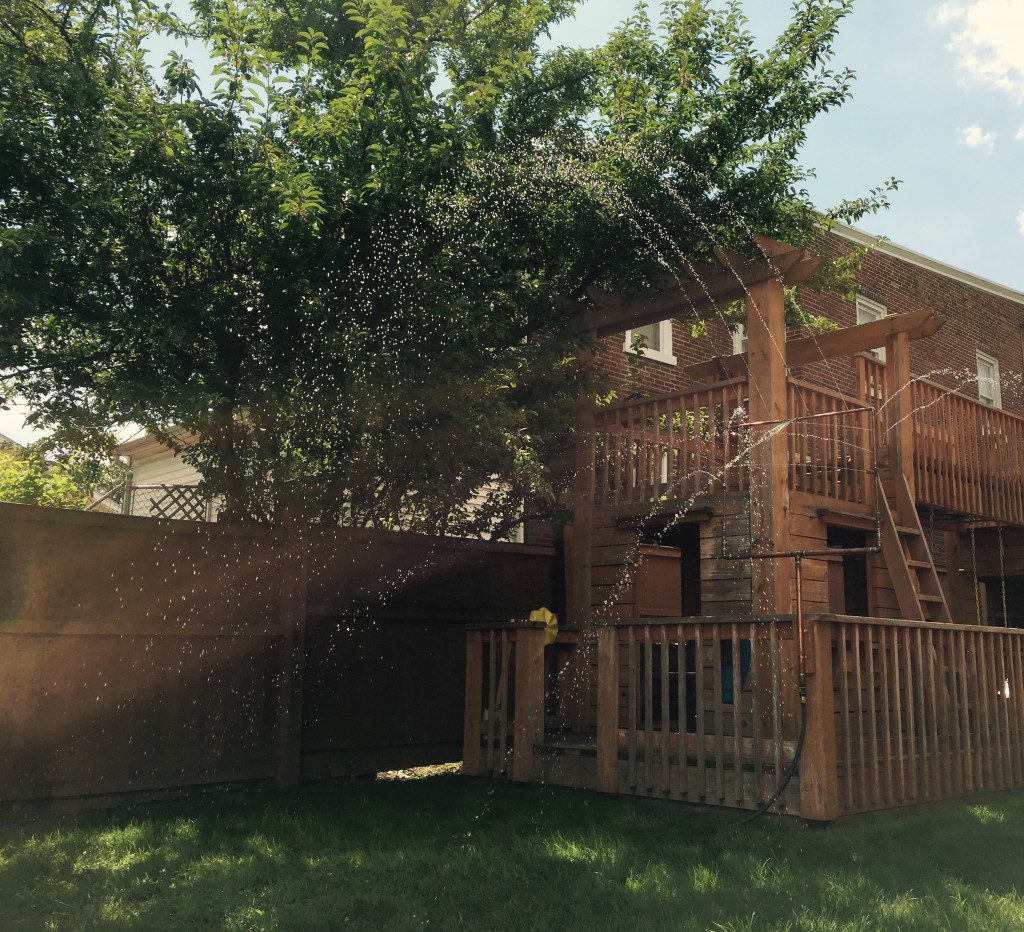


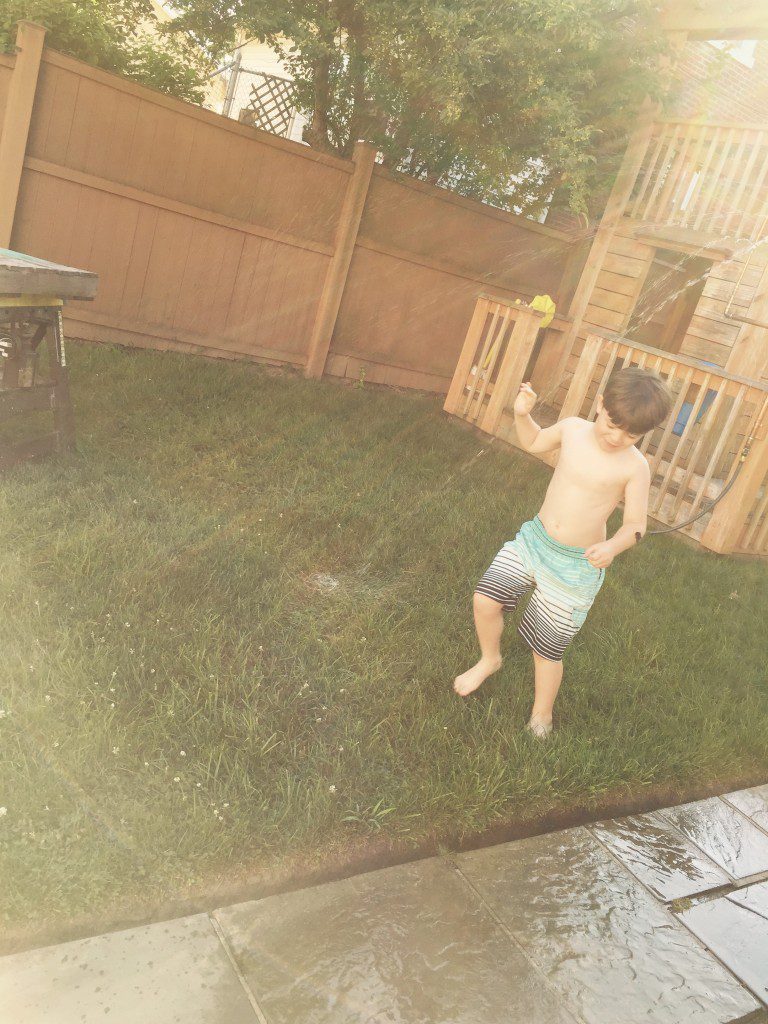
So, I made my own for my son Jack and, if I play my cards right, me. Fueled by the garden hose and brought to life by copper pipe and my Bernzomatic torch, not only does this DIY sprinkler blend in to my son’s play set, it’s built to last and is easy to store if I so choose. If I want to make it a permanent fixture on the playset, well, I can do that too. Because it’s not uglier than…
This one is 32-inches wide by about 24-inches tall with a 36-inch up-tube. Here’s how I made my DIY sprinkler.
Note: This project is sponsored by Bernzomatic. The design and DIY are all MyFixitUpLife action.
Parts & Tools
- Brass hose-thread adapter—Female to male
- Copper hose-thread adapter—Male to 1-inch copper pipe
- 1–inch copper pipe—up-tube, bottom of rectangle
- 1-inch copper tee
- Two 1-inch 90-degree elbows
- Two 1-inch > 1/2-inch reducers
- 1/2-inch copper pipe (10-feet)
- 3 1/2-inch Tees
- 3 1/2-inch caps
- Two 90-degree elbows
- Drill, drill bits
- Pipe cutter or miter saw
- Bernzomatic fuel, torch, solder, pipe cleaner/reamer
DIY Sprinkler How-To
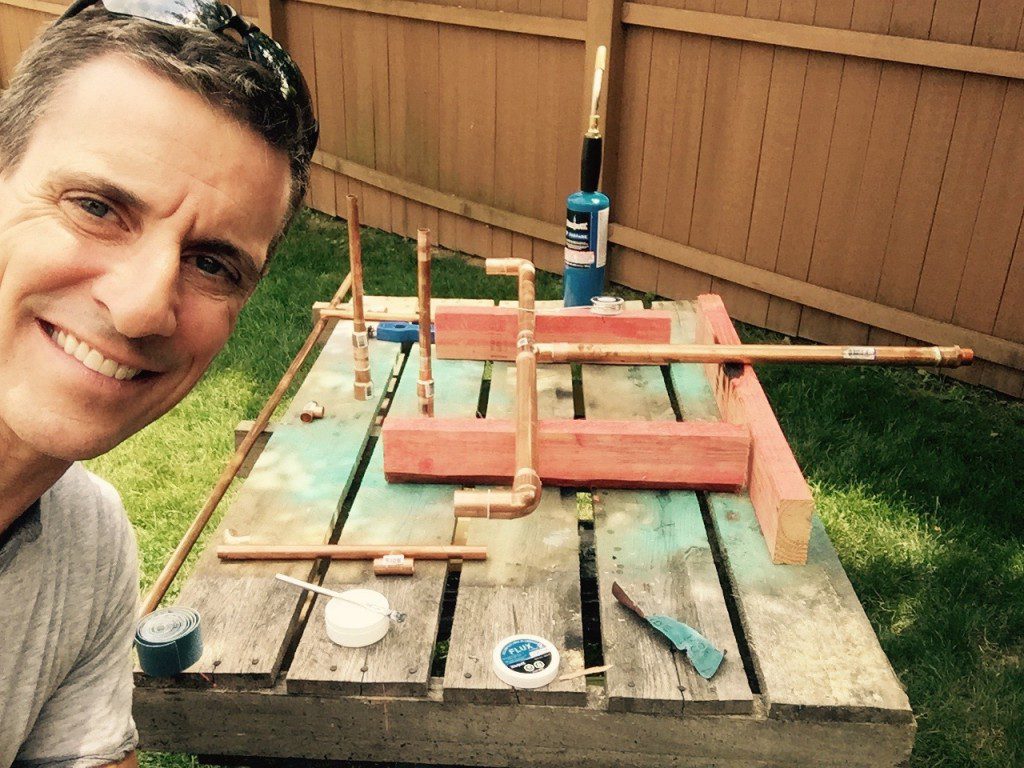
I found it useful to layout the fittings on a table (I used a pallet) to get an idea for size and to make sure I had all the parts in all the right places.
Next, I cut the pipes to length. A pipe cutter is how you’d do this in a true plumbing application, but copper is soft metal and cuts just fine on a miter saw (wear safety glasses and gloves; it’s not sawdust, but small pieces of metal…you’ll feel it). I tried to be accurate here so that at the end of the day, the rectangle I set out to make was actually, you know, a rectangle.
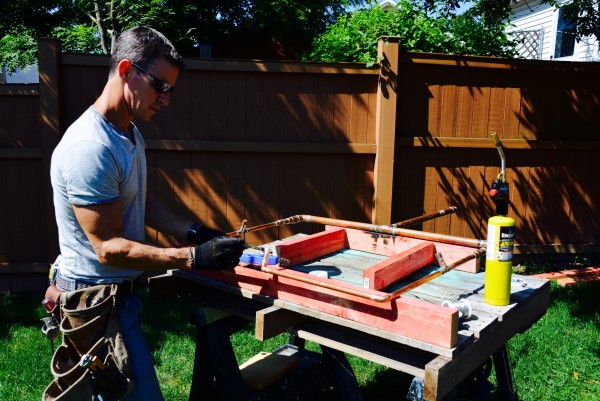
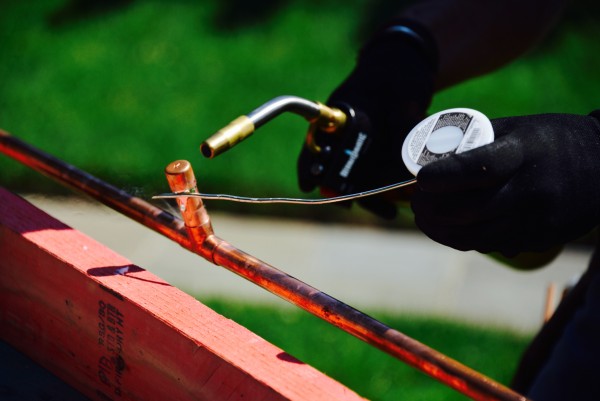
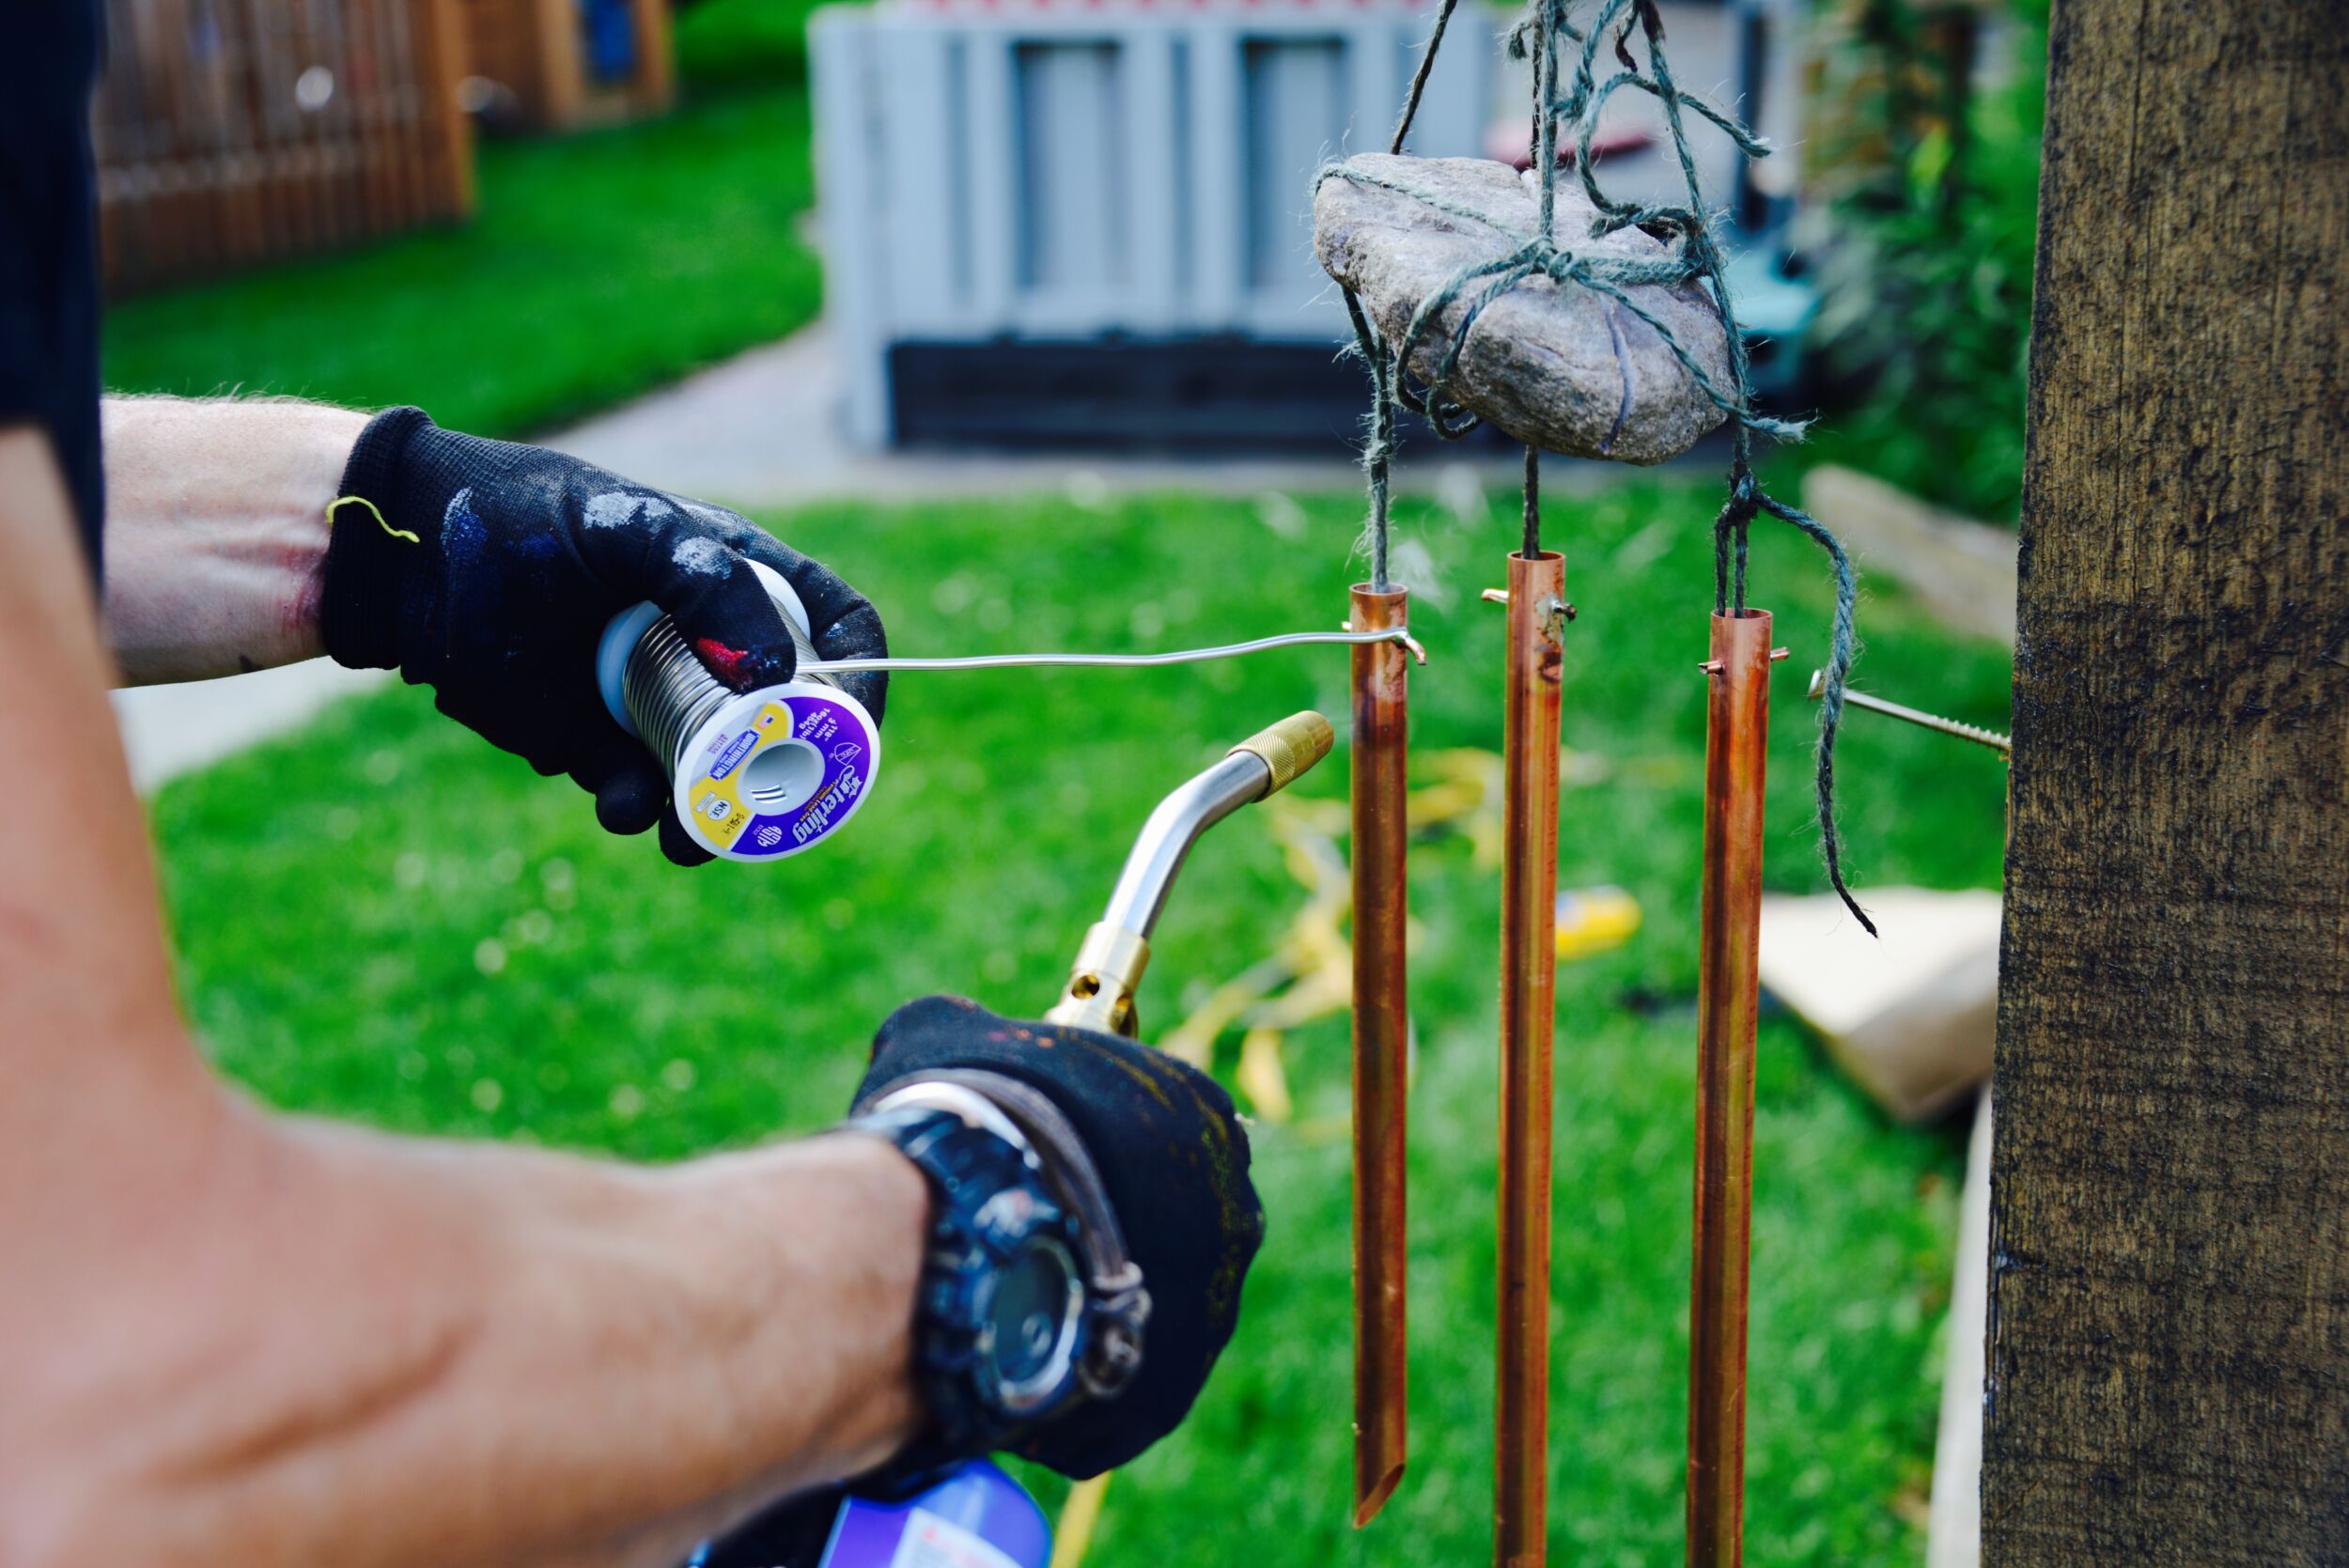
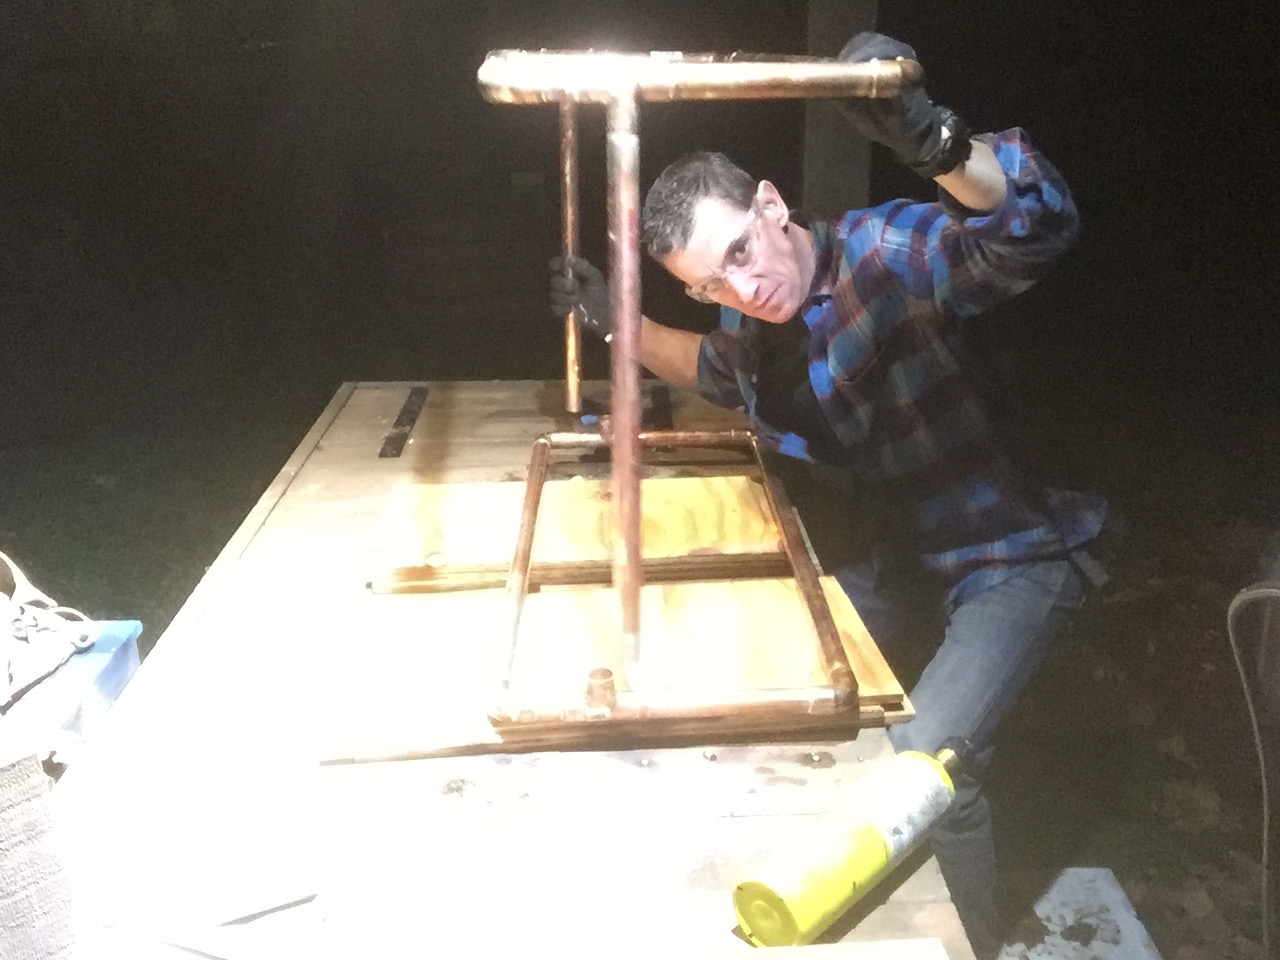
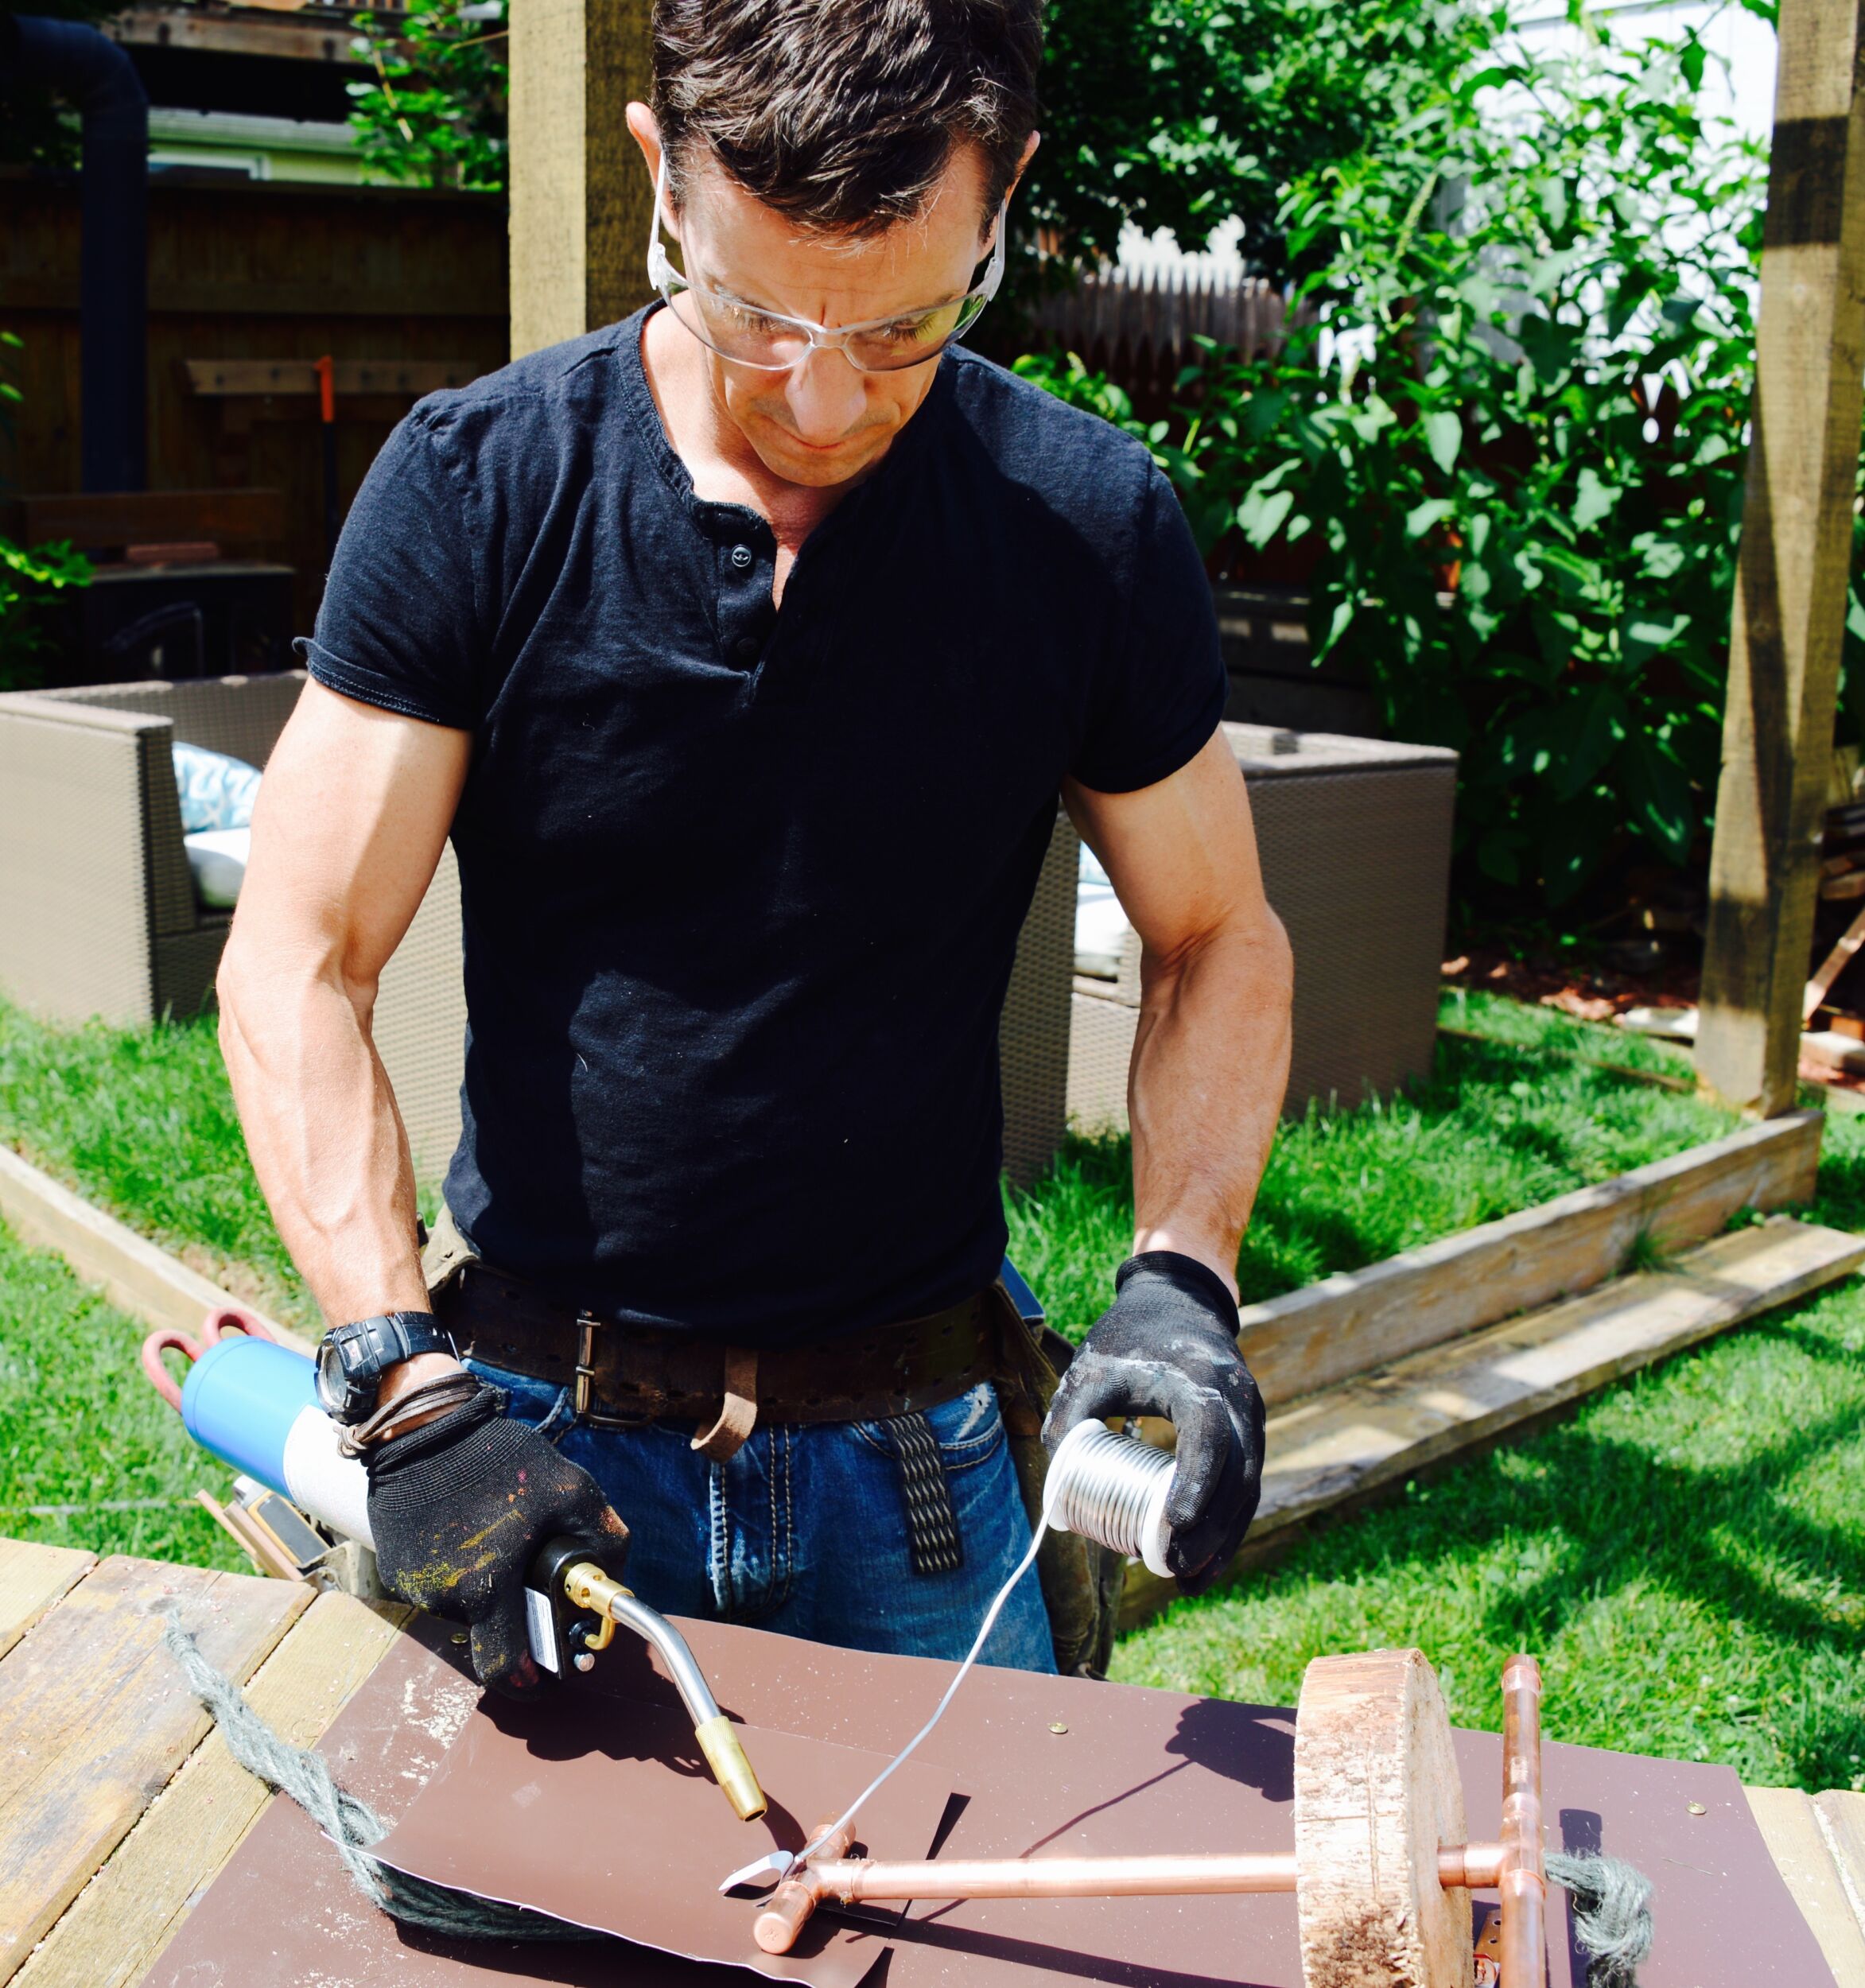
Then I made up sections, starting with the bottom. I like to solder and since there are a number of fitting close together, I built in some time for the pieces to cool and the solders to harden. For the bigger fittings, using MAAp gas with my T4000 torch head got the joints hotter and allowed the solder to flow more easily. Note: I said I like to solder. I did not say I was good at it. I have a friend to thank for the MAAP gas tip, as well.
I felt like I could solder the up-tube to the reducers before I should take a break and that worked. I could solder everything I needed to, then let the pipe cool before coming back for round 2.
Round two is simply the other half of the rectangular assembly.
Once that cooled and the solder hardened, I hooked up the hose and pressure tested it. SUCCESS!
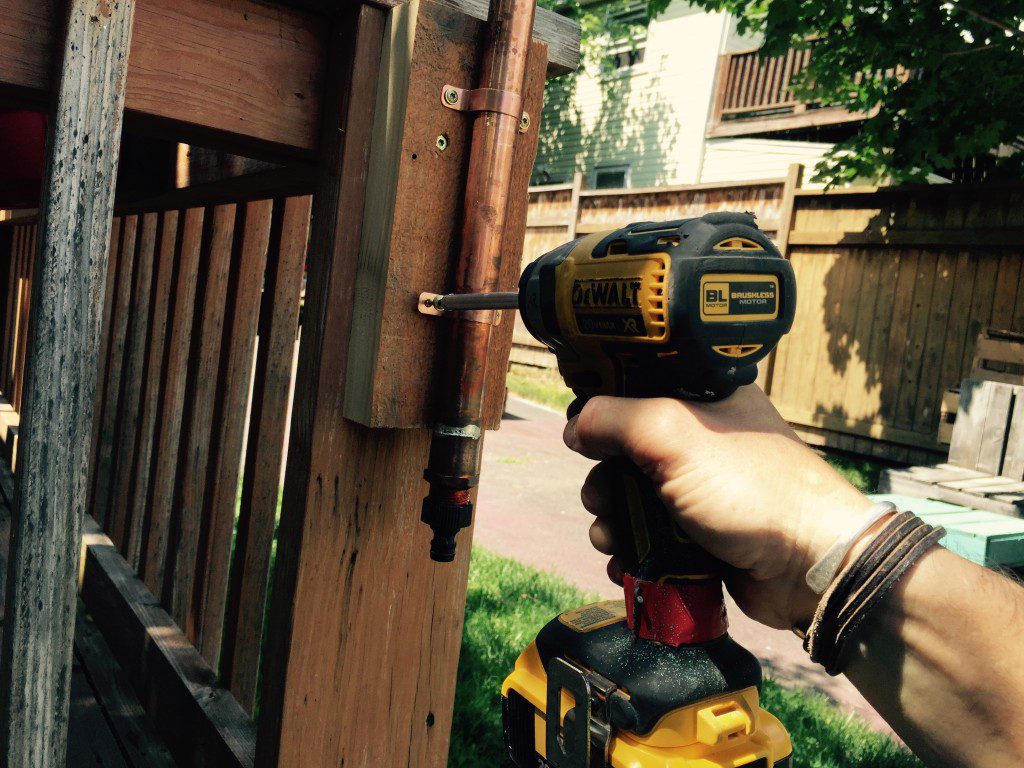
To attach it to the play set, I screwed a 2×4 block to the corner post. Then I fastened the sprinkler using 1-inch copper pipe straps and a few wafer-head Spax screws. One thing here: I made the block about 10-inches long—long enough to be stable backing for the DIY sprinkler but short enough that the hose fitting sticks out the bottom so I can get my fingers behind it to attach the hose. To make even easier, I used a quick-connect hose adapter.
So, with 100% zero leaks, it’s time to make this plumbing leak. I drilled about twenty 1/16-inch holes and different angles in the 1/2-inch pipe and through the two of the pipe caps. I drilled a 1/4-inch hole through the top pipe cap. And, I did it a few holes at a time, testing it to see how the holes effected the pressure. Reason I say that is that if you do a different configuration, you want to make sure you’ve got the output you’re looking for before you drill too many holes. If you feel like you need to patch a few holes, drain the sprinkler and dab the holes with solder and you’ll be ready to beat the heat in style.
[evp_embed_video url=”http://myfixituplife.com/wp-content/uploads/2015/07/IMG_0287.m4v”]










[…] at the ends and unraveling. I bought 1-inch poly line from a home center and fused the ends with my Bernzomatic torch. It would have taken six years to do this with matches or a […]