I call woodworking projects I make with regular carpentry tools ‘workbench woodworking’. I call working with 100-plus year old 3×10 lumber AWESOME!
So what else would I make with honkin’ huge lumber? A flower vase, naturally. It’s diesel and the first cut is with a circular saw.


This build is part of Bernzomatic’s Torch Bearer program. I can’t believe they let me design and build projects like this for them, but they do.
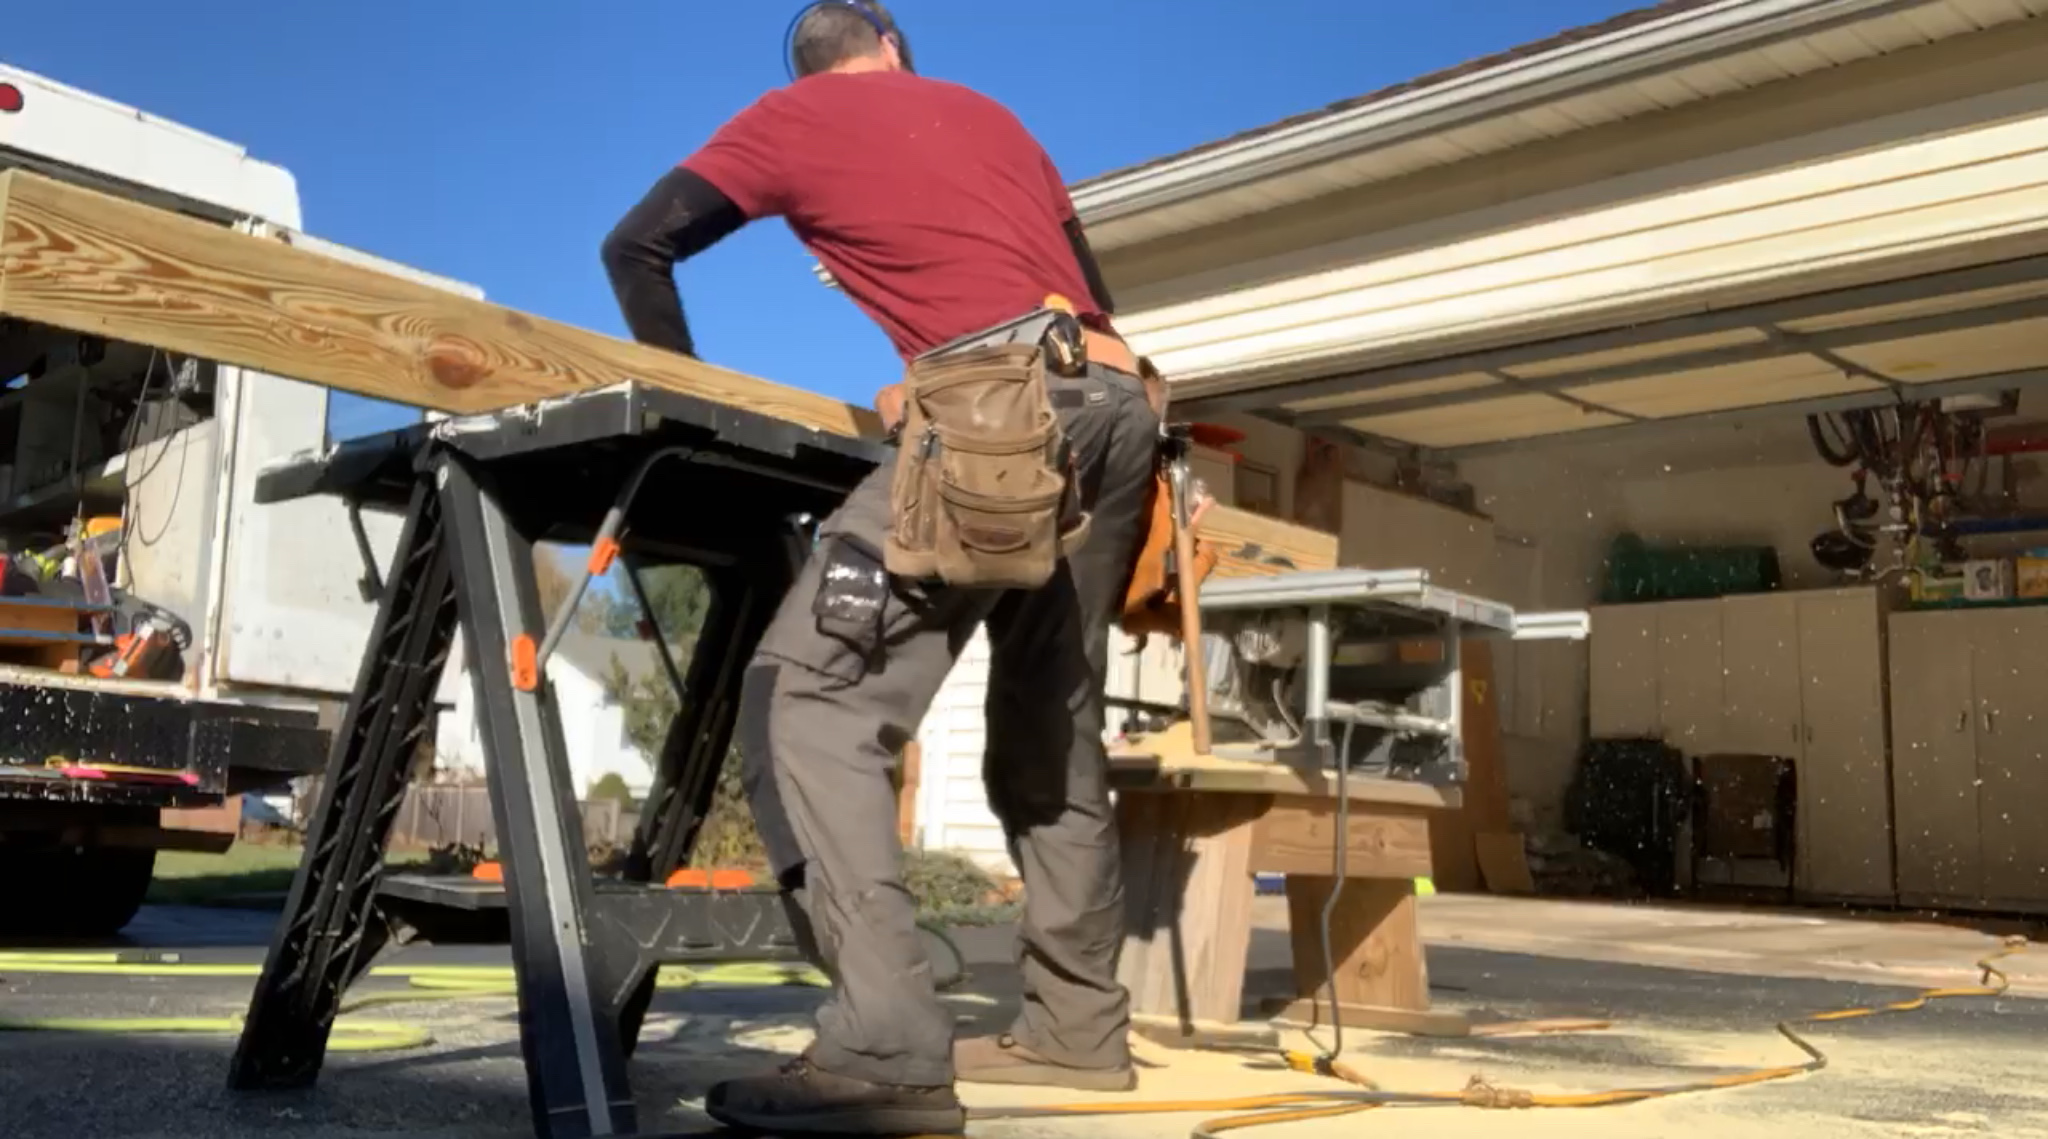
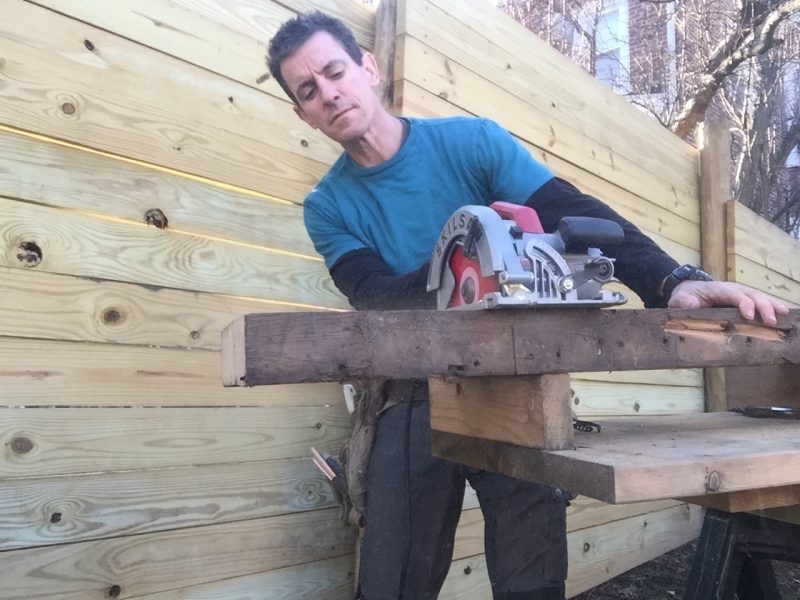
Before whaling through anything that might have nails in it, I mark my cut line, then check all four sides before lettin’er rip. This 3×10 takes 2-passes to cut with a 7 1/4-inch circular saw.
Note: I get reclaimed lumber like this from my pals at Philadelphia Salvage. They only have about 5-miles of it, so get it while it lasts.
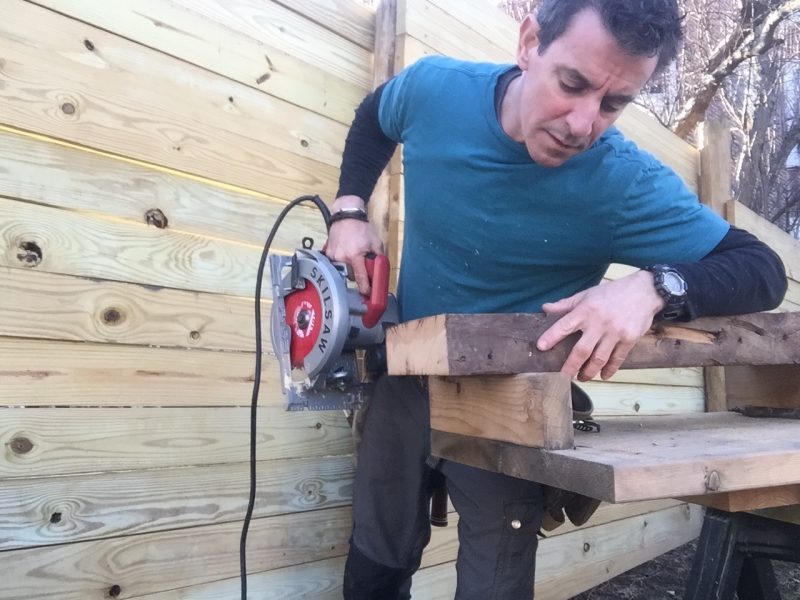


It’s a common DIY mistake to try and keep pieces from falling. More often than not, it’s safer, faster and easier to do just that. Let the saw cut through the piece and let the ‘fall’ fall away clean.


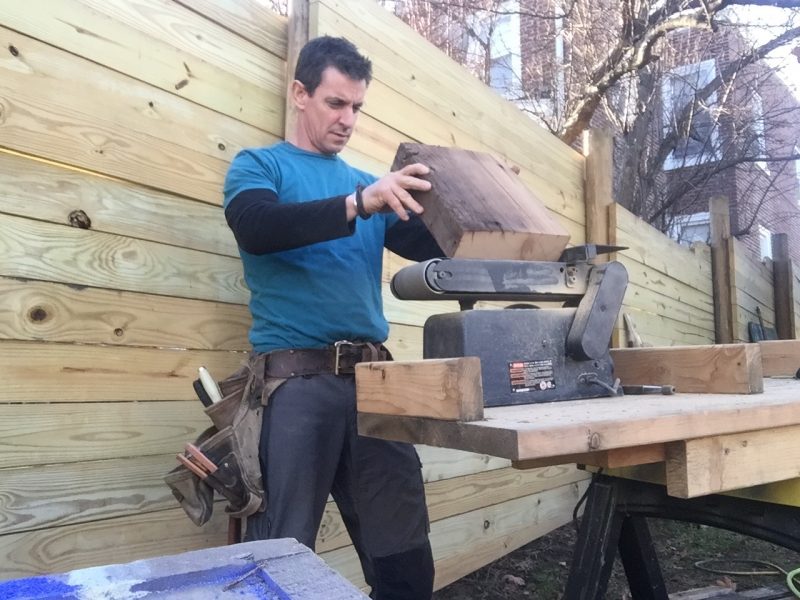
I know I said ‘regular carpentry tools’ above. But if you don’t have a stationary sander—click here for a run-down of this one—you’re missing out on a versatile tool. For work like this I find it much easier to move the work and keep the sander still than the other way around. Plus I use this for all kinds of other stuff. And it doesn’t cost a million dollars.
The point is, I used it to smooth out the ends—the circular saw cuts will not line up exactly, no matter how careful you are. I also used it to power down some really rough texture without removing the patina or look. I added micro-bevels too. I think I did that mostly because I was having fun though.


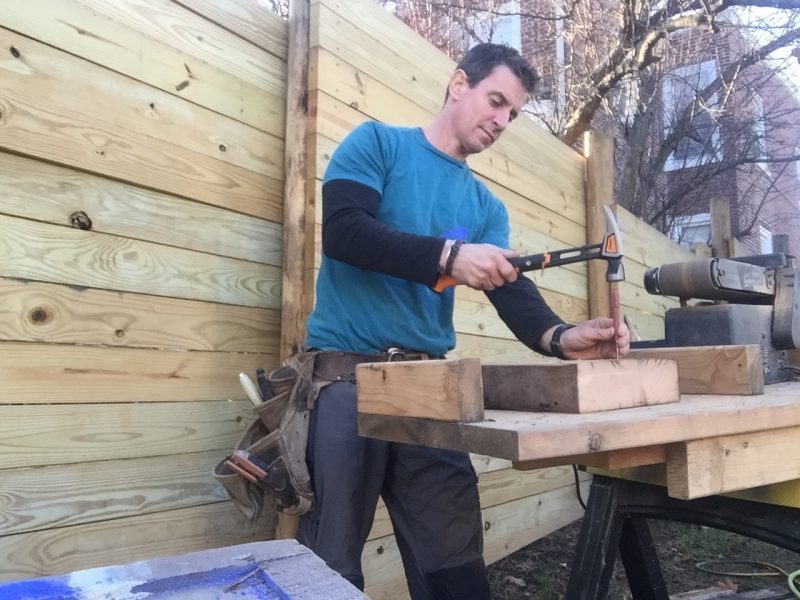
Some nails aren’t worth digging out, so driving them beneath the surface of the wood with a hammer and nail-set gets the job done.


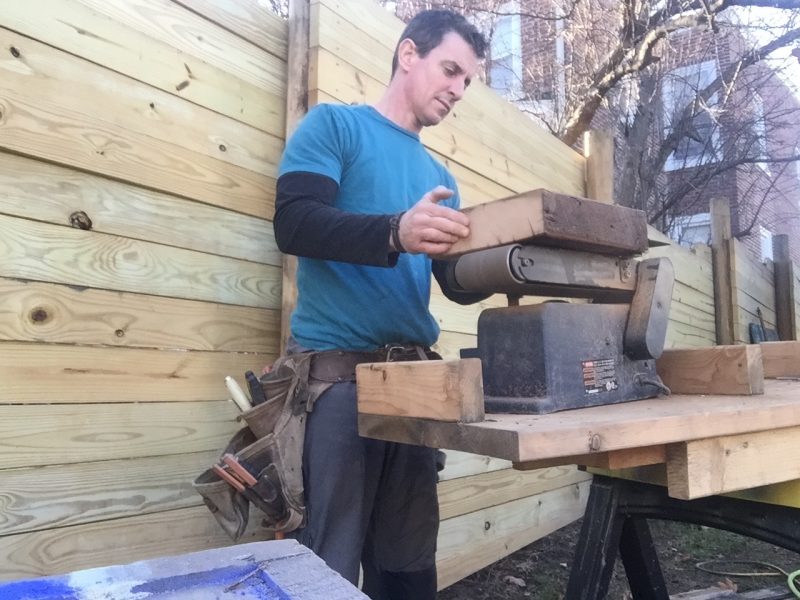
I sanded the faces of the lumber too. It had some really gnarly edges—it was a floor joist in a factory or something in its previous life; I’m not complaining—and a little sanding smoothed it out without changing the look.


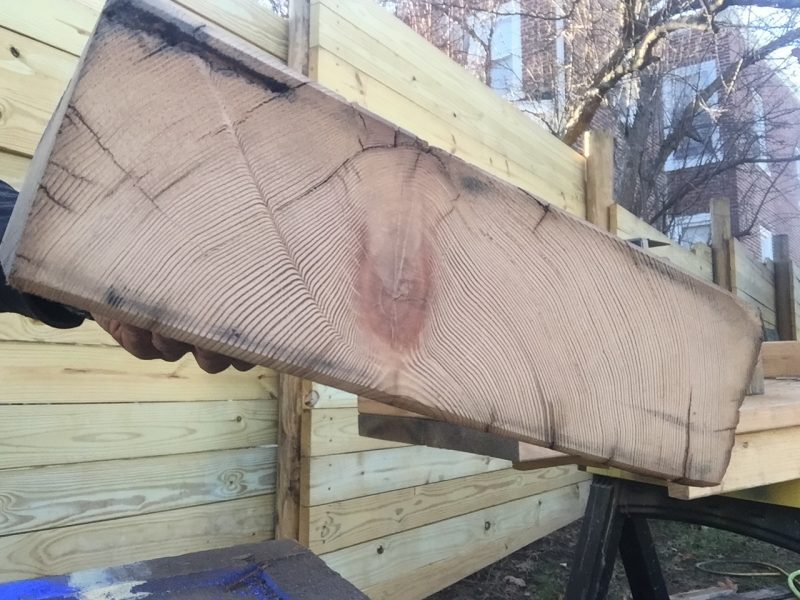
Wood grain geek-out moment. How gorgeous is that?


Make a ‘+’ in the center of the lumber. For the two side holes, make a ‘+’ centered between the center hole and each edge.


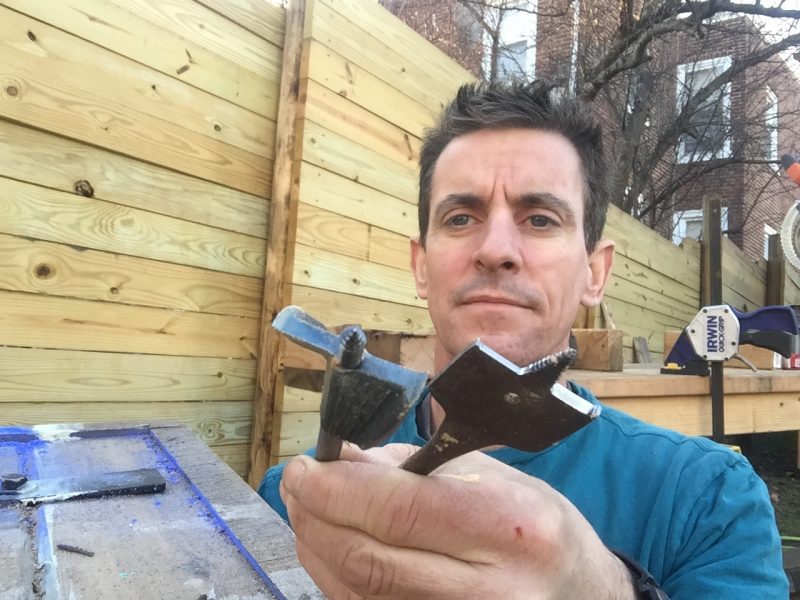
Woodworking projects—even easy ones—sometimes require some out-of-the-box thinking. Drilling in end-grain is not the same as drilling across the grain, especially in old-growth lumber. And despite the beefy size of the bit on the left, the smaller spade bit on the right cut much better.
The center hole is 1 1/2-inch. The holes on the sides—I envision dinner candles in them when I’m not using it for a flower vase—are 3/4-inch.


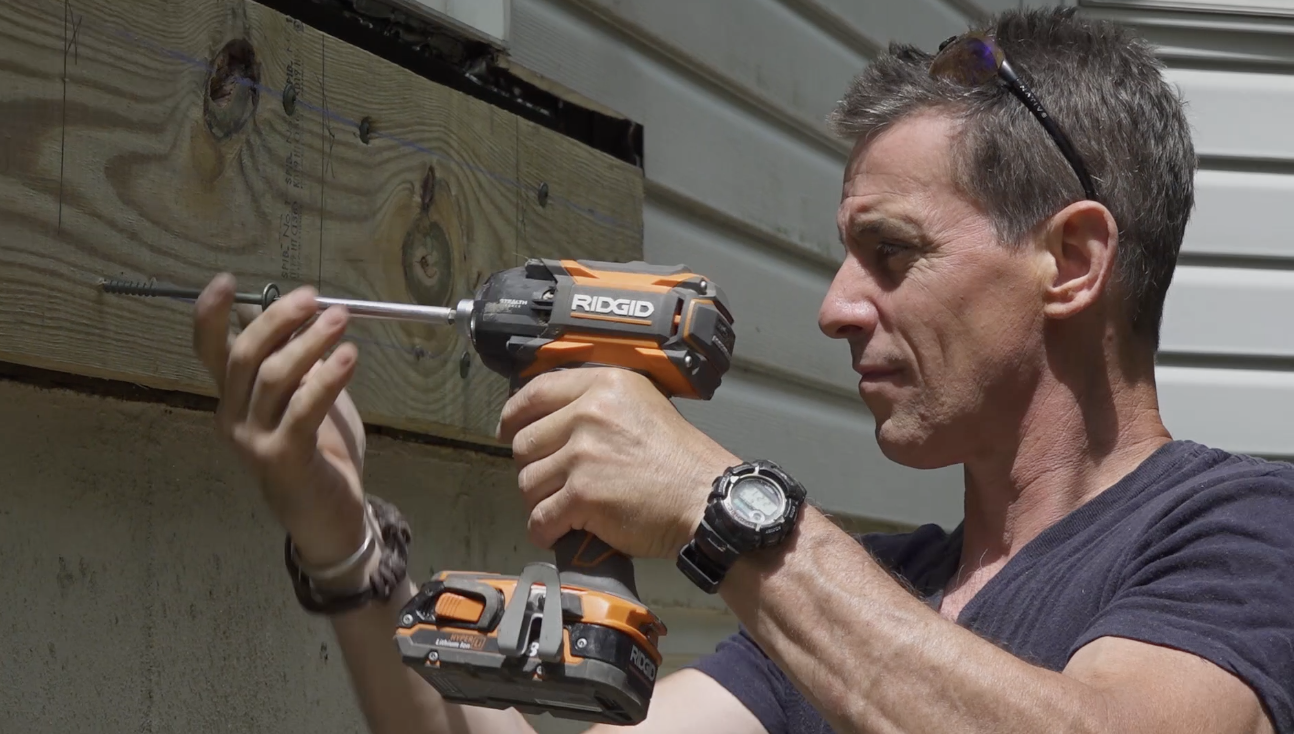
I attached the base block to the vase body with structural screws. I bored holes about half-way through the base block so the screw heads would hide away and get enough bite into the vase body.


Setting the ‘reveal’. I like to make sure the base projects evenly from the vase body on all sides. Even a little crooked and I might lose my mind. Me, OCD?


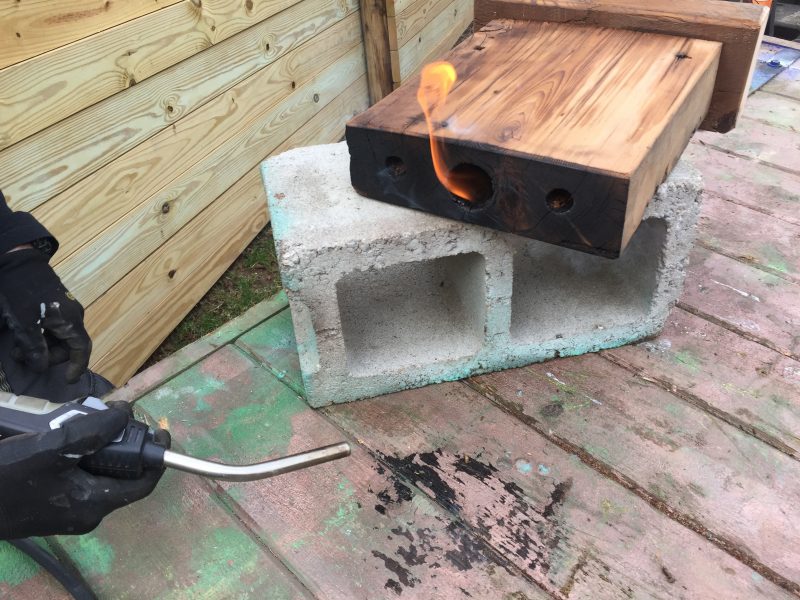
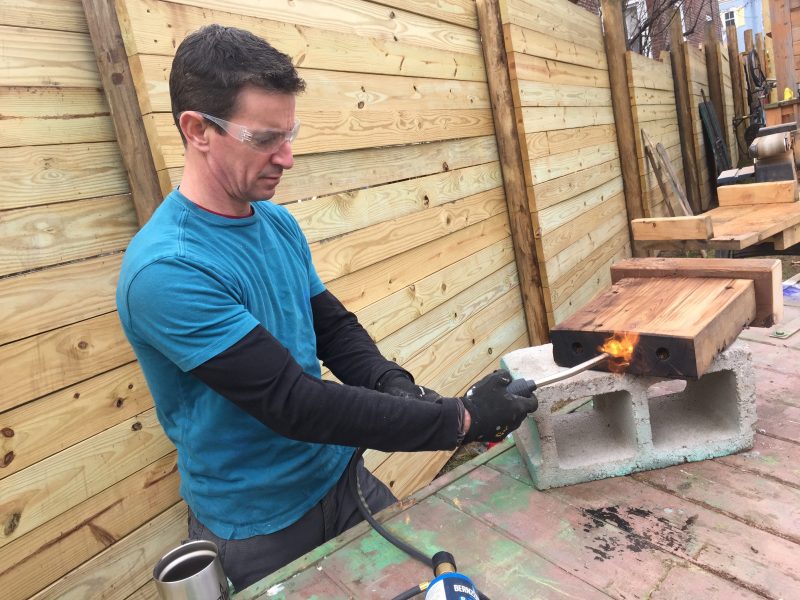
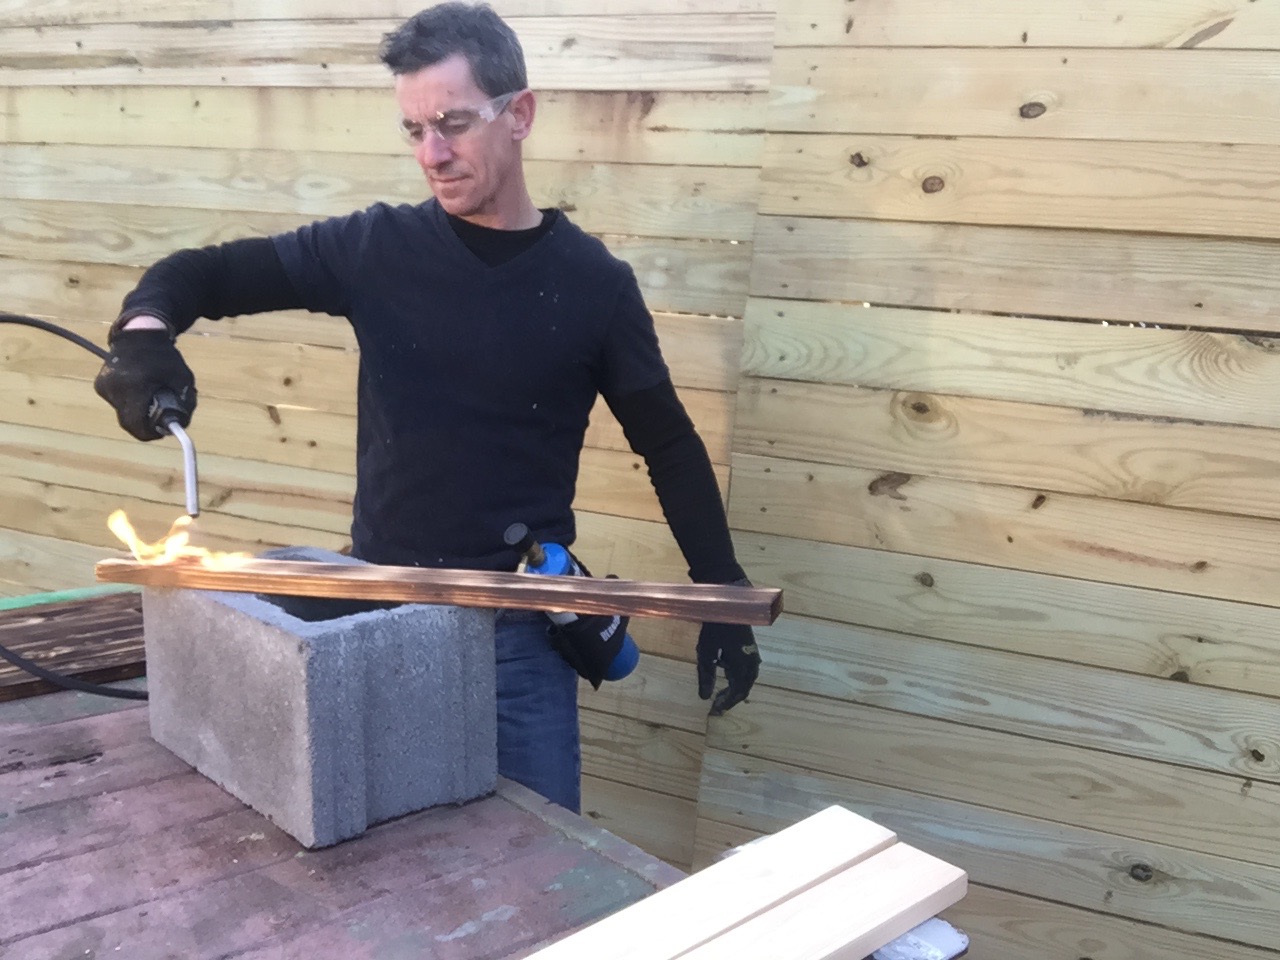
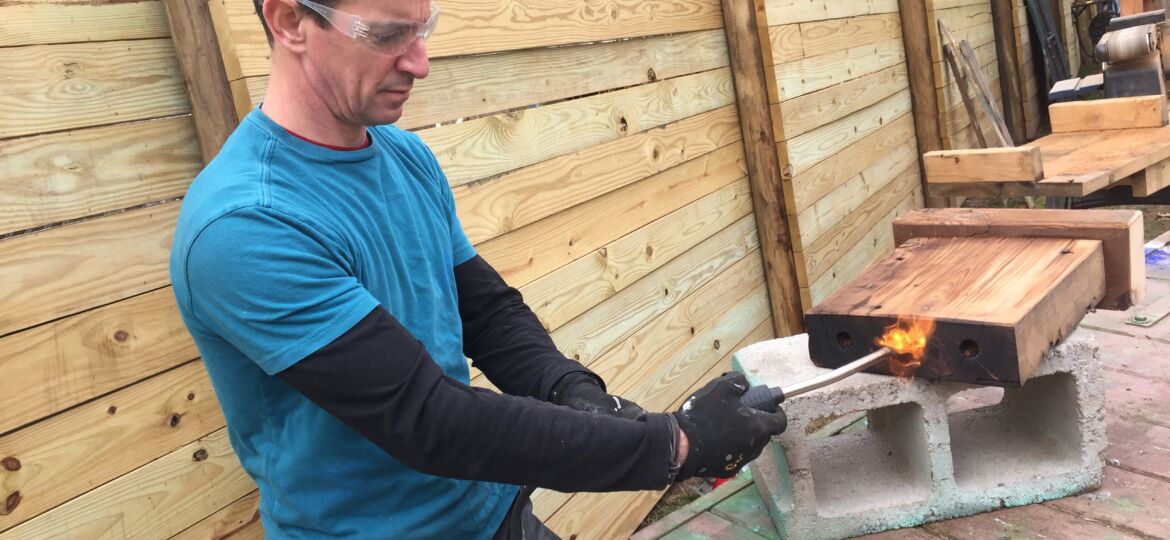
Flame is key to mixing wood and water. I char the insides of the bore holes to minimize the wood fiber’s ability to absorb water. For this project, I chose a two-tone finish. I charred the top and oiled the sides.
Flame finish! Charring the inside of the bore holes.
This photo is what I’d look like if I were a spokesman for CVS mineral oil. I’m not. And I’m not sure why this photo exists, but it does. So there you go. ‘But wait, there’s more….!!!!!!!’
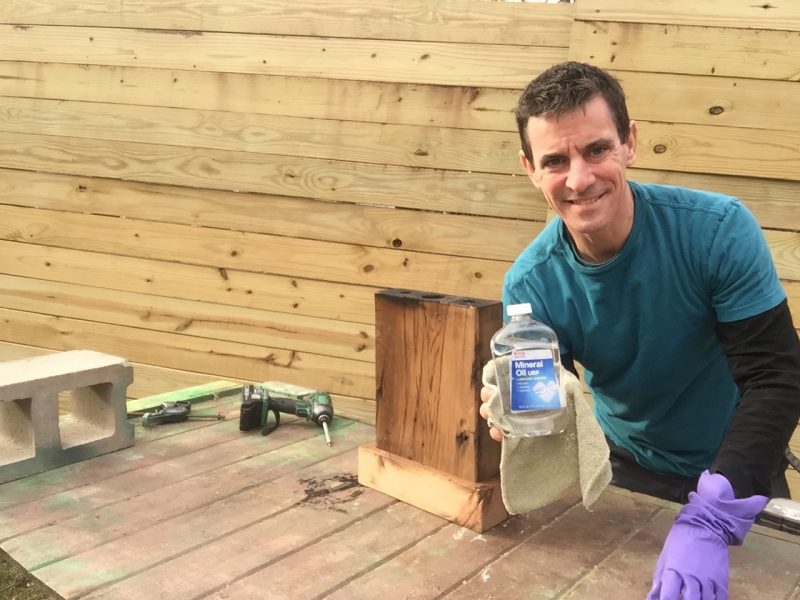


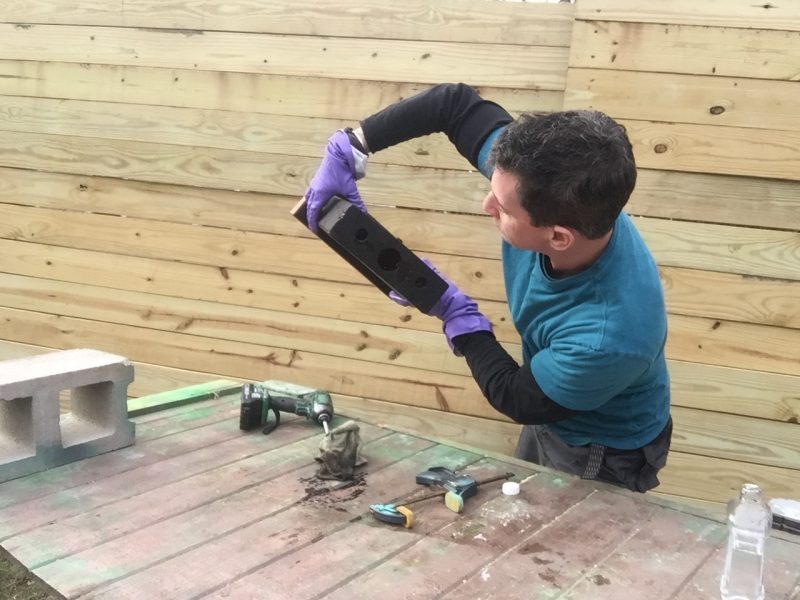
It’s hard to physically apply the oil inside the holes. I poured a little mineral oil in each, then swirled it around inside the holes so every surface was ‘washed’ with oil. I also let a puddle of it soak in over night to double-triple-extra seal the hole.


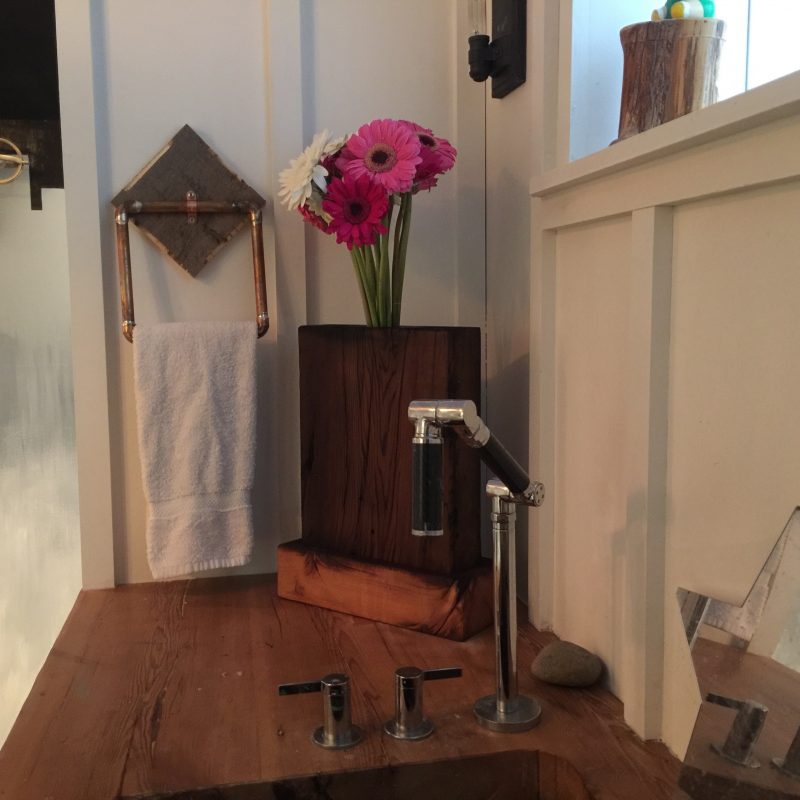
Simple. Beautiful. And 2-for-1 at the grocery store. Bonus with the bonus card! (I mean the flowers, not the vase…that’s one of a kind.)
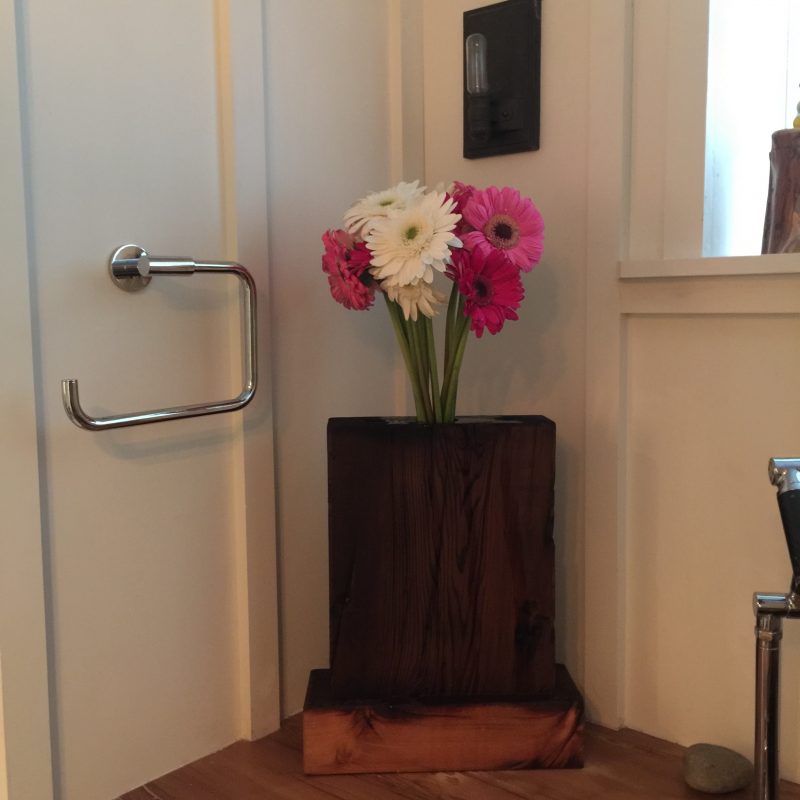


Could it be cooler?
