
Dryer vent cleaning is about a glorious as litter box maintenance or locating fridge smell. But like many things that make our lives work and keep us safe from nasty inconveniences like, say, the house burning down, it ranks up right up there on the importance scale.
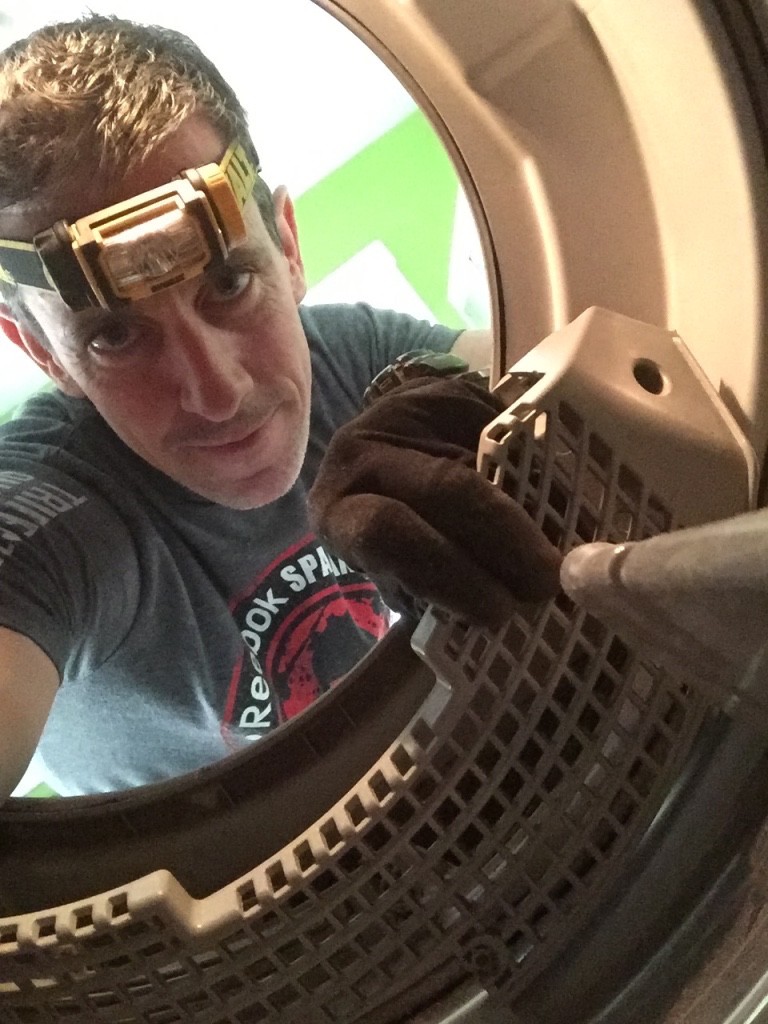
On a DIY scale of difficulty, it can be pretty easy. Especially if your dryer is on the first floor and has been hard-piped—I’ll get into that double entendre laden phrase shortly—from the back of the dryer out to the exterior vent. If not, well, the suck-factor skyrockets.
The dryer vent on this project is hard-piped because whomever installed it is awesome. However, it is on the second floor, takes a 90-degree up-turn to a stacked dryer unit and has a 16-foot run from the vent through the floor joists and up to the dryer, so I learned a lot. It took me about an 90-minutes, which includes dragging all the supplies out and setting up ladders and taking these riveting photos you’re about to enjoy.
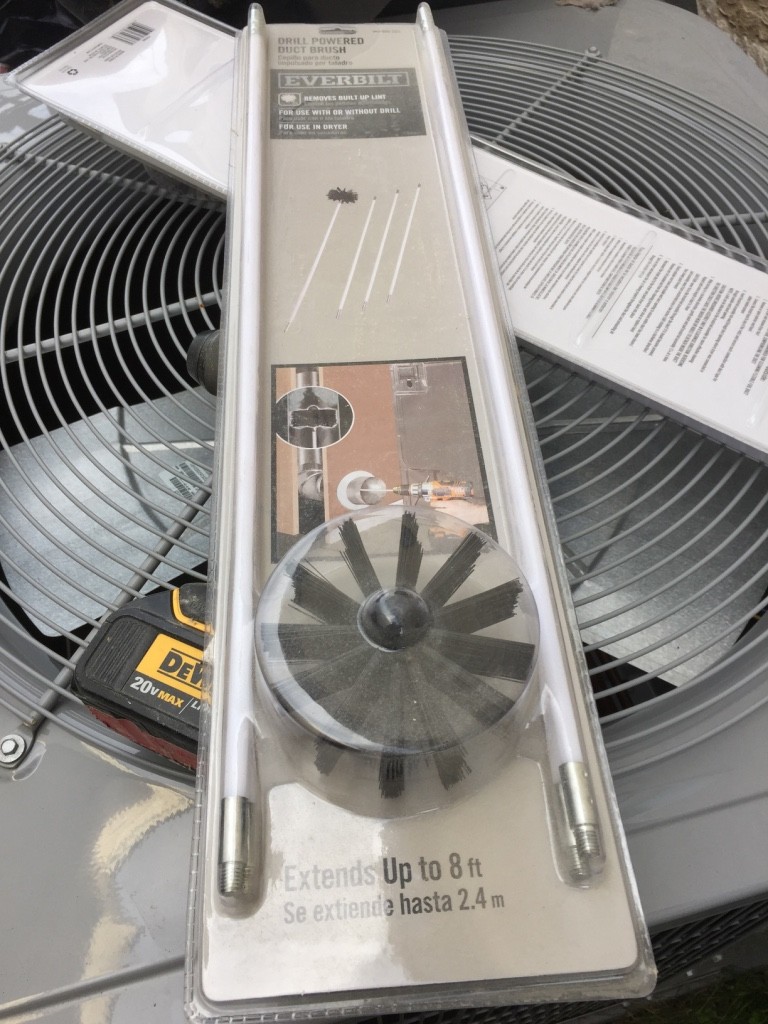
What you’ll need. Aforementioned ladder(s), vent cleaning kit (home center stuff; look where they sell HVAC stuff), cordless drill, maybe a vac. And almost surely a new vent cover and some caulk always helps. I say ladders, plural, because as I withdrew 16-feet of extension rod out of the duct I needed to back way up, so I moved from ladder to ladder. I wouldn’t try this if you’ve never tried this.
What to do. First thing is to determine if you have access to the dryer vent. A peek behind the dryer will help. If you see a coiled up Slinky type hose anacaonda-ing around behind your dryer, go to Plan B, because this just became a different job. If you see a steel pipe headed out your wall, proceed with Plan A, hereinunder referred to as Plan A.
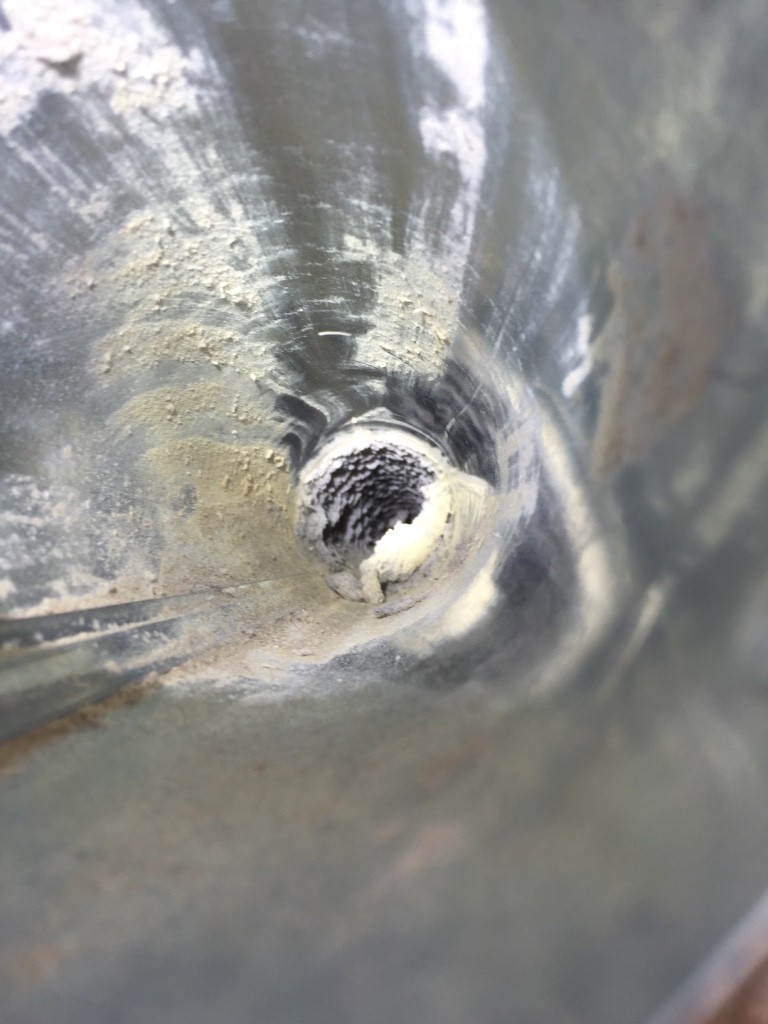
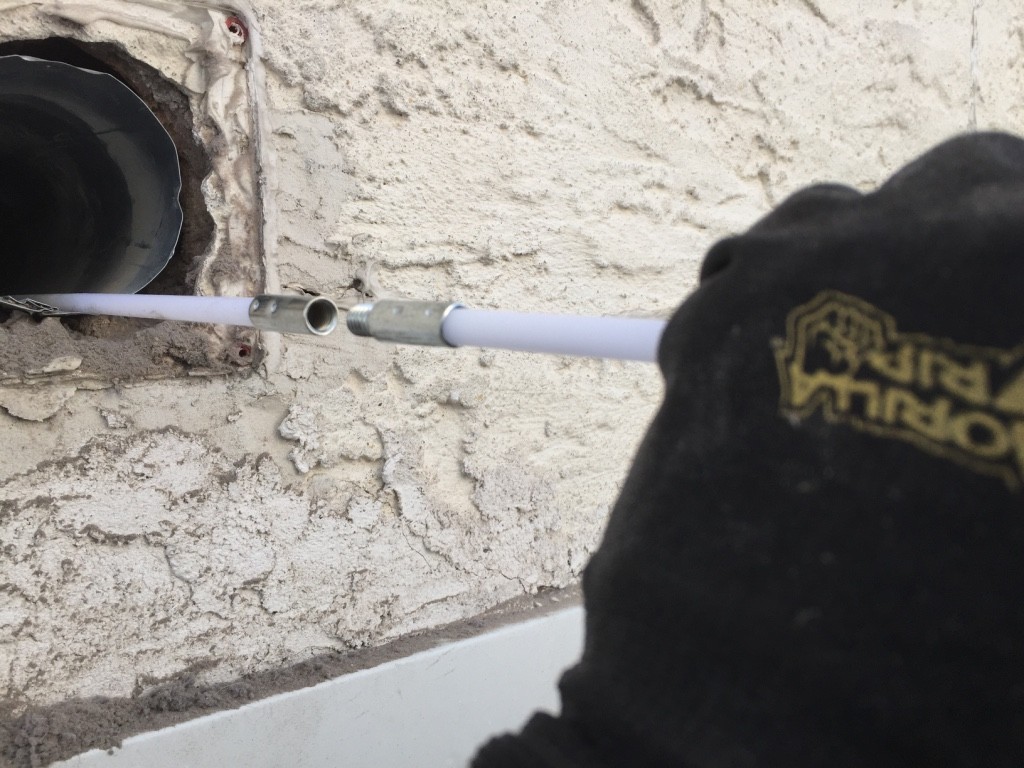
Plan A. From the outside of the house, remove the dryer vent cover. Plan for it to break. Have all the tools required to replace it (hammer drill or rotary hammer, for example, if your house is stucco, screws, etc). Assemble the spinny duct brush and feed it into the pipe. I like to give it a nice pipe cleaner action by spinning it and removing it along with a lung-full of lint; ,kind of like removing chips from a clogged up drill bit by spinning it out of the hole and spinning it back in. The last thing I want to do is push a glob of lint back into the pipe. Add sections to the brush as you go if needed. If you meet resistance, go easy. The brush can follow turns in the pipe but it has to go slowly. Remove the brush and its dust often. DO NOT put the drill in reverse or you can say goodbye to the brush—inside the pipe.
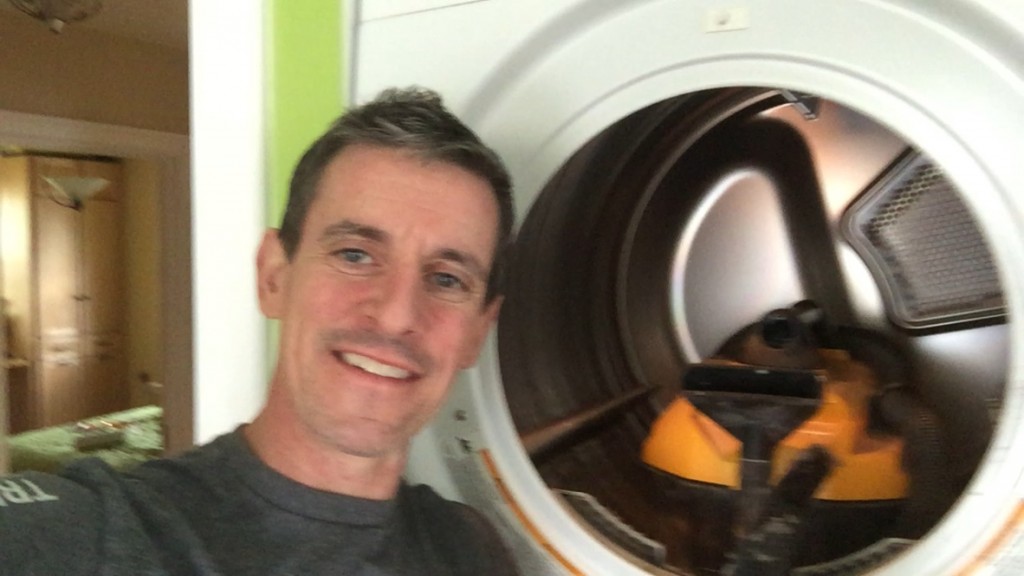
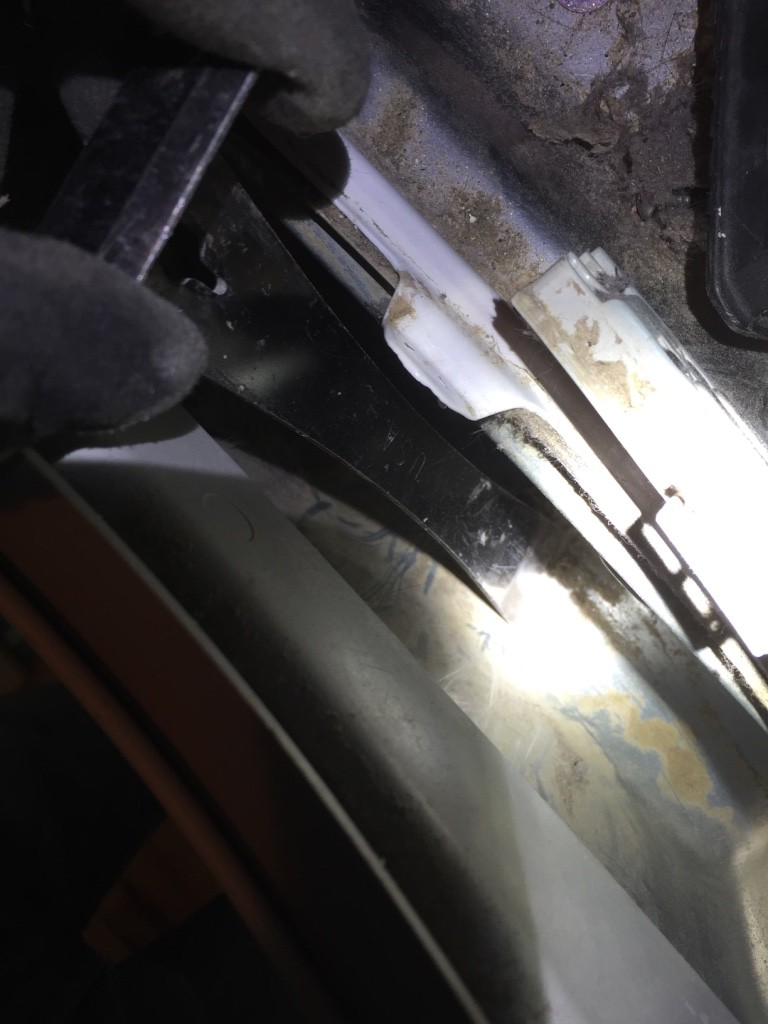
With the pipe reamed of lint, go inside and look inside the dryer drum. I was able to remove a cover and access tons of dust inside the lint screen housing. It’s amazing how many snags are in there for lint to catch on. It’s like the product designers didn’t know there was be clingy dust passing through there. Anyway, that’s where the vac came in. I have a little DeWalt cordless jobby and I threw it in the dryer and turned it on. It captured airborne lint nicely. I love that thing for jobs just like this.
Put everything back together and go to dryer town.
Plan B. Immediately (or as quickly as possible) sh++ can that ribbed hose. I’m not sure why they’re legal because the su+++++++++! They’re also horrible to work with. Metal or plastic, they tear if a small bird flies past the window or a dog barks down the street. Next, replace it with steel (or aluminum; depends where you buy it) vent tube. And while you’re at it, check your bath fan for the same Slinky nightmare. Bath fans are notoriously ineffective because of these terrible tubes.




















Great reminder, Mark! Cleaning the dryer vent is often overlooked but essential for safety and efficiency. I’ll definitely make it a priority to check mine this weekend. Thanks for the tip.
Regular dryer vent cleaning is essential for preventing fire hazards and improving appliance efficiency. Thank you for offering practical steps for maintaining your dryer and ensuring it runs smoothly!
Great read, Mark. Thanks for this blog!