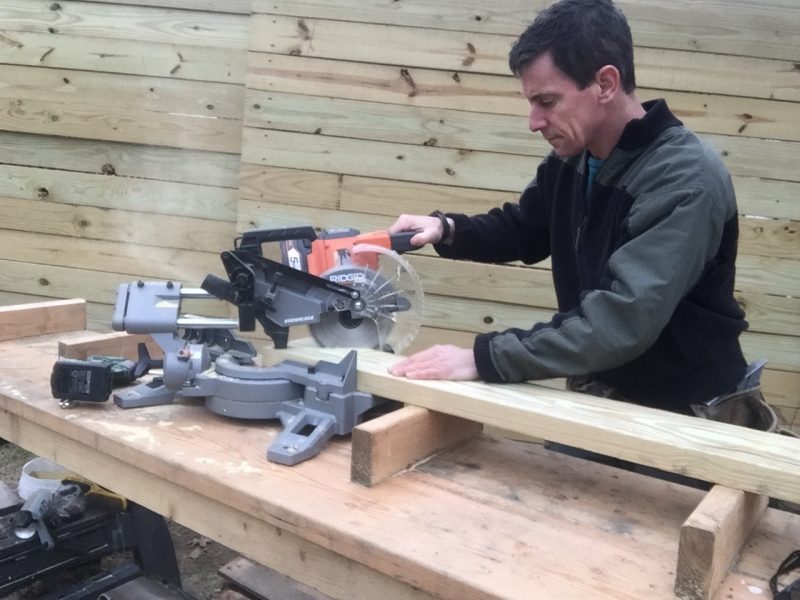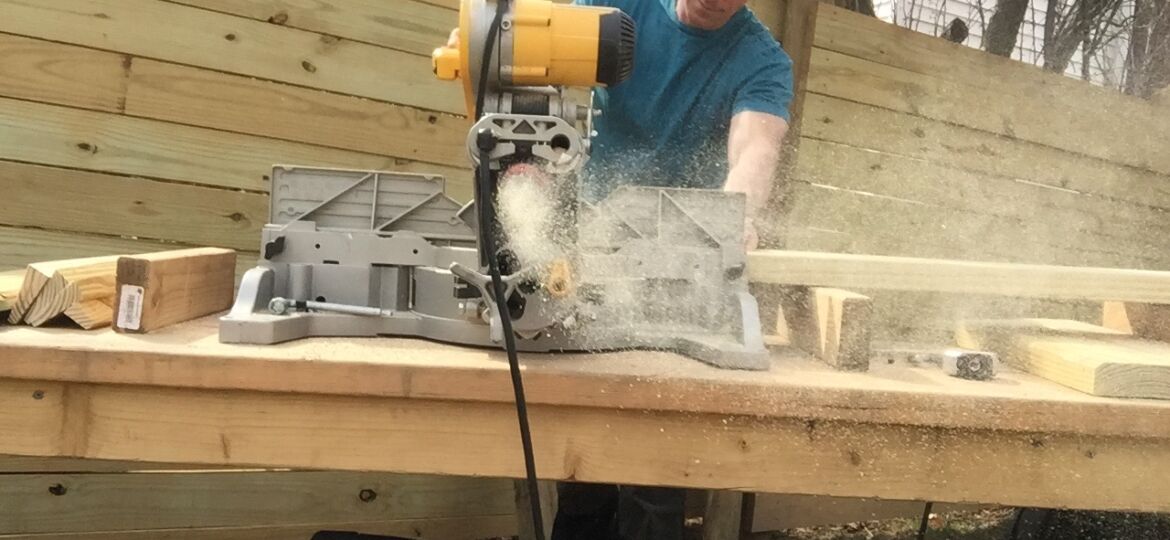
Pro, weekend DIYer, or somewhere in between, you probably find your miter saw is the center of what you do. It is for me most of the time, so I tried out this work inexpensive work bench design.
I like this bench because it’s made from readily available softwood framing lumber, it’s easy to make, versatile for lots of work, inexpensive and easy to store. There are a few things I’d do differently if I had all the time and energy in the world, but what I’ve got works great.
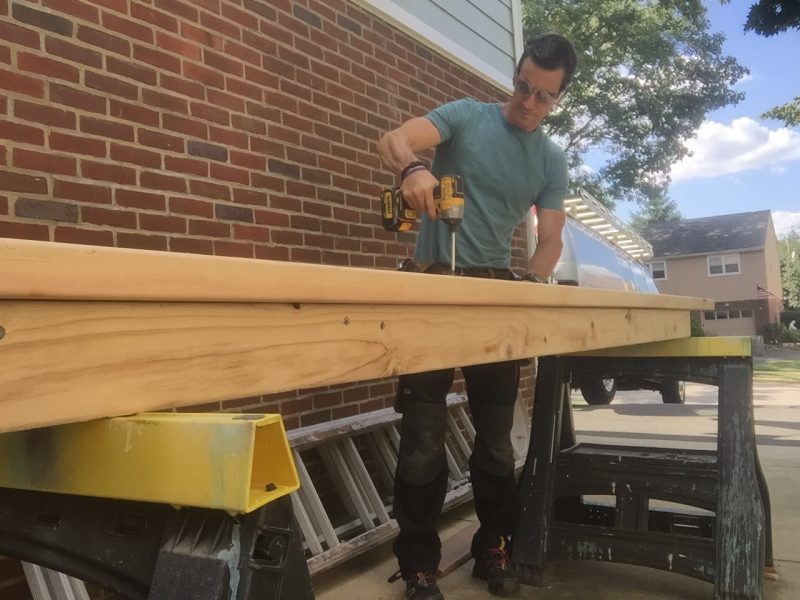
The base is two 2x10x10 boards. Pick the straightest ones you can find off the stack.
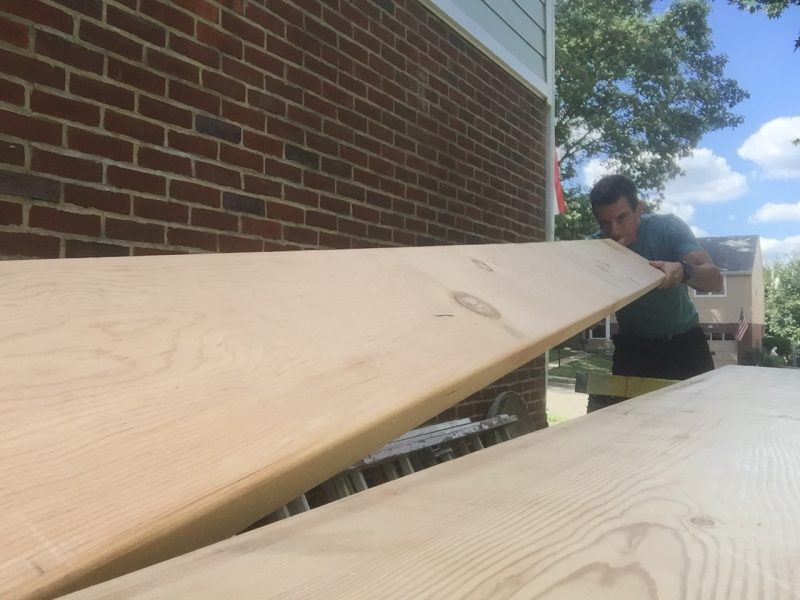
I connect the 2×10 edge-to-edge with strips of 2×6 on the back. And because I am an uber dweeb, I clipped little miters off the corners and held them back from the edge 1-inch on each side. What I realized moments later is that this was a mistake. See below.
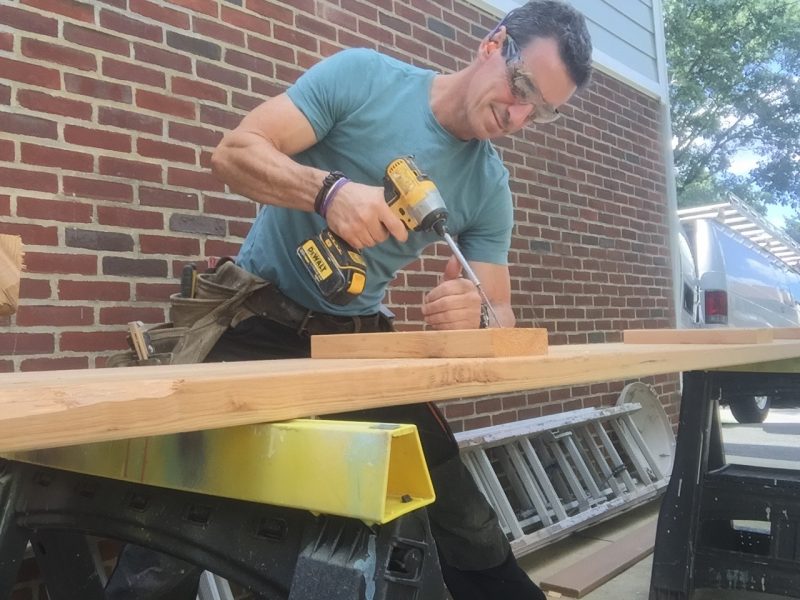
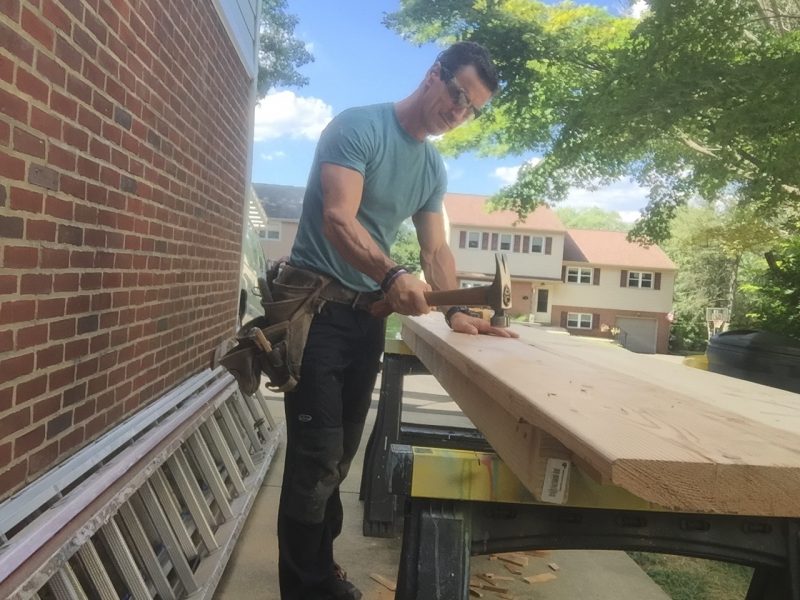
The screws are 3-inches and the two pieces of wood are 3-inches thick. To minimize poke-throughs when you sink the head of the screw beneath the surface of the wood (inevitable), I sometimes drive screws at an angle. This keeps them from poking out the other side. Or, just get 2 1/2-inch screws.
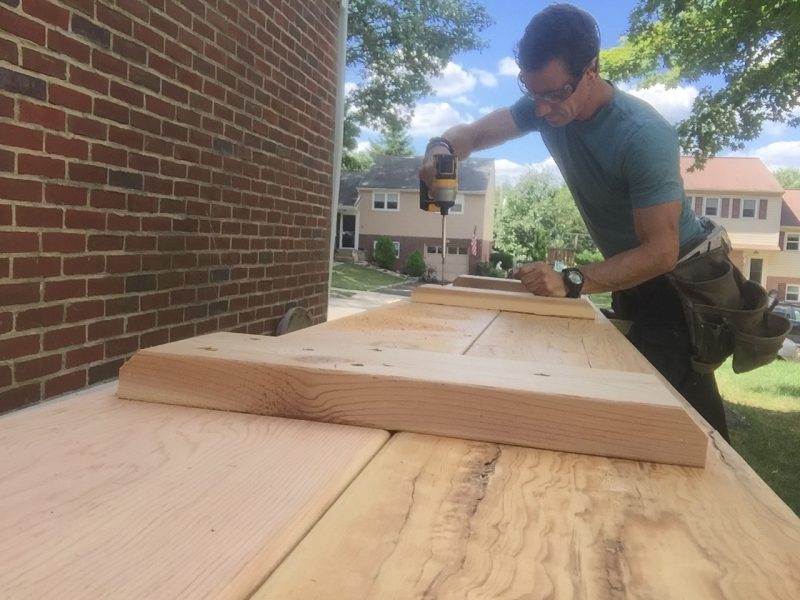
The mistake: The rails installed next need to connect to something, which is the blocks. So, I shortened them 3-inches and squared the end. Now they’re 14-inches long. Installed evenly, they’re 2 1/2-inches from each outside edge.
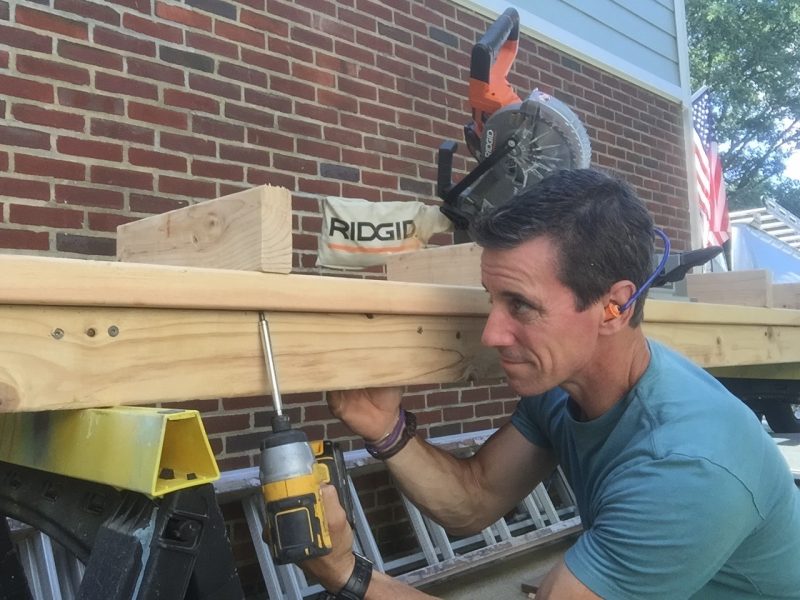
Two-by-four fastened to the blocks support the bench top and help keep it straight when it is in use spanned between a couple of sawhorses.
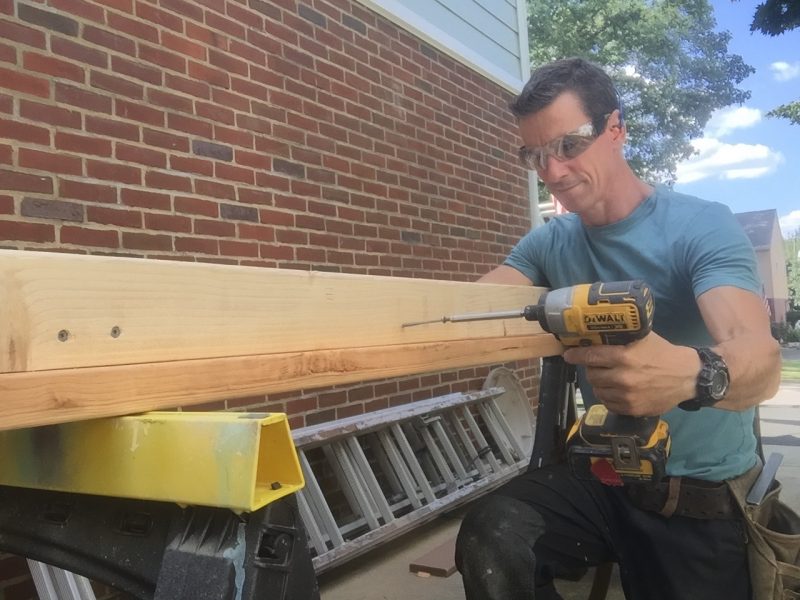
For added support, I zing screws through the bench top into the 2×4 rails.
For when the screws poke through anyway.
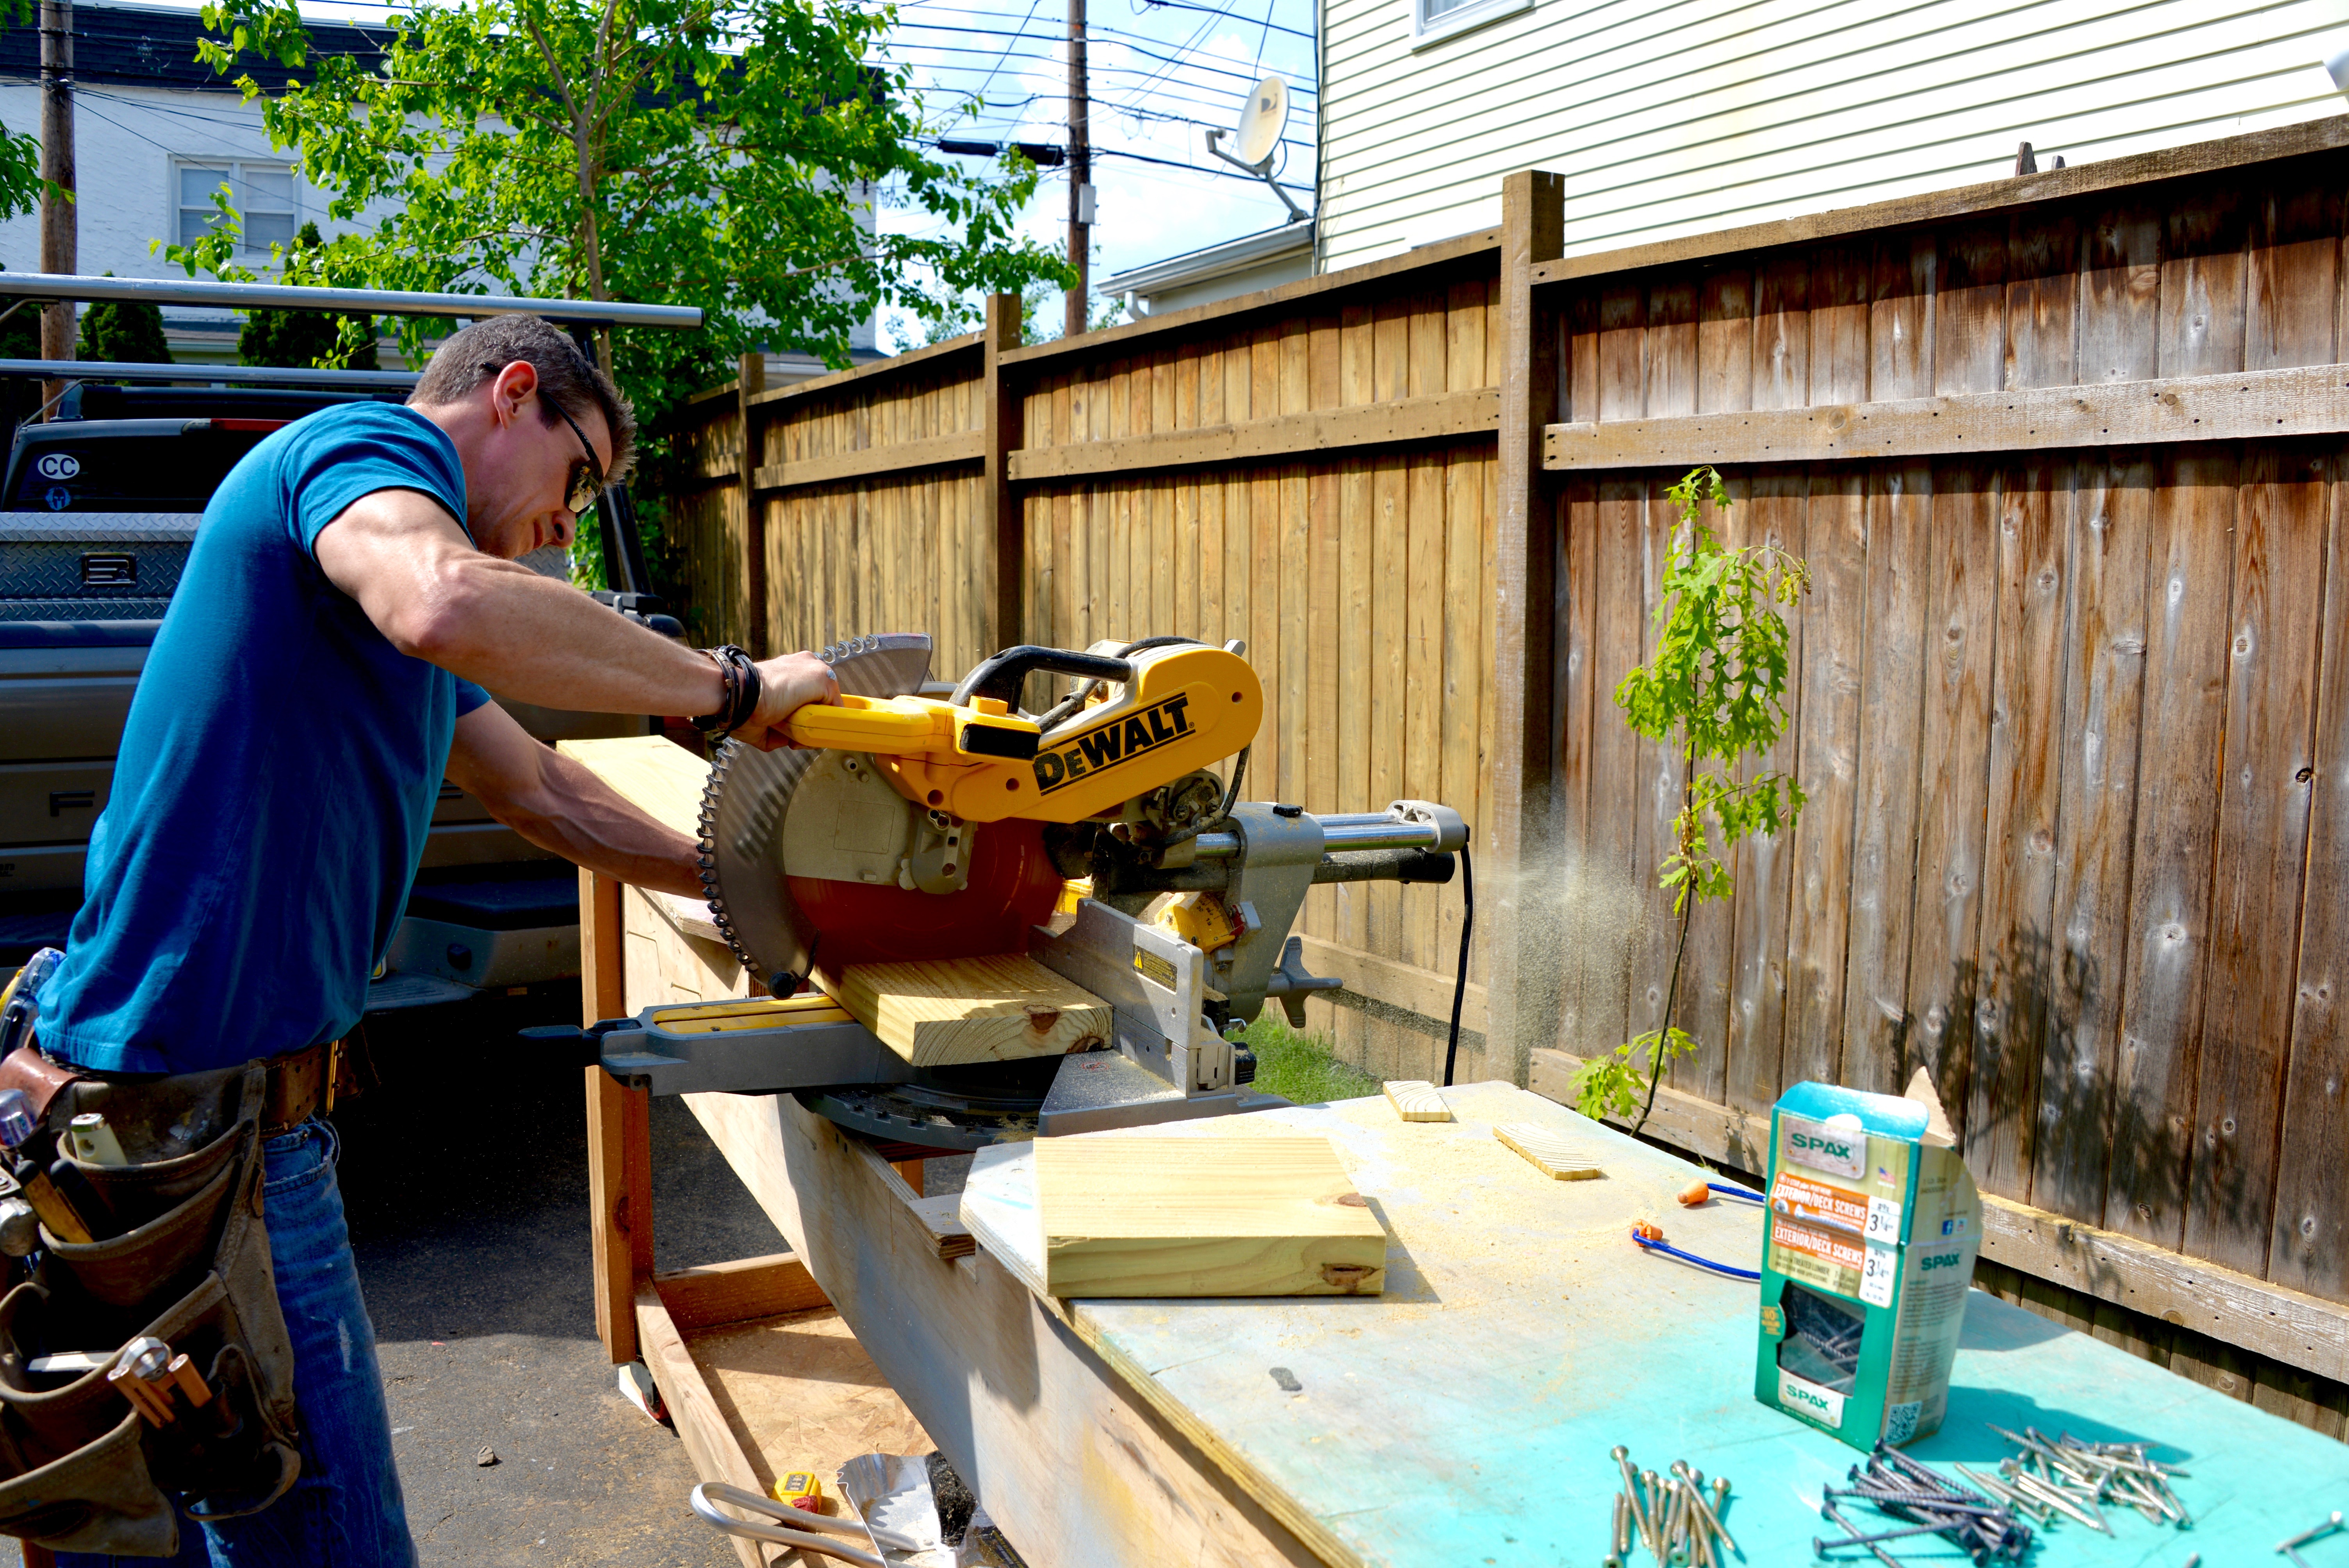
The whole point of this project is to elevate the table height on-plane with the tool. Most miter saw decks are now 3 1/2-inches tall so 2 x 4 lumber can be used. I fasten the blocks from below using a few 3-inch deck screws.
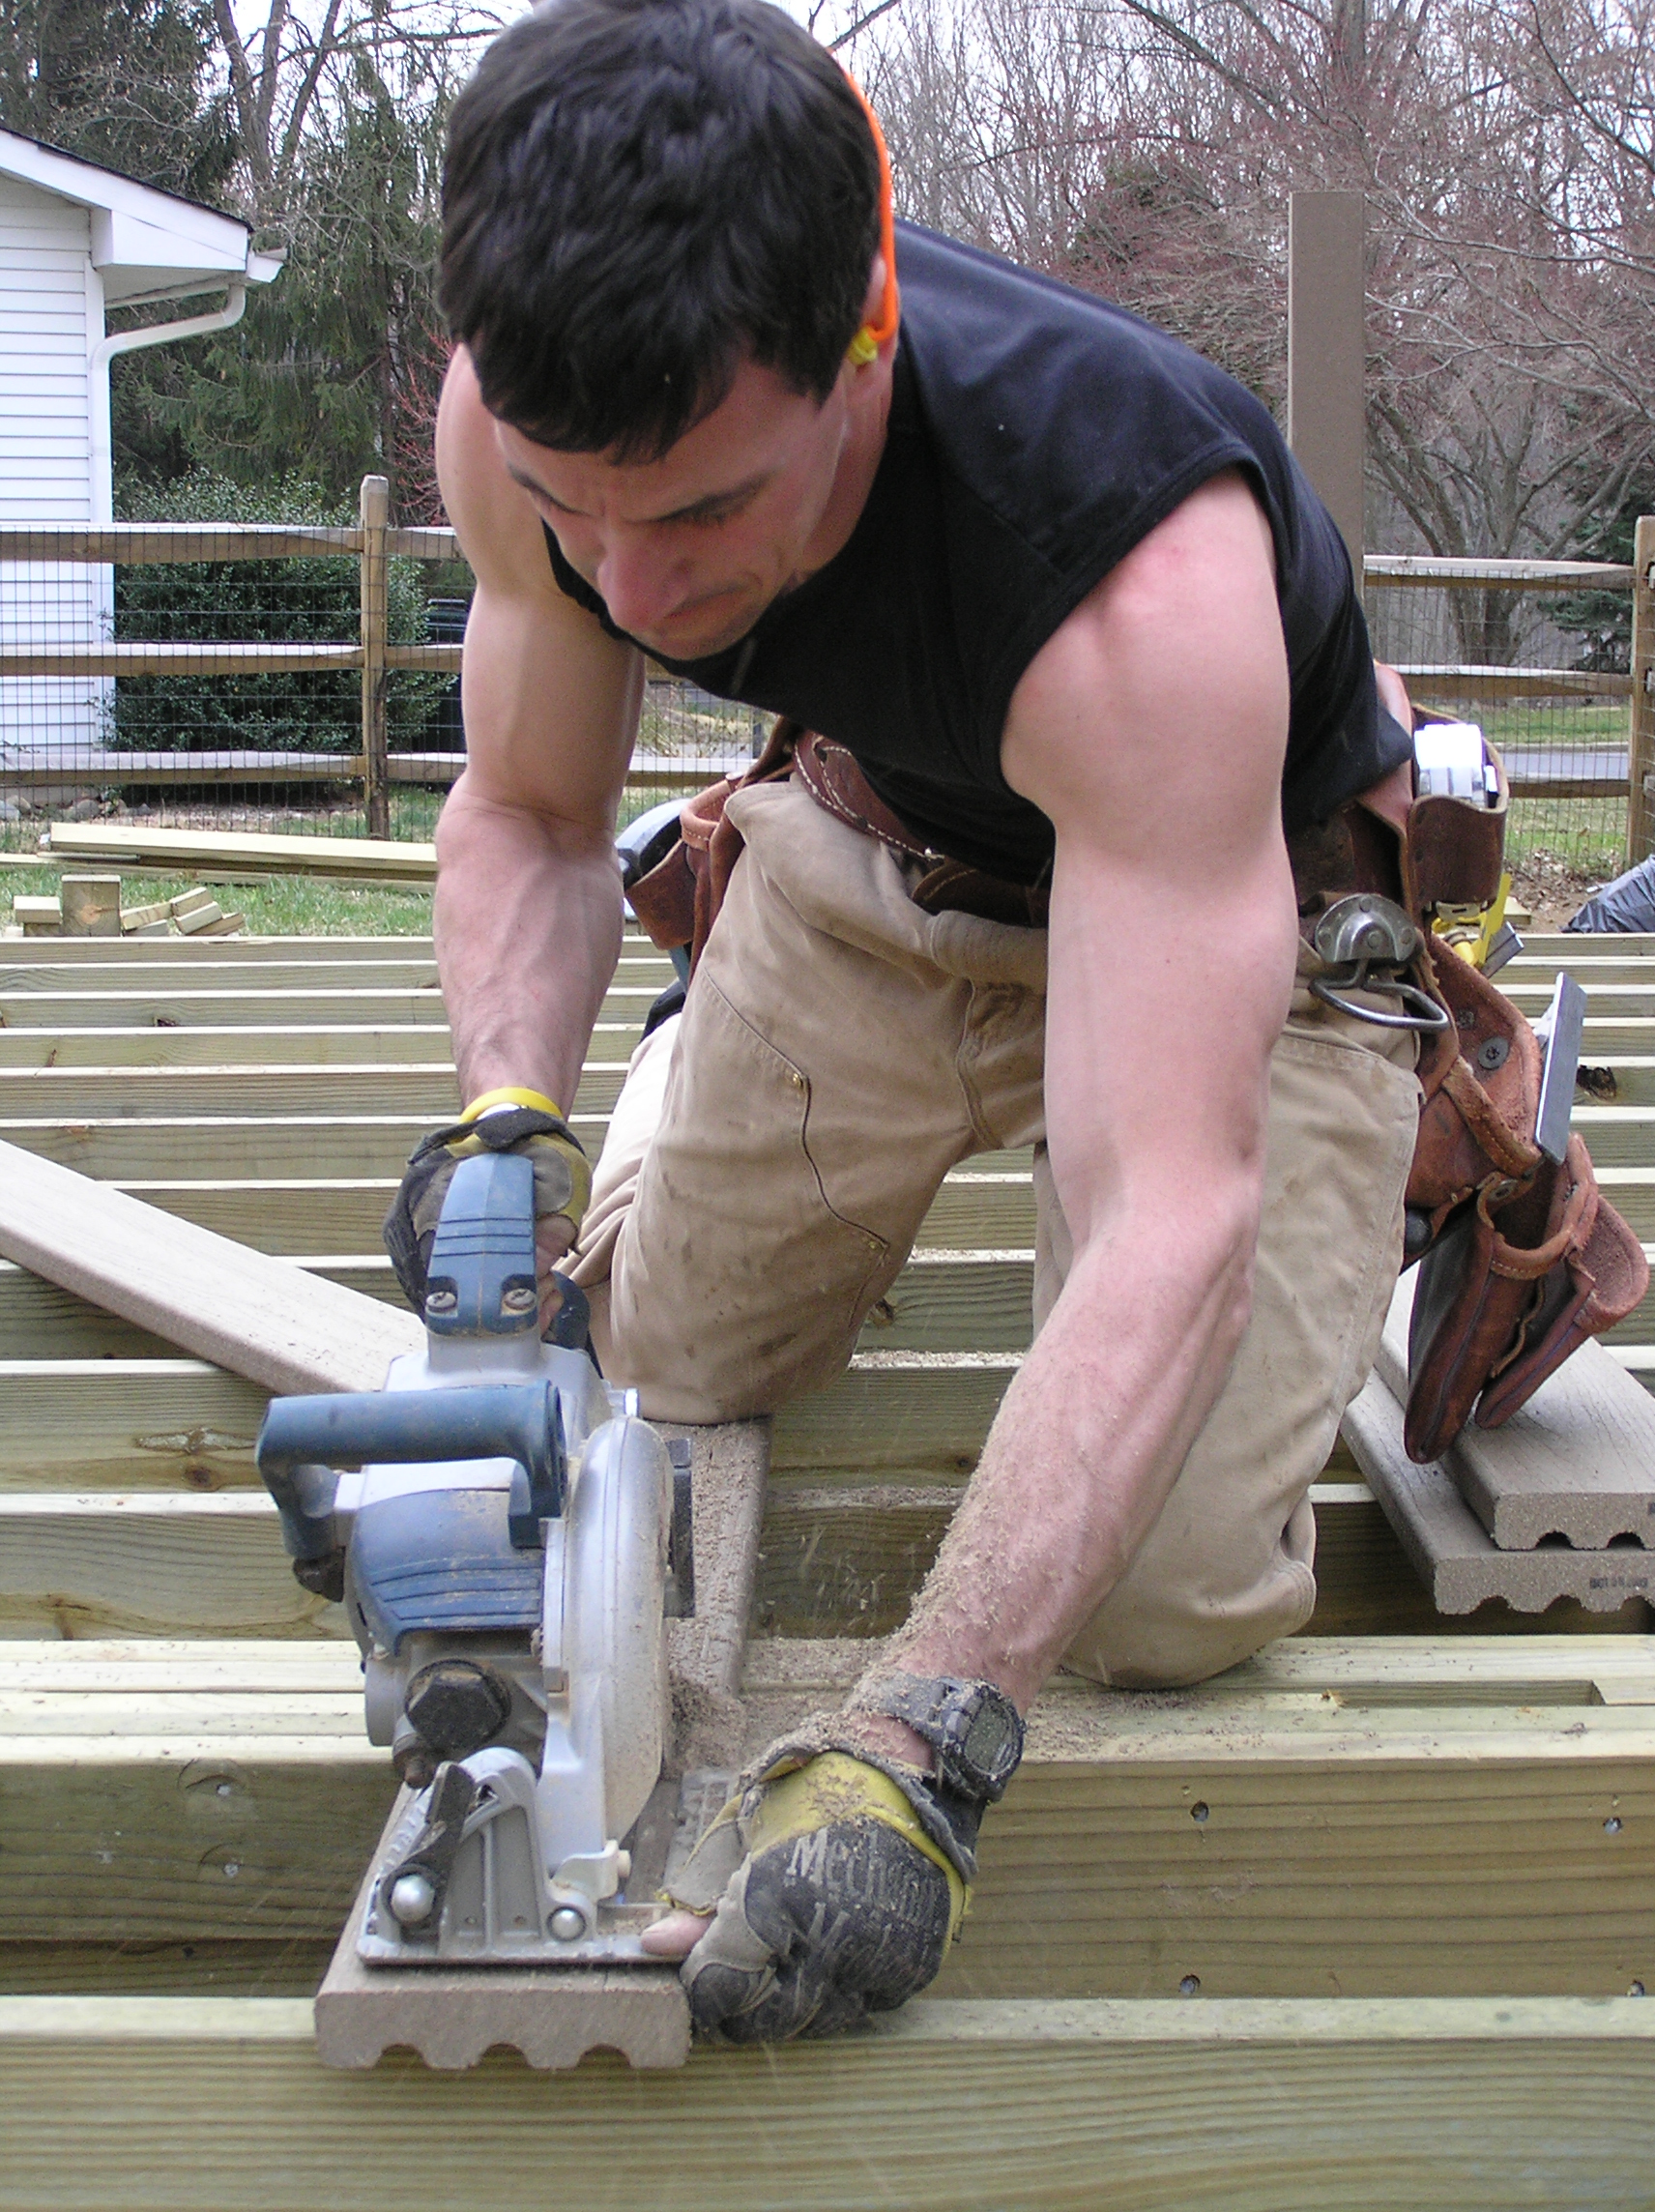
When boards aren’t flopping around, getting the cut I want is faster, easier and safer, whether it’s for installing trim or building a deck.
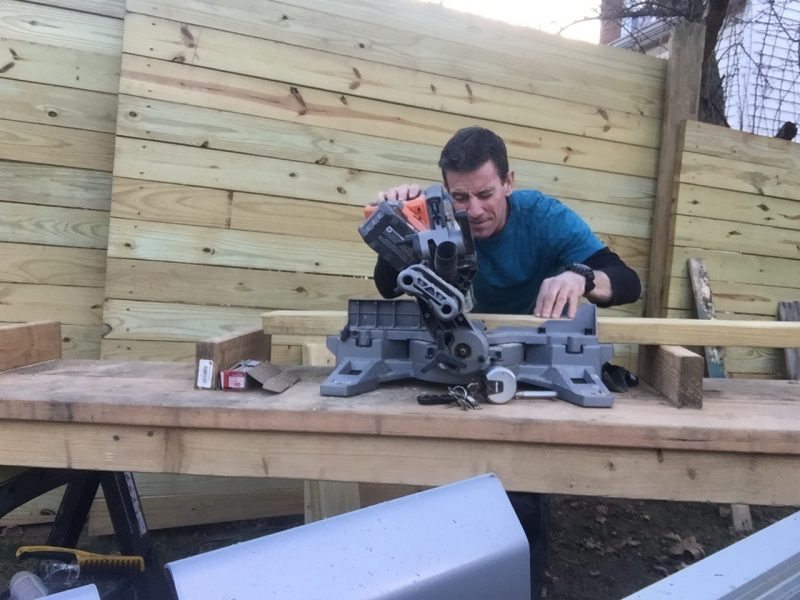
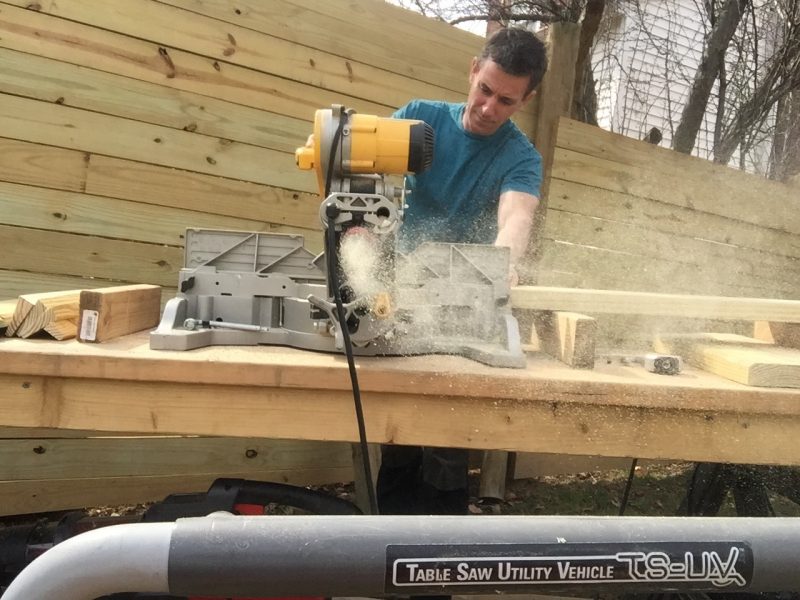
The sawhorses that support the miter saw work bench are simple, inexpensive folding sawhorses and they quickly become a great place to store stuff. I fastened a power strip (not shown) to the bench as a centrally located place to plug things in.