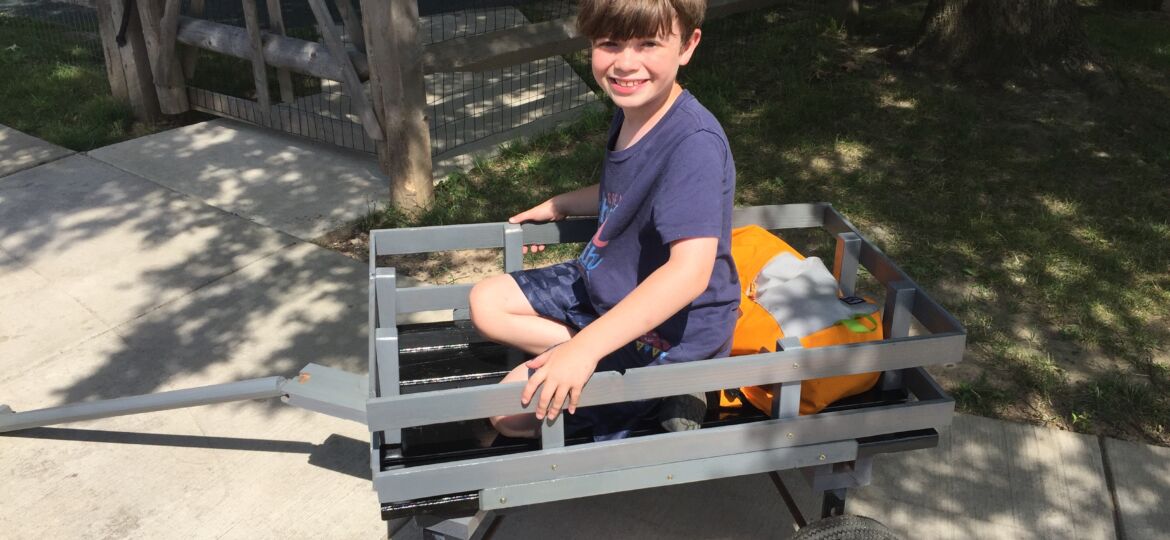
This wagon may not be the greatest woodworking project you’ll ever behold, but it’s made with love for my kids. Thing is, we never used it.
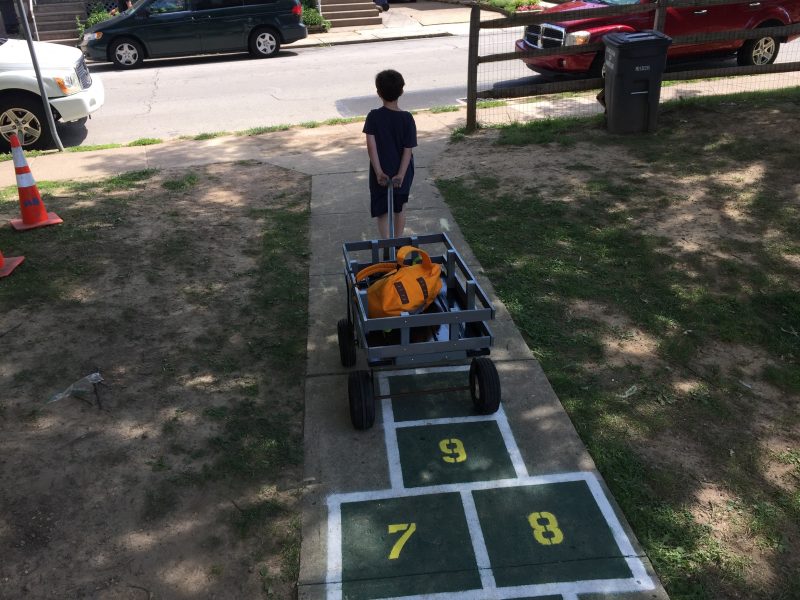


As with many intentions in life, we got busy. And it got stuffed in a forgotten corner; piled on with more forgotten stuff. Forgotten.


But this wagon has a story. It’s dear to us. It’s wrapped up in how Theresa and I met and our first project together—creating the only (as far as we know) DIY and home improvement love story, a novel called The Carpenter’s Notebook. Time to take life by the handle again and to start making new memories.
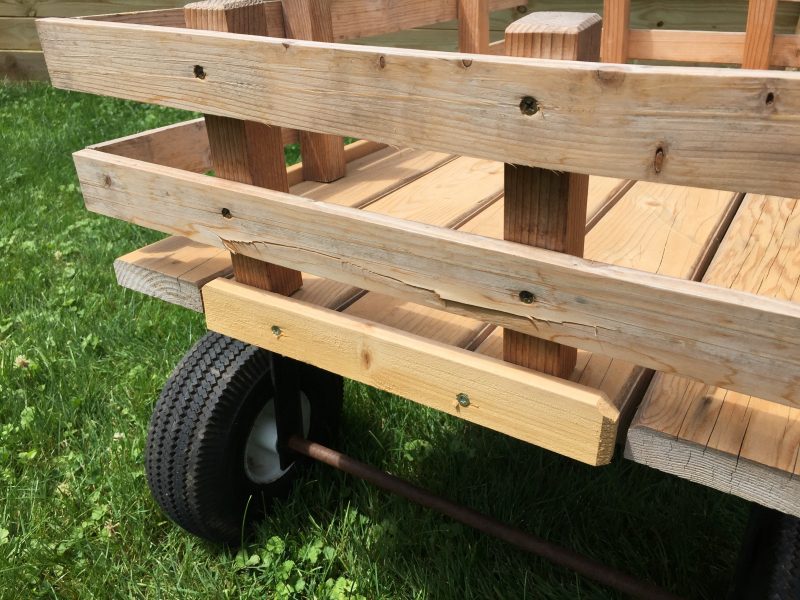
The wagon is made with wood that carpenters use to build shelter—spruce and fir mostly. You can get it anywhere and it’s usually a little, let’s say, lived in. It has all the dings and scrapes you’d expect a workmanlike hunk of wood to have.
What I enjoy about working with these kinds of woods is that their beauty is brought out by what you put into working and shaping and loving them.
And, this wagon looks slightly like a monster truck because I made it originally for Jack’s older sister when I lived closer to the beach. Its first lot in life was to be a beach wagon.
But we got busy.
And life happened.
Time to make some changes. Hello past, here comes tomorrow.
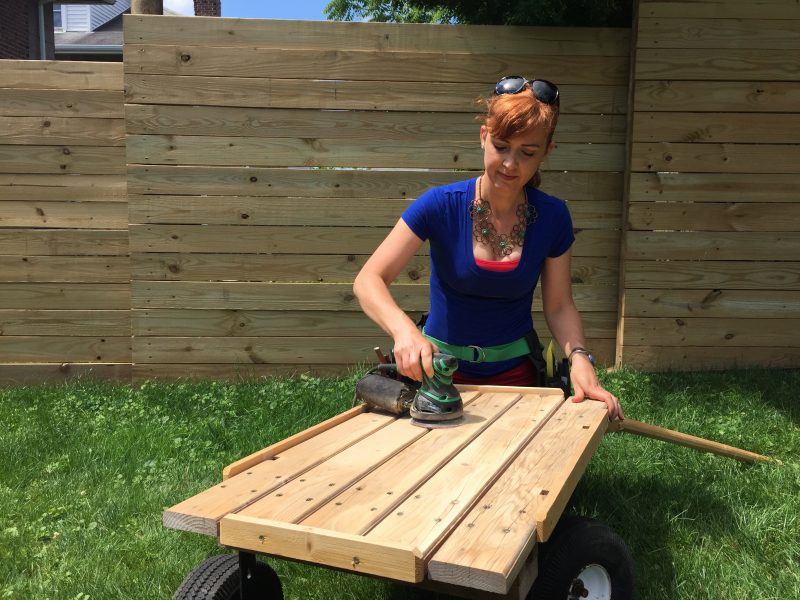


Made with love, to us, sometimes means going back to the beginning. The spruce boards I made the original out of needed some serious sanding. Not a ton of fun, but we used three grits of paper (60, 100, 150) t0 bring the spruce boards back to vibrance. Also, sanding opens the grain of the wood, ideal for stain penetration.
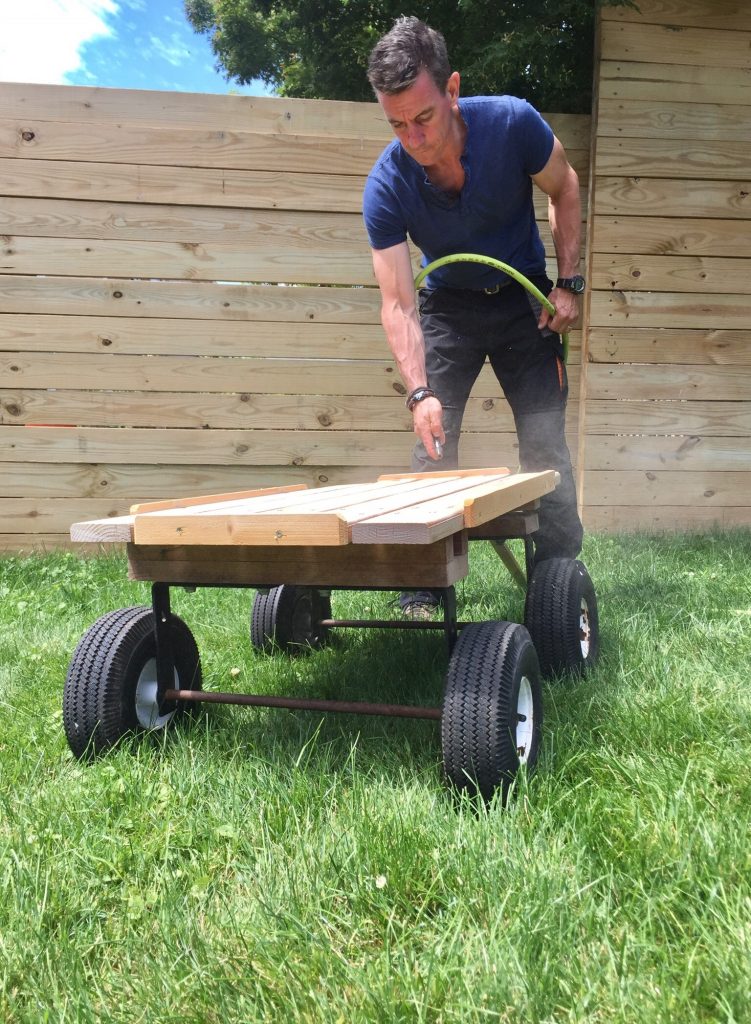


Before applying our coatings, we took extra care to get the dust off the wood. Compressed air is great for this. If you don’t have a compressor, using an old paint brush is great too. Follow up with some spray detergent and a damp rag (like you’d clean your kitchen counter).
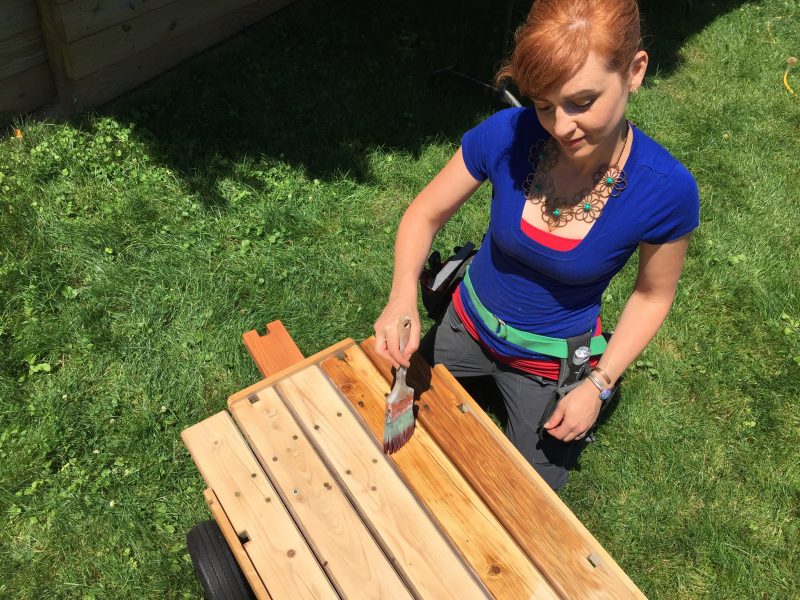


The neglected spruce deck boards on the wagon gulped in the Minwax Pre-Stain Wood Conditioner®, which we like to use as a base coat so the stain soaks in as evenly as possible.
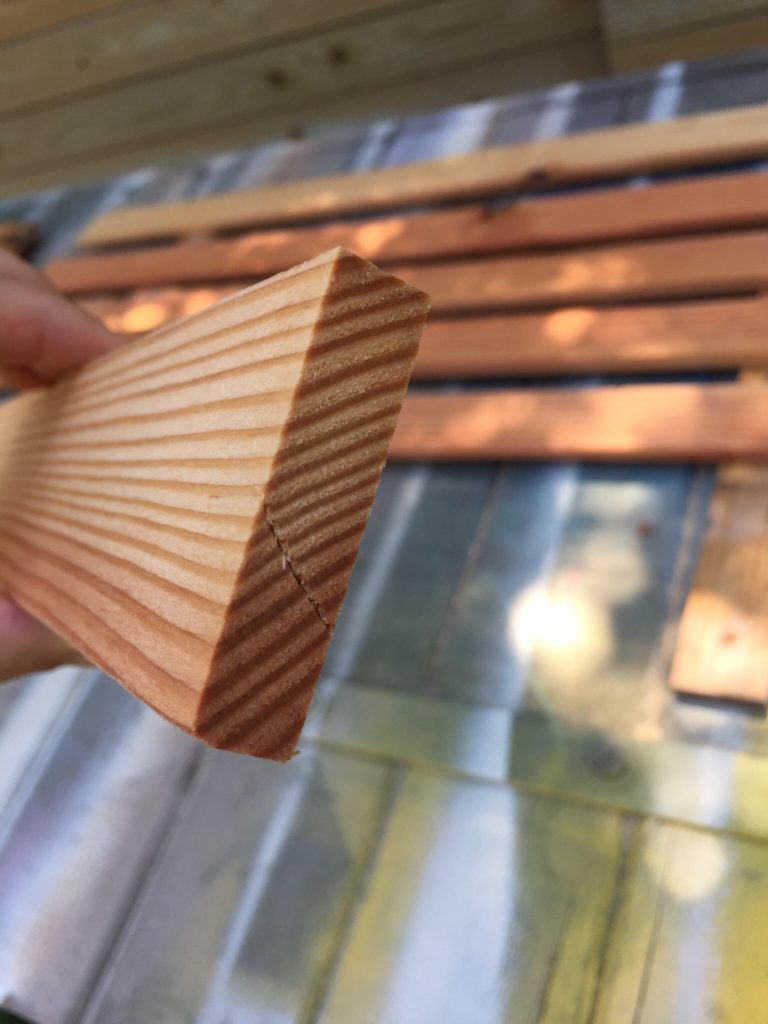


Since the wagon’s rails were coming apart, I re-made them from a Douglas fir 4×4, carpenter-grade. It has the tightest, straightest grain of the construction wood available at the home center.
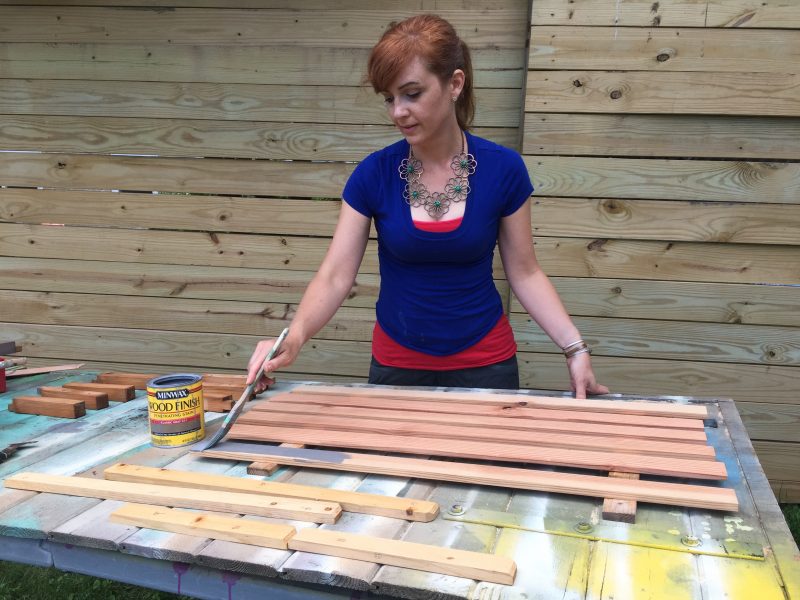


I love this gray, Minwax Wood Finish Penetrating Stain Classic Gray #271 ®. When staining individual parts like this it pays to have a plan, because you have to stain all six sides at once. For these parts, we stained the front, the edges, then stood them up on the thin side and covered the remaining surfaces. It’s not perfect but it works. Always check for streaks and runs (inevitable because: Gravity). Just strike them off with the brush.
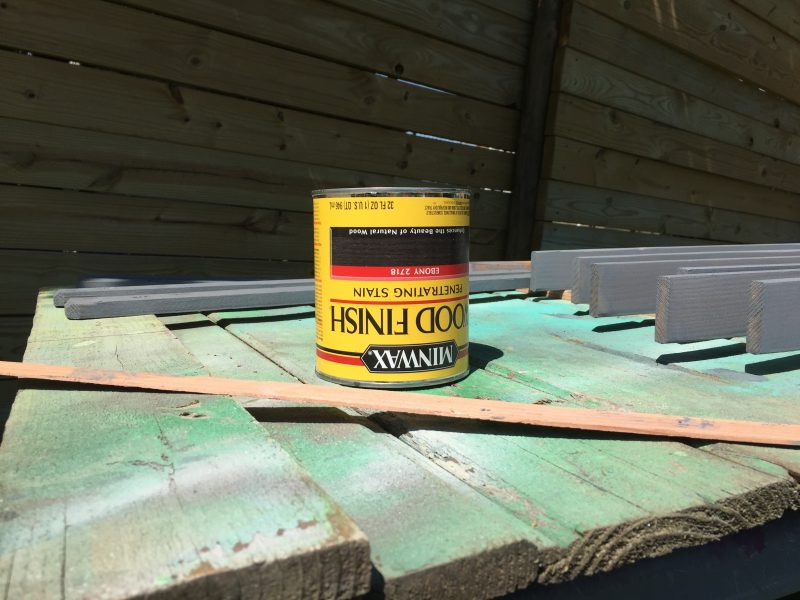


Since gravity is always on, I use it to my advantage. Before using a stain—and this may not be in the Minwax rule book—I tip cans upside for a few minutes before using them. To my mind, this lets the stain move uniformly through the can without me stirring it with a stick for longer than necessary. I still stir it with a stick. No shaking.
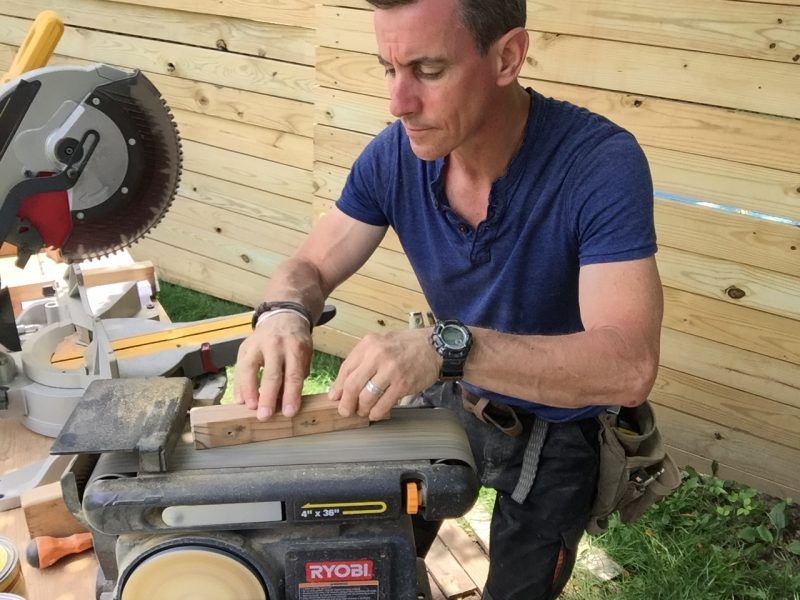


Small parts can be frustrating to sand. When possible I use an inexpensive—and versatile; you can use a stationary sander for all kinds of stuff—benchtop sander.
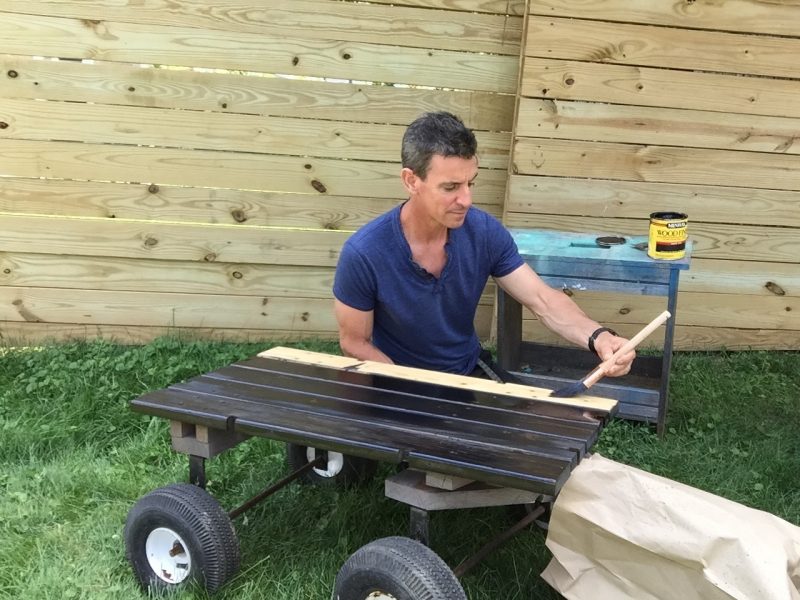


Applying this dark stain (it’s Minwax Wood Finish Ebony 2718 Penetrating Stain ®) was like applying a liquid mirror. And while we could have gone with the more sort of obvious colors of childhood here, we wanted a look that was a little more furniture than toy.
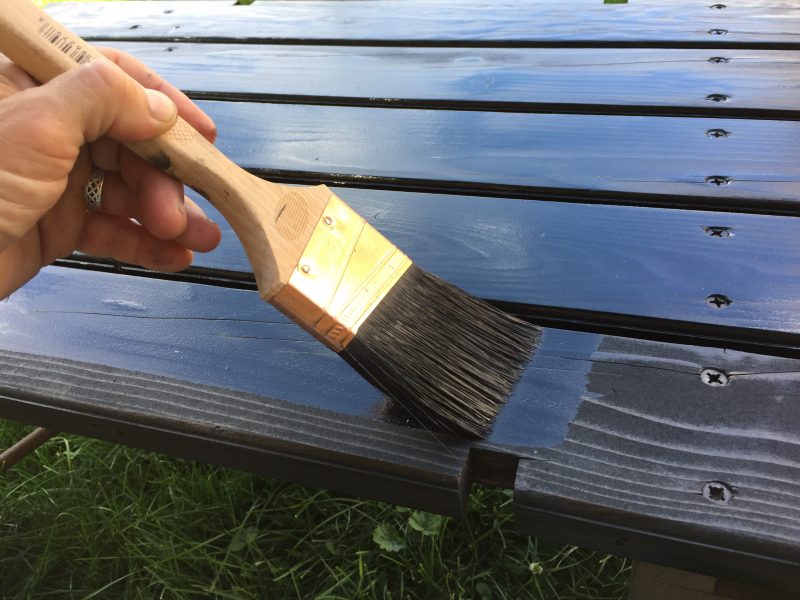


Using this stain required me to slow down and go to a quiet place. There’s a balance between how quickly you can apply it and how quickly the wood drinks it in off the brush’s ferrules (bristles). There’s something just a little perfect about the balance.
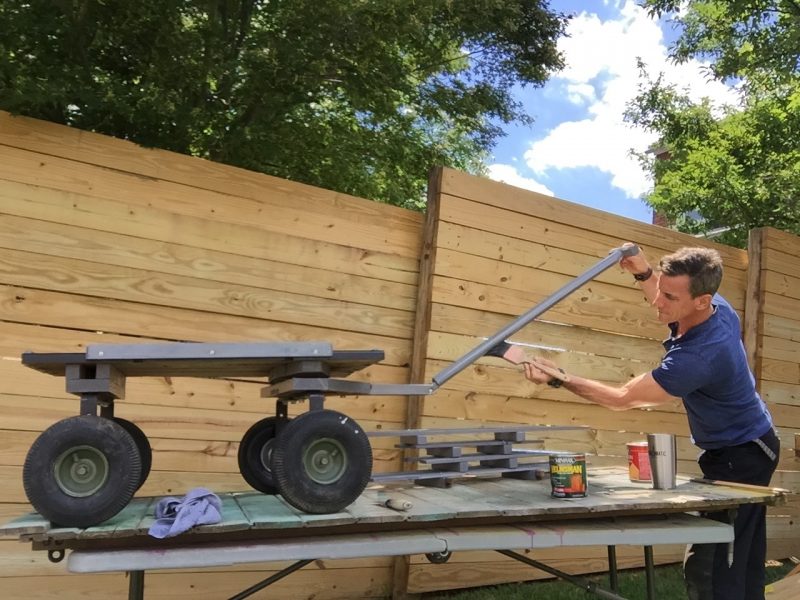


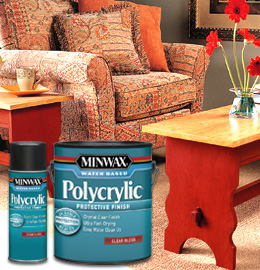
The last coat is one of my favorite things for outdoor protection. Even though this wagon will spend most of its life indoors, it’ll see beach sand or rain or who knows what from time to time, so I locked in the color and locked out the weather with Minwax Indoor/Outdoor Helmsman Spar Urethane ®.
Bring it Mother Nature.
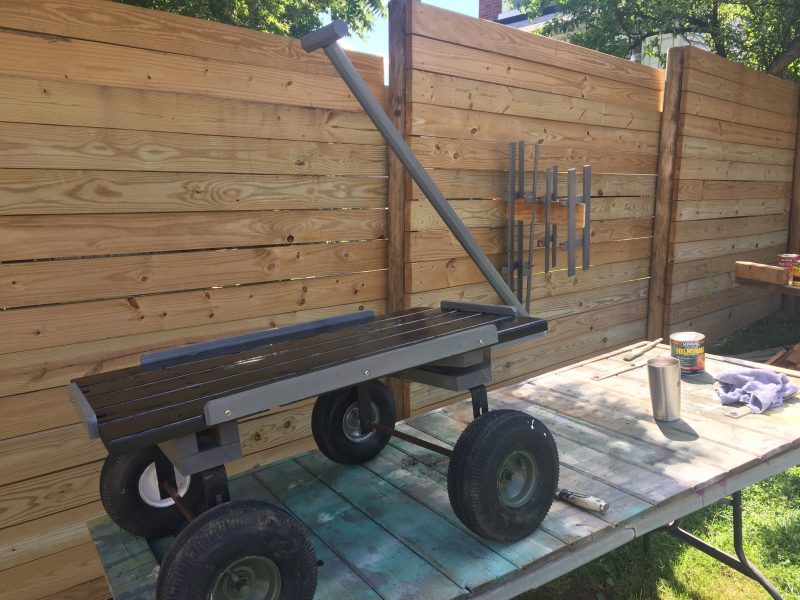


It pays to have a plan. Since I wanted to brush the urethane on the sides, I needed a place for them to dry where they’d barely contact anything so I made a little hanger. Is this perfect? No. But neither is life.
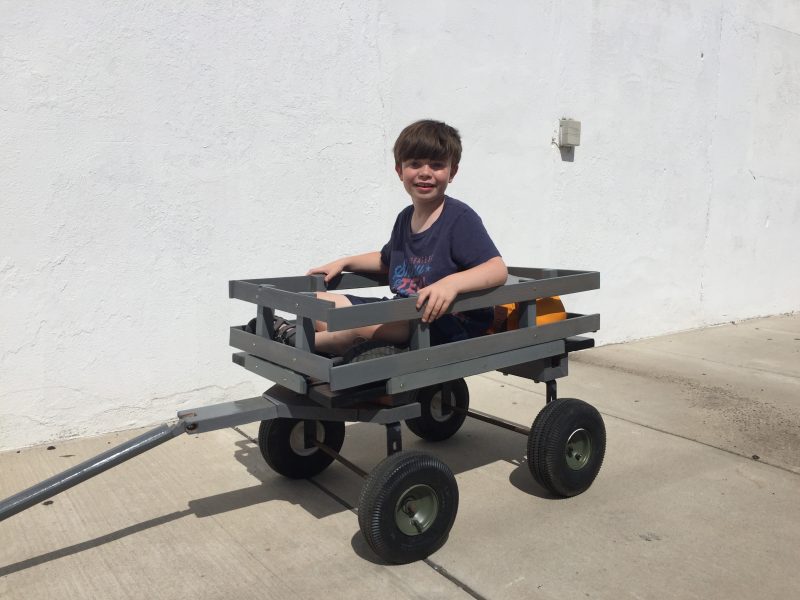


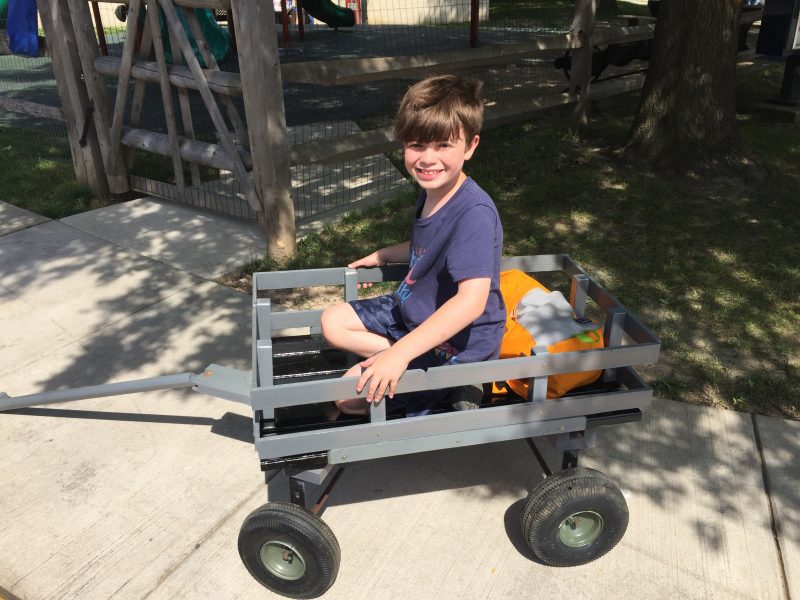
Love is said to be perfect though. And that—we hope—is what both kids feel when they see, use and roll around with this project from my heart.


Like this project? Find more projects, passion, and inspiration for your next build at Minwax’s Made With Love page.
Image already added
