A fun holiday card display can be perfect as winter wall art
I love holiday cards. There are so many fun family photo cards, cute holiday cartoons, and beautiful winter scenes. I feel lucky that my family receives so many season greetings, and I enjoy putting them on display to enjoy throughout the holiday season.
This year I was inspired to make a new holiday card display in our family’s ‘formal farmhouse’ style. I chose upcycling pallet wood and a few fun paint colors with the help of Krylon® Brand.
Here’s the how-to
Gather supplies for this project.
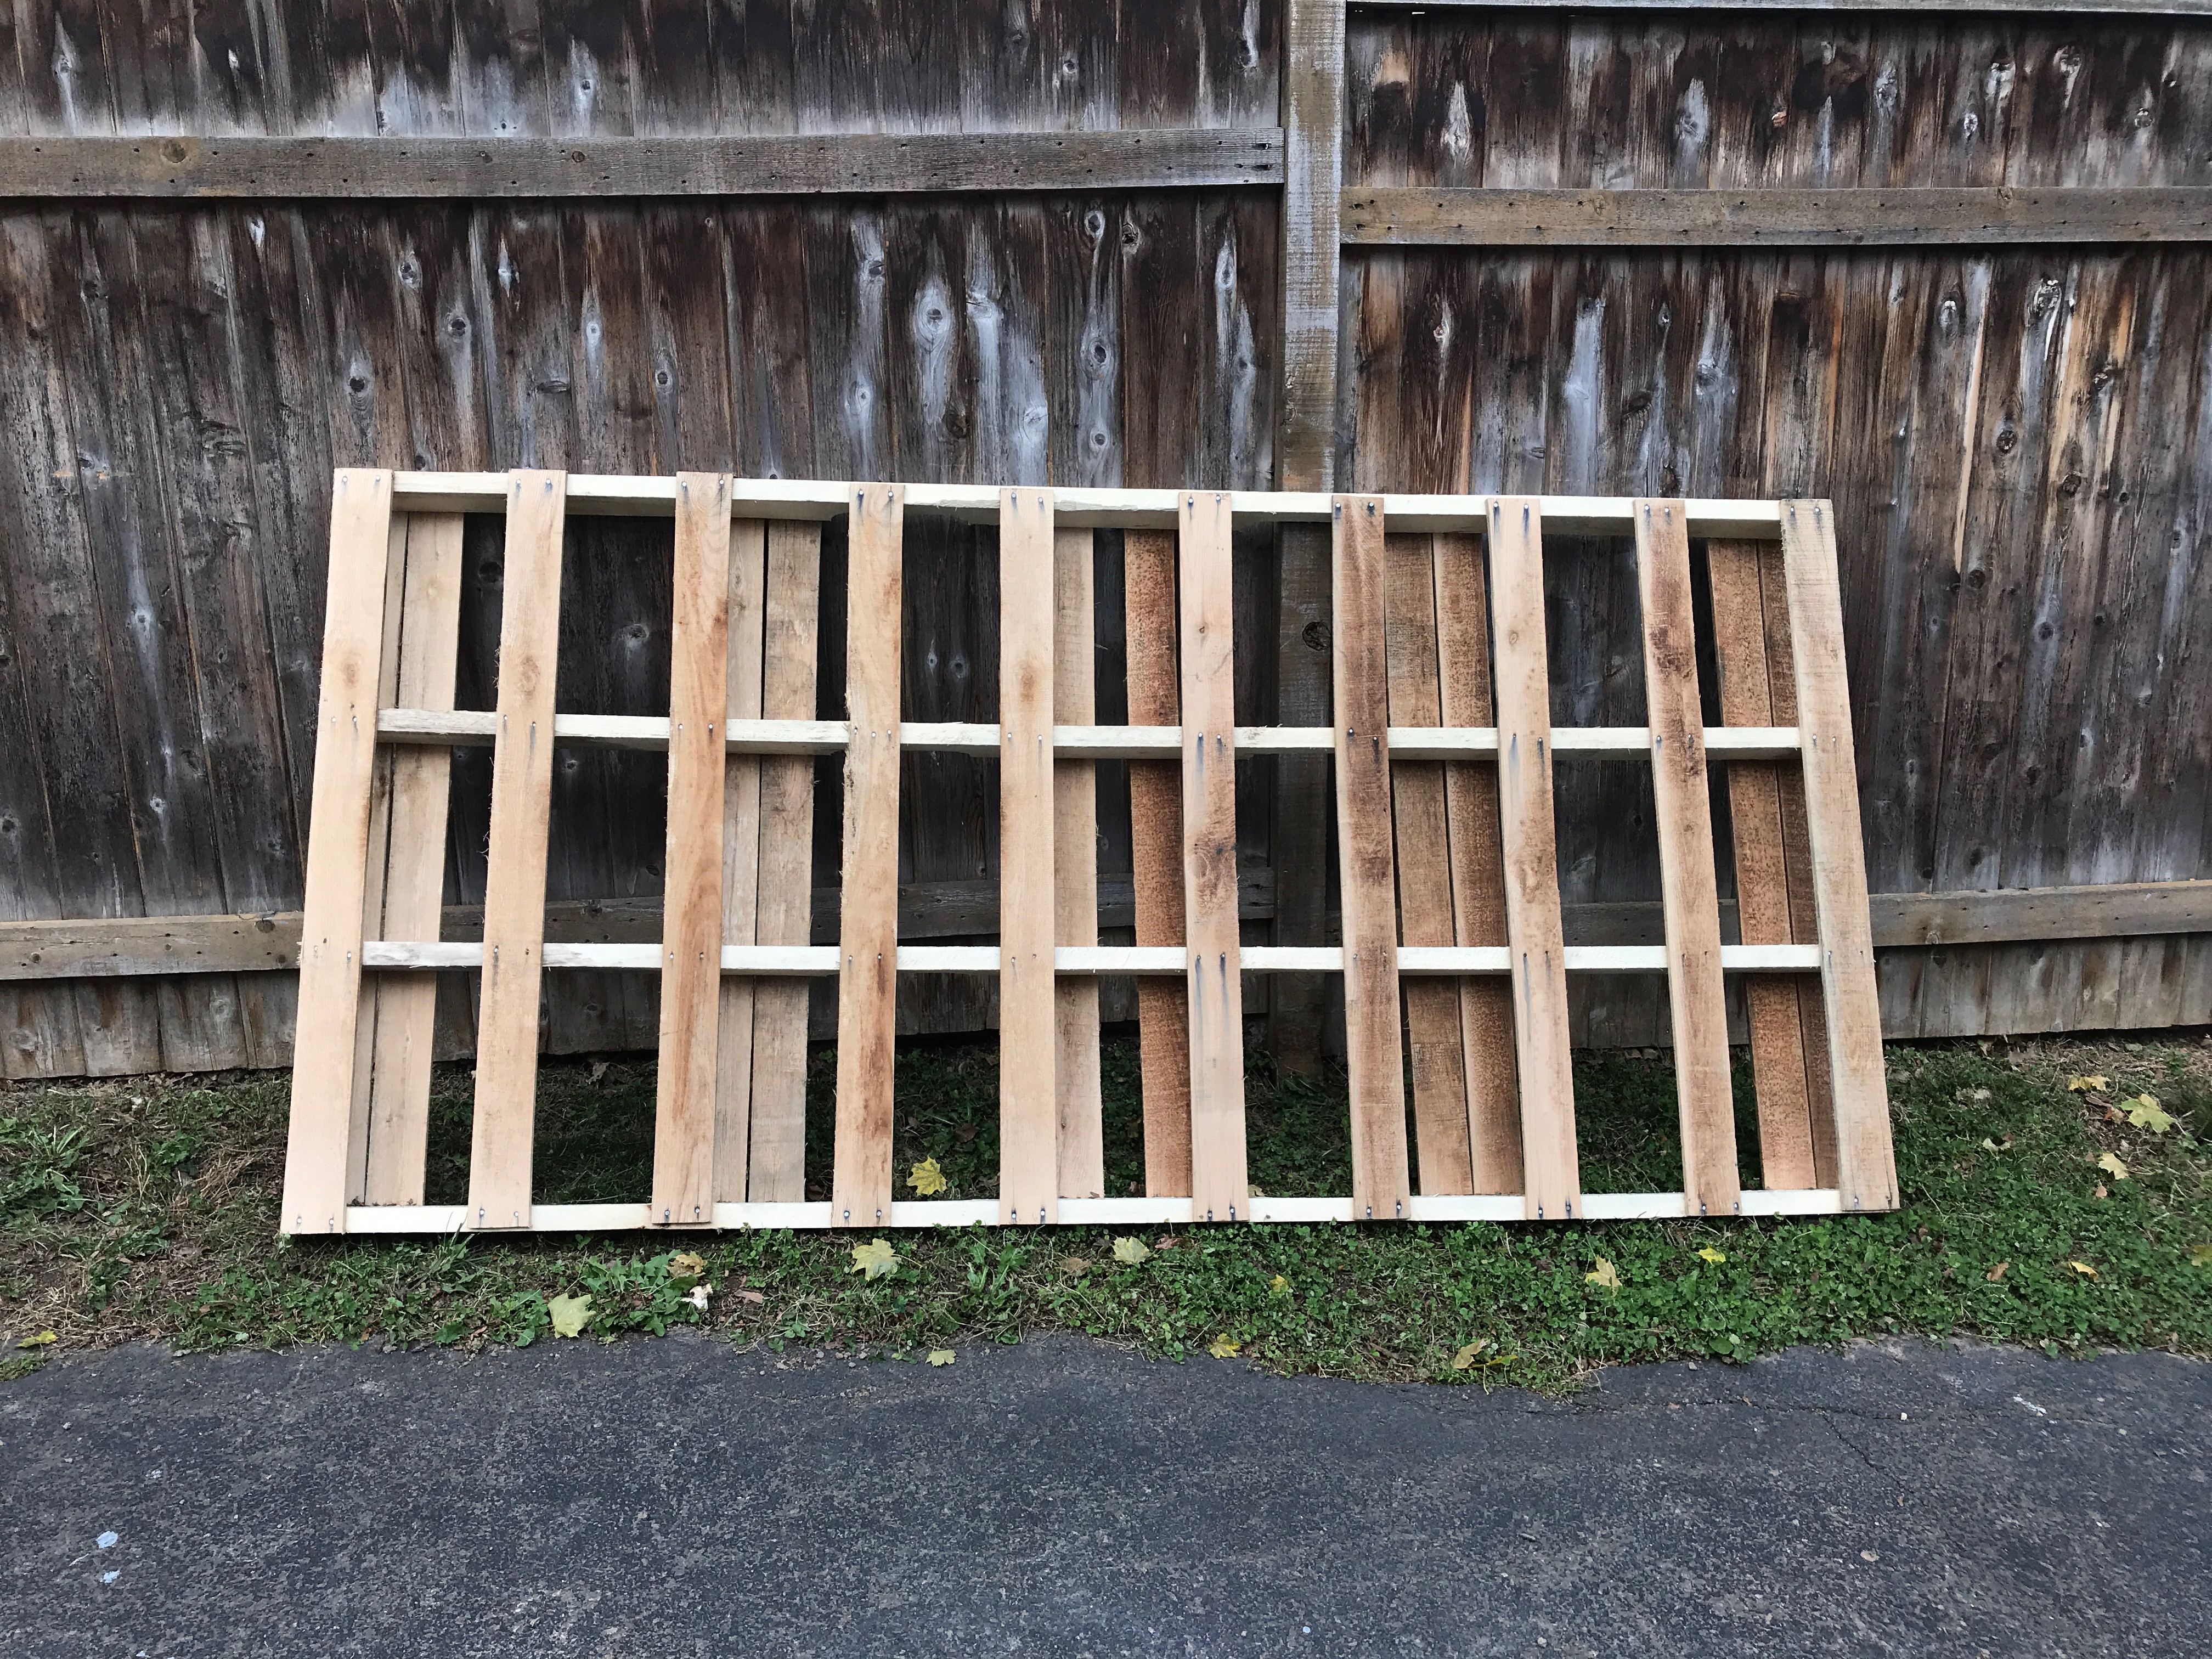
The first step is getting a pallet. There are tons of places to find pallets, but a sure bet is usually your local Habitat for Humanity ReStore. Always call ahead, just to be sure they have some on hand.
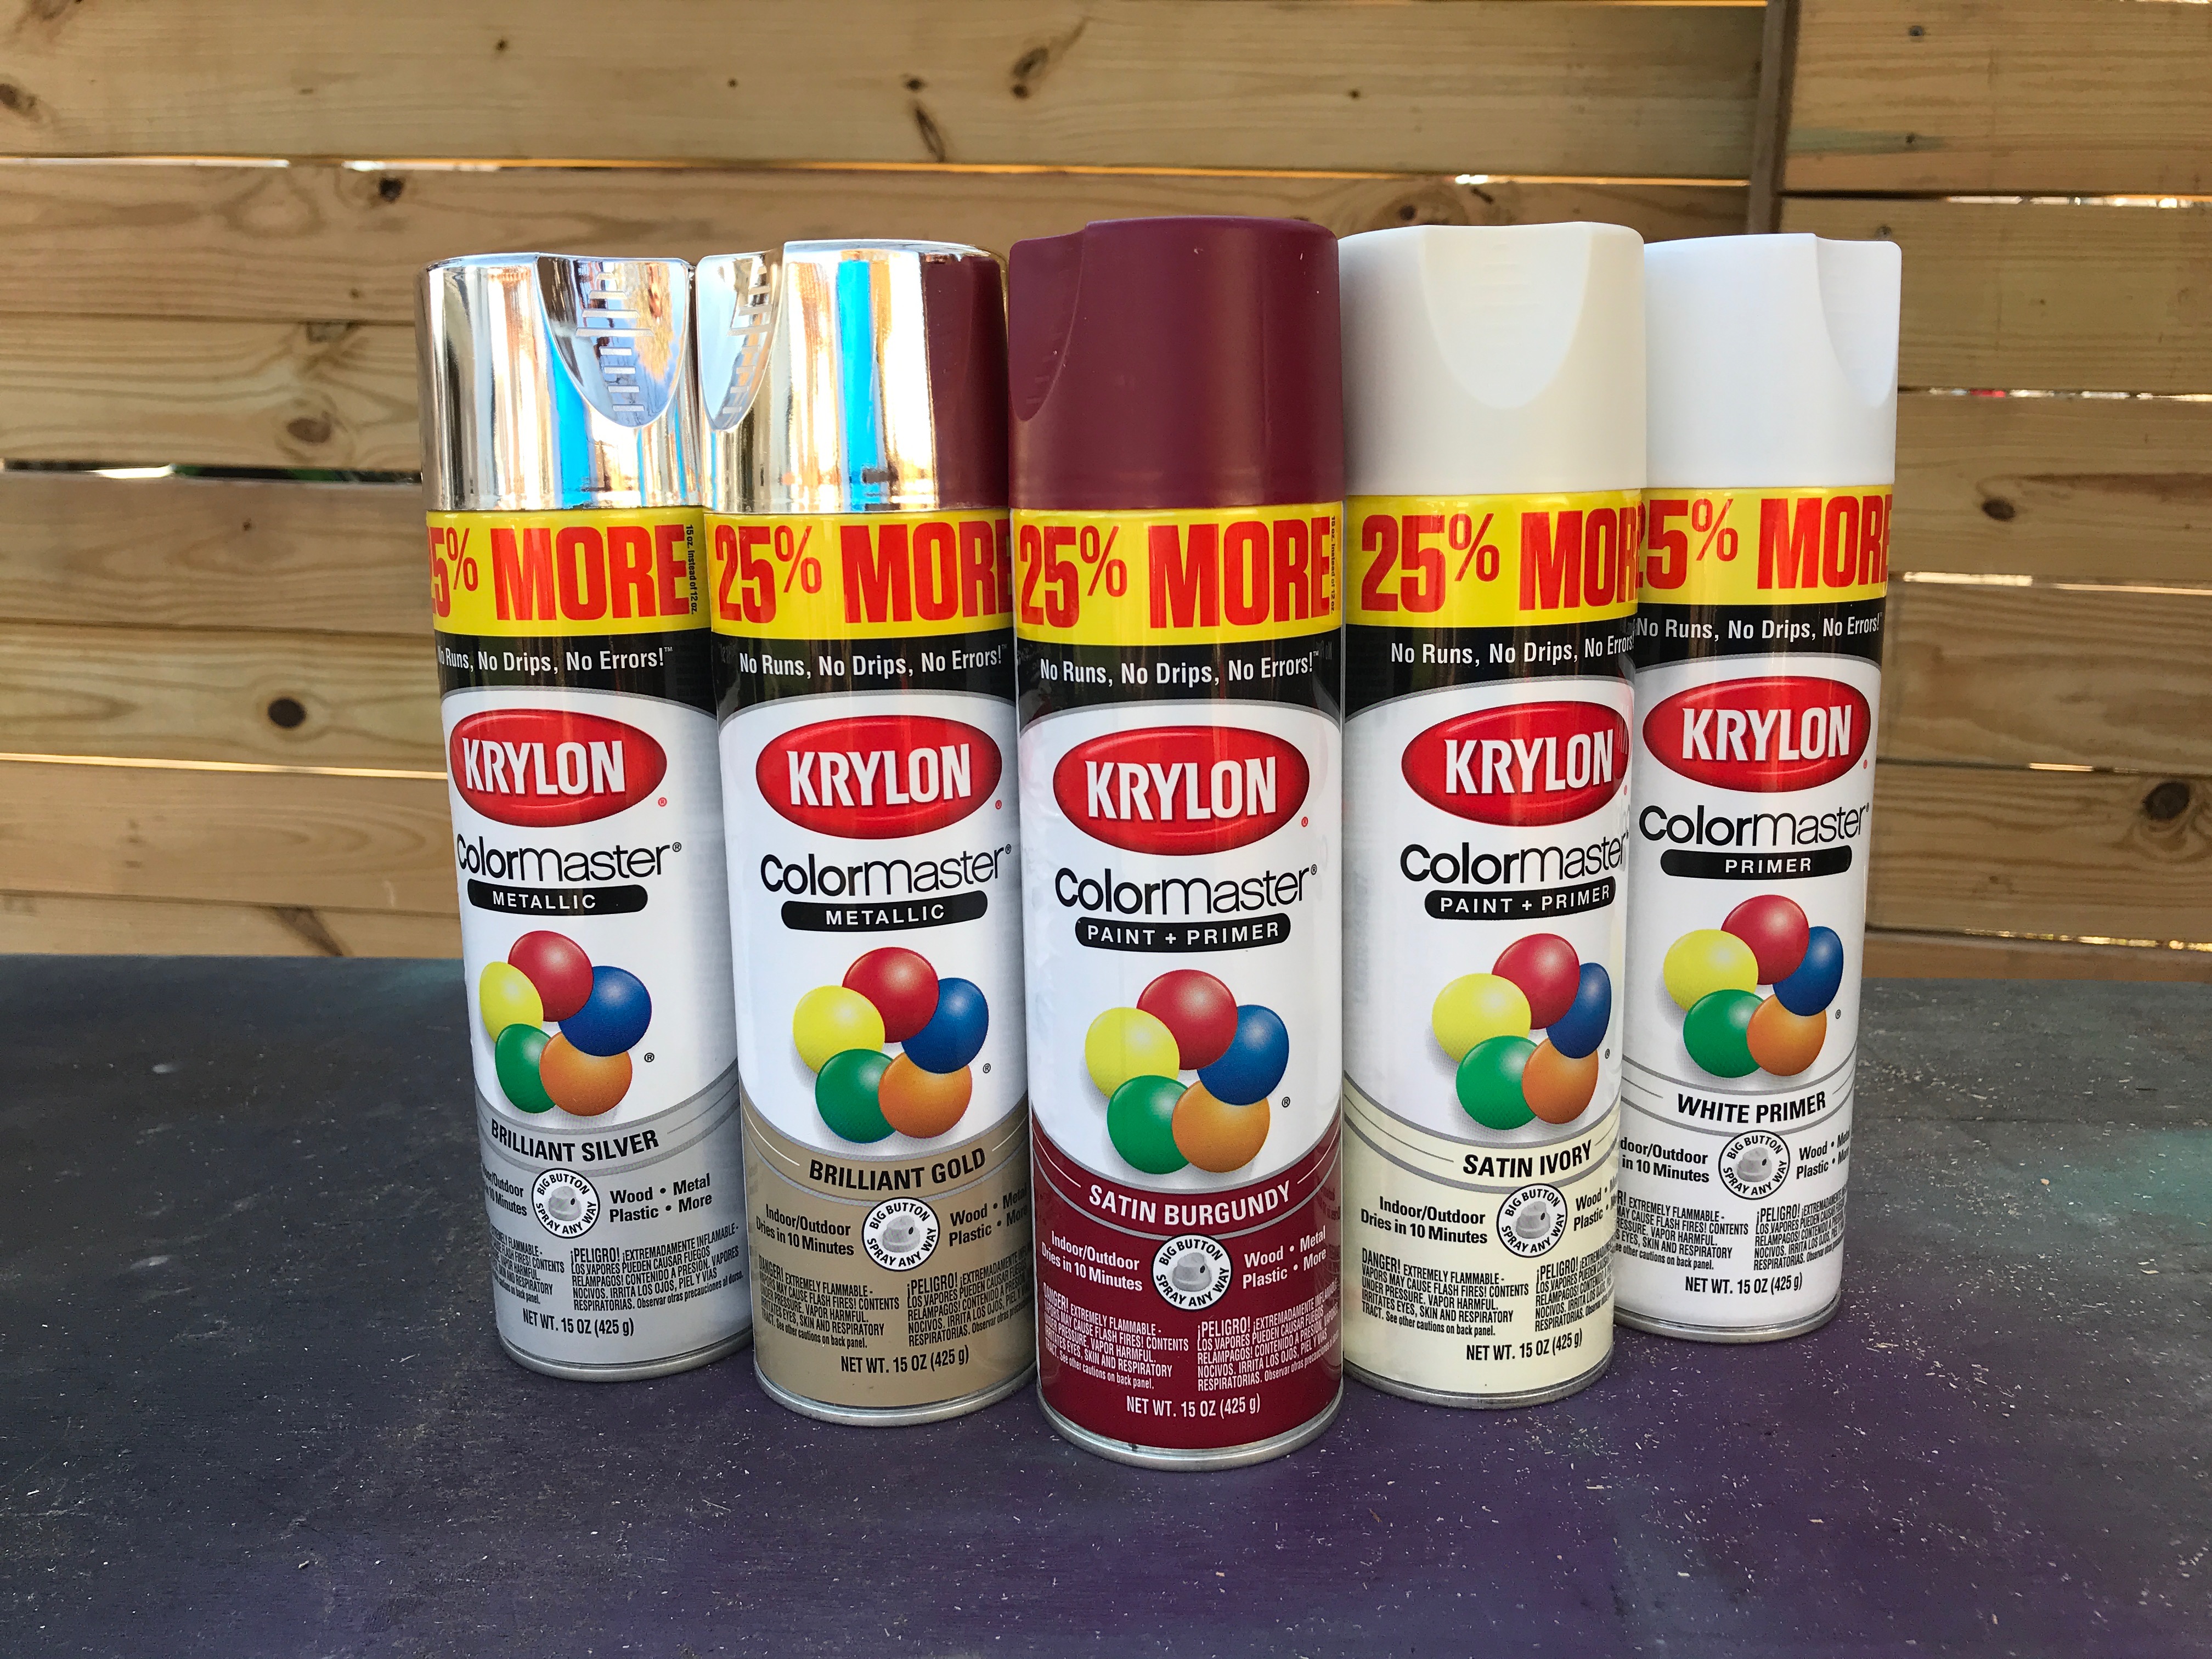
My color inspiration this holiday season includes a deep Satin Burgundy, Satin Ivory, and metallic of Brilliant Silver and Brilliant Gold. All of these paint colors, and the white primer, are found in Krylon® ColorMaster™ Paint + Primer – 25% More at Walmart.
Dismantle the pallet
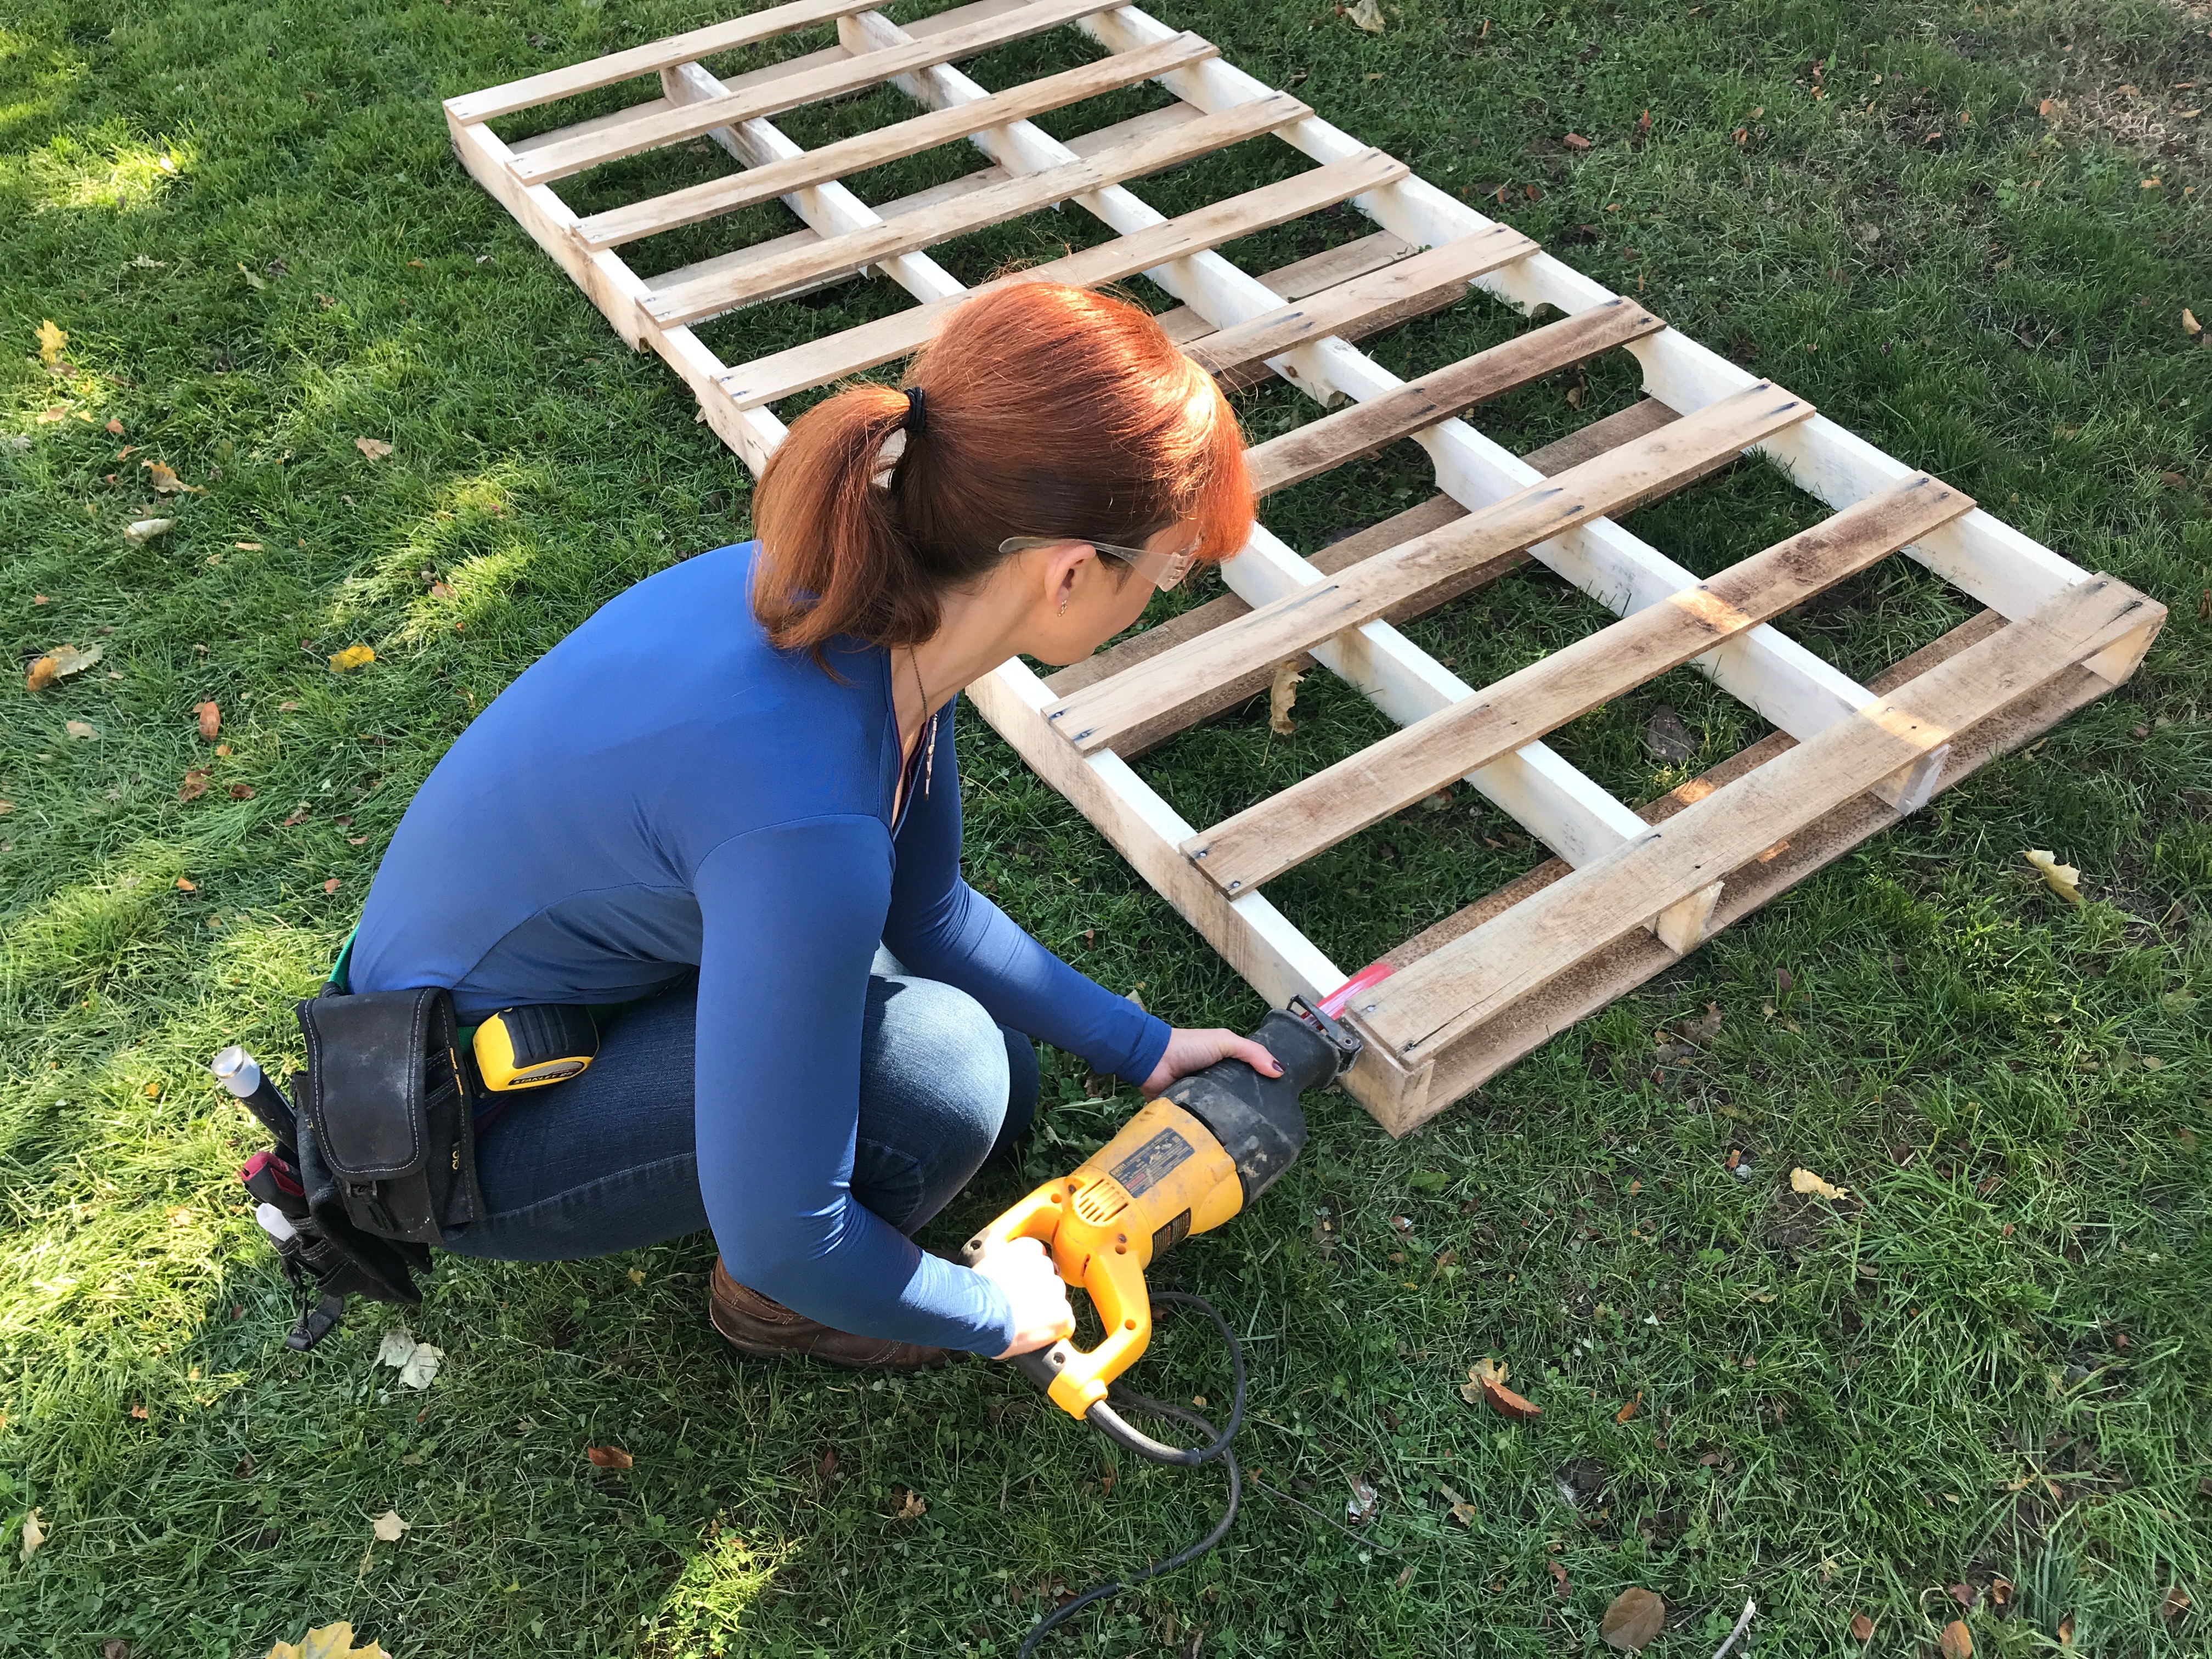
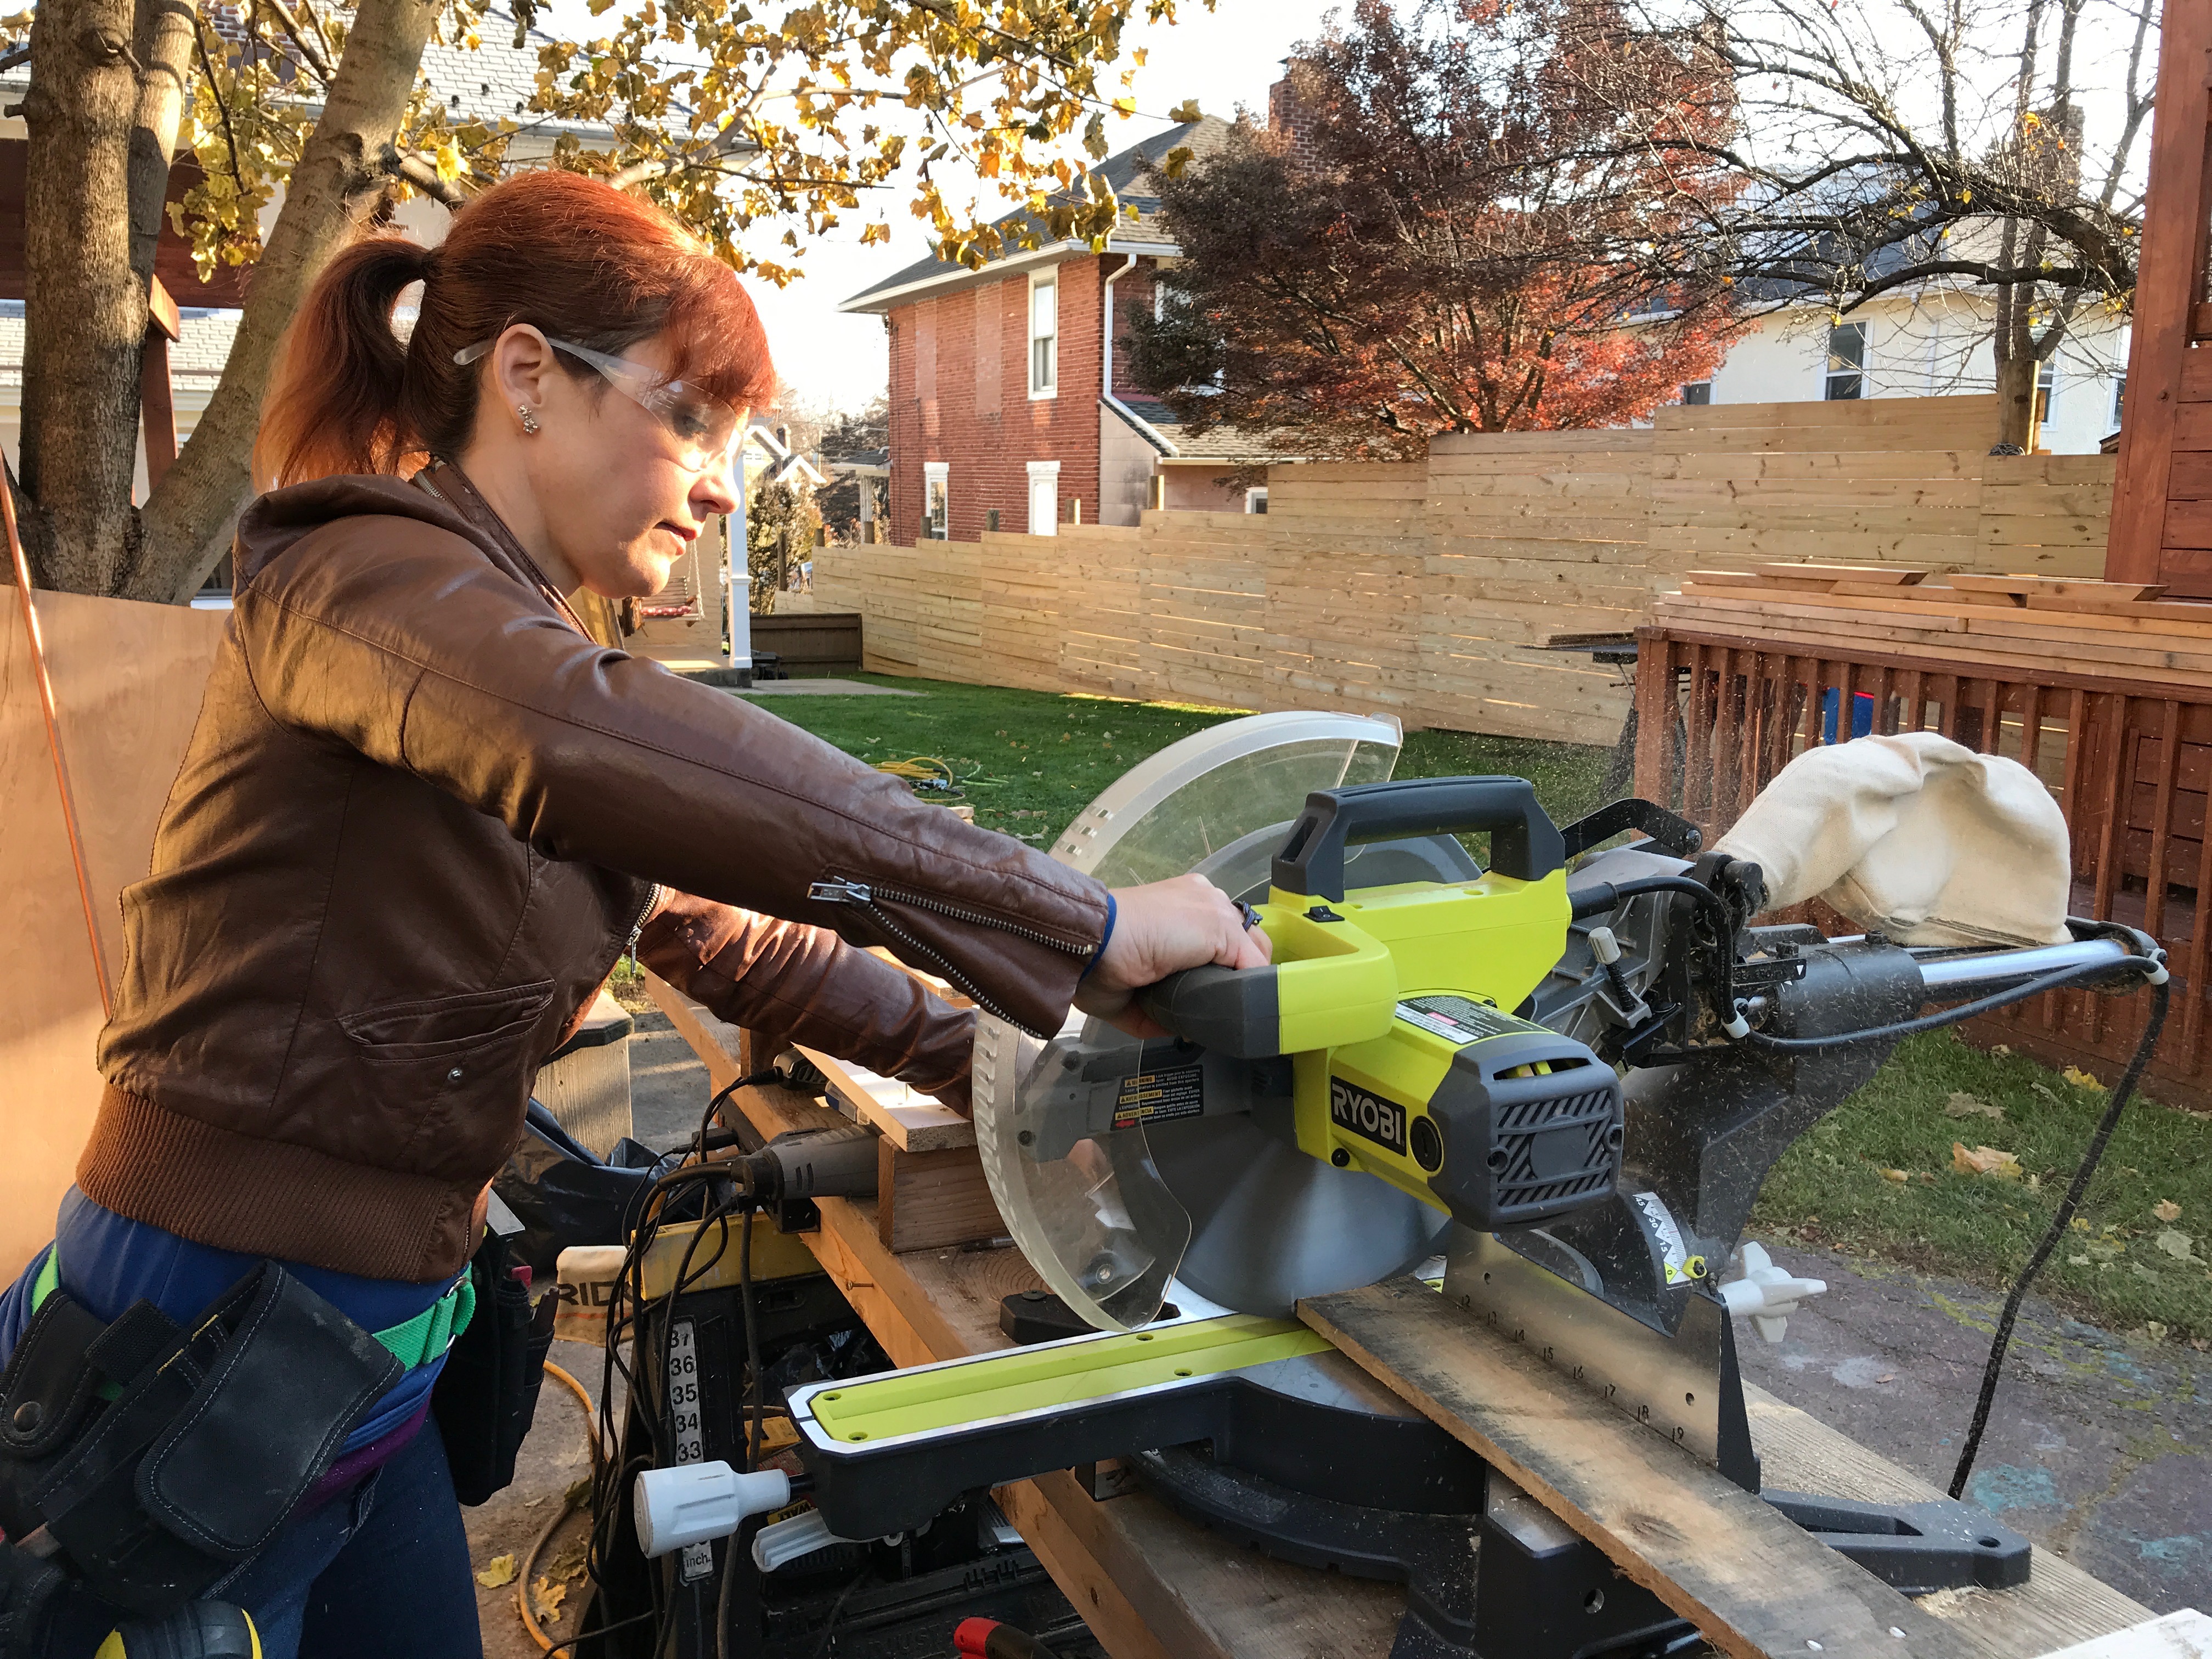
For every pallet project, the first step is releasing the wood from the pallet. For this project, I used a reciprocating saw to cut through the fasteners so I could maximize the amount of usable wood. You can also use a circulating saw or a handsaw.
Measure and cut the wood to size.
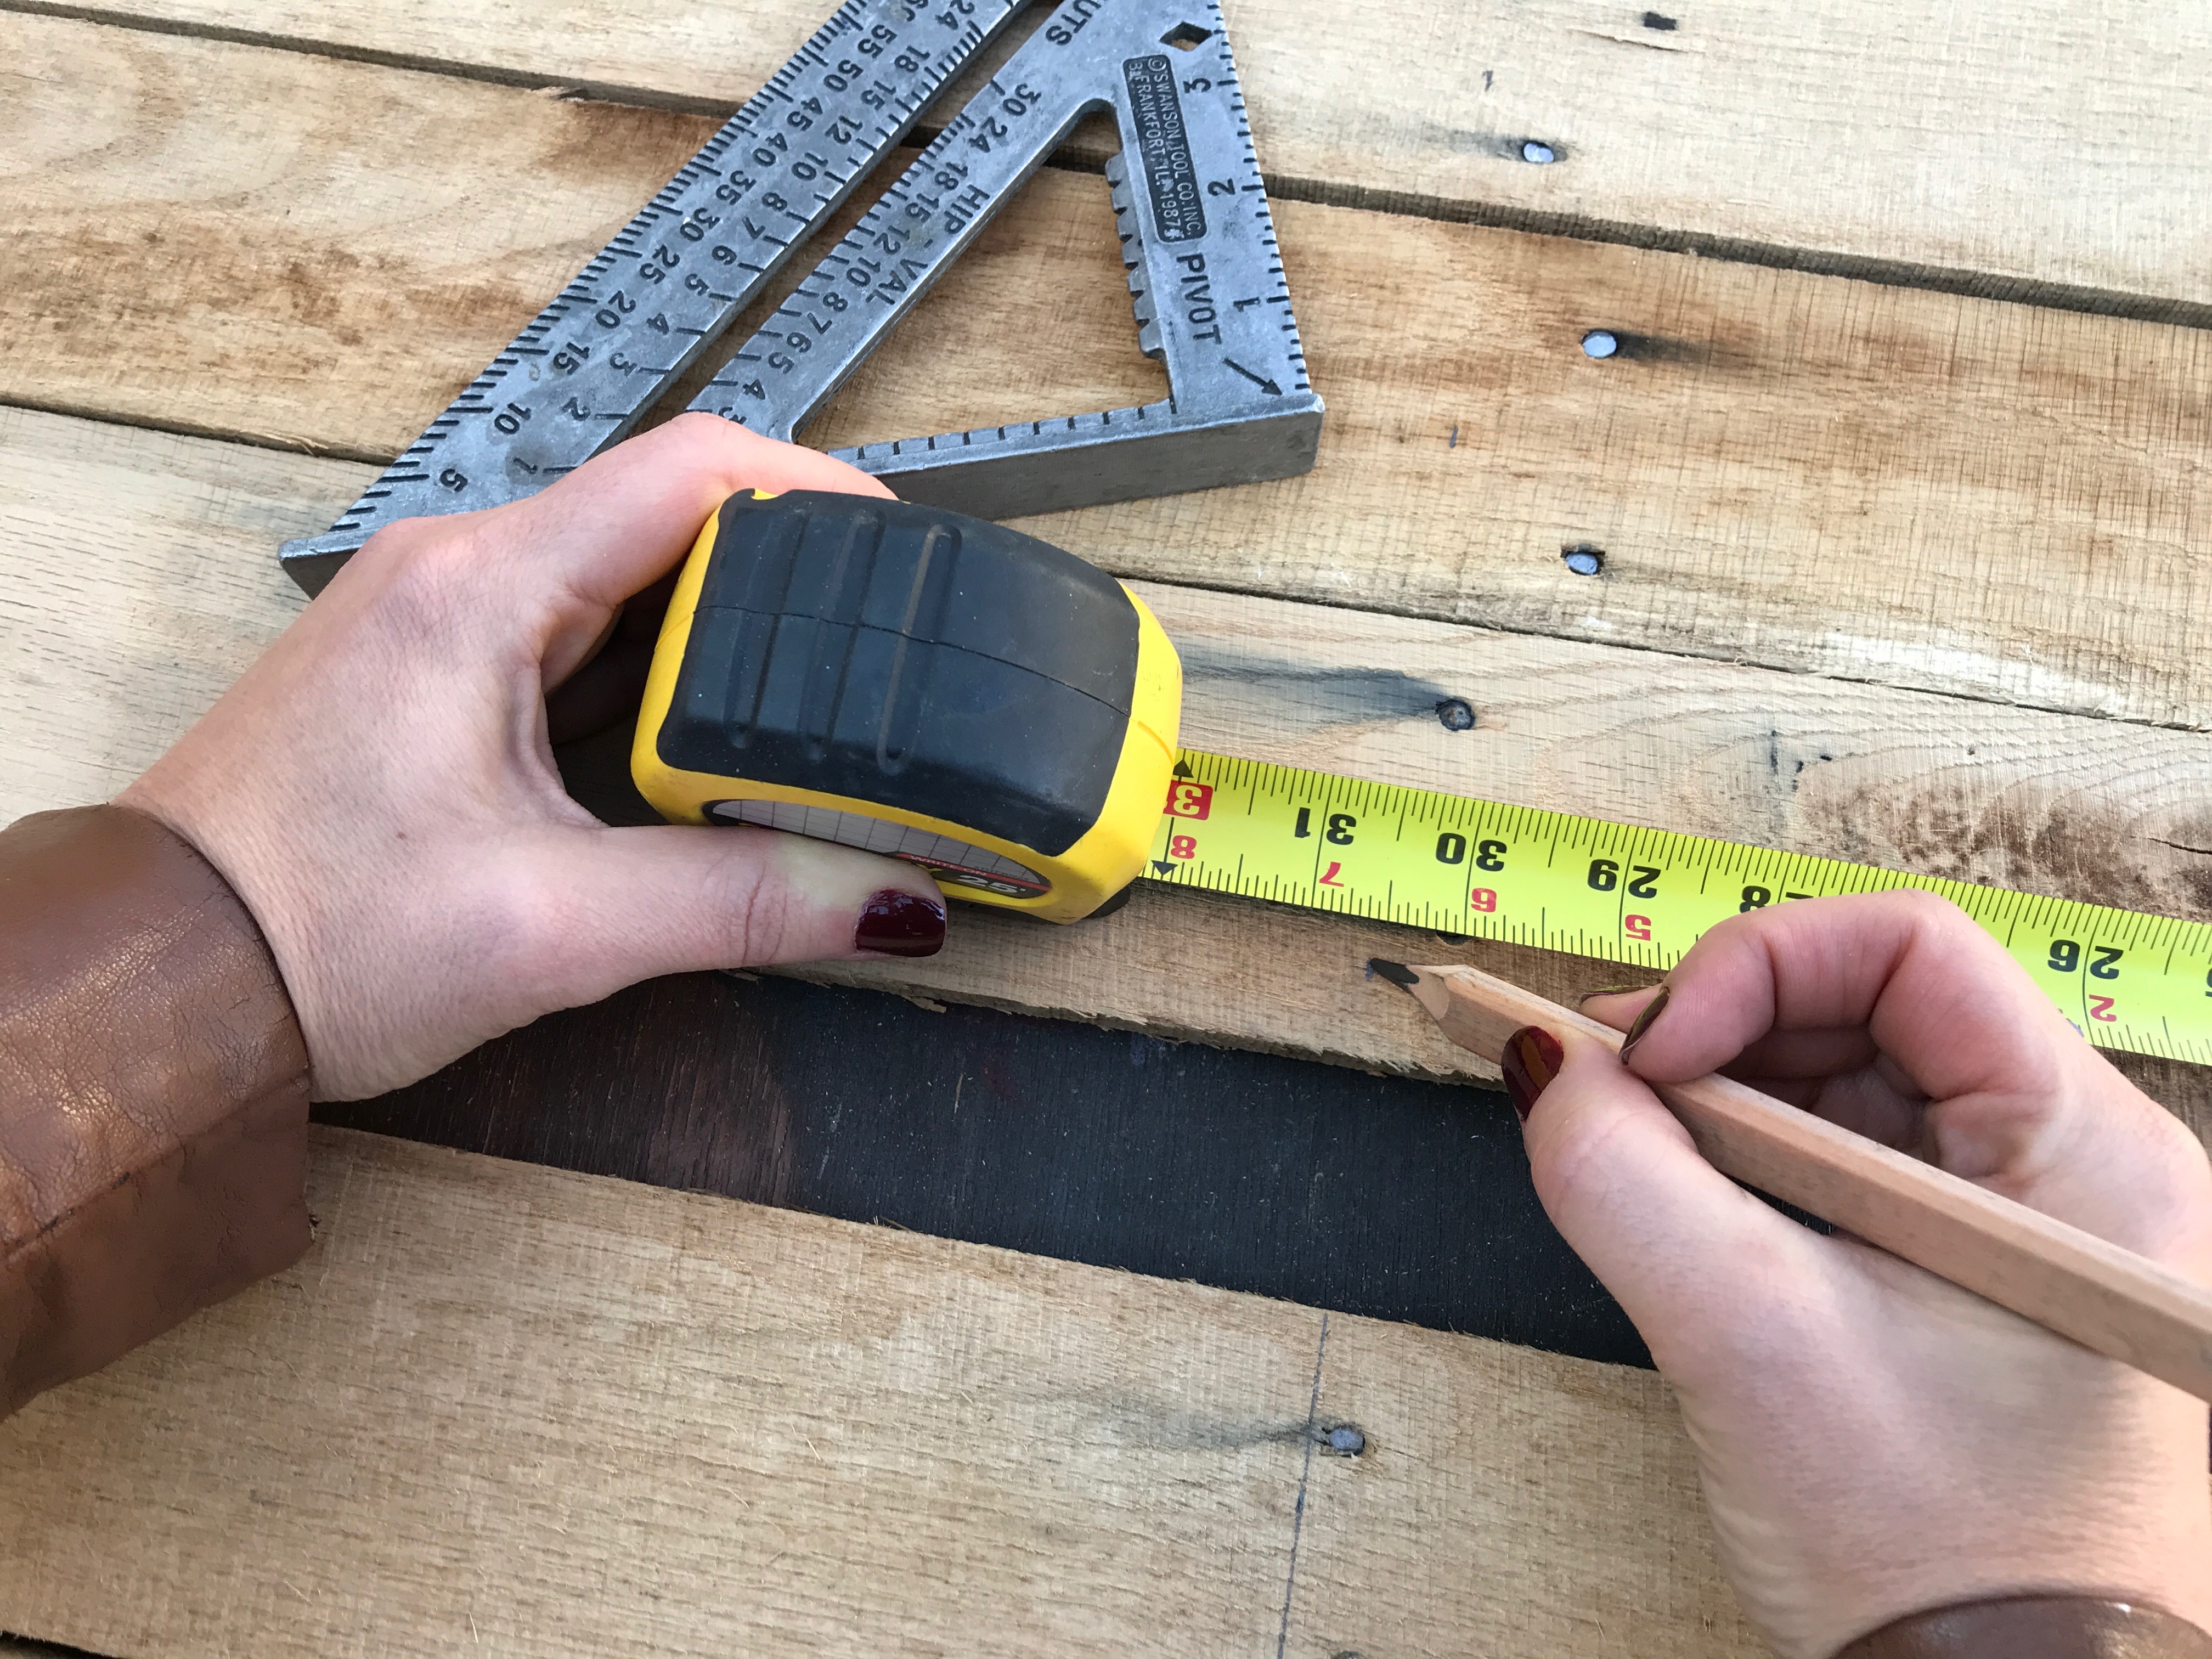
The next step in the project is measuring the pieces. I wanted to make a backer of red pallet with a ‘barn-inspired’ look.. I measured each length of pallet wood to 30 1/2″ so that the top and bottom of the backer would have nail holes from the original pallet.

I laid out the wood side-by-side so I marked all of the boards I needed to make up the overall width, which is 36 inches. On top, I’m creating snowflakes that will be used to keep the holiday cards tucked in place. A 36-inch-wide-by-30 ½-inch-tall pallet will give me the space to create a series of 5 snowflakes. Each will average about 11-inches wide.
After I’ve measured the pallet wood, it’s time to cut everything to length.
Let’s make the snowflakes.
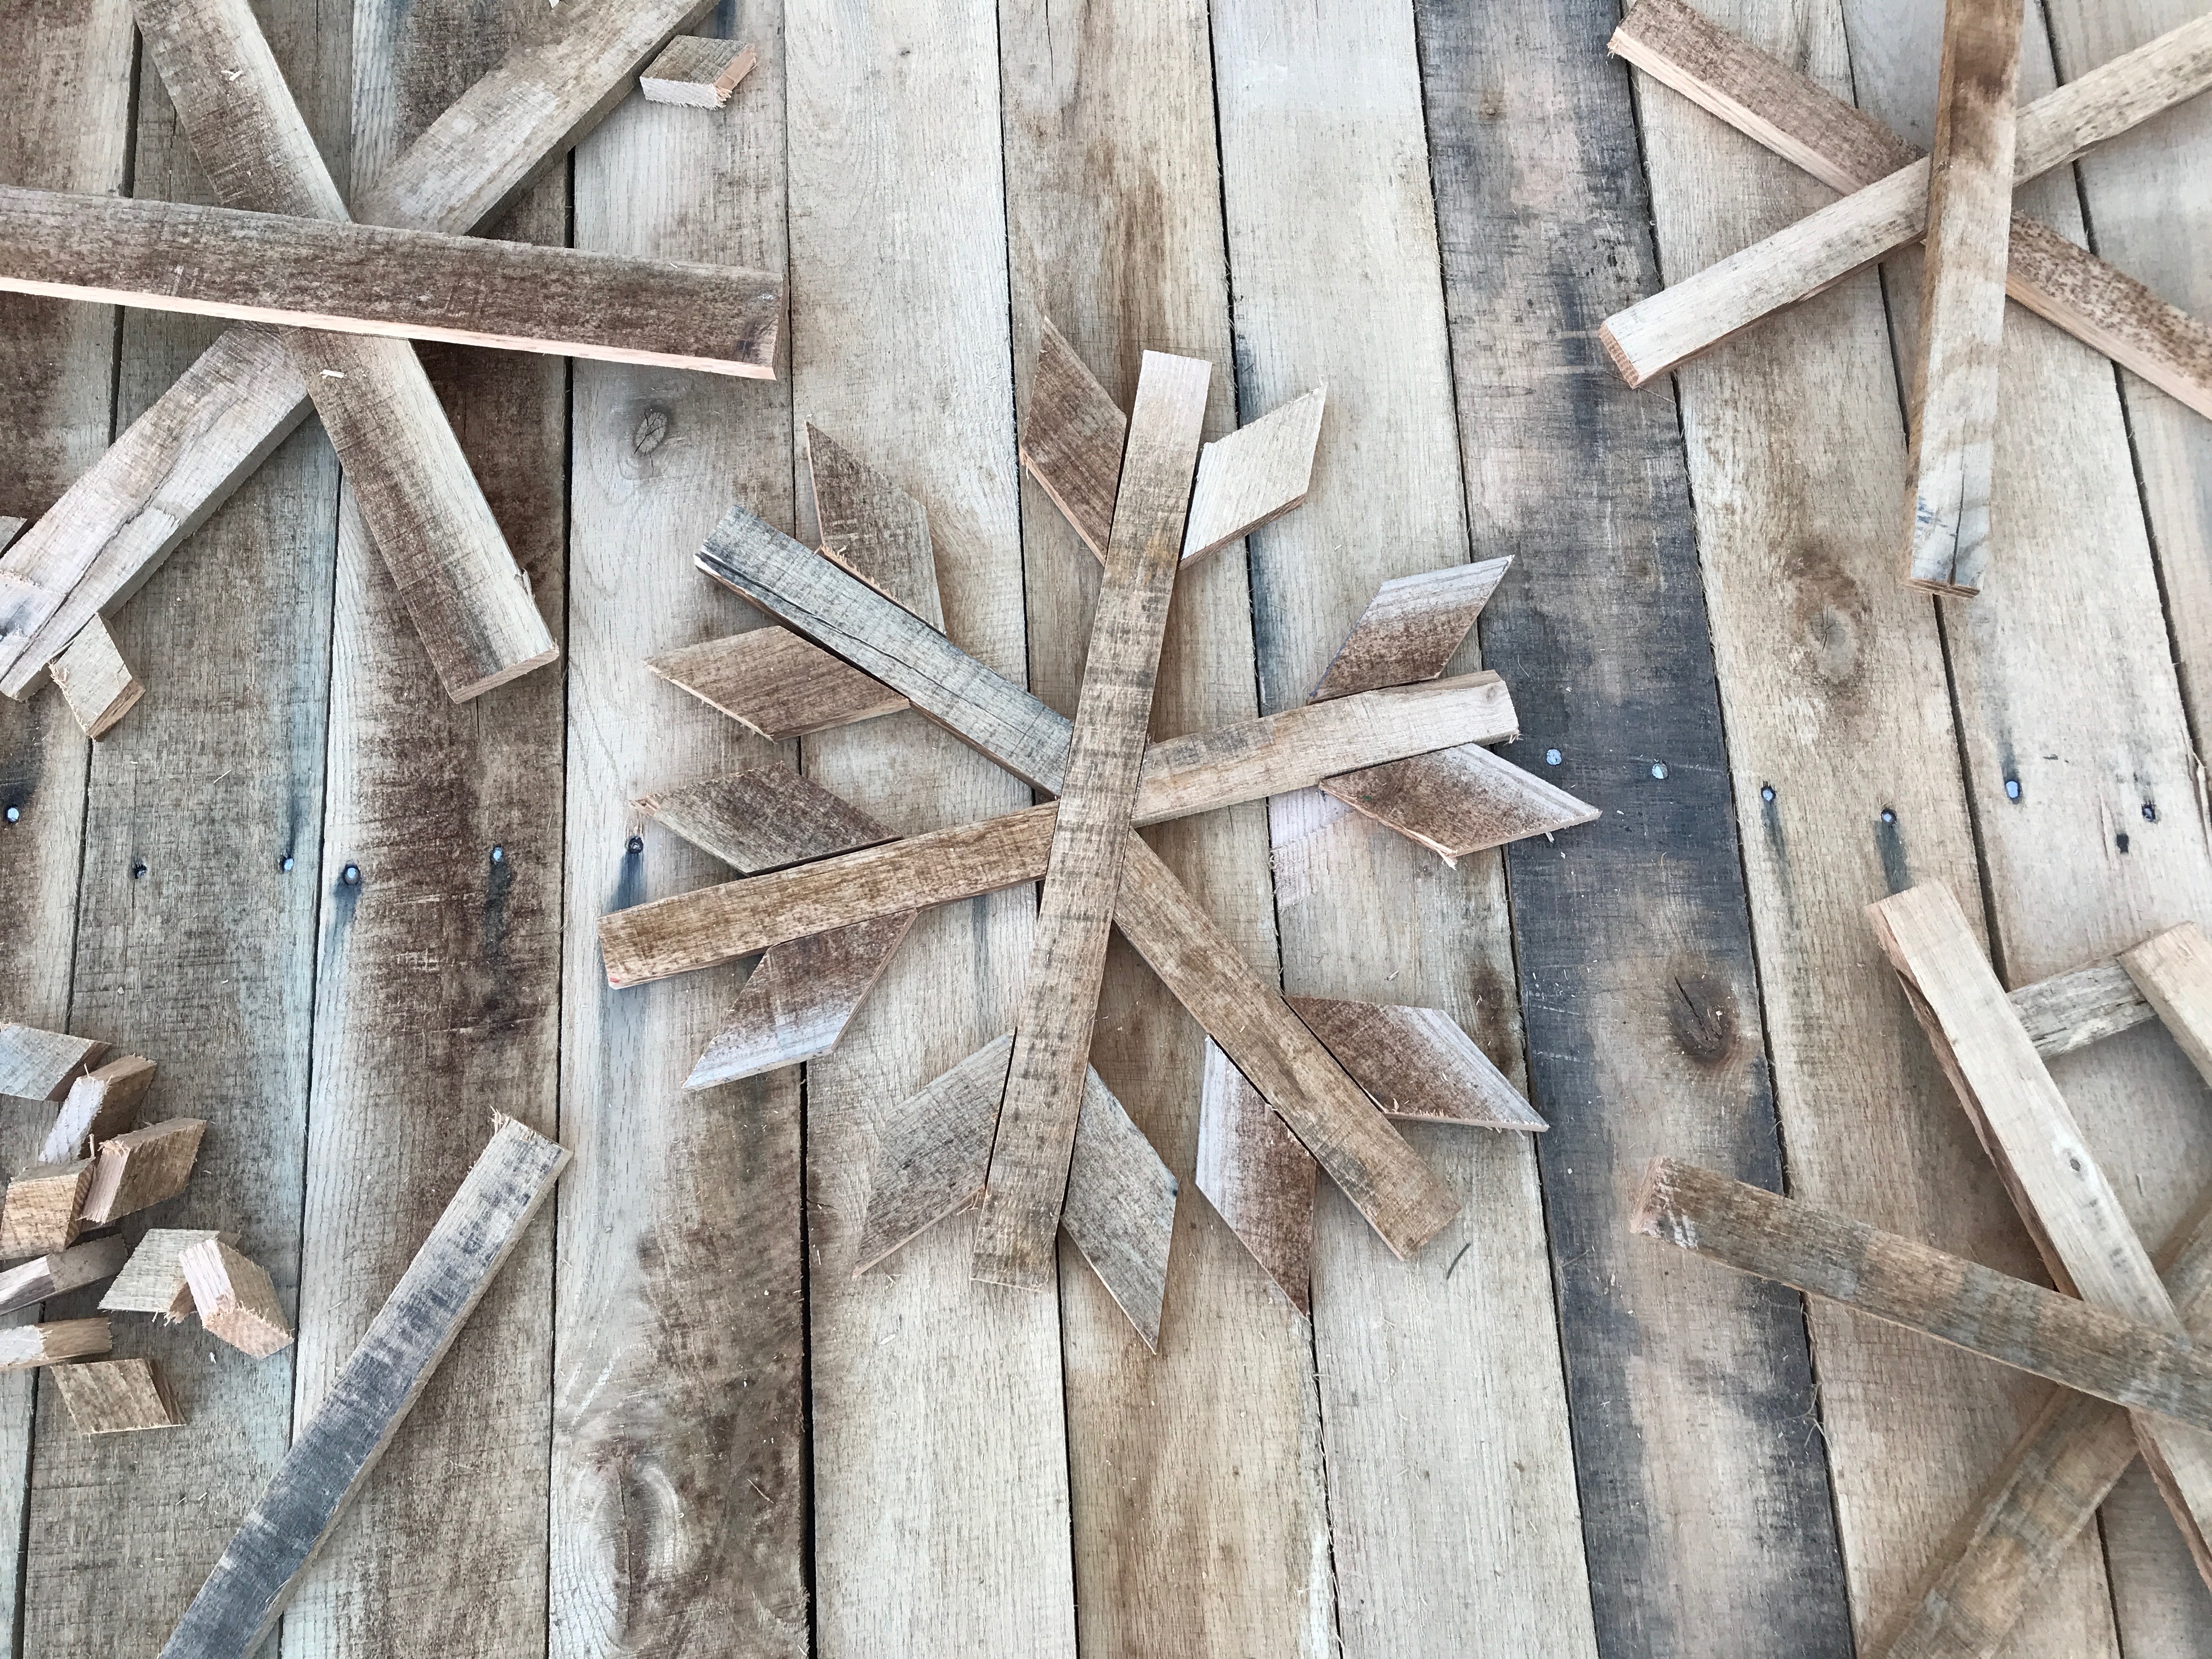
The next step is creating the snowflakes. I ripped additional pallet boards in half and in thirds (lengthwise) so the snowflakes are not as wide as the backer boards.
After having the skinnier boards, I began laying them on top of each other on the backer boards (see the unfinished snowflakes in the photo above).
As I liked the shapes, I marked where the pieces overlapped with a pencil line, and cut each piece to length. If you like to work with exact measurements, you can plan out snowflakes using exact intentional measurements. Just set the miter saw to a consistent angle for each cut.
I decided to make this snowflake holiday card display in an organic way, and am loving the way they are taking shape on the pallet background.
It’s time to paint.
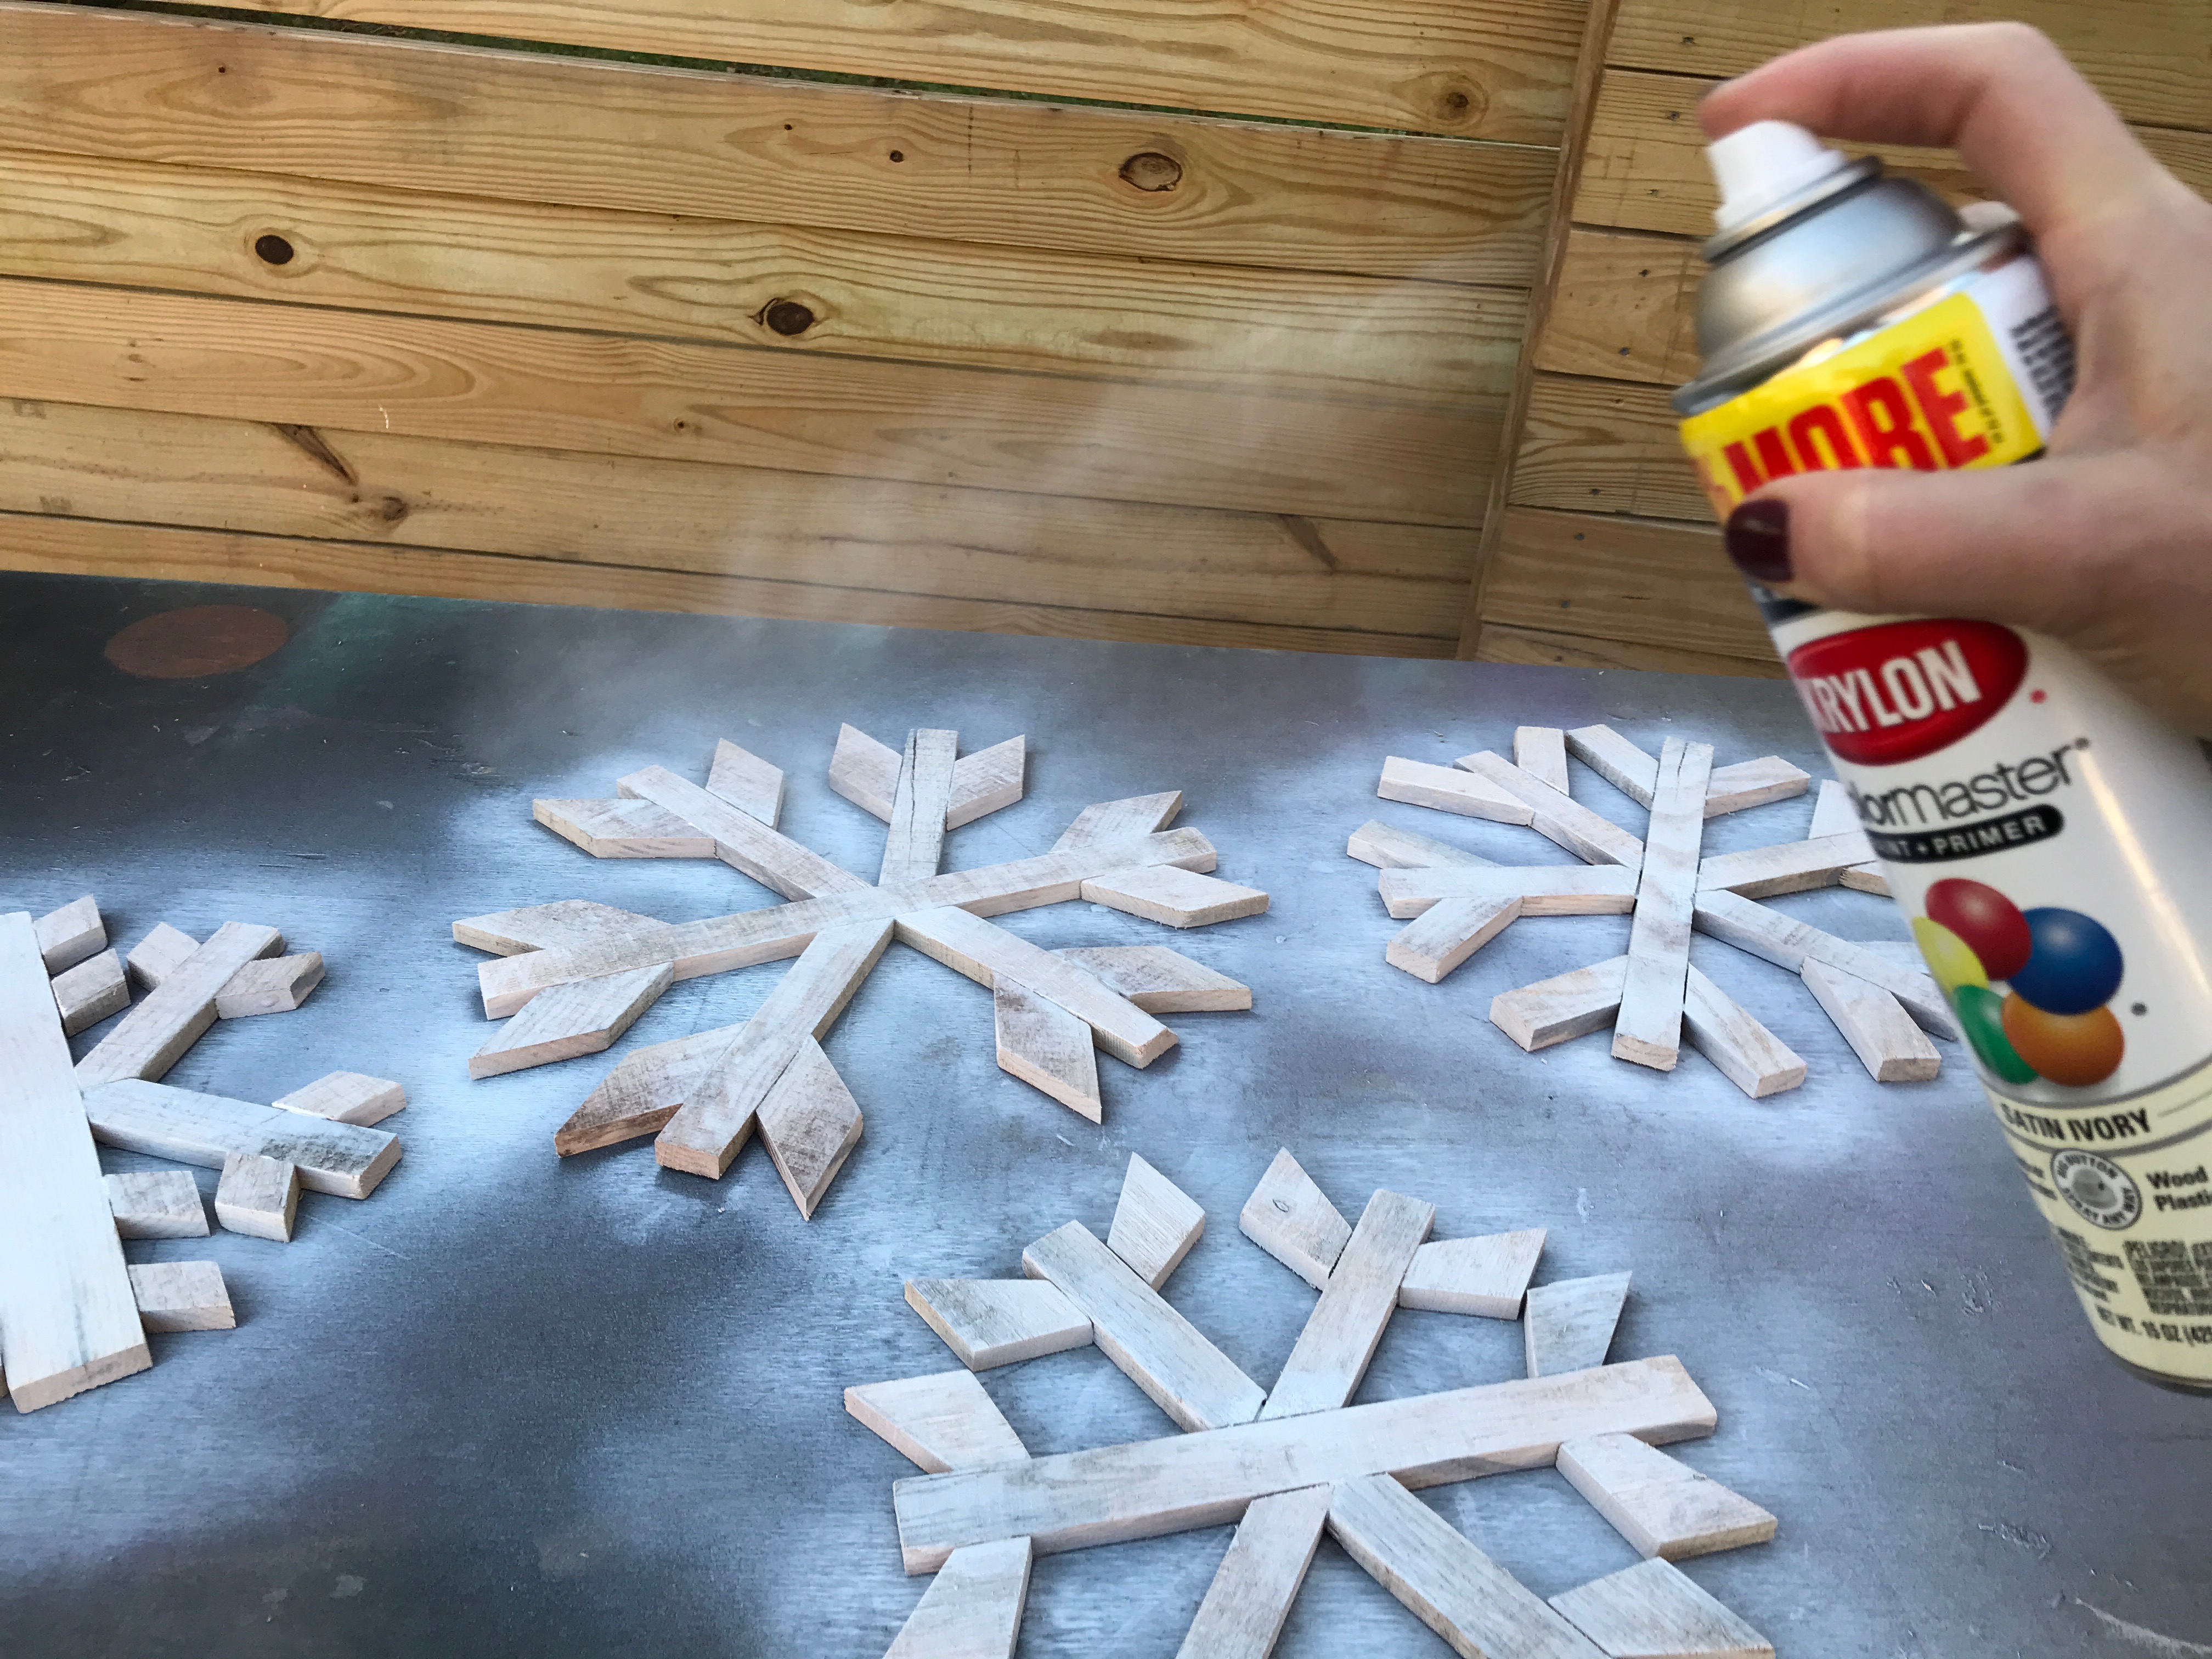
Now that all of the snowflake parts are cut and glued together, they are ready for paint. Before painting, I read the application and safety instructions on the back of the can. I dusted all of the snowflakes with white primer. When they were ready, I used ColorMaster Paint + Primer-25% More in Satin Ivory. It took 3 coats (one can) to achieve the look I had in mind.
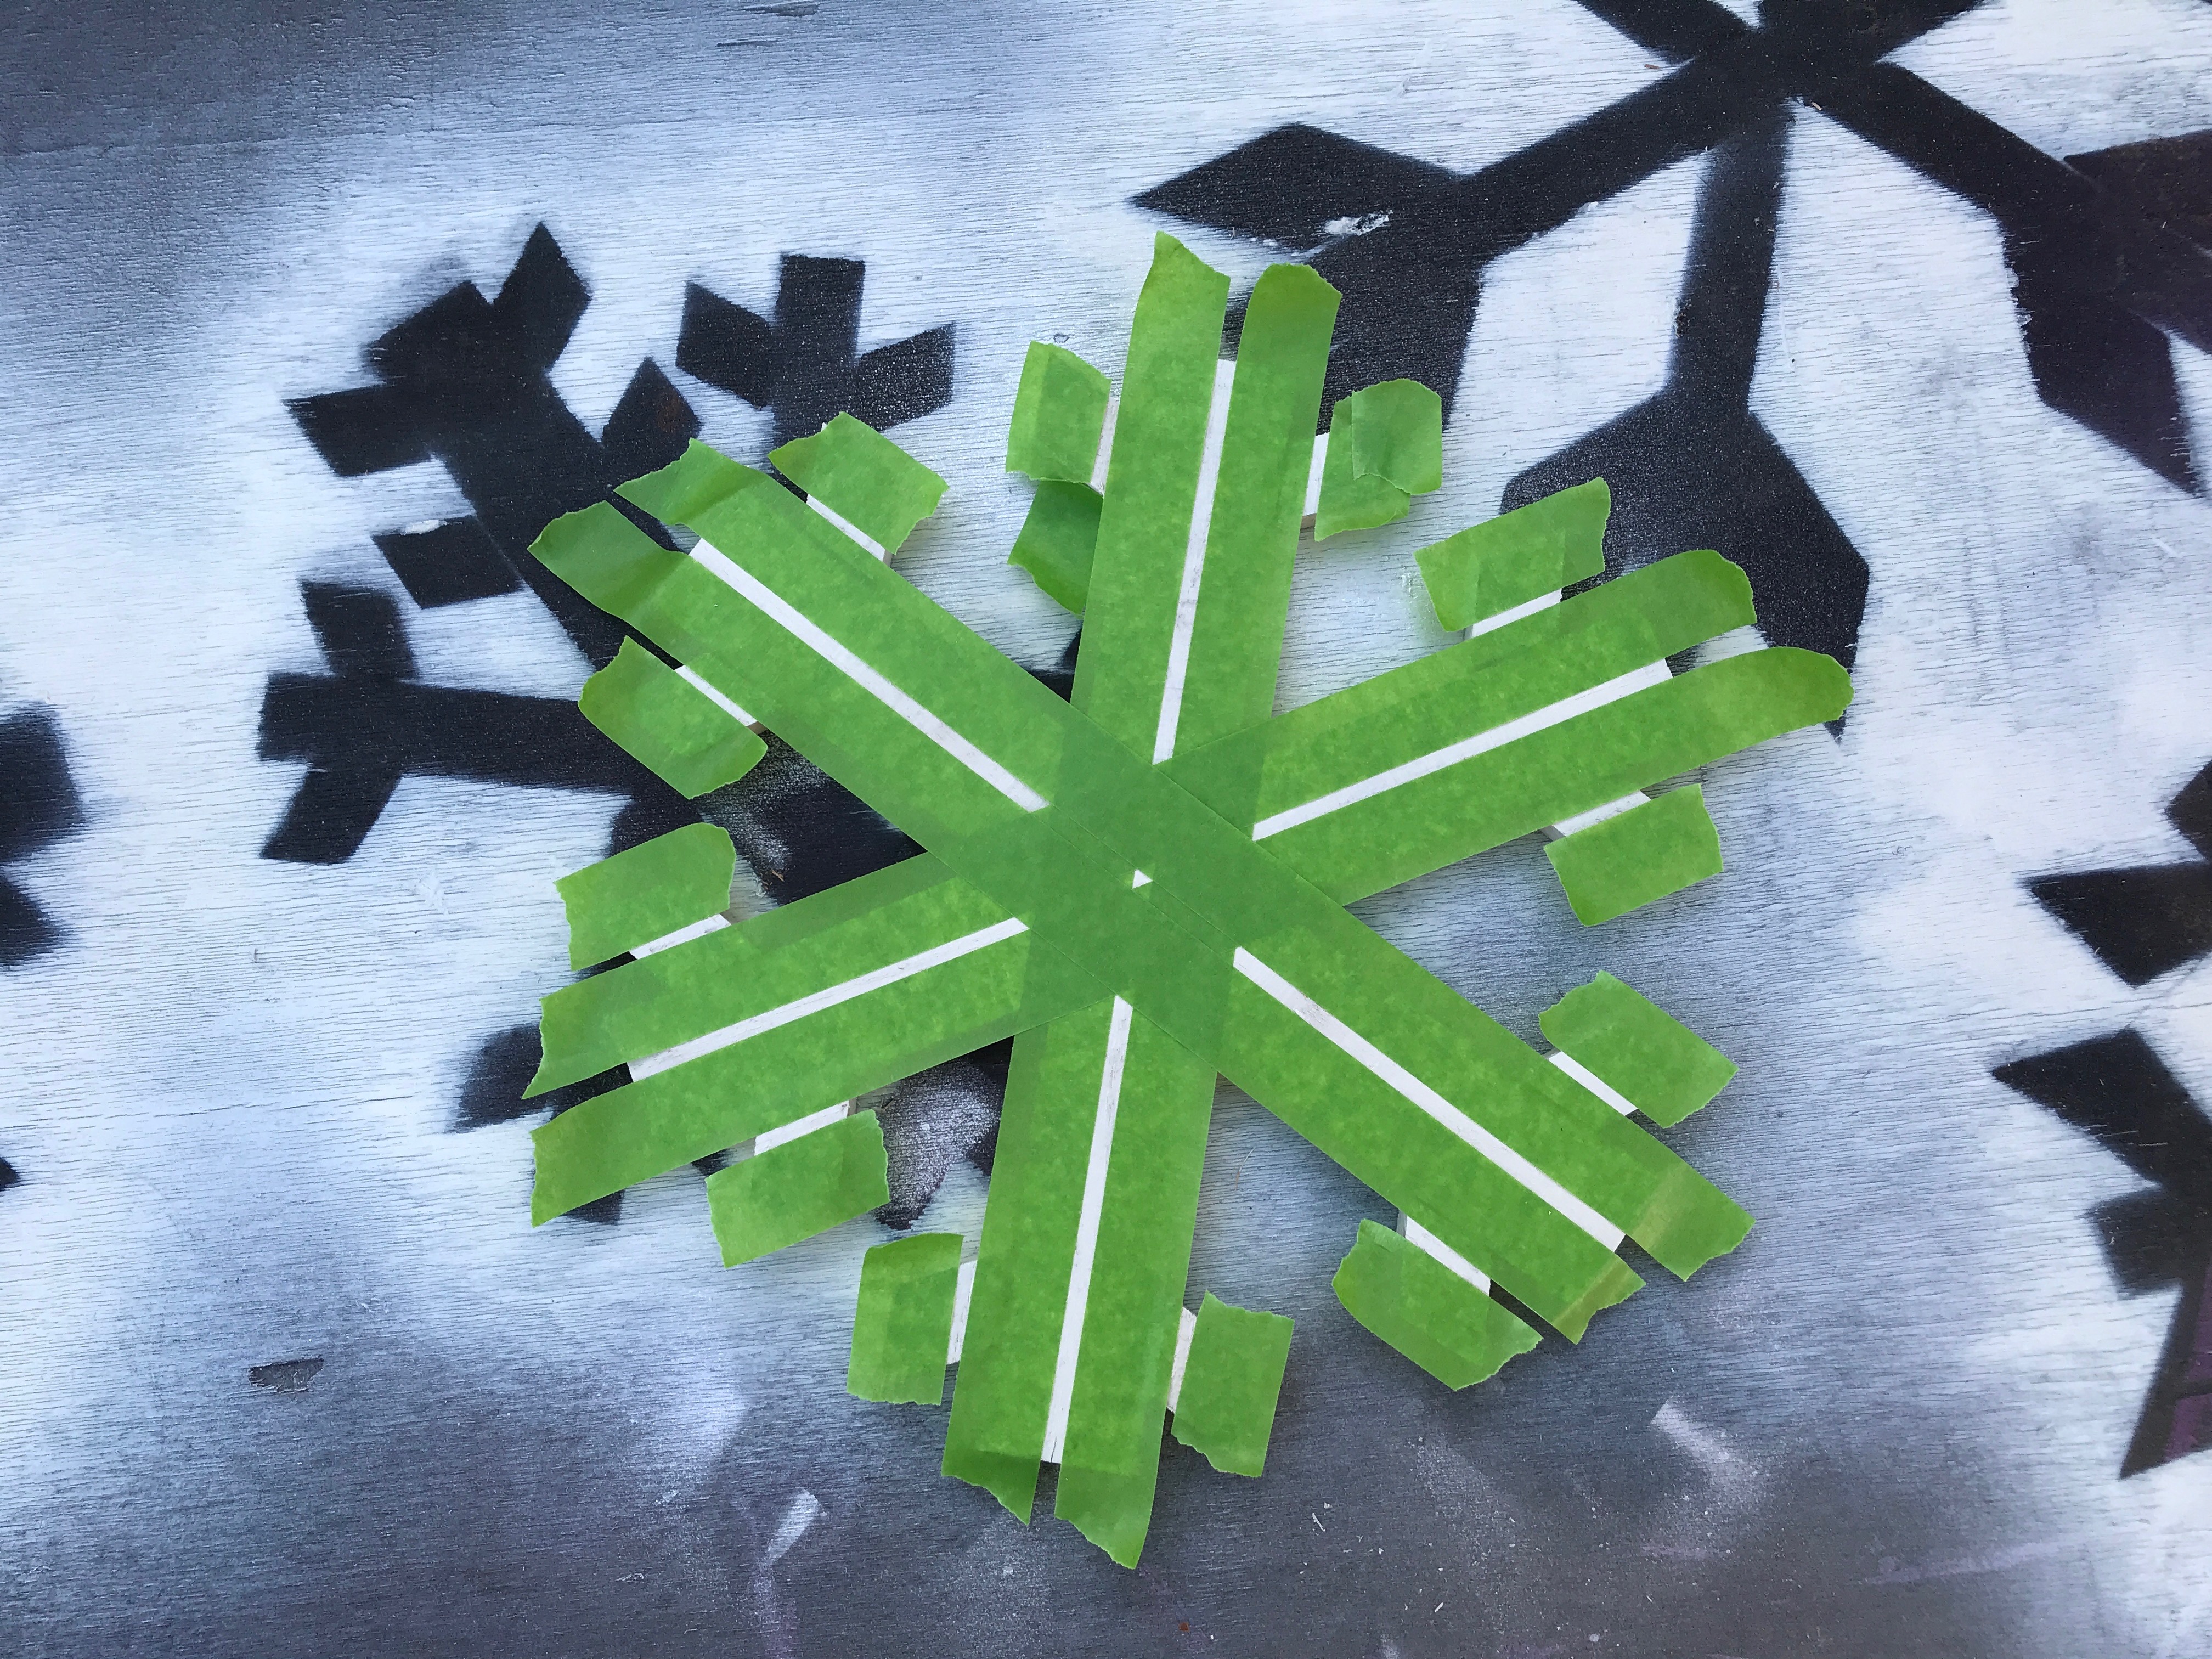
While I love the look of the snowflakes with just the Satin Ivory, I wanted to take them a bit farther into a shimmer zone with metallic. I used ColorMaster Paint + Primer -25% More in Metallic Gold and Metallic Silver to accomplish this.
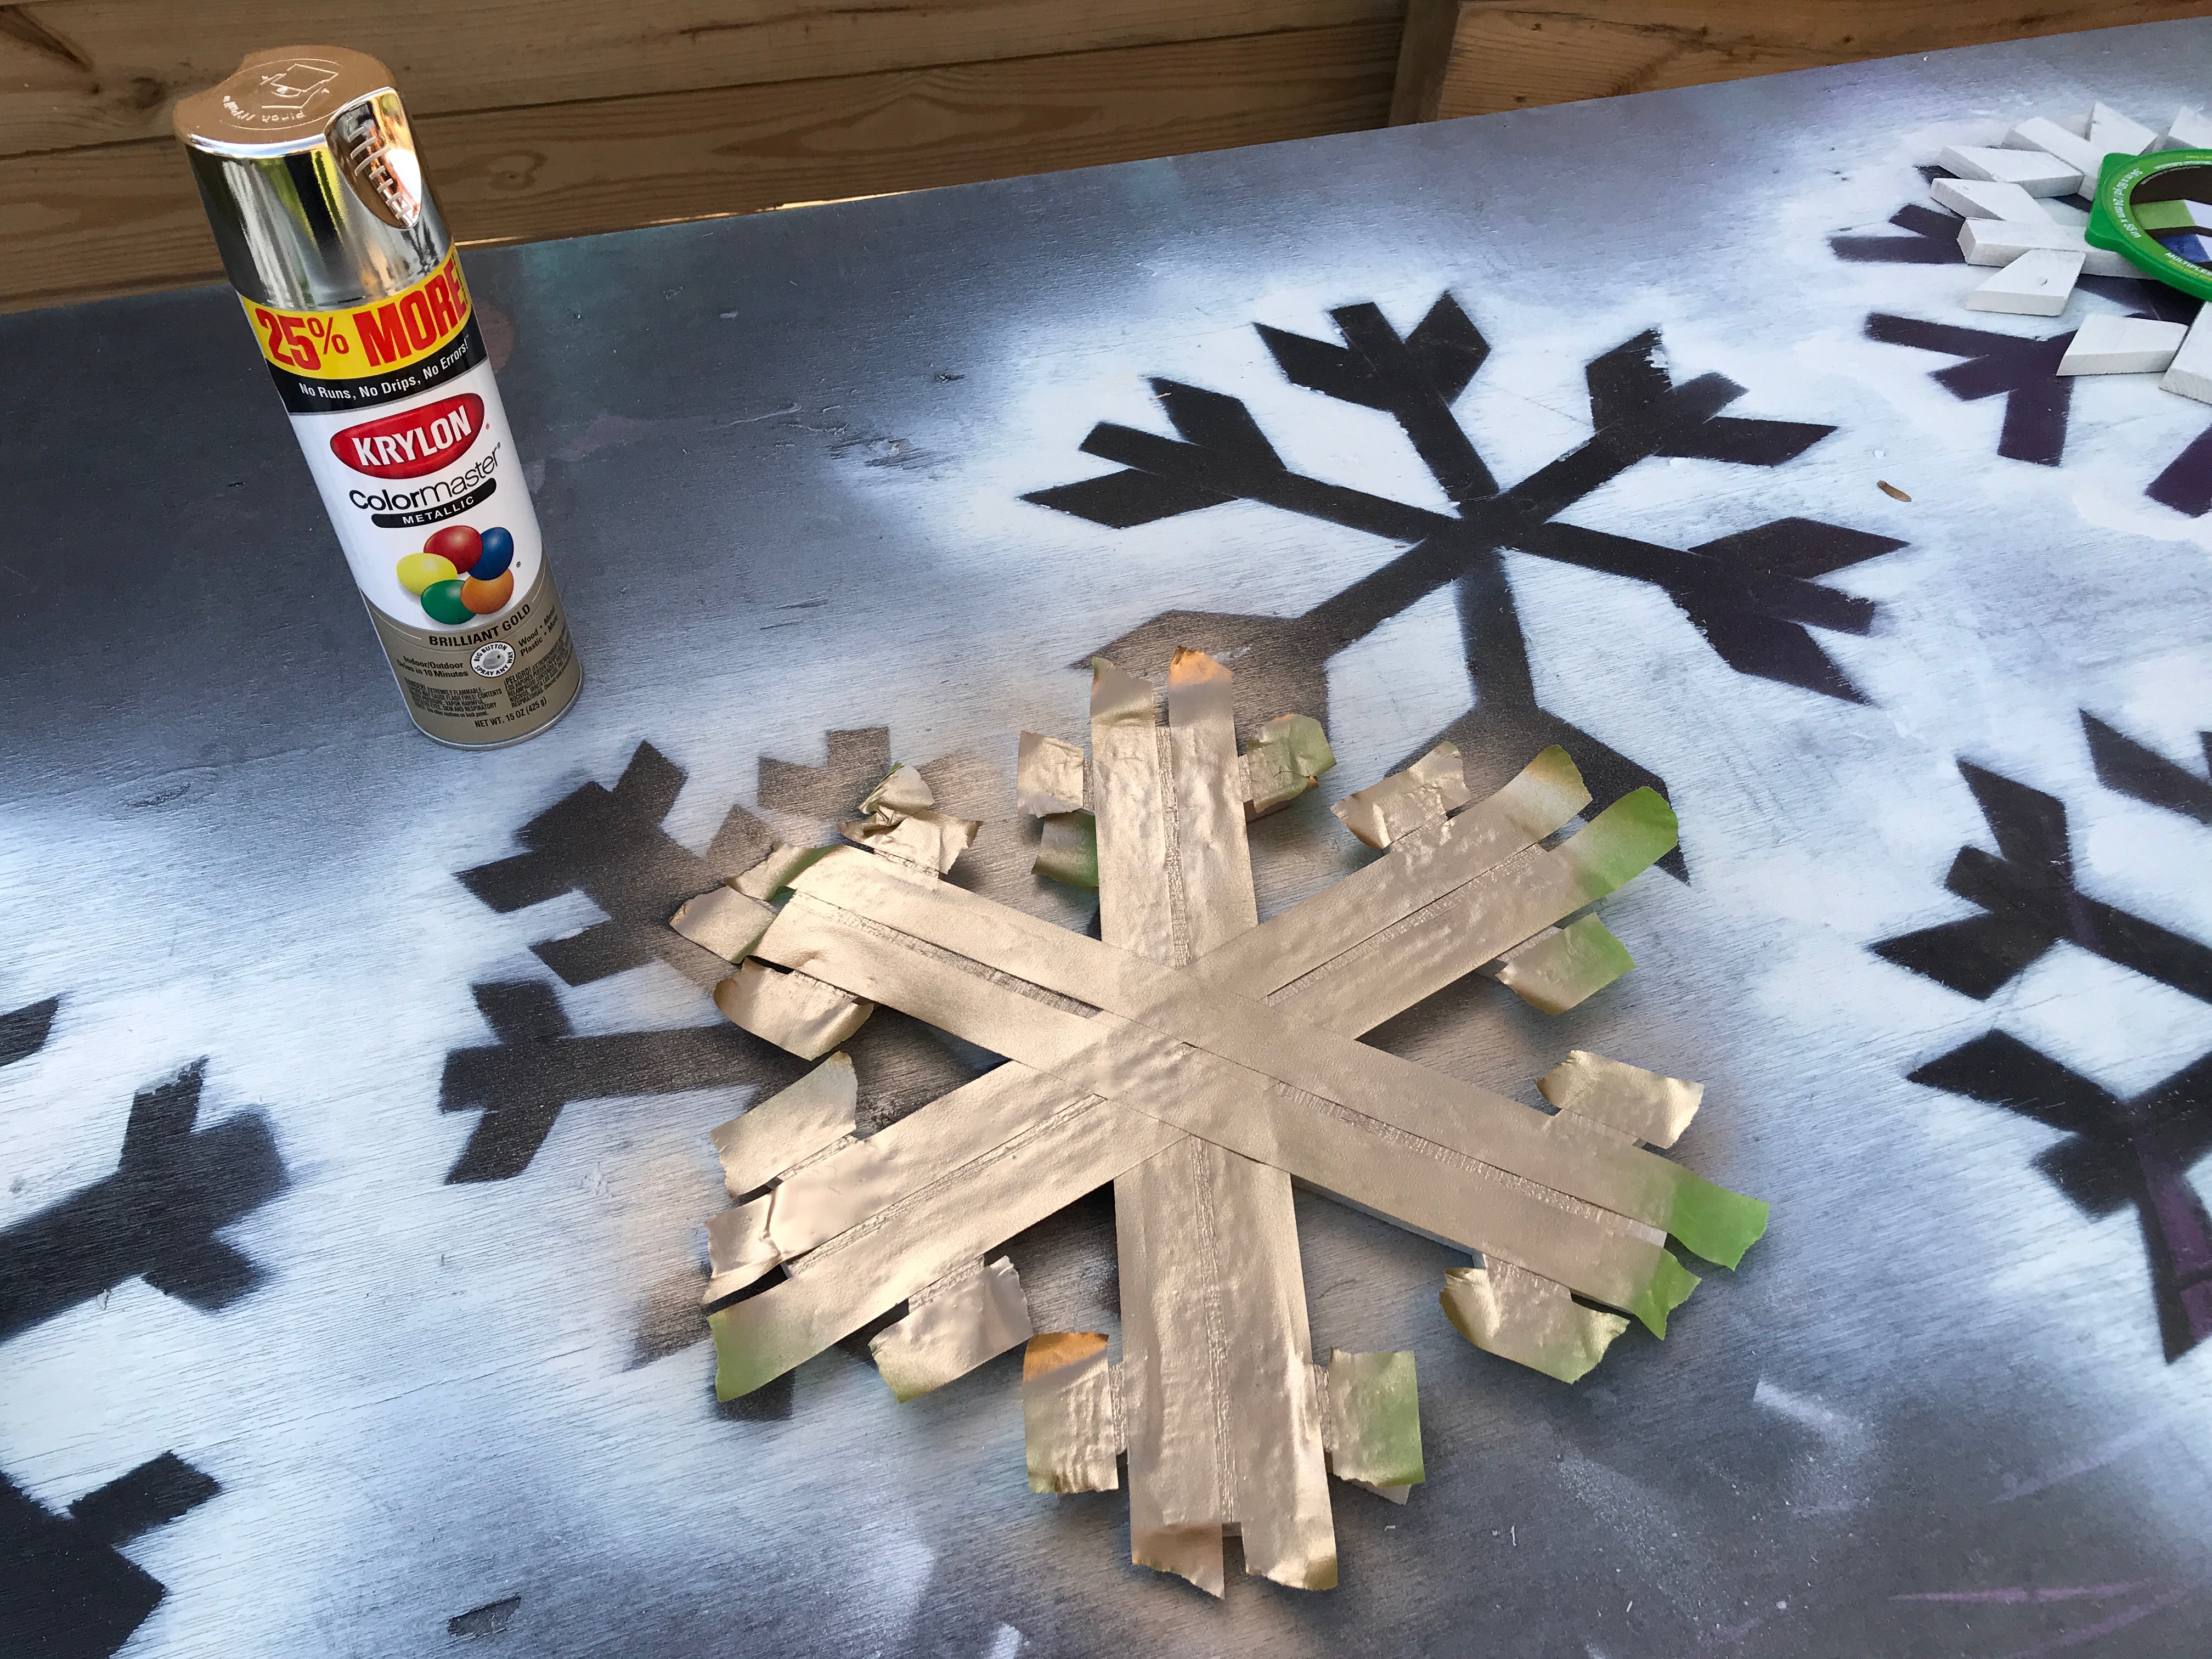
After I taped each snowflake with a different pattern, I added a bit of metallic. Just two dusting coats of metallic were perfect, so I didn’t need more than a 1/3 of a can of paint. When I was finished applying the paint, I turned the can upside-down and pressed on the nozzle until it ran clear. This step makes sure the paint stores well for my next project.

The metallic accents add a bit of shine and glamour to the farmhouse look of the holiday card display.
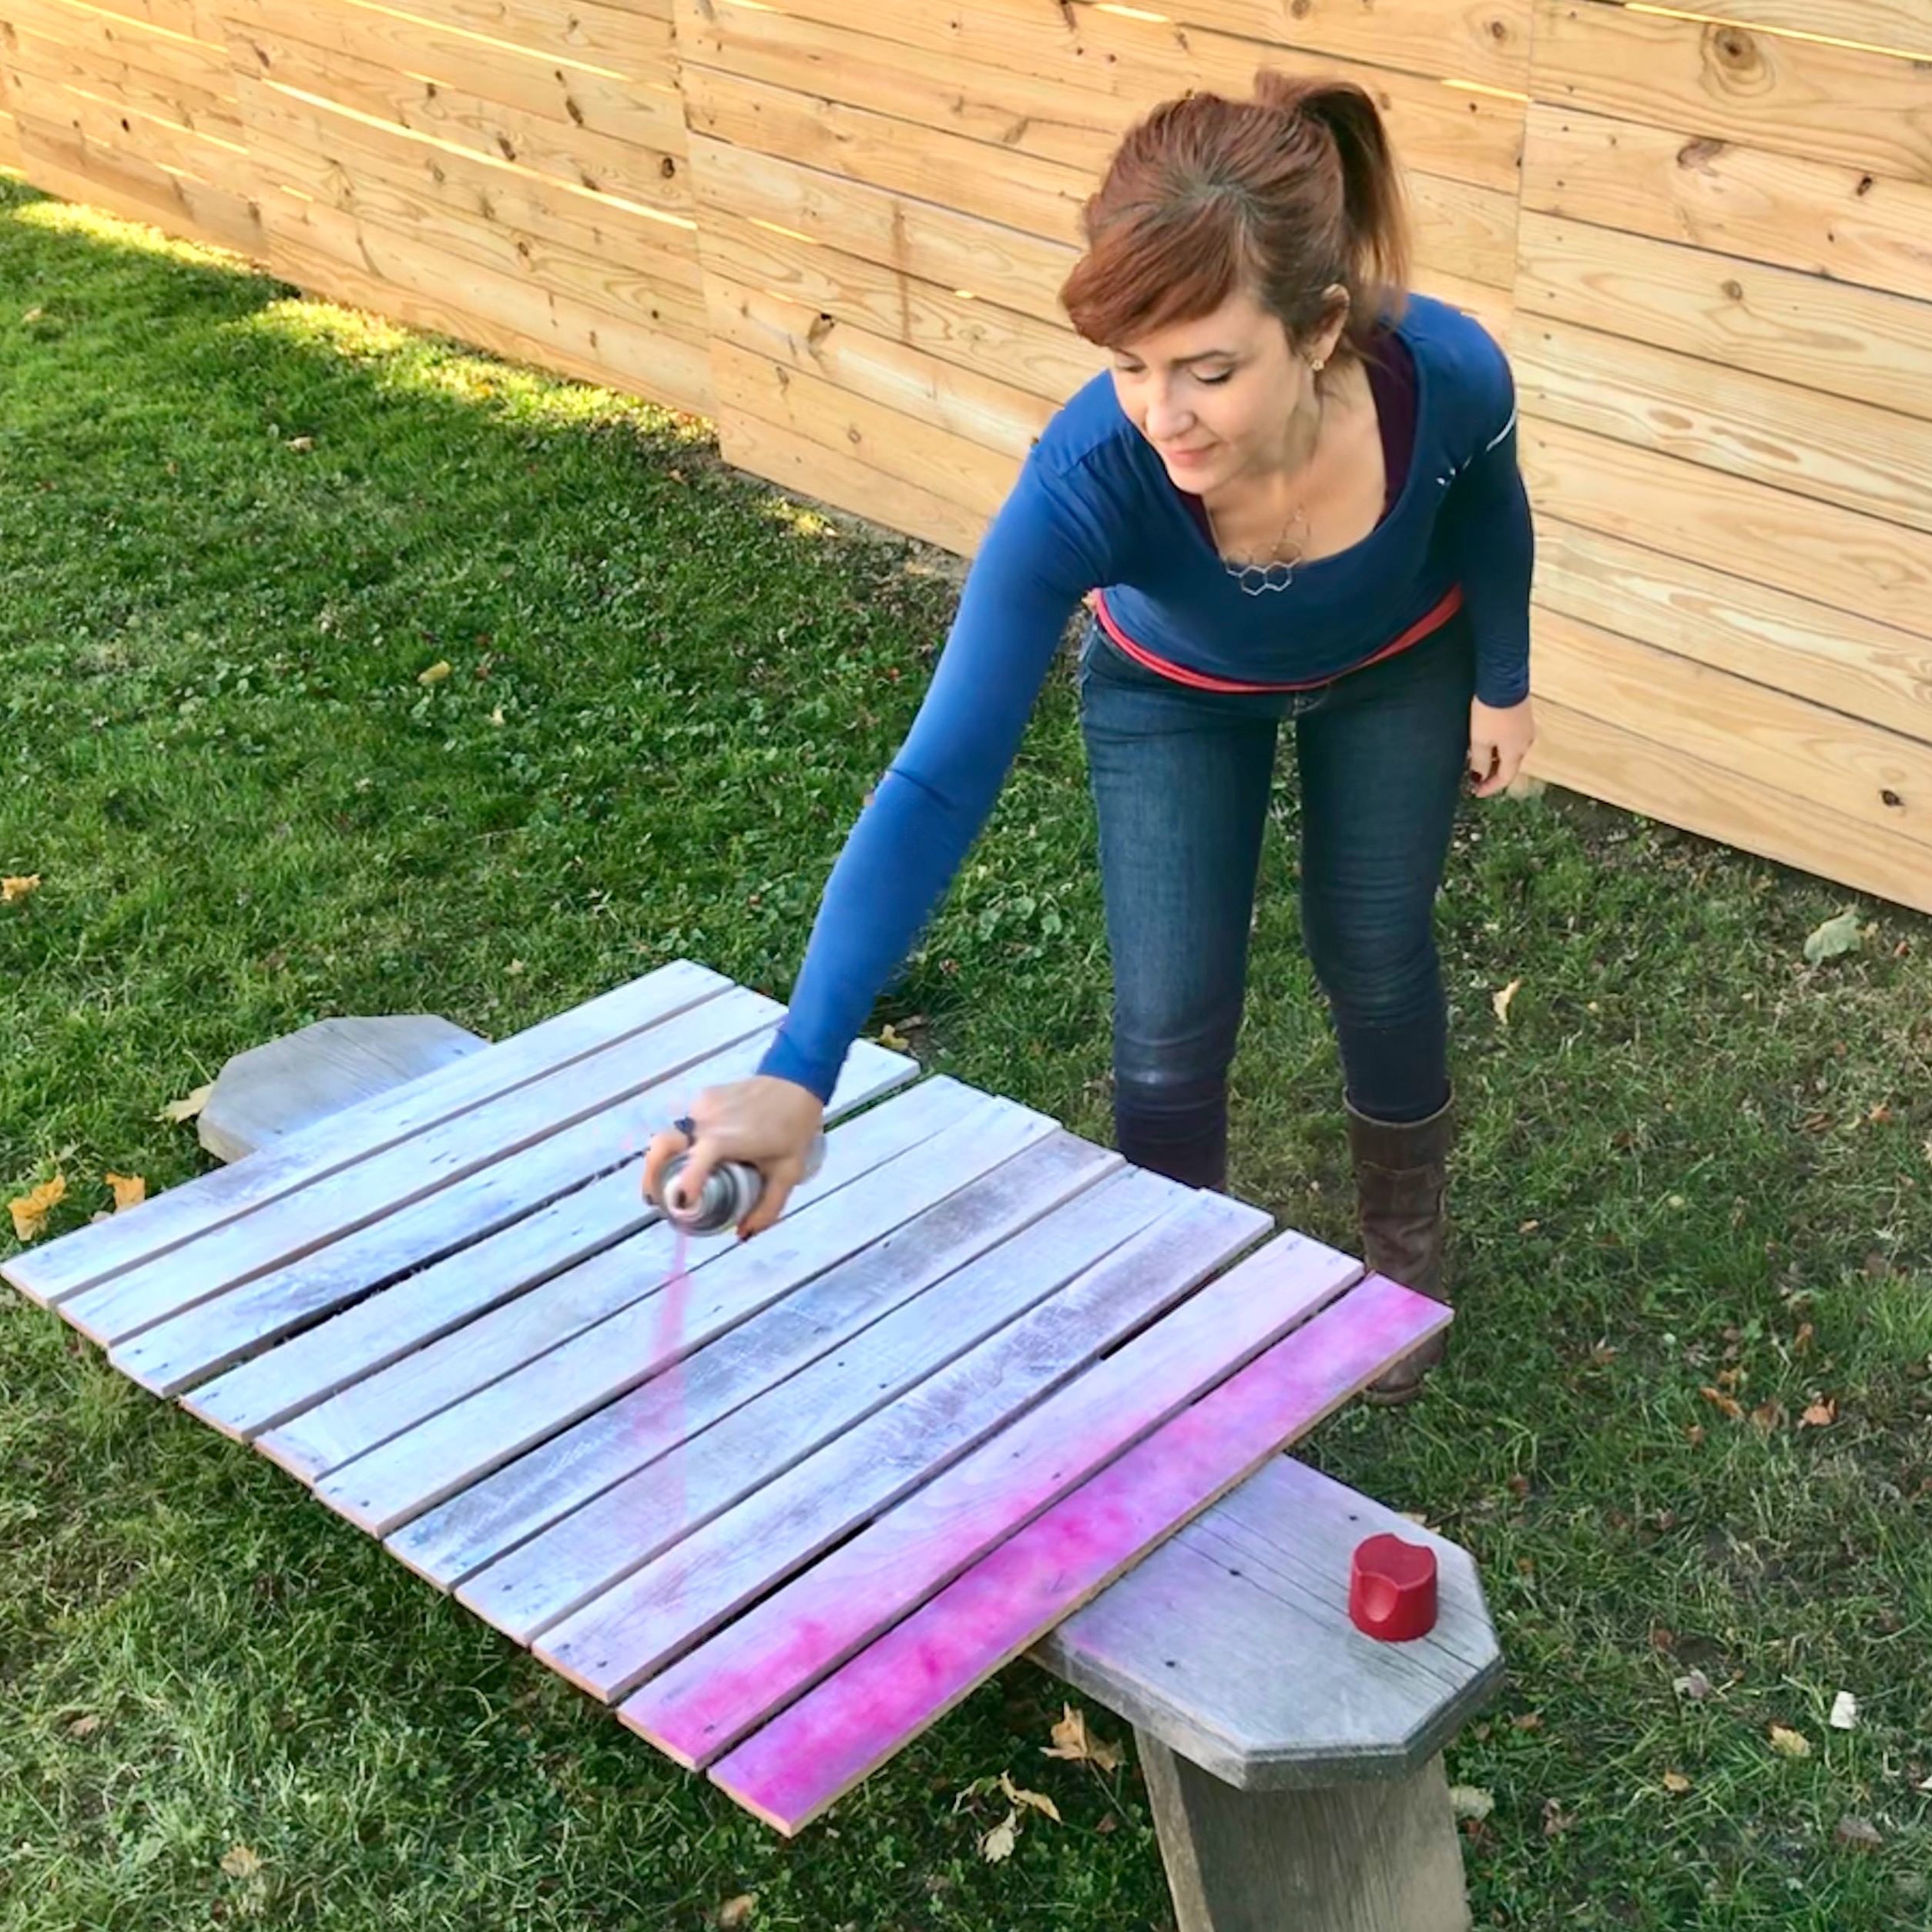
I primed and painted the pallet boards for the backer of the card display. My idea was to create a barn-like feel so I chose ColorMaster Paint + Primer -25% More in Satin Burgundy as the spray paint color. It took four light coats of paint (about two cans) to achieve the look. I love how the different shades of the pallet wood results in varying shades of the burgundy color giving off that rustic farmhouse feel.
Assemble the parts.
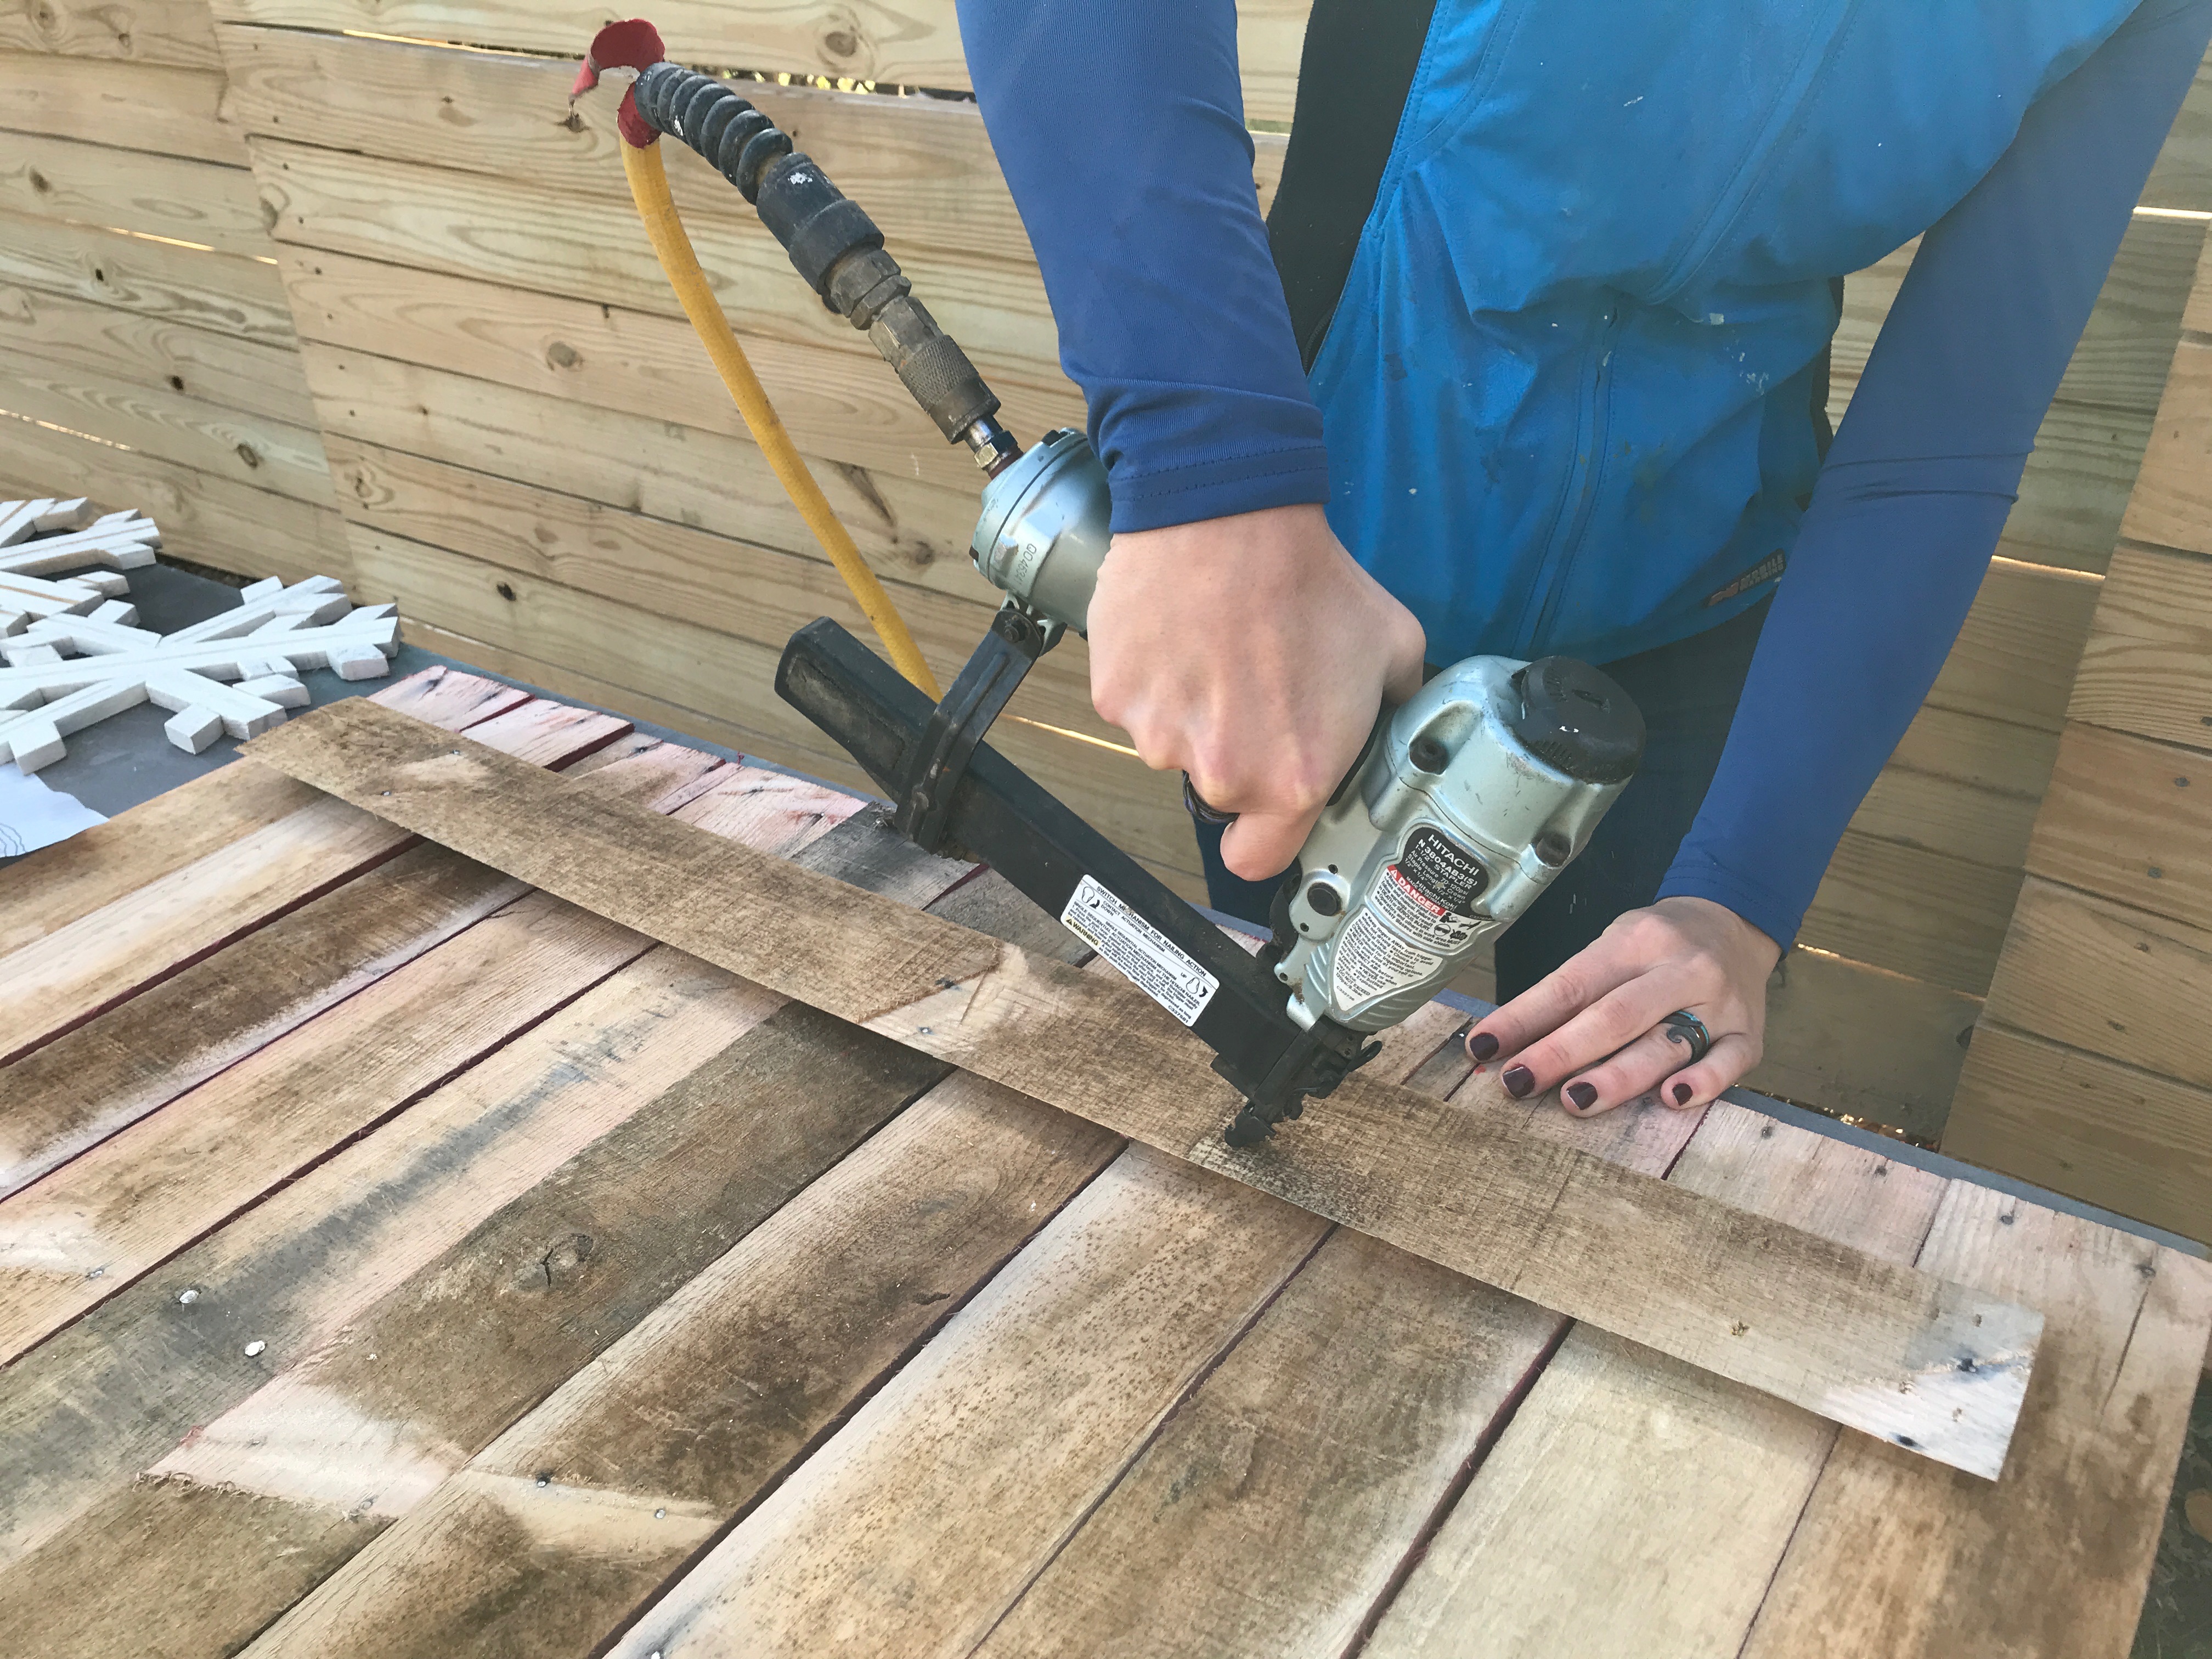
After all of the paint is dry, I turned over the burgundy backer boards, and attached them using a strip of pallet and staples.
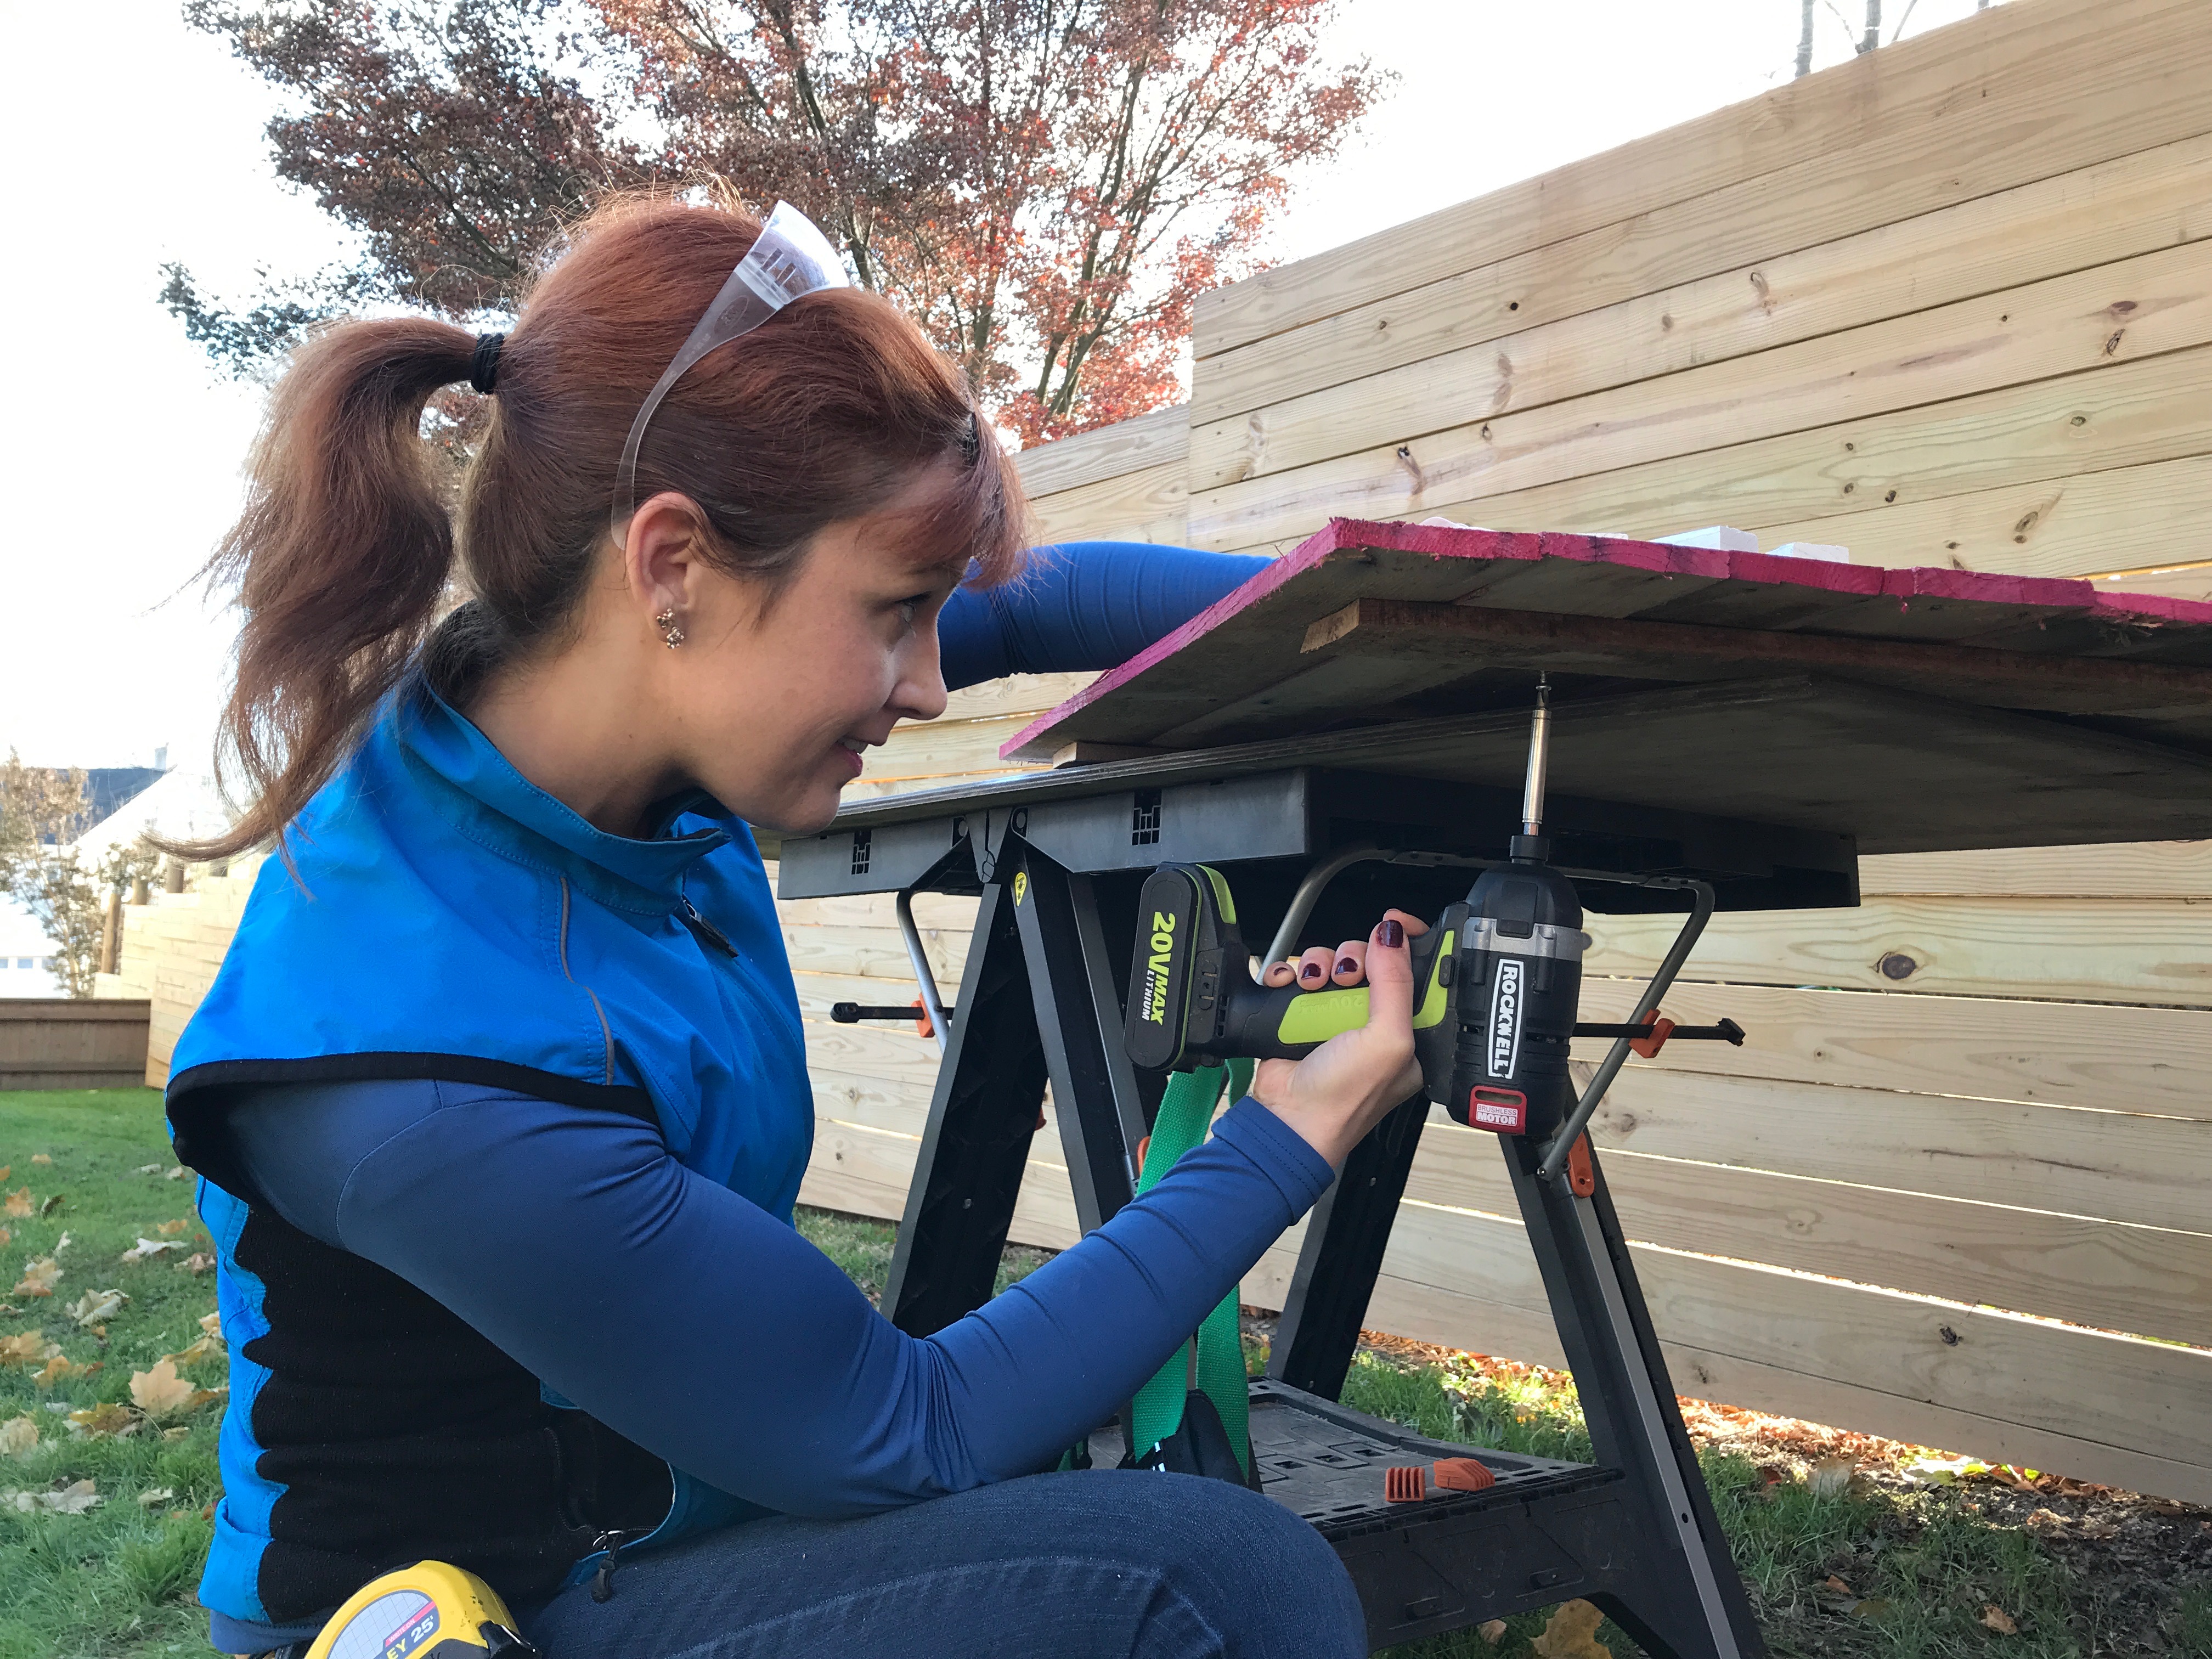
Then I turned the board over, set out the snowflakes where I wanted, and then fastened the snowflakes from behind. The snowflakes are snug to the board, but have enough space to insert cards.
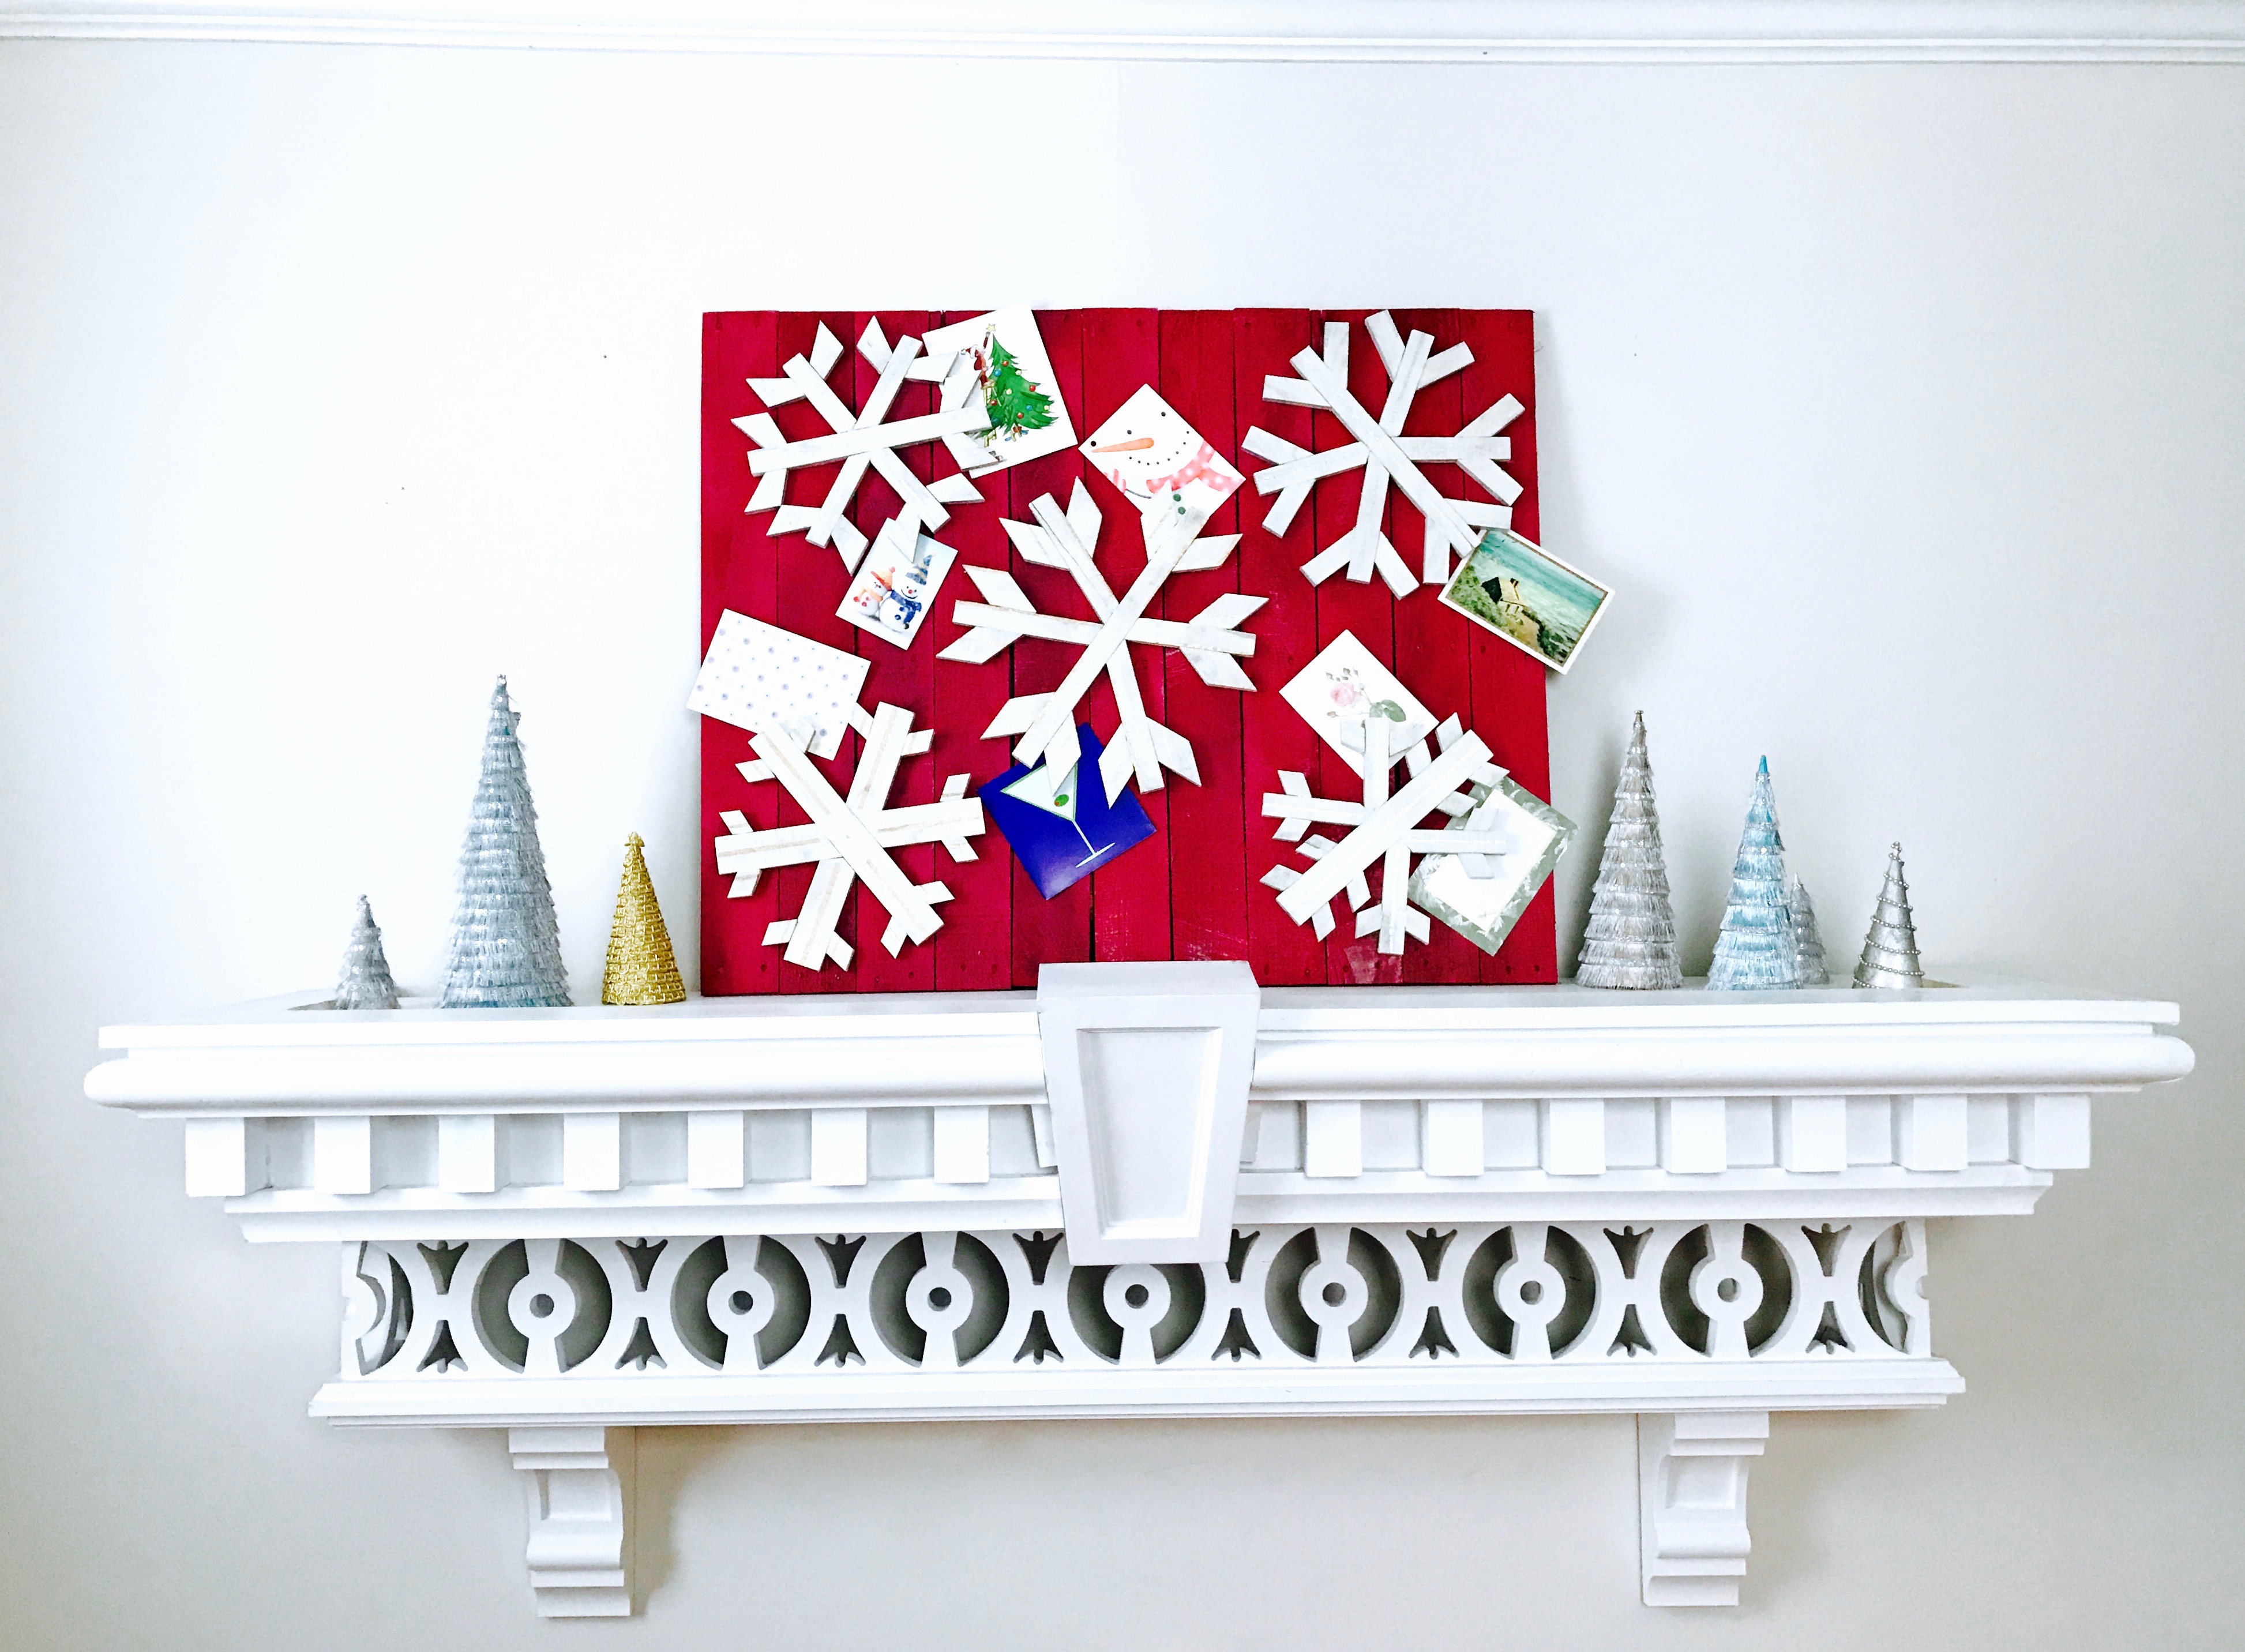
Enjoy the new wall art card display!
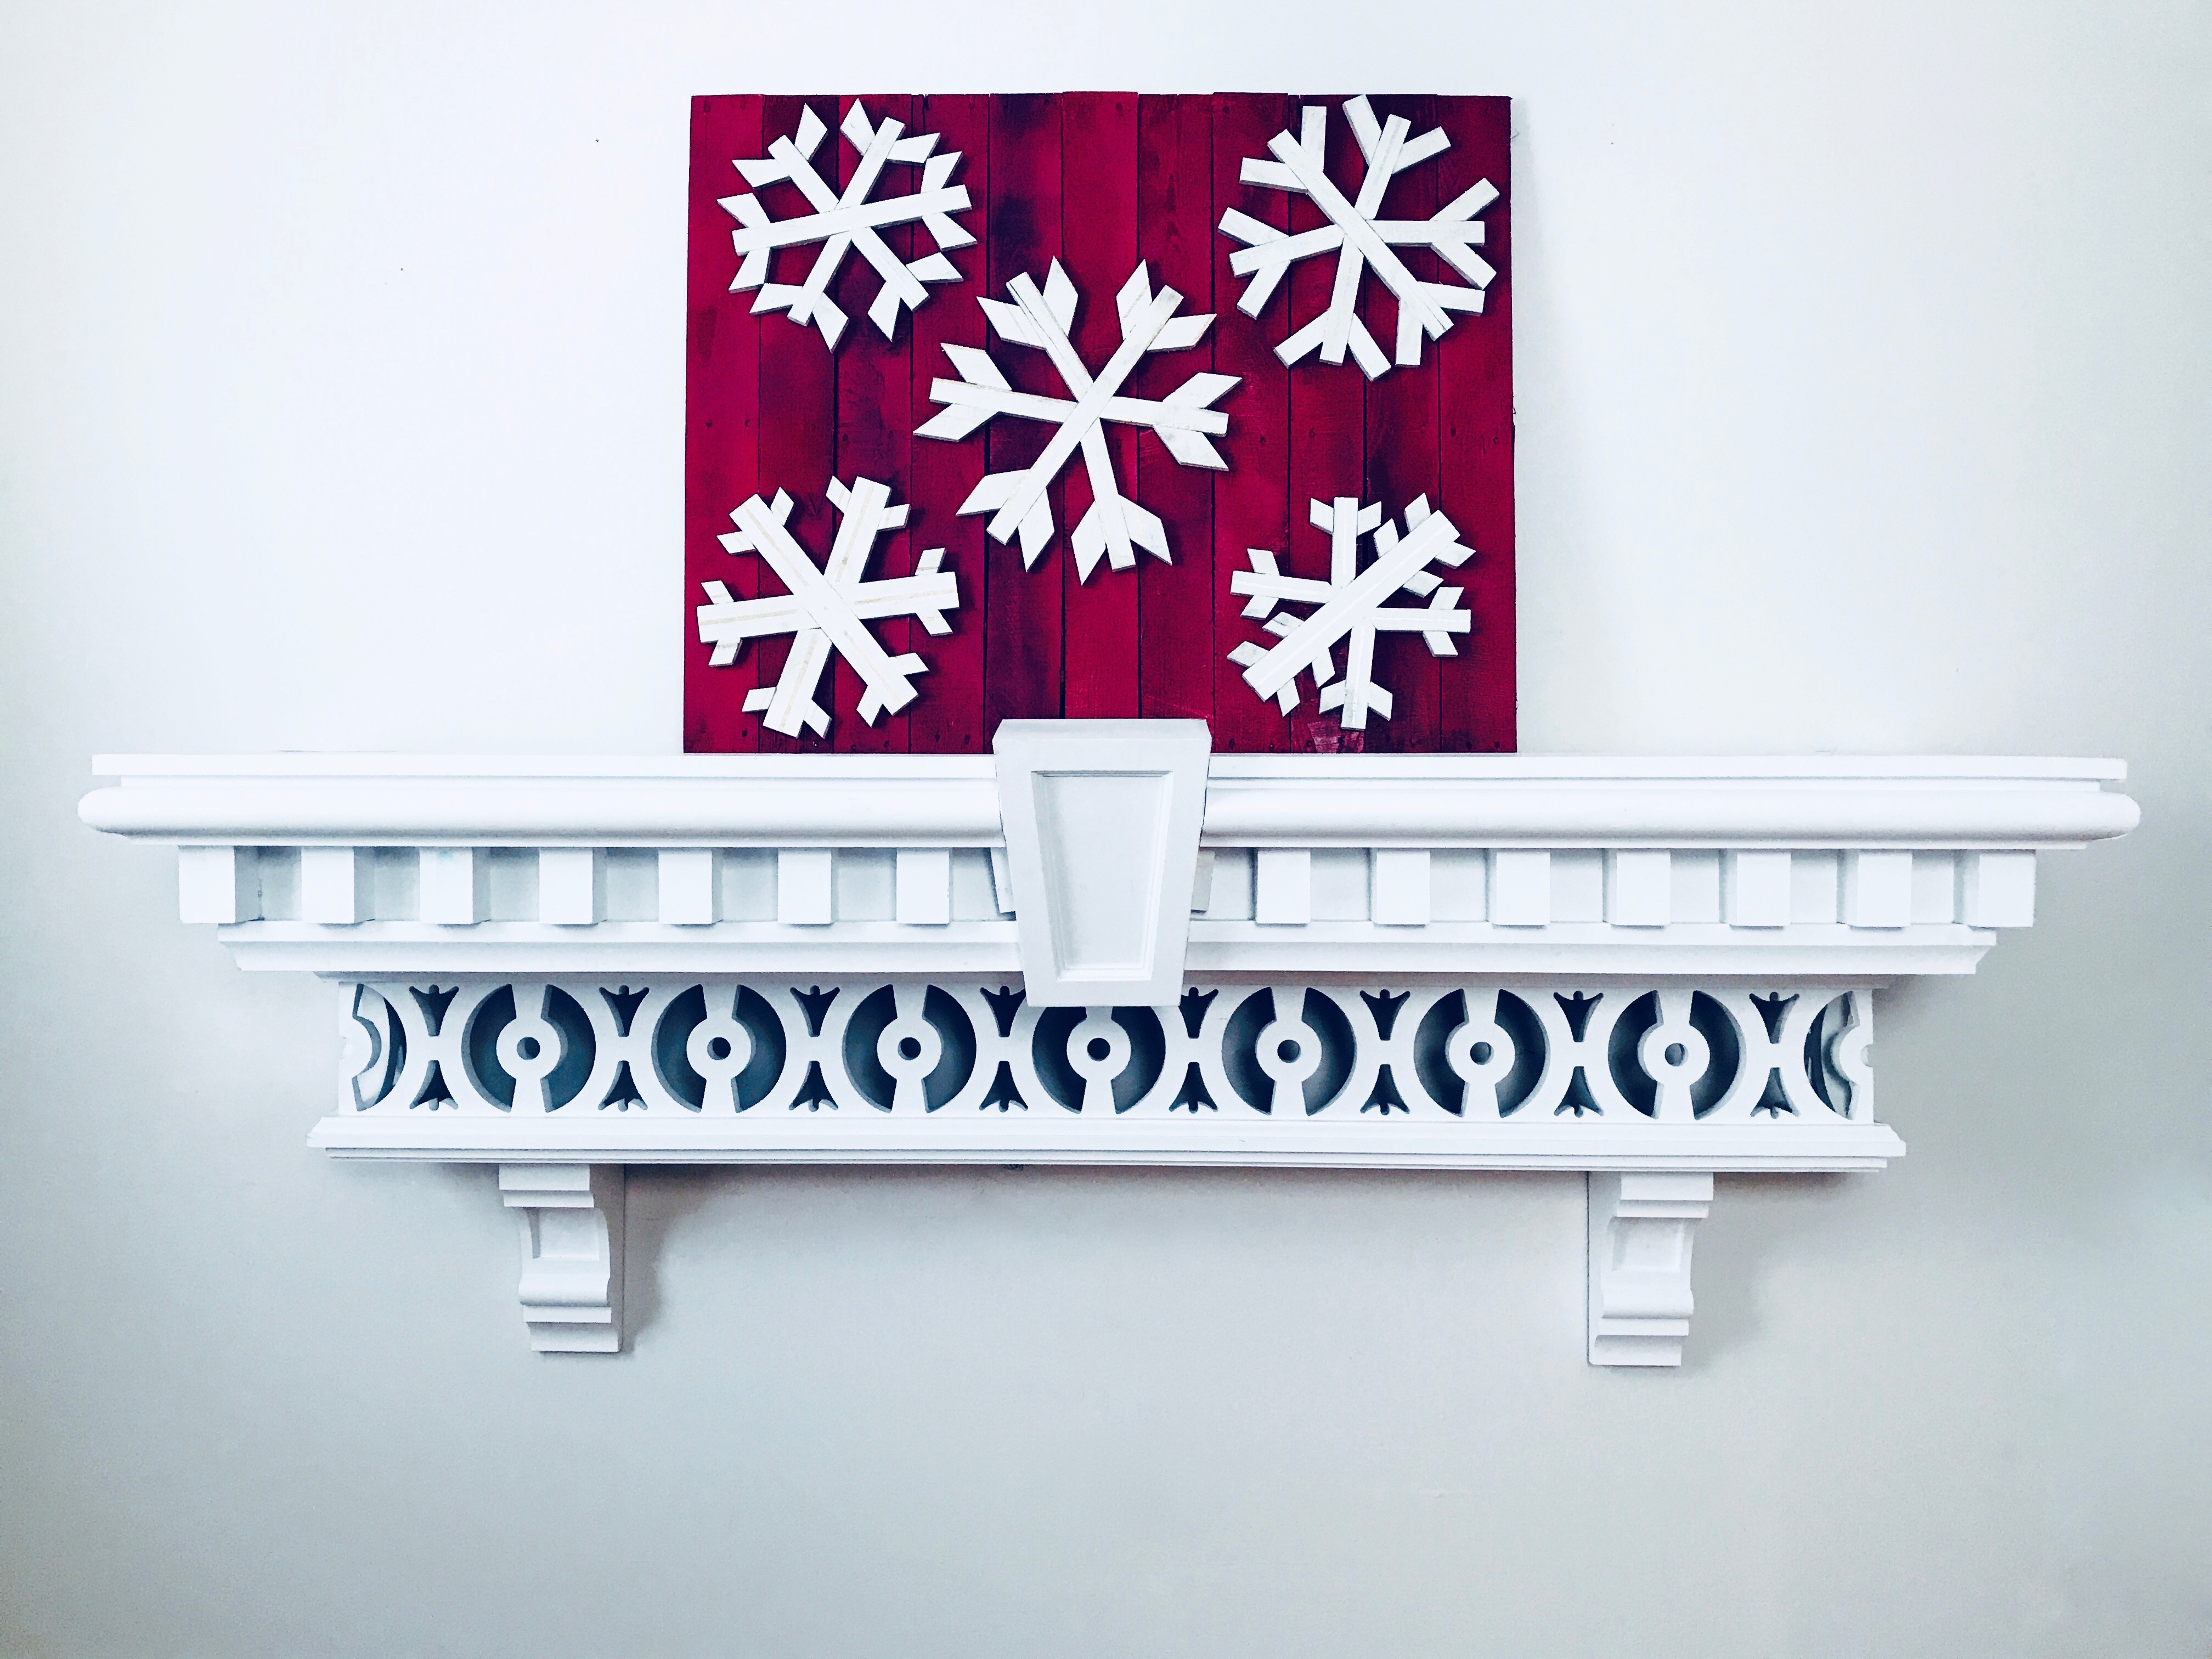
I am so happy with this holiday card display! The snowflakes on the burgundy backer of pallets fits perfectly into our “formal farmhouse” style.
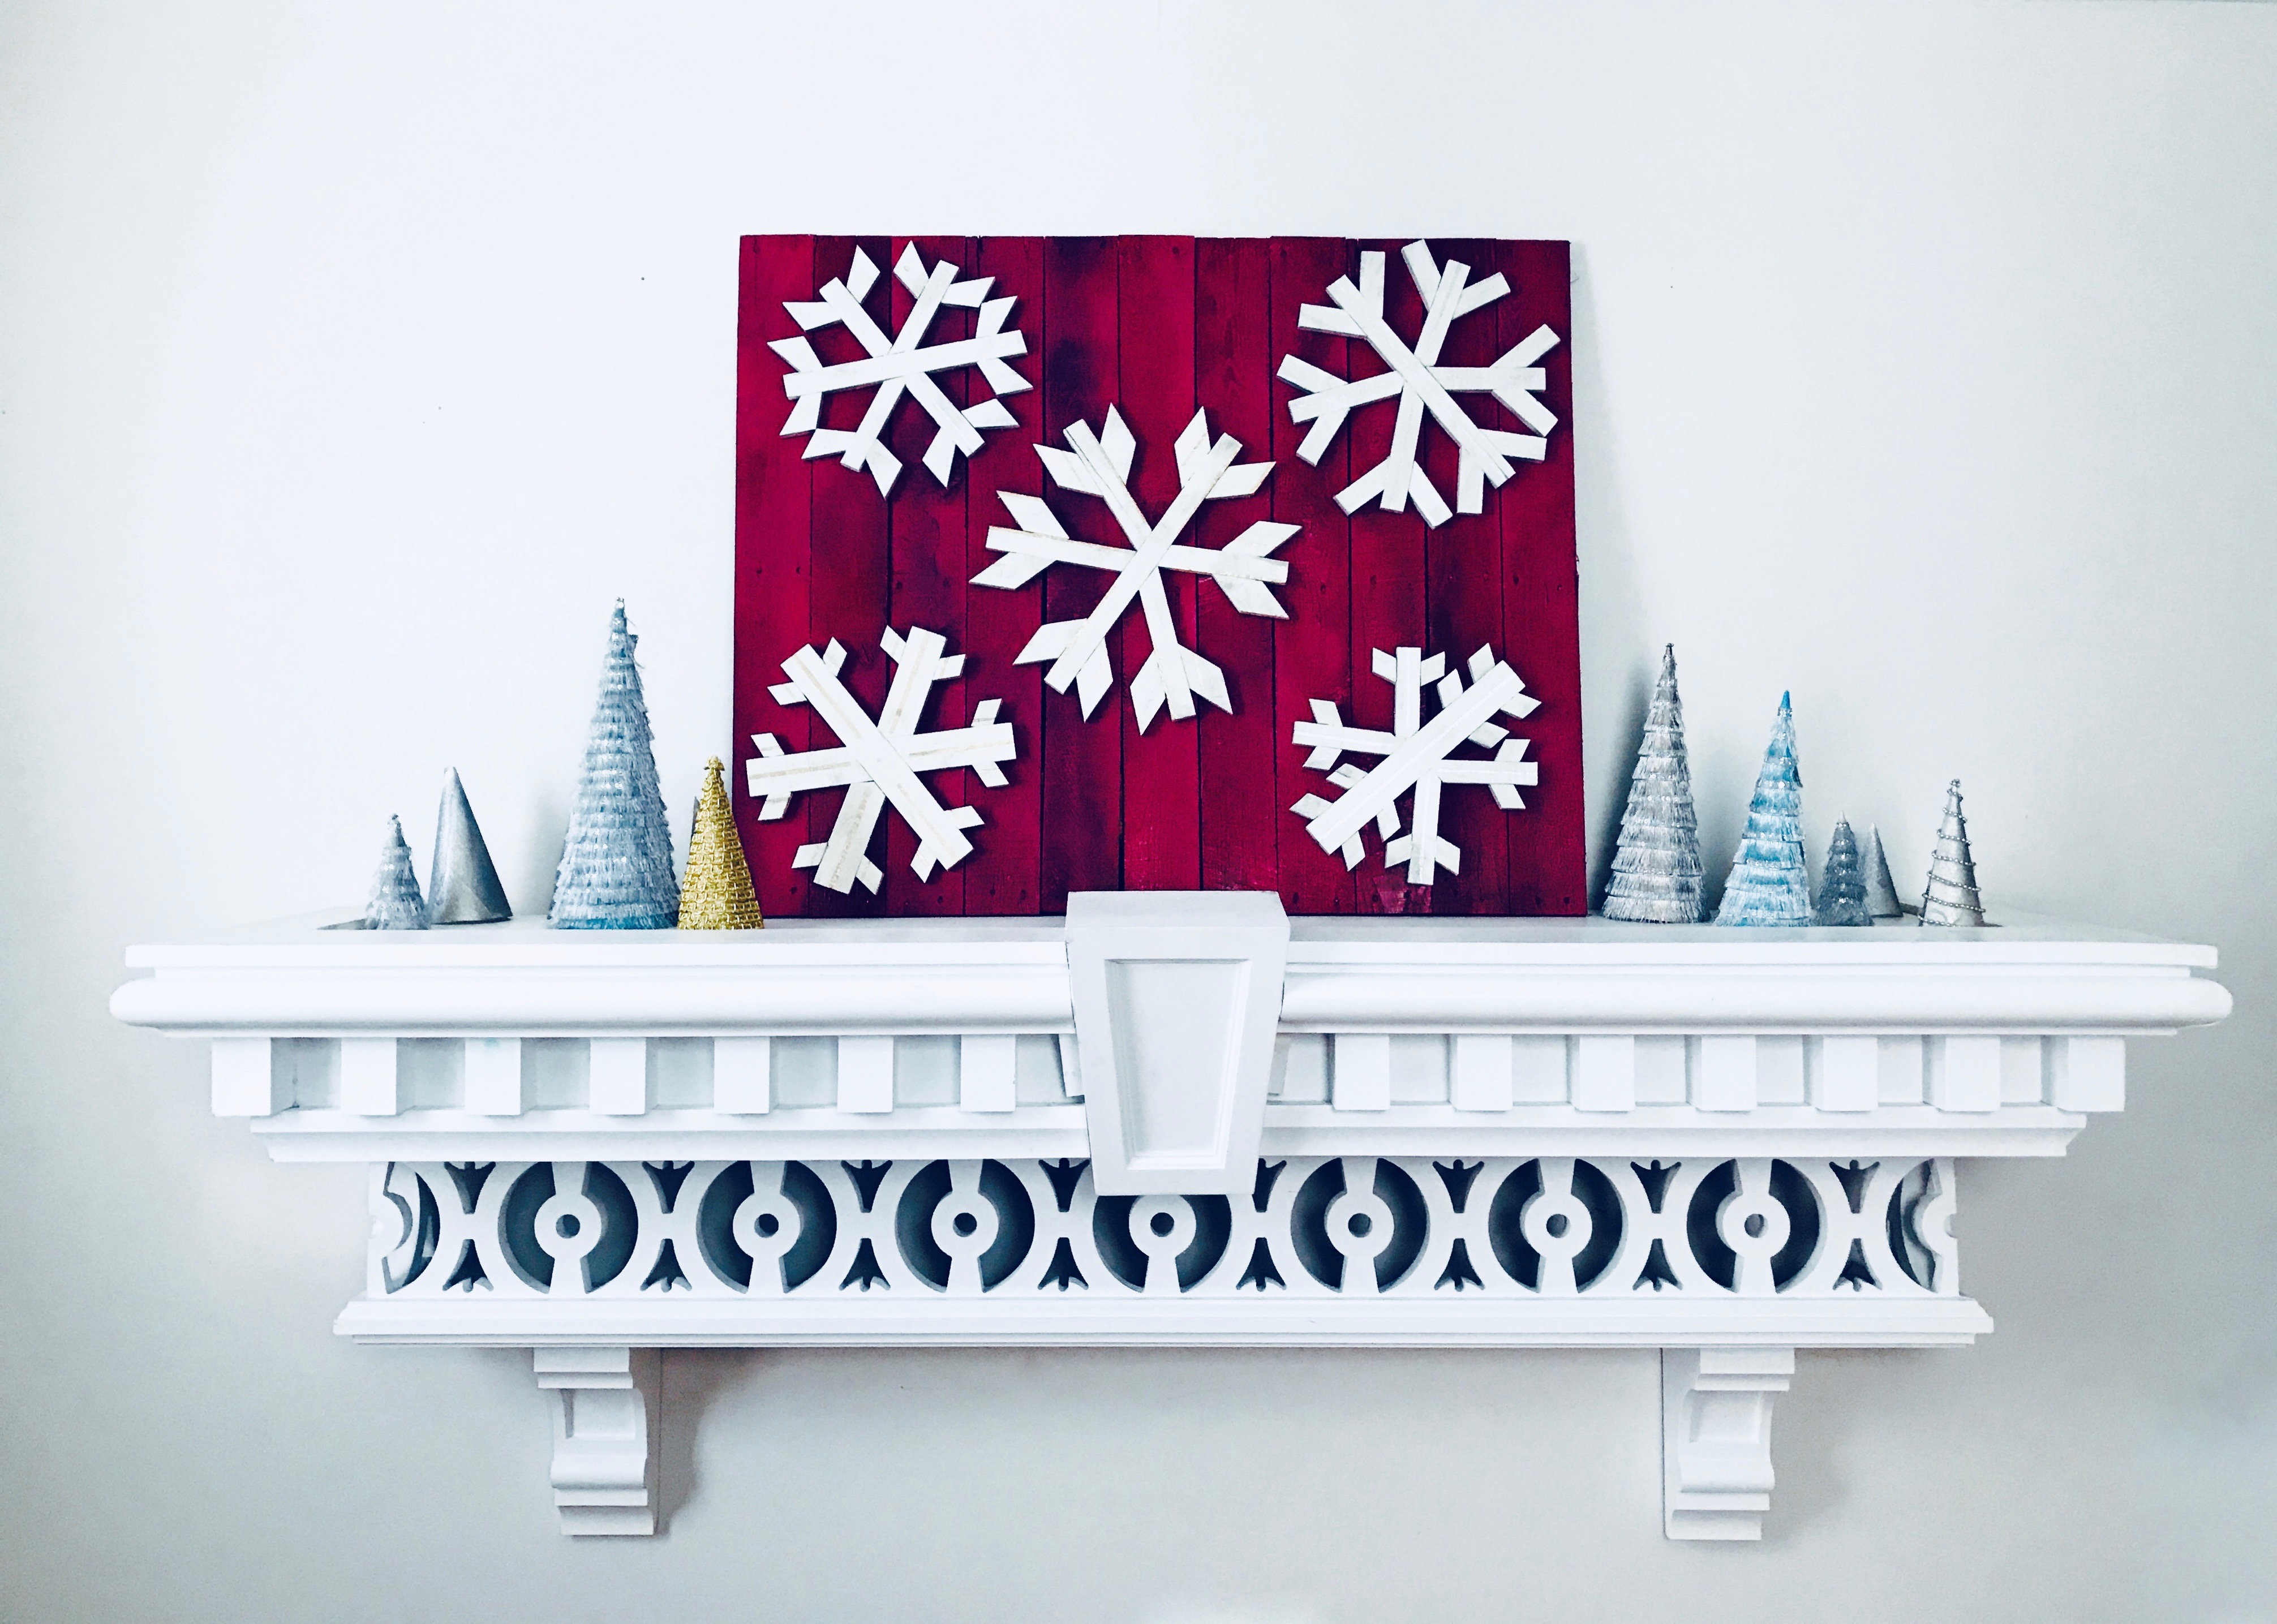
I added a few other holiday decorations to the mantel. Now we are ready to start showing off the little holiday card treasures from our friends and family.