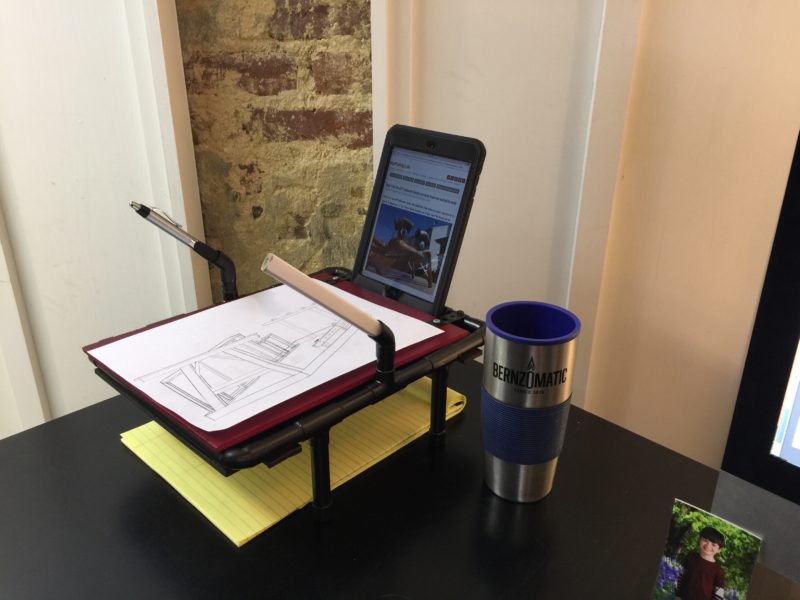
Within 3-minutes of having my DIY desk organizer on my desk—admittedly an archeological dig of notebooks, 24,000 receipts, bills to pay and cords all over the place—I had already used this soldered copper pipe and plywood project in ways I hadn’t thought of while designing it. Want one for yourself? Or to give as a gift? Here’s the how-to.
We’re Bernzomatic Torchberaers and partnered with Bernzomatic to produce this blog. I used the TS4000 torch for the project. Link below. The design and how-to are 100% MyFixitUpLife. Now, on with the show.
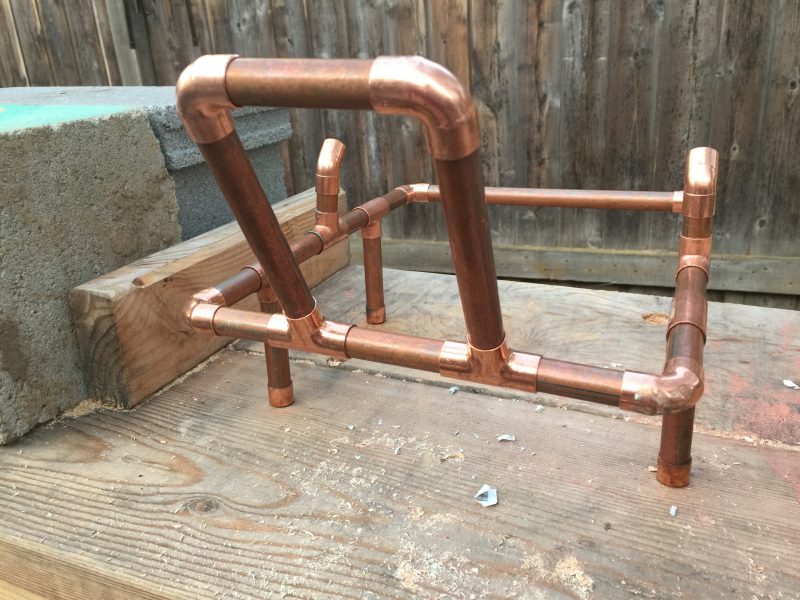
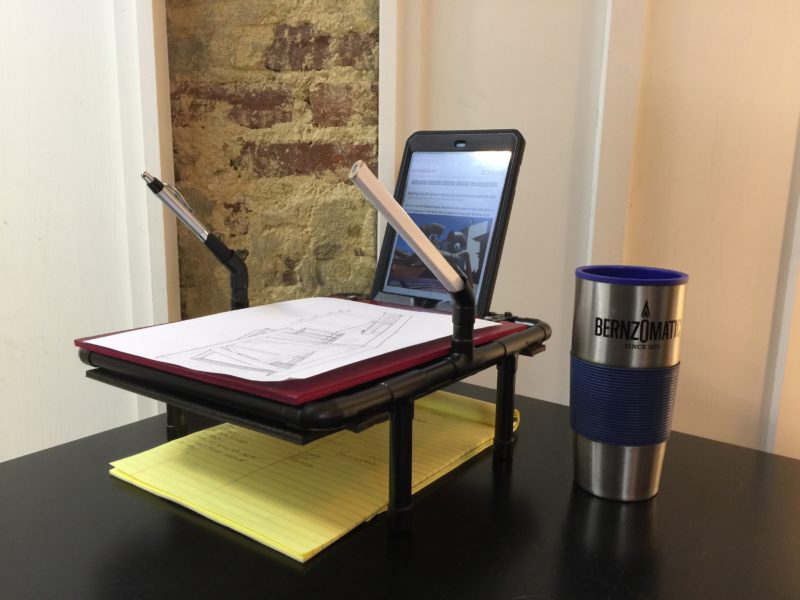
I made this DIY desk organizer for about 30-bucks. Maybe it costs more than things you buy at the store, but within about 6-seconds of having this on my desk I could tell it’s not just something I’ll make and put aside (that happens sometimes). With 3 1/2-inch tall legs the multi-plug I have on my desk…you know the one: It’s 100% soul-deadening to look at—is covered. The compartment under the red lid can hold all the receipts I plan to ignore and on top of the lid is a new place for my yellow pad. All this from soldered copper pipe, 3/16-inch plywood, and a few fittings. And it was a really fun project.
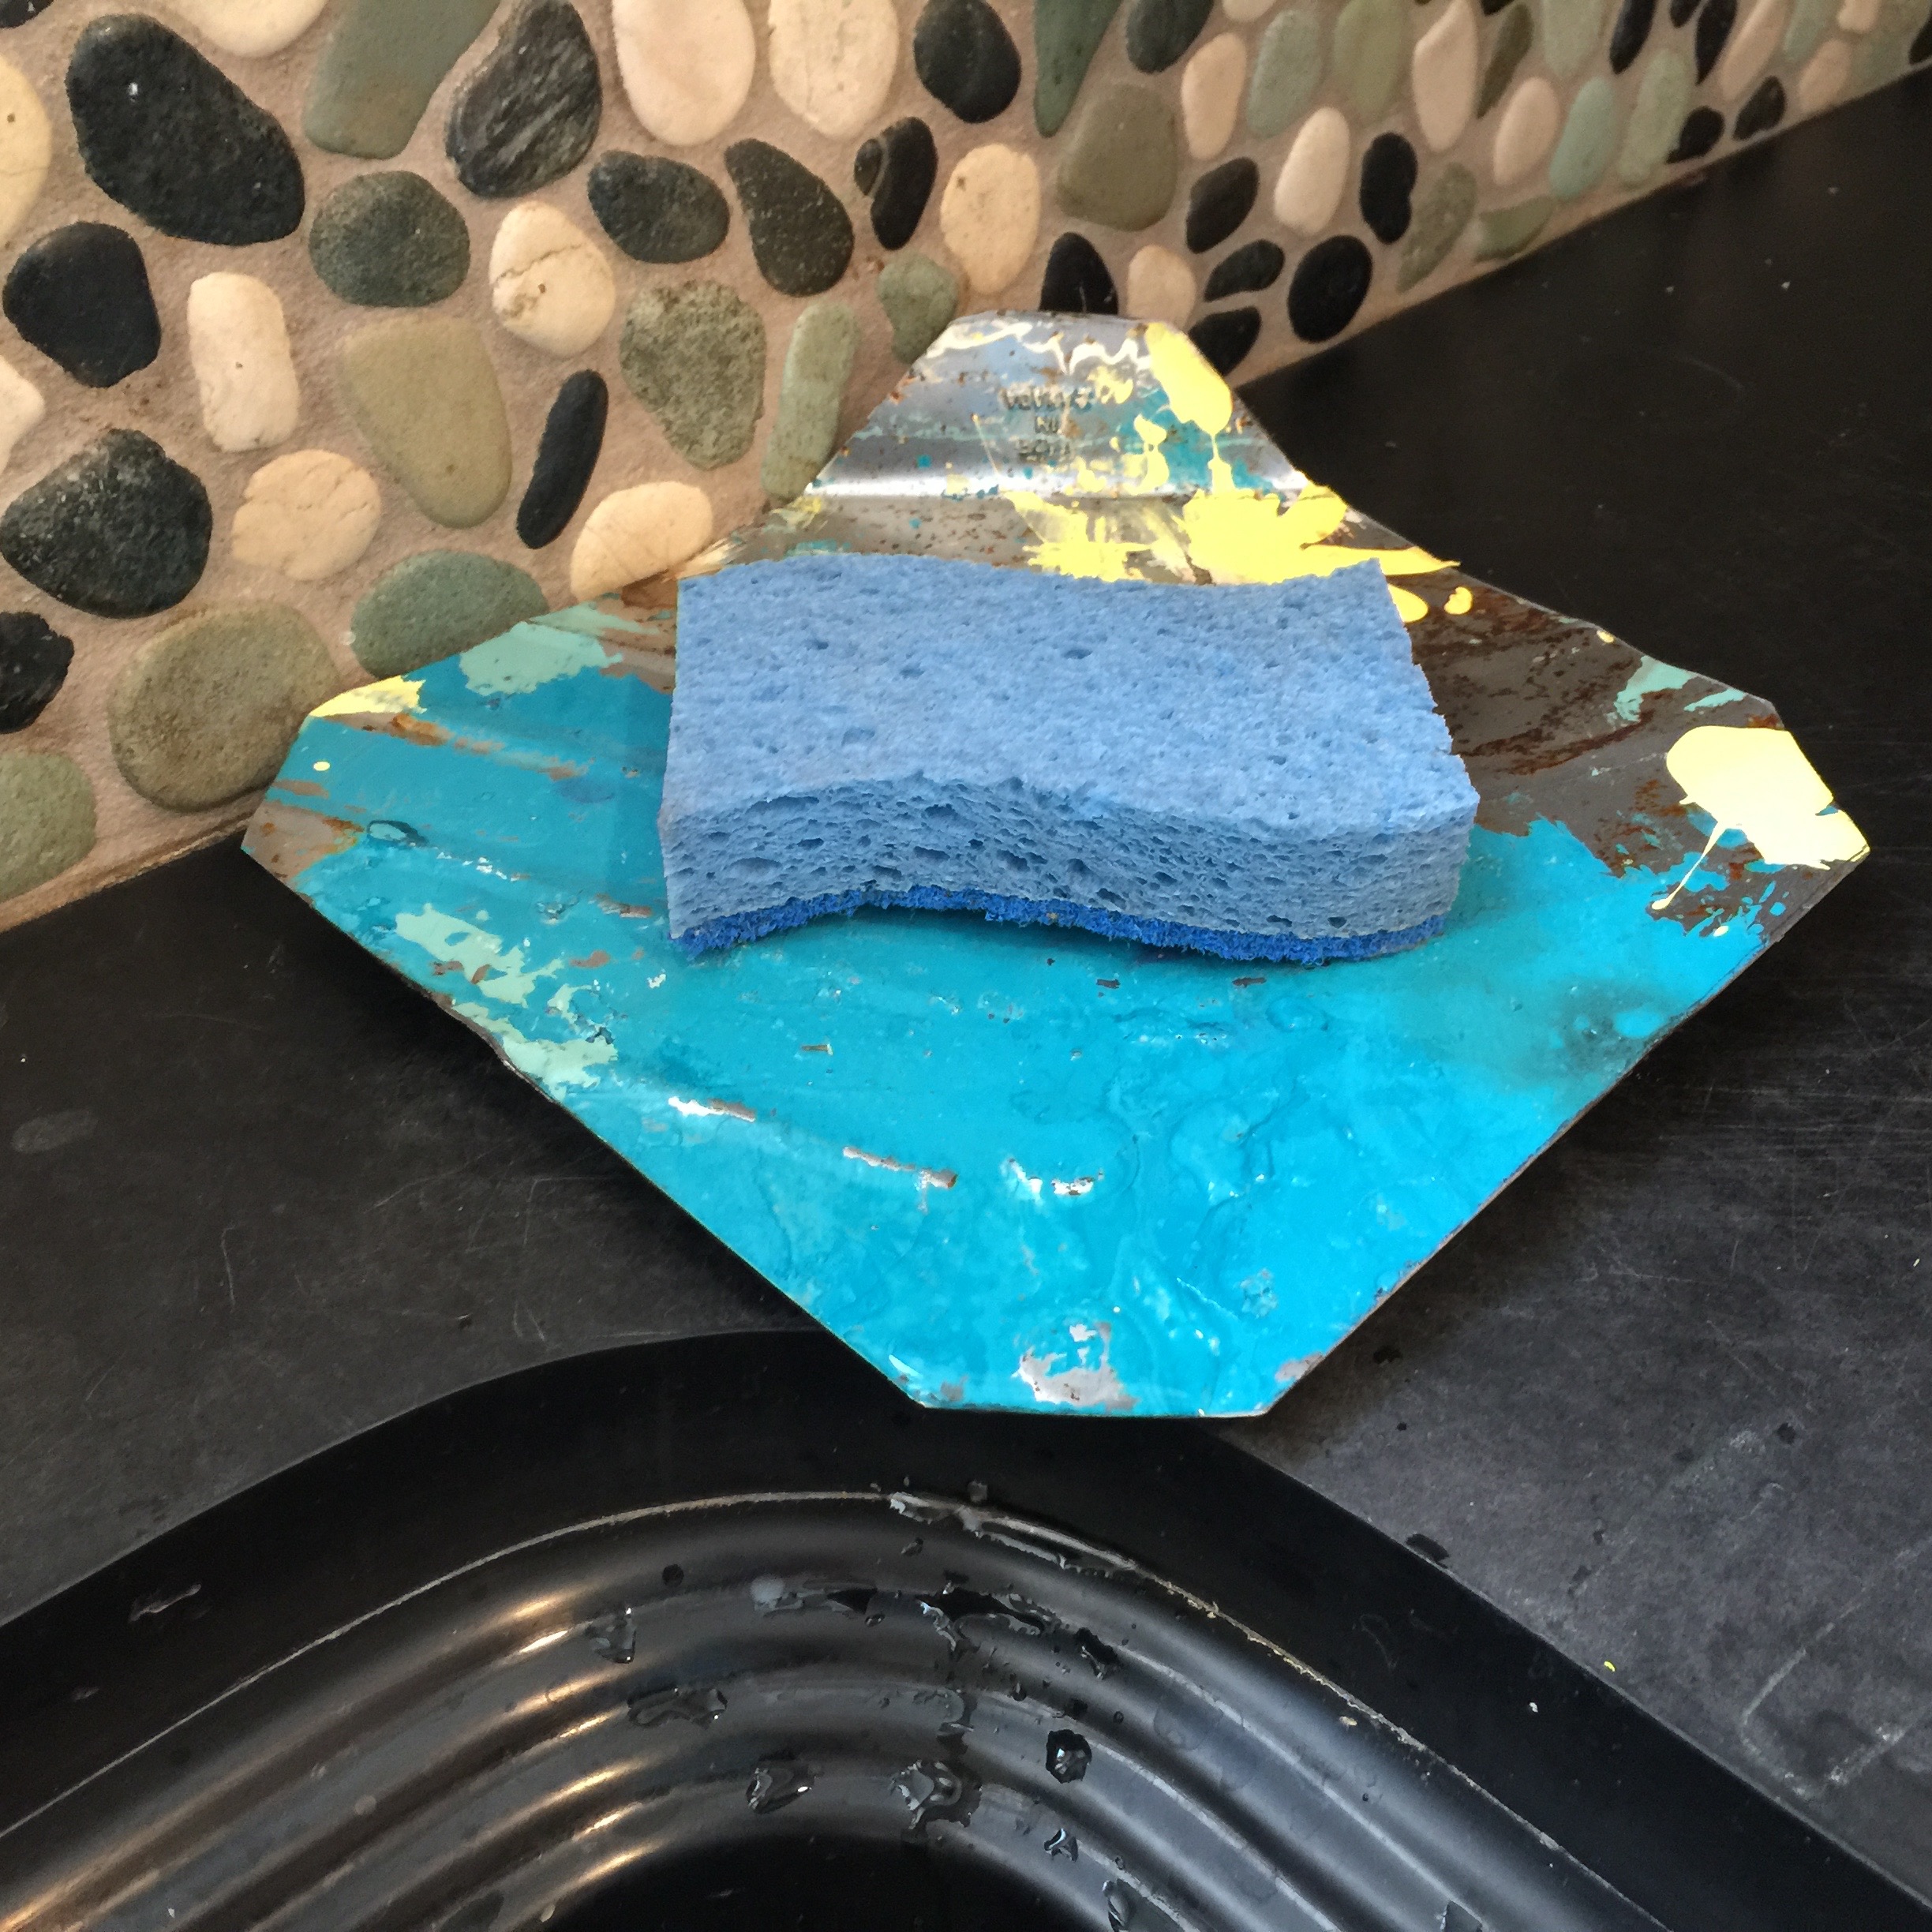
I usually use a miter saw to cut copper for projects like this. It’s soft metal and the saw works. However, it slightly deforms the pipe sometimes which is annoying.
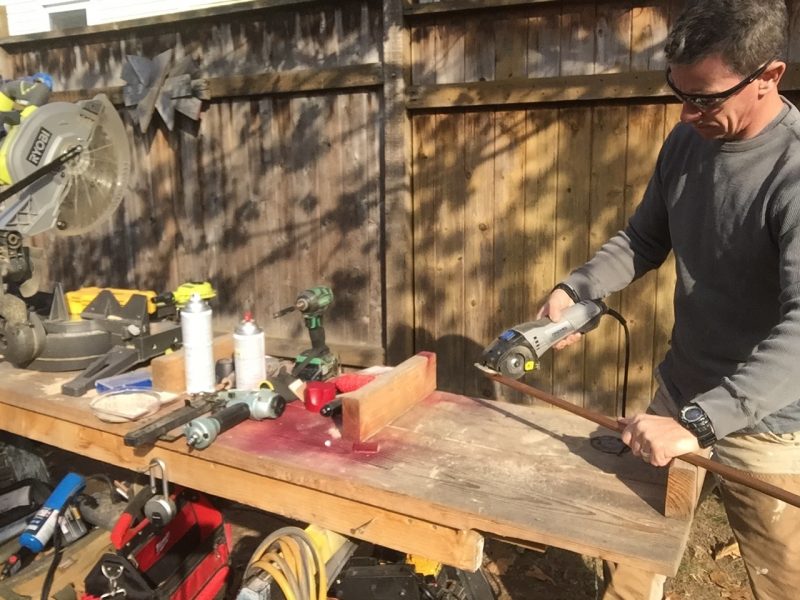
Knowing that this DIY desk organizer has a lot happening in a small space, I made two changes to solve the deformed pipe problem. First, I used a mini-grinder to cut the pipe. Glad I did.
Dry-fitting is the second change. I wanted to make sure how I knew it was all going together—and that the pieces fit without a fight (they did)—before started soldering pieces. Dry-fitting made this project a lot easier.
With the DIY desk organizer dry-fitted, I could then take it apart and solder “assemblies” in order. It’s not that it’s hard. It’s just good DIY sense to take things slow and steady sometimes. The easiest mistake to fix is the one you don’t make.
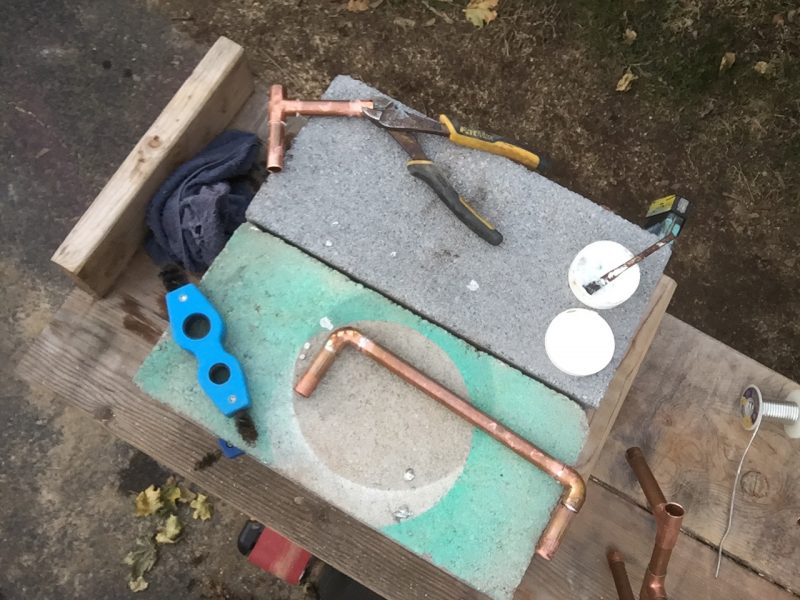
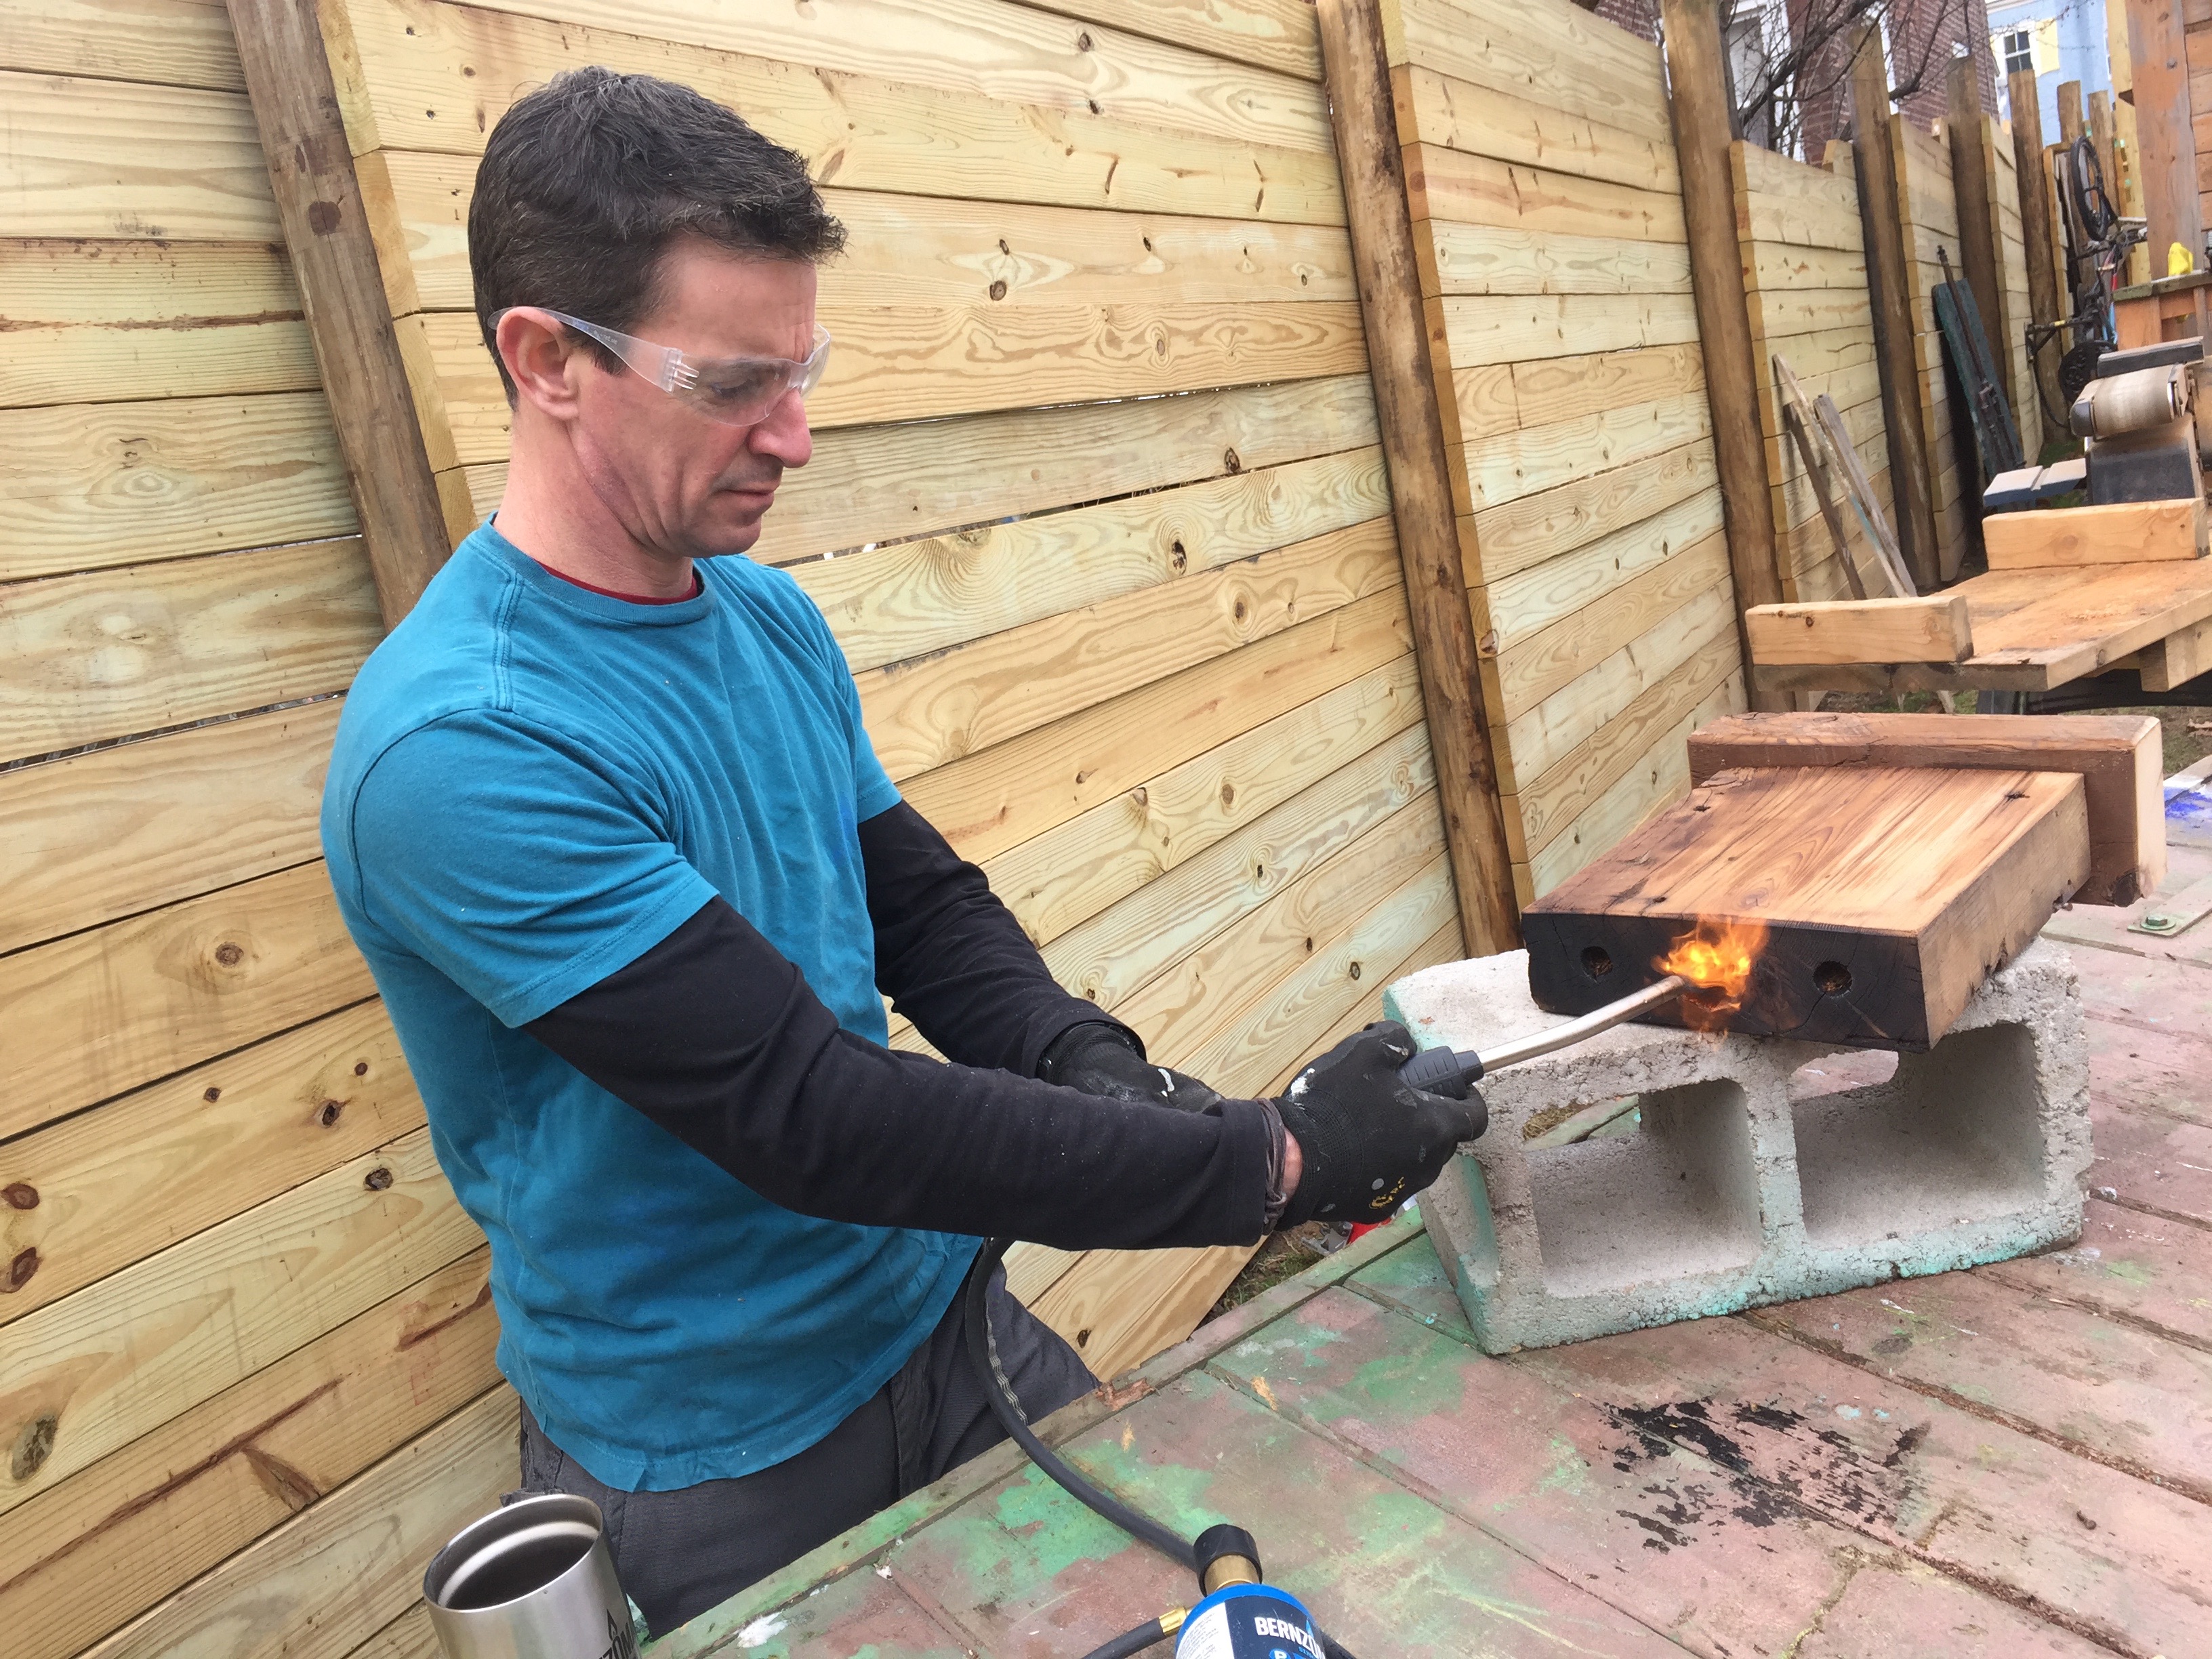
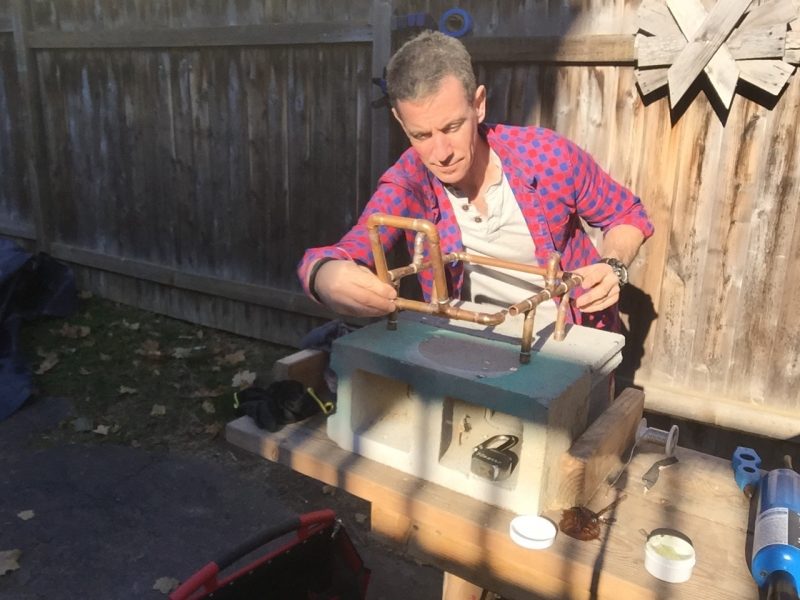
Because I was putting this together in chunks, some of those chunks were small. To get full flame reach to the fitting—it helps to heat the entire fitting from a few different angles rather than holding the torch in one place—I used my diagonal cutting pliers to hold the pieces off the edge of my favorite soldering surface: A cinder block.
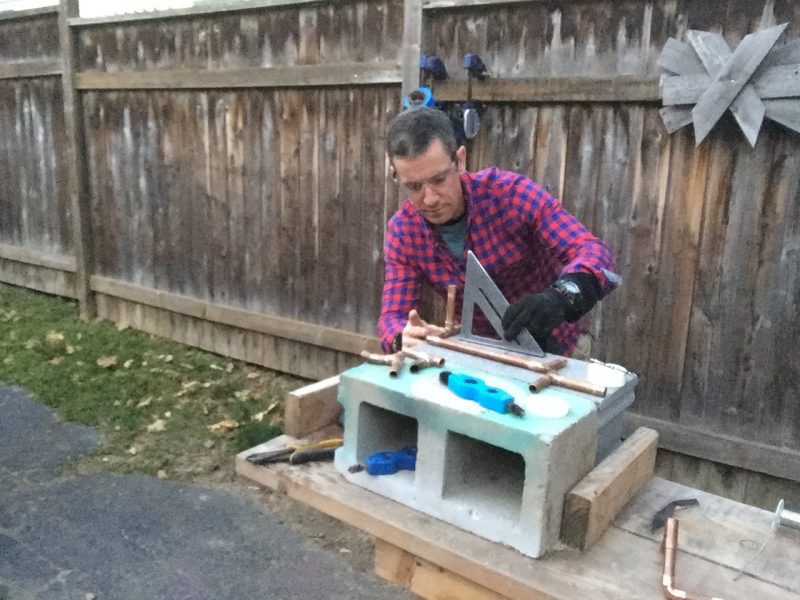
Just like a chair or a table, the legs on the DIY desk organizer should be 90-degrees to the body of the piece. A little square-action helps that come together.
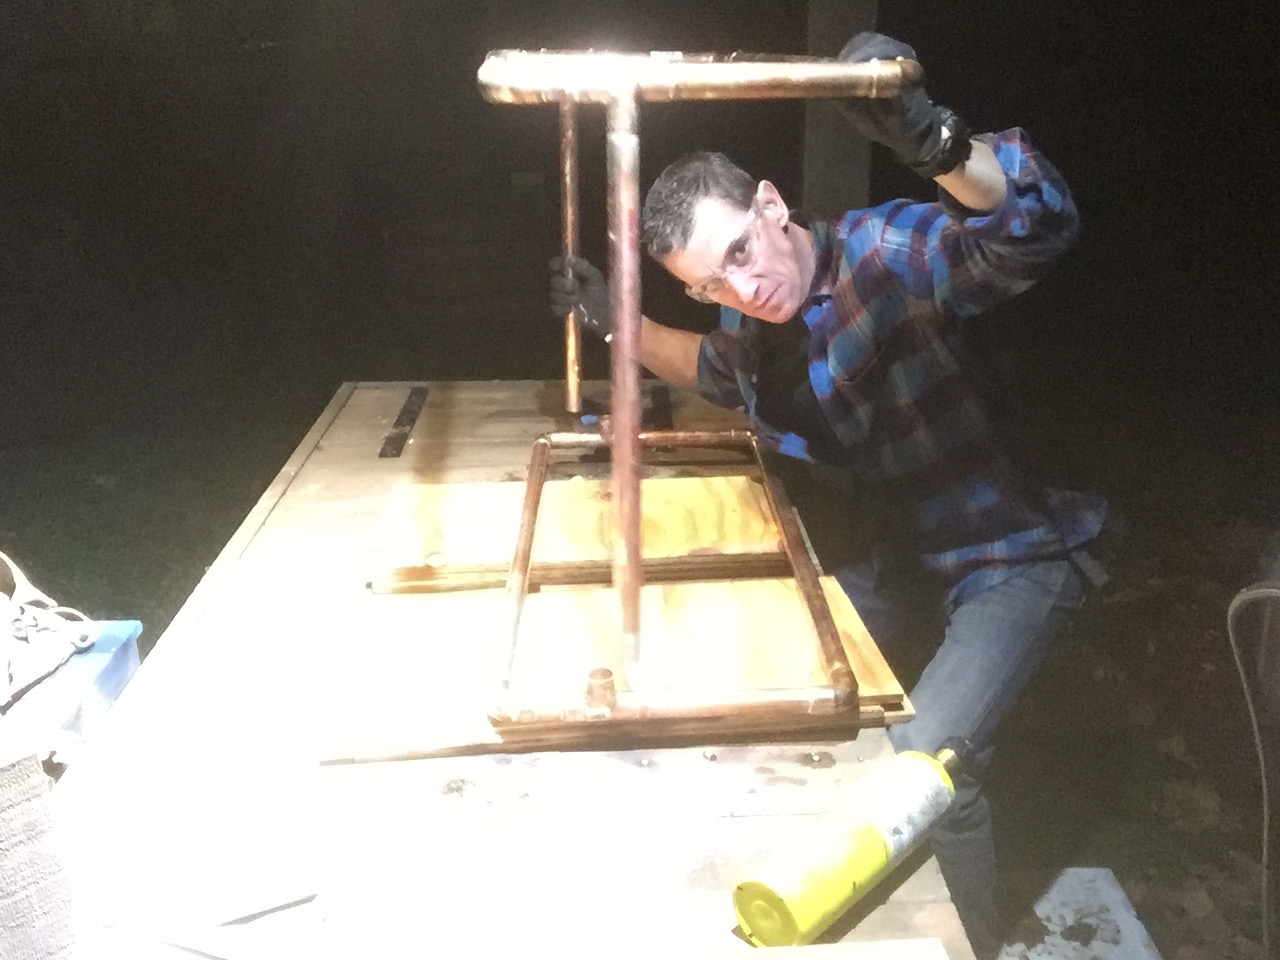
I used my square again to figure out the correct angle for the phone/table stand. This way I could remember it when I soldered the final piece together. This is the actual picture I took so I’d really remember once it came time to solder.
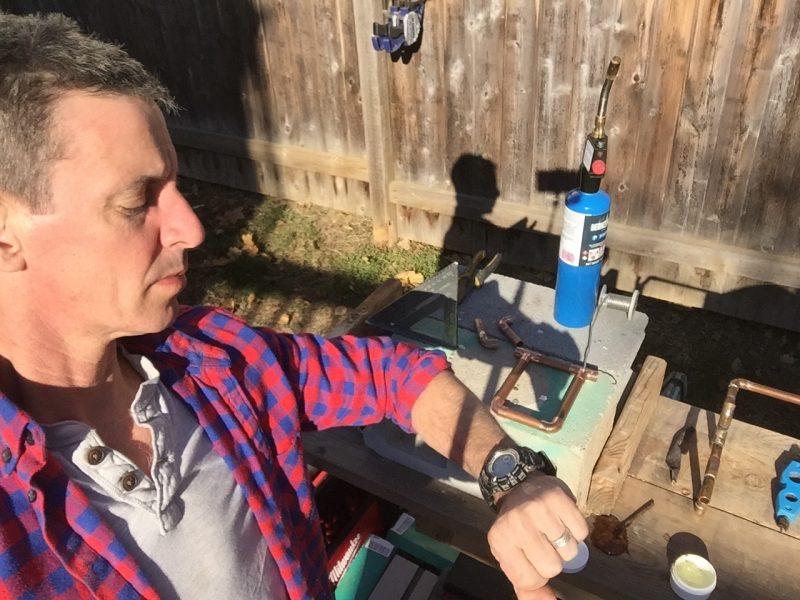
Maybe it’s wisdom. But I’ve learned from doing hundreds of projects and builds that there is enormous value in waiting. This doesn’t mean going slow. It means knowing when to act and when to go get a cup of coffee or check Facebook. To swipe a Life-level phrase from a friend of mine I think is bordering on genius: Don’t just do something, stand there.
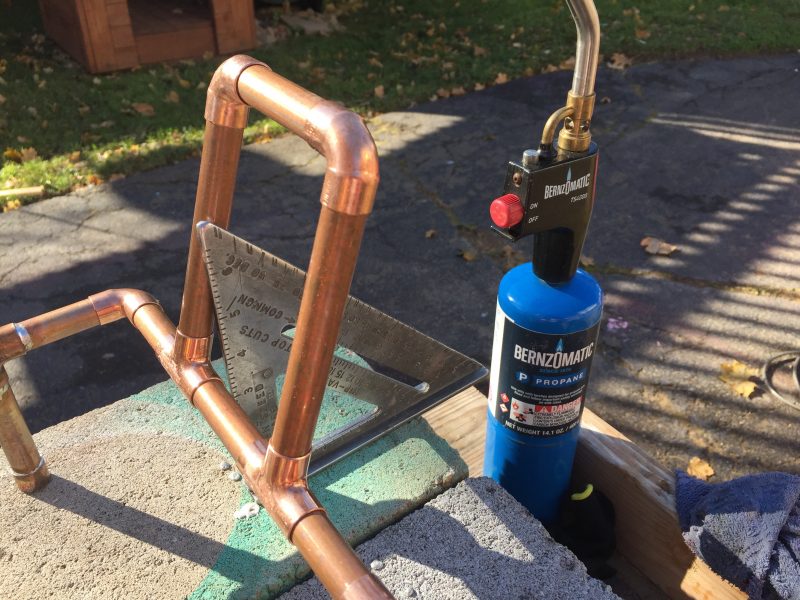
Making a picture frame, wrapping a room with chair rail and making a DIY desk organizer like this all have something in common: All the pieces need to meet up. That means a mistake somewhere along the way can effect how they meet up. All these parts fit together like it was made in a factory. Sweeeeeeeet!
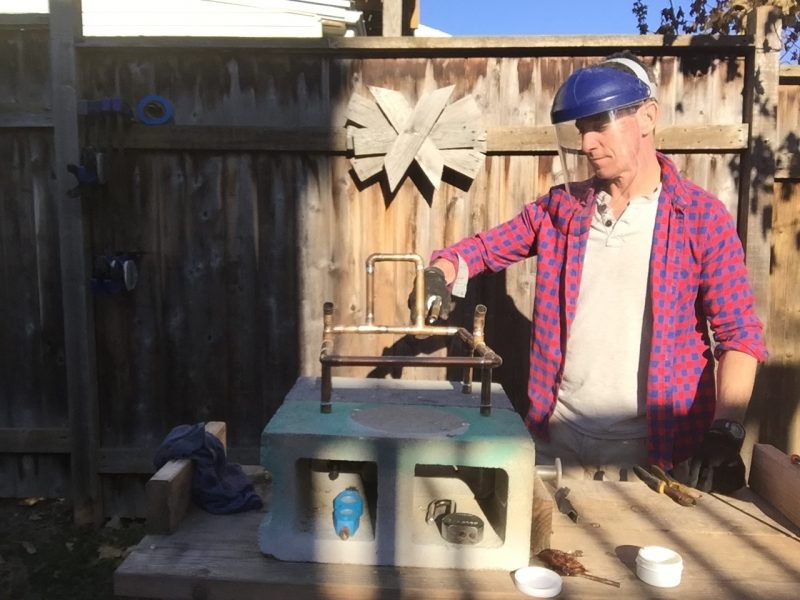
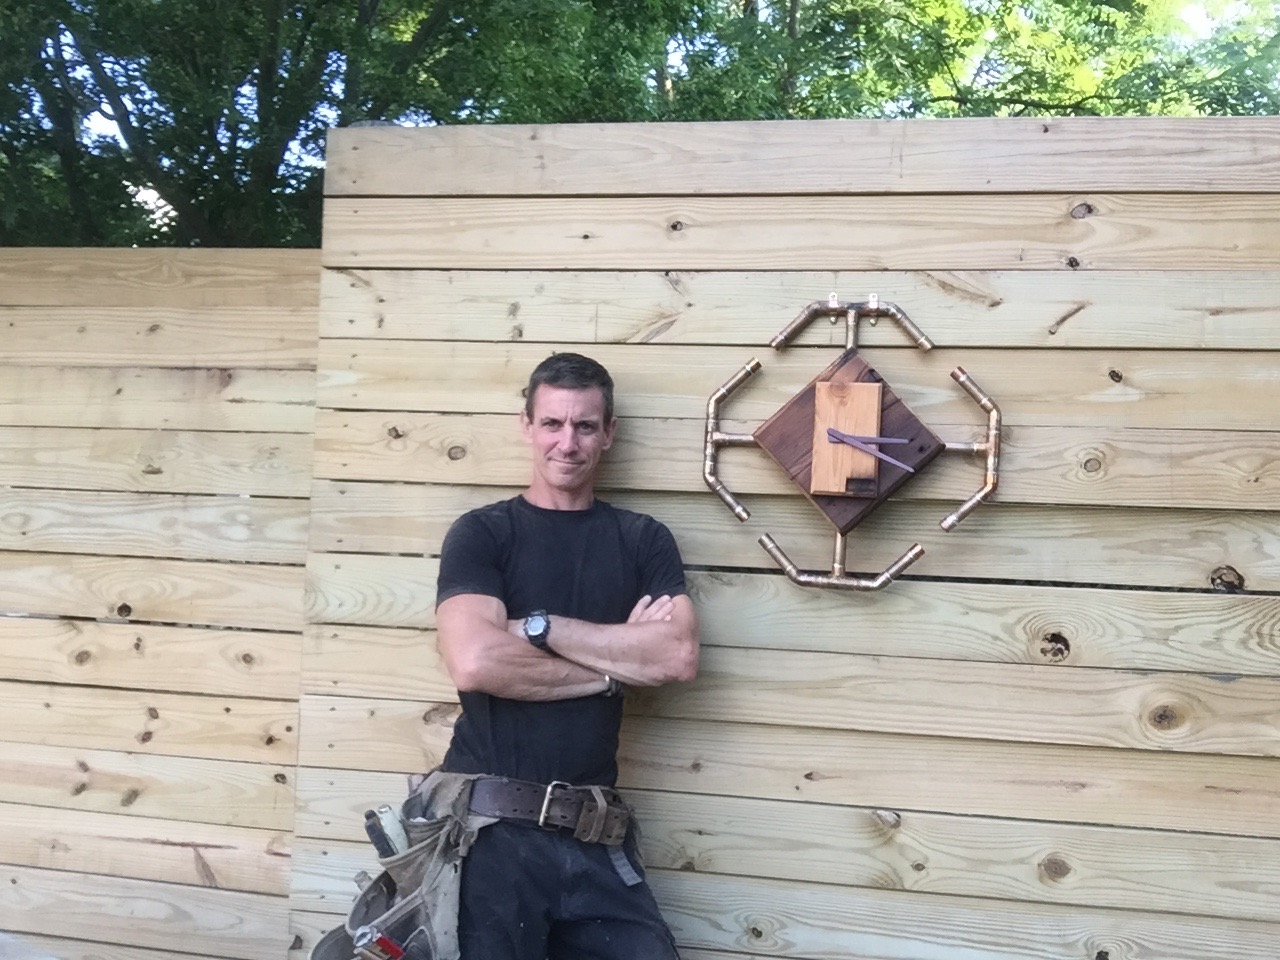
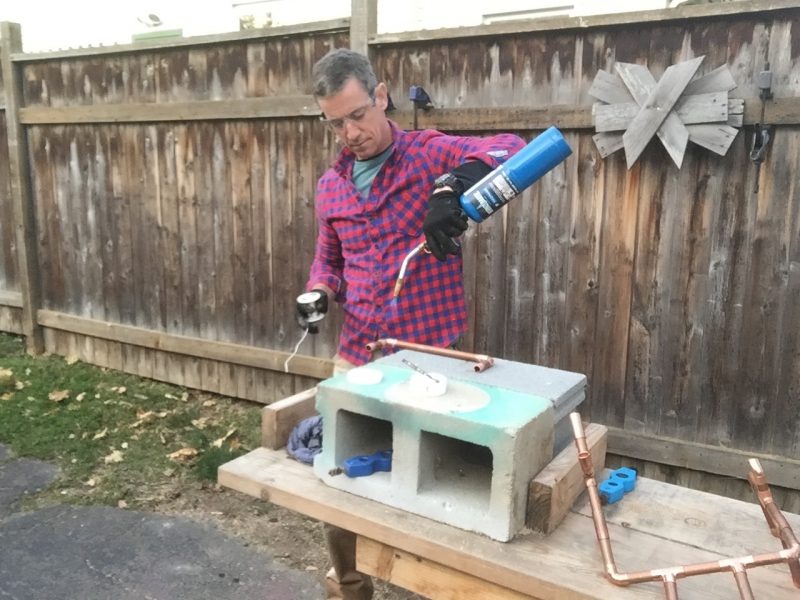
I used the Bernzomatic TS4000 torch and propane fuel for this project. While you can barely see either in this photo, you can see my face shield, which I love. It’s not because soldering copper pipe for DIY projects requires any extra common sense than other home improvement. Rather it’s because I can always find it. In fact, I’m wearing it this photo because I put the safety glasses down and I still can’t find them.
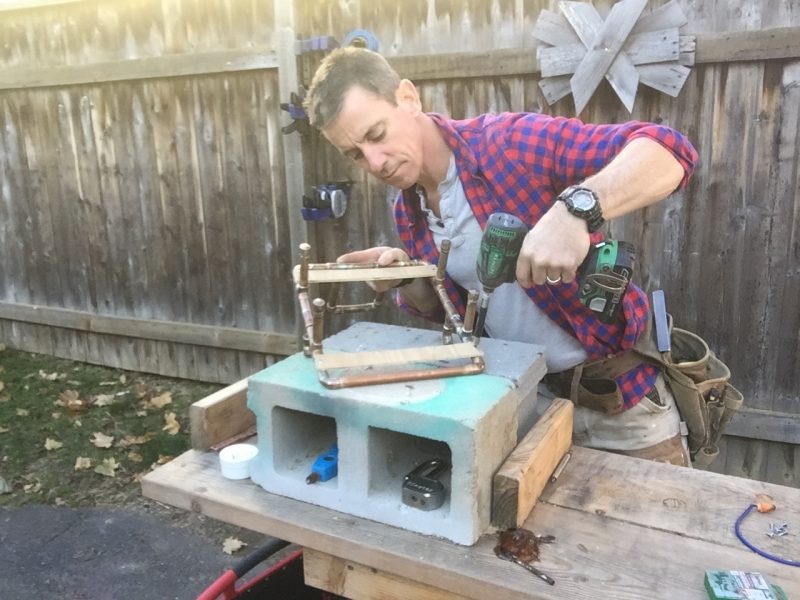
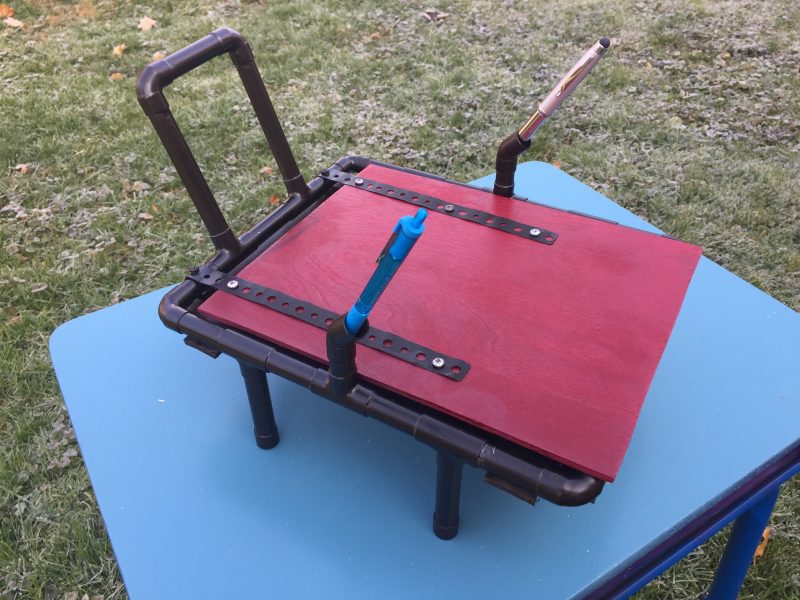
I used self-tapping screws and 1 1/4-inch wide plywood strips to create the “tray where receipts go to be ignored”.
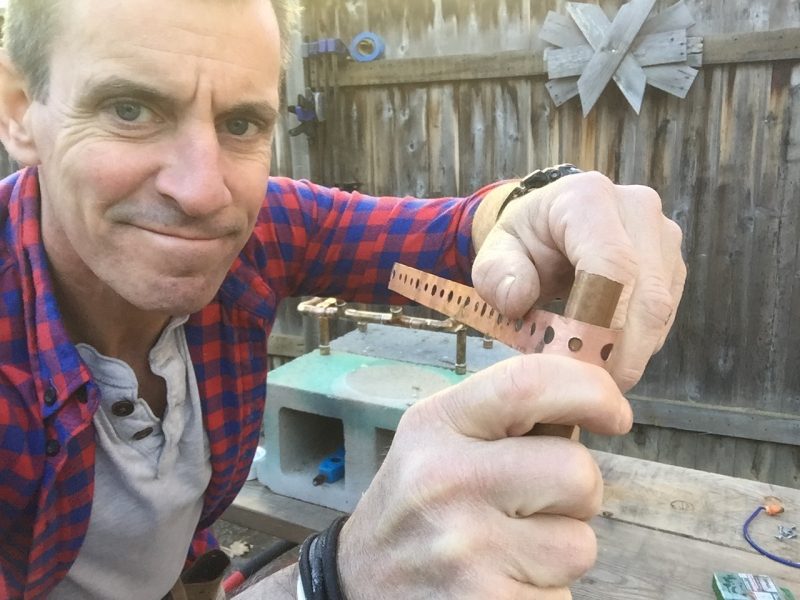
I used pipe hanger strap for the tray lid action. I pre-formed the strap by forcing it around a hunk of pipe. I also tried to scare it into shape by getting it too close to my face. I think that worked better.
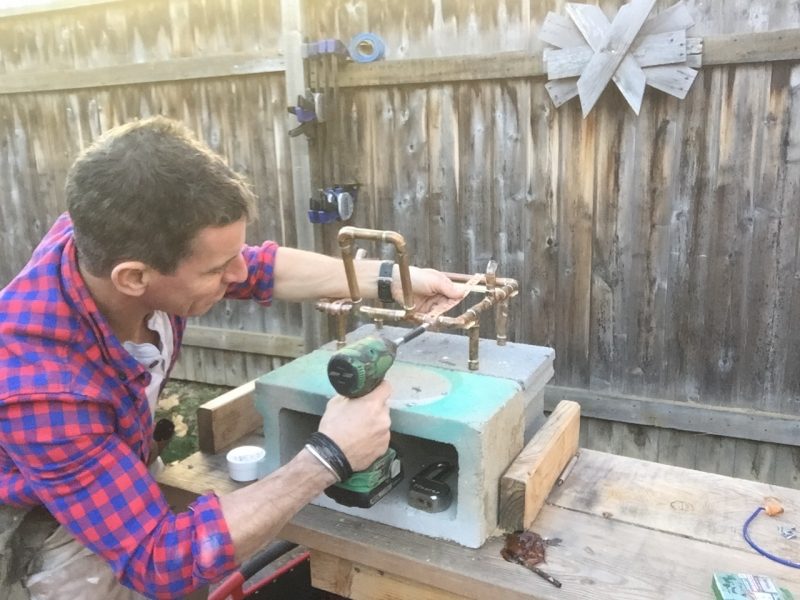
Self-tapping screws sink easily into the pipe. The trick is to get them spinning without them walking. Go slow, let their tips get a hole started. You’ll feel it.
I sometimes fall in love with the raw copper and solder form of these projects. My favorite example is the Mad Mod Coat Rack. I love the way that looks and we use it every day. I’d almost be afraid to paint it. But with the desk organizer, I thought I’d give it a whirl so I hit it with some Krylon oil-rubbed bronze and satin burgandy.

Hey, look, it’s Fred the Halloween Spider. I love that guy.
Any time there is a place for something, it’s easier to stay neater, more organized and more efficient. Stop losing your pen under the receipts.

Power up baby. The device rest is juiced.