WIN one of MyFixitUpLife’s pallet projects at the Philadelphia Home Show Philadelphia Home Show, 1/22 at 4pm. Or, see how we made it below…But…
Let’s start with a promo code for discounted entry right here. We’ll be giving the pallet table of awesomeness away after our appearance on 1/22 at 3 on the Main Stage.
How-To. Our pallet table is on wheels and has neat niches for succulents, potted plants, or even beer. More on that below.
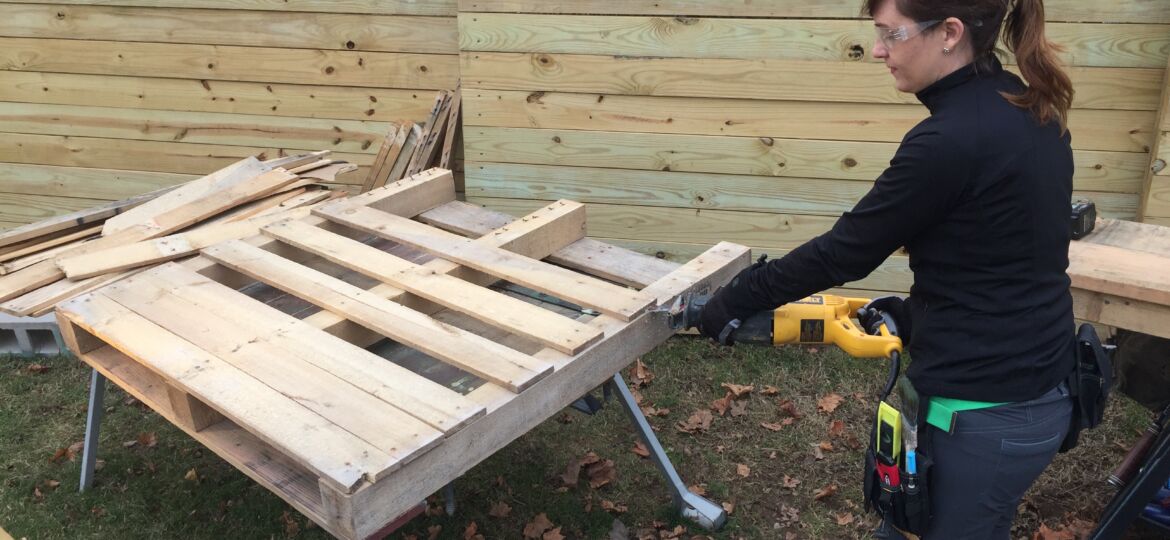
For pallet projects we like to pick a few more pallets than we think we need. The pallet we used for the main part of the table was in good shape with some character-rich boards we could work with. We chose a second pallet with a similar look and similar thickness boards to fill in the blanks we knew we’d have.
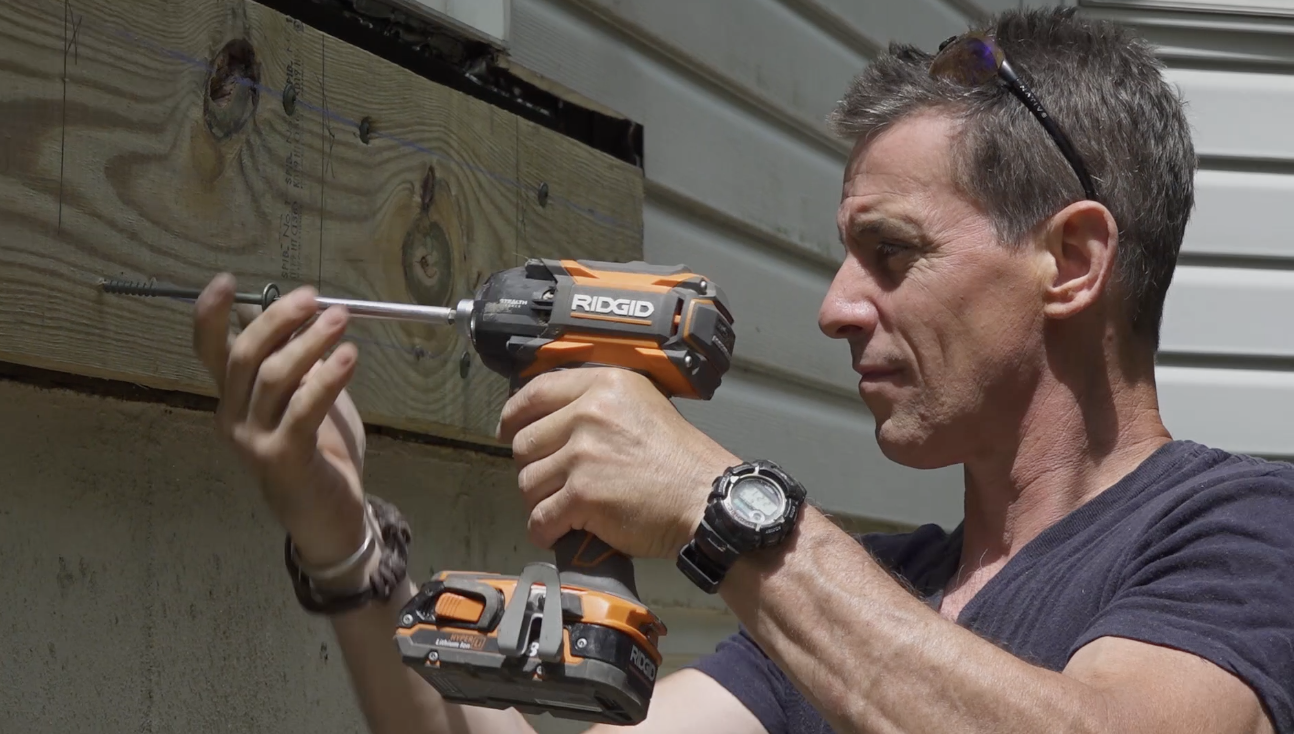
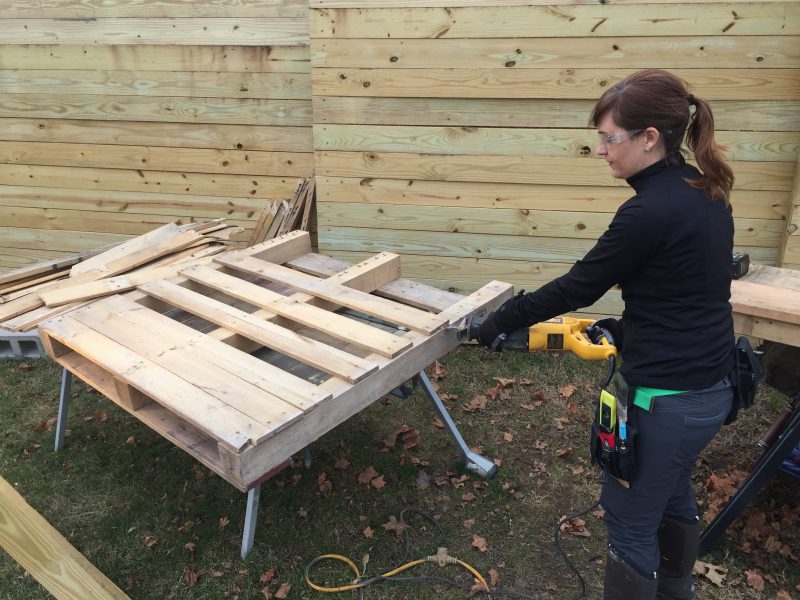
Because the table is solid on one end and customized on the other for the plants, we removed the pallet boards with a reciprocating saw. Here’s a quick how to remove pallet boards video.
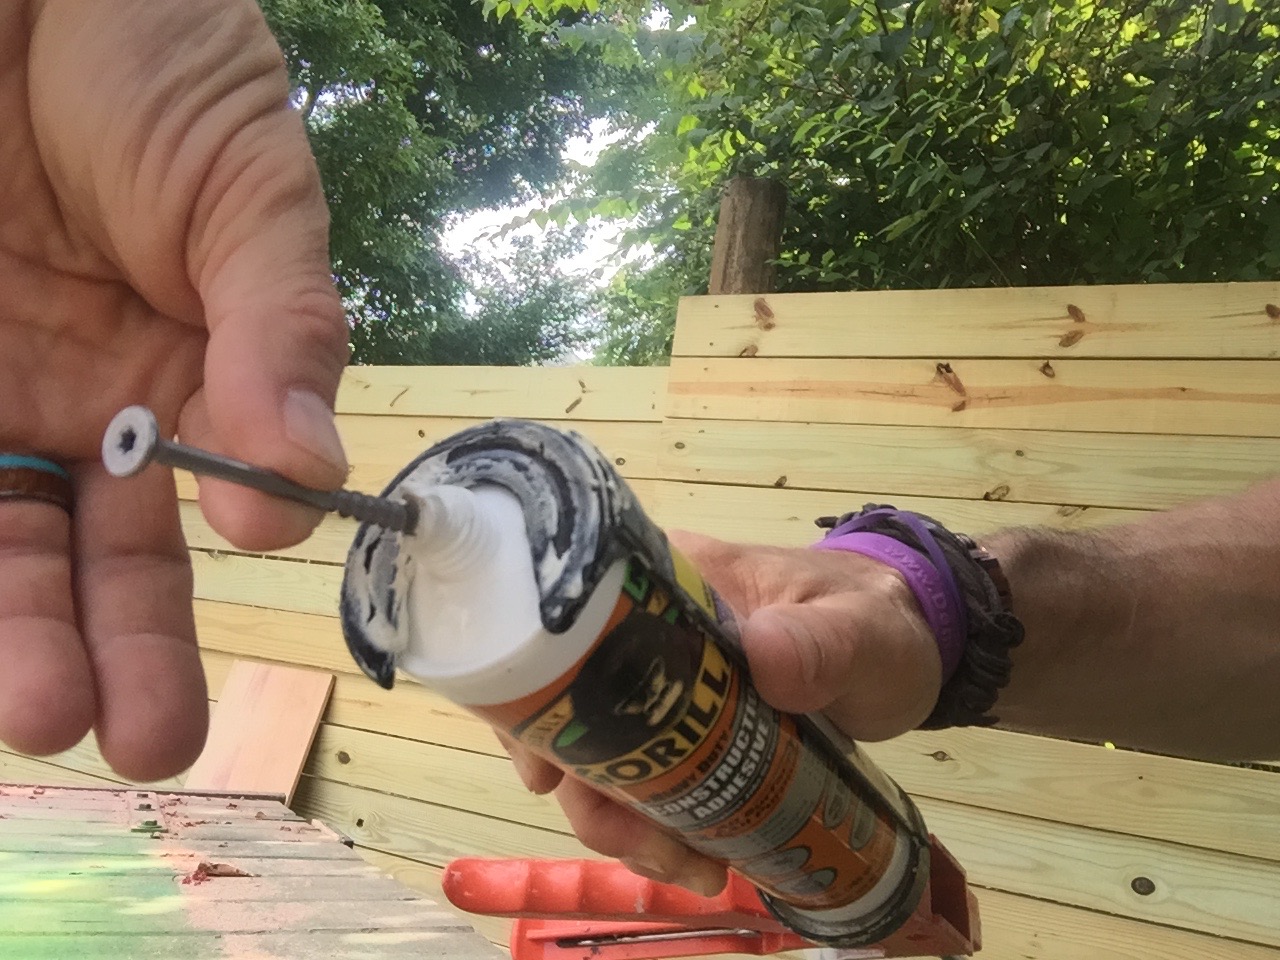
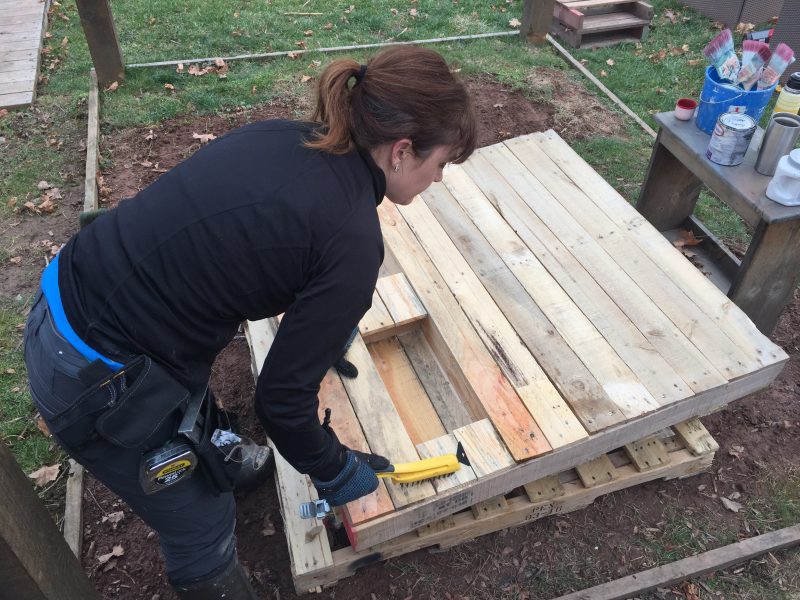
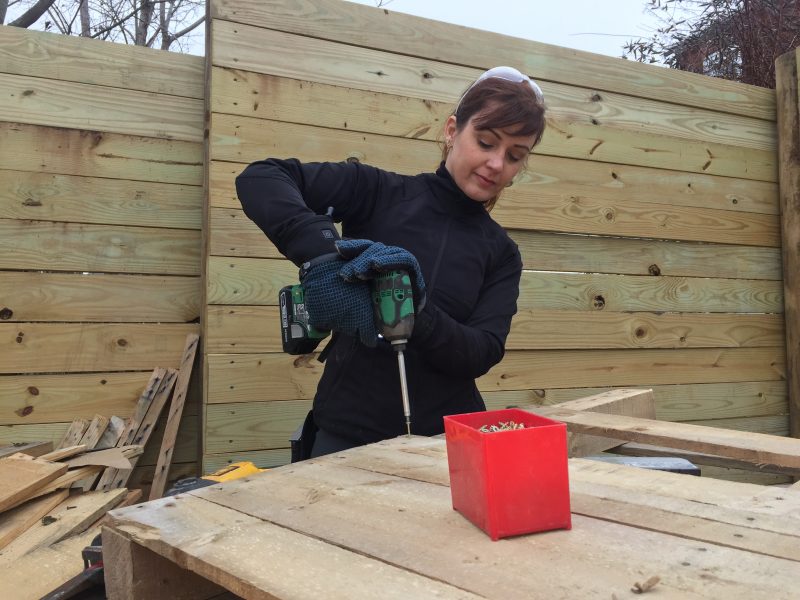
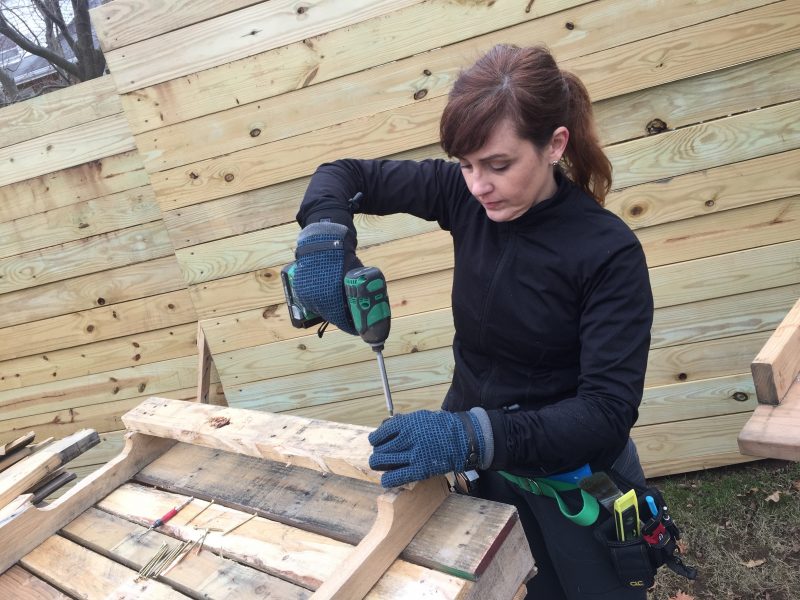
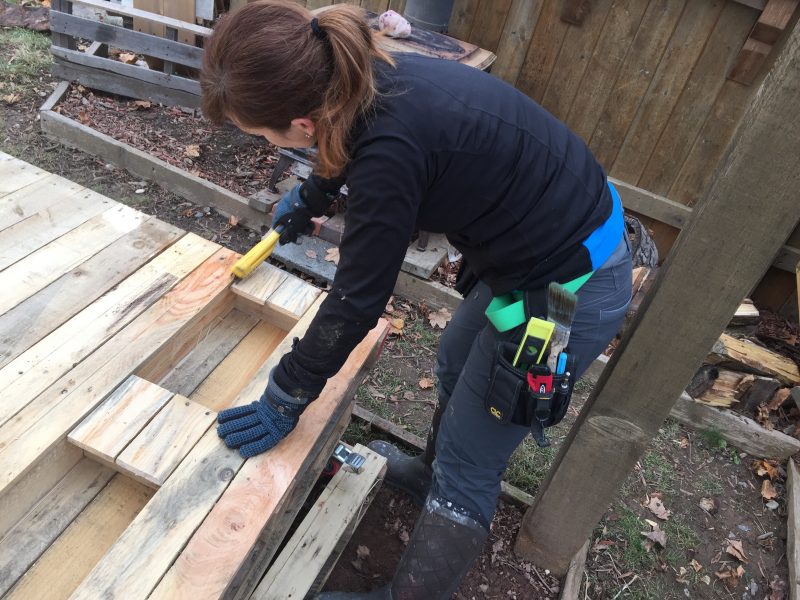
We pushed the loose boards together and re-fastened them with screws about half-way across the pallet.
We used two pallet boards to space out the niches, then added a small pieces to cover the pallet staves. It’s kind of arbitrary but it looks balanced.
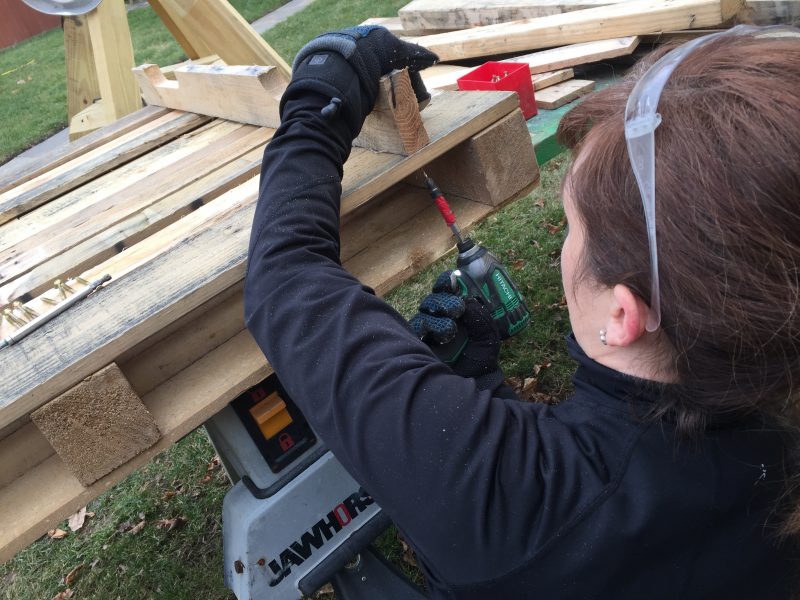
We fastened ‘sides’ inside the pallet body between the top and bottom pallet boards to create niches. We used one of our favorite pallet tools for this, our narrow crown stapler—love that thing!

With the top done, we added a frame to the bottom to give the table a little lift.
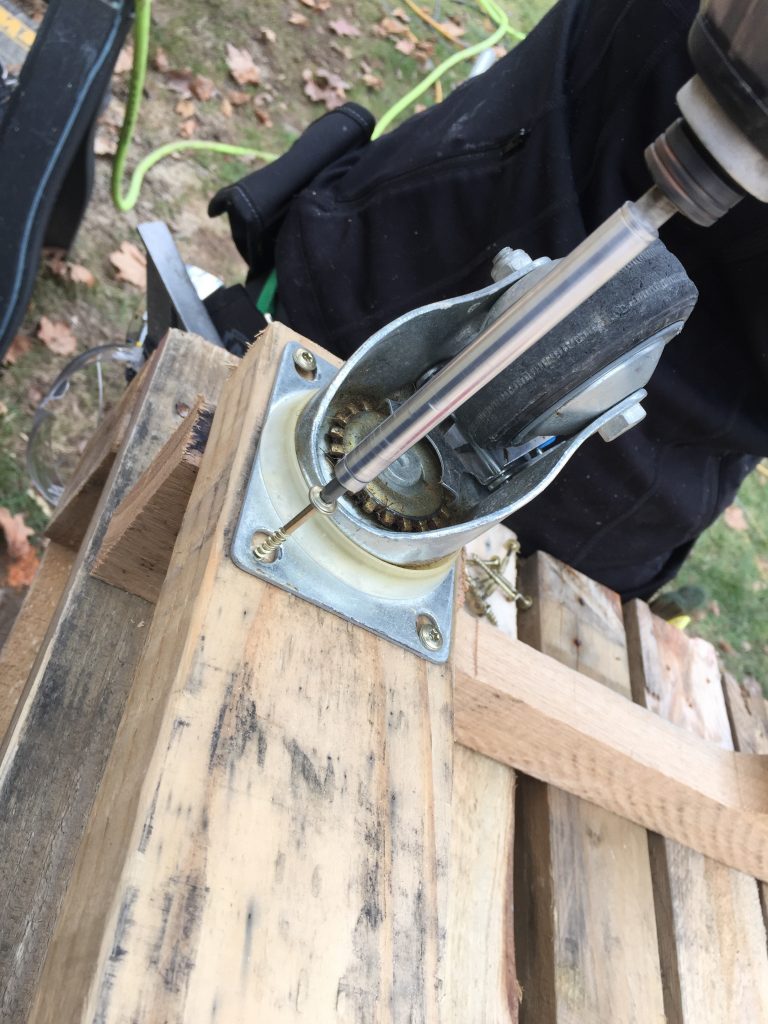
We used pallet staves for the first layer of the base, then some 2-by-4 we scavenged from another pallet for the next layer—and as something big enough to fasten the wheels too.
4-inch swiveling/locking casters make the table a little industrial-ish. They definitely make it easy to roll around a patio or deck area.
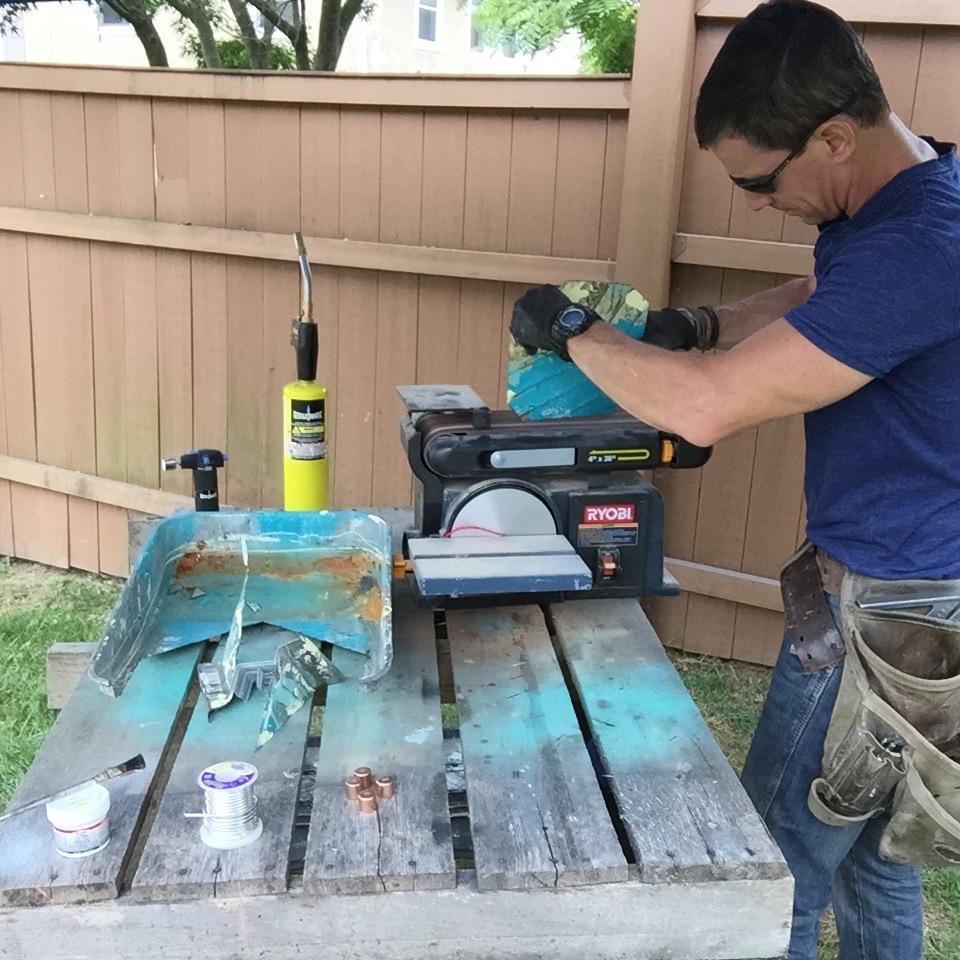
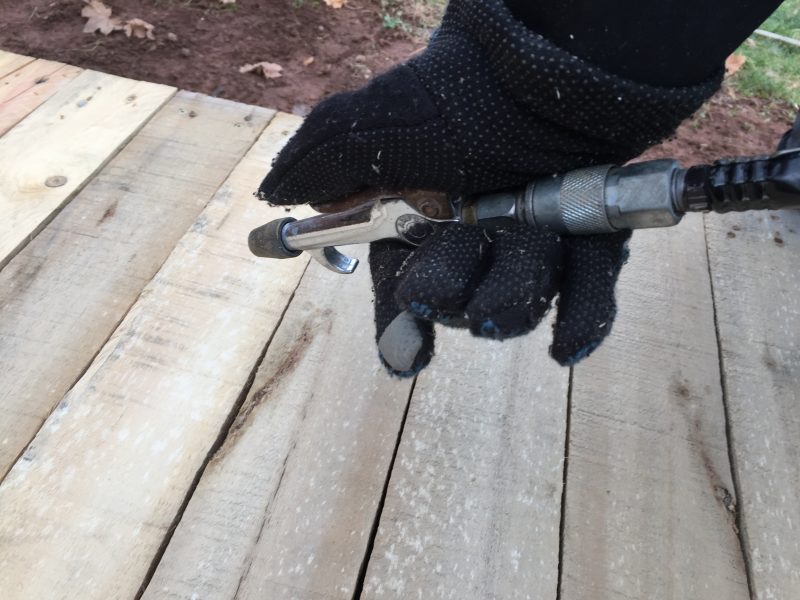
If there’s a better tool for surface prep in pallet projects than a Hyde wire brush we can’t find it. It is awesome for breaking up the dinge that’s on pallets.
We own an air compressor because we’re licensed contractors and there is nothing better at beating dust than a blow gun on the end of the hose. If you have a compressor but not a blow gun, you’re missing out.
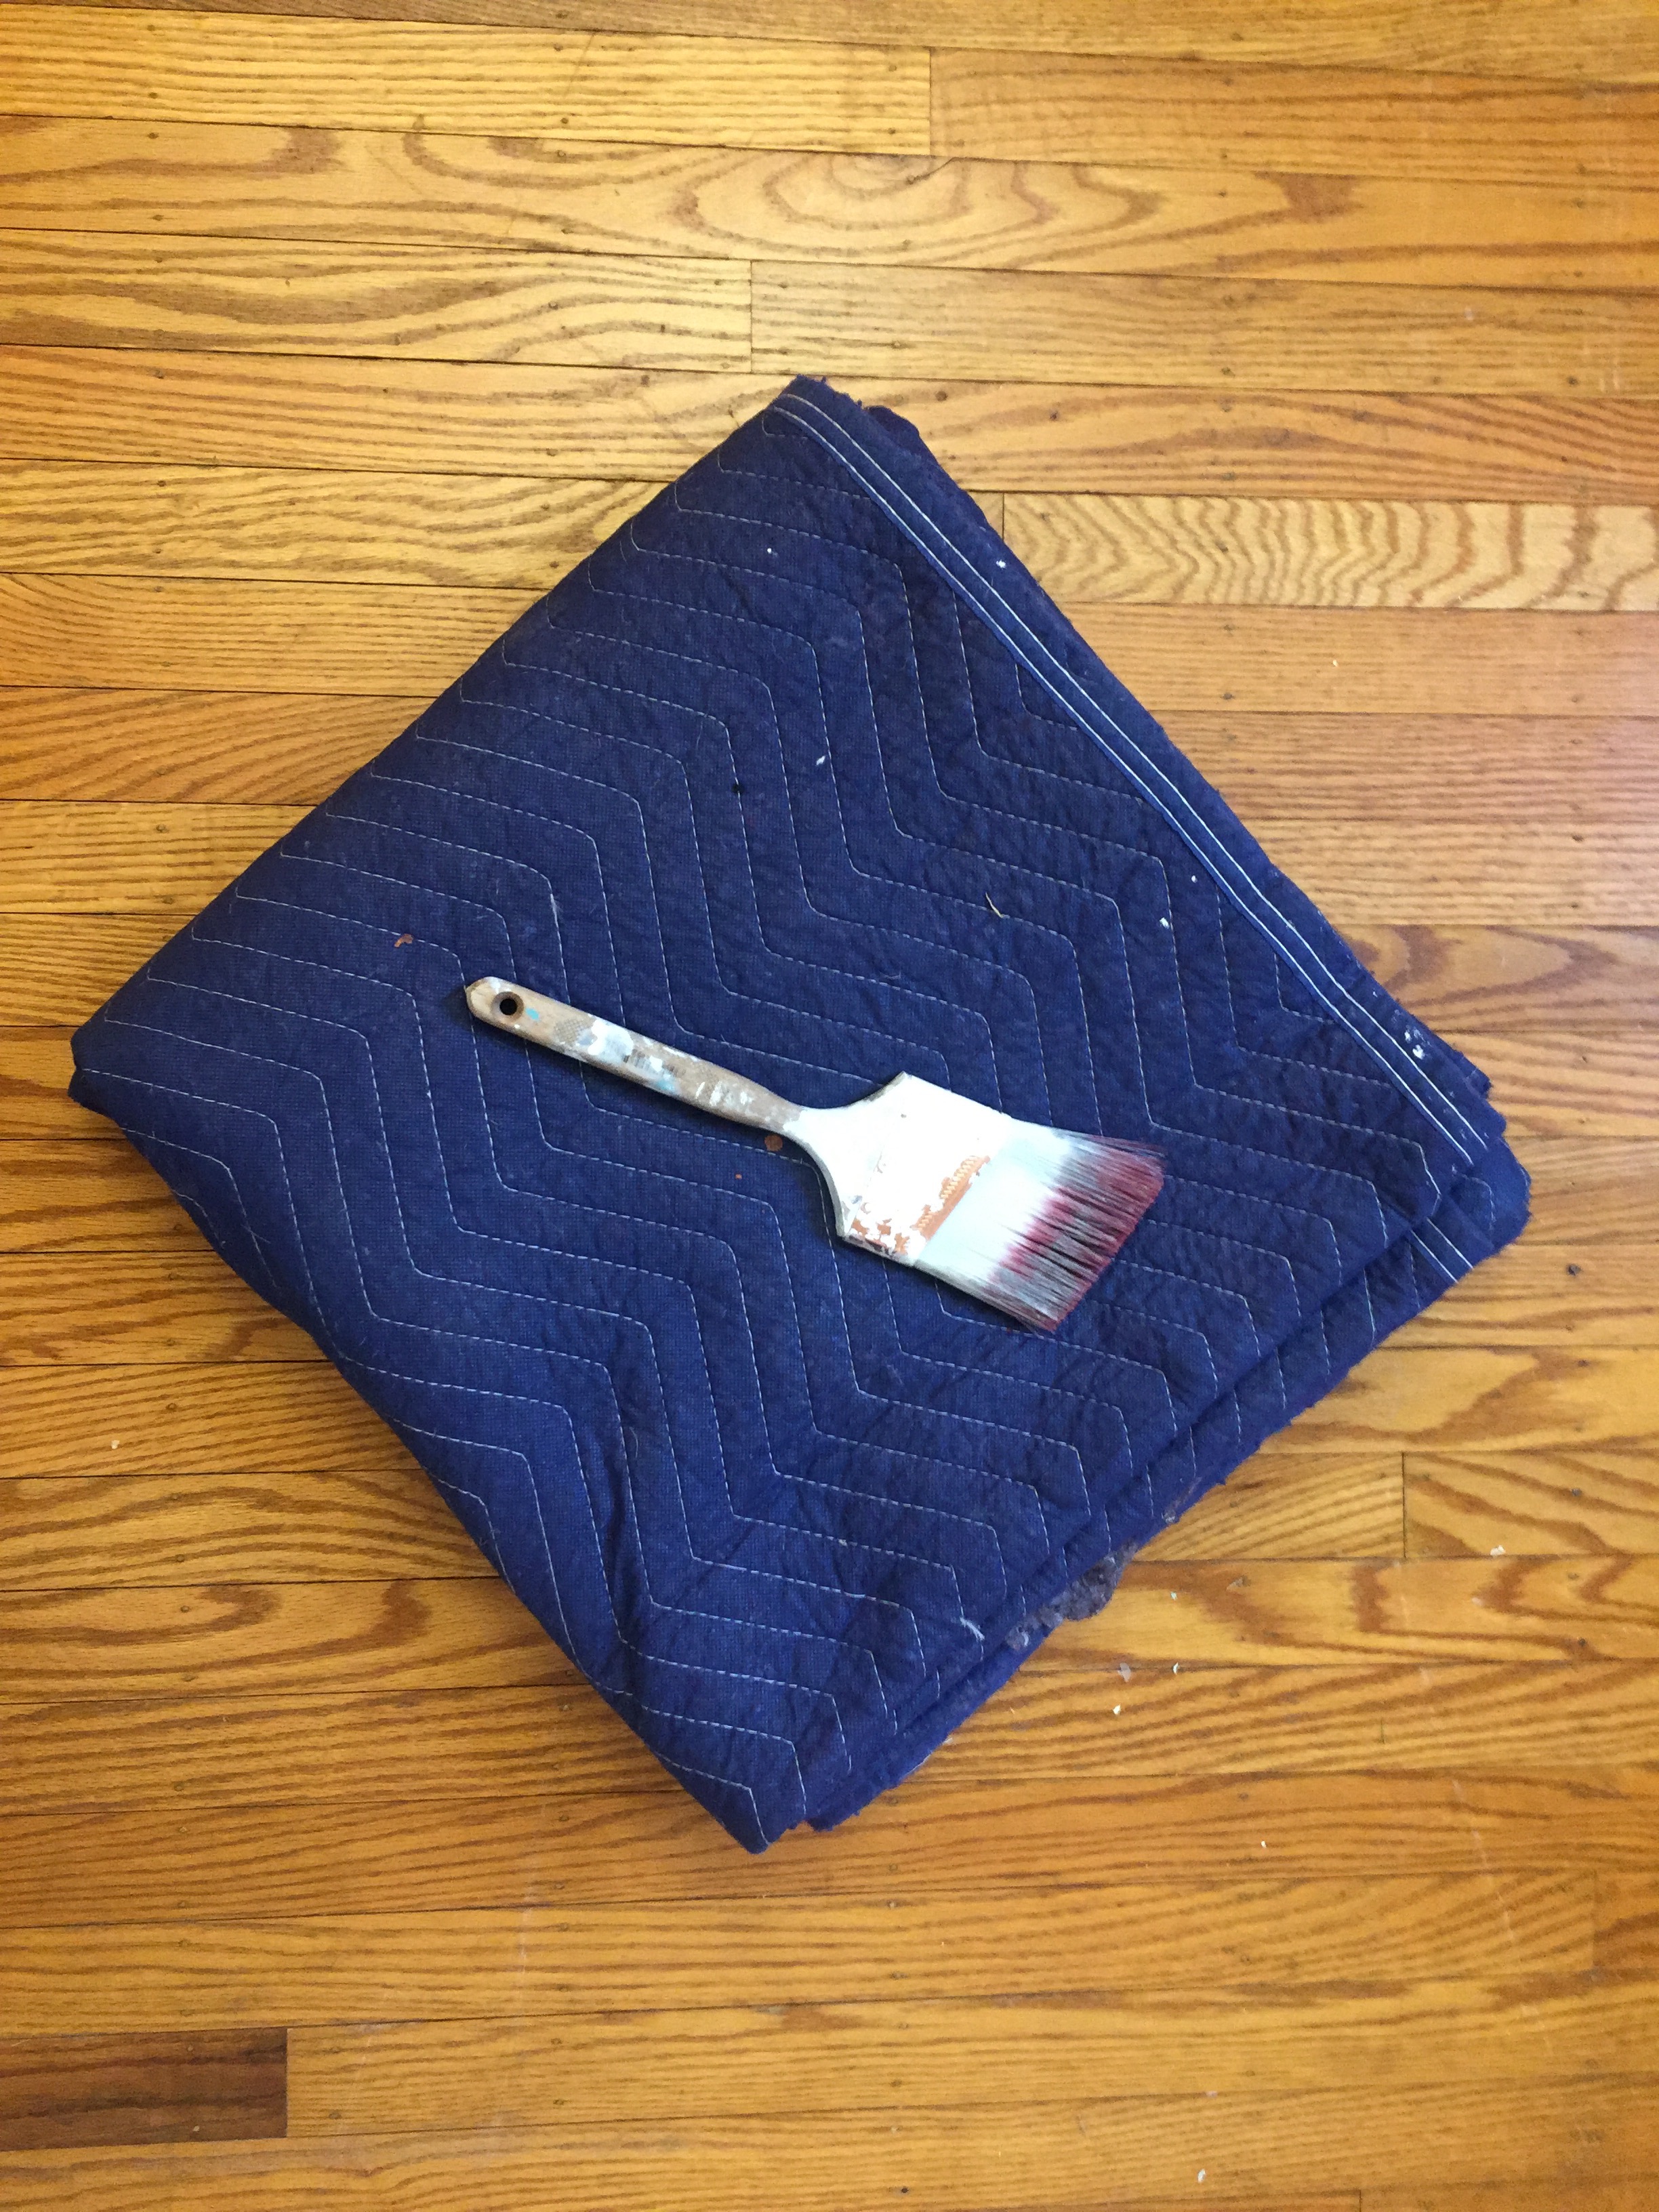
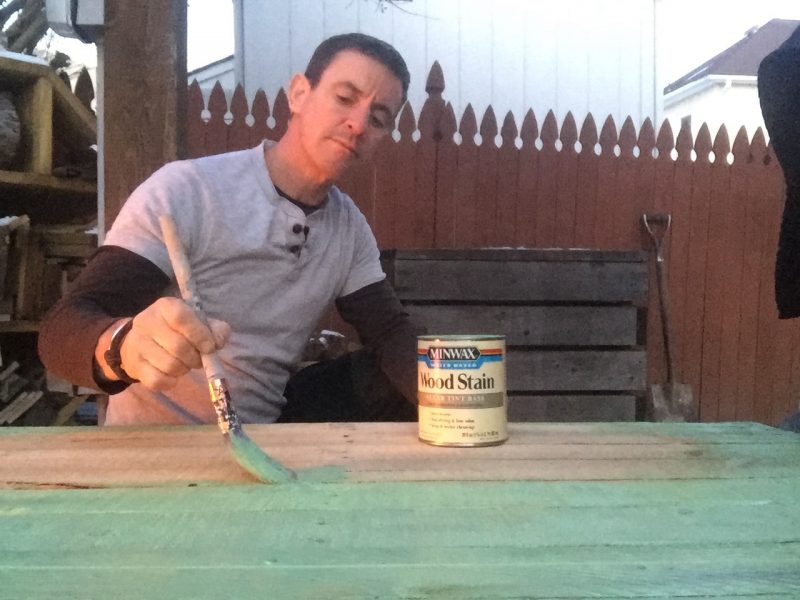
We coated the table base with a deep gray paint and popped the top with color: Minwax Antique Jade. For outdoor use—or if you’ll be putting ice in it for cold ones—we recommend adding two coats of Spar urethane.
Last step, load up the niches with succulents or a succulent brew.
Hope to see you at the Philly Home Show! Stop by and say Hi. Share your DIY. 1/22 3-4, Main Stage.