We used wood from a Minwax wood staining workshop to make a DIY tray for the holidays.
This DIY tray was easy-to-make, and a fun way to reuse wood from a Minwax workshop at Habitat for Humanity ReStore in Philadelphia.
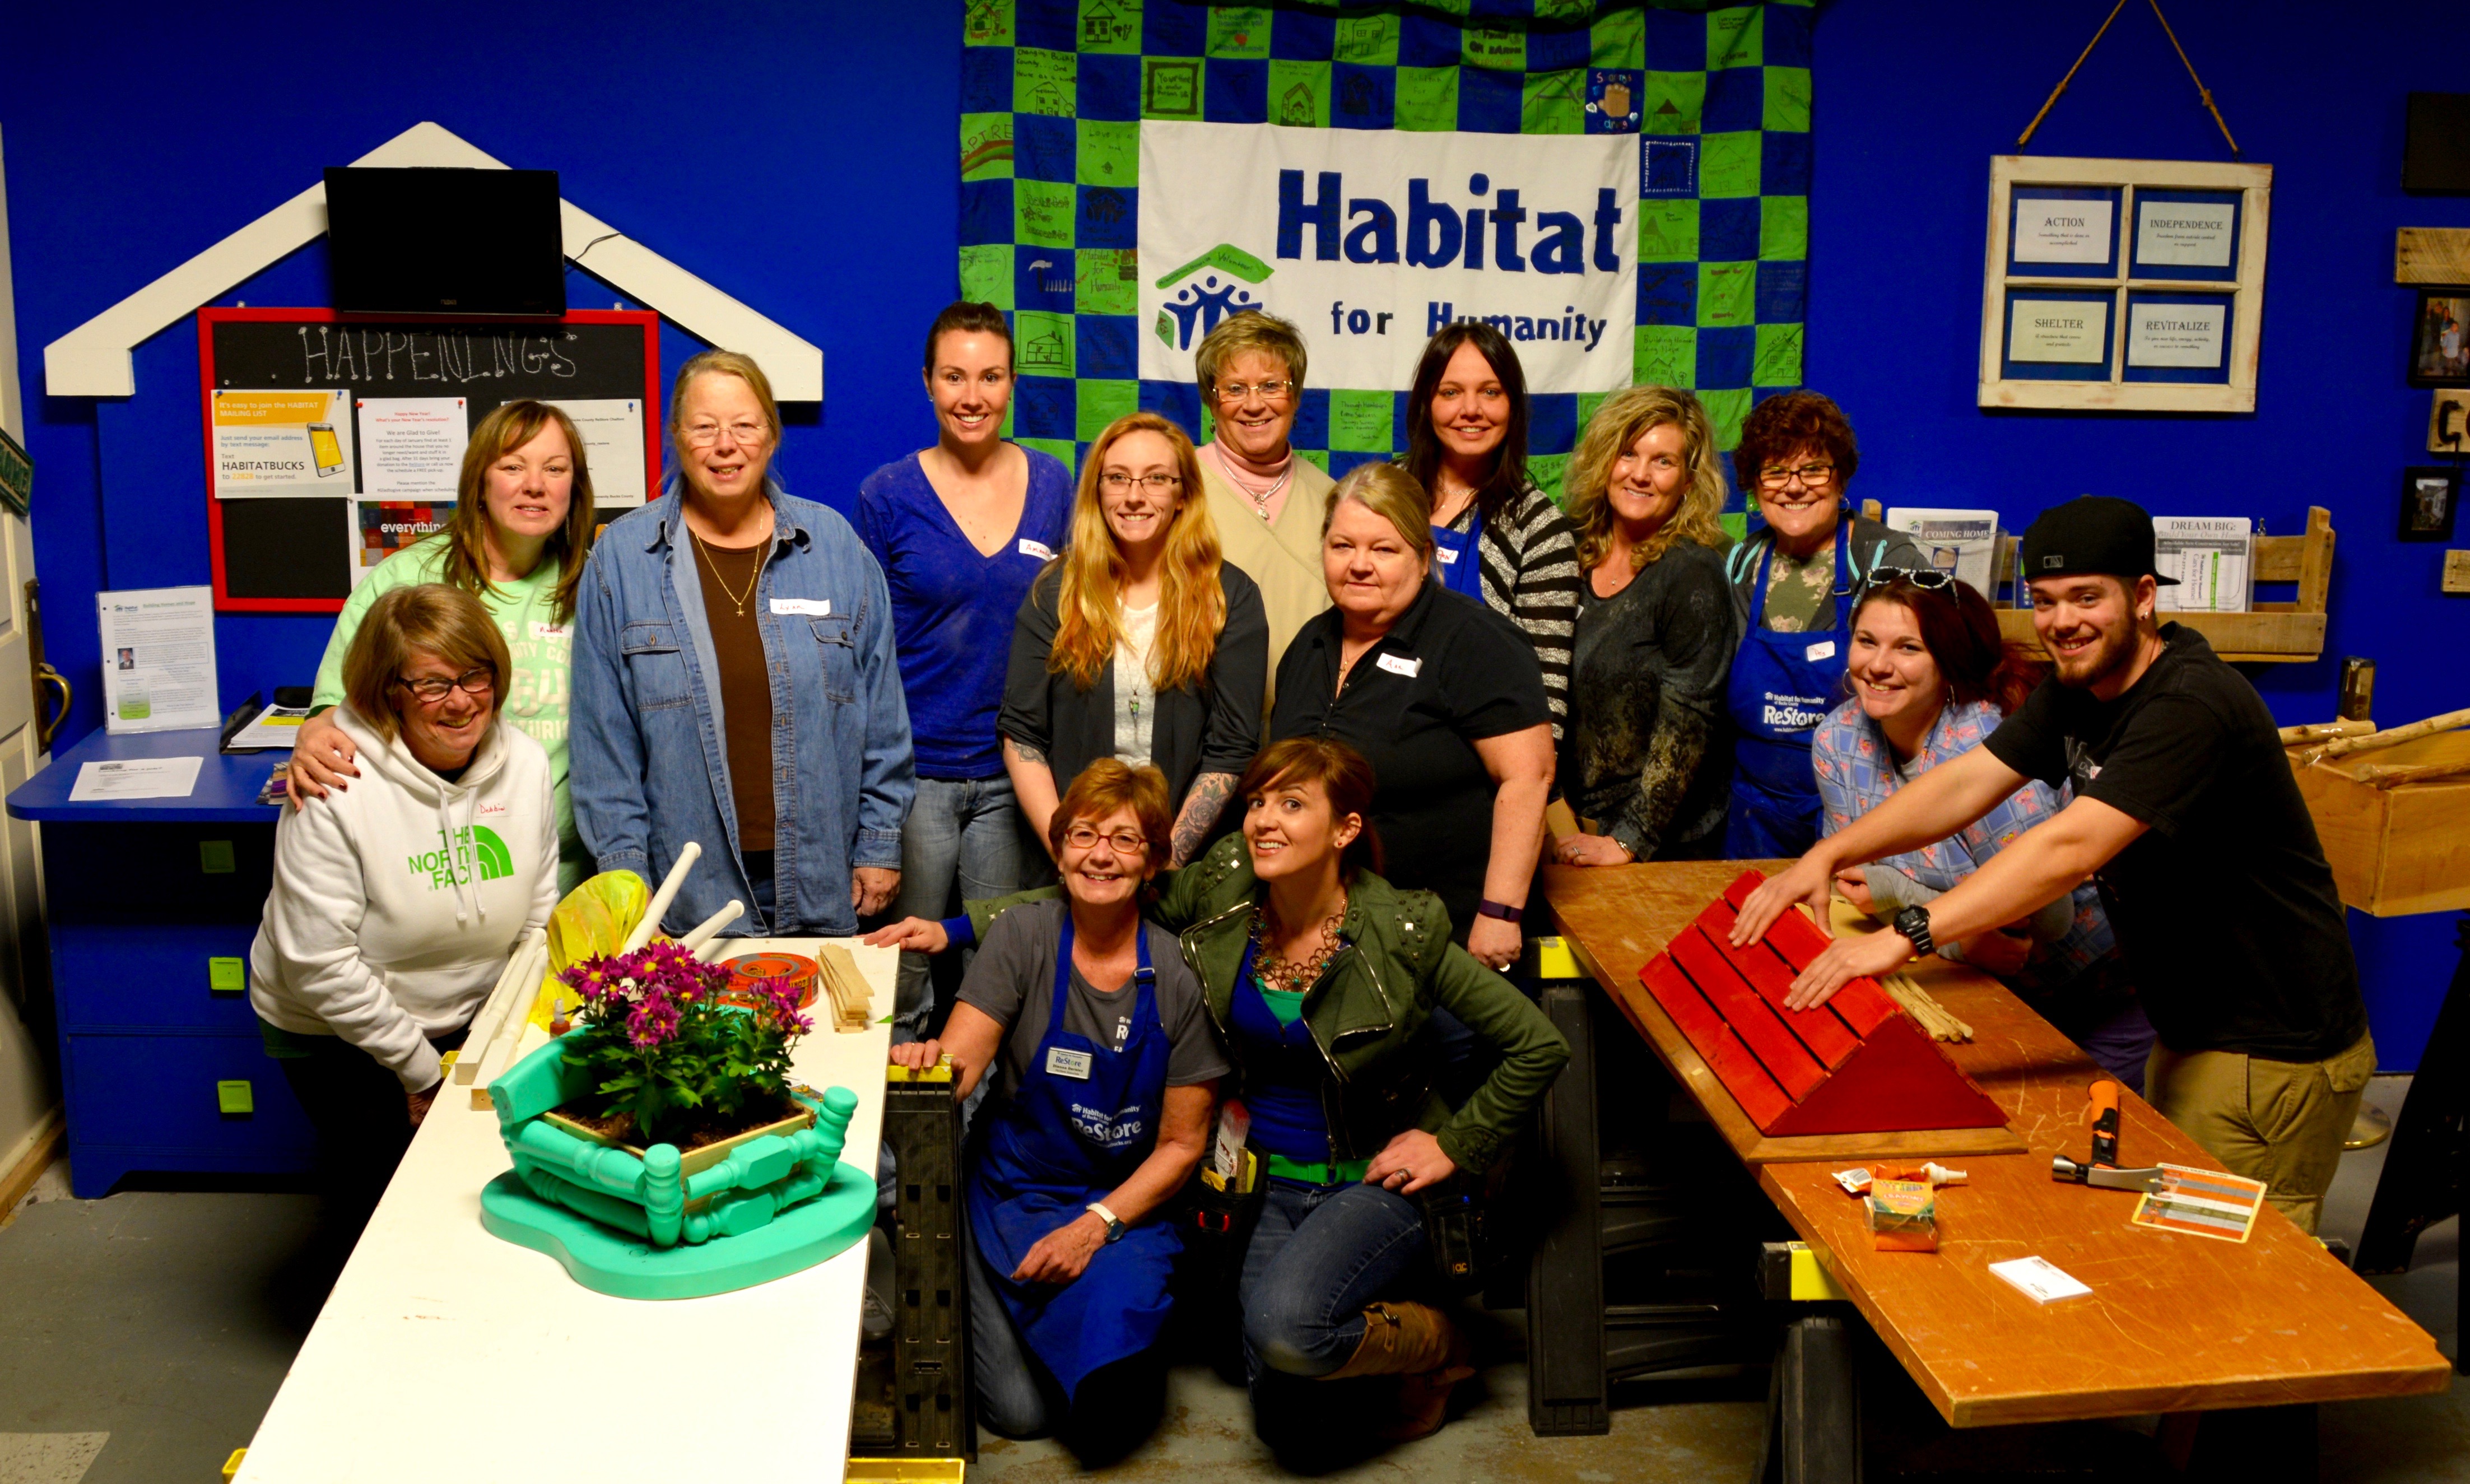
Mark and I have been working with Minwax for a few years, creating projects with them for their ‘Made With Love. Finished With Minwax.’ campaign and it was fun to share what we have learned about staining over the years with others.
For the workshop, about 25 participants practiced using a variety of stain products on pieces of wood. While the wood may be considered scrap to some, as I looked around the room at the colorful little boards, and as I began to know everyone throughout the afternoon, I wanted to make something to reuse the material and to remember the time we spent together.
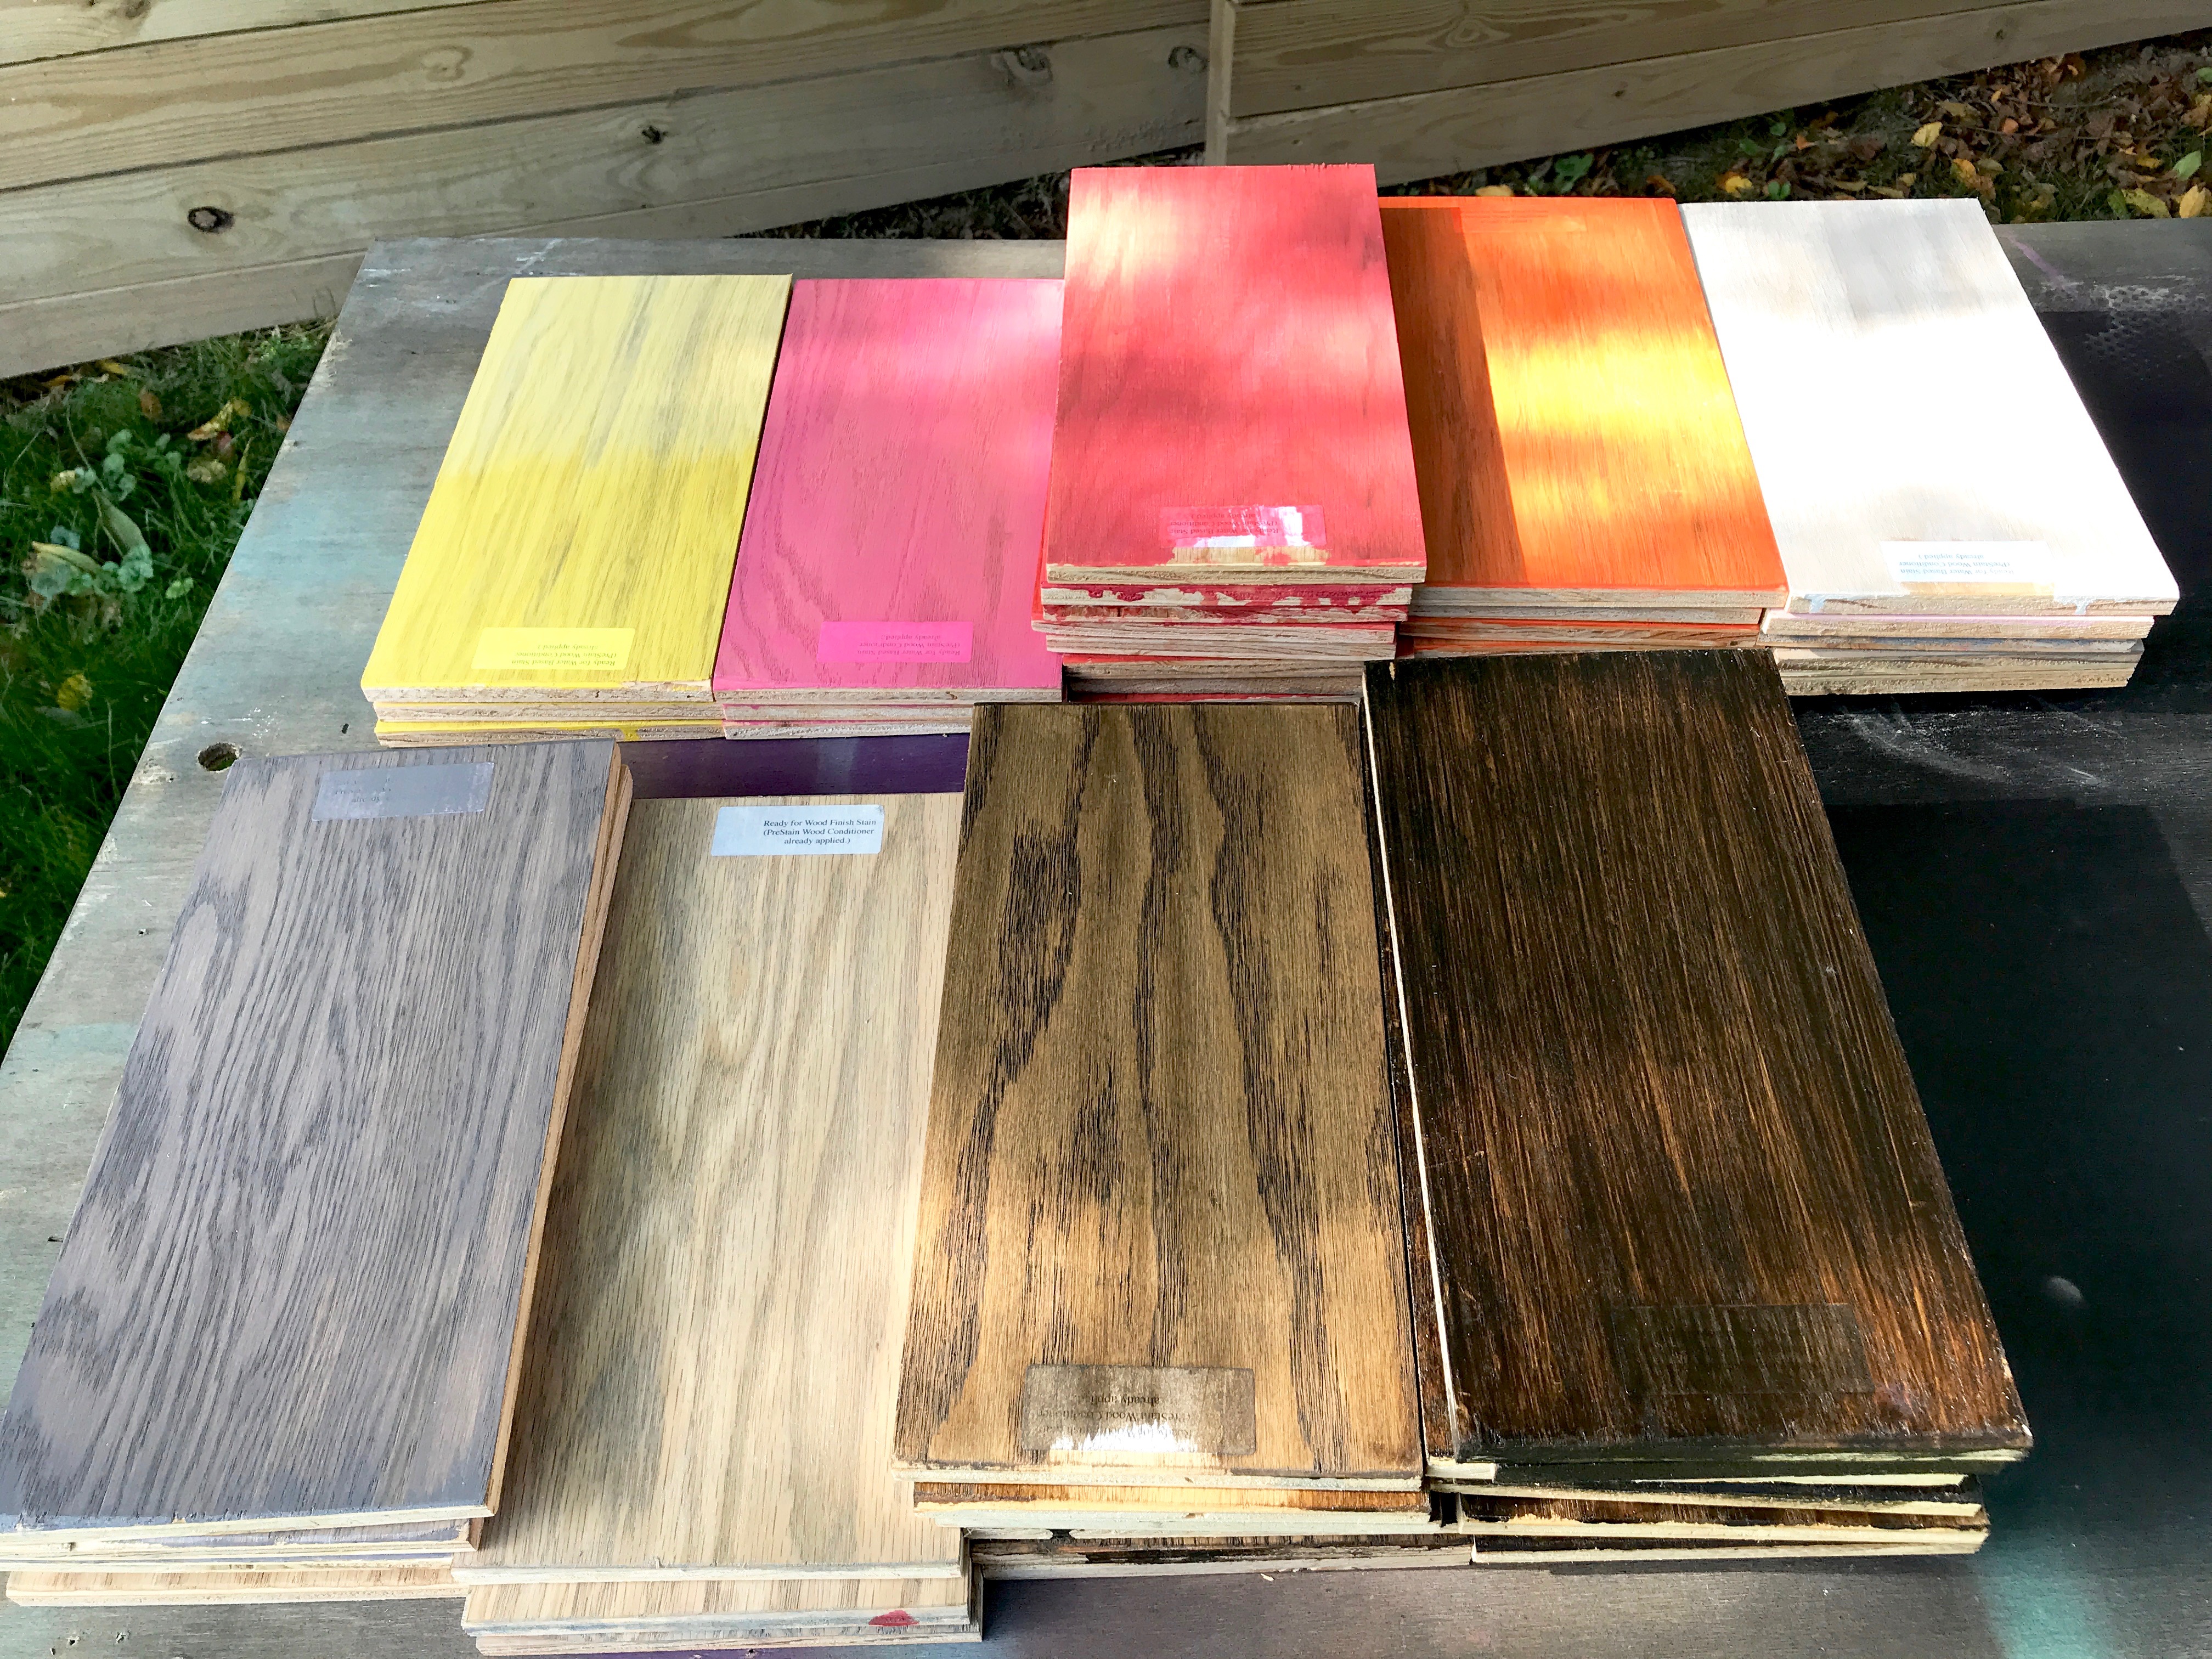
After taking the boards home, and stacking them into color piles, I had about a dozen ideas pop into my head. If you love these stain colors, here are the names:
(Top L-R): Water Based Wood Stain in Daffodil, Perfectly Pink, Crimson, Tangerine and Pure White
(Bottom L-R): Wood Finish in Classic Gray, Dark Walnut, Weathered Oak and PolyShades Espresso
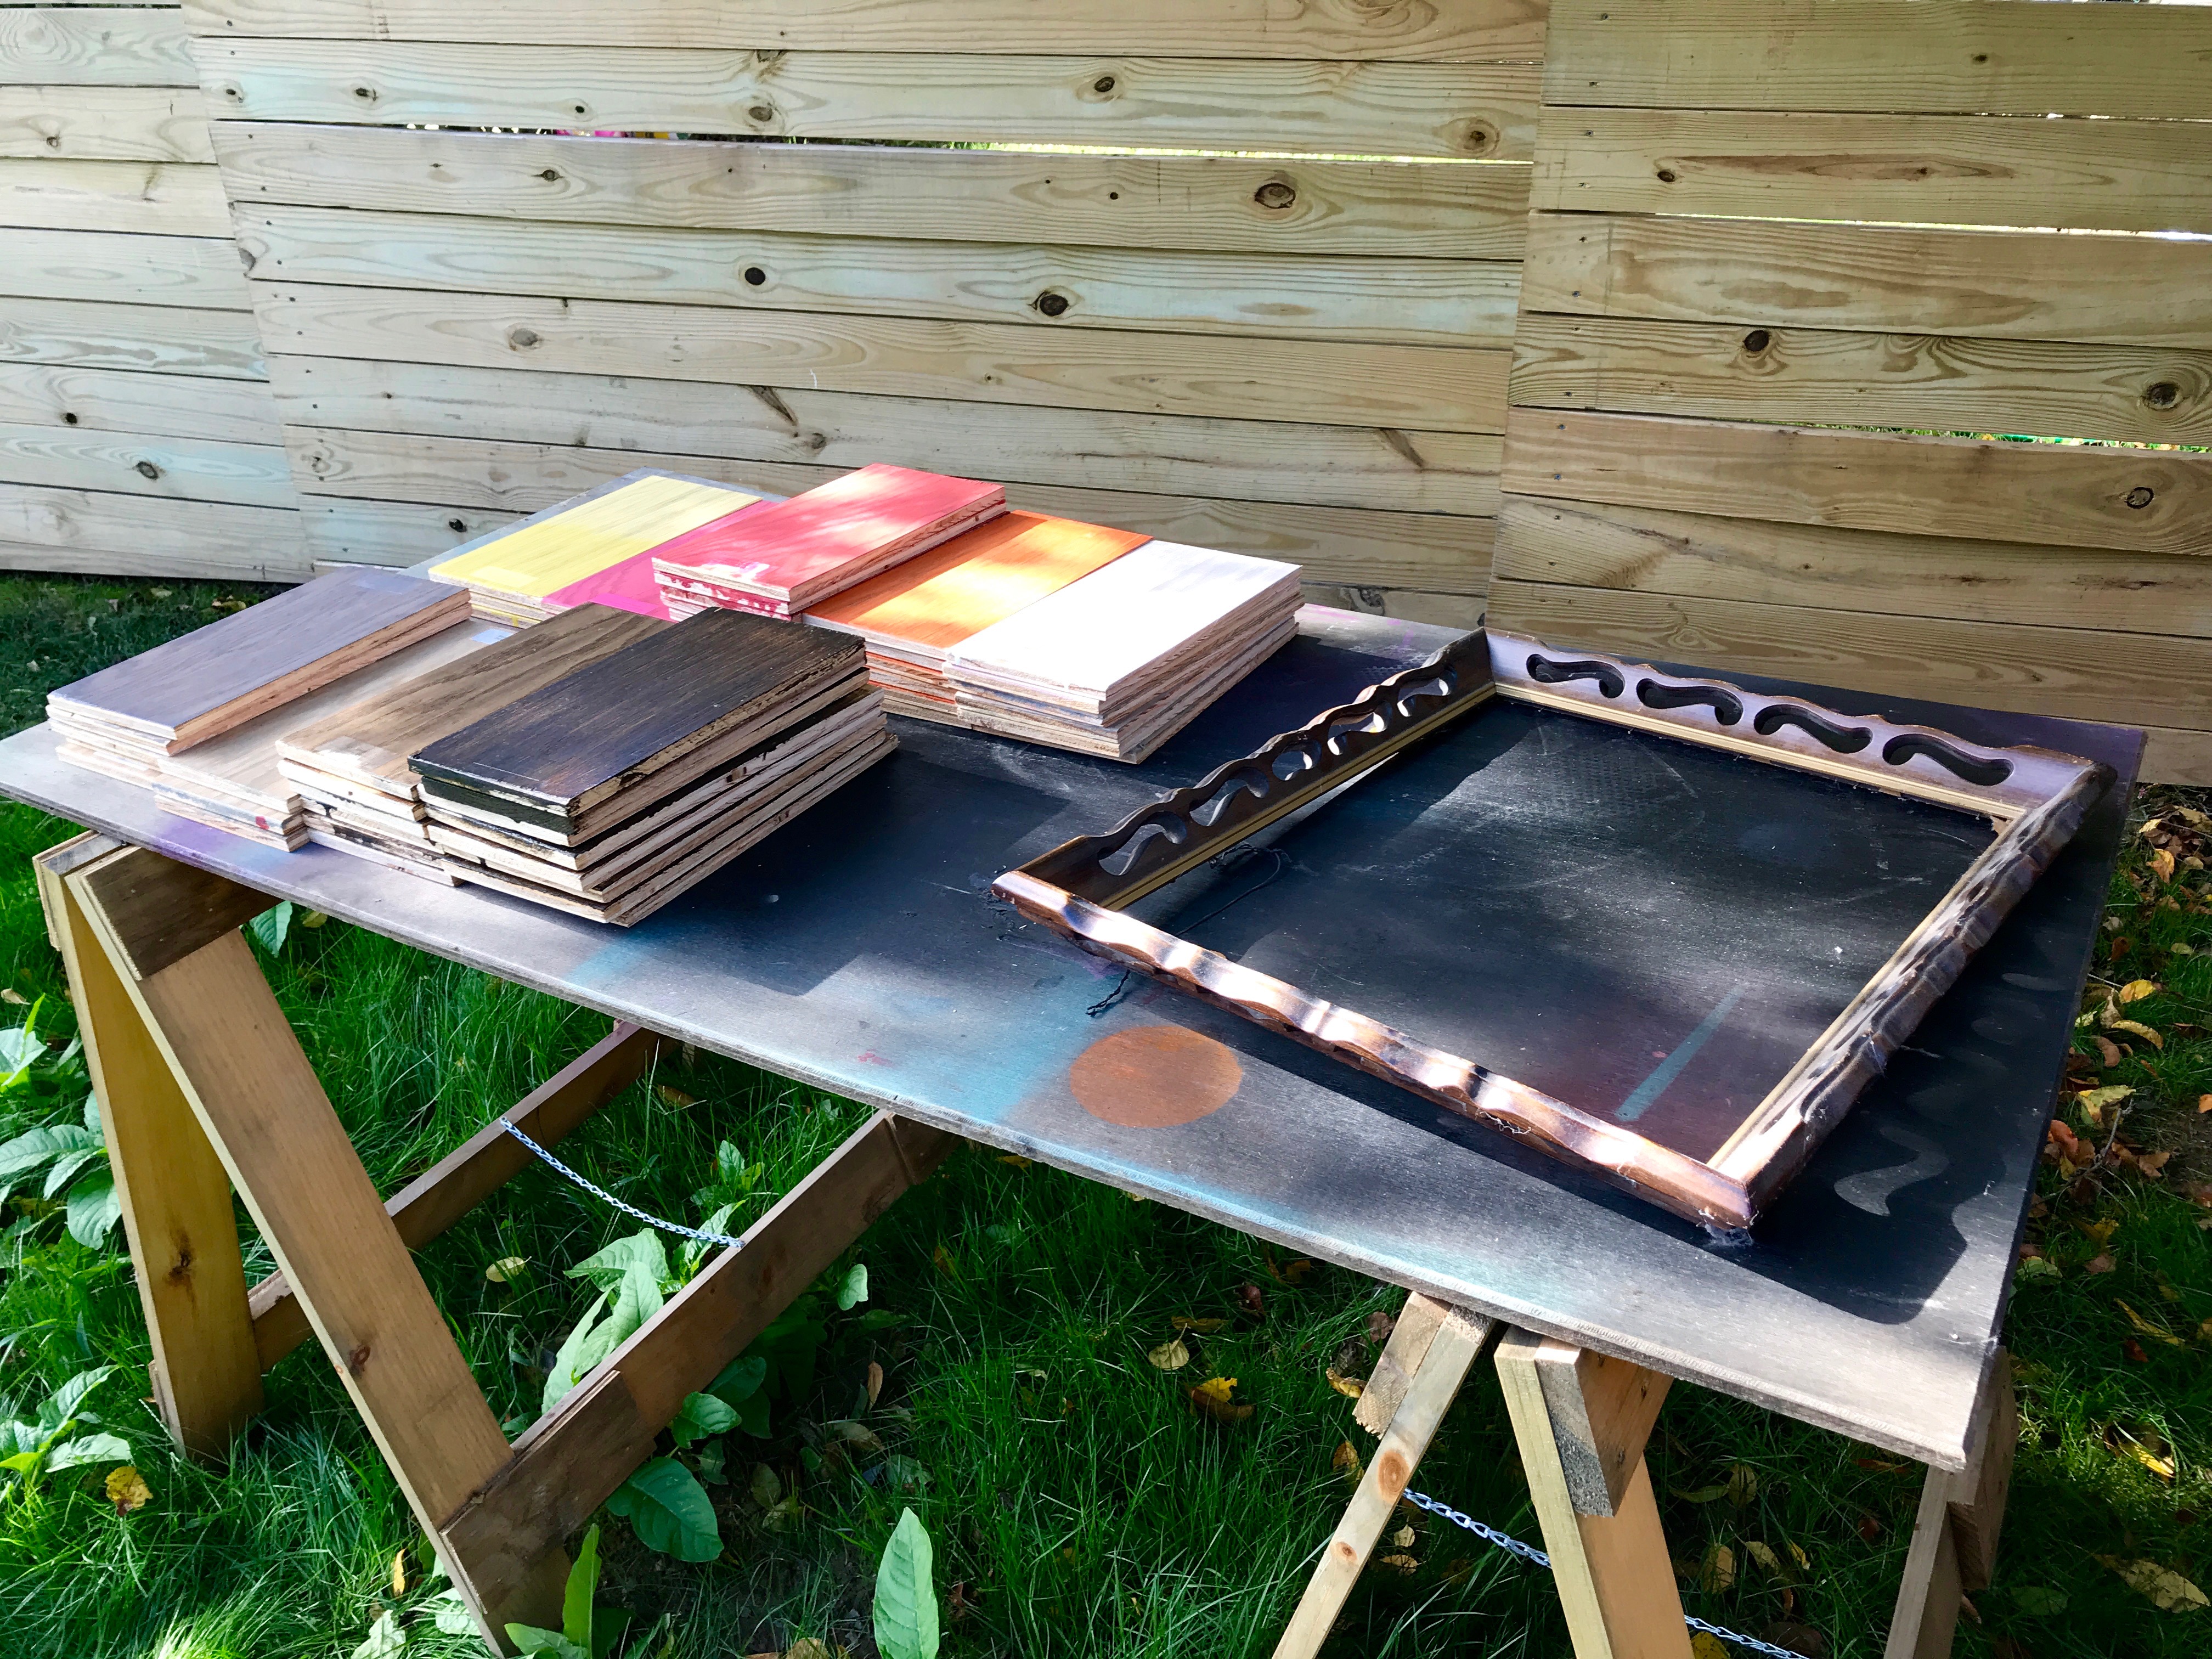
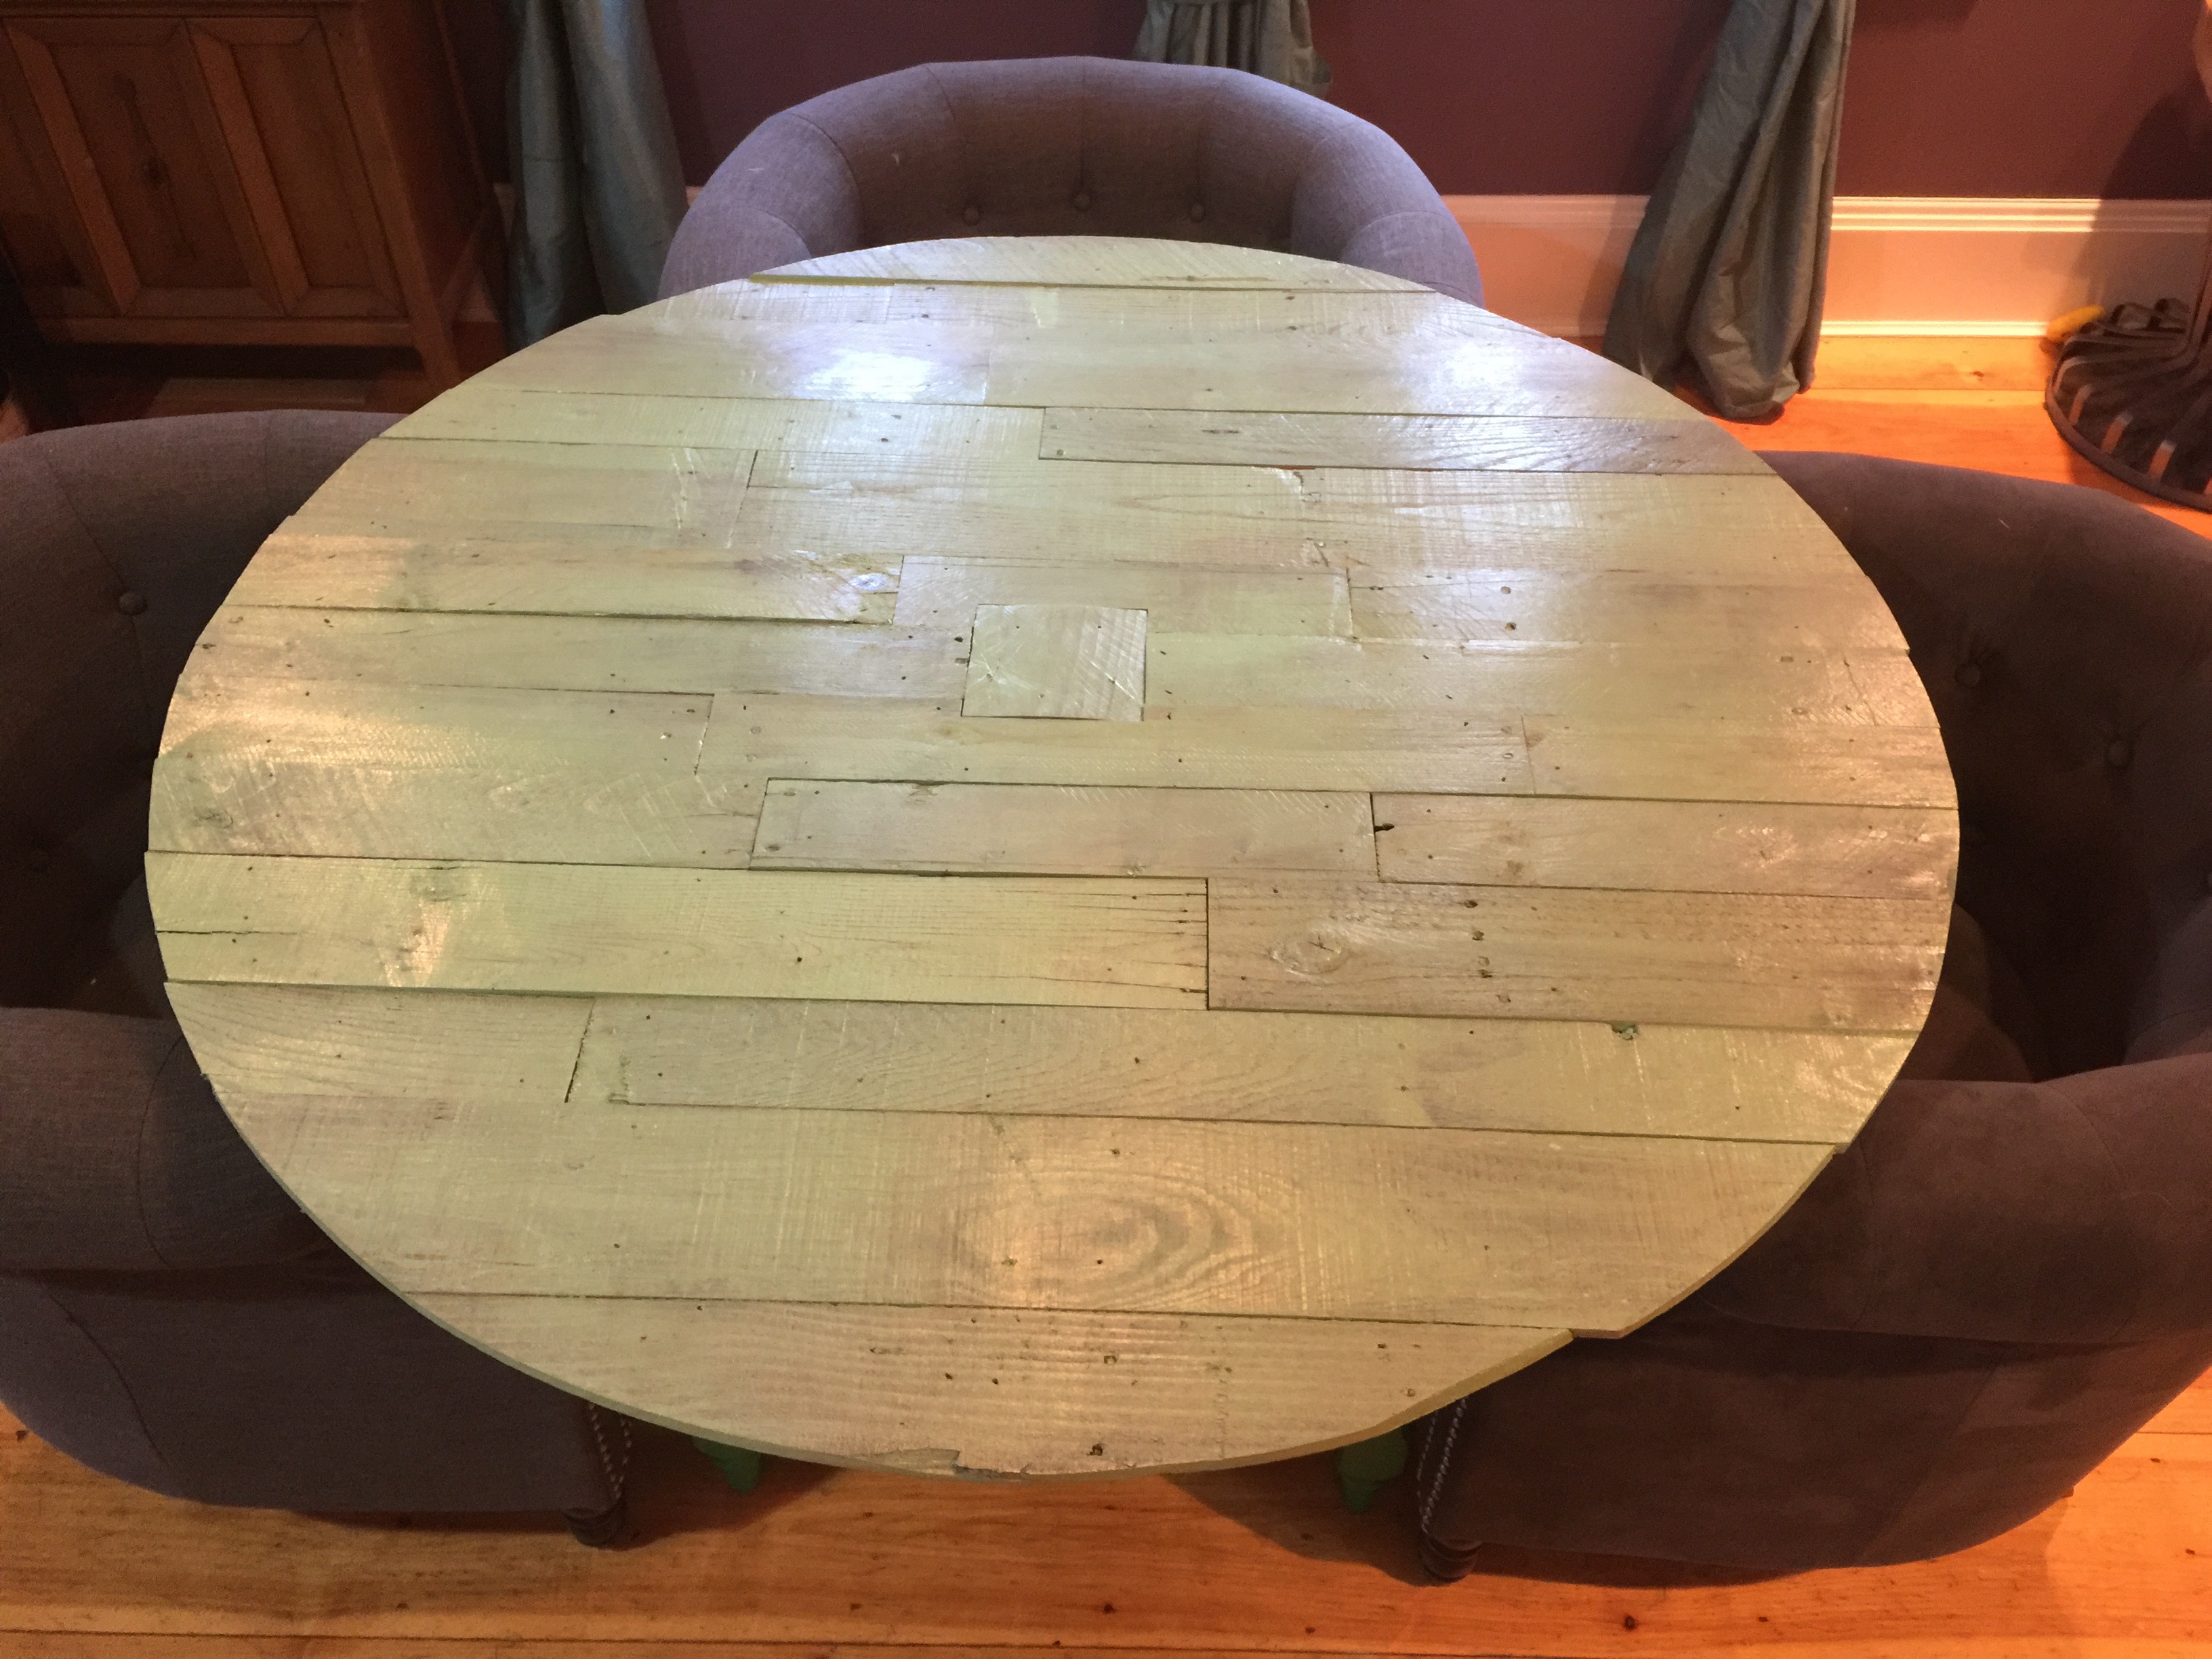
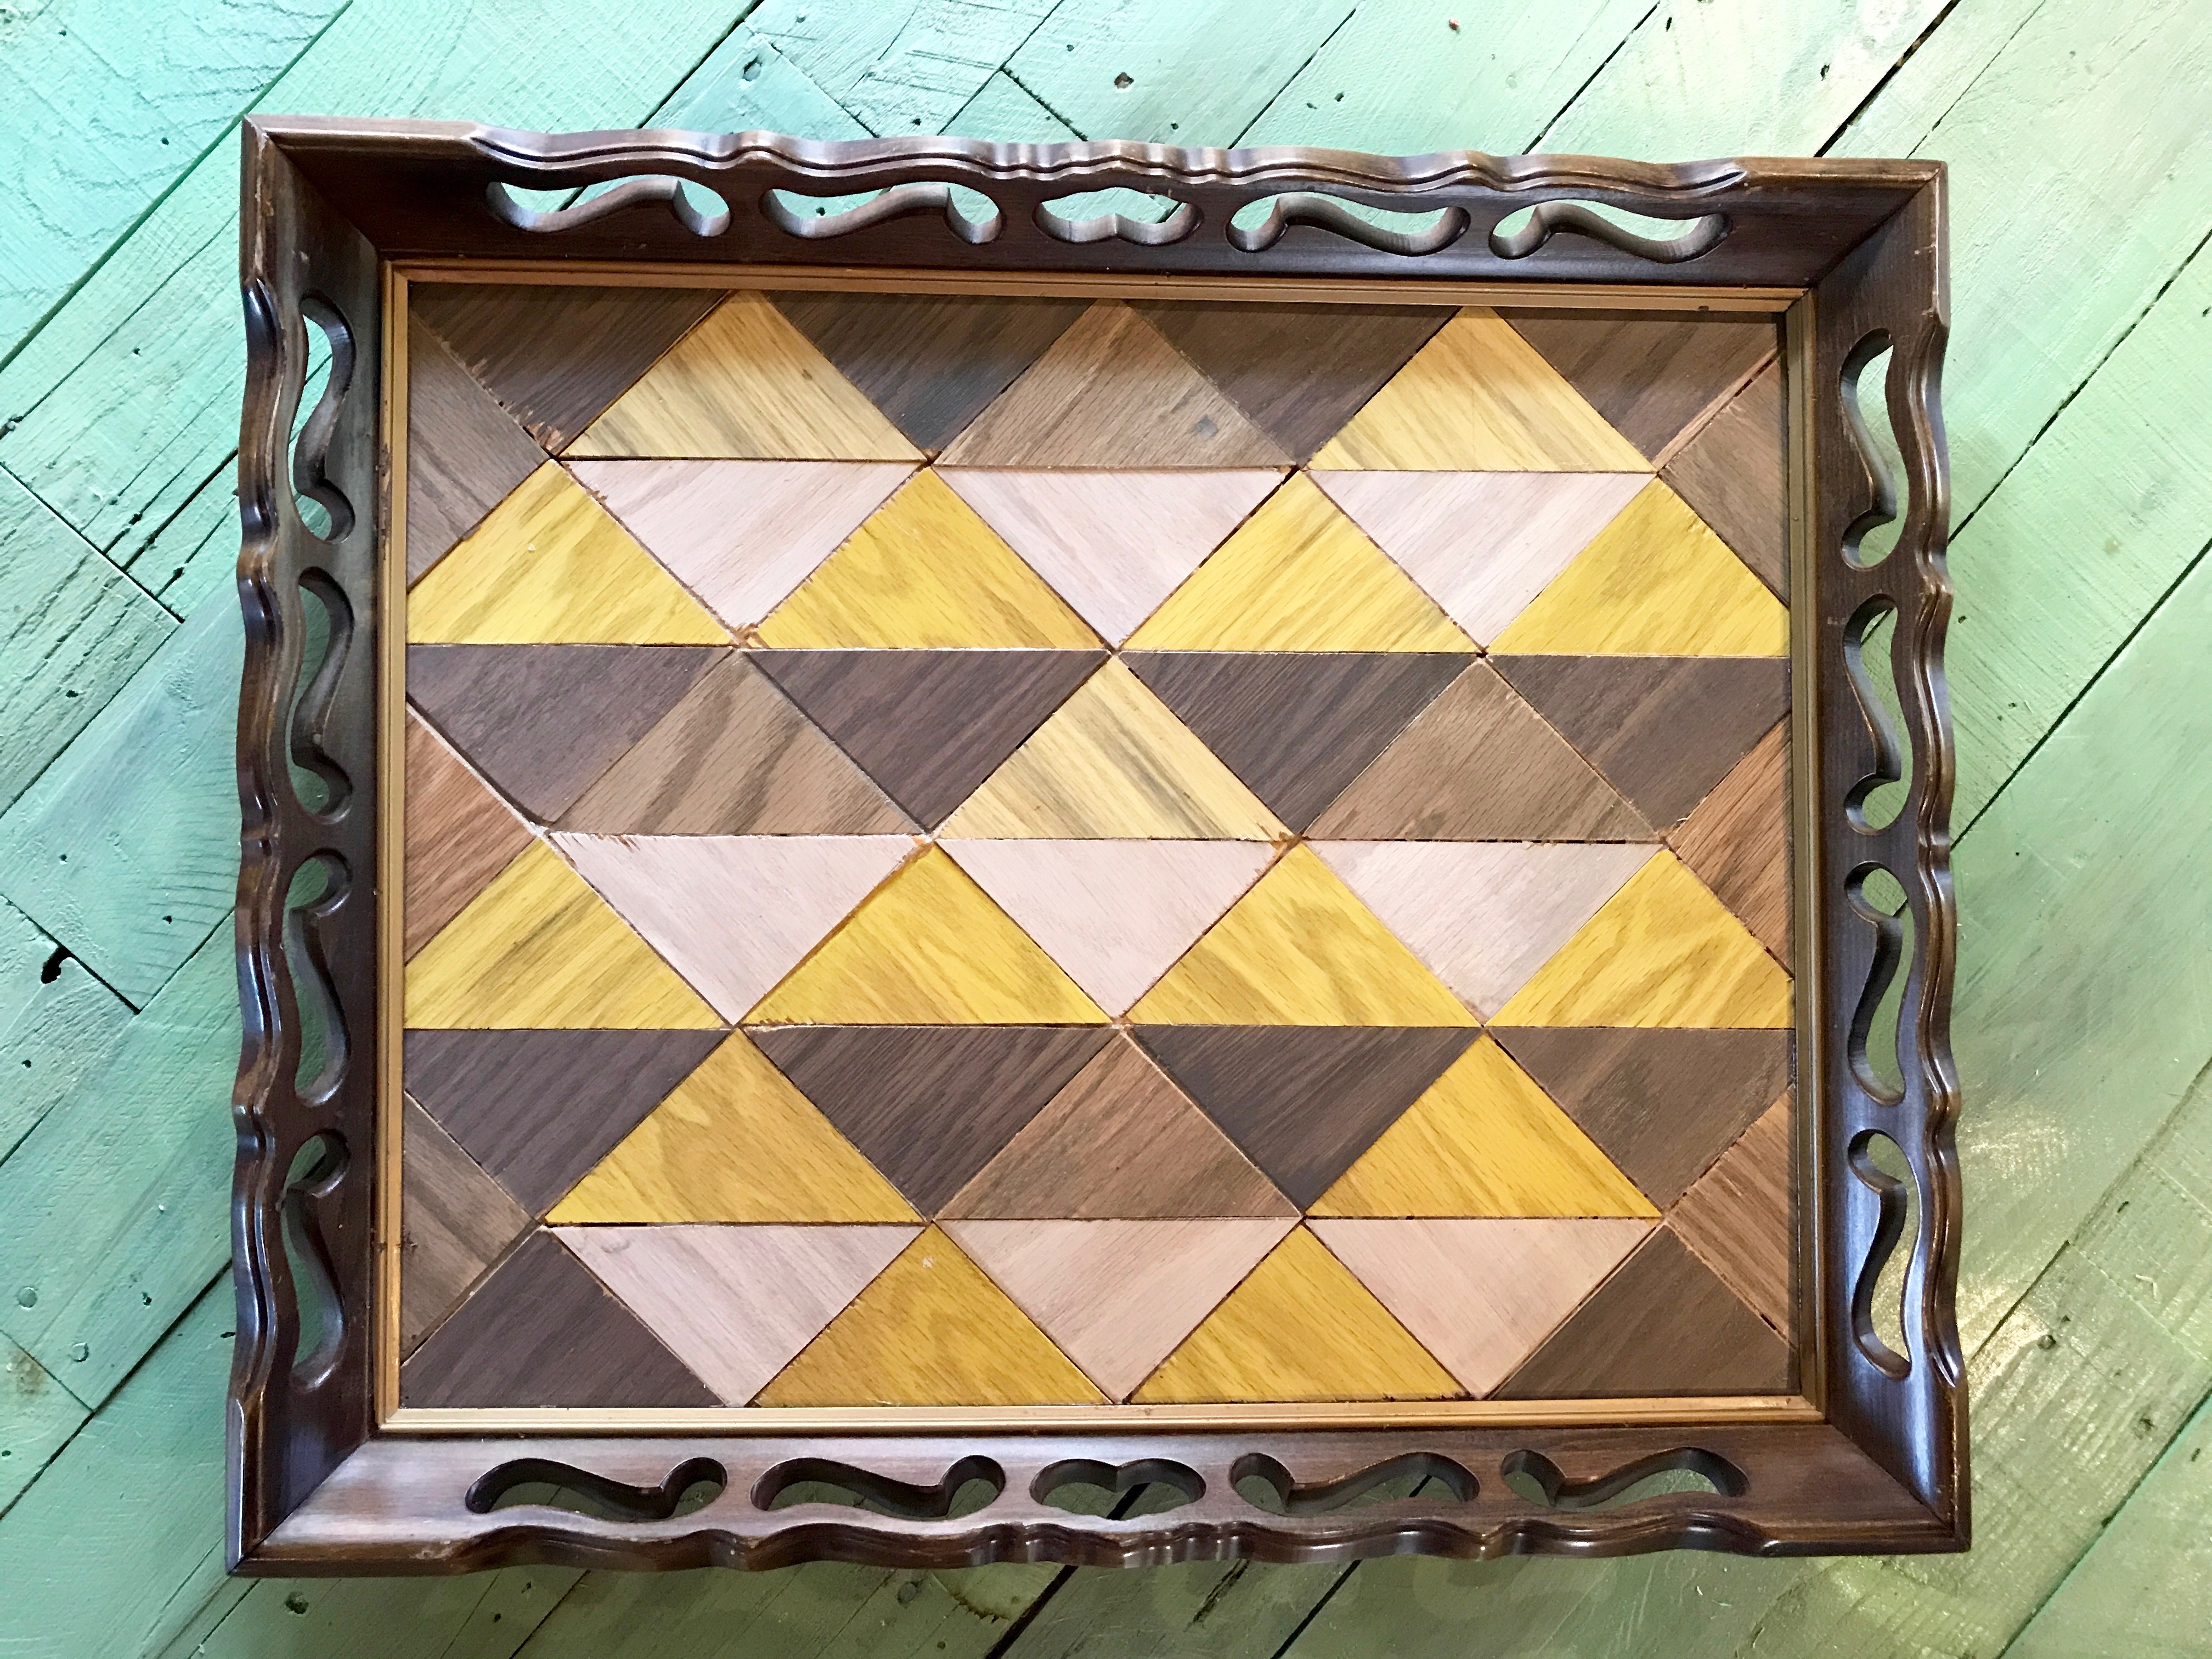
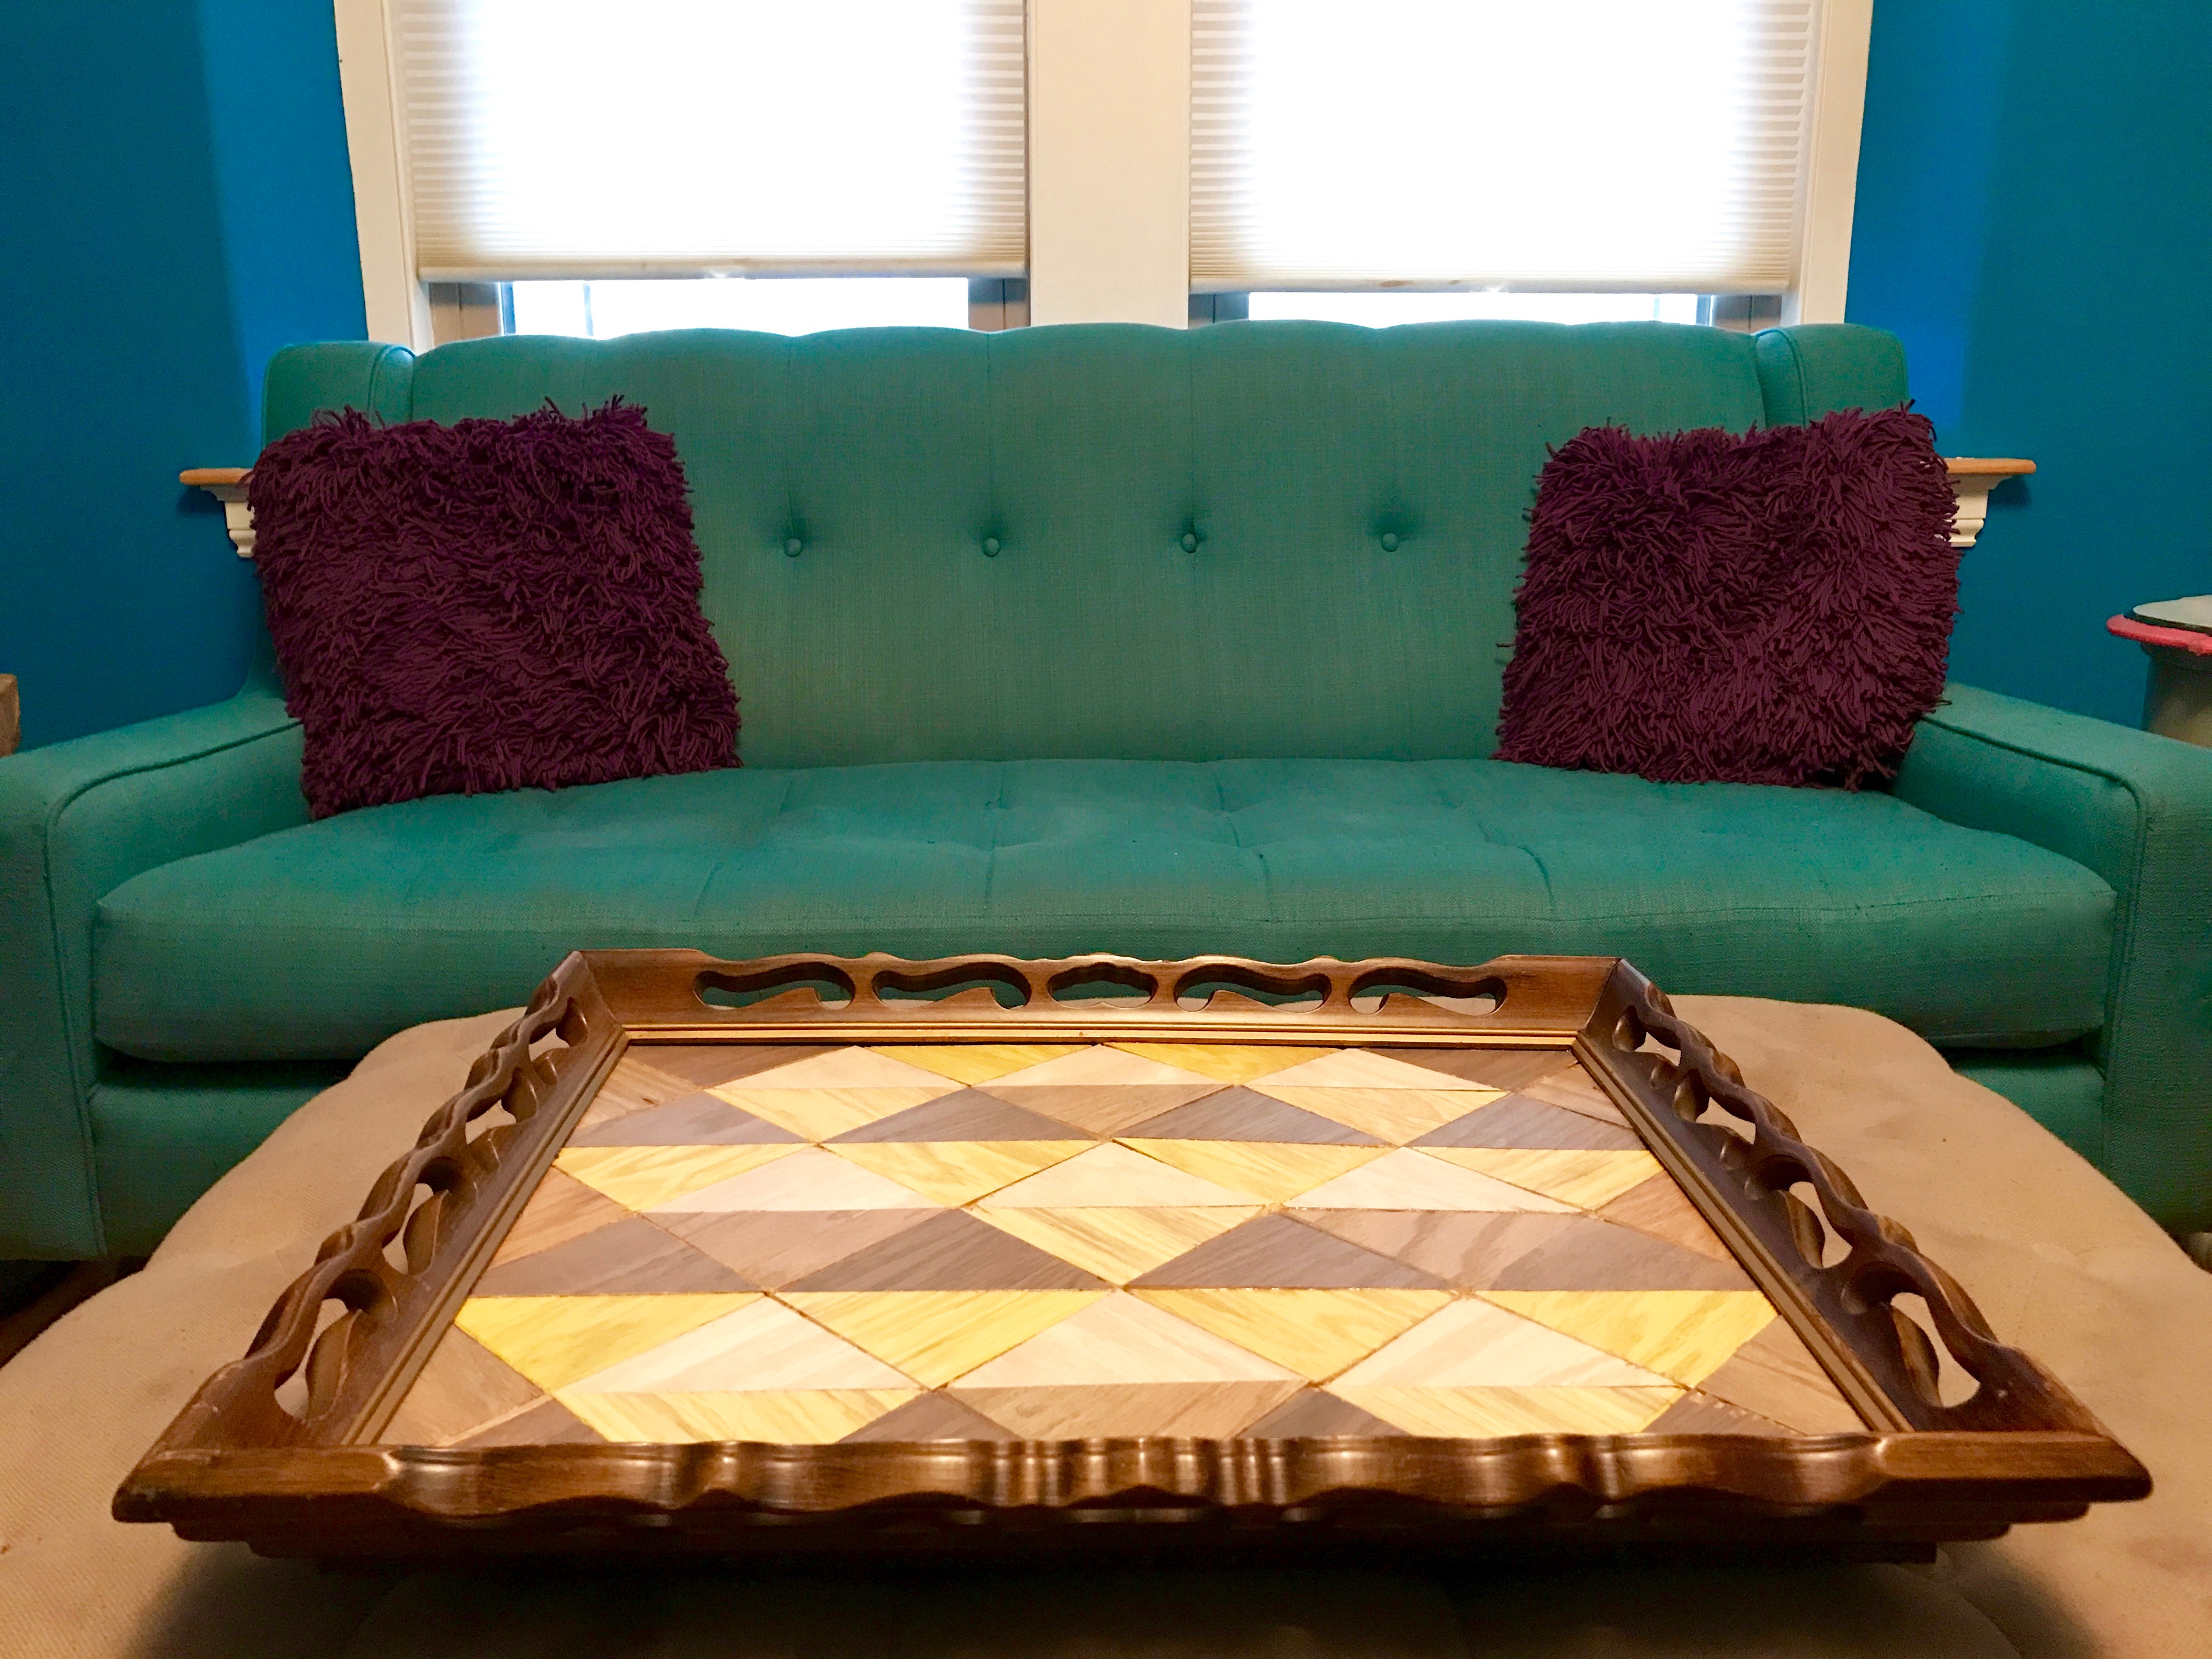
I settled on using an old wood frame and the boards to create a tray. As you can see from the photo, there are way more boards than there would be need for the project, so I had to edit the colors.
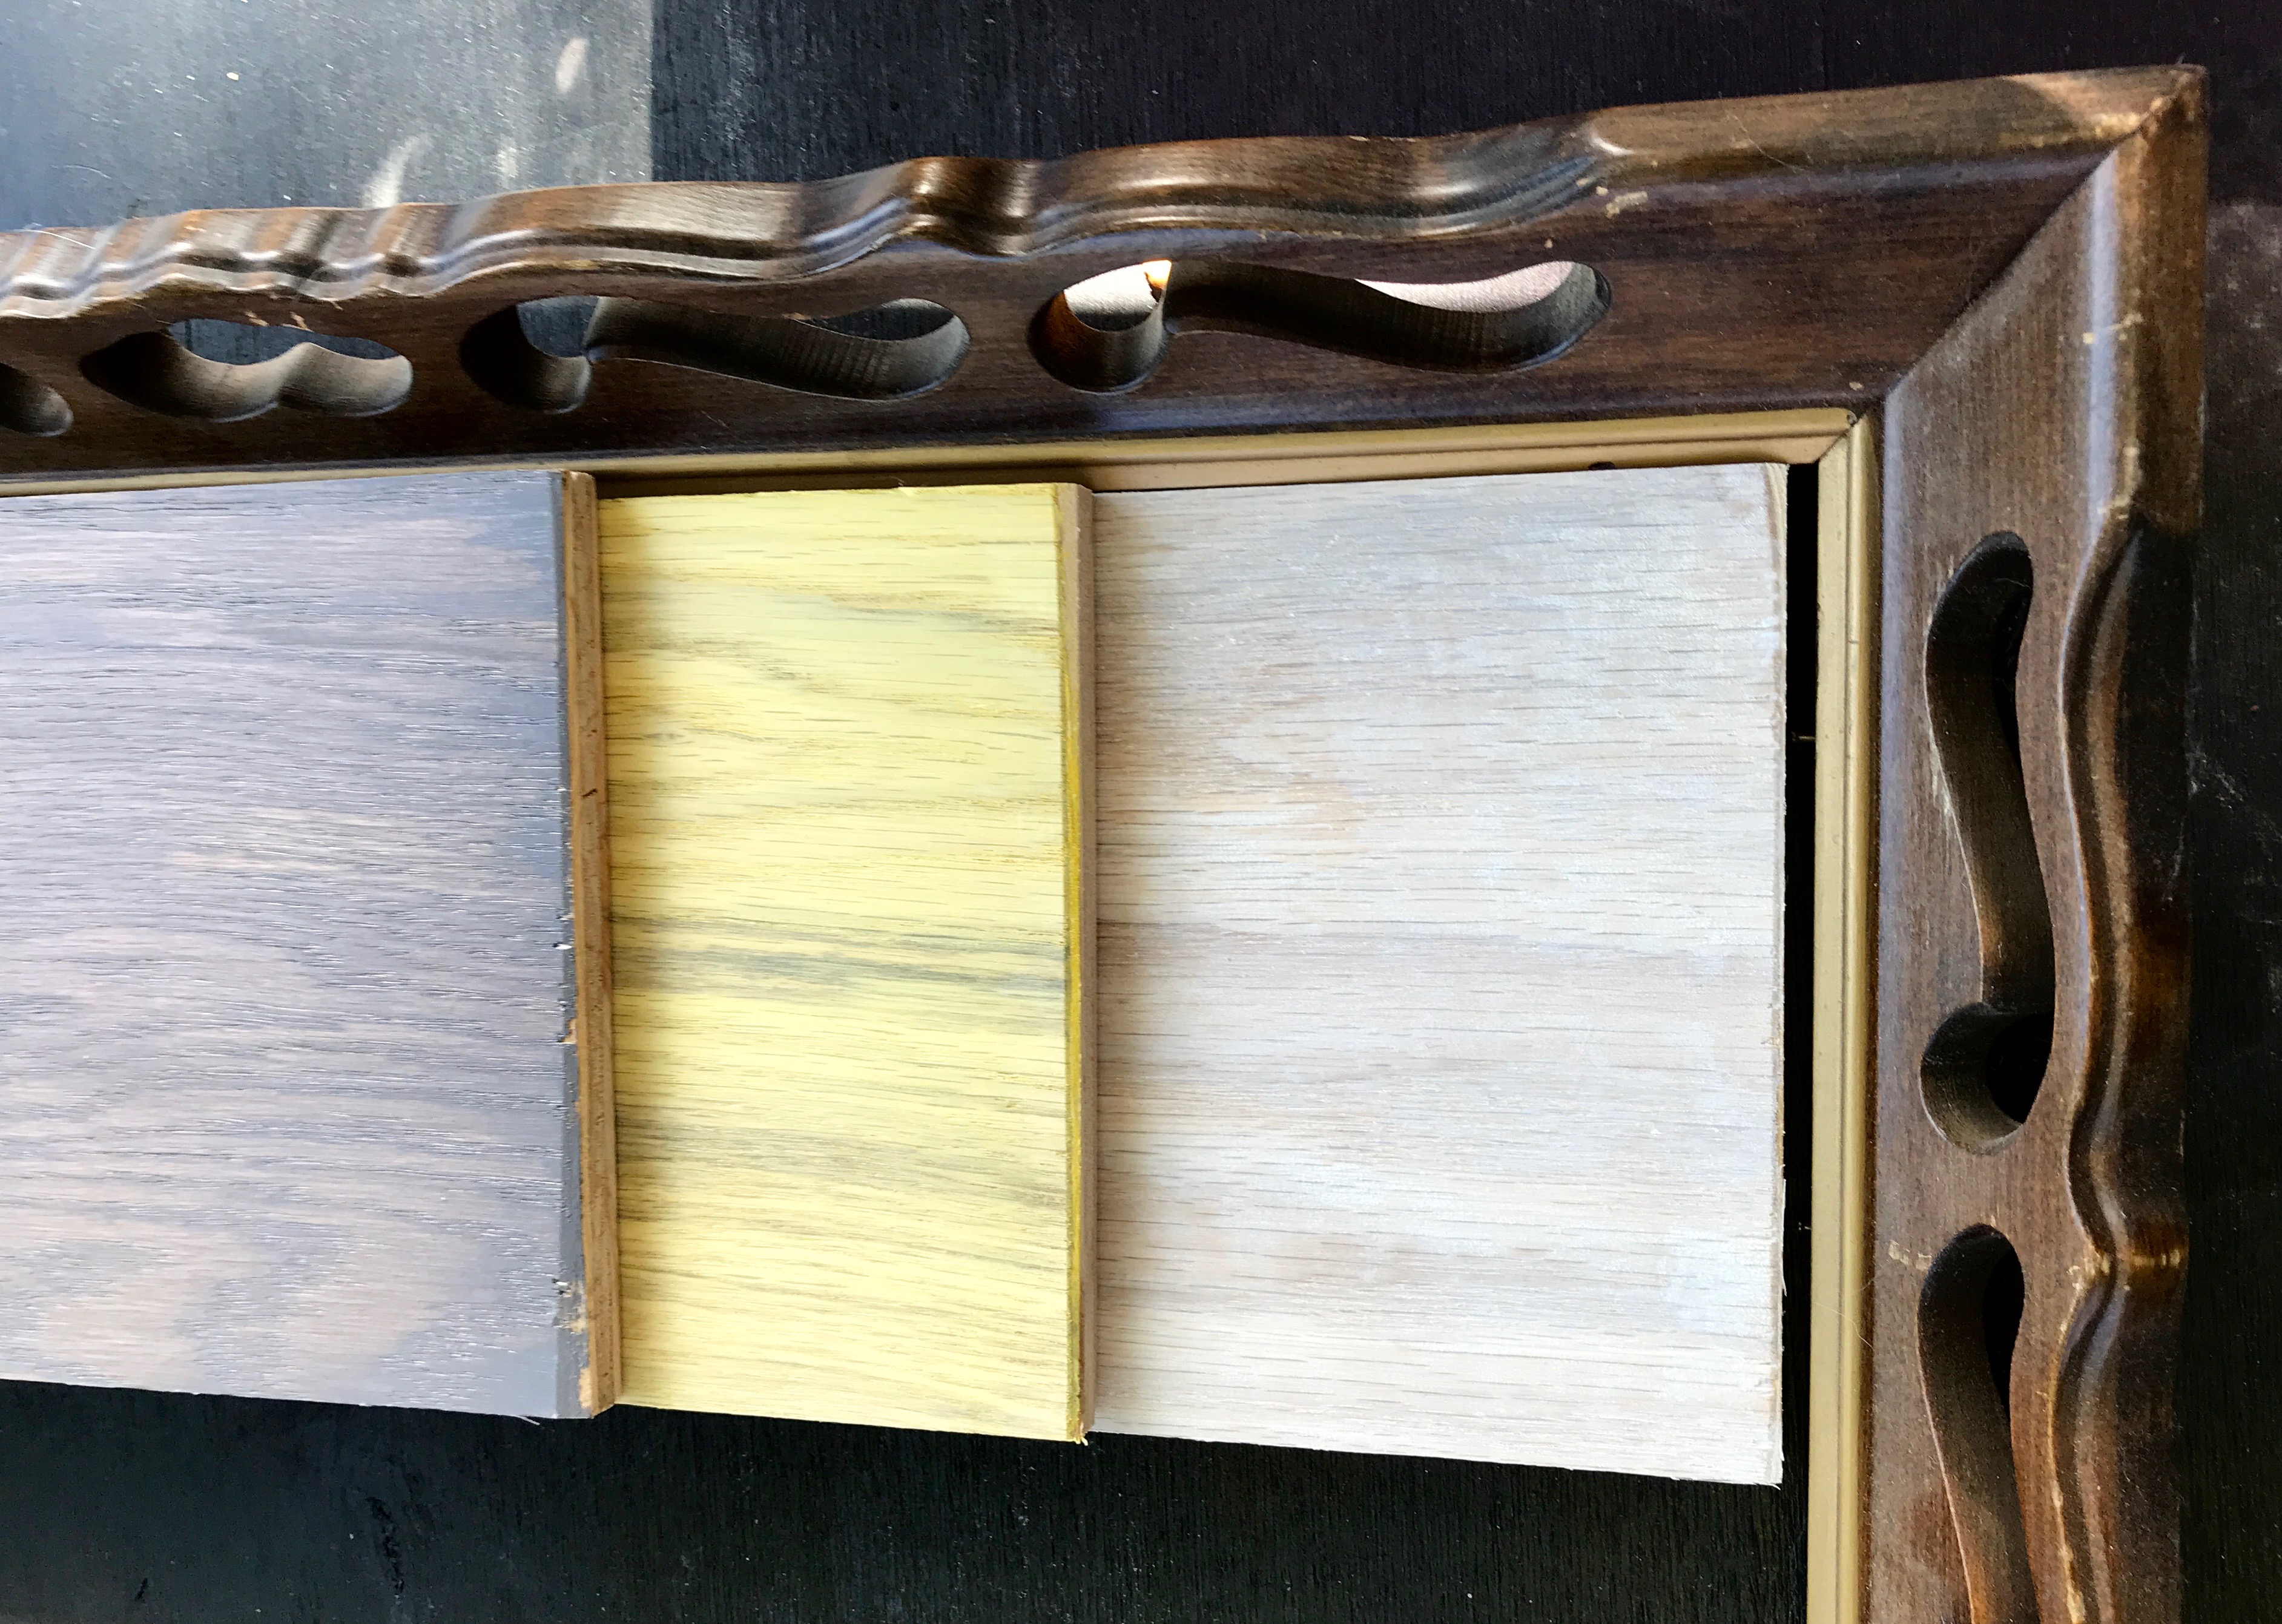
I chose a few of the colors, Water Based Wood Stain in Daffodil, Wood Finish in Classic Gray, Water Based Wood Stain in Pure White.
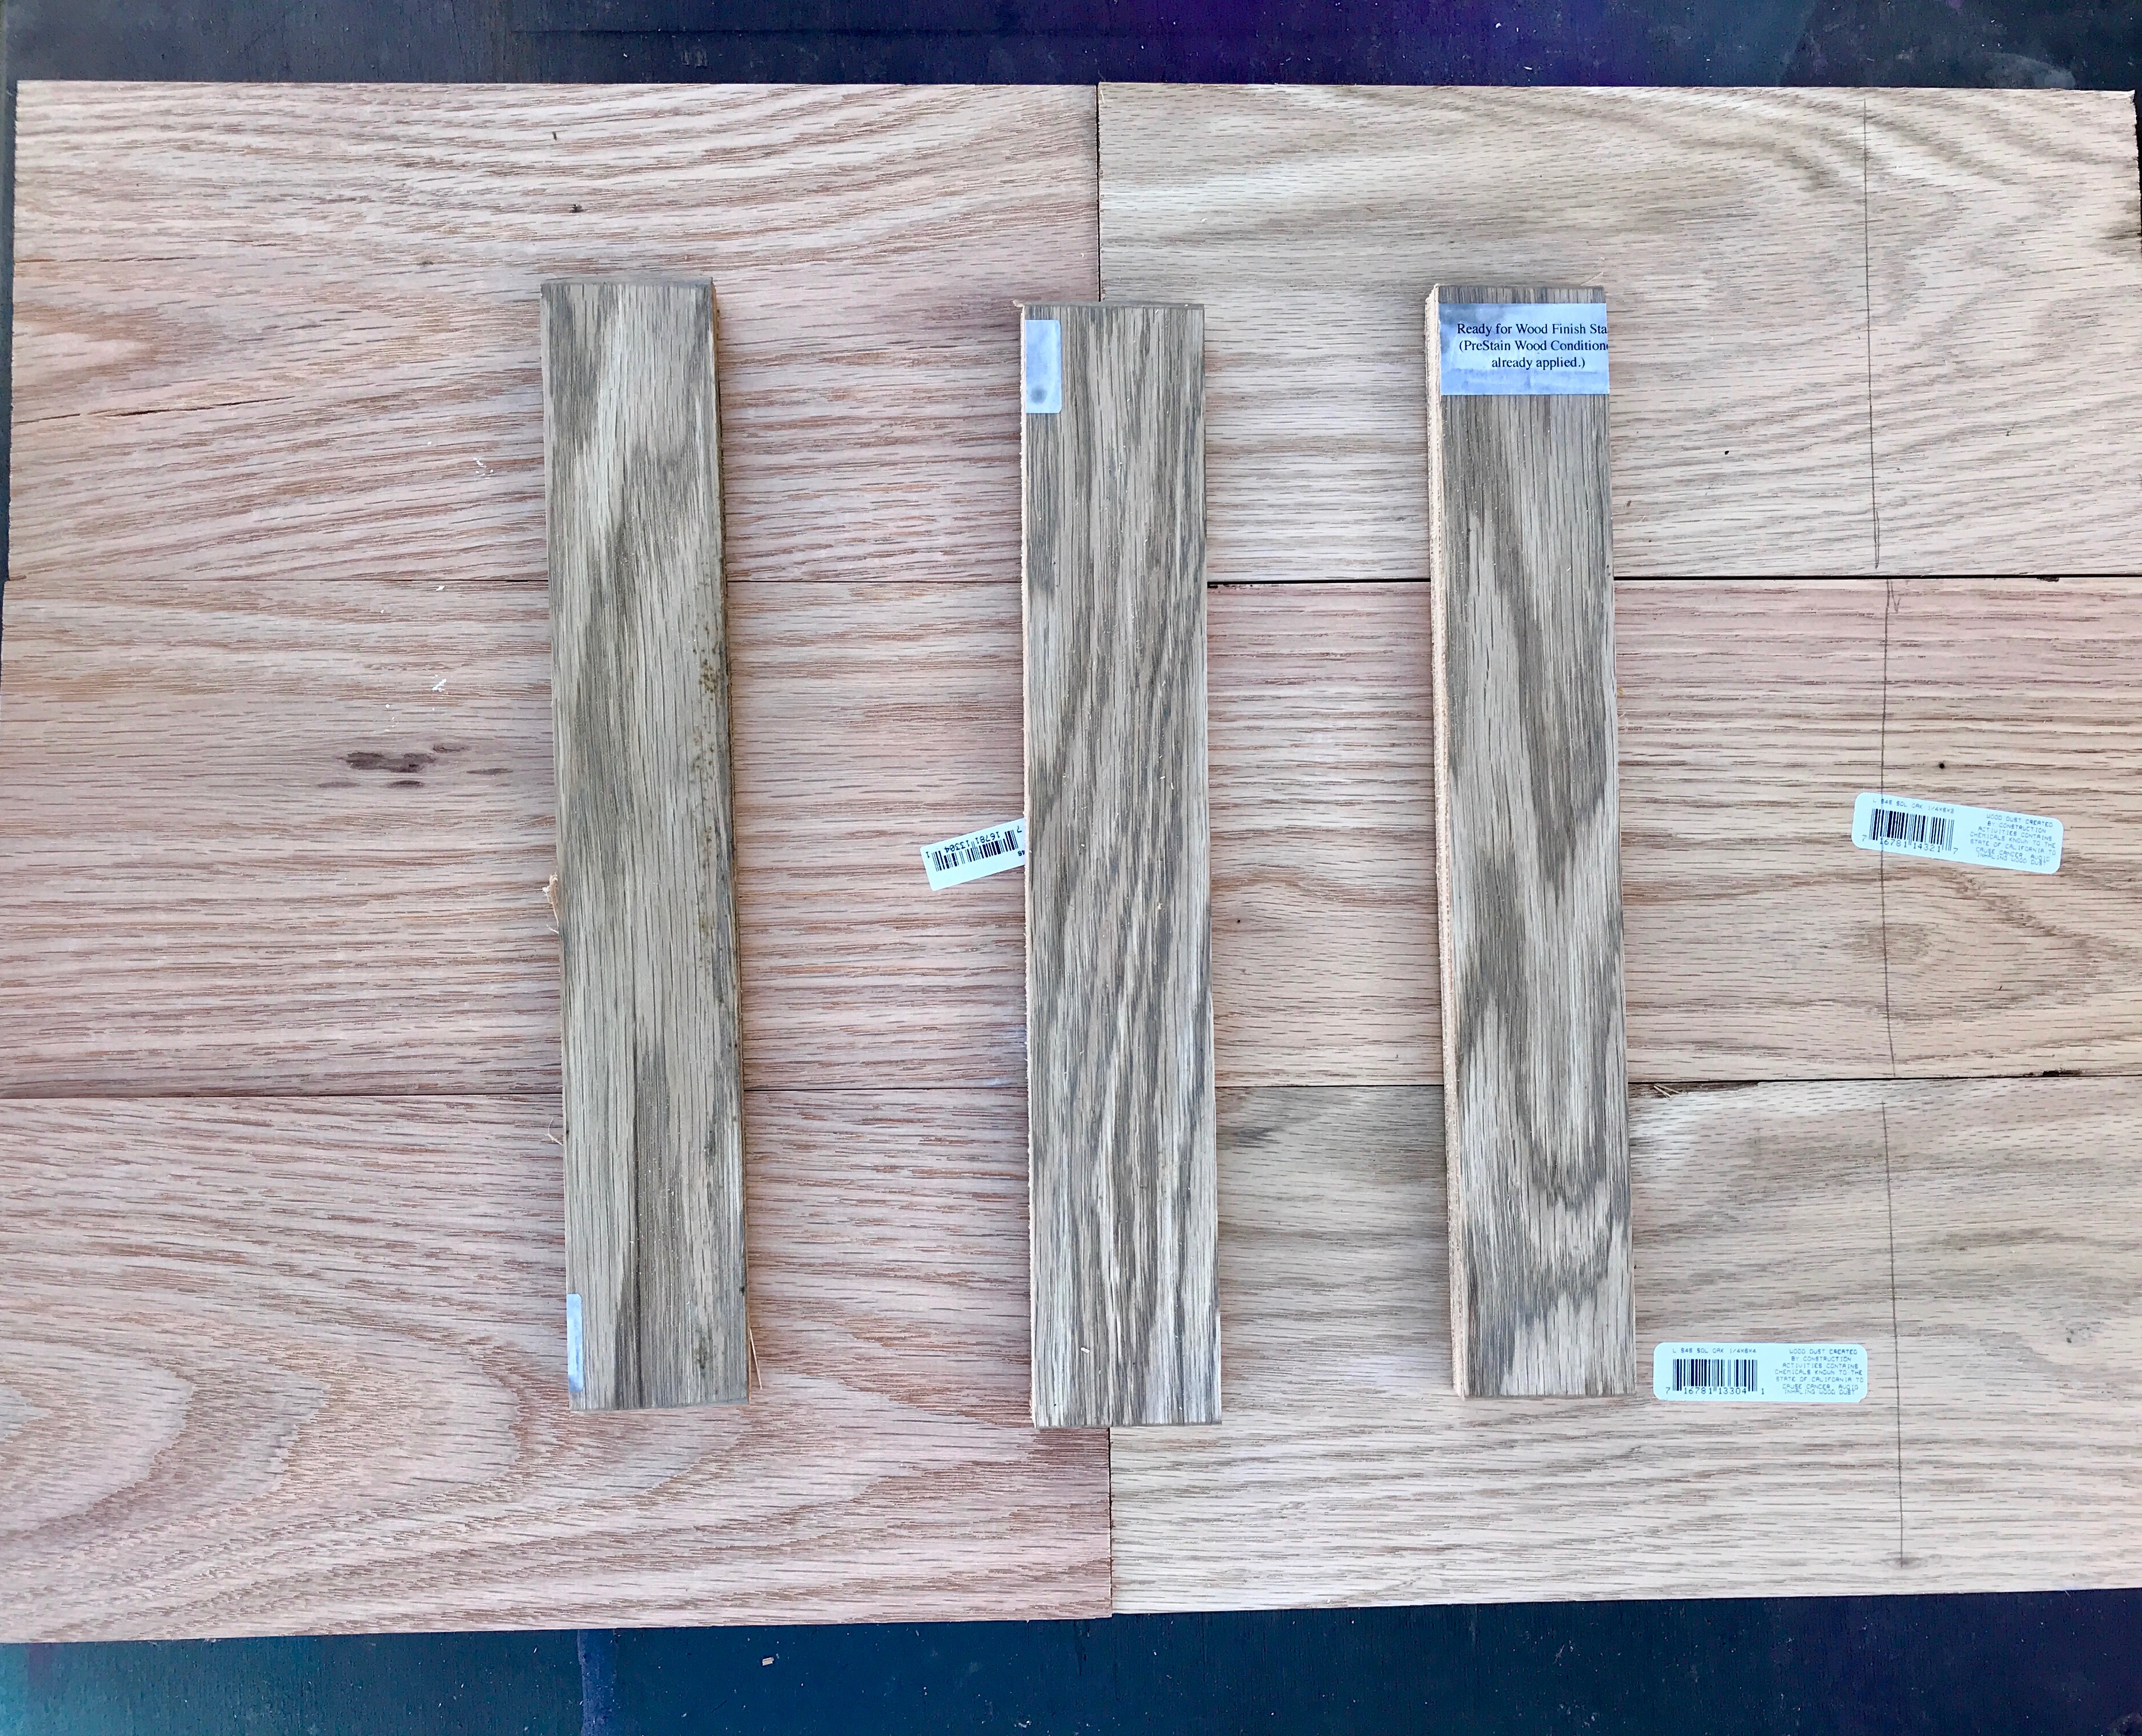
I could have used plywood or something else for a backer, but I decided to use some of the other boards as a backer for the tray triangles I planned to cut and glue into a pattern.
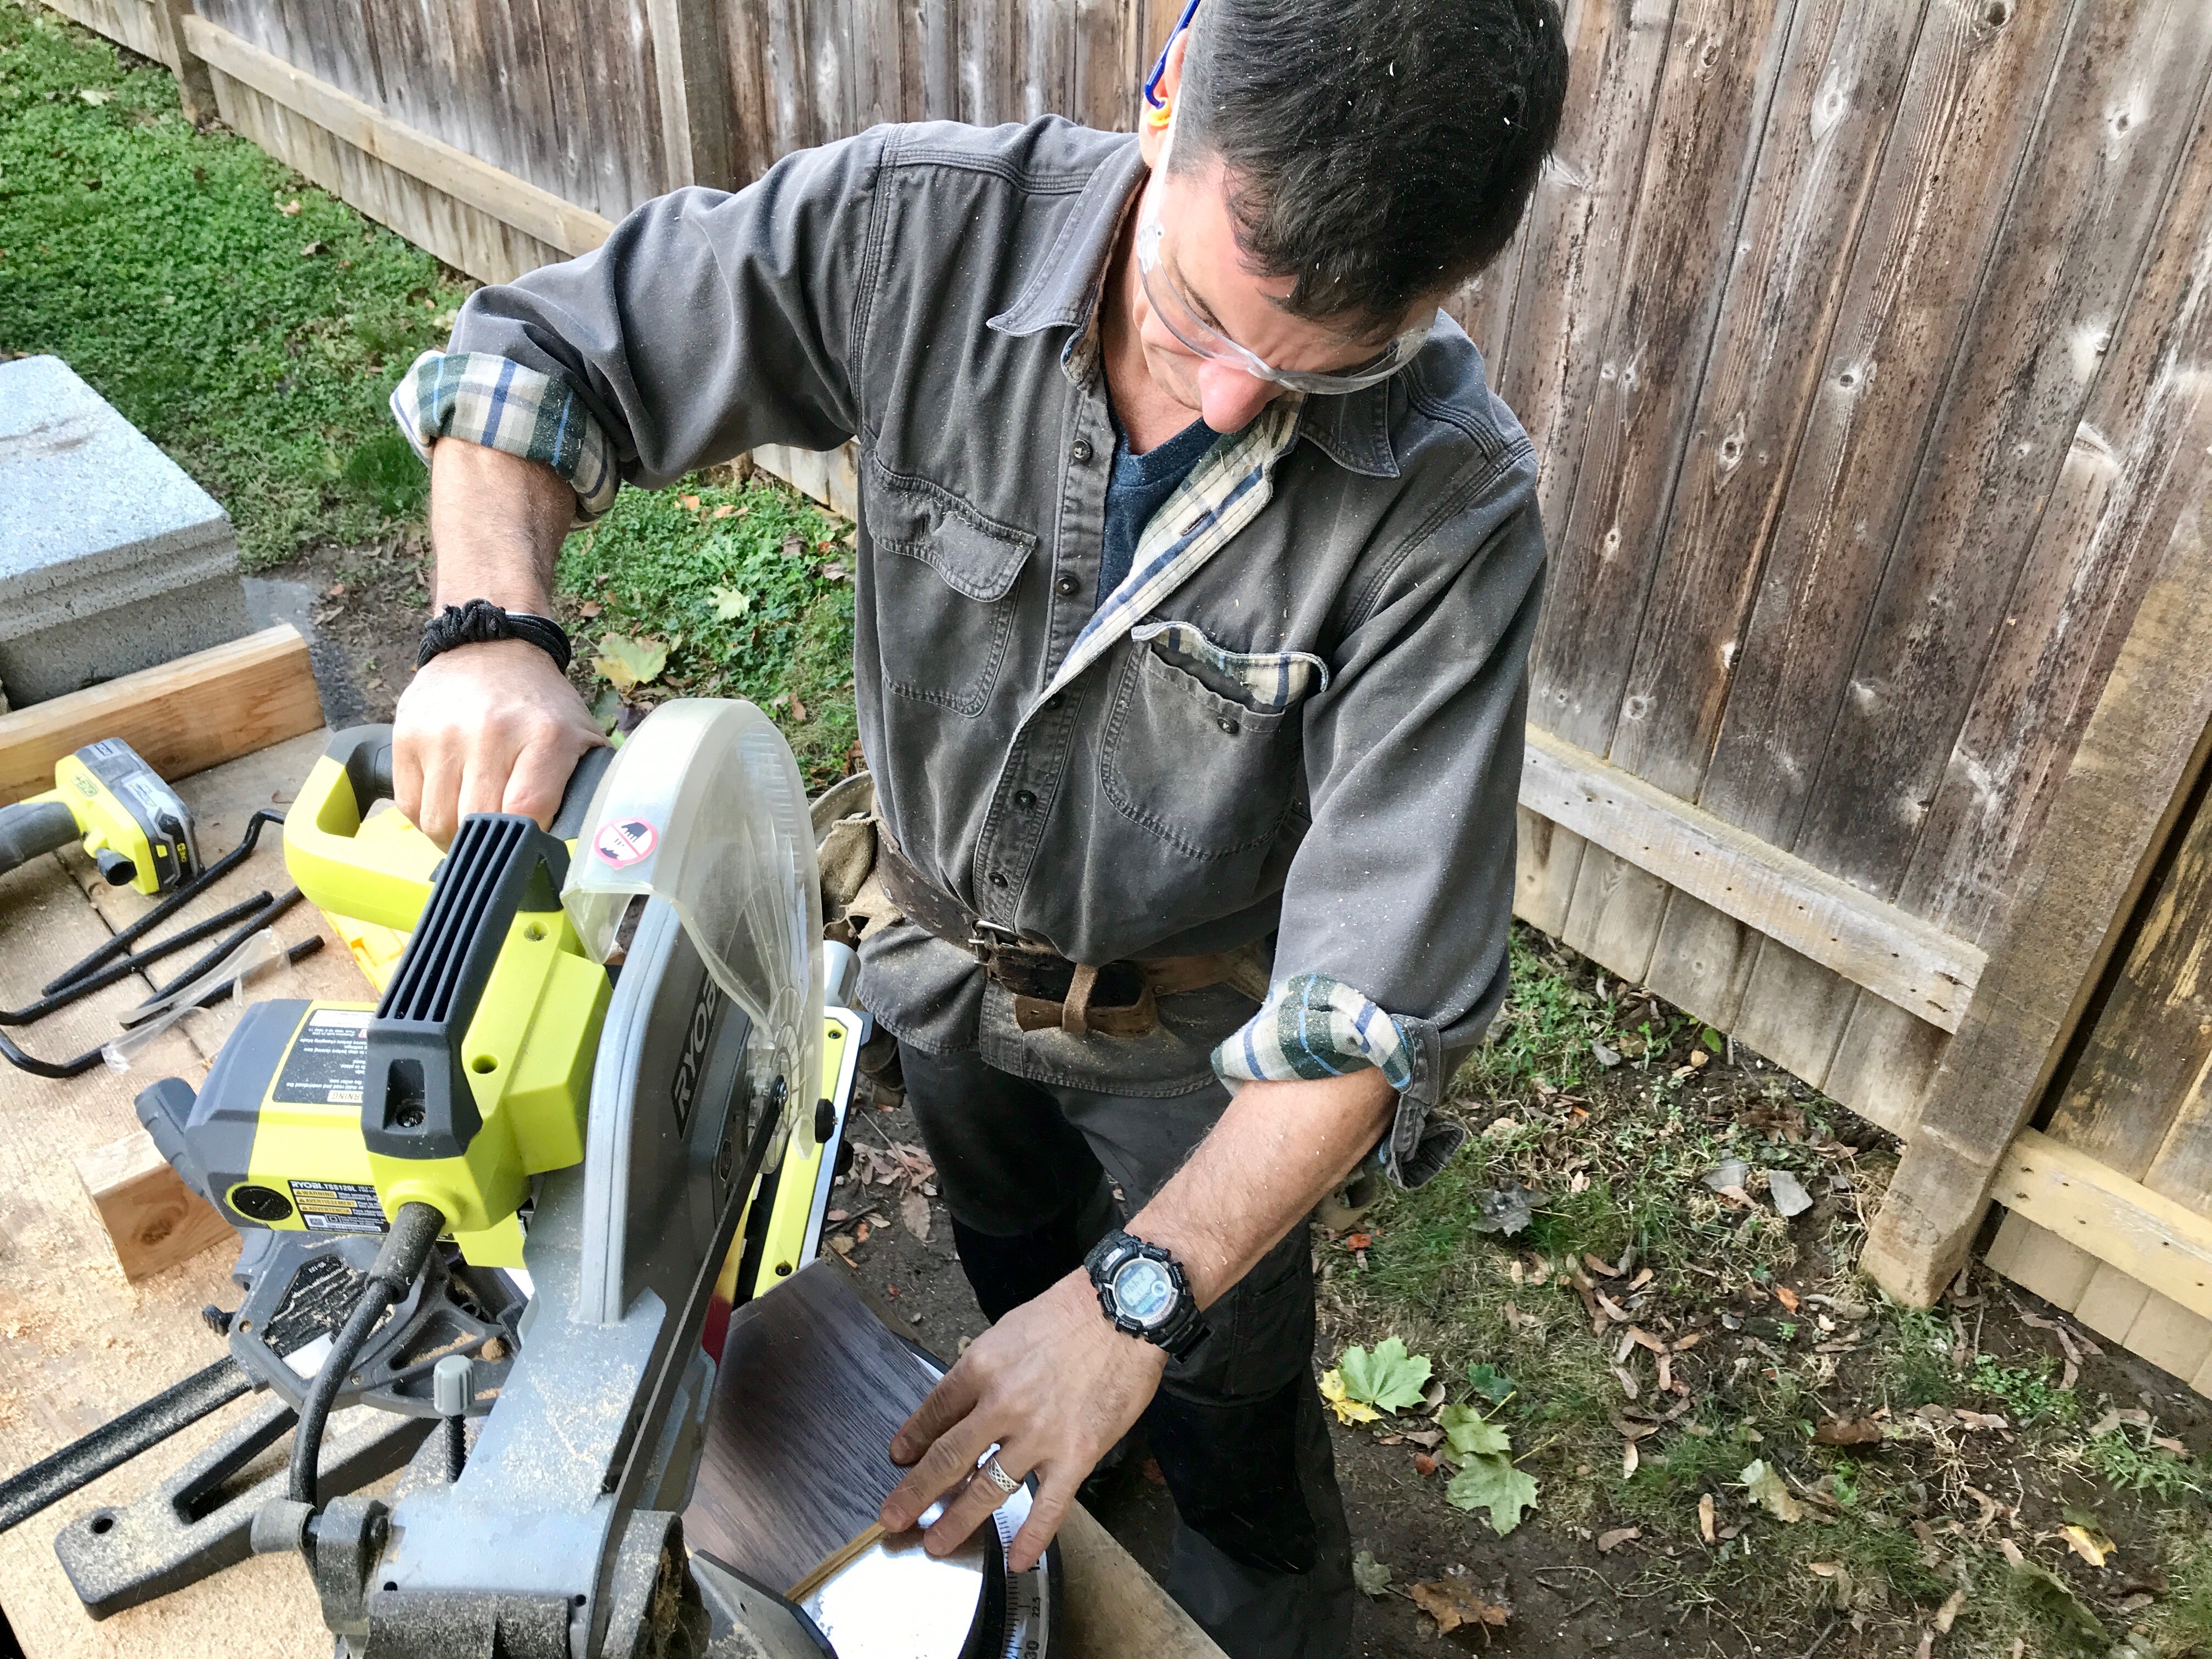
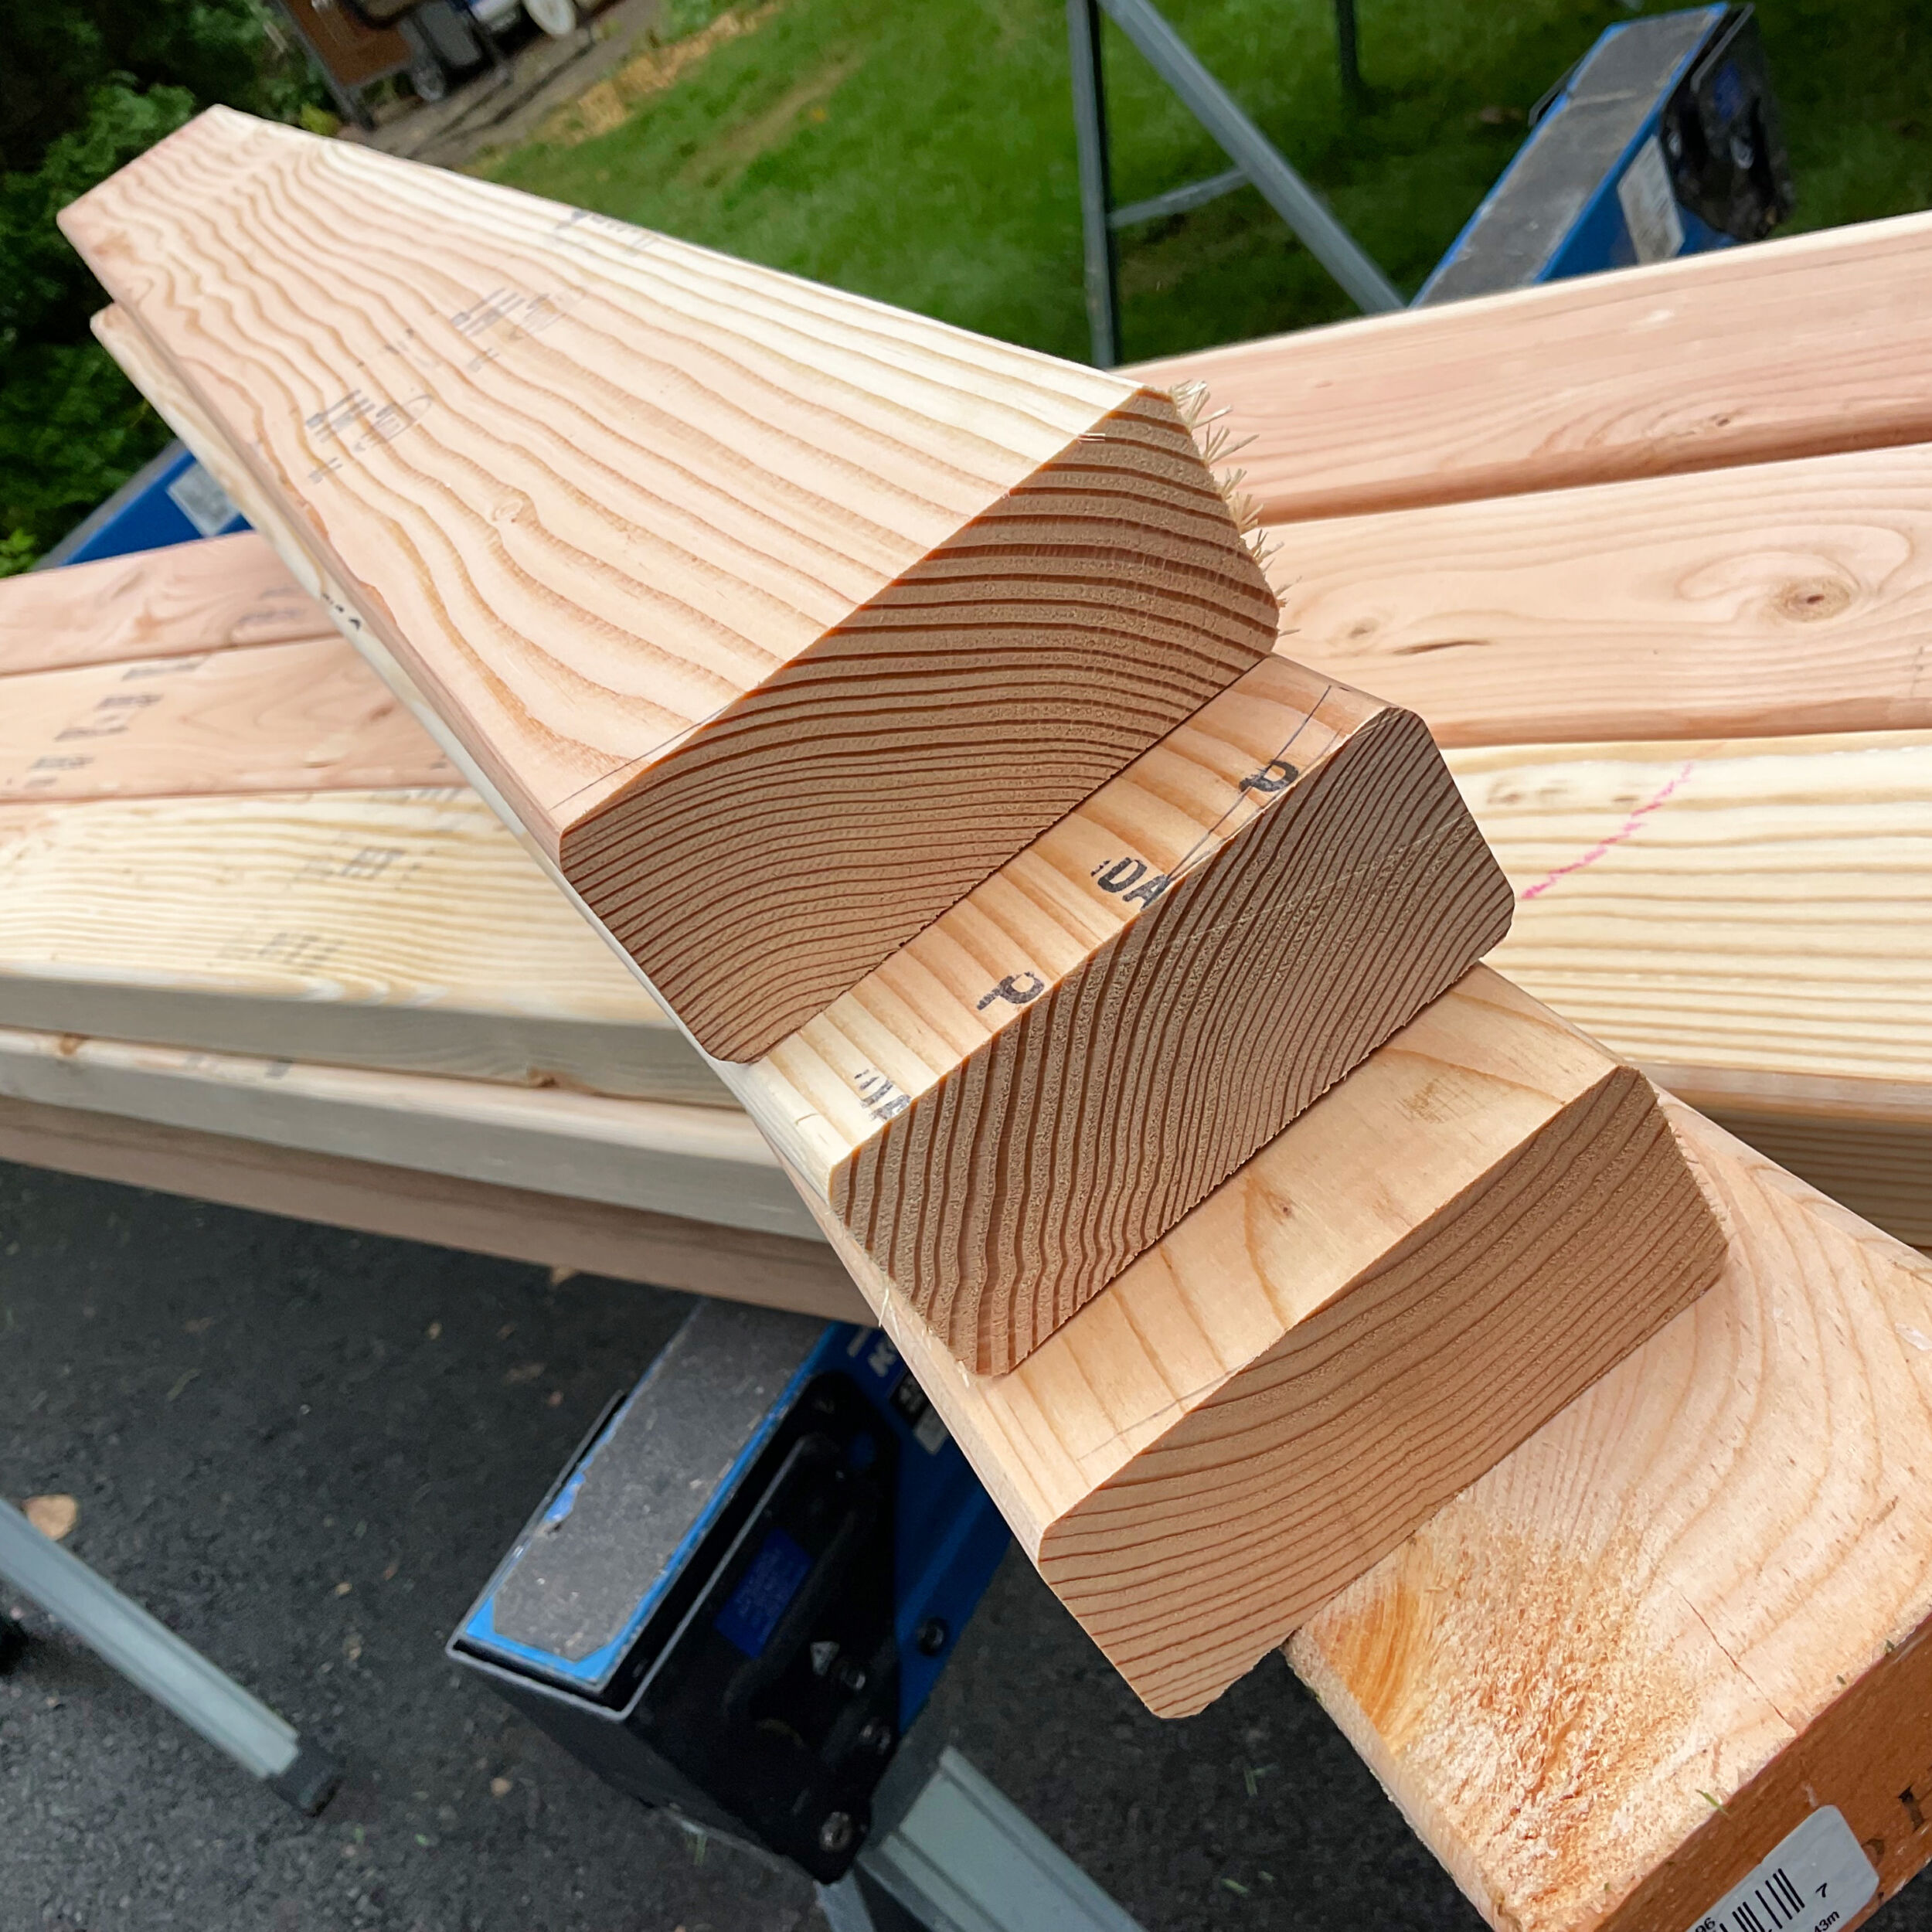
Mark helped me cut all of the triangles to size. We decided to make size the triangles based on the width of the frame, so that three full triangles would fit inside the frame.

As Mark cut the triangles, I played with the layout of the colors.
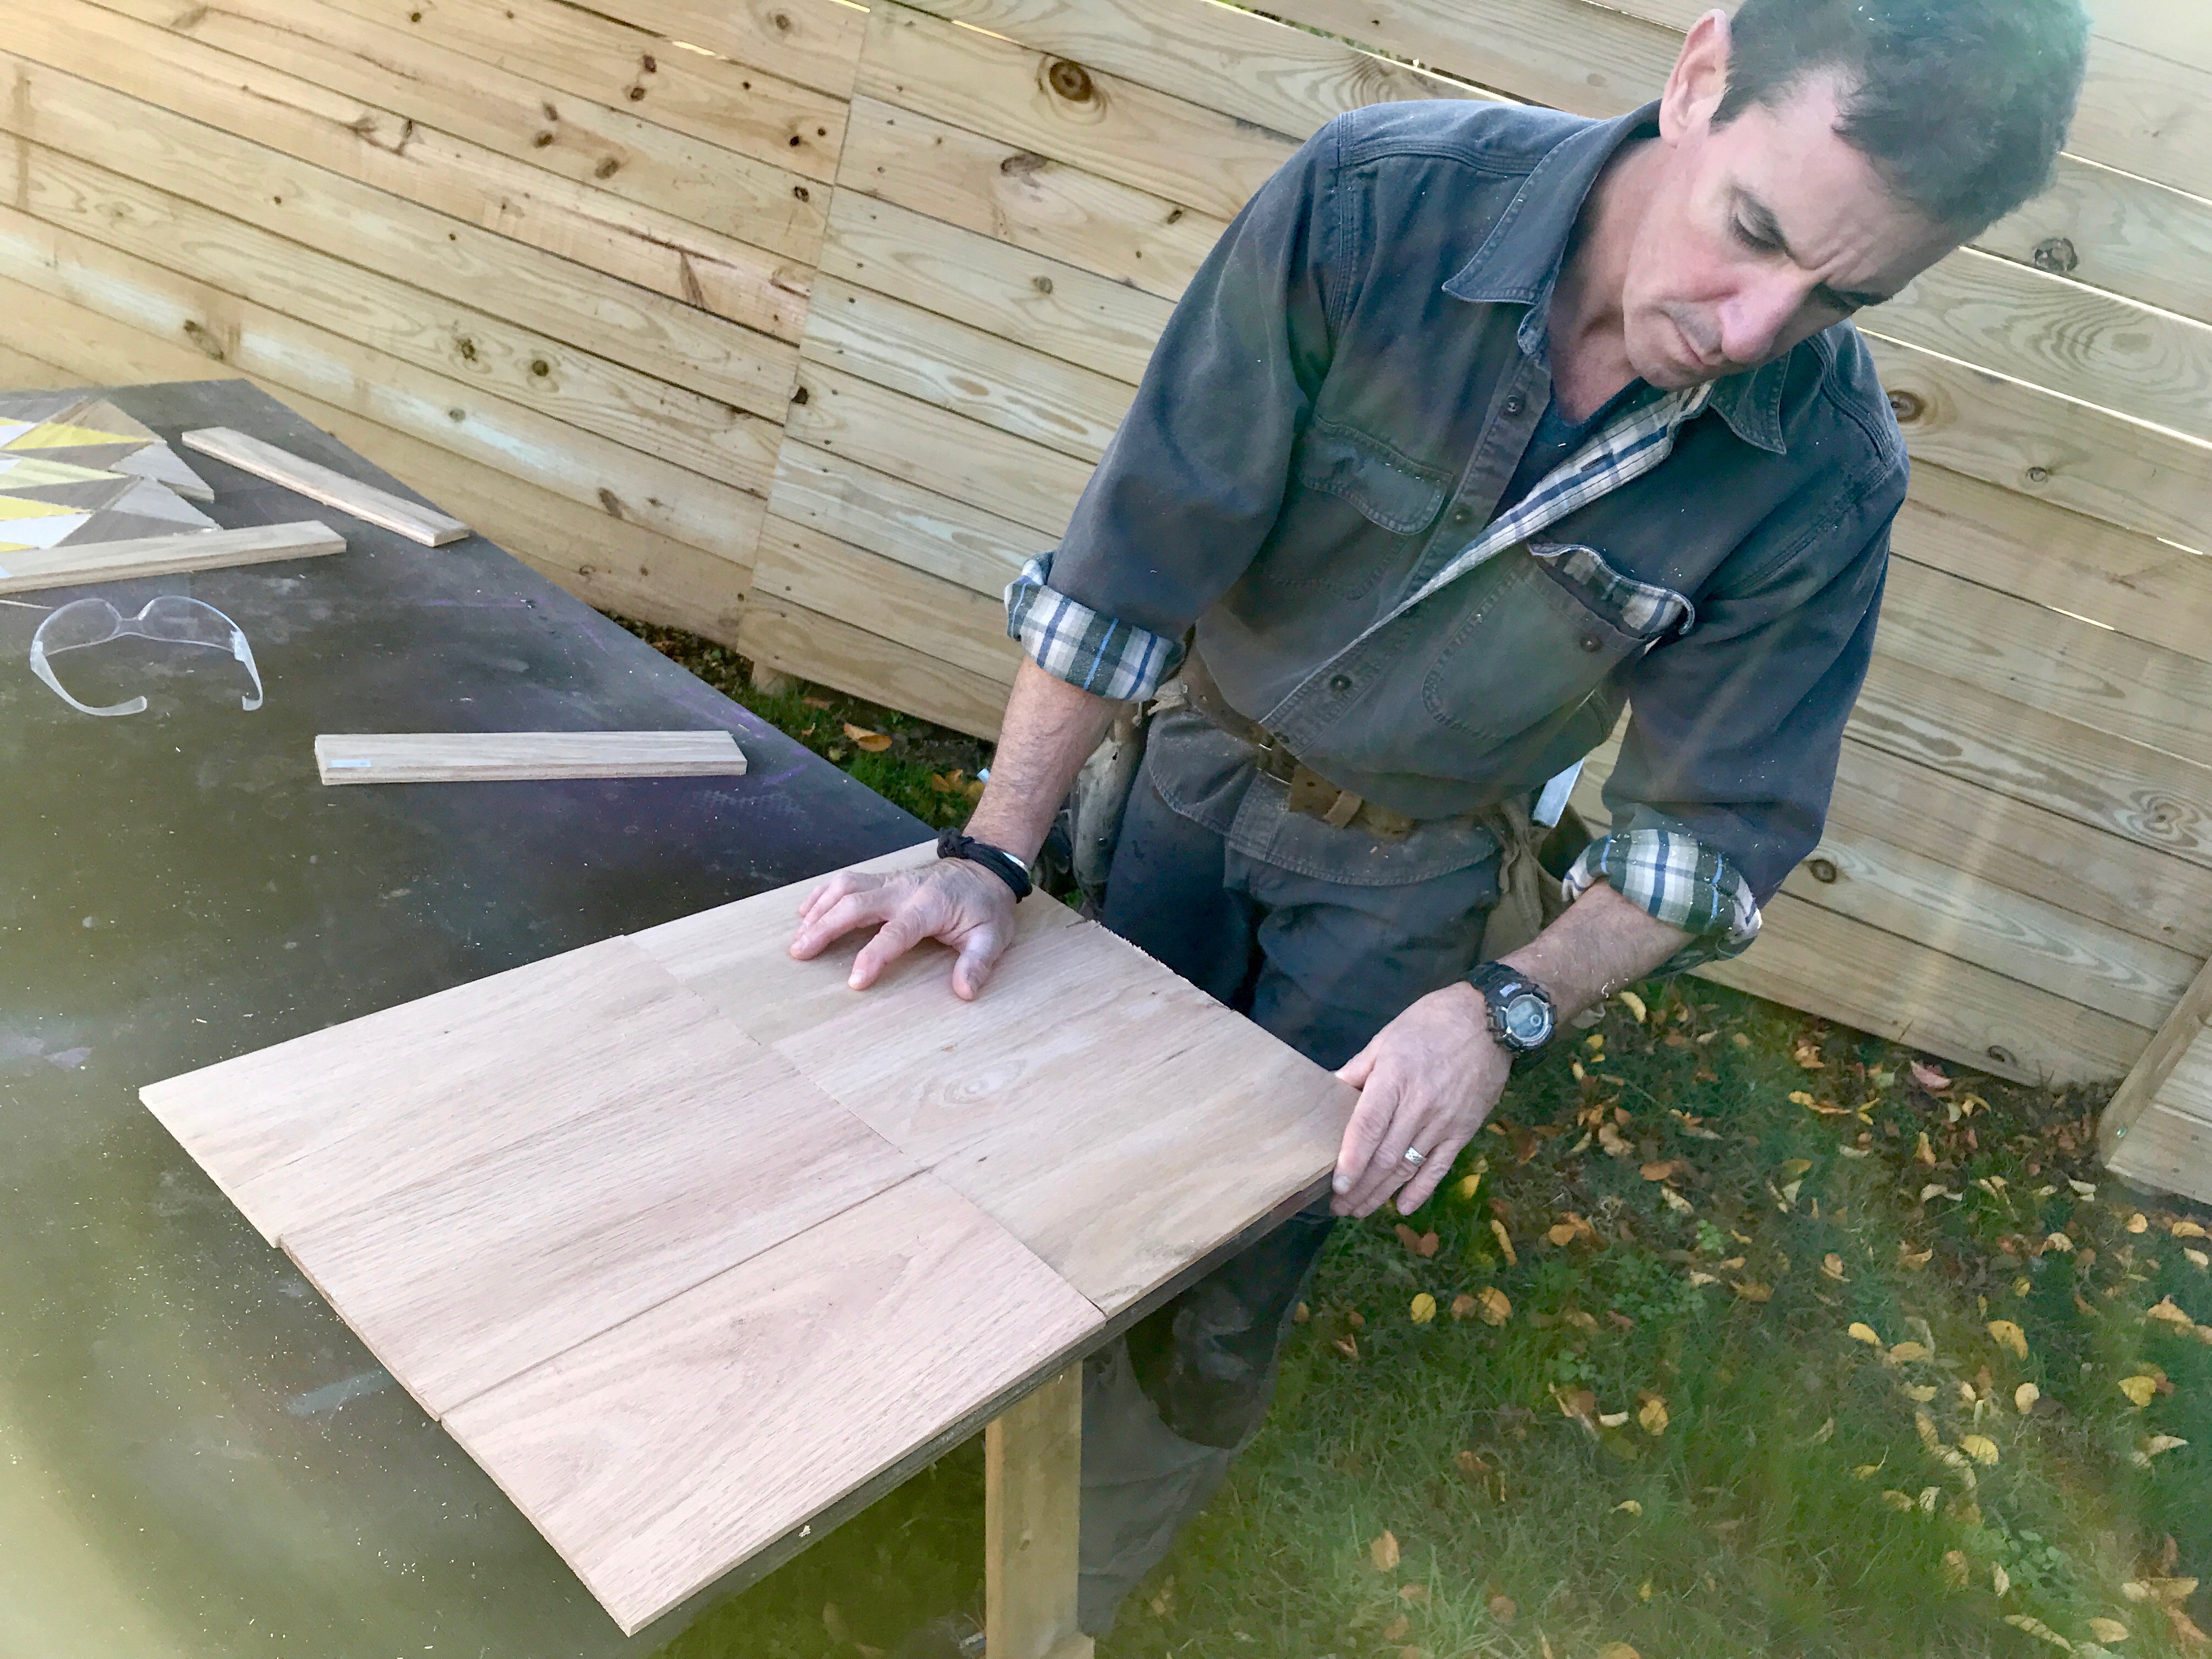
Before attaching the triangles to the backer, we needed to create the backer. Using the corner of our work table as a guide, we lined up the boards.
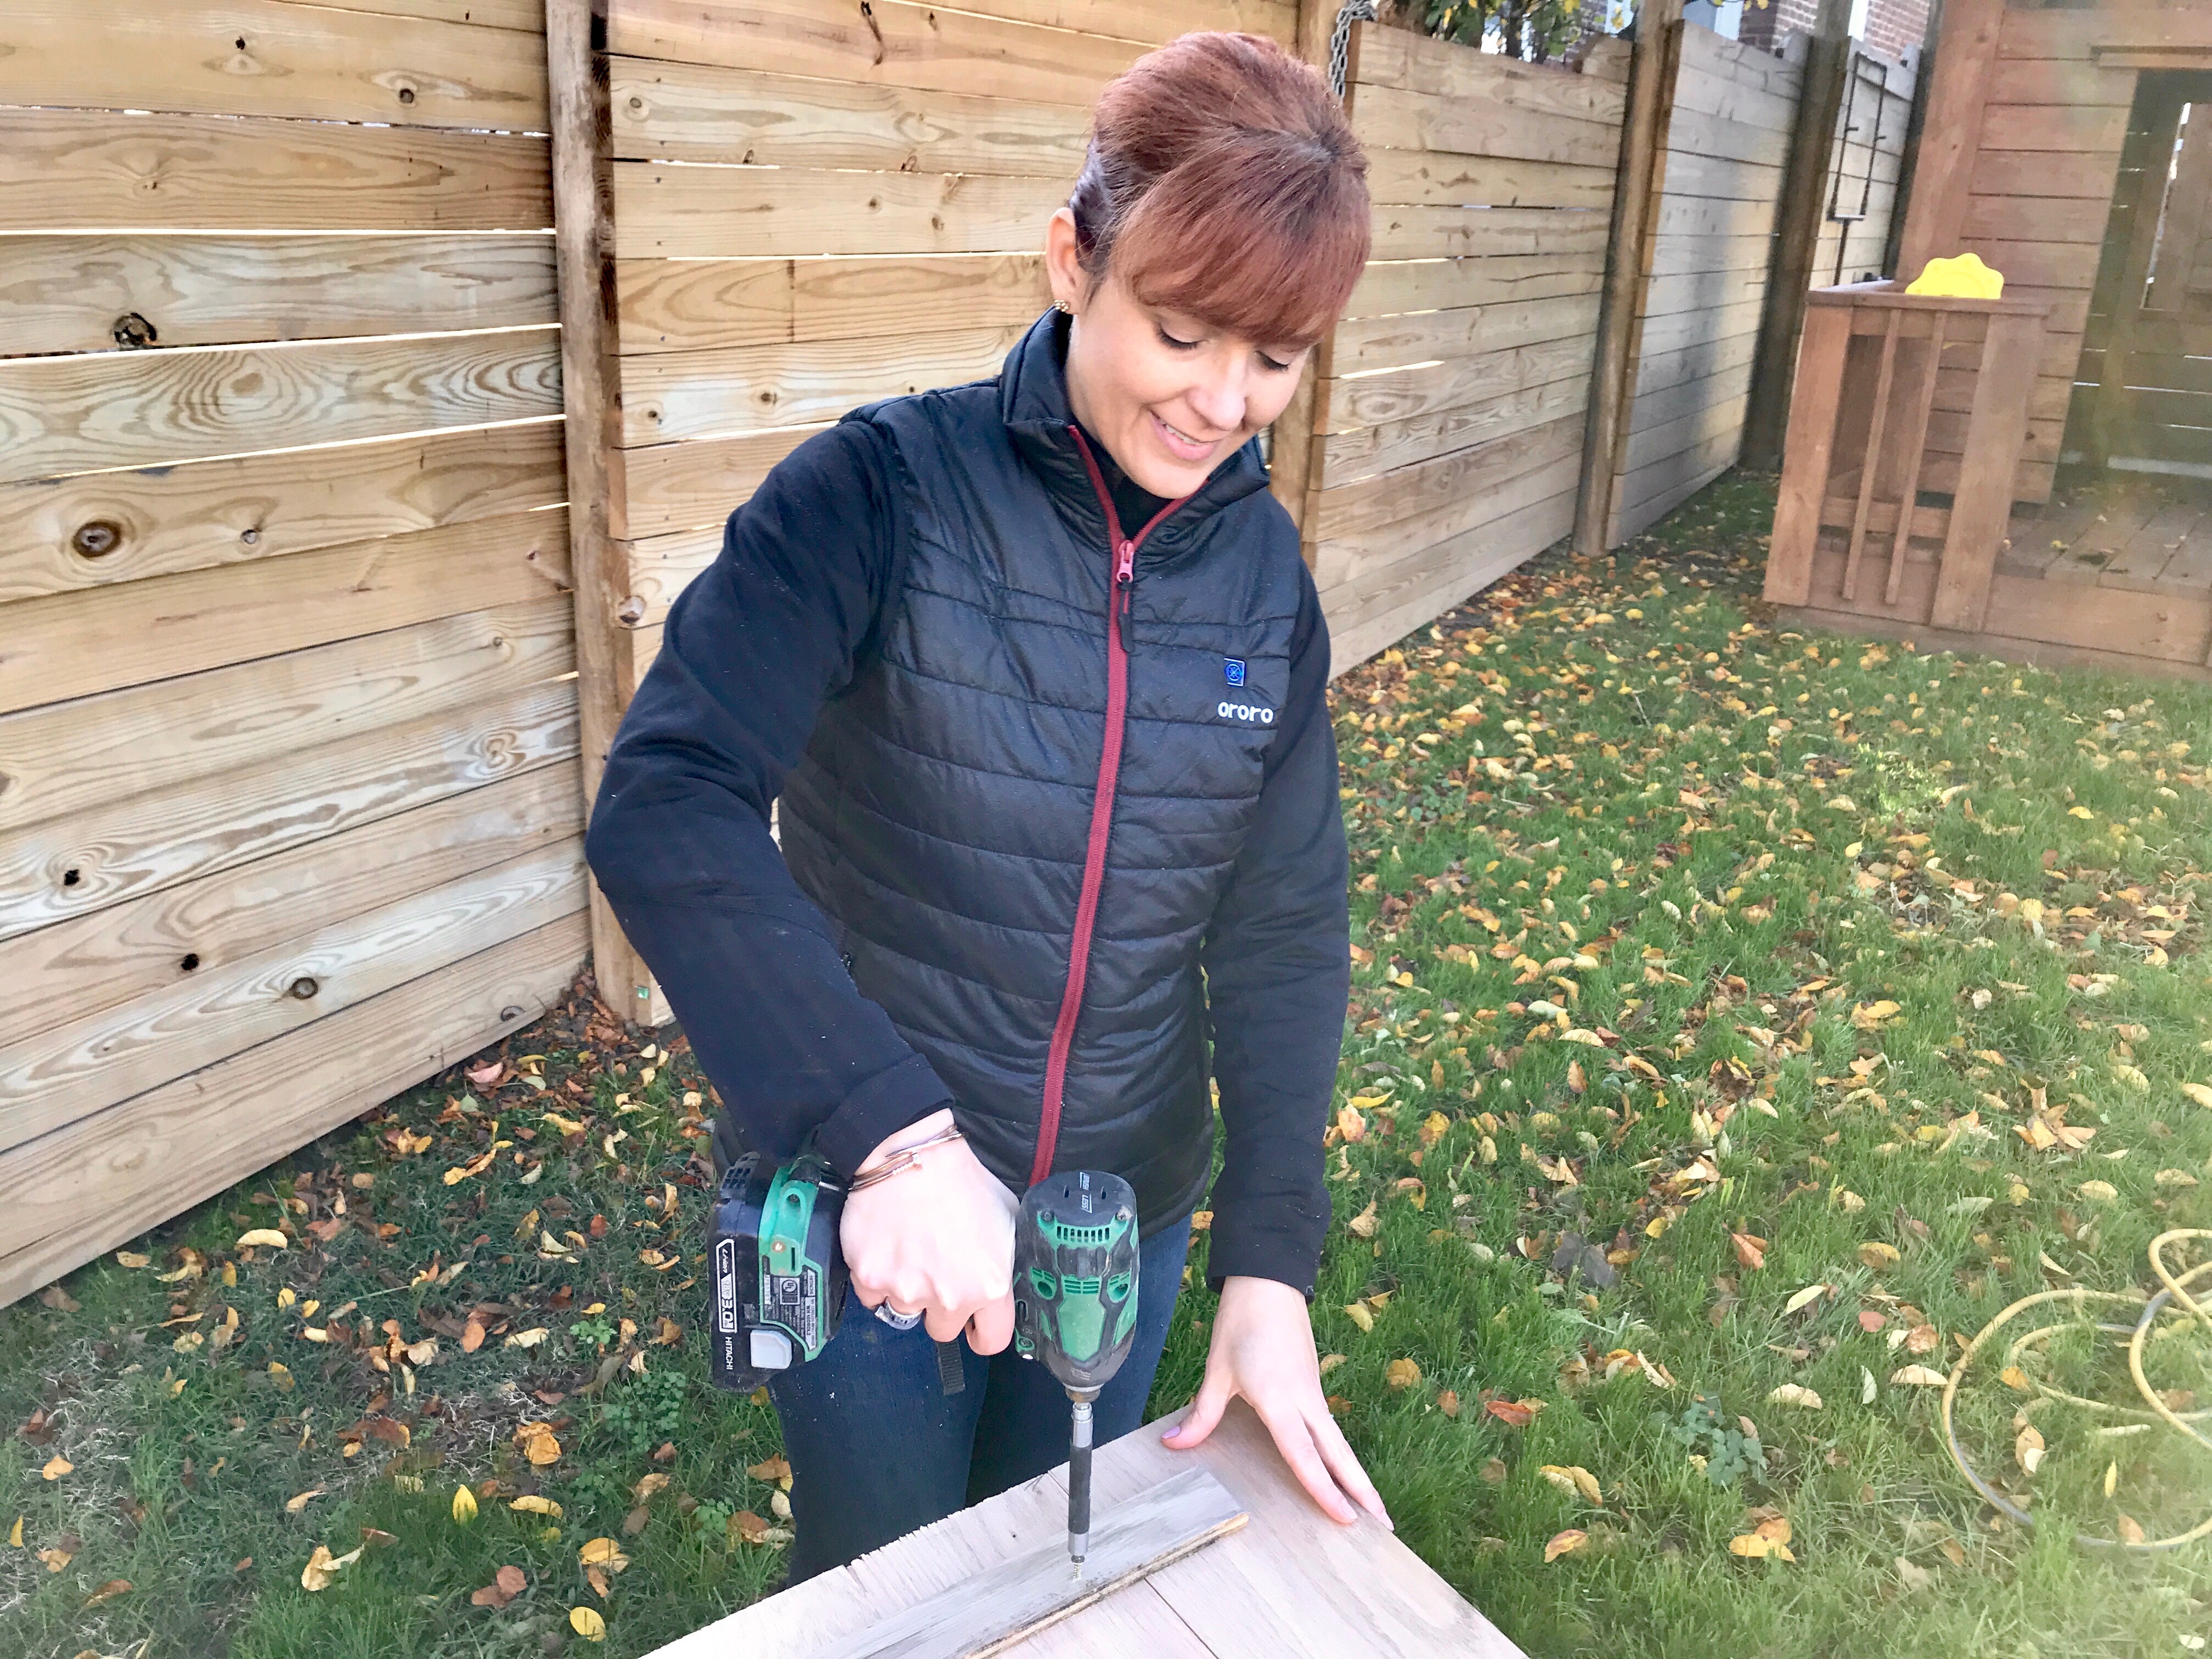
And then we used strips from one of the wood pieces to fasten the boards together.
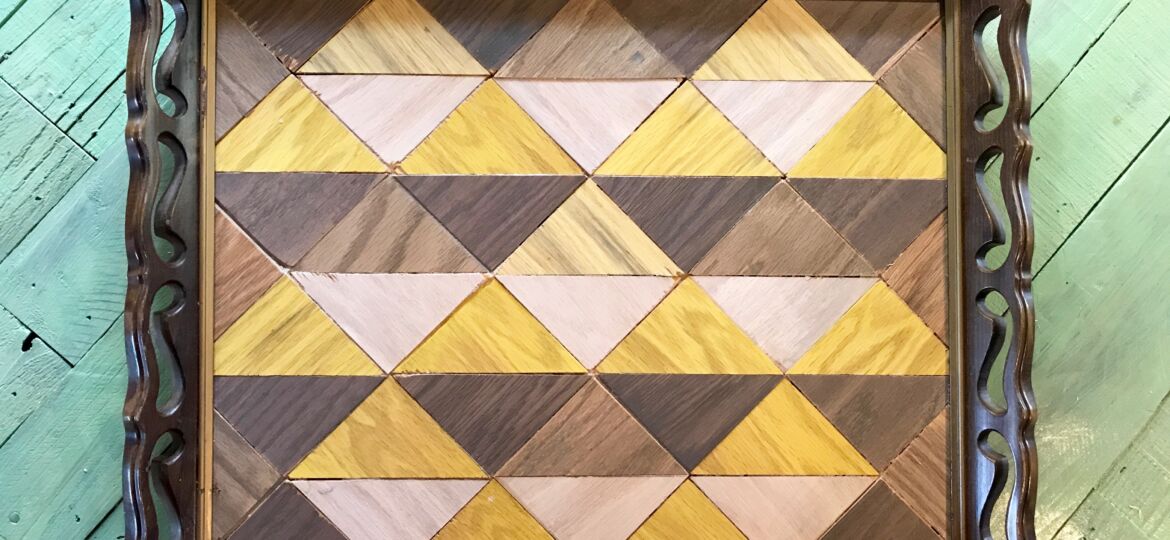
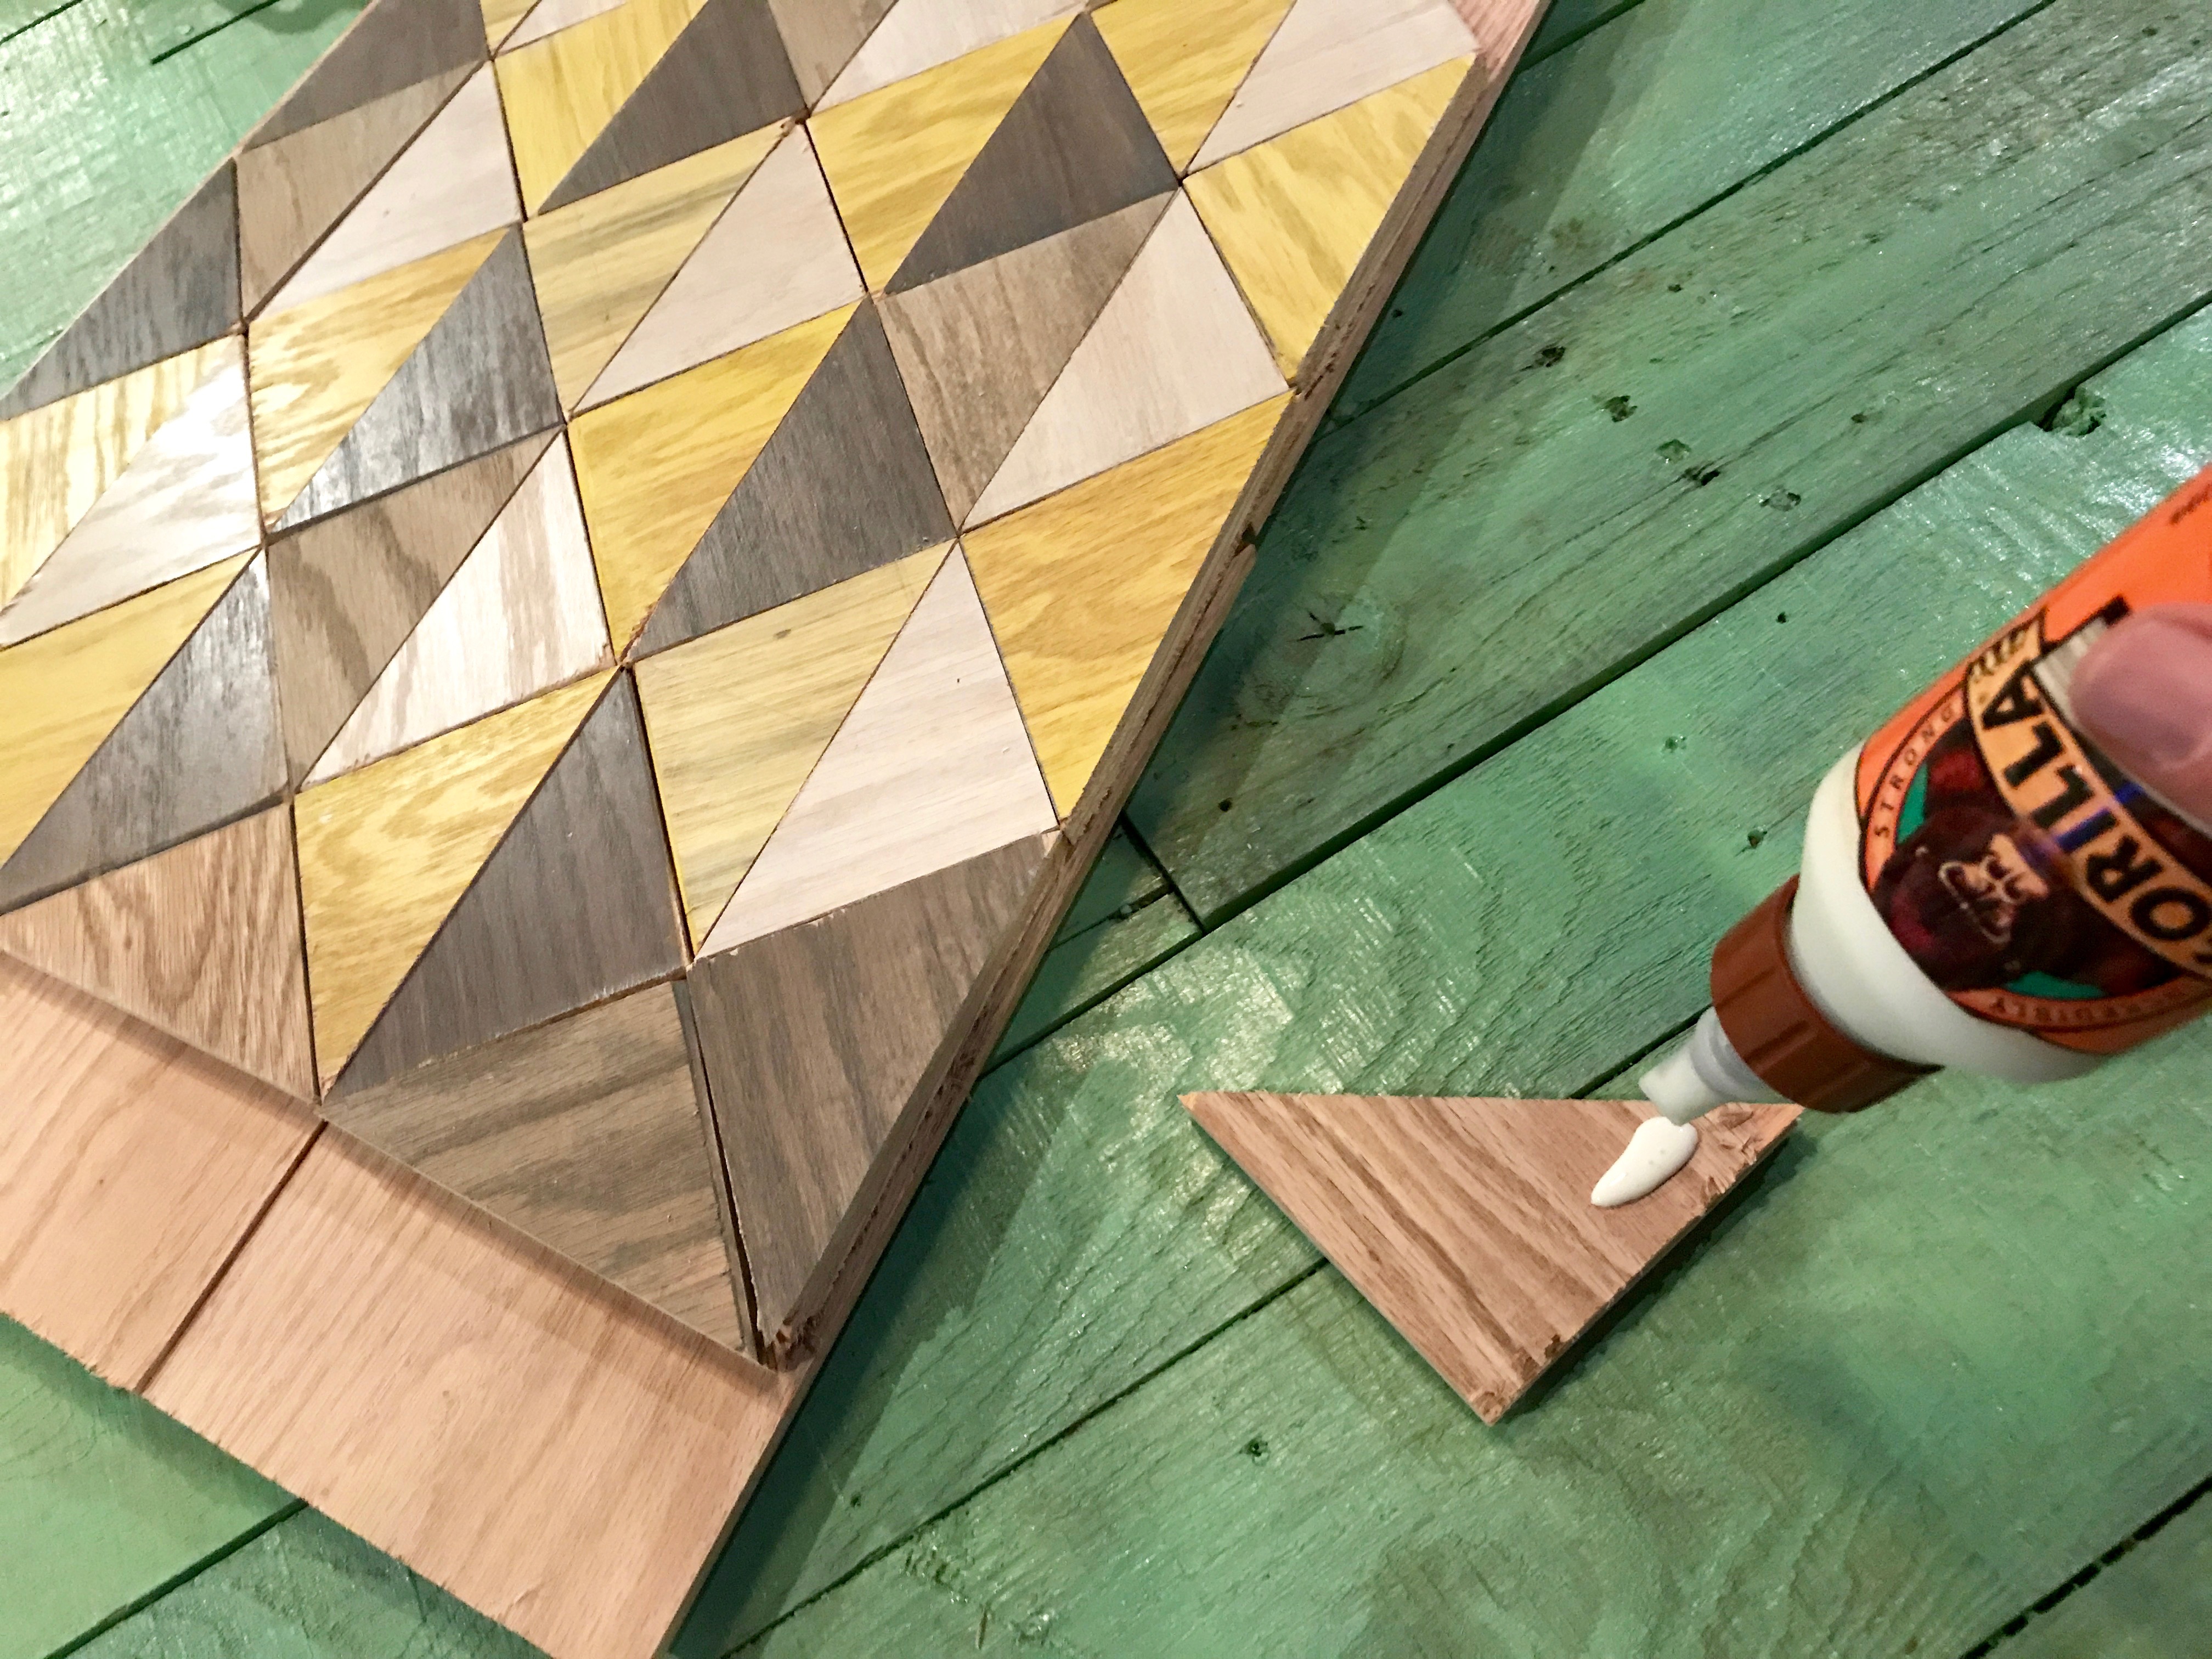 I laid out the triangles before starting to glue anything to the backer, just to be sure we liked the look of the layout of colors. I decided to mix in some of the browns to integrate the look of the frame into the tray.
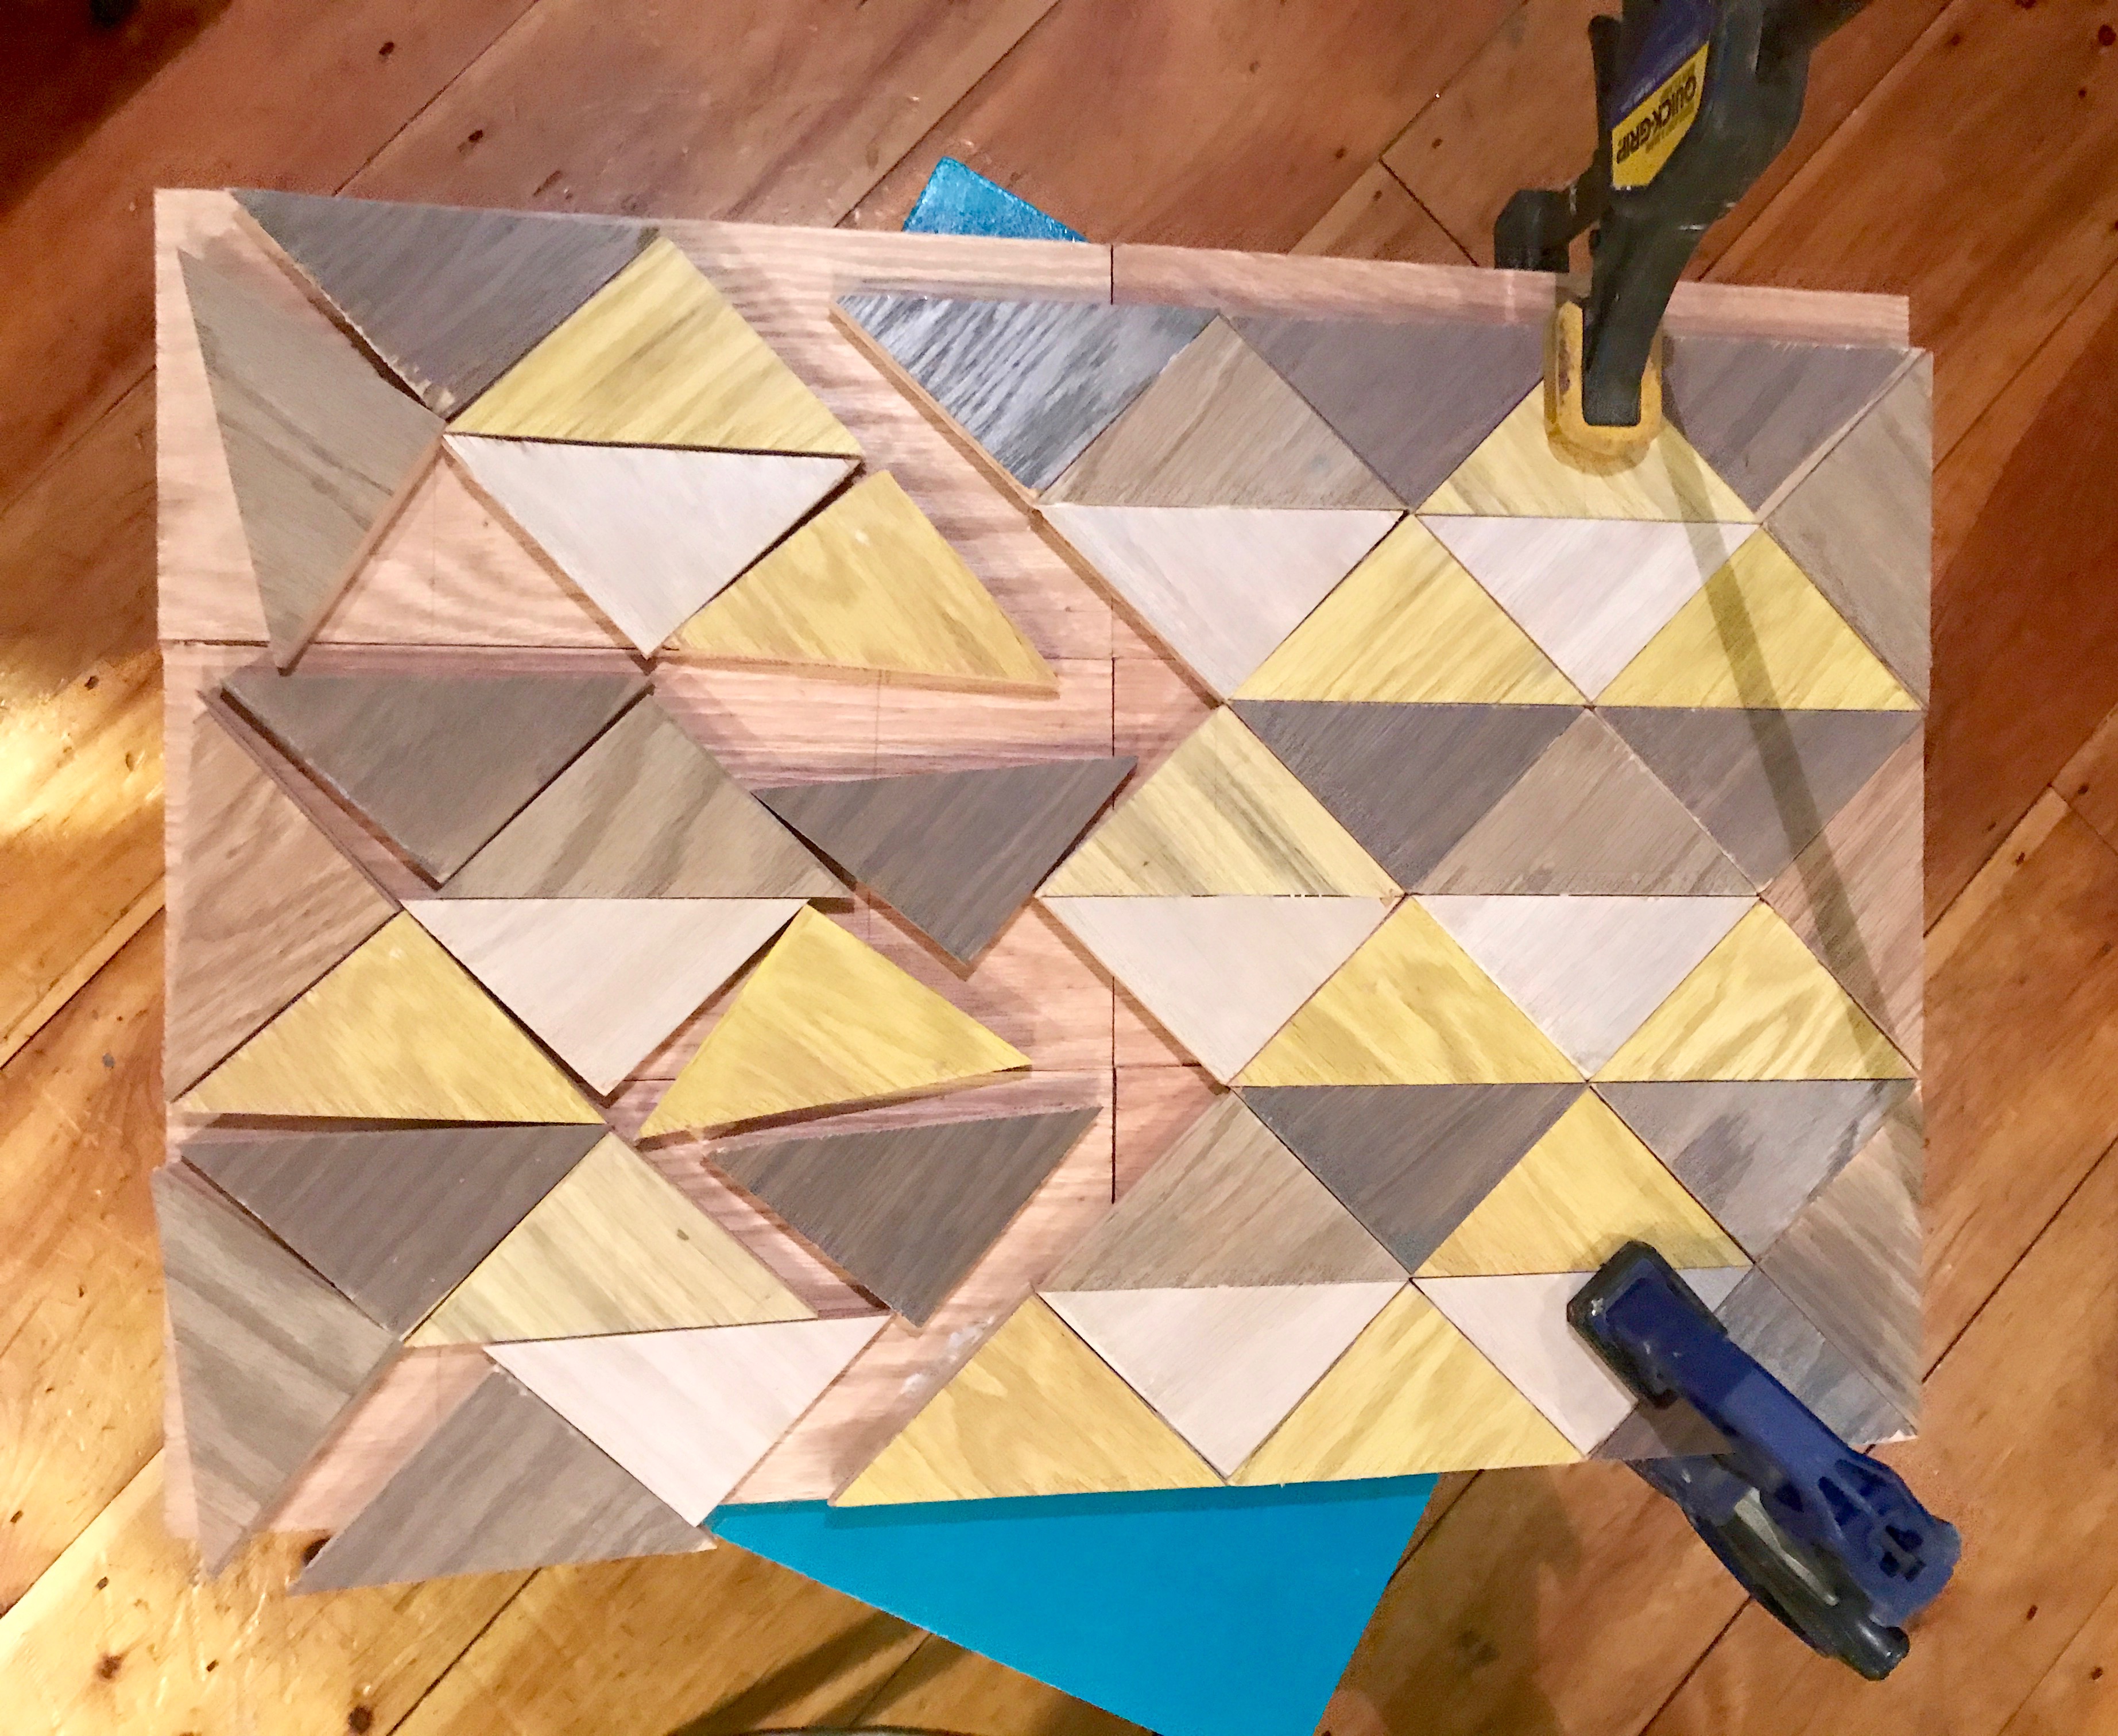
As I applied the wood glue, I clamped some of the pieces to the backer. This made sure the triangles didn’t move and that the glue set up well. After the glue was set, I sealed the wood with Minwax Polycrylic Protective Finish before we attached the frame.
I hope you are inspired to DIY. If you’d like to get inspired by more wood staining projects, head over here: www.Minwax.com/MadeWithLove
Note: Minwax has provided me with some of the products used in this project. I was also compensated for my time and this blog post. All opinions and positions expressed here are my own and do not necessarily reflect those of Minwax. For more information about DIY staining projects, please check out Minwax online.