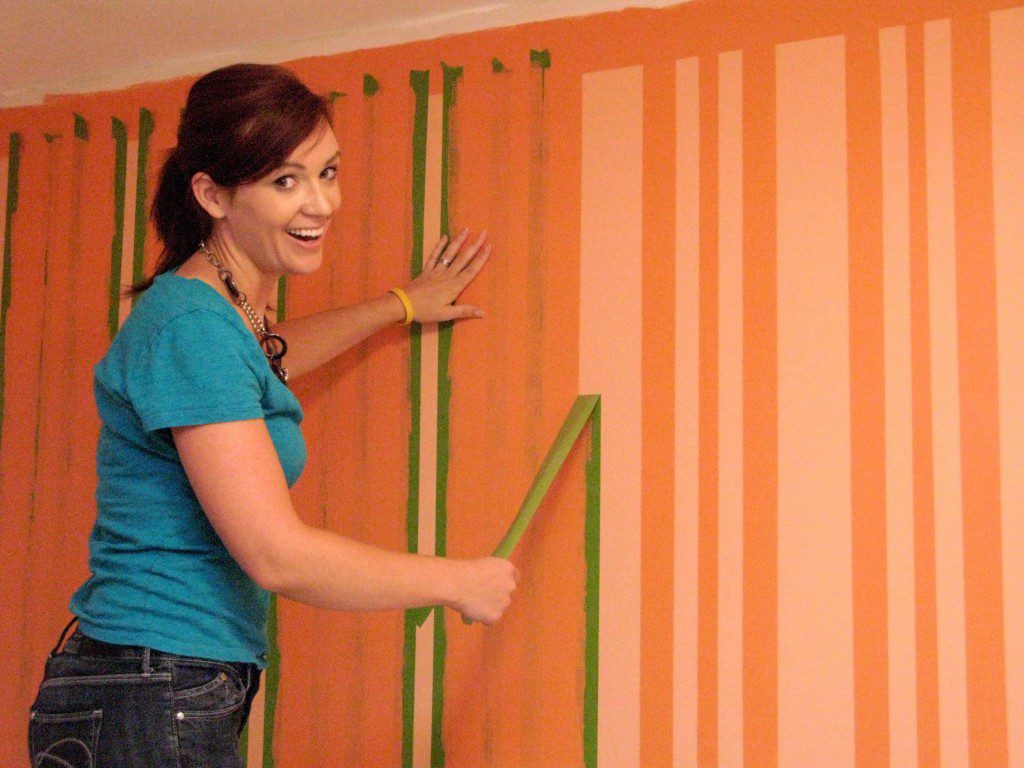


Painting the perfect line can be frustrating. If you’ve tried and been bummed by paint-bleed, fear not.
There are a few strategies that we use that could help you combat the dreaded paint blob that messes up an otherwise perfect crisp line.
It’s important to start with healthy paint. That means quality well-mixed paint, without any unwanted bits in the can. If there are pieces of debris in the can, your brush will be extra-challenged to apply a smooth even coat of paint to your project. Critical for perfect lines.
I always map out the lines ahead of time. Take the time to use a level and tape measure to map out the layout of the lines. And it’s a huge time-saver if your lines just happen to be the thickness of your tape.
Then the most time-consuming and important part is taping. Before you jump to taping off your project, make sure you have tape that is in good shape. Check the edges of the tape, since those are the edges that you are hoping will block the paint from seeping under the tape. I pass over the blue tape and reach for the green FrogTape, since it’s been good to me. It has paint-block technology on the outside edges, and the company takes the effort to sell it inside a resealable container. That container is key to keeping your tape edges in good shape for the next paint job.
When I tape, I follow my pattern to lightly apply the tape, then press firmly on both edges of the tape. If there are any bubbles on the outside edges, the door is open to paint bleed.
And then the best part, the part that’s the point of the entire project: Applying the paint. If you are confident that you’ve secured your tape, you can confidently over-paint onto the tape.
If you have any perfect line painting tips to share, please send us a note.

