We love our new front door and the energy-upfitted room is keeping us warmer than ever this winter. But without molding, the story is only halfway done.

Molding is, in some regards, the bow on the package, the S on Superman’s chest. It’s often the first thing you see. Yet, at the same time, it goes unnoticed—unless it is done poorly. Then, holy sore thumb Batman (to stay with the DC Comics leitmotif.)
Molding done right is at once bold and subtly refined. Done well, it has proportion, balance, and beauty. It has power without over-powering. It’s shock of gloss-white paint is subdued by graceful shadow-lines. Like a good book or movie, there’s a lot going on at the same time—seen and unseen—but all felt for sure.
Molding around a door in an old home is often a necessary design element.
What’s more, dialing in a molding design and install on an old home is usually not just an opportunity, but a necessity: Walls of varying thickness, surfaces remarkably out of plane with one another, rot, age, and materials that don’t match up are all a challenge—and often all challenging you at the same time.
So while the door sits in the rough-opening all plushly plumb and square, it’s the molding that covers the gaps and makes it all look like the house was built around the door and not vice versa. For this project we employed a blend of pre-fabricated elements and site made solutions, utilizing Fypon urethane and PVC for both.
On the inside, we wanted to match the existing trim elements in the home, but still offset the entry door. We custom-made 9-1/4-inch tall plinth blocks from 5/4 PVC, then ran urethane 1×4 up to a pre-molded pediment that mimics—perfectly—a built-up crown molding detail. Rockin’. Urethane 1×8 base, cove mold (as shoe) and base cap tied the door to the floor to the rest of the room. And the urethane conforms to old house regularities nicely, minimizing—I mean really minimizing—caulking after the fact.

Outside, we took a different approach.
Because the block wall opening was already 9 inches or so thick (depending on which block you measure from or to…laying this out hurt my brain…), and because we framed interior stud walls AND the exterior stucco cladding was highly un-measurable to with any degree of accuracy, we had a lot of transitions to make from inside to outside and still create an assembly that was securely nailed and left us with manageable caulk joints to close it all up and make it, in a sense, one piece.
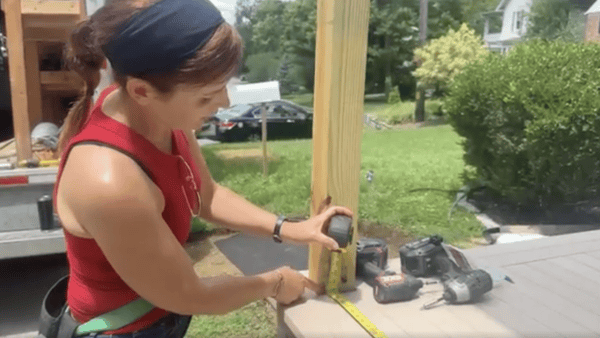
The secret was Fypon 1-by PVC—ideal for our weather conditions—and some tools. We traced the pitch of the existing threshold with our Starrett ProSite Protractor. We ripped down 1×12 on the table saw to fit the new opening, then transitioned with various 1-by widths custom cut to create a detailed casing that mates with the stucco and faces the world. To make the miters match we cut everything to length on the 12 inch slider. To give it grace, knock down the 90 degree corners and imbue it with individuality, we routed small coves with the trim router on the corners. This also created the nuance and wow factor mentioned in my ode to molding above.
I can trust the material will remain stable, inside and out, and that it’ll survive kids and keys, groceries and get-throughs for years to come.
About the Author


