
Want to know how to build a deck? I’ve been building decks for a few decades, and have developed a wood deck installation system that I call top-down framing. So this “how to build a deck” video covers tips and techniques for top-down framing. Let’s get started with your deck installation project.


In the build a deck video series, I cover enough ground to give both pros and DIYers some traction for the next deck project. So here’s the first of three parts in the how to build a deck video series.
Start
Step 1 for building a deck is getting a building permit, because you need to know the local setbacks and regulations before starting. The code enforcer will check your deck at various stages in building a deck, so you can be sure it’s safe and sound for your family and friends to enjoy.
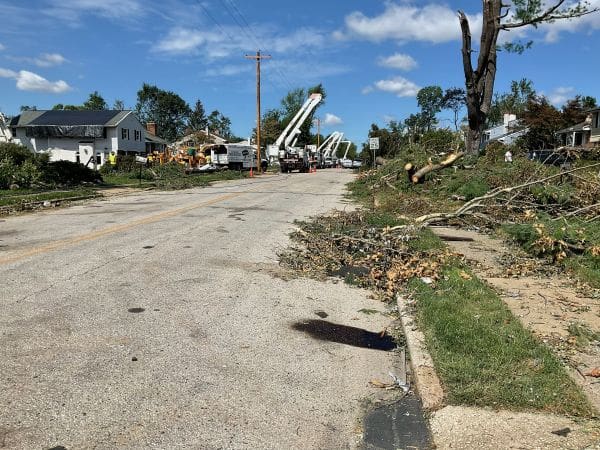
So if there’s an existing deck, take it down safely and smartly. The old deck—surely a DIY model—was as near collapse as I’ve ever seen a deck that’s not, you know, actually collapsed.

The posts are simply nailed to the rim (band) joists. The ground has washed out under the stairs and the railing is basically a ladder. So it’s time for this to go.

The board that connects the deck to the house is called the ledger board and it is a vital connection. If you see nails instead of bolts, well, that’s a bad sign. It was another signal that this deck wanted to be re-done.

Lumber delivery
We’re using pressure treated lumber from our friends at Wood It’s Real from frame to finish on this project. Getting it delivered is the first part of the process. Then we need to make sure to lay out a path and a location to drop the load where it’ll be near enough the project without being in the way the whole time.
I always give this step a lot of thought. My lumberyard of awesomeness has a machine called a piggy-back that can place lumber directly at the work site.

Flashing
I go into more detail on this process building a deck in this video. The major piece of deck installation information here is that all siding should be removed. The home’s band joist should be exposed, then covered with (this is called “flashing”) peel and stick membrane. A metal flashing—flashing diverts water—should be integrated with the siding as well.

Cutting the membrane
The build a deck video series shows this—and, well, everything—in more detail. I’m using my Hyde Tools 25mm snap-off knife which is ridiculously sharp to cut membrane. But, instead of running the knife through the membrane, it’s sometimes easier to run the membrane through the knife. I pull the membrane and leave the knife still and it’s easier to get an even cut on a long run like this.

Ledger and beam
Cut the ledger and the beam to the overall width of the deck, then mark for joists. The ledger and the beam must follow the same layout sequence. It’s easier than you might think to make a mistake here—not that I’ve made it or anything. But the ledger and the beam go through subtle alterations between lumber stack and installed position. Laying them out at the same time minimizes the risk of mistakes later on down the road.

Cutting 1 1/2-inches off each end of the ledger makes it the correct length so I can install the left and right band joists without shifting the layout. Do not cut 3-inches off one end—that shifts the layout.

I use Spax Power Lags for my ledger installations. Code requires the fasteners to be 2-inches in from each edge of the ledger, so I snap a line. Also, having the ledger laid out for joists already means I can position the screws so they don’t interfere with them.

Install the ledger screws in a zig zag pattern. I keep it simple and install two per joist bay. By the way, there’s nothing wrong with this Ridgid impact driver. It’s the Stealth and it runs significantly quieter than other models I’ve used. It’s a bit bigger and heavier, but the noise reduction is nice.

Door opening detail
Code says that the door opening shall be flashed and caulked. I whip a bo-hunker bead in there. I like DAP elastomeric caulk.

Installing the ledger
This build a deck video goes into more detail on installing the ledger. Here, I wanted to focus on a trick I use to make life easier after it’s installed. A 2×4 (2×6 is even better) screwed to the underside of the ledger makes installing the joists much, much easier. I use it again later installing the guard posts.

Squaring the band joist
Use a 3-4-5 triangle to “square” (make 90-degrees) the band joist to the ledger for an accurate deck installation. Measure 3 feet along the ledger, 4 feet along the band joist. When the diagonal measurement is 5-feet, the band is square to the ledger. Fasten with an angle brace. Note that the cleat is already seeing its second use as an anchor for the angle brace.

Lots of elements of the top-down deck framing system are right here in this photo. The band joists are installed on temporary posts. The beam is installed under the joists and carried by the same temporary posts. Everything is square. I make what I call a “wing cut” on the ledger with a flat spot on each end so I can use blocks to support the beam while I install it (I also like the swooping look—form and function).
Finally, with the beam in, I can use it to mark my post hole locations. On low decks, I pull a string instead of installing the beam so I have room to dig.

Post holes
I use a garden spade (these all-steel units are incredible. They’re Fiskars and you can see them in action in this video) to start the hole, then Fiskars all-steel long-handled shovel to finish it up.

Most deck codes require you to pour some kind of large concrete footing to keep the posts out of the ground. I like to put the posts in the hole—for lots of reasons. Using the Post Protector sleeve enables me to do this. I estimate that using the Post Protector saved me no less than one entire day of work and at least $150. Maybe more because of compounded efficiency.
Another layer of efficiency using both the top-down method and Post Protectors is that (1) I can use wood “bridges” over each hole to temporarily support the deck. (2) I can pour concrete at the end of the day so it cures overnight. And—maybe my favorite—(3) I can put most of the excavated dirt back in the hole. A triple threat.

Four blocks on the posts make them ten times more manageable. Two blocks set low enable me to carry, manipulate and place the post far more easily than grappling with it like an MMA opponent. Two set just below the shoulder cut enable me to use clamps to lift it into place.
Wood deck video series
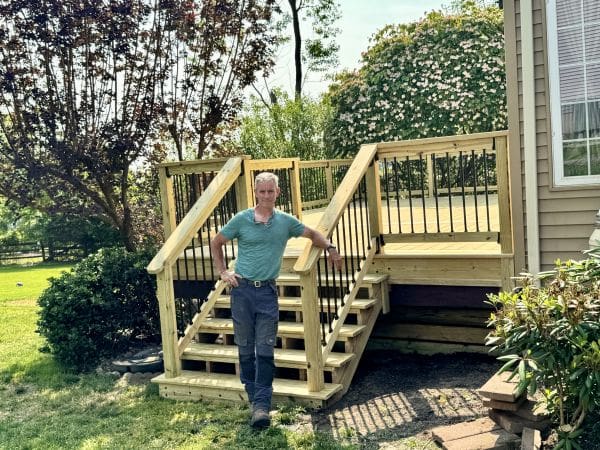
Watch the entire build a deck videos series to see the entire process of building a wood deck using top-down framing system. Part 2 in the Building a Deck Series focuses on joists, hardware and guard posts.


What product do you recommend as “peel and stick” for the untreated band joist”