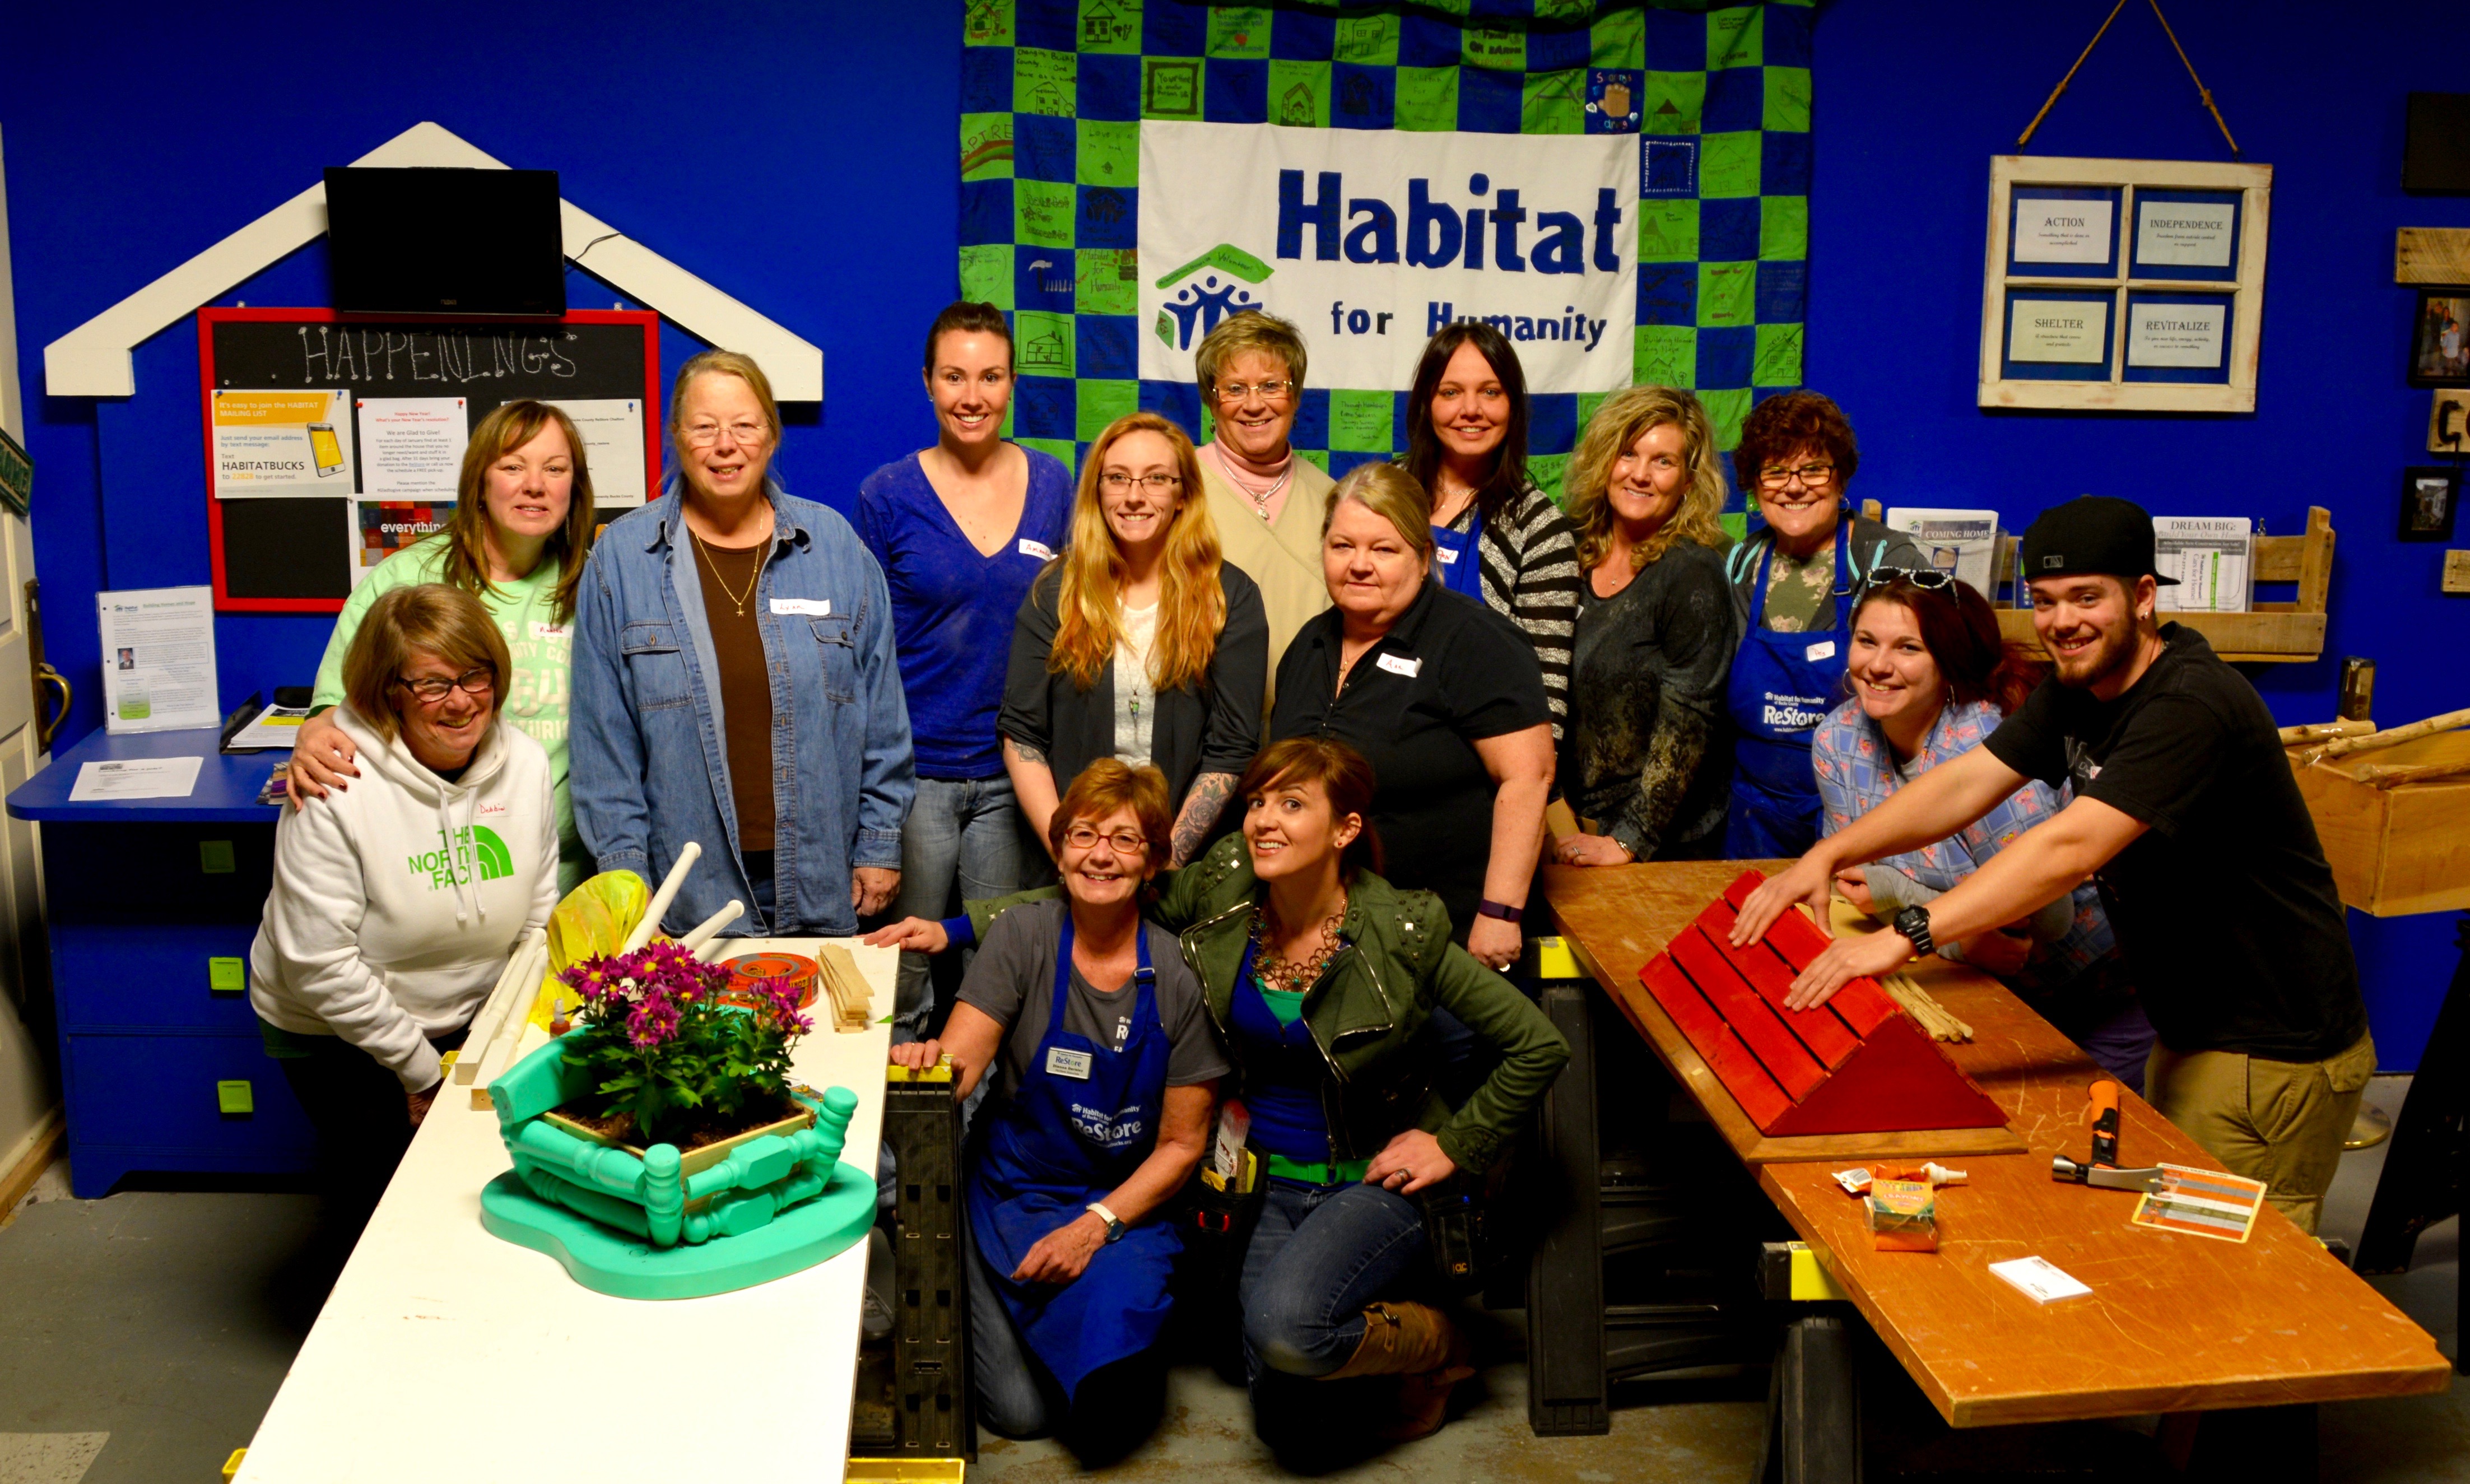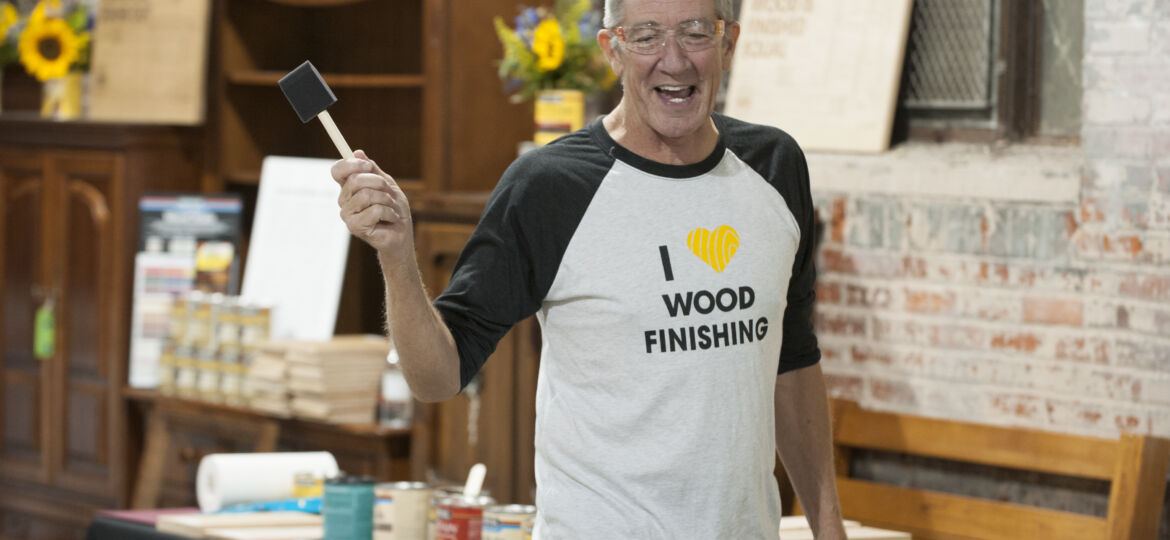
We were lucky to spend a few hours with the superhero of staining, Bruce Johnson from Minwax at Habitat for Humanity ReStore in Philadelphia.


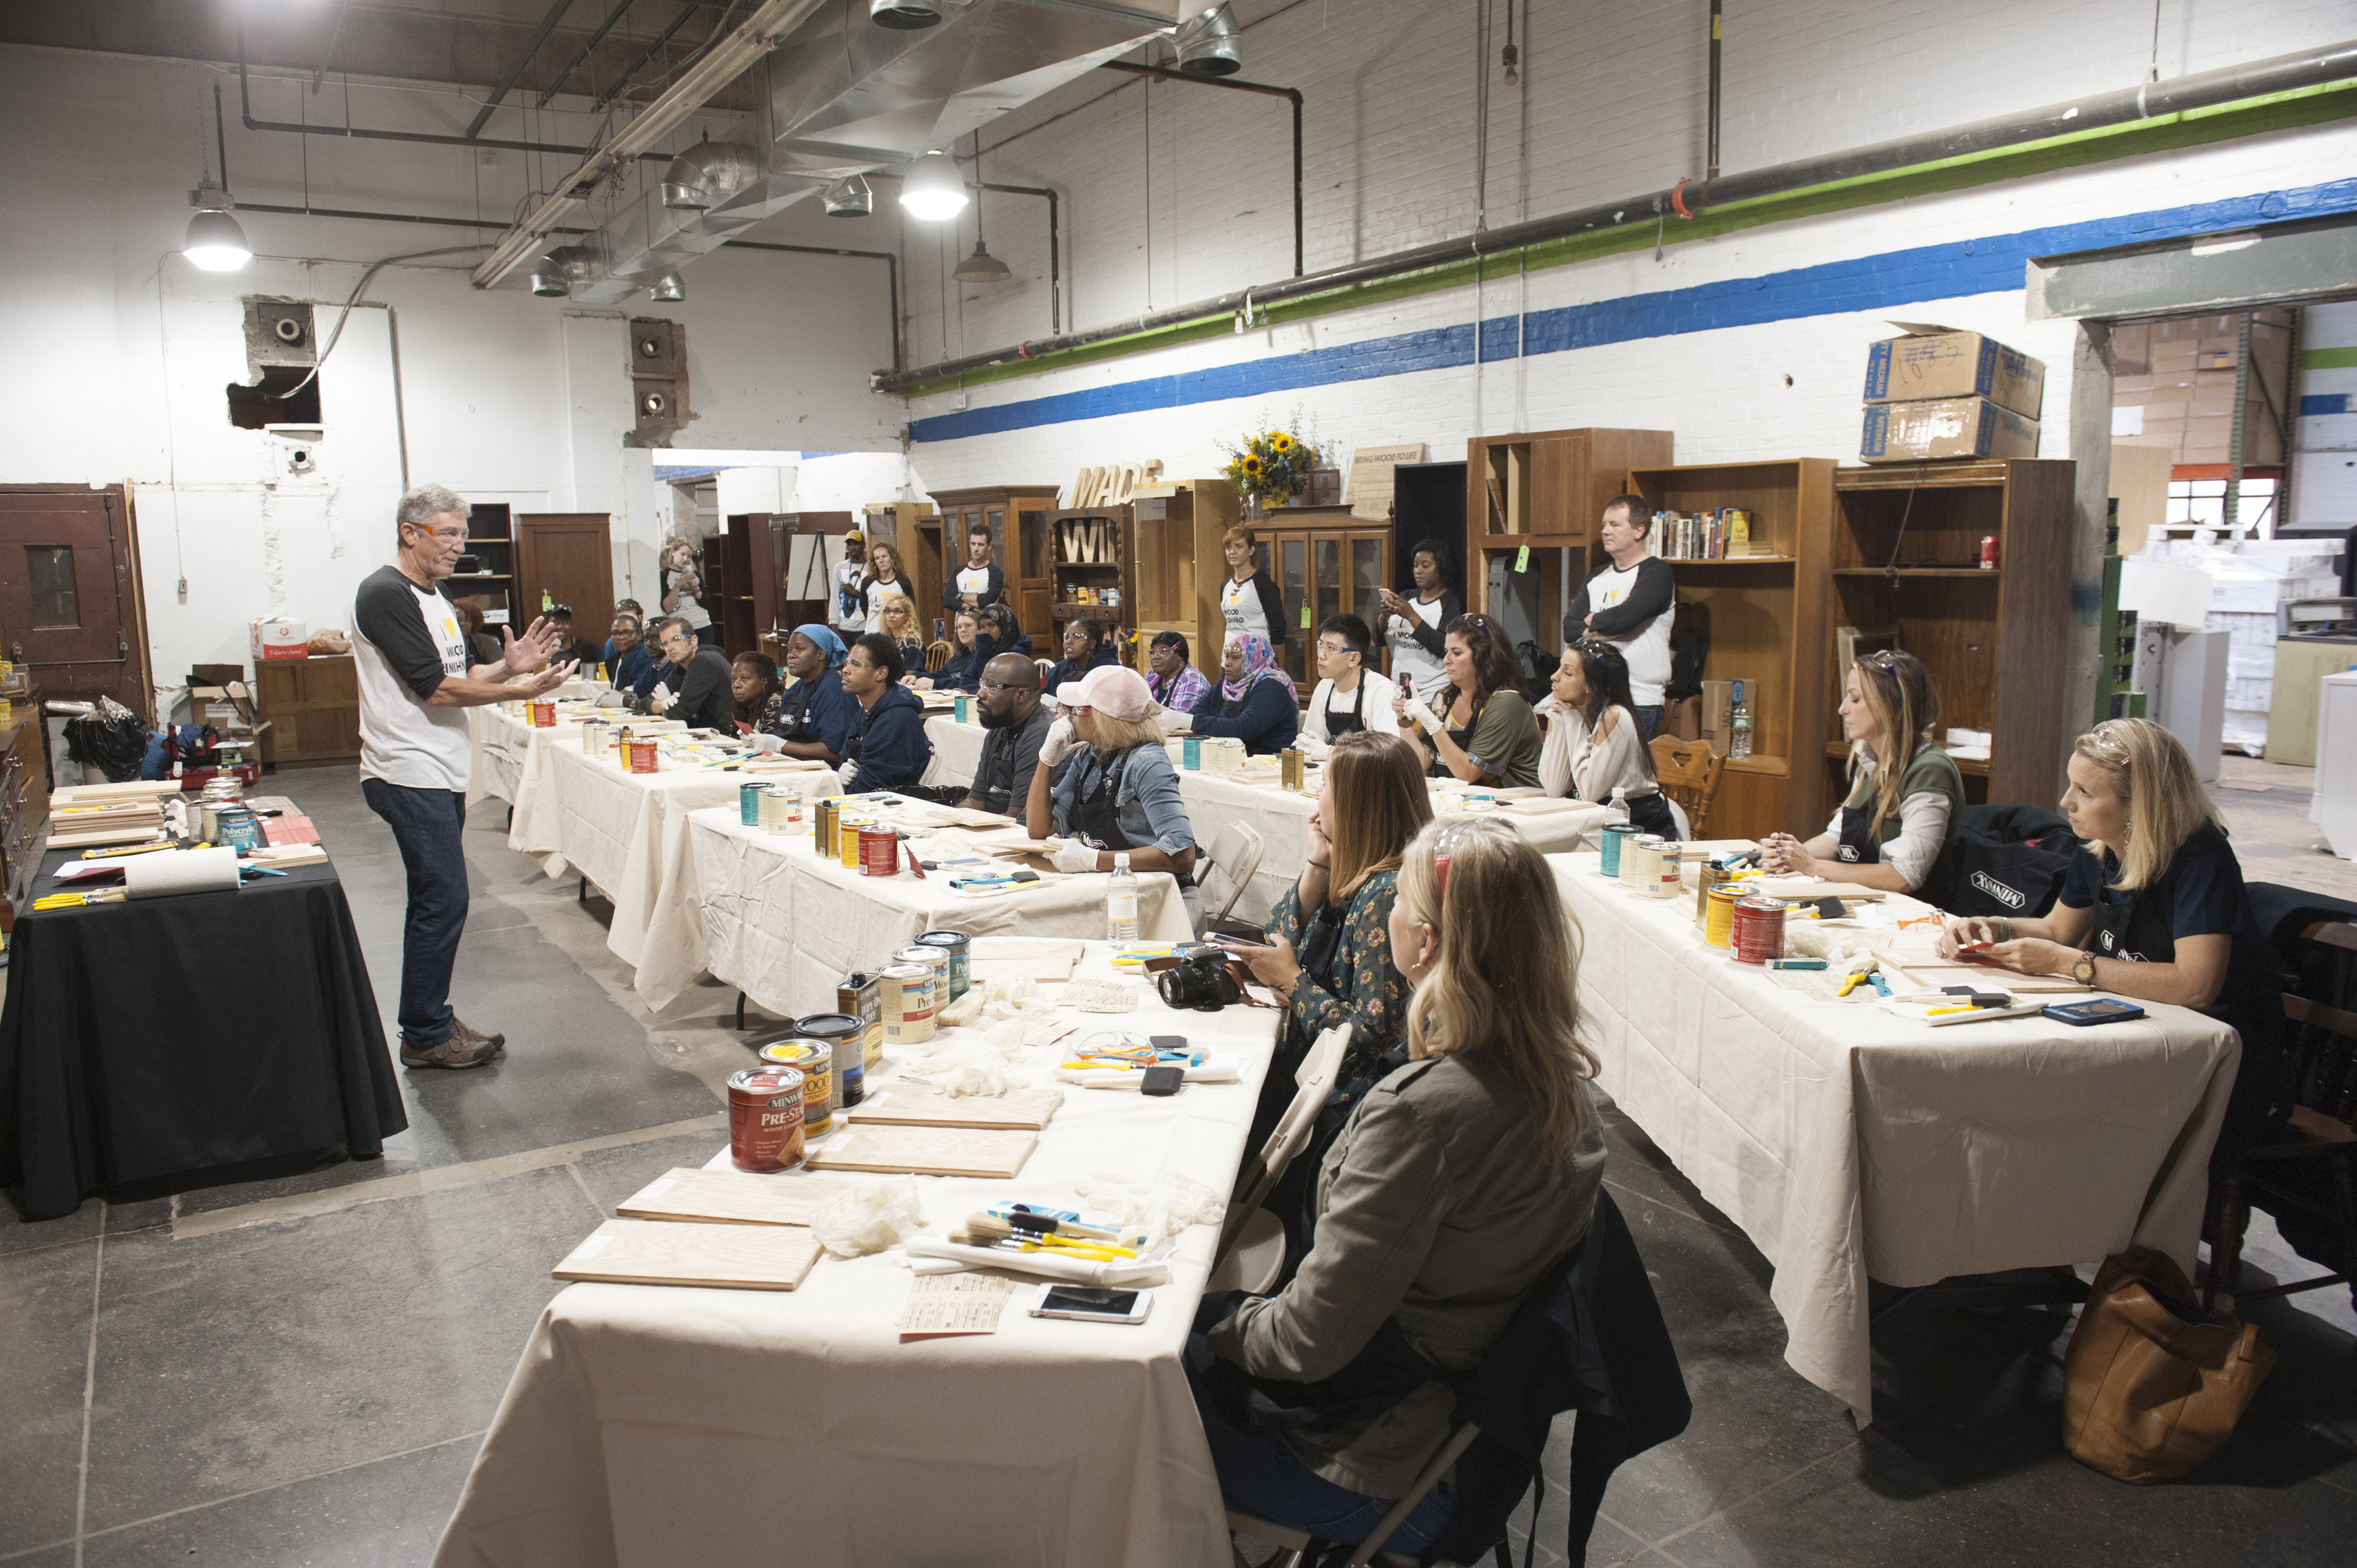


Mark and I have been working with Minwax for a few years, creating projects with them for their ‘Made With Love. Finished With Minwax.’ campaign. And we’ve been using Minwax for years before we became officially part of the Minwax family, as they make a wide selection of staining colors and they have easy-to-use options for beginner DIYers, too. Among the DIYers gathered for this event were bloggers from At Charlottes House,Cristina’s Adventures, City Farmhouse, and The Painted Home.
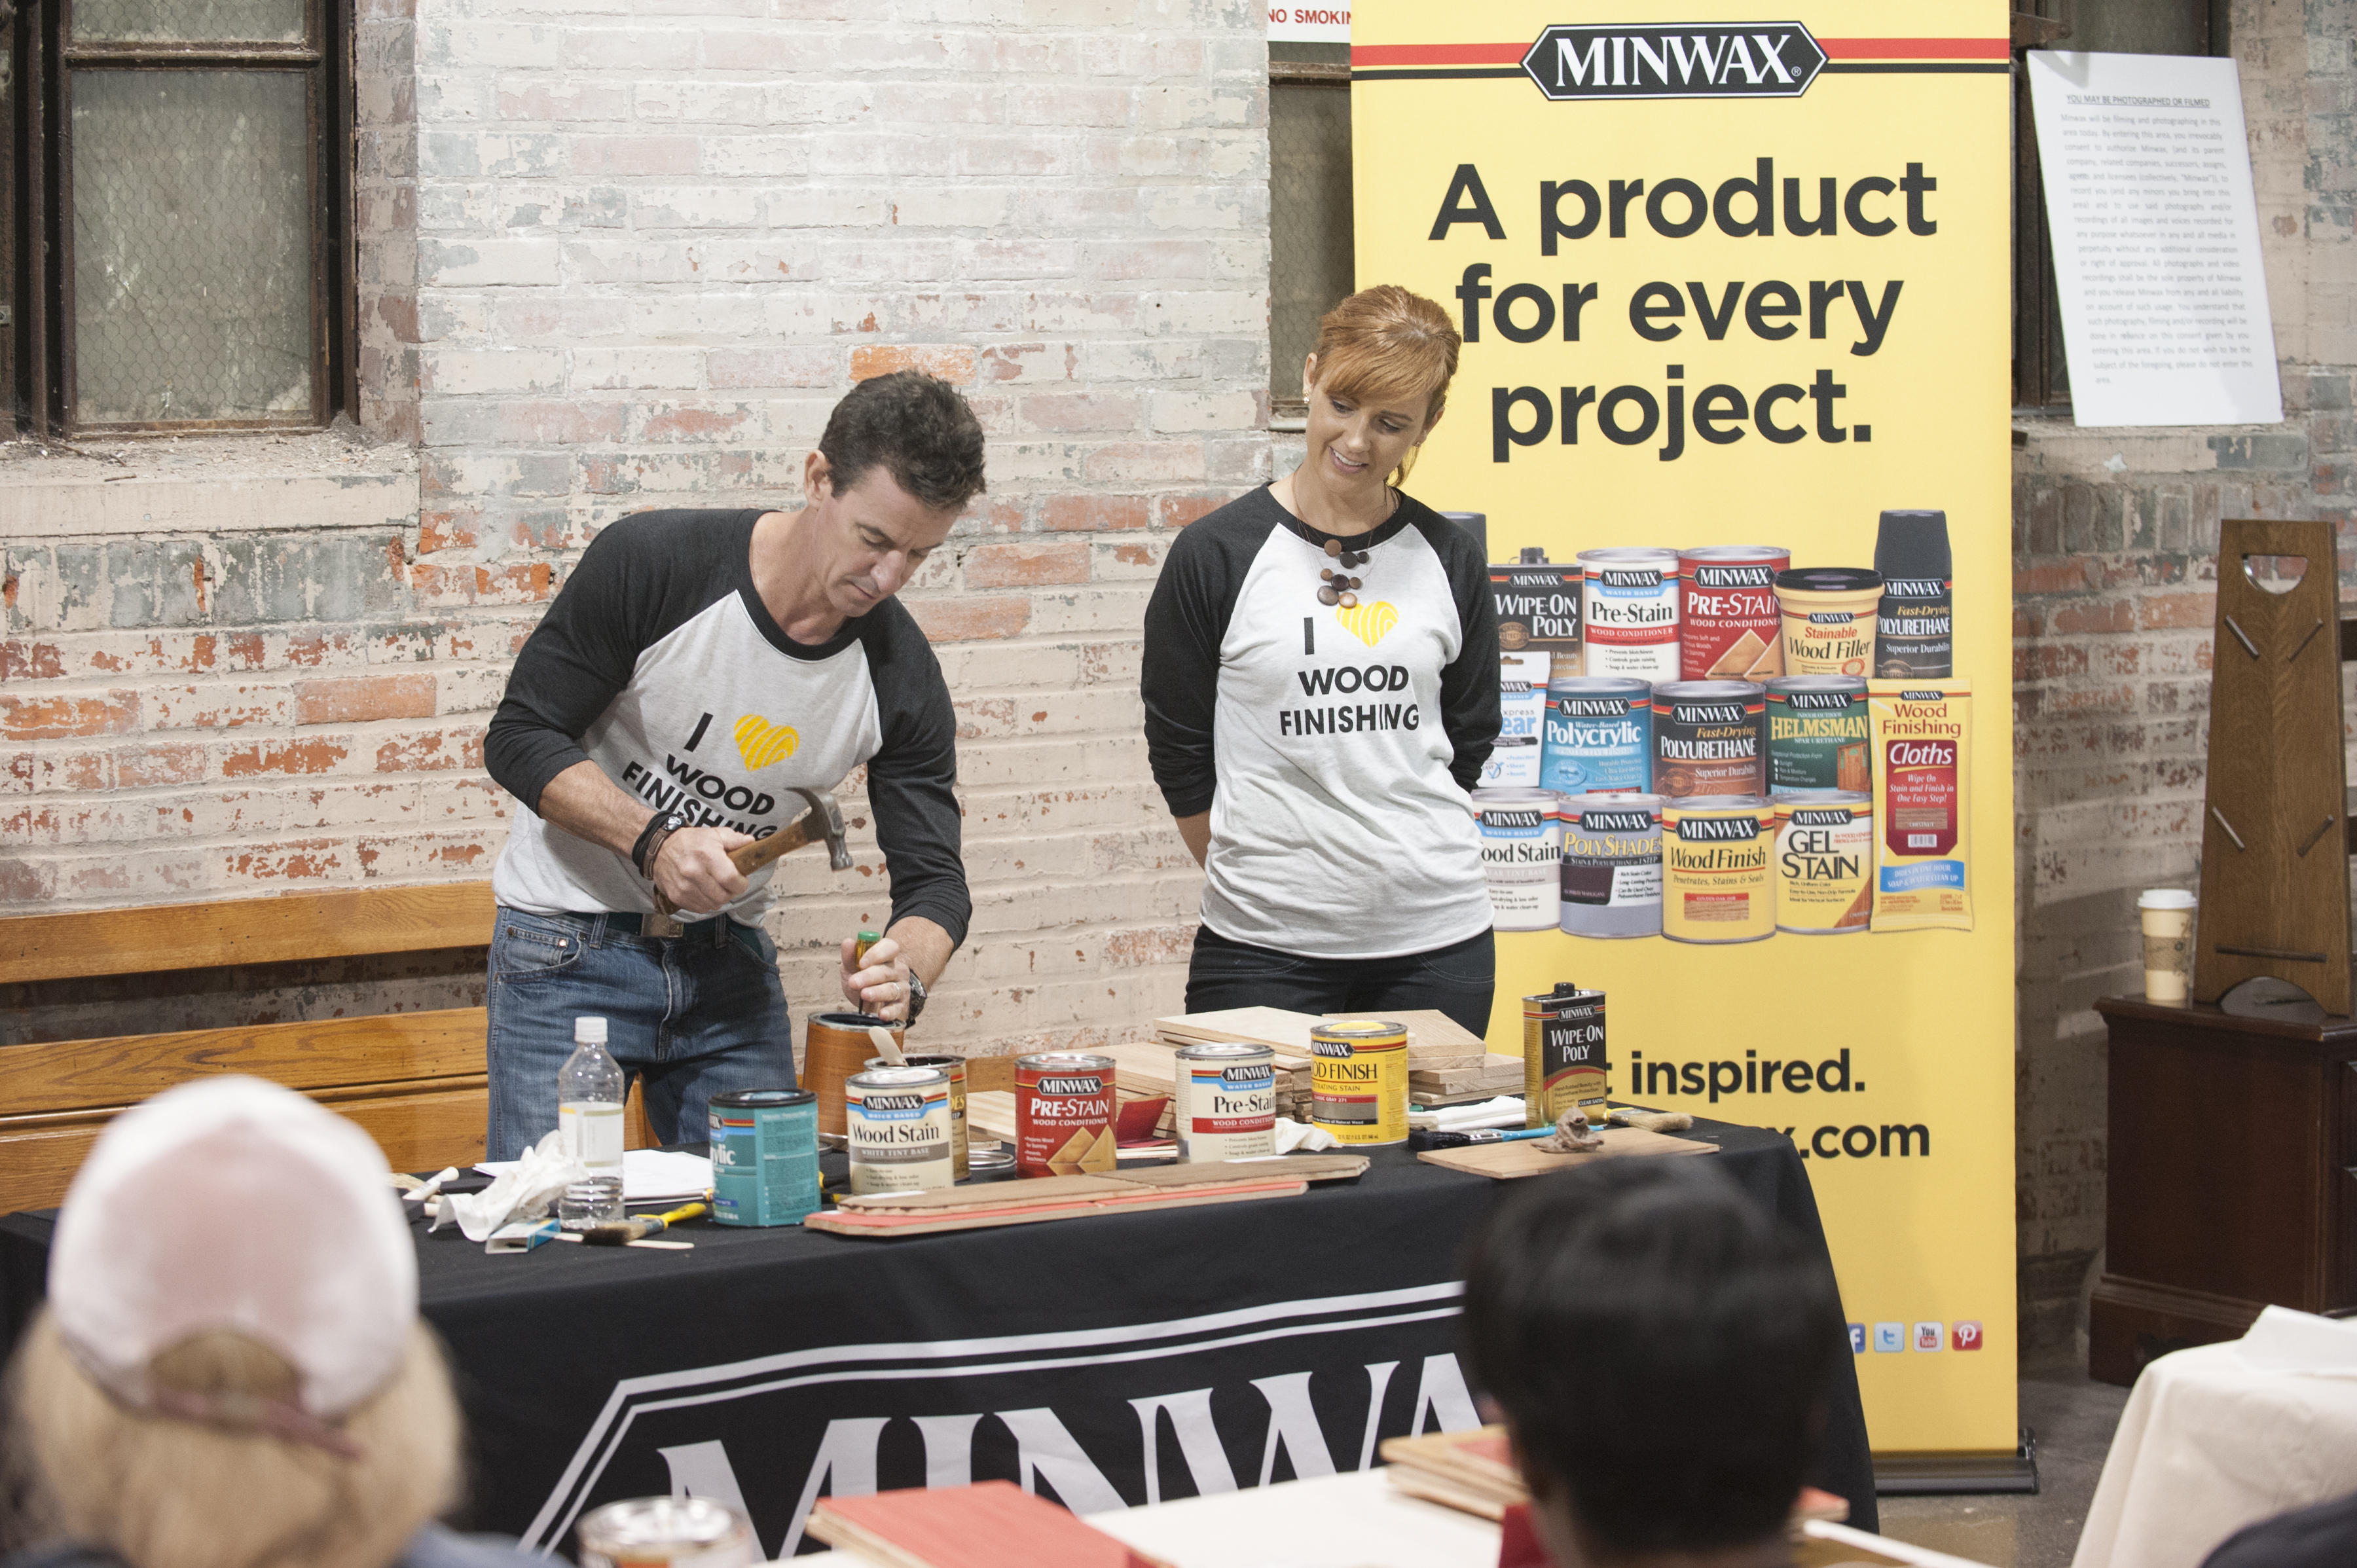


Wood staining essentials. This is what everyone learned at the Minwax wood staining workshop at Habitat for Humanity’s Restore.


Brushes. Bruce showed everyone the proper way to hold the brush and how to achieve an even finish. It’s important to use a synthetic bristle brush when applying a water-based stain. When using an oil-based stain, use synthetic or natural bristle brush. Foam brushes are best for putting on a clear finish.
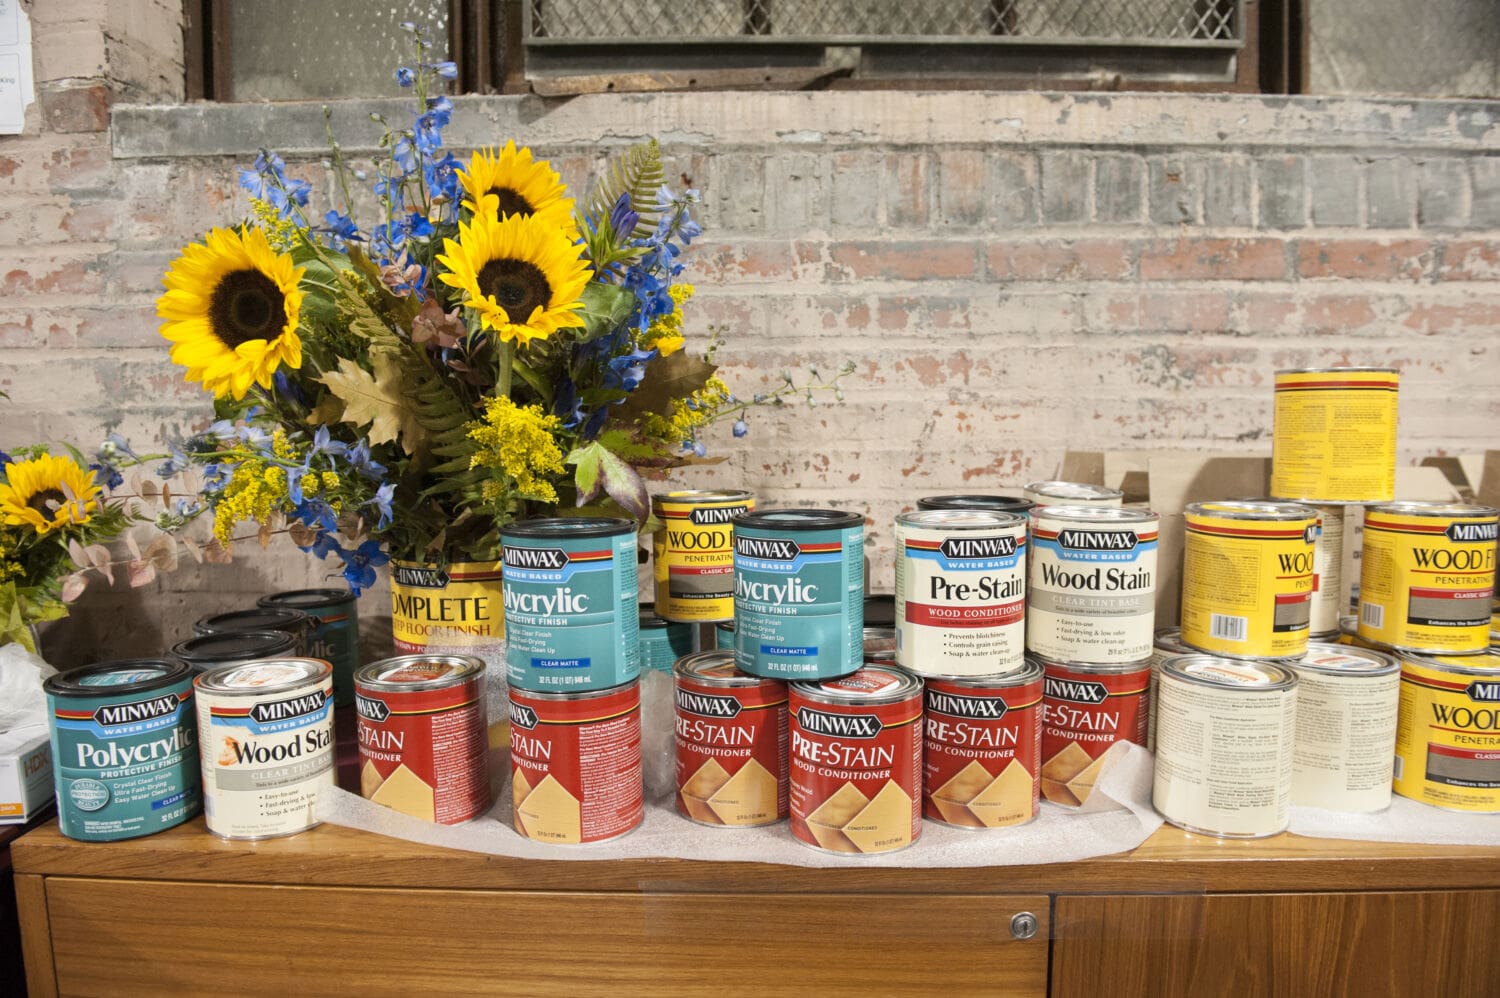

Types of stains. There is a stain for every kind of wood project you can imagine. If you like to work and finish quickly, water-based wood stain would be a good choice. Since water-based stains dry quicker, there is less time to futz around with the staining as you are working. If you prefer to have more time to work, an oil-based wood stain might be a better choice. For small projects like staining a wood picture frame, or a small unfinished wood project that you find at a craft store, there is the Minwax Expres Color Wiping Stain & Finish tube and Minwax Wood Finishing Cloths that are easy to use.


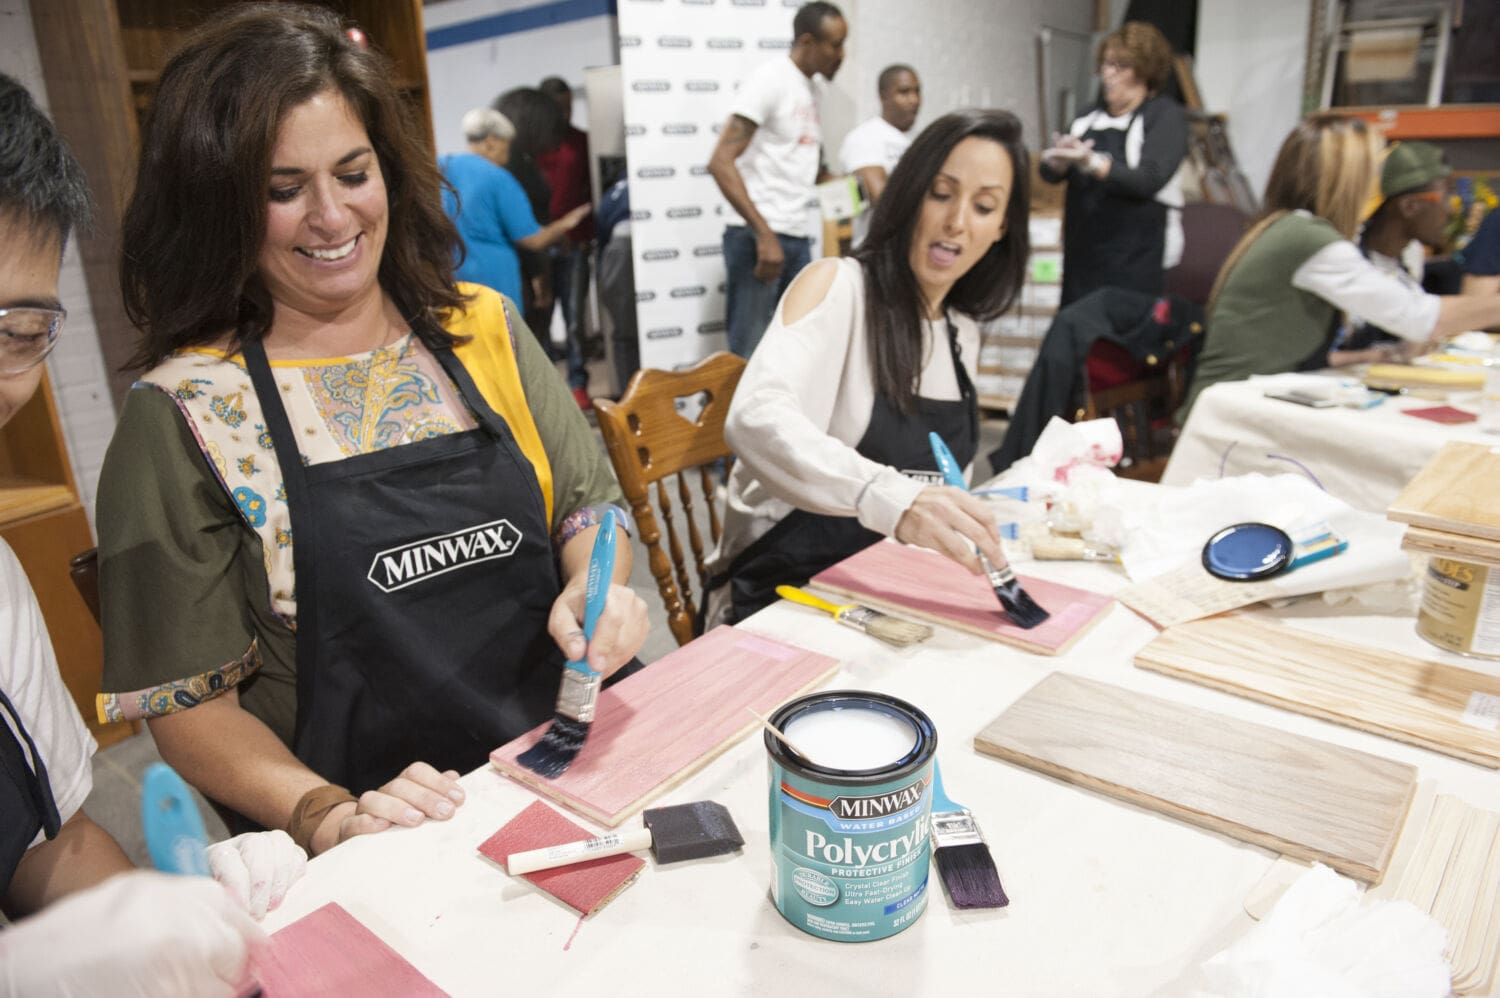

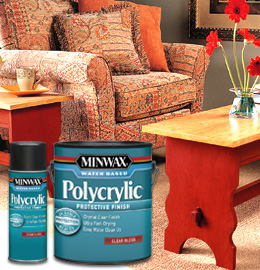
Finish. It’s important to use the same kind of protective finish as the stain you’ve used. This means if you used a water-based stain, use a water-based protective finish. We usually use water-based stain in our projects, so we use the Minwax Polycrylic Protective Finish shown in the photo above.
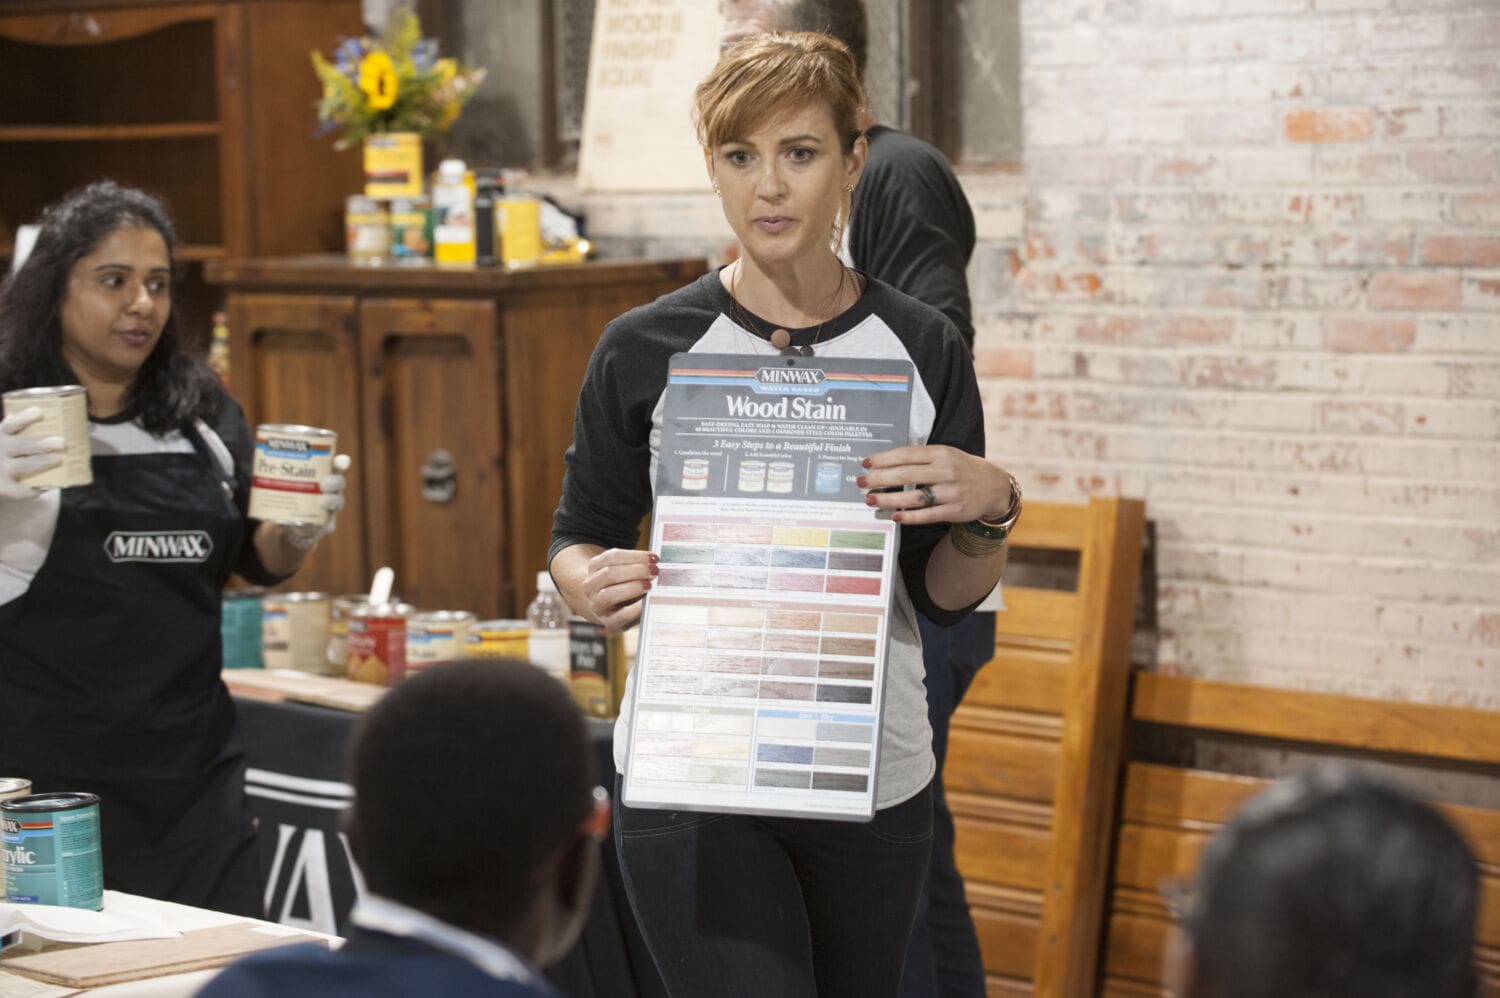



Experiment. While it’s important to read the directions on the can, so you know the dry time and all of the details before you get started, it’s also important to keep your creativity flowing. One of the participants at the workshop decided to layer two different water-based stains to achieve a different look. Layering colors or using sandpaper to add a distressed farmhouse look to your project is a fun way to personalize your wood project. While combining stains, make sure you use water-based with water-based, and oil with oil.


Note: Minwax has provided me with some of the products used in this project. I was also compensated for my time and this blog post. All opinions and positions expressed here are my own and do not necessarily reflect those of Minwax. For more information about DIY staining projects, please check out Minwax online.
