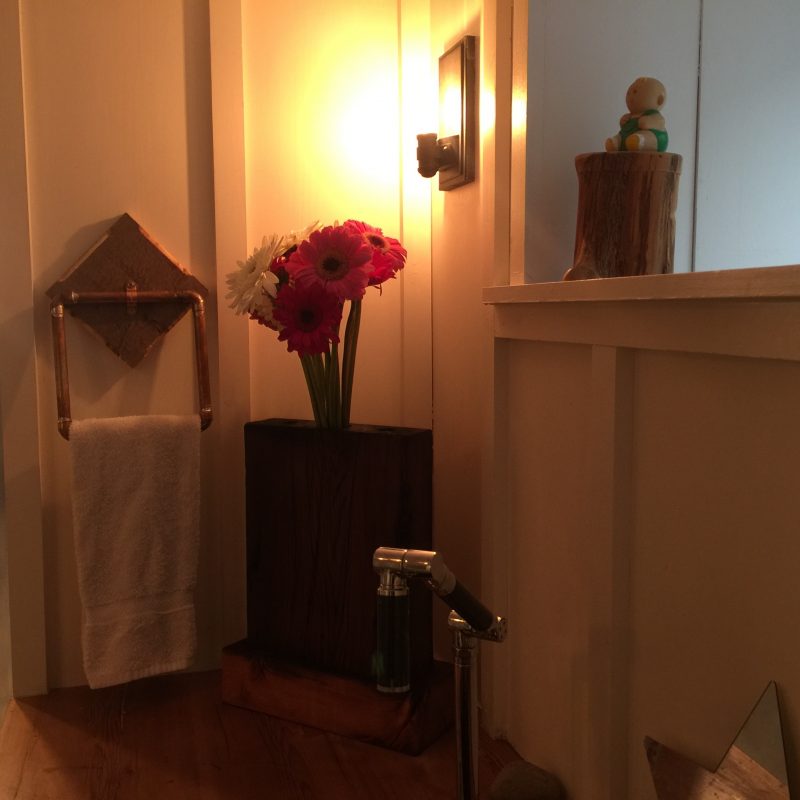
I love woodworking projects that blend materials. This one combines wood and copper to create a bathroom towel holder. It’s a project that you can complete in an afternoon, if you have easy access to materials and tools. So here’s how to make a copper and wood towel holder for your bathroom.
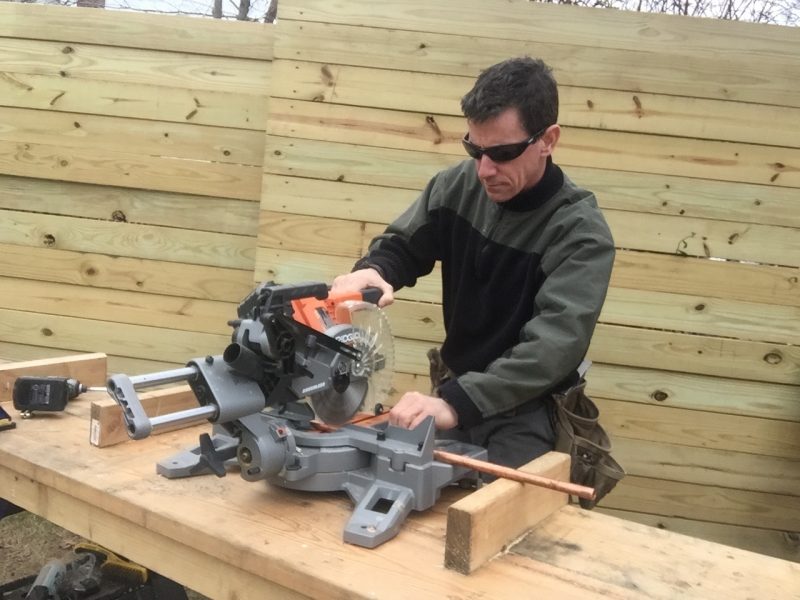
This is for a hand towel in the bathroom. To fit the space and look sufficiently sized, I cut each length of the square 6 1/2-inches.
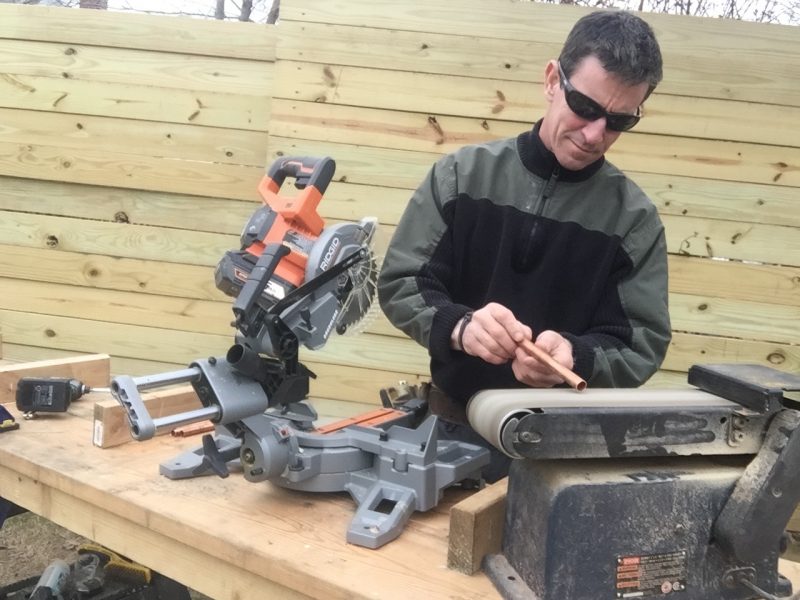
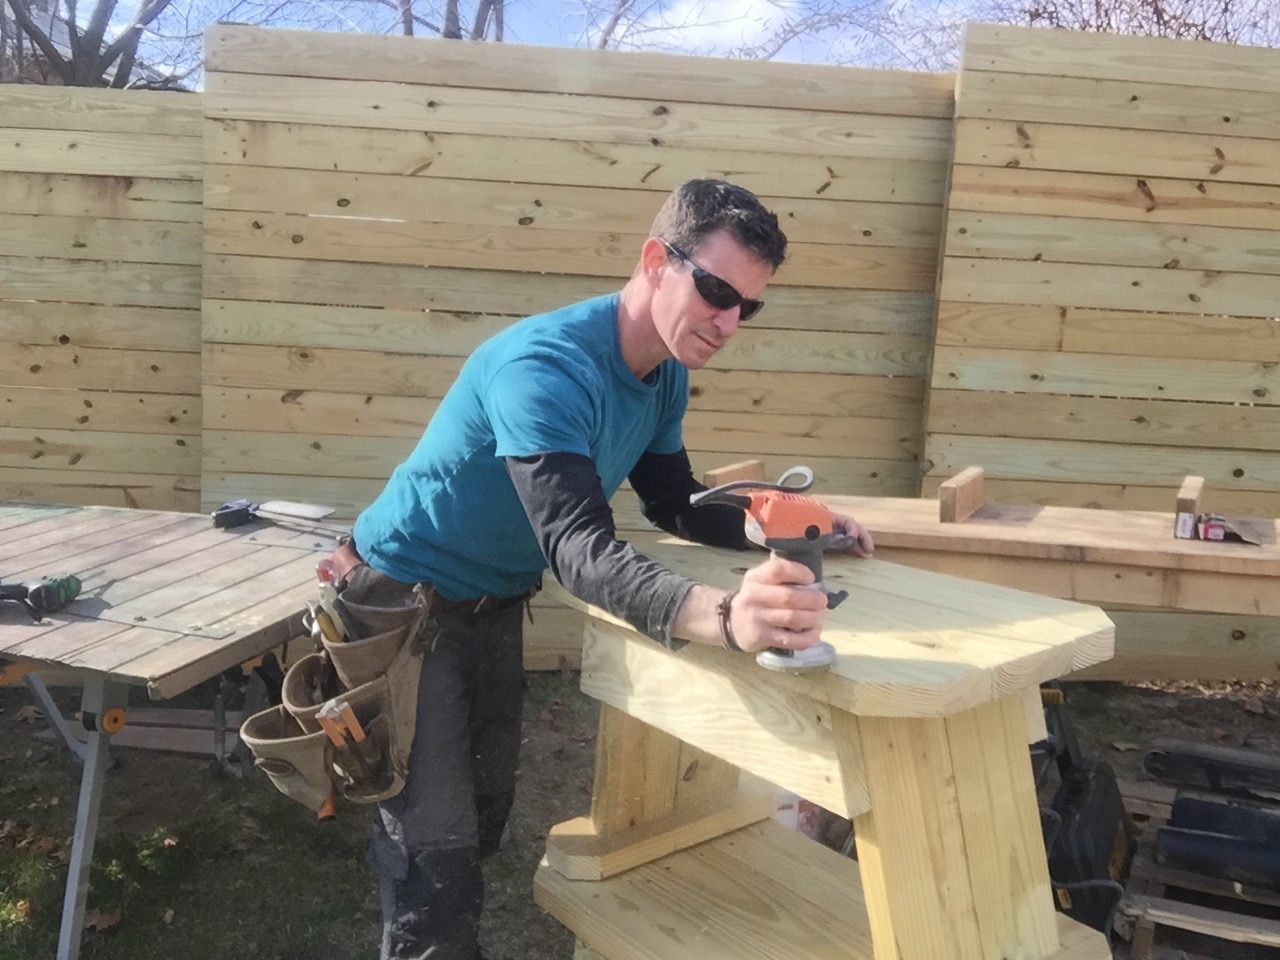
My woodworking projects—even when I’m working metal—rely on woodworking tools. The miter saw leaves a rough edge on the pipe, so I clean it up on the stationary sander.
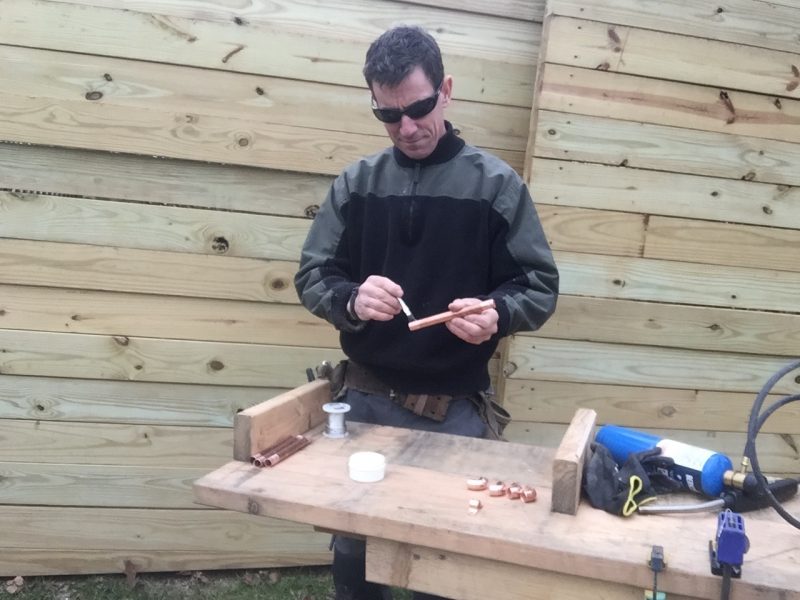
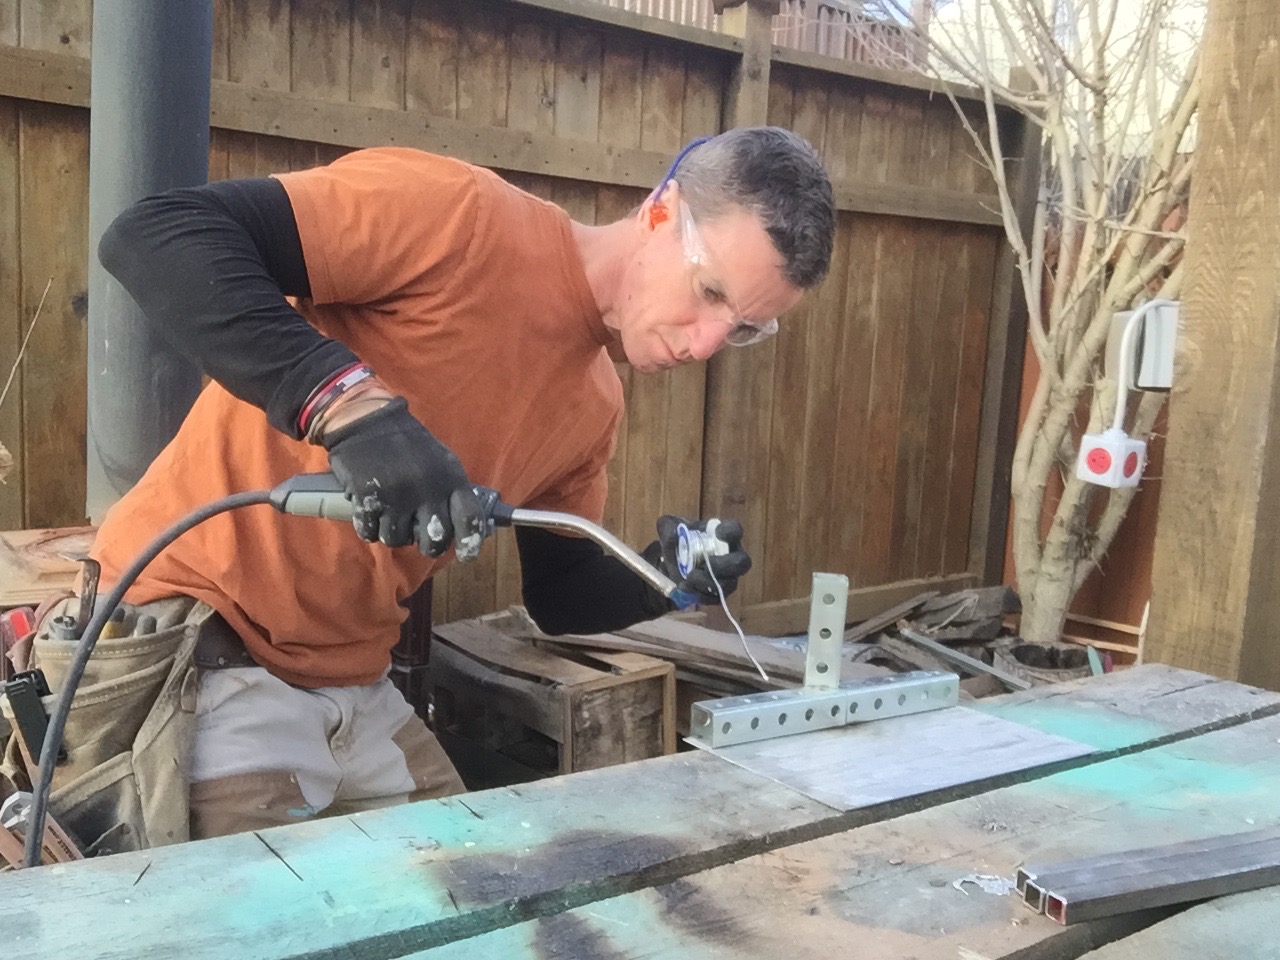
Even on fittings that aren’t going to be pressurized with water I follow the proper soldering steps so I get as clean a solder as possible. The first step is to clean the pipe and fittings. Bernzomatic’s S4N1B pipe fitting brush is fast and easy.
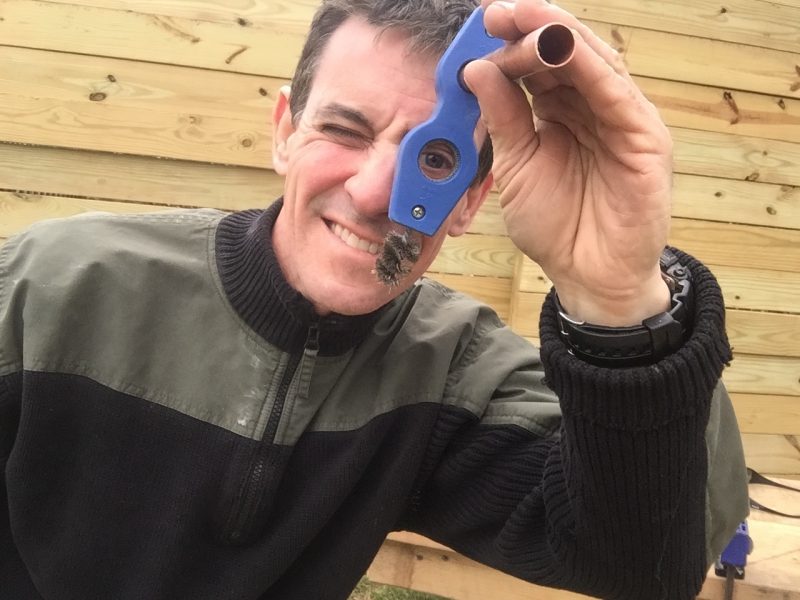


Flux all the parts that touch each other, then dry fit.
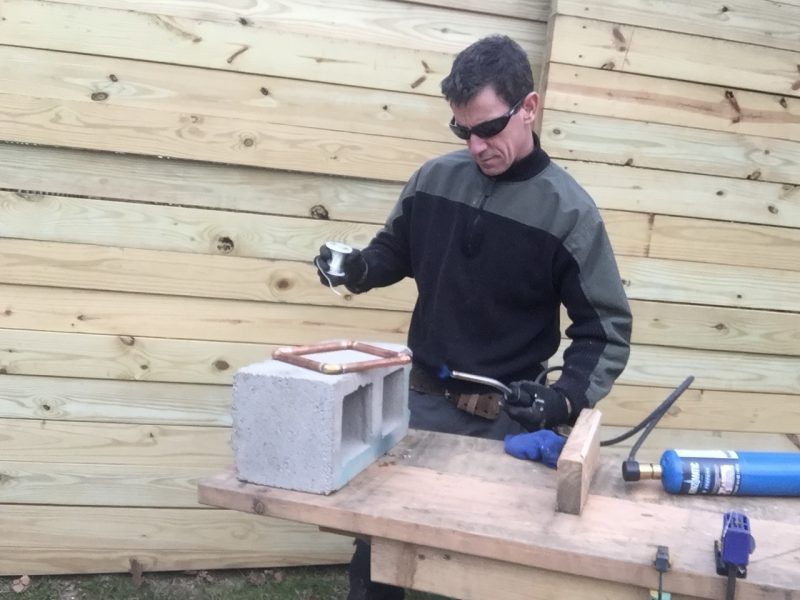
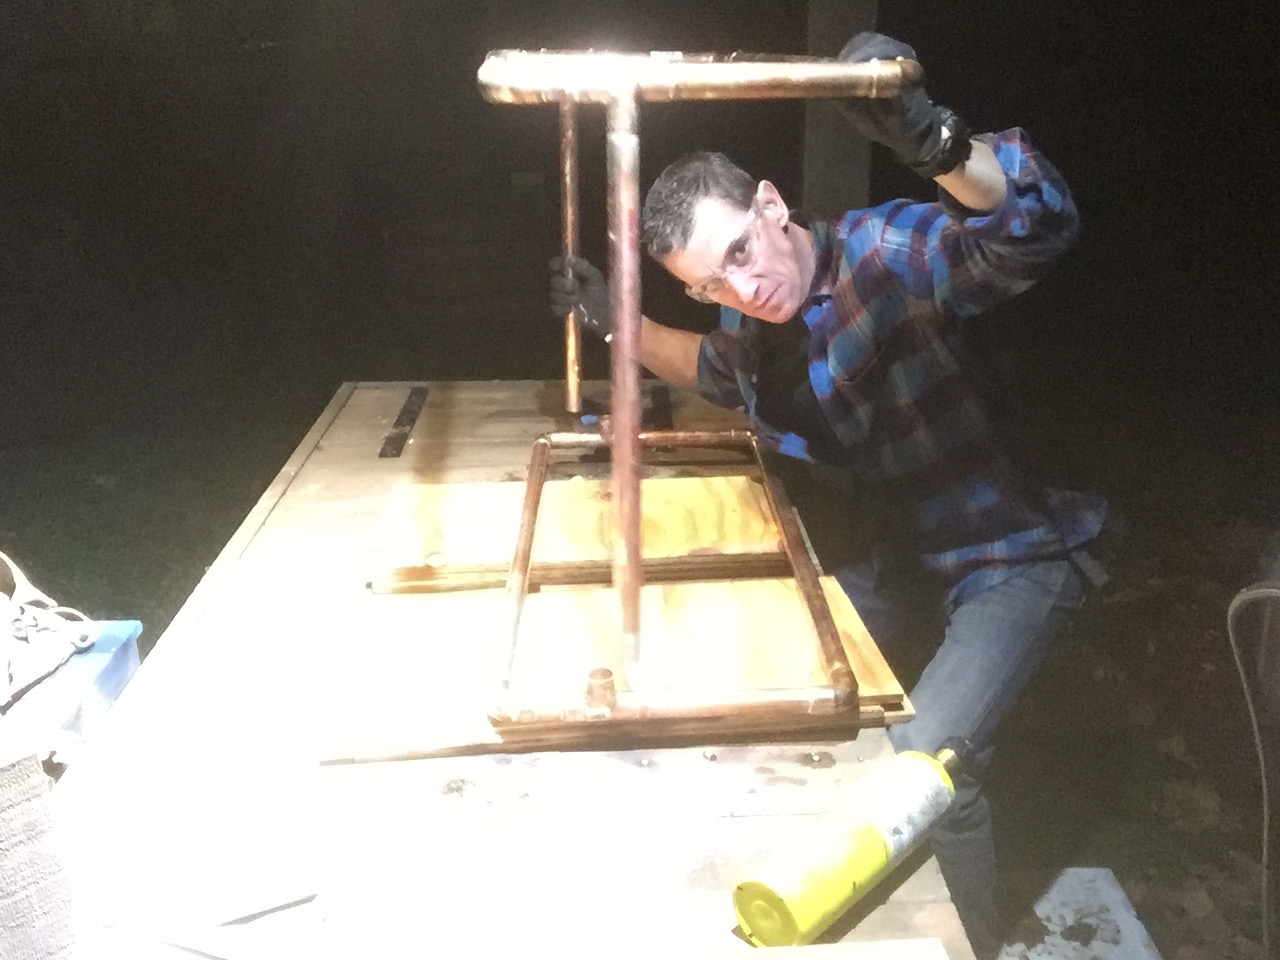
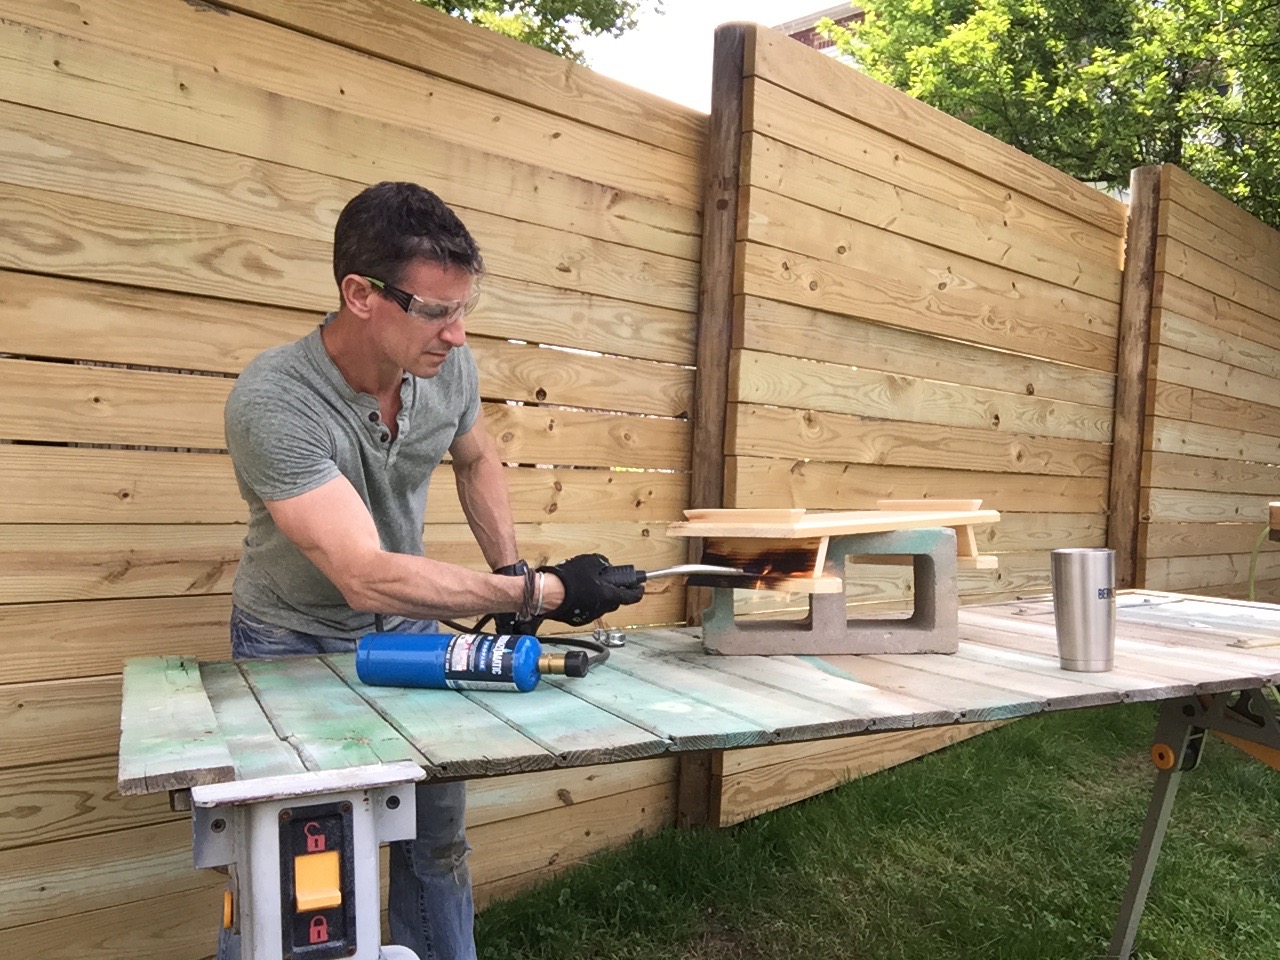
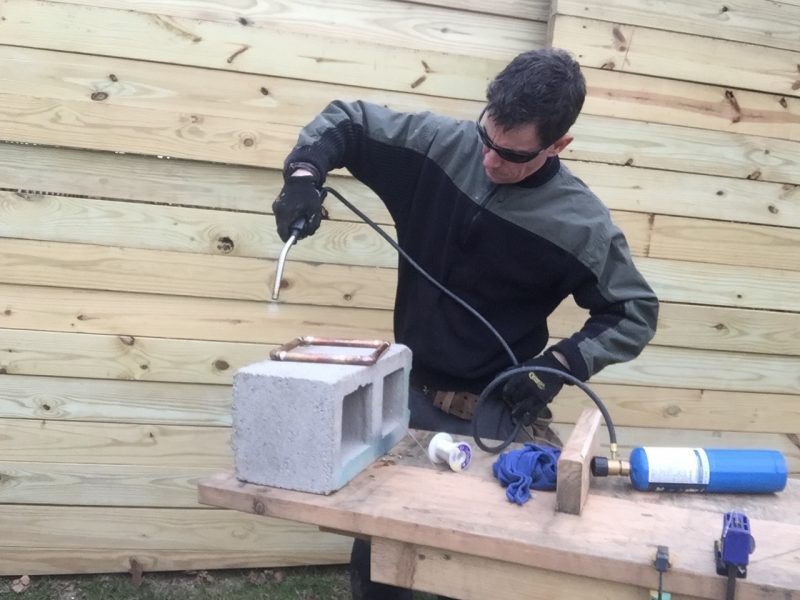
I used Bernzomatic propane to heat the fittings. I wish they were all hairline solders—they’re not—but I tried. Always heat the fitting, not the joint. It helps to draw the solder into the joint.
After I wiped the solders down with a damp rag, one of the elements I love about woodworking projects that include copper is that I can patina the wood or the metal. In this case, I chose the metal, which started turning red and purple, like clouds appearing in the metal from inside it. As I heated the body of the pipe I kept an eye on the solders so it didn’t re-melt.


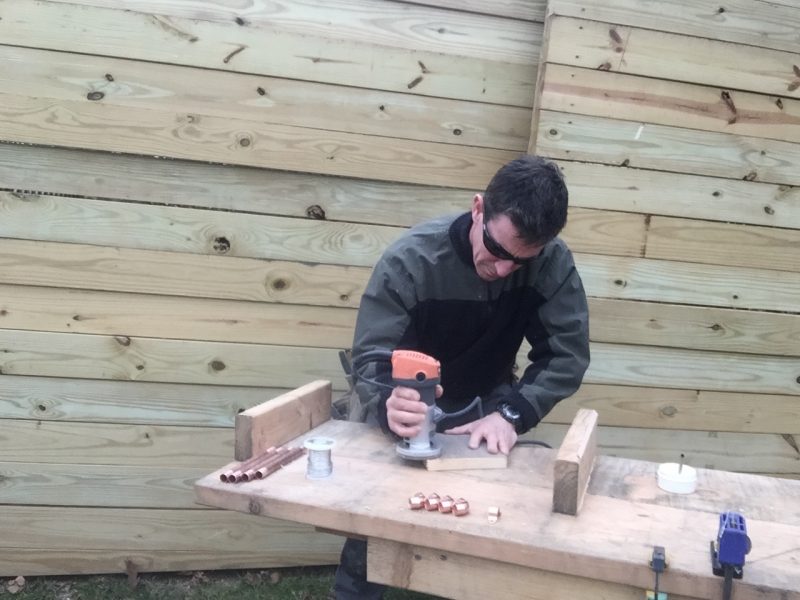
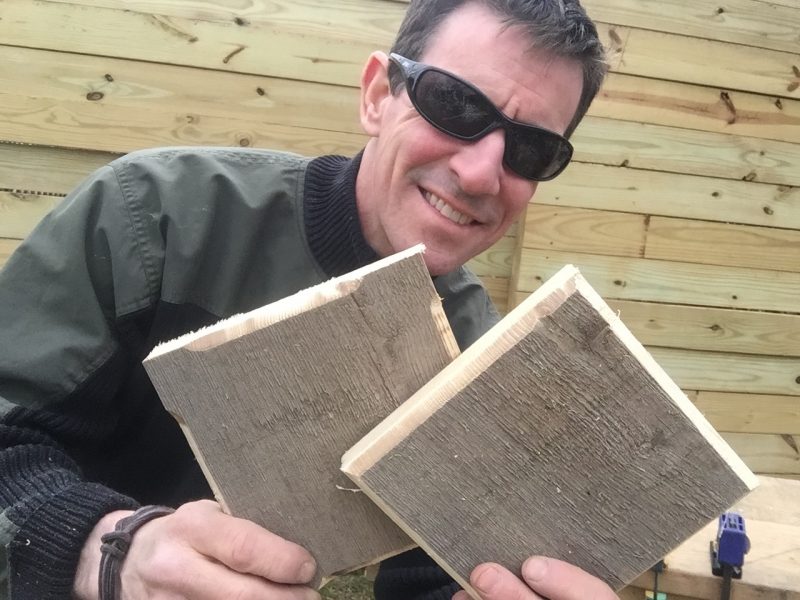
I could have left a simple square edge on the wood backer—a piece of weathered Eastern White Pine with a rough texture. But I like even rustic woodworking projects to have a little refinement, so I routed an edge. In this case, I ran the base of the router to the corner of the backer, then stopped. I kind of dig the look.
I routed the first one—just wrapping the whole edge with a bevel. Then I thought about the second one where I stopped the router on each edge. I chose that instead.
A 1/2-inch pipe holder connects the pipe assembly to the backer. I used screws that were long enough to go through the backer and into the wall. If you’re going into drywall you’ll probably want to use hollow wall anchors to get a secure connection.
Here’s a video from our YouTube channel for drilling a hole without making a dusty mess.

