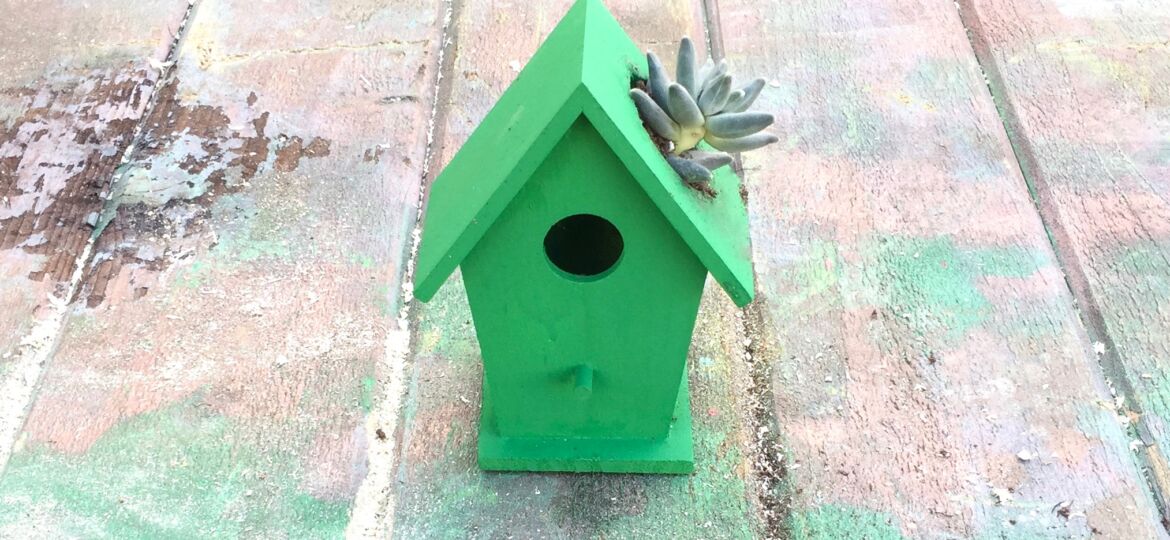
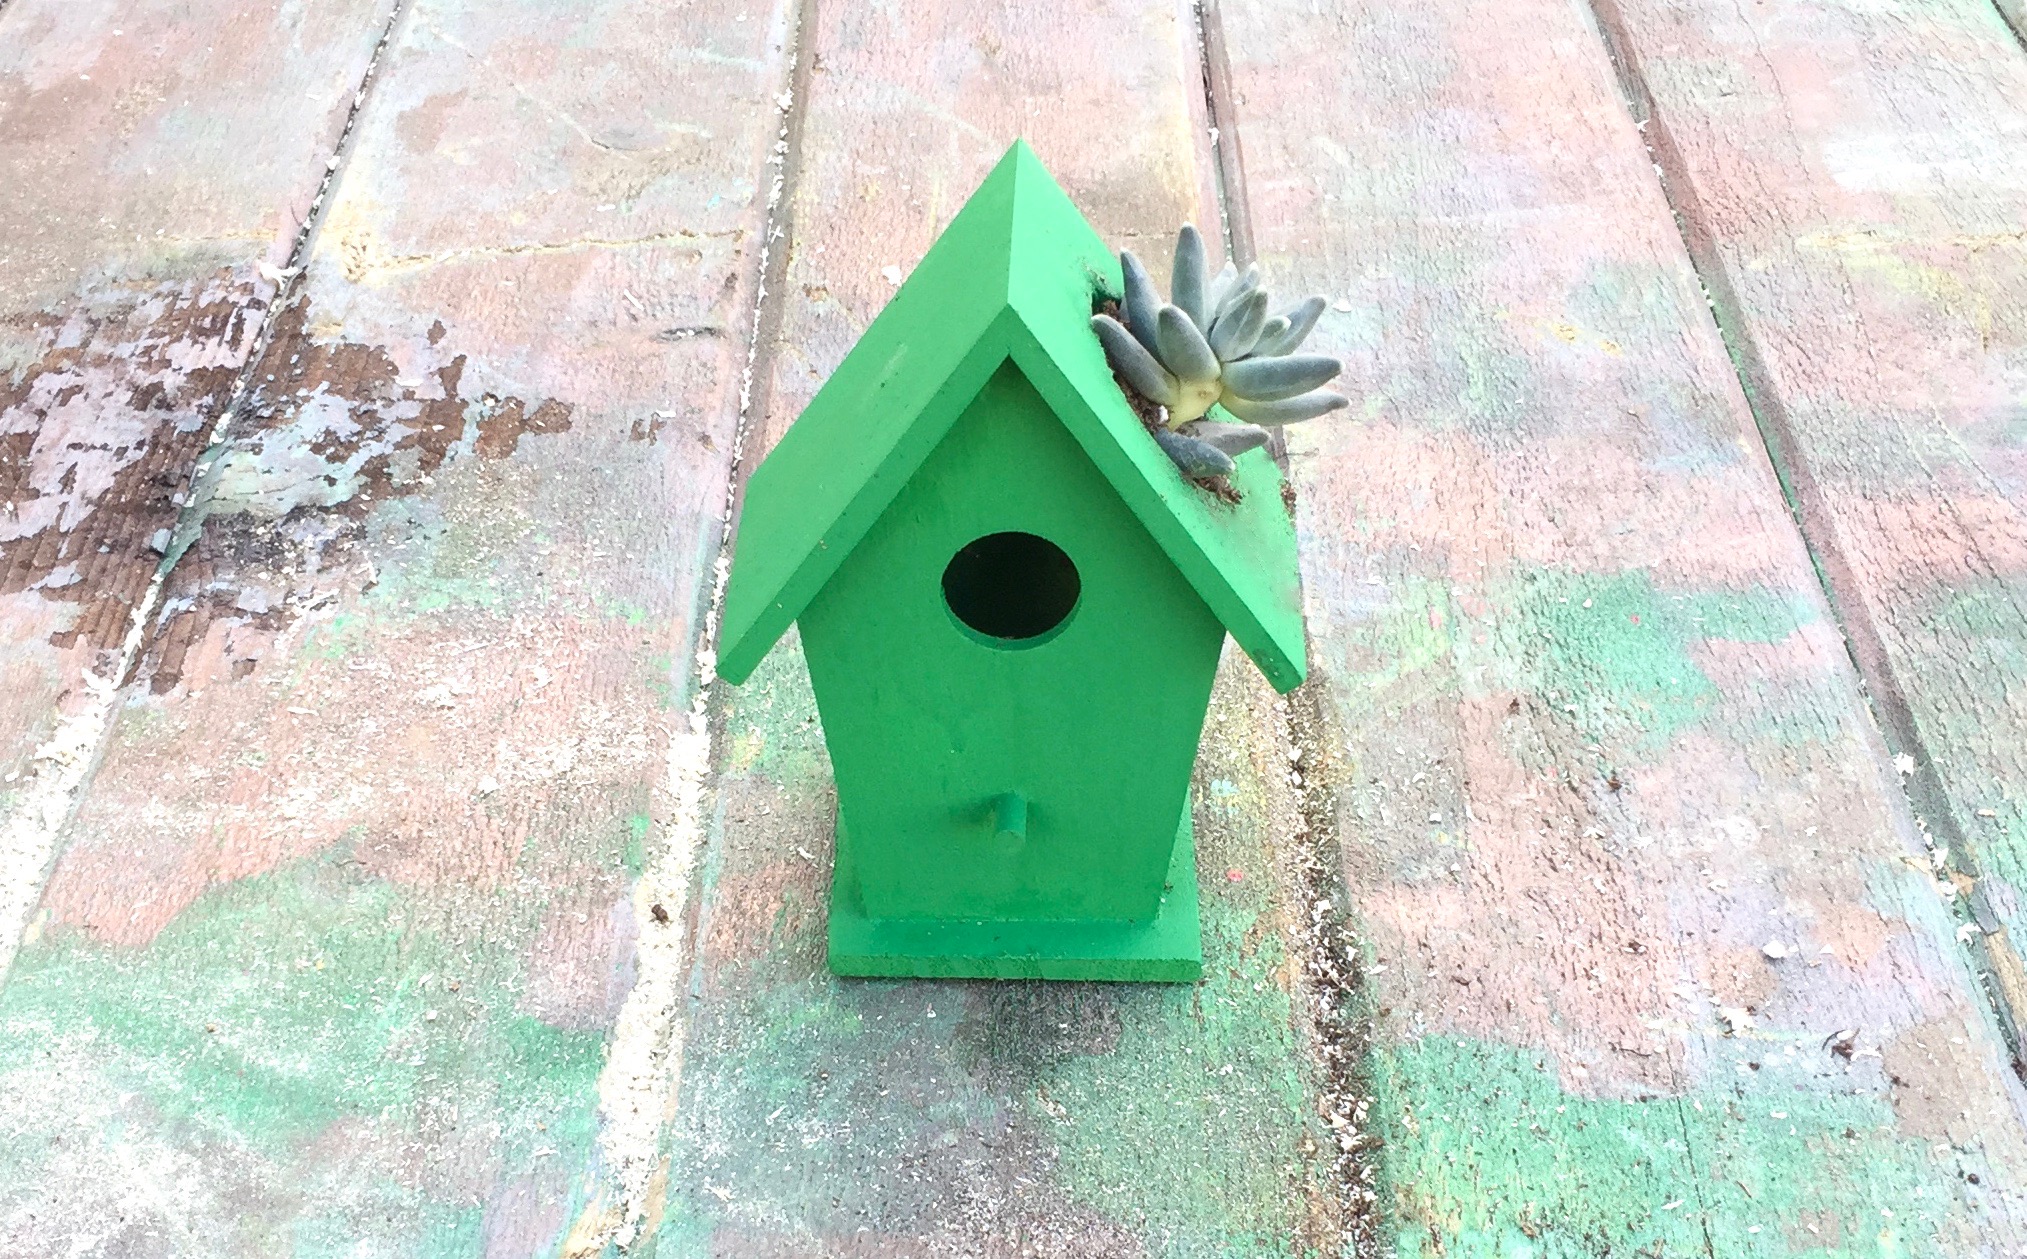
Make a happy little succulent planter from a little $1 birdhouse.
Birdhouse planters make me smile. And, succulents have been so popular for several years. They are easy to care for, offer options for display, and provide chunky texture in a home all year round. I’m a fan.
Supplies for this project
For this project, the supplies include several items that can be used for other projects or multiples of this project. Here’s the list:
- Birdhouses of any size. I used the mini birdhouse from Michael’s for $1 each.
- Paint. I used Krylon spray paint in bold colors. I recommend clear coating the house, just for extra wear-and-tear protection.
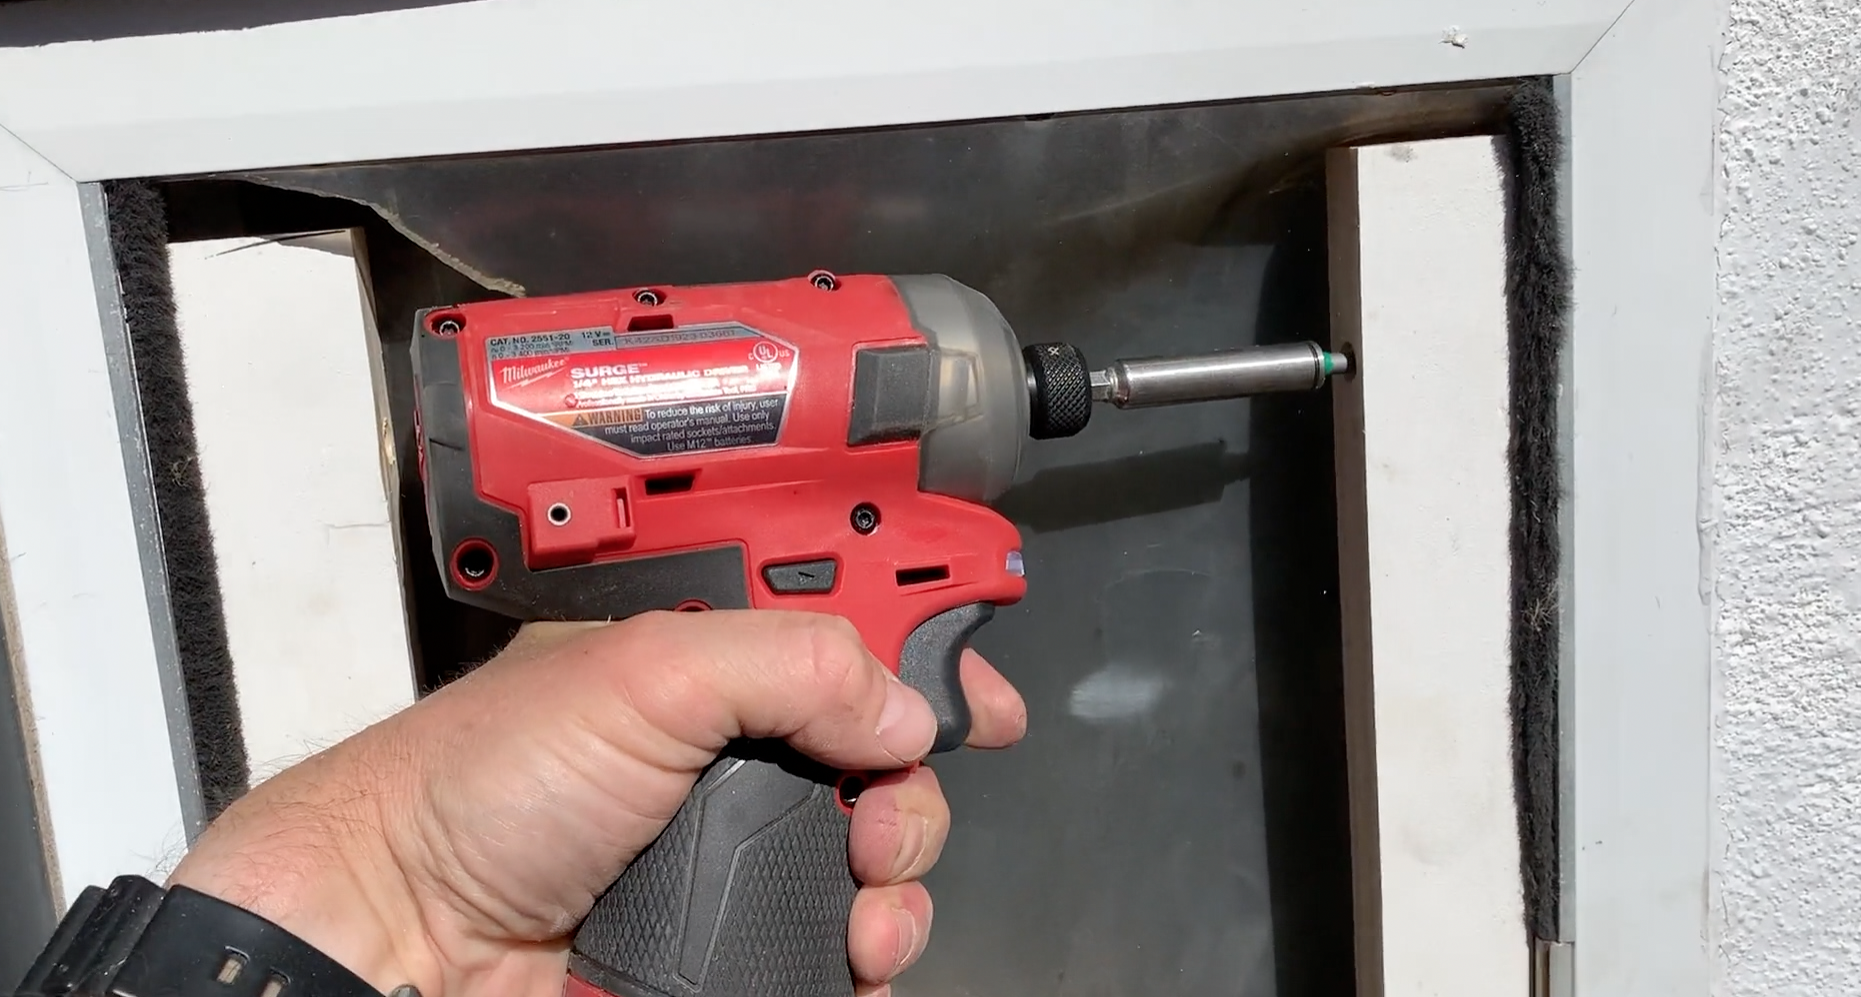
- Drill with a spade bit to make the hole for the succulent. I used an impact driver on a very low speed, since the $1 mini birdhouses aren’t as sturdy as the bigger variety.
- Gorilla tape. The inside of each house is lined in waterproof Gorilla tape, since there will be water in there.
- Rocks and soil. The bottom is lined with pebbles, and then soil that’s made for succulents. And a garden spade helps make the soil more easily slide into the hole. I used a Fiskars spade.
- Gorilla glue and embellishments. If you want to customize the birdhouse, there are tons of little gems and embellishments available at craft stores. They are usually sold in big bags, so I usually have leftovers from other crafts and holidays on hand.
Here’s the how-to
I was lucky enough to share my love of this little succulent planter DIY project at the Philadelphia Home & Garden Show’s Make-it-Take-it workshop series, where you can learn a new DIY and have a finished project at the end of the hour. So I needed a bunch of little houses to share with the workshop participants.
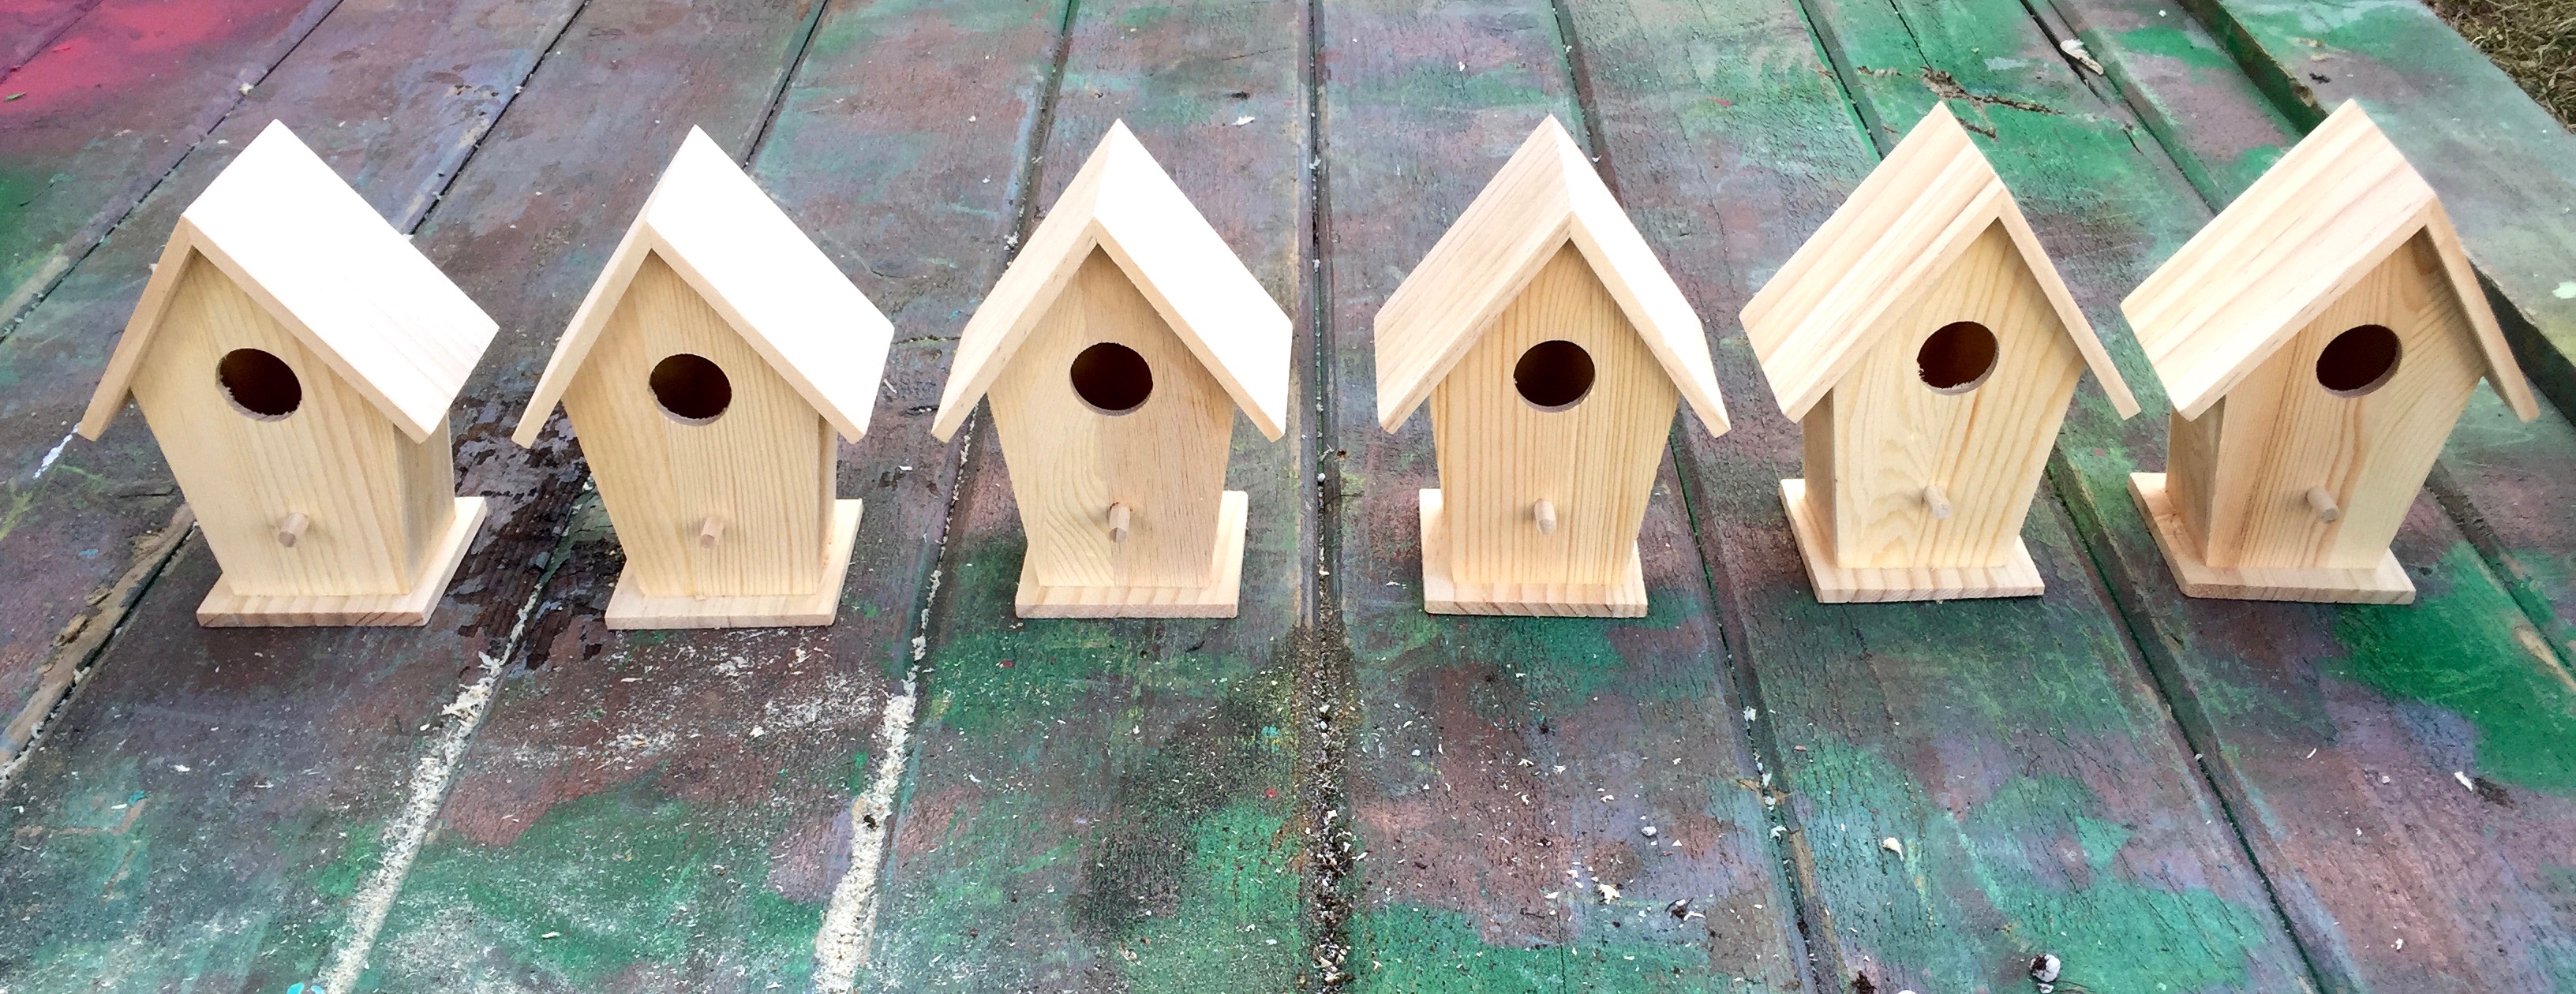
I painted the birdhouses at home, so they would be dry before the workshop started. I use a paint screen to block the spray from the paint so I can have several colors going at once on my work table. It took about 3 coats on each side.
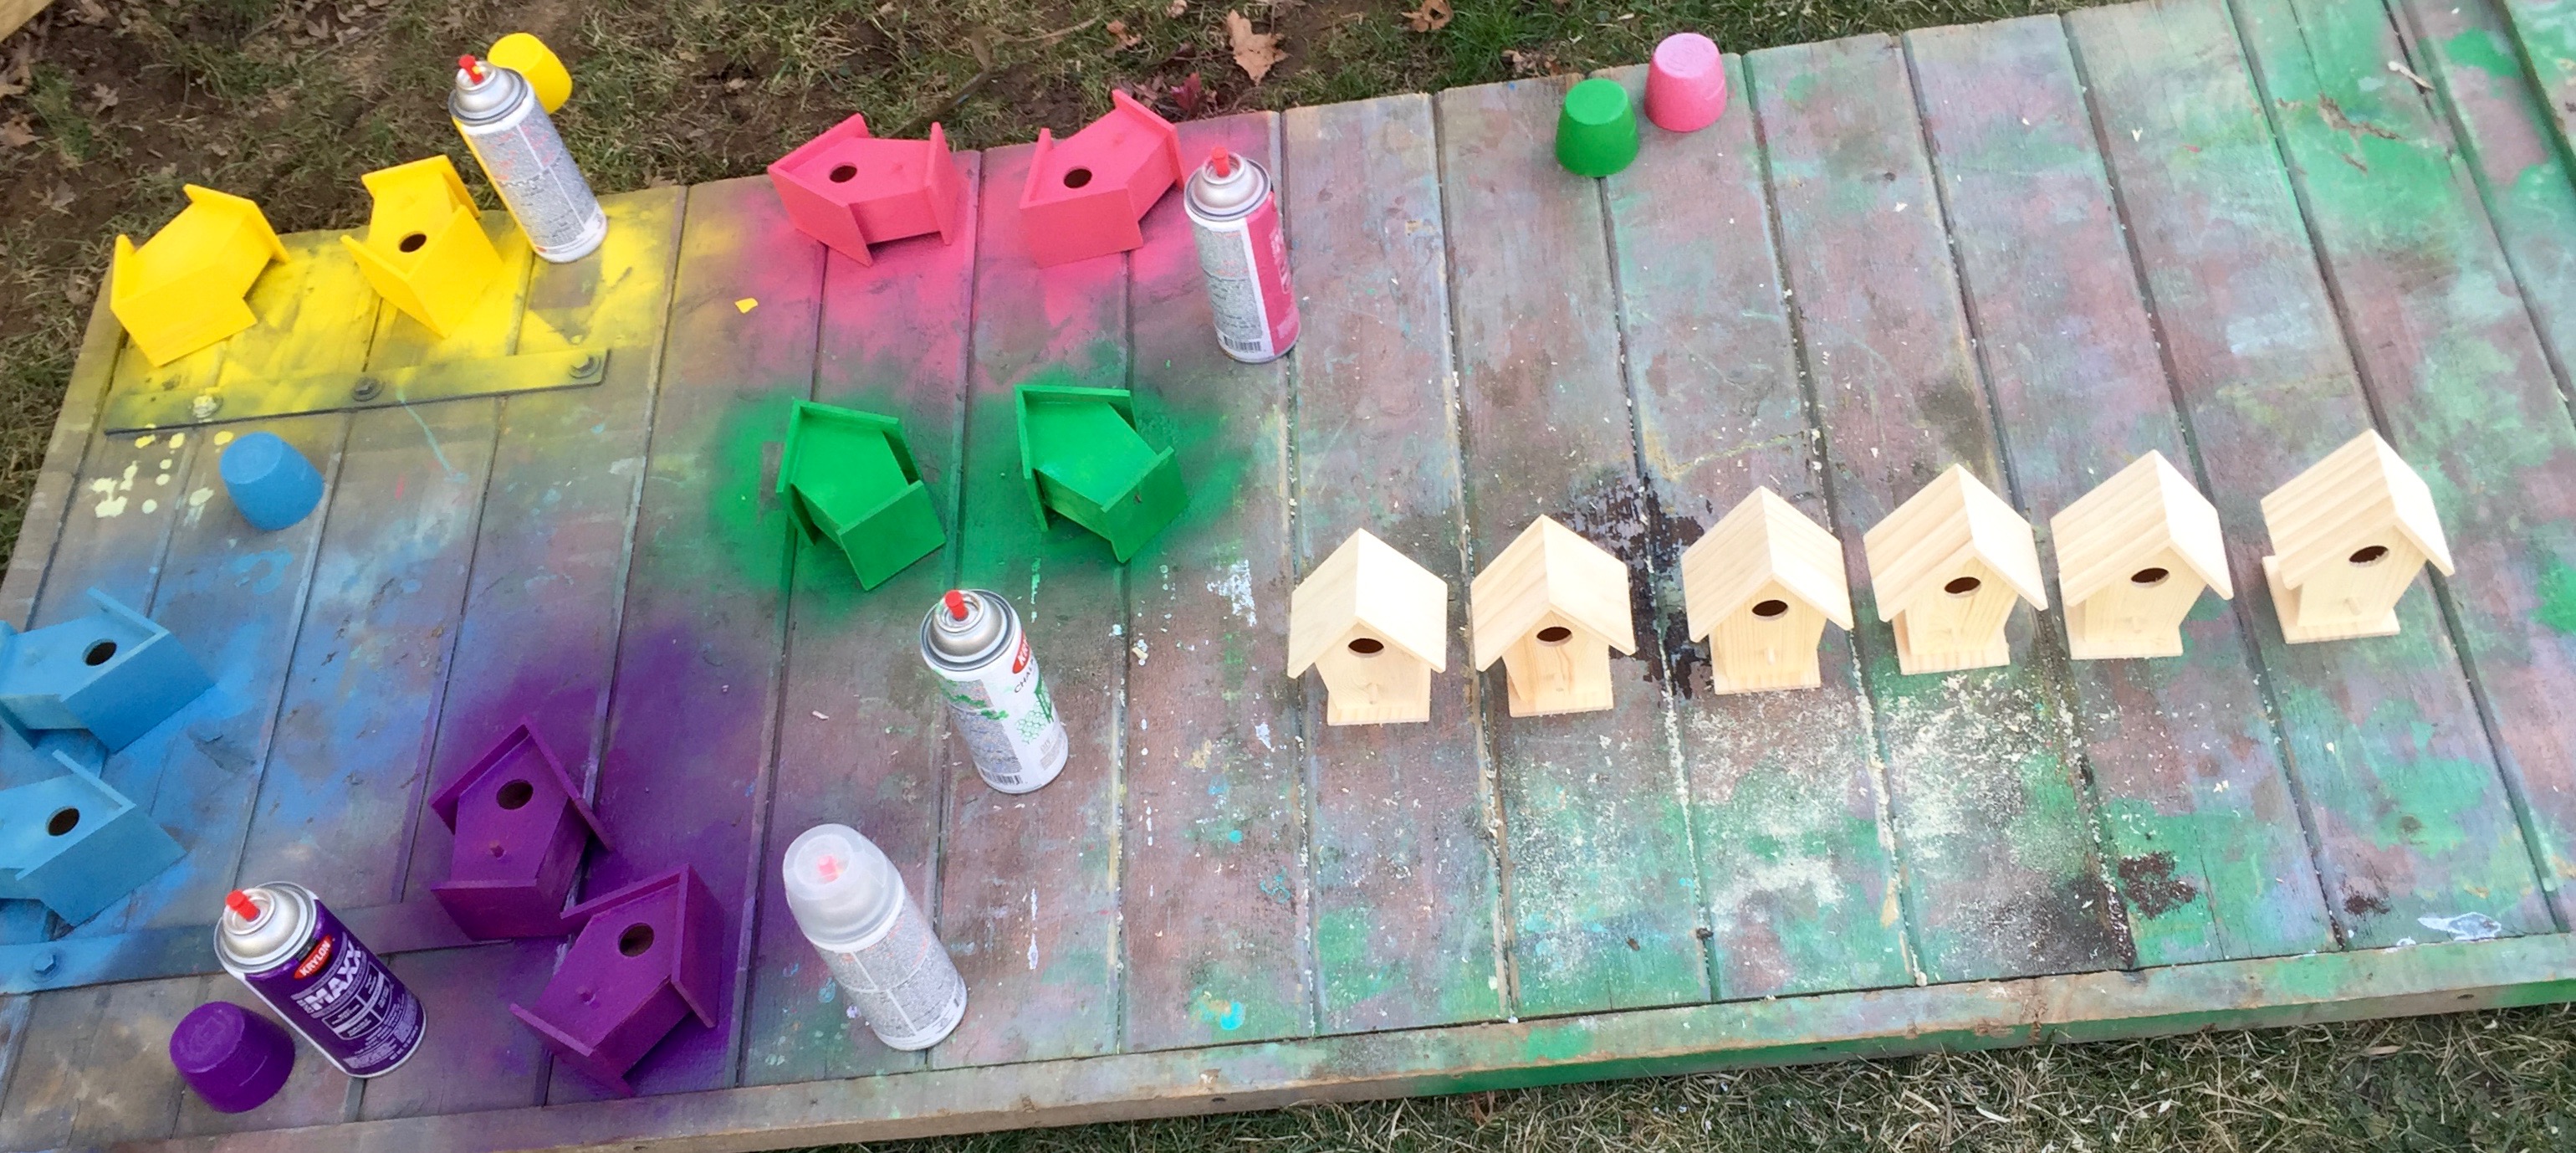
My little birdhouses looked so fun lined up and ready for the workshop.

I used a spade bit on my impact driver to make the holes in top of the birdhouses after the paint was set, and then packed them and the rest of the supplies for the home show.
It’s so much fun to share a new DIY project! Everyone was excited to get started on the succulent planters.
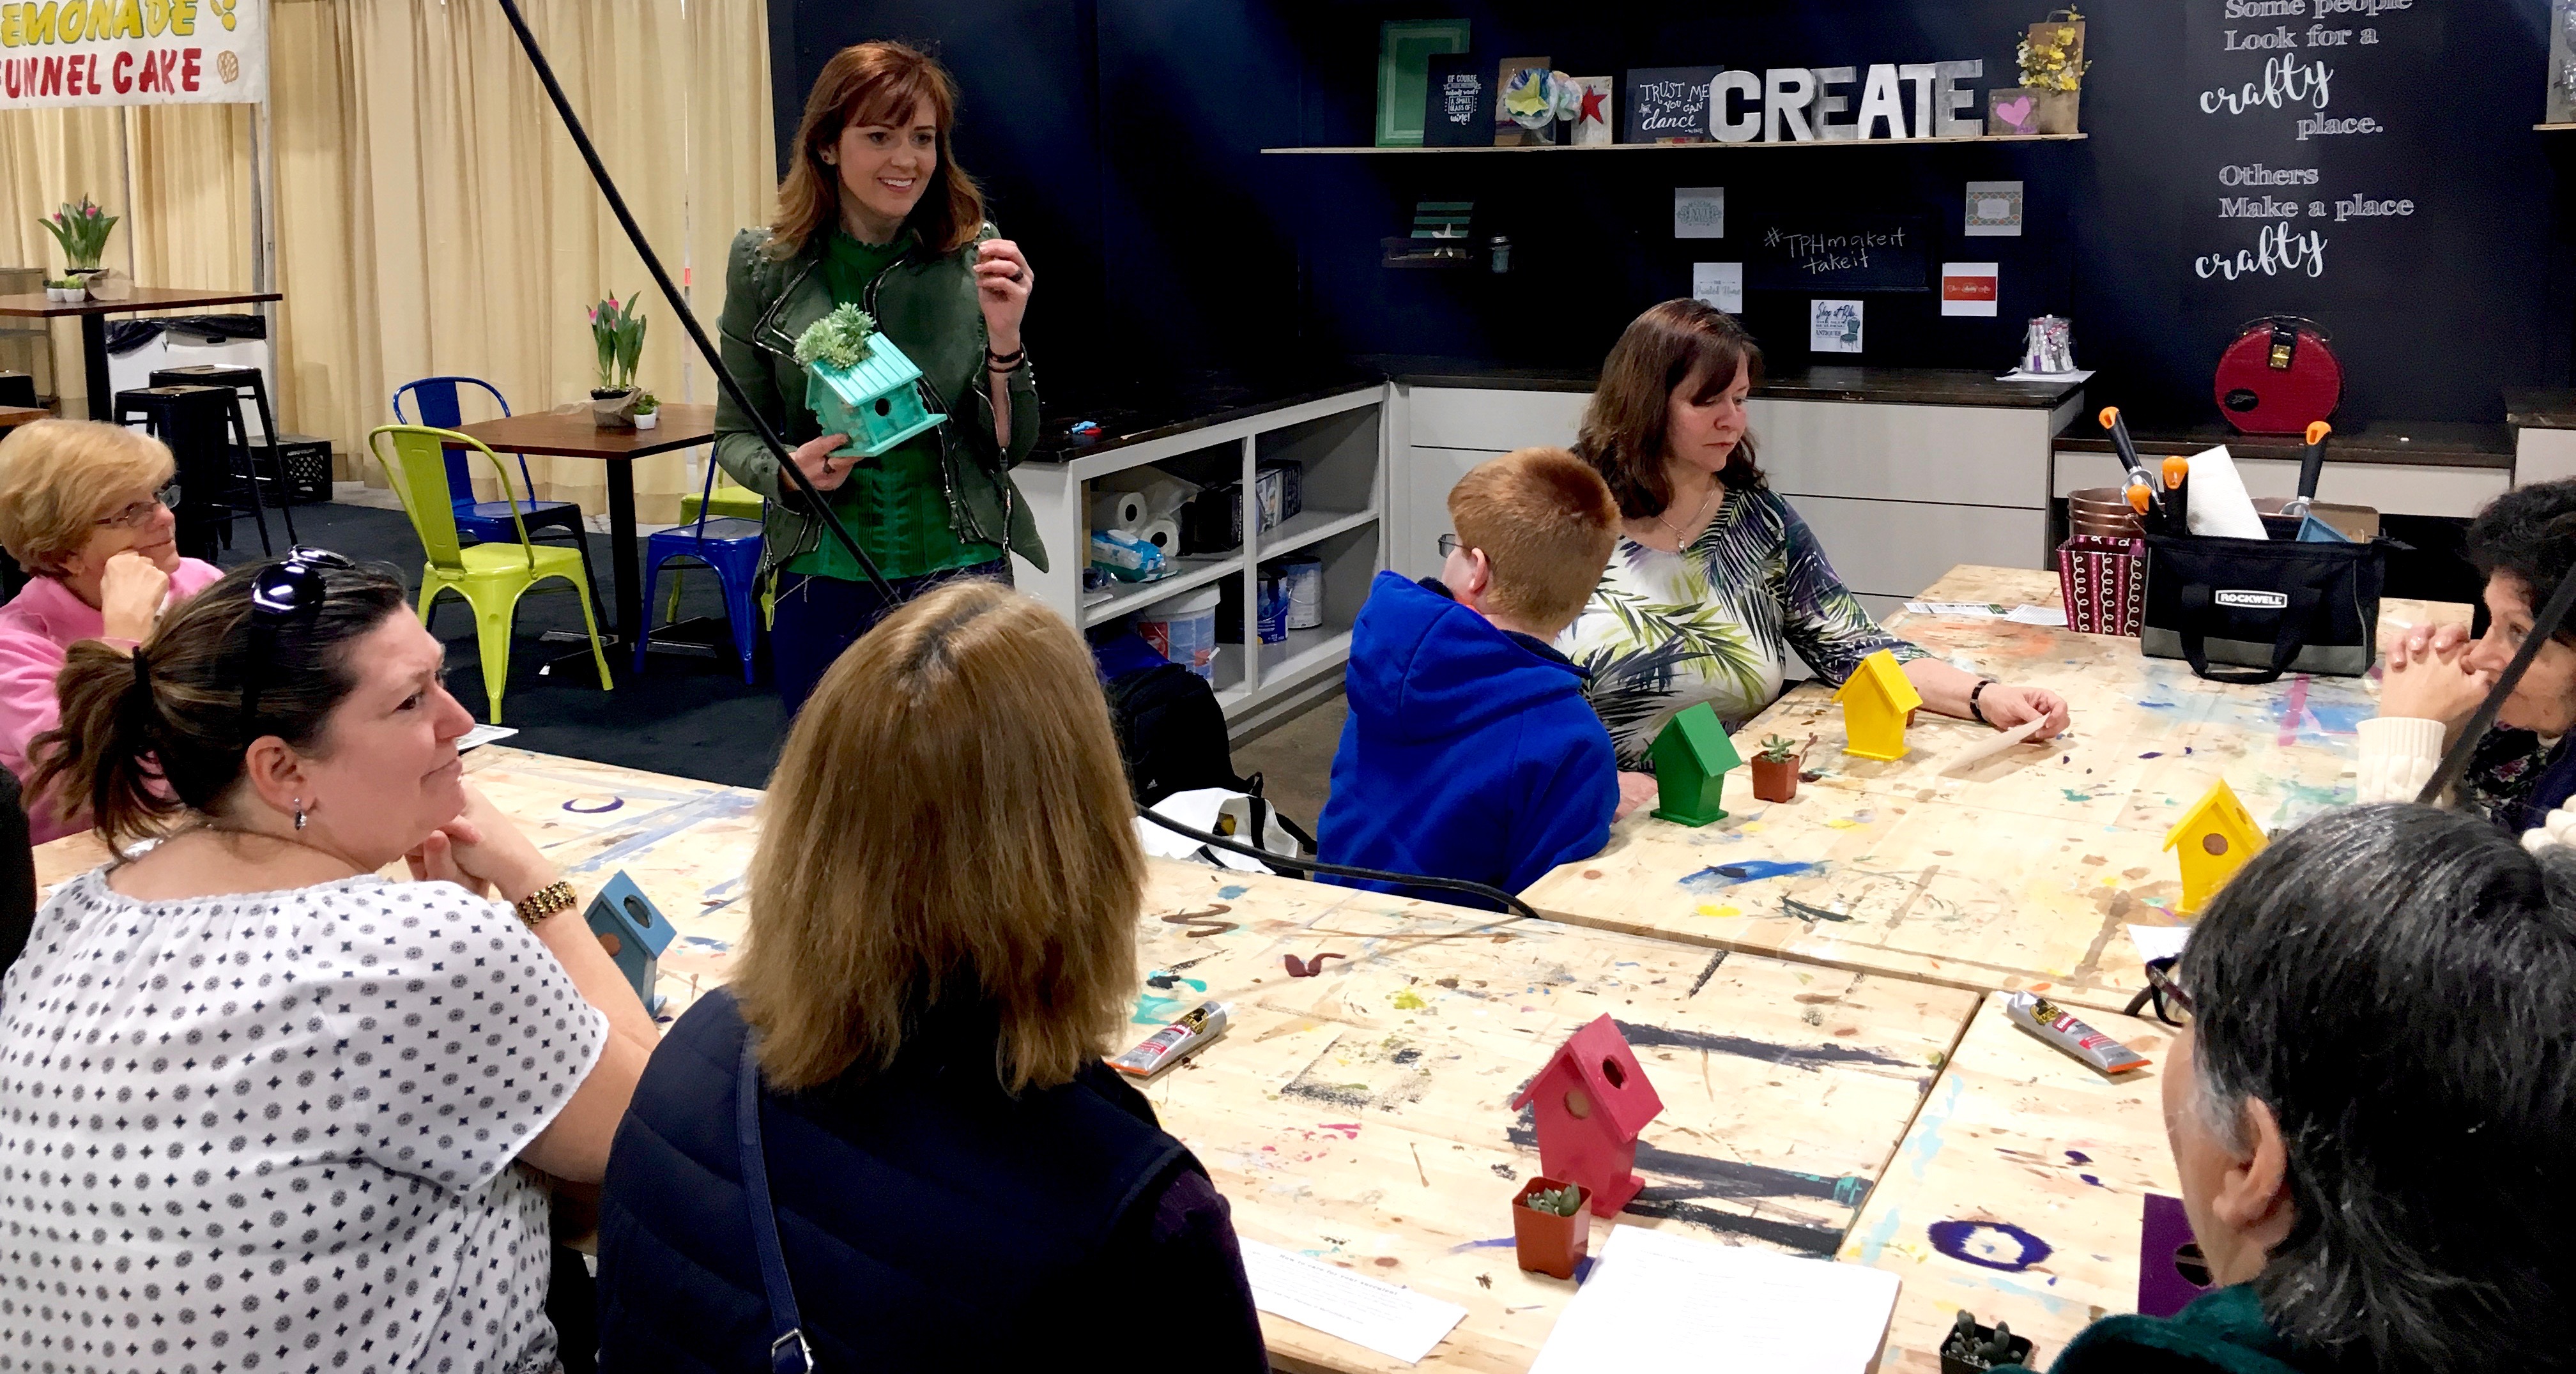
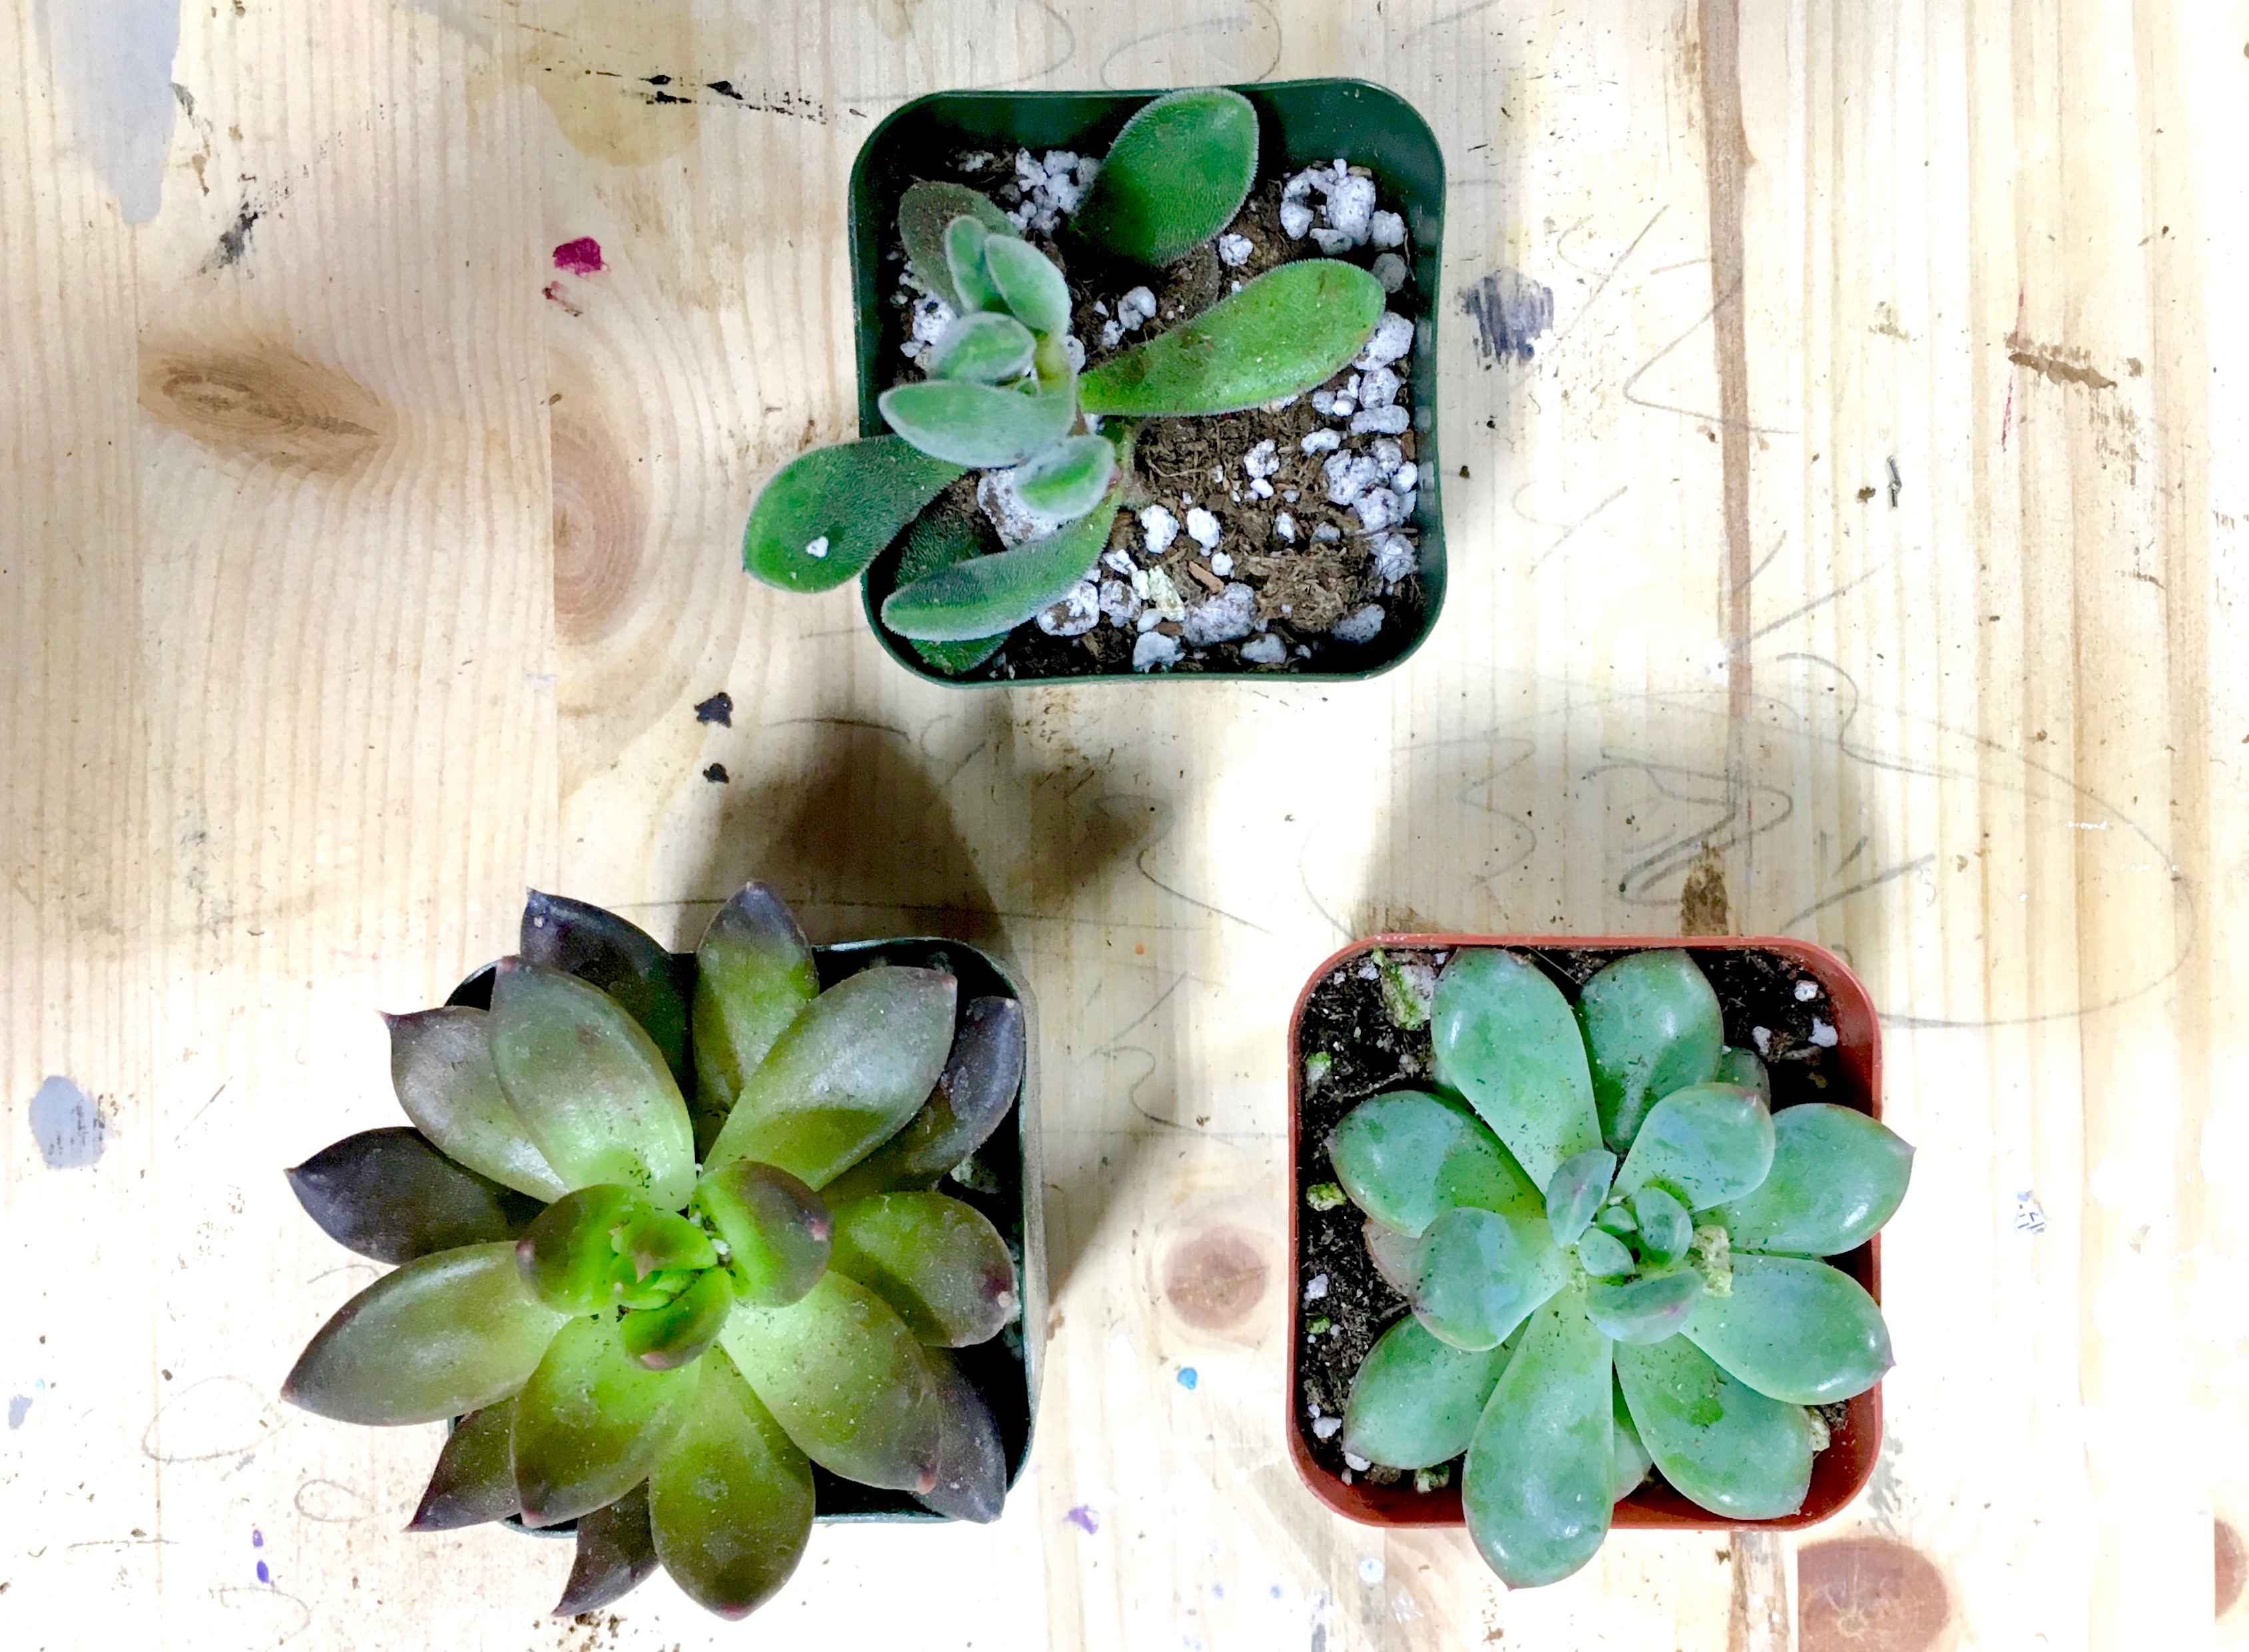
Succulents come in a variety of shapes. All of them enjoy the same kind of care. Just in case anyone was new to succulent parenthood, I handed out a little cheat sheet on succulent care for the new birdhouse planters.
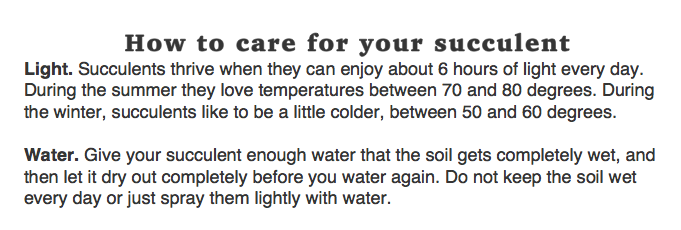
After selecting the birdhouse and succulent, each person started filling the bottom with pebbles, and then soil. I brought Fiskars spades so they could easily slide the soil into the hole without making a mess on the work table.
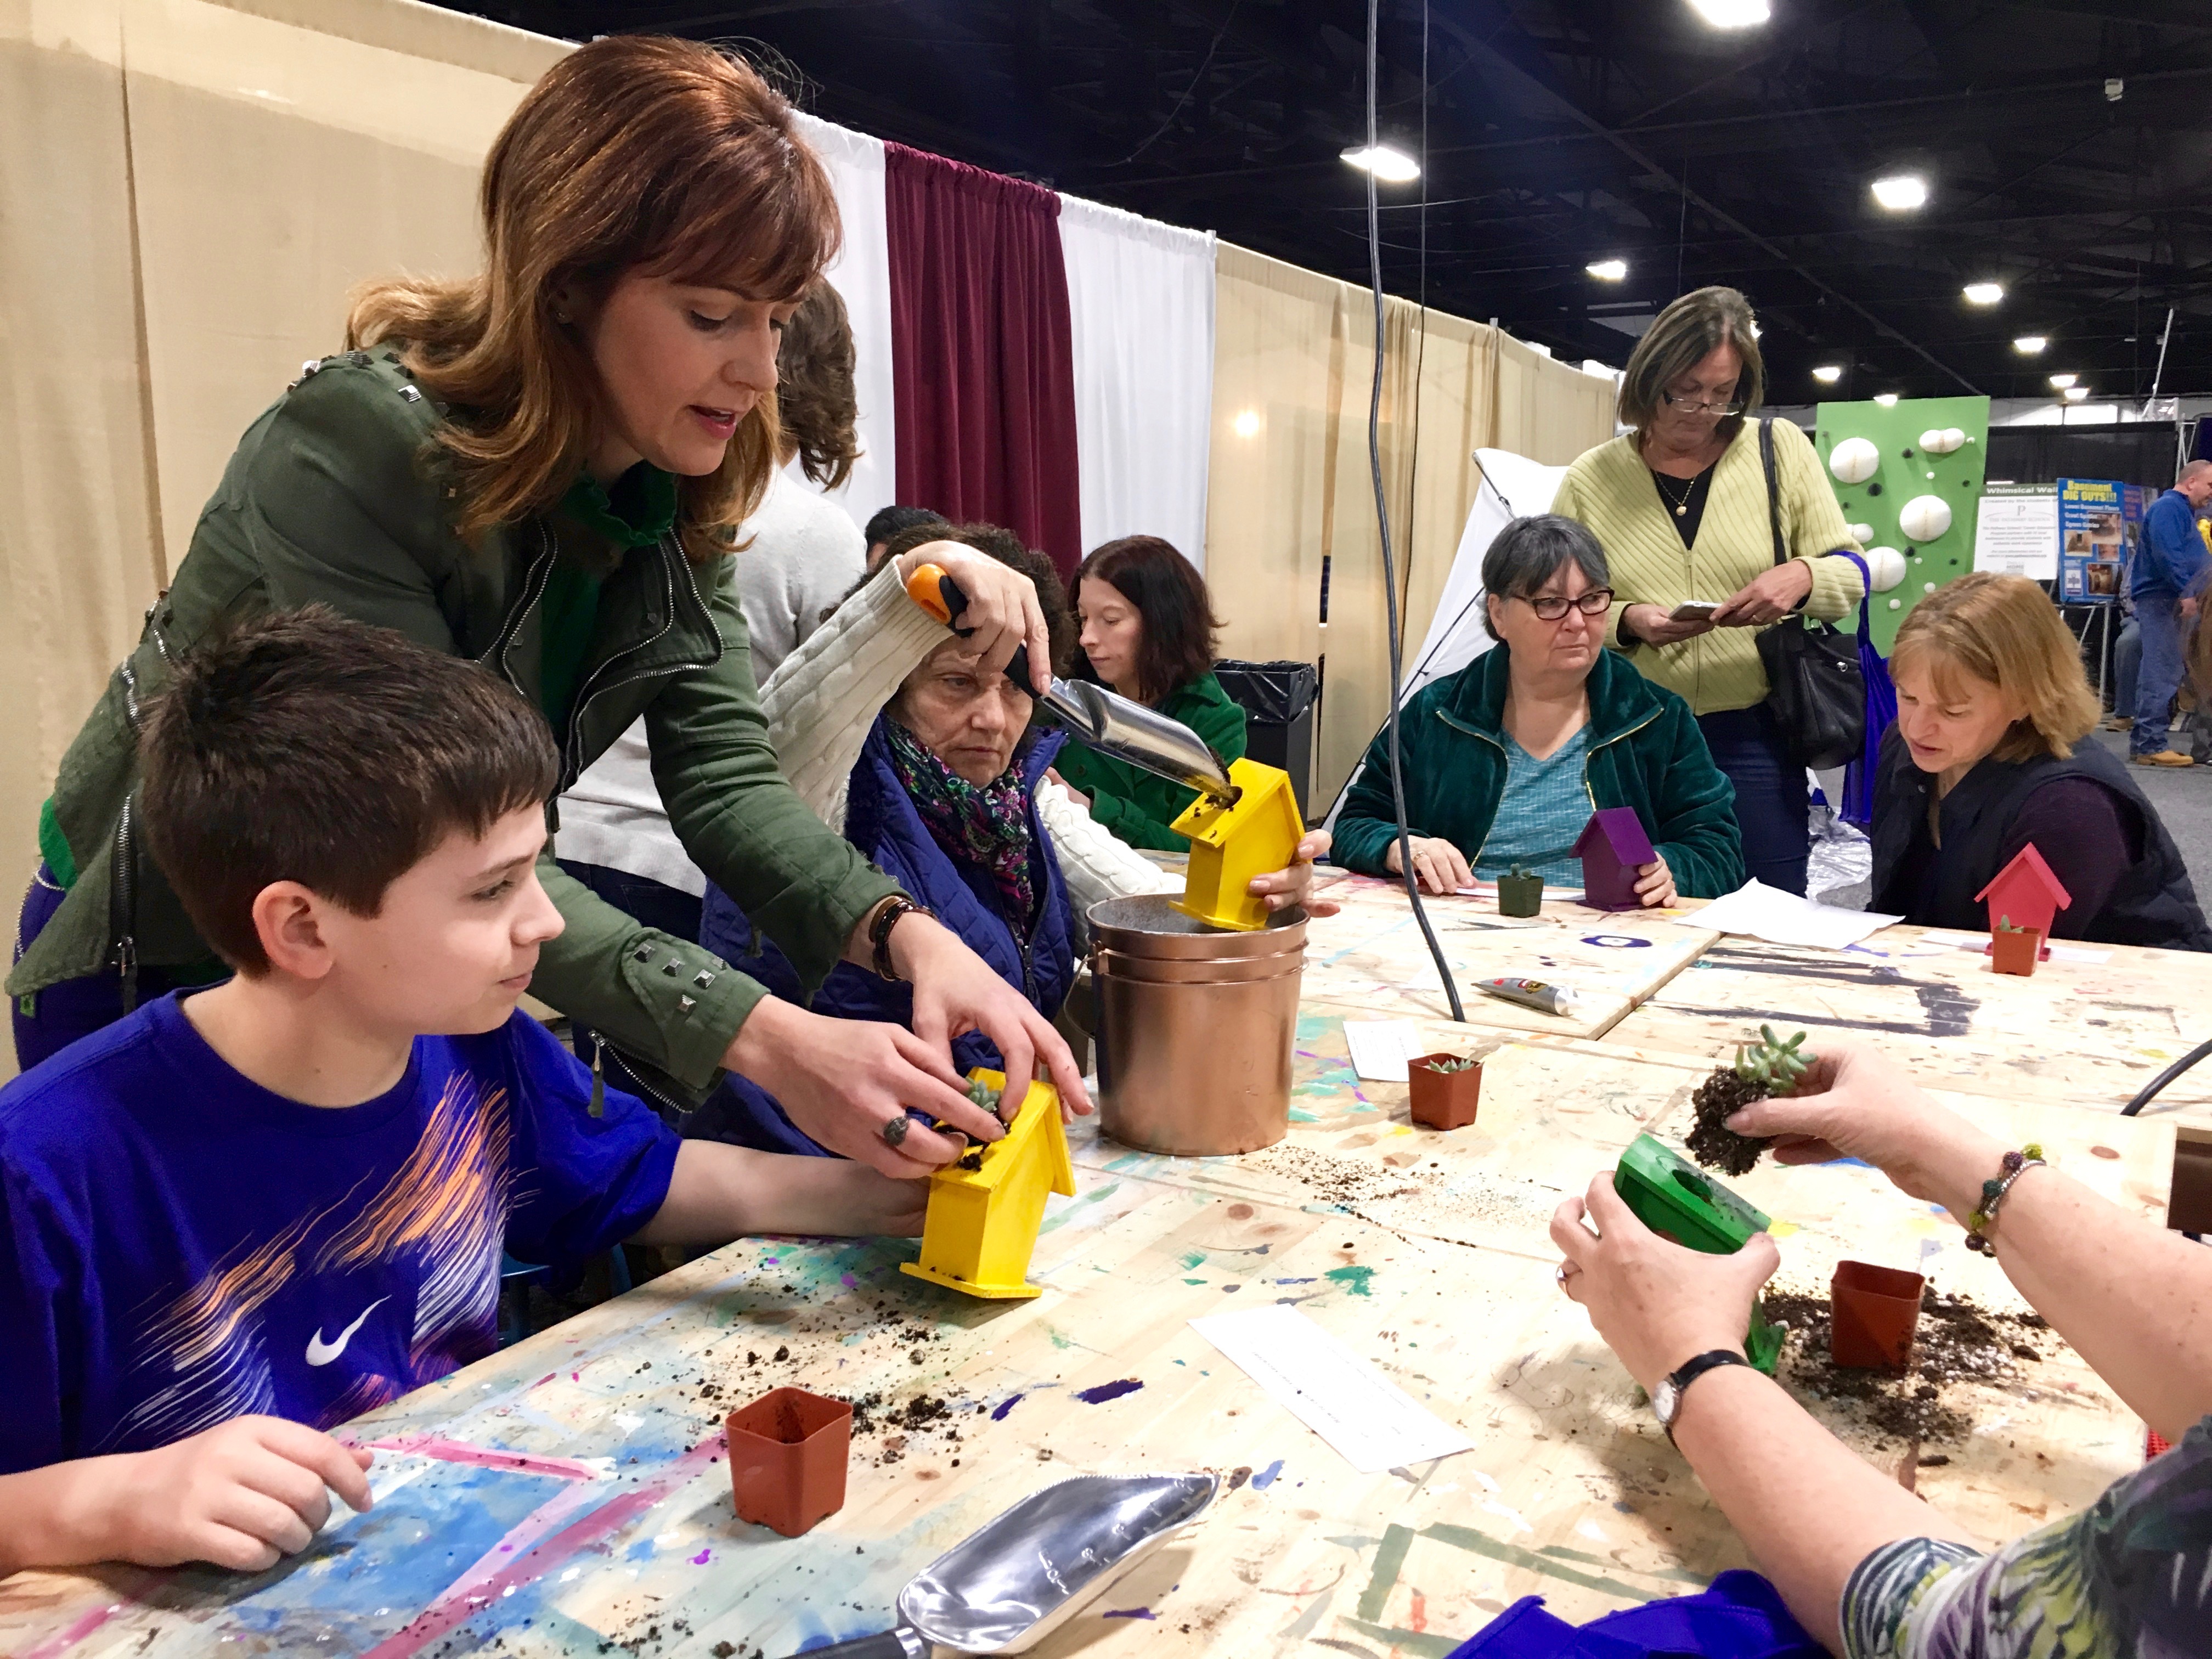
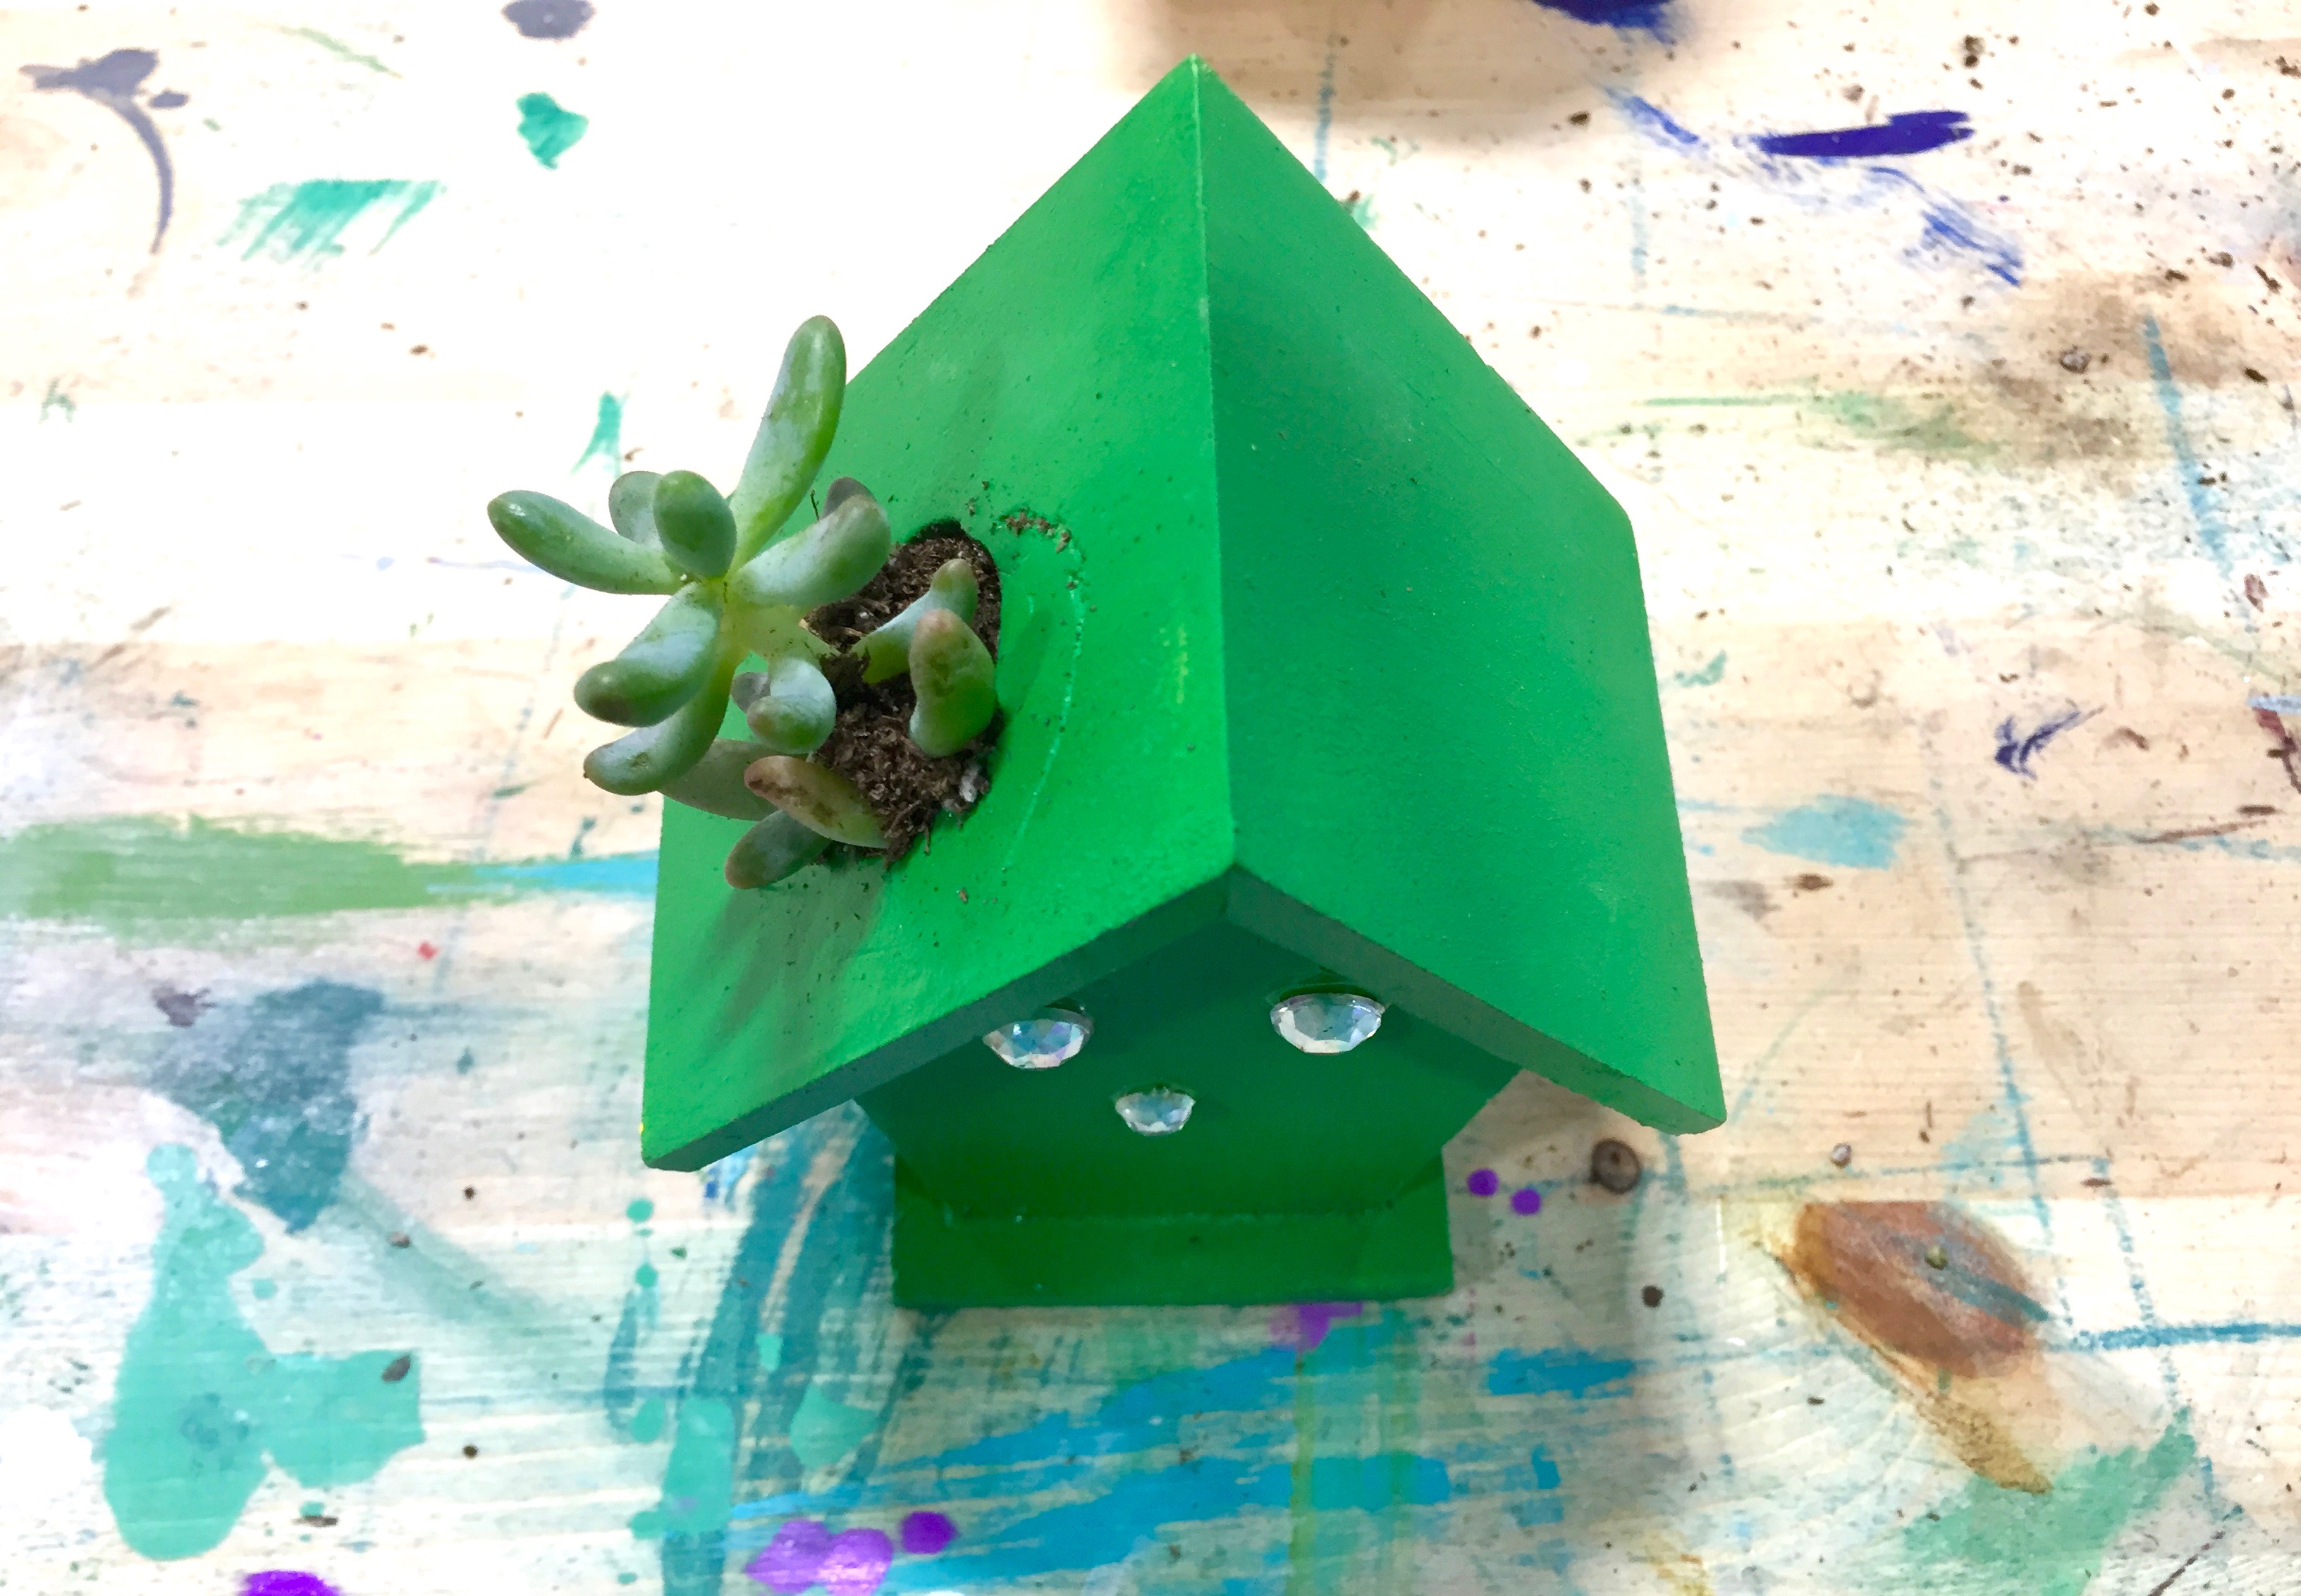
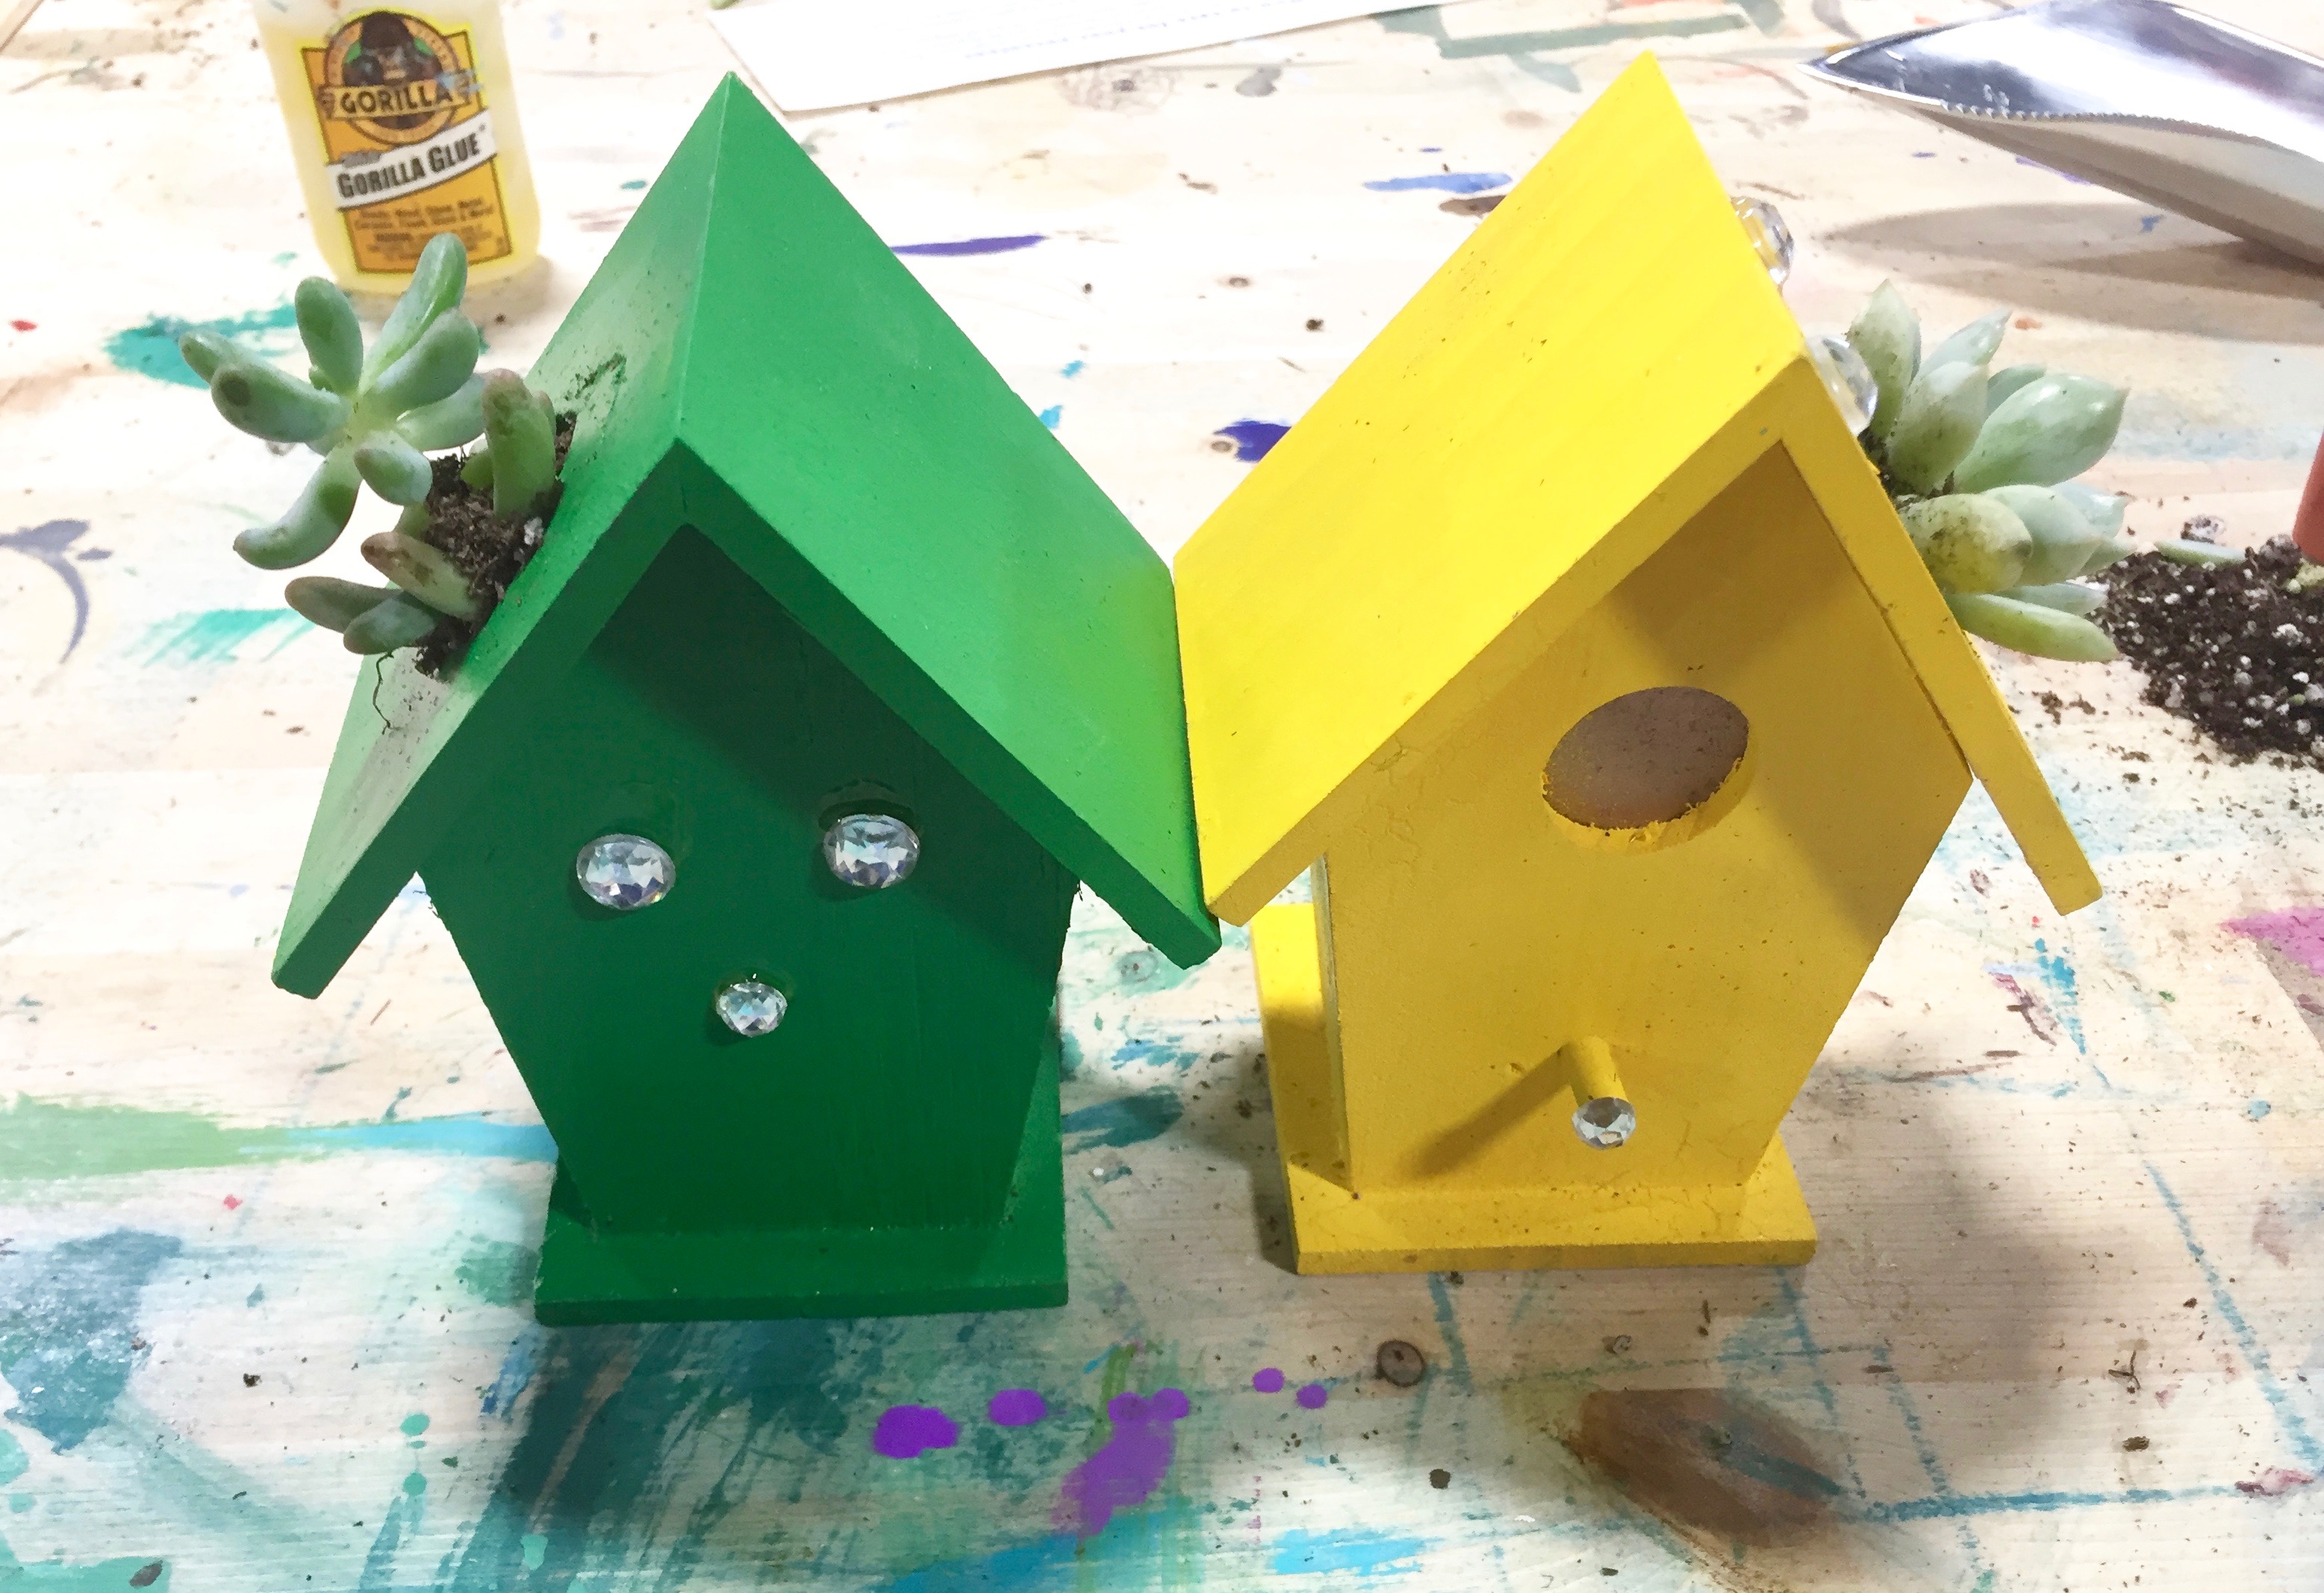
Then the succulents were planted into the hole. The project could end there, but everyone enjoyed using the glue and embellishments. I brought gems, googly eyes, sparkly shapes, and more from my collection of craft supplies.
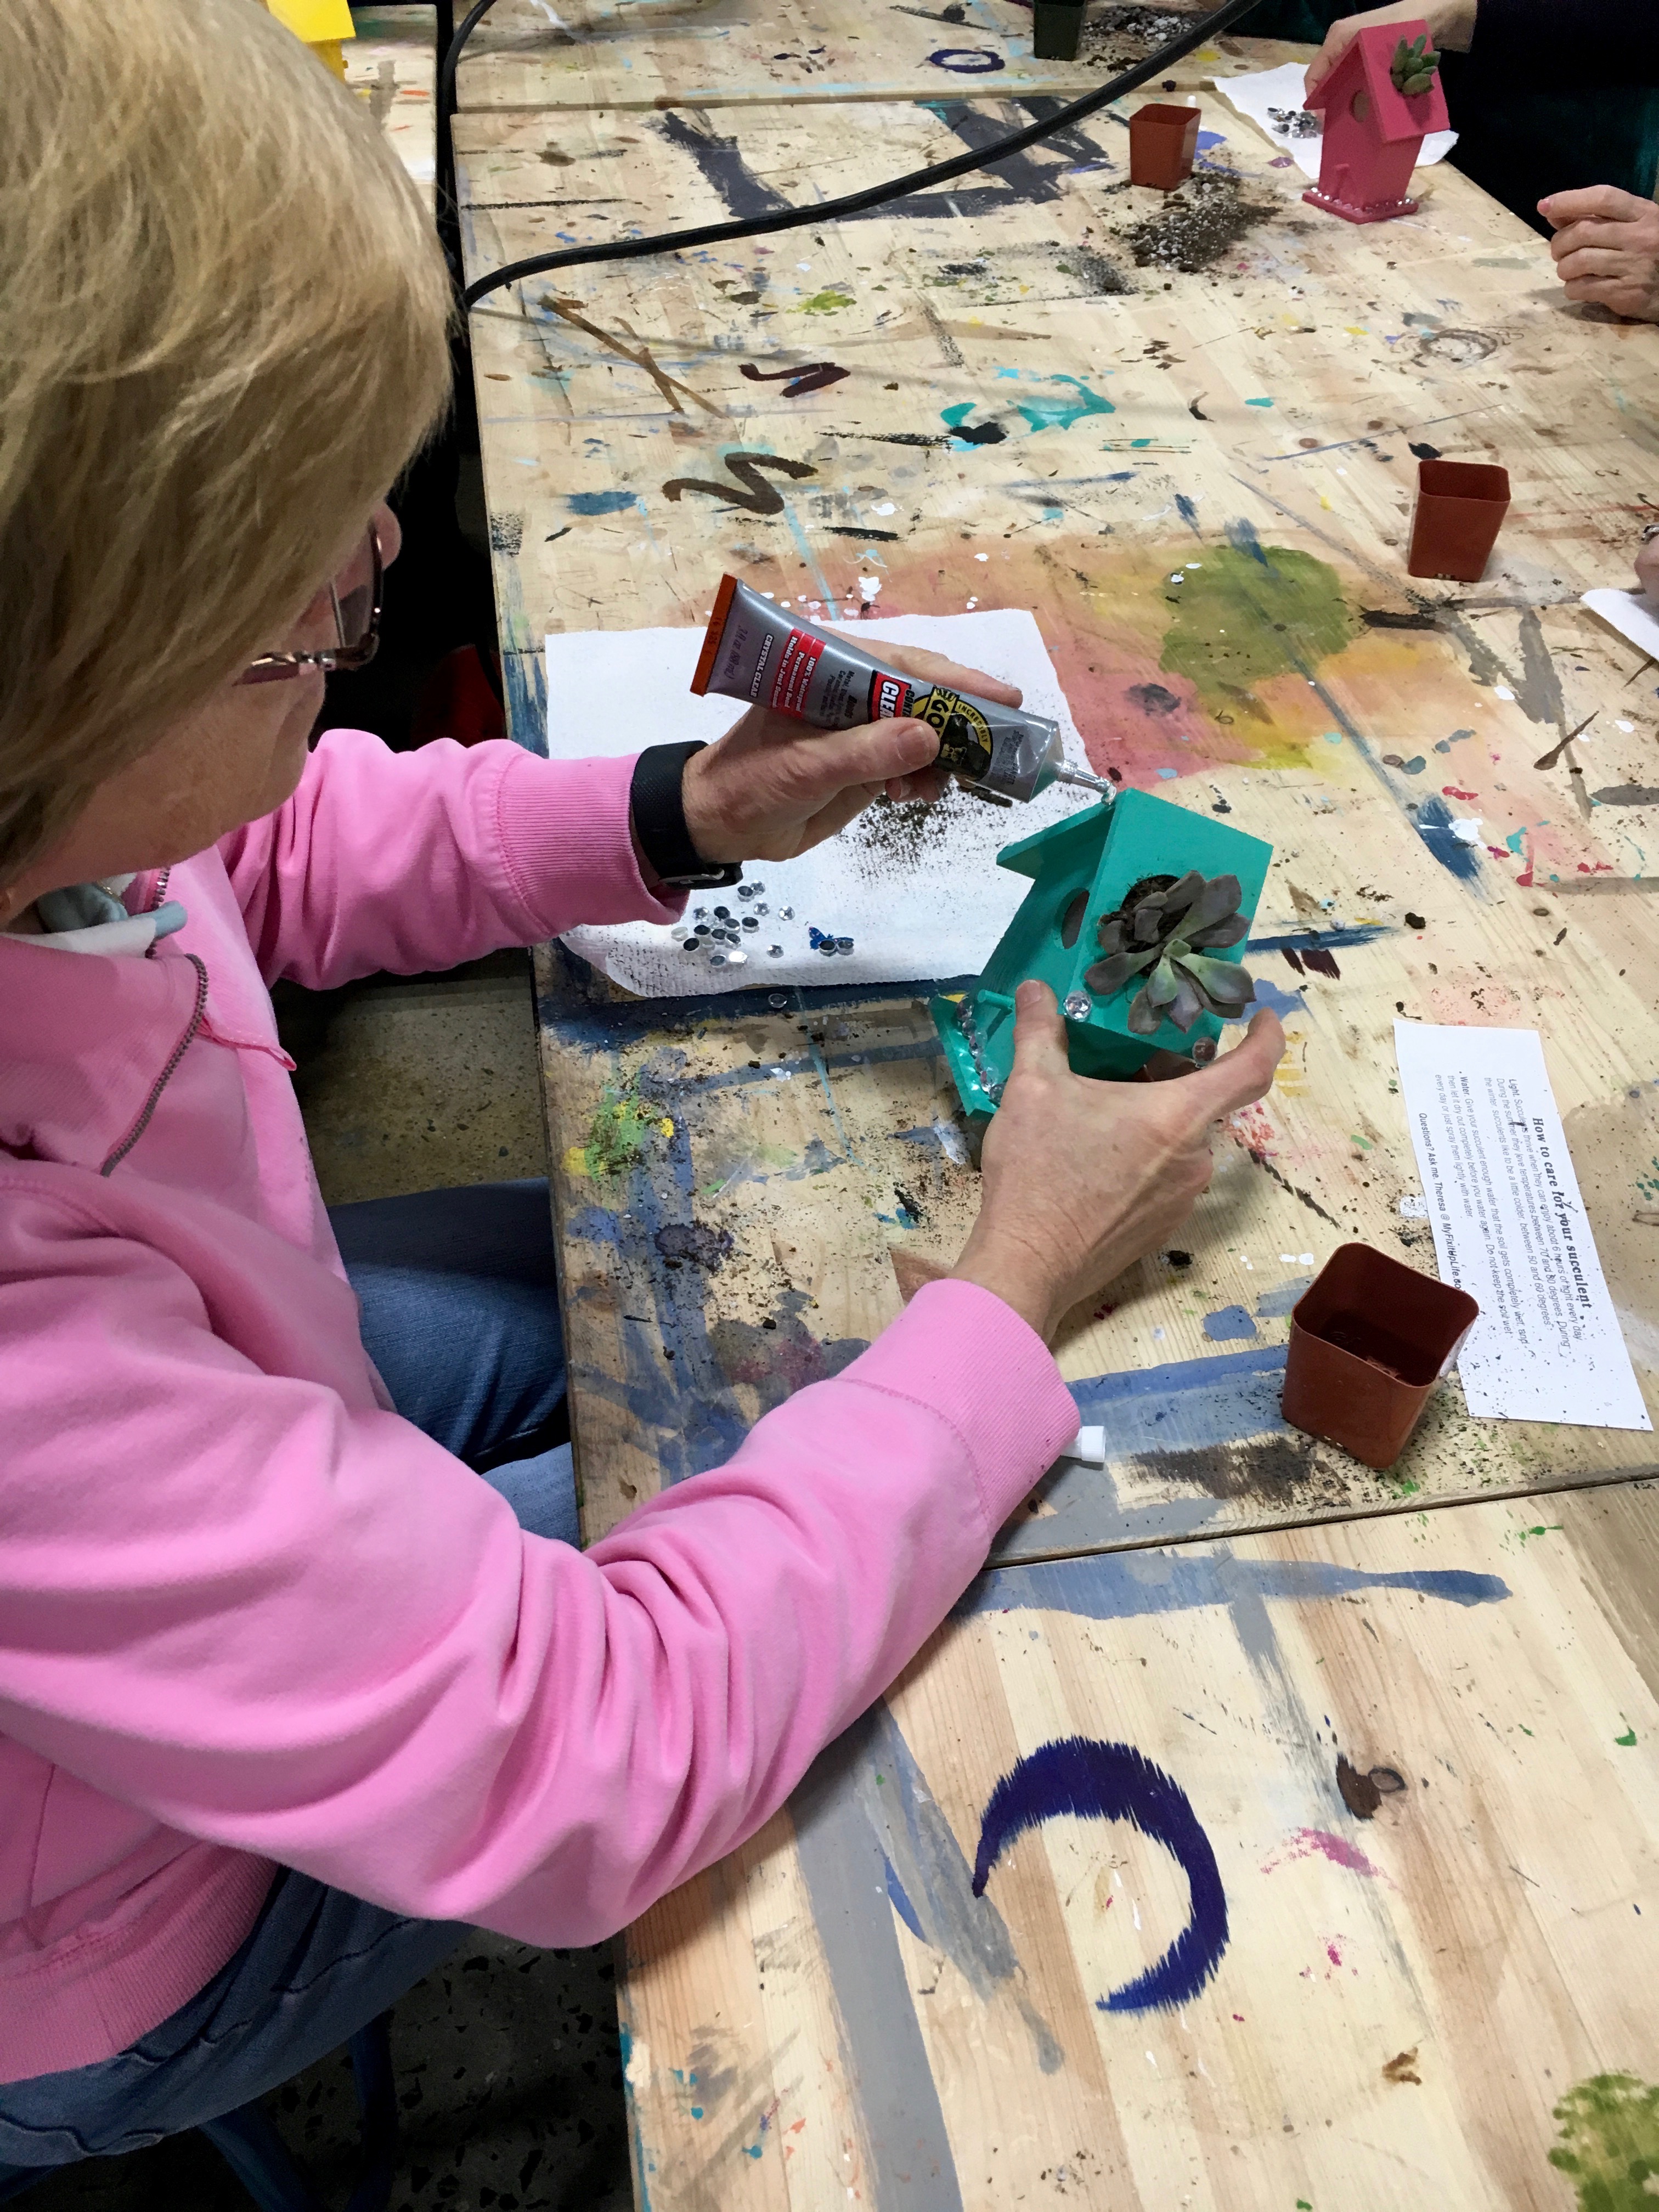
Everyone was very into customizing their succulent birdhouse planter.
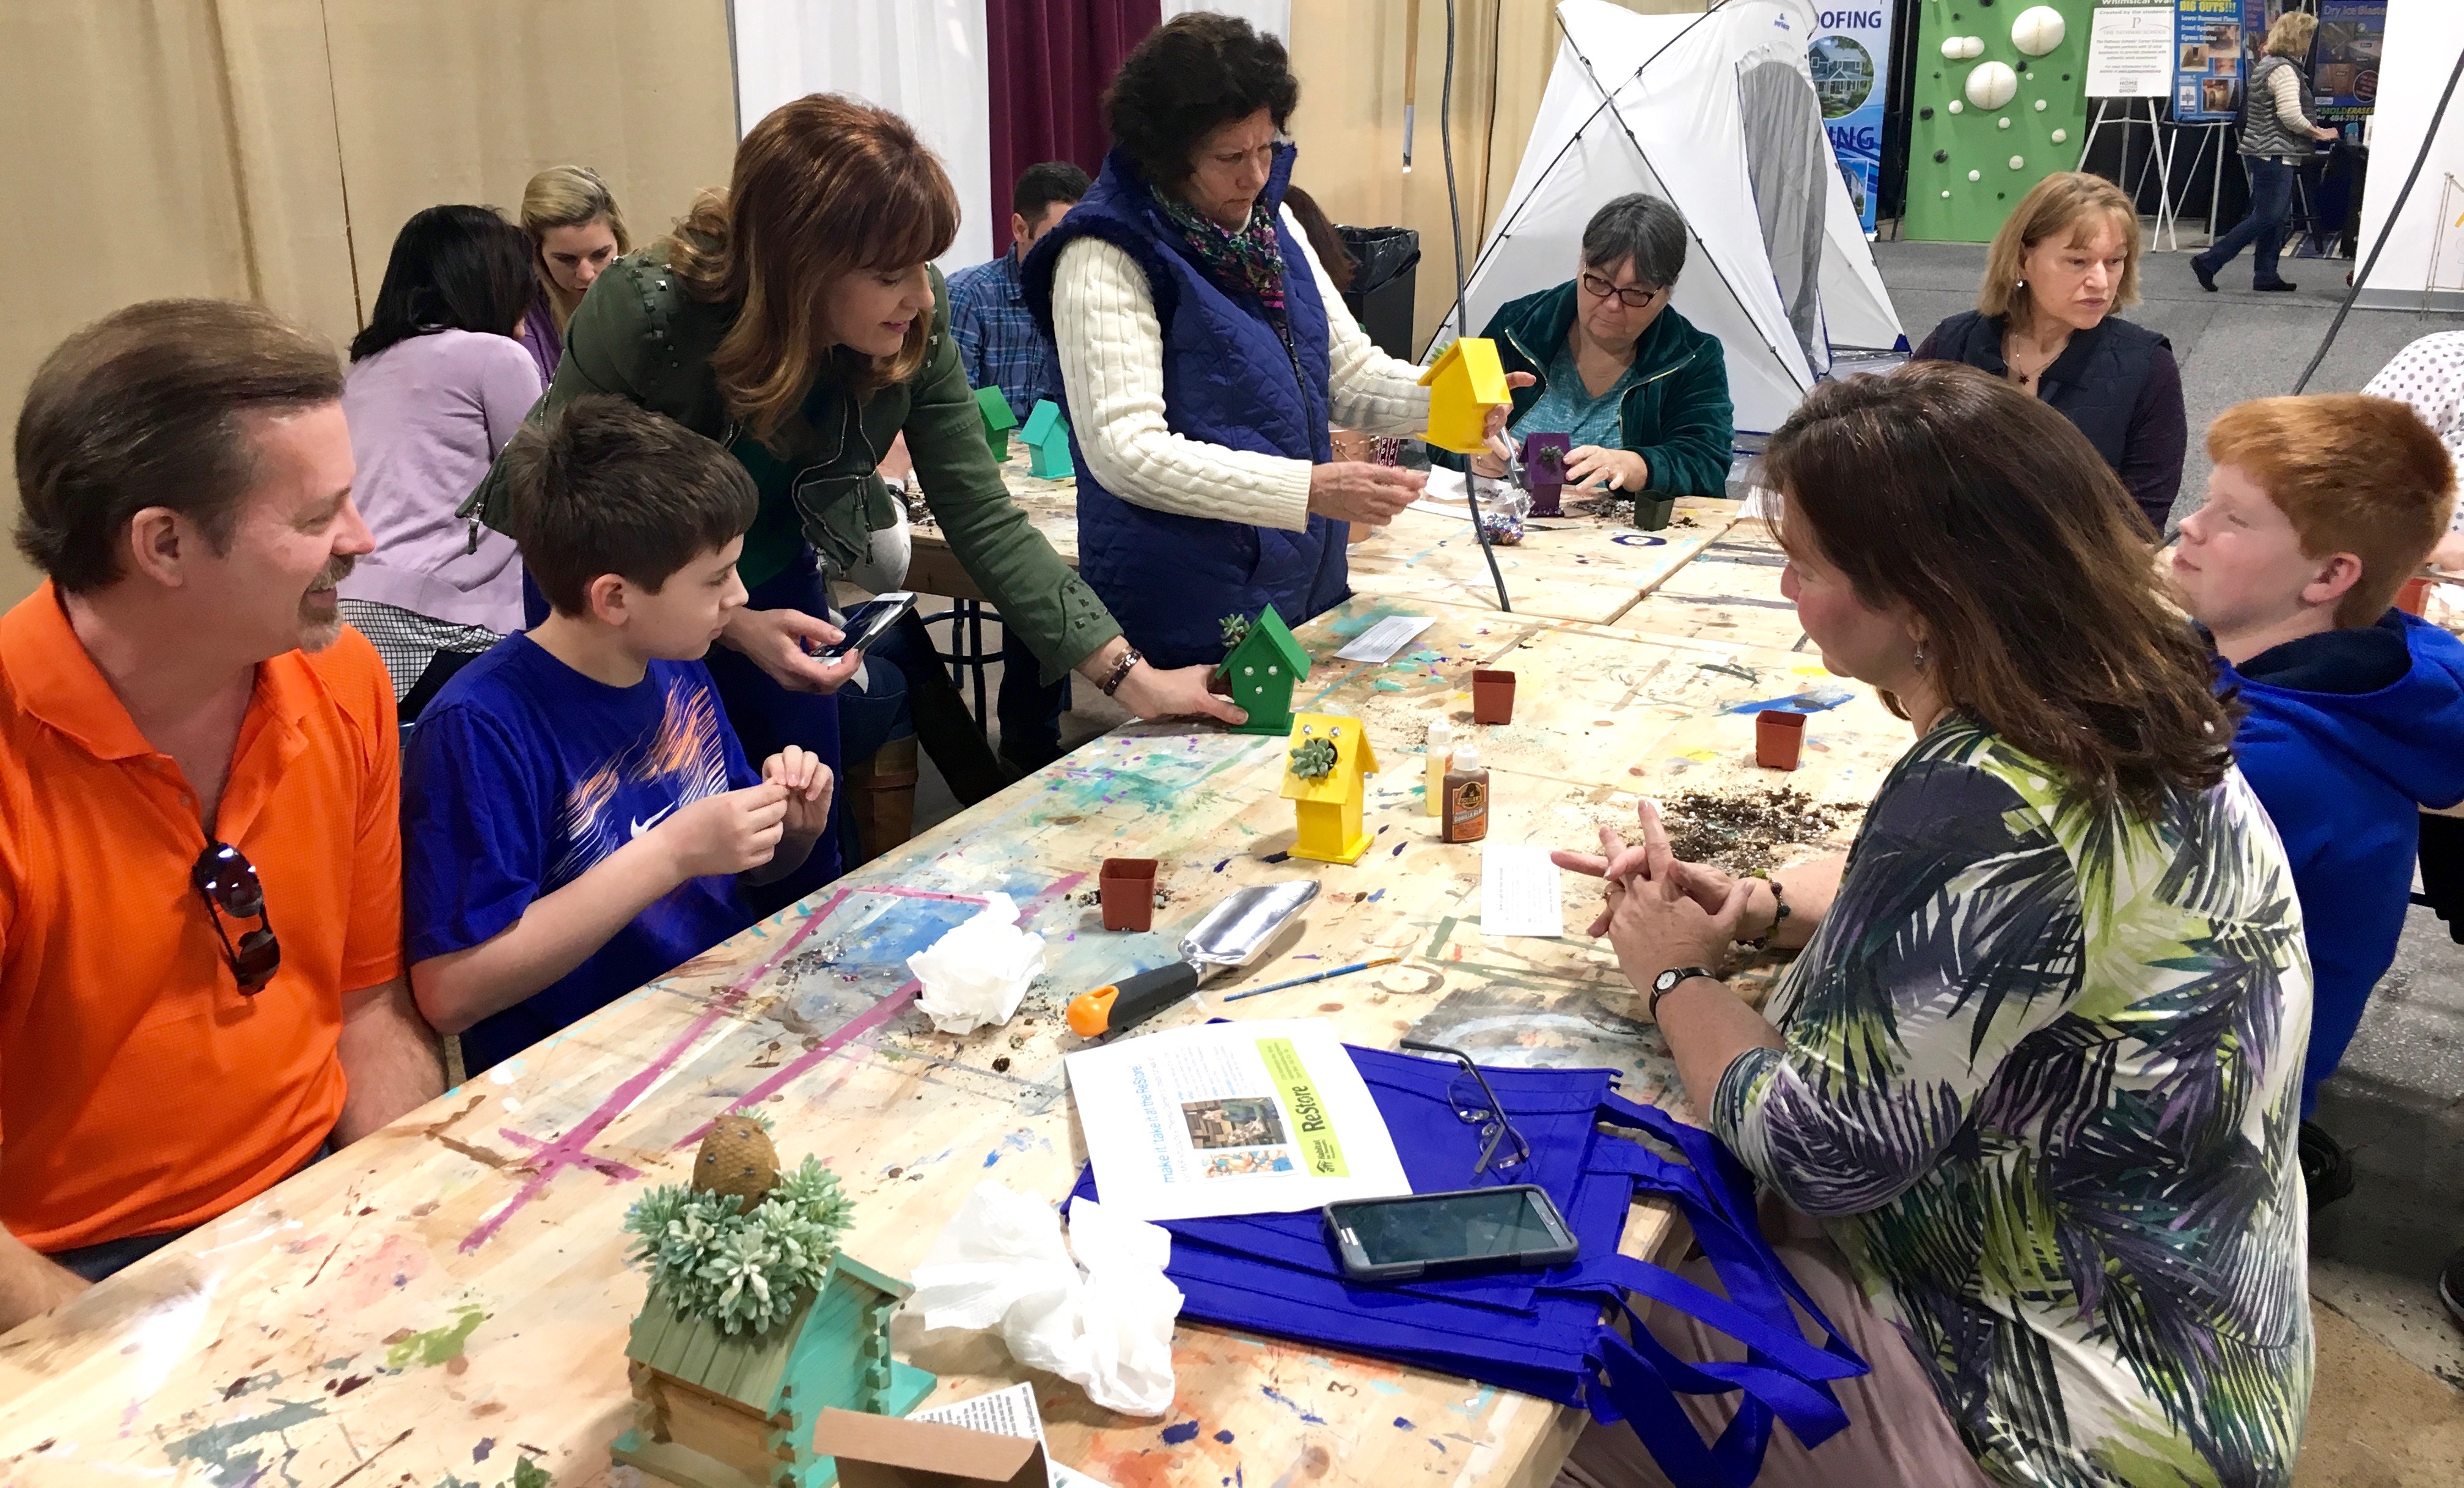
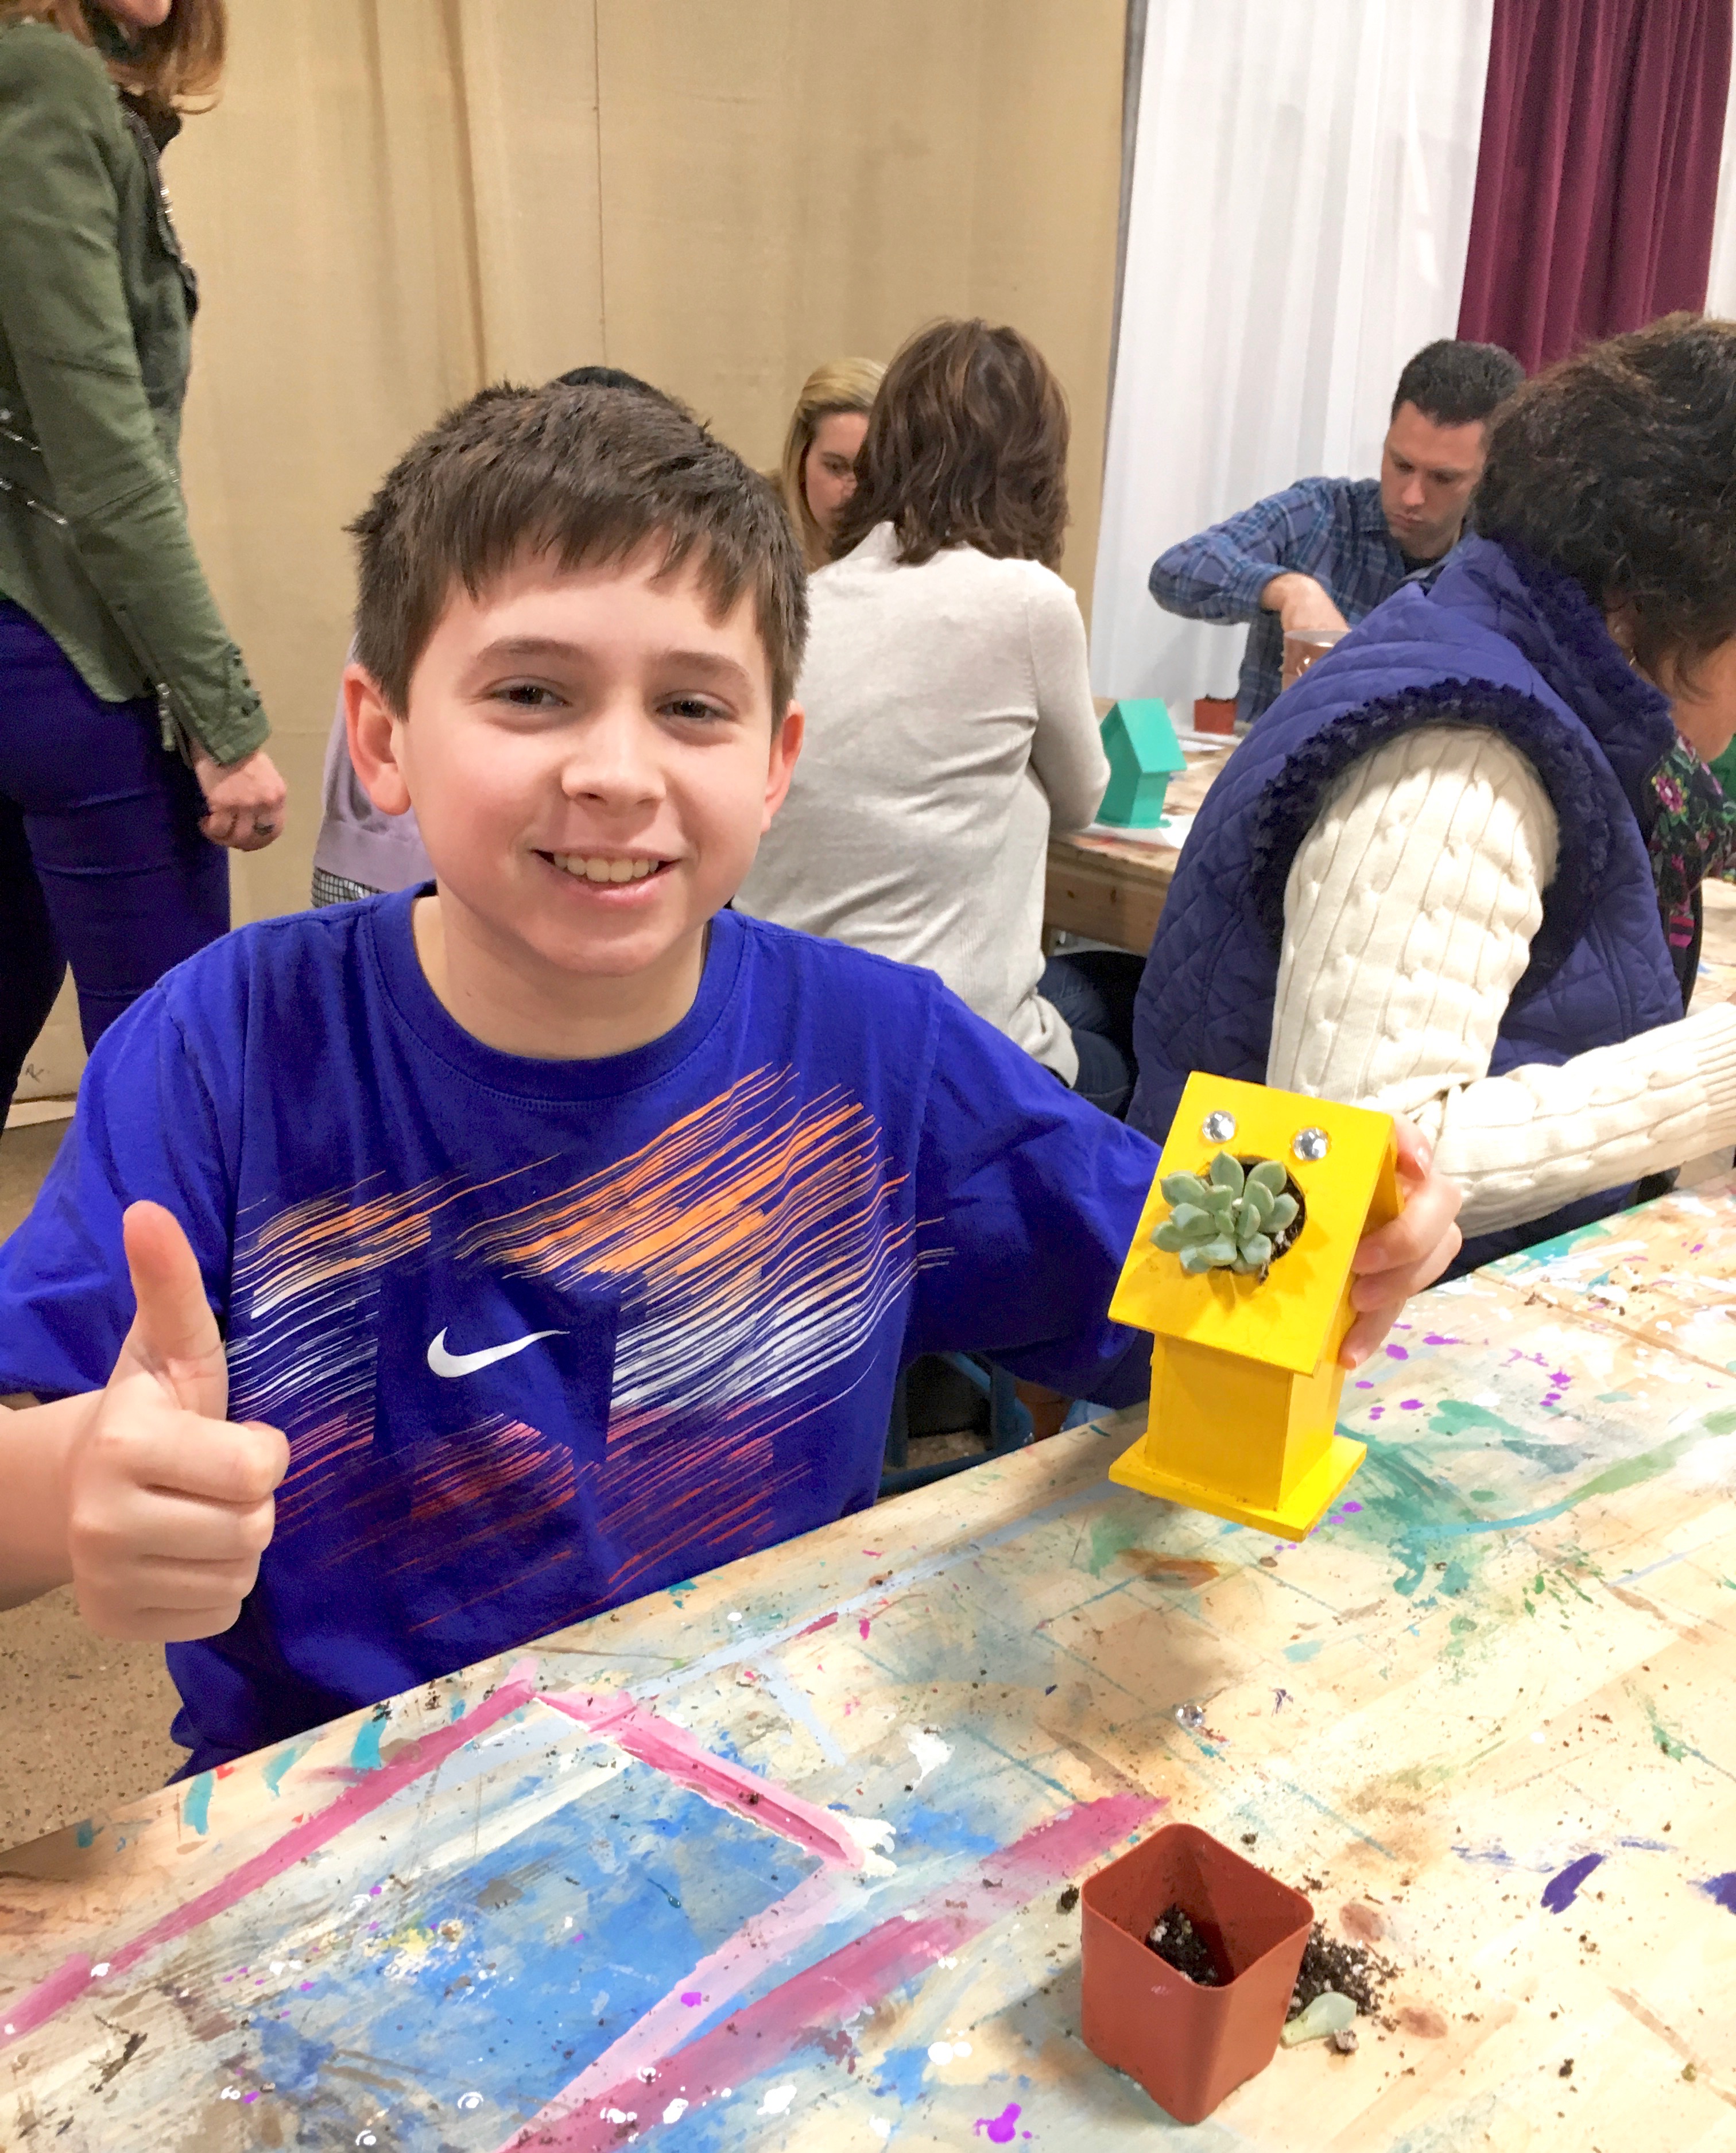
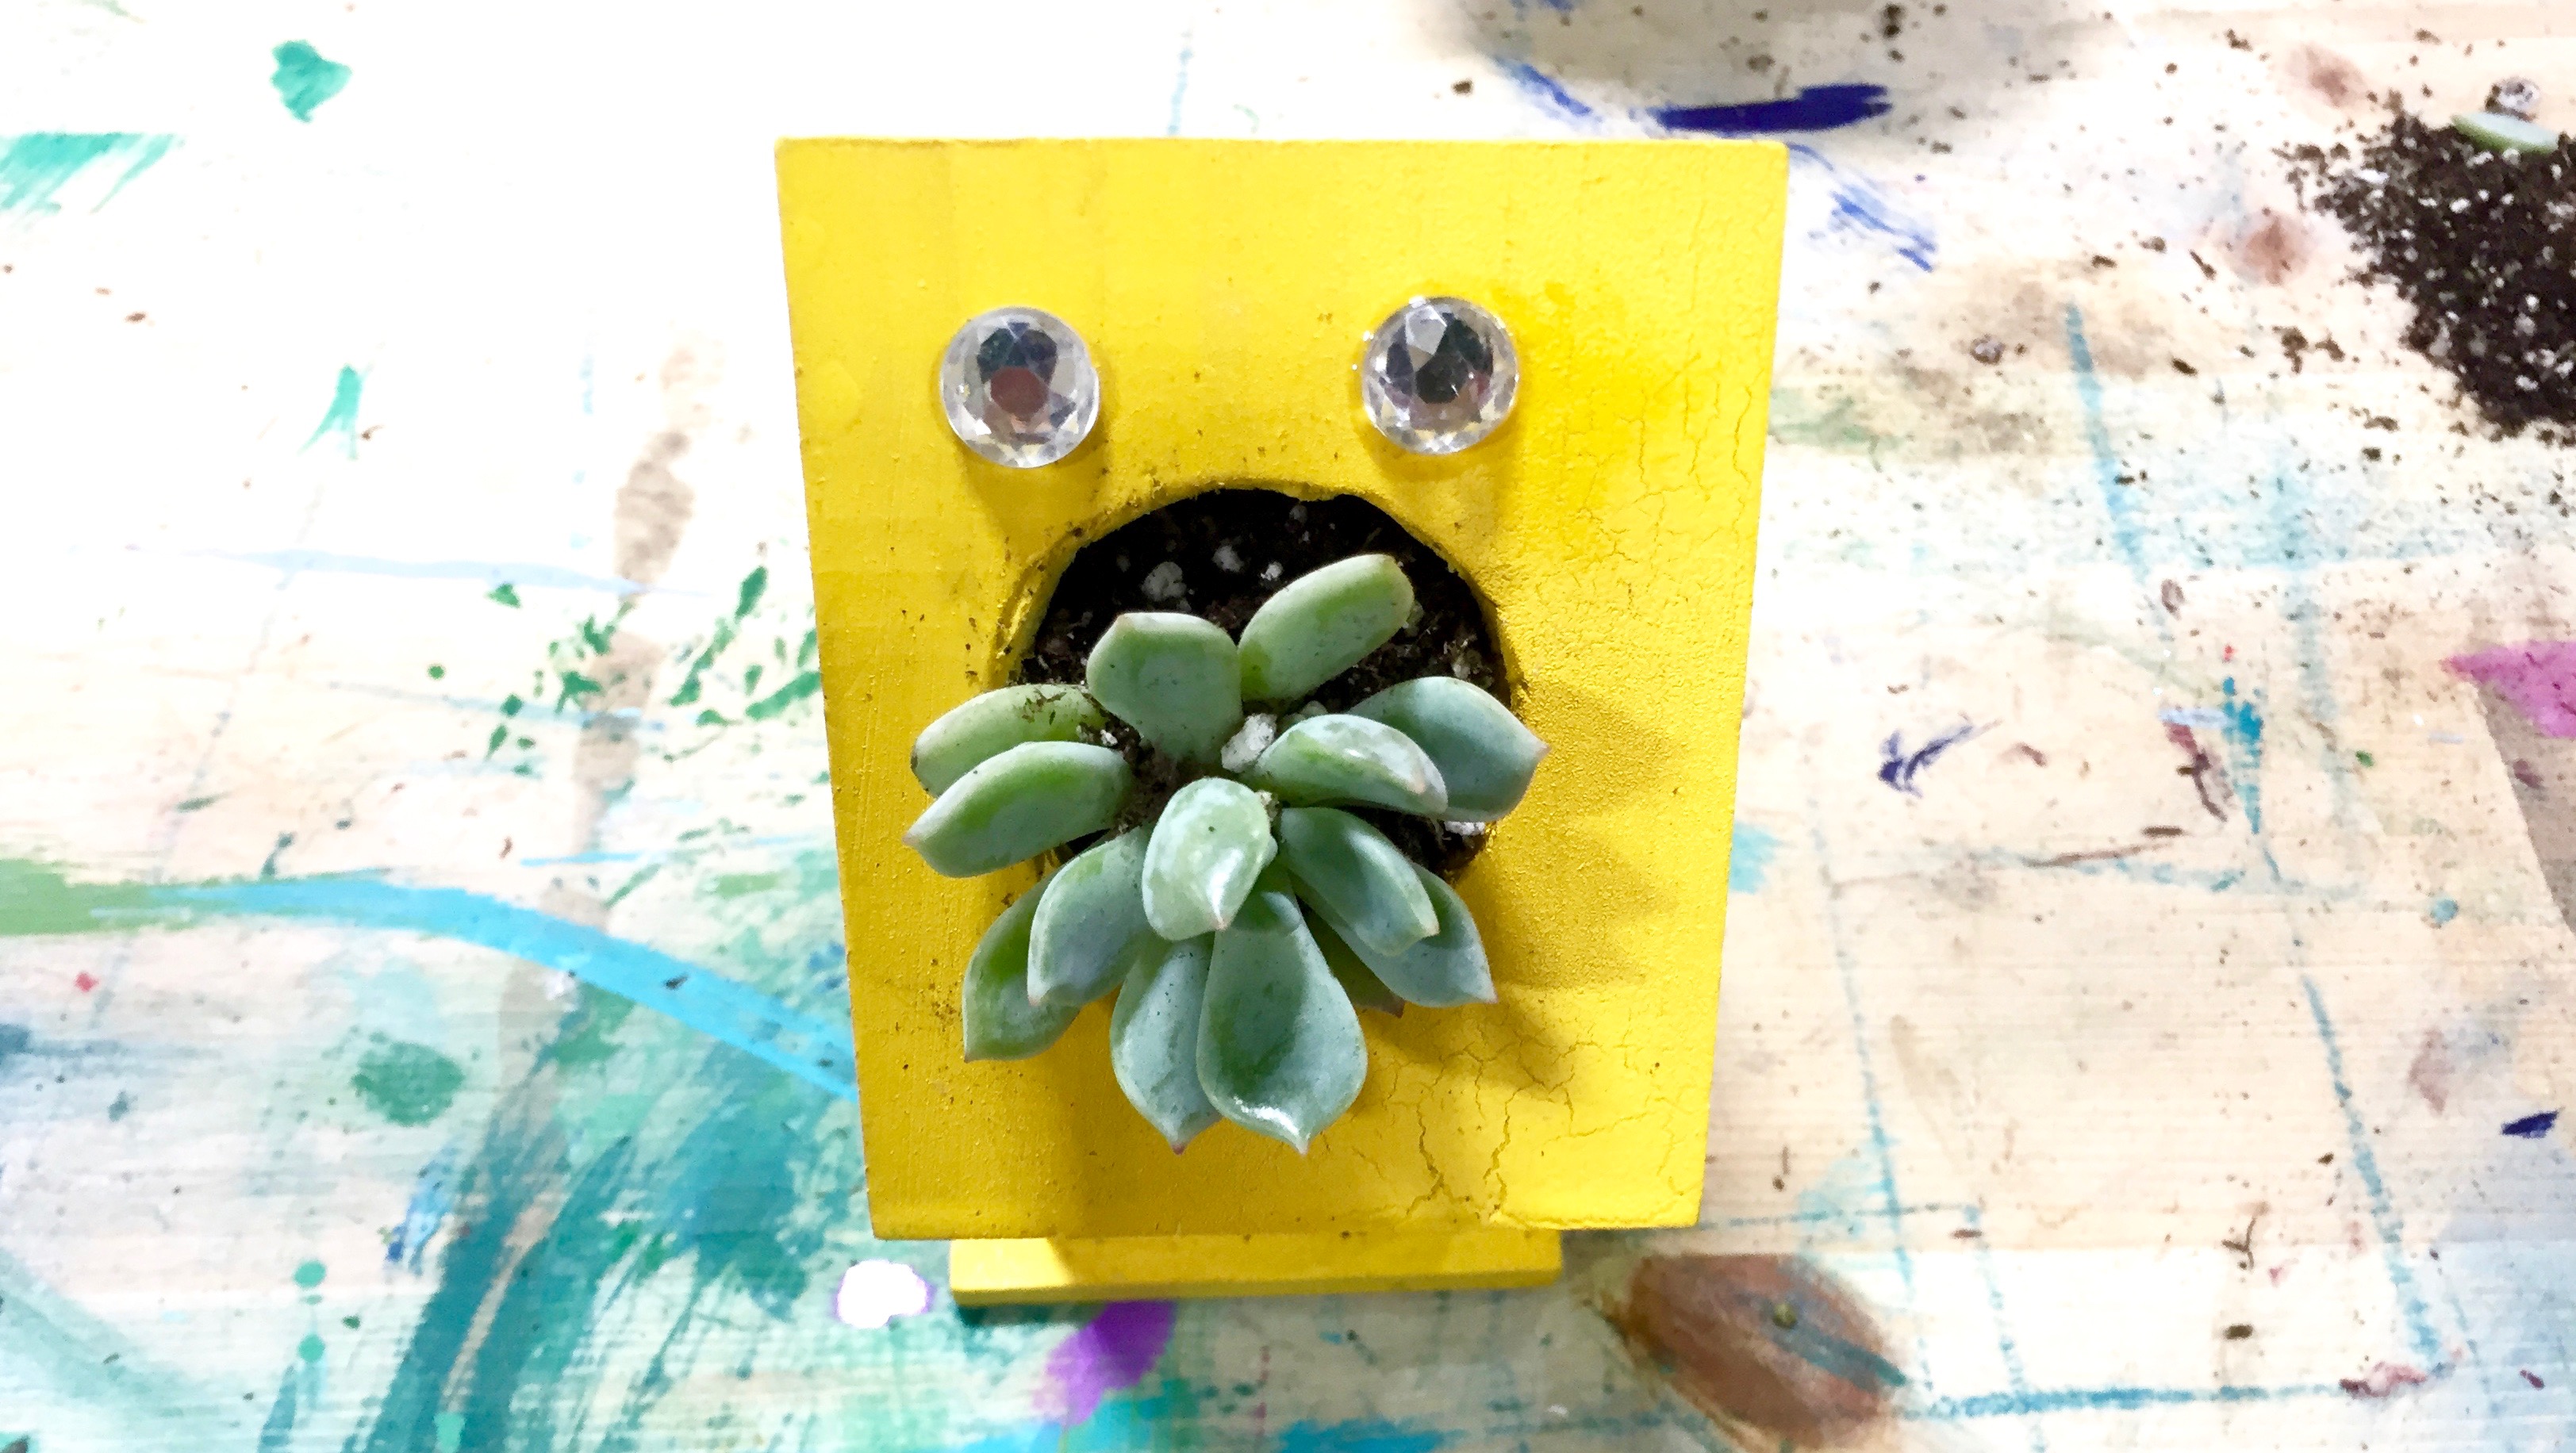
And the finished birdhouse succulent planters were a joy to see. I liked how this boy turned the hole into a mouth with two eyes on top. It looks like the birdhouse is eating the plant!
