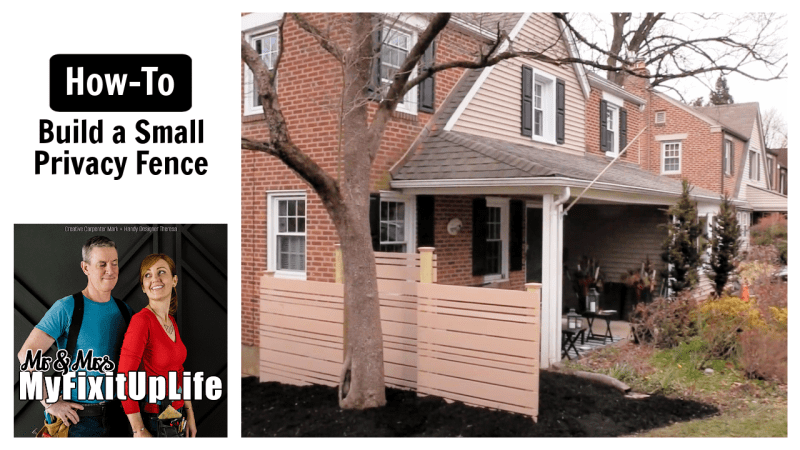
Even if you have the best neighbors ever, you probably don’t want to see them every time you are in your yard, on your front porch, or on your backyard deck. Sometimes it’s nice to enjoy a cup of coffee or a quiet conversation with a partner without the eyes of the neighbors on you. A privacy screen can carve out a little slice of seclusion without the expense and hassle of a perimeter fence.
This privacy screen how-to video addresses how to:
- Remove overgrown, inappropriately placed plantings
- Layout post locations so they look proportional with the porch, yard, and other landscape features like the tree I had to work around
- Use a “stepped” panel layout so that the privacy screen isn’t a wall to the interior and a giant middle finger to the neighbors
- “Shadow box” the cladding so both sides are “good” sides
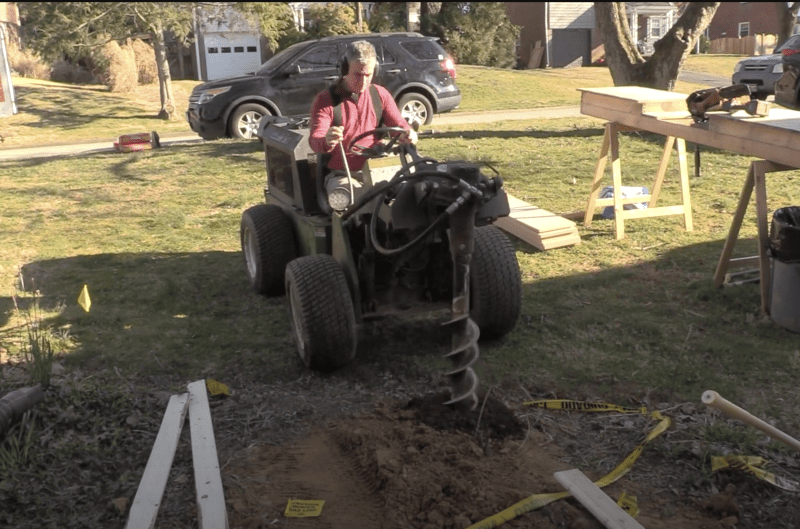
- Dig holes
- Use my favorite construction material, “Strapping” aka “furring strips”
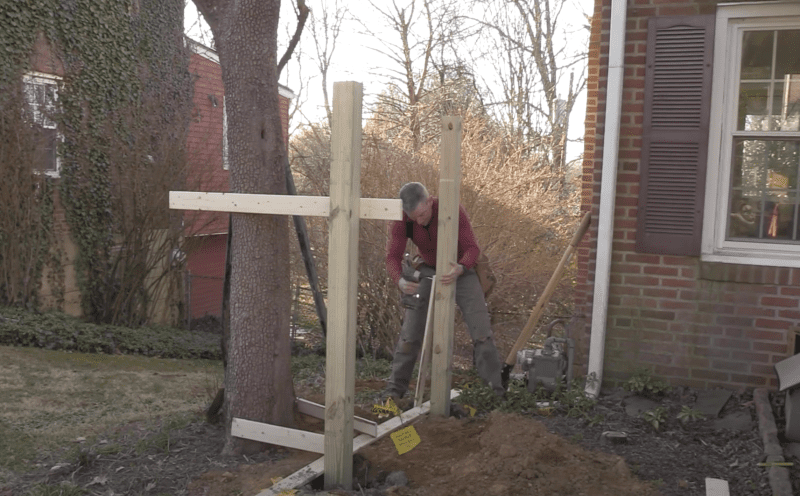
- Set posts
- Use varying widths of cladding–we used Acre by Modern-Mill here. More and more of our customers like it because of its natural look, supremely low maintenance, and recycled content among other attributes
- Clean up dirt and scrape old plantings–a little plug-in cultivator is our go-to for that
- Mulch

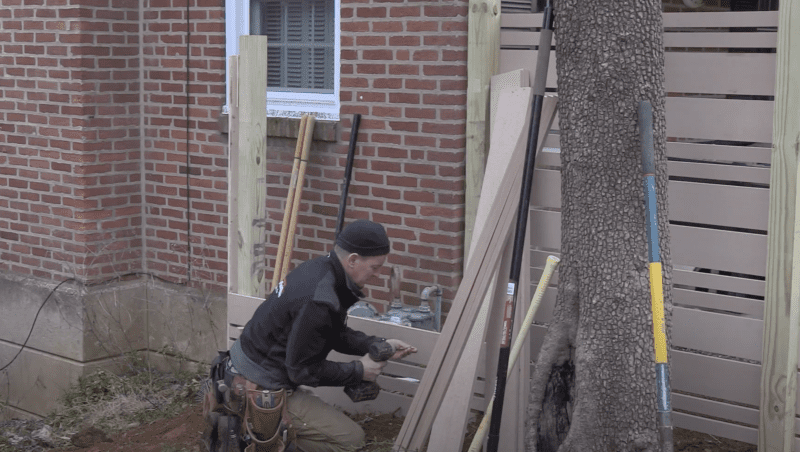
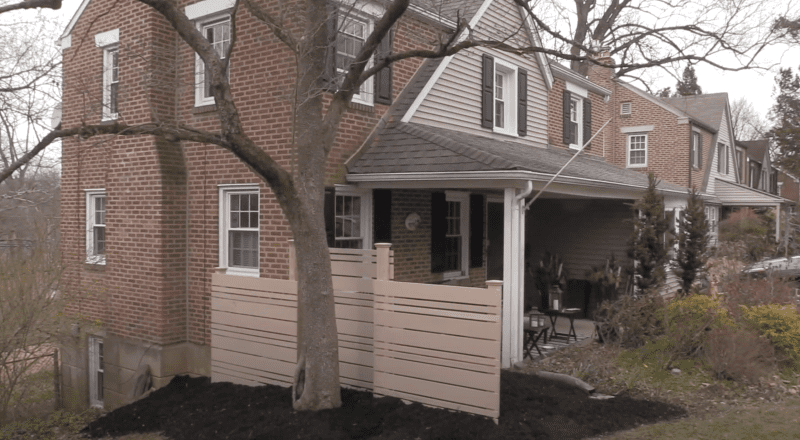
How to build a small privacy screen for a front porch
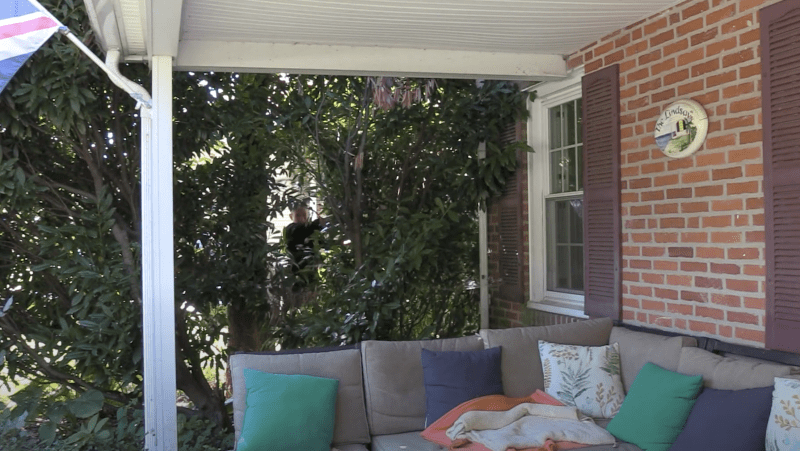
The homeowner’s front porch has morphed into a bad version of the Rainforest Cafe. So they want to tune up the whole front yard’ ‘s curb appeal. We also visually hide the neighbor’s trash cans from the front porch while letting in a whole bunch of light.
Call DigSafe
The first step in this front yard make over is to call 811 / DigSafe. While it may not look like there is a gas line running right through our build, there is a gas line running right through our build.
Clear the overgrowth
The second step is to clear the overgrowth. We love healthy plantings as much as anybody. But, as no episodes of any landscaping show I ever saw on the once “funct” (now defunct) DIY Network showed, you can’t plant a potential jungle 6 inches from the house and not expect there to be…wait for it…a jungle next to the house.
To that end, we geared up the chainsaws and the dump truck. Because no next level front yard makeover is complete without a way to get rid of the aftermath. And got to work on the greenery.
Need to sharpen a chainsaw chain on the go?
Check out our chainsaw sharpening video.
The remaining stumps–-which we flush cut; no need for a stump grinder here–-along with the existing mature tree that was planted just far enough away from la casa guided our layout for posts. Yeah, my machine can drill through root fiber, but it is not fun for me or it.
Size the privacy screen
Then we got to work sizing the privacy screen elevations so that it was not a wall (and metaphorical upright middle finger) to the neighbor. We want to show that we want a measure of privacy and hint at the fact that seeing the trash can parade isn’t exactly gazing upon a Norman Rockwell of small town life without making a big deal out of it. A few generic fence panels is a wall and, basically, ugly.
A privacy screen–as part of a front yard makeover that helps all parties–helps all parties. “Good walls make good neighbors.” I think that was New England poet and “two paths diverge in the wood” guy Robert Frost.
Plan the plantings around the new privacy screen
Anyway, I digress. We also used our surprisingly useful Ryobi cultivator to scrape the weed and plant matter from the surface of the new garden bed area and then, using Trusty Rusty the dump truck and tractor, we imported 2 yards of lushly dyed black bark mulch to tune up a new, crisply edged bed that the customer can take care of without fear of requiring search and rescue should she get lost in the former forest.
To learn how to build a privacy screen, head over to this how-to article for full details.
About the Author

