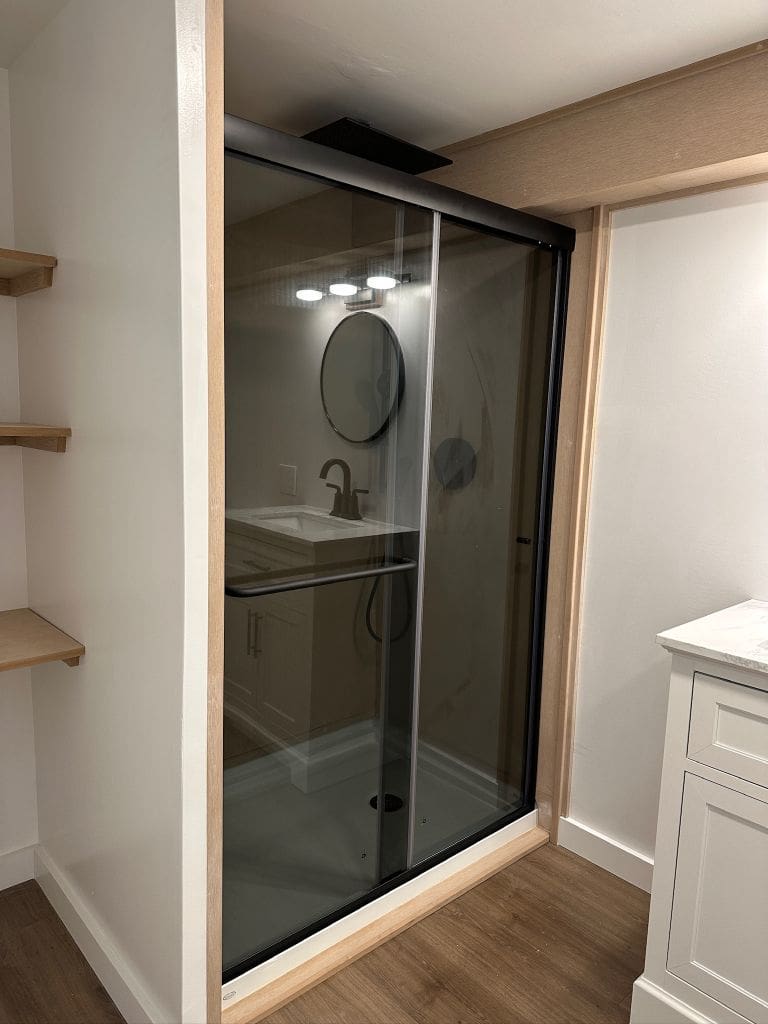
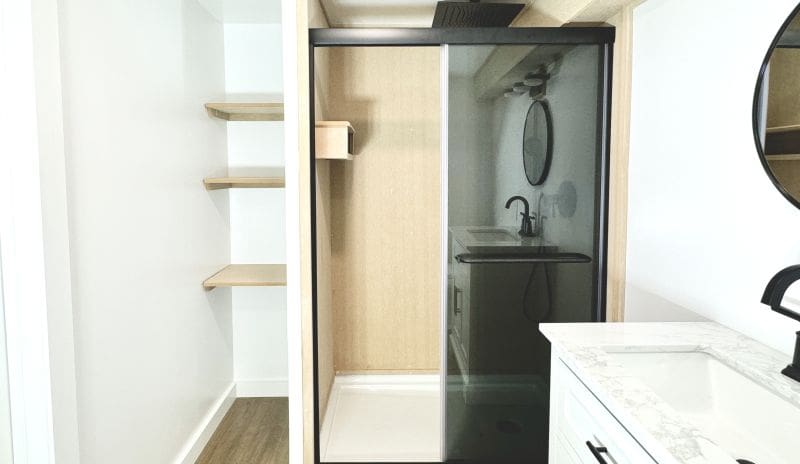
We created a modern no-tile shower surround for a young family’s bathroom basement and they’re so happy with the results. Here’s how and why we chose this look.
About this no-tile shower surround project
This blog is part of our basement remodeling series where we use some tricks and processes we developed doing accelerated builds for TV shows. Because it’s not the norm, this ends up disrupting the typical installation process, materials selections, budget–and look. By stepping outside the typical design lines we end up creating a ONE of ONE design, provide our clients with dependable quality, and a managed budget. So, they were happy with both.
The thru-line for the entire basement project is: You CAN paint this basement, but you don’t HAVE to paint this basement.
In this blog, I’ll focus on how we brought this design idea to life in the bathroom by creating a no-tile shower surround, or what I’m calling–and this really isn’t an exaggeration–the 2-hour shower. So here’s an overview at what you’ll find in this how-to blog.
No Tile-Shower Surround: Design, Budget, Process
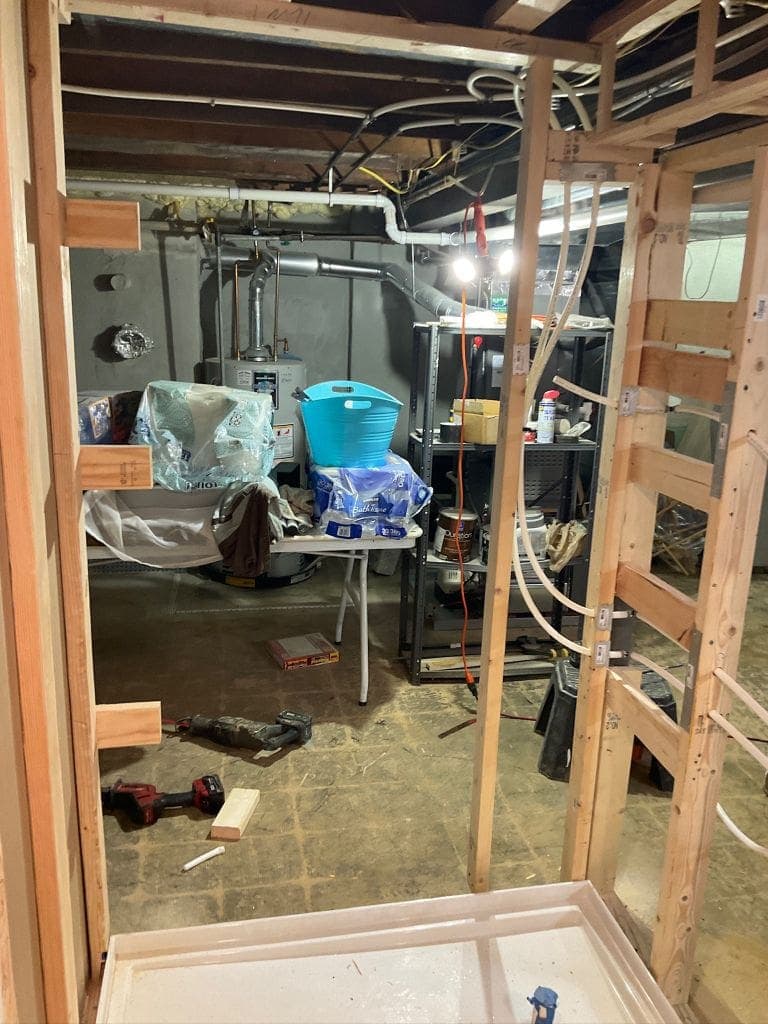
Our blank canvas for this space was 900-square feet of empty 1950s dankness. So it was a place never meant to be occupied and definitely not planned to have a modern luxe bathroom.
Design
The young family wanted to renovate their basement into an office, TV-watching zone, and a bathroom. (Check out our blogs about the rest of the basement transformation here.)
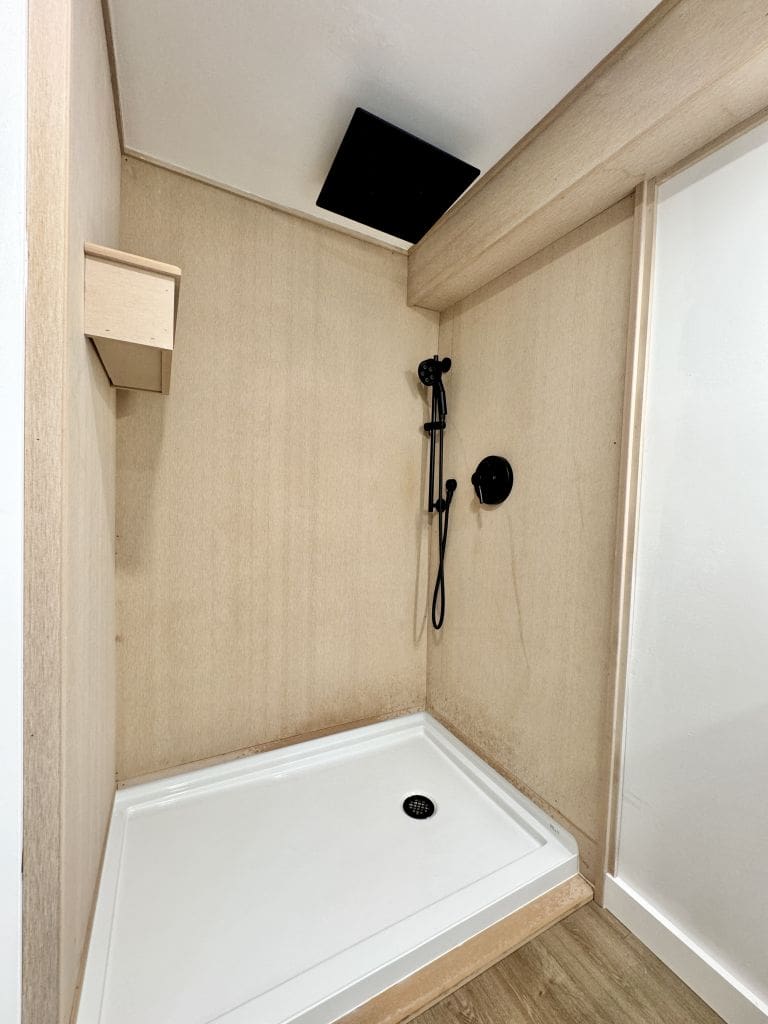
Plumbing is often the most challenging part of a basement bathroom project. But after that’s sorted and working well, the finishes give the space its style and mojo. Since our clients like simple, elegant, and calm interiors, we suggested going the route of a wood-look shower surround. We chose a product that doesn’t need to be painted, so we can save time and money on the project. Plus, the material is designed for exterior applications, so it’s ideal for a shower surround.


Budget
It doesn’t take a Harvard economist to do this math. Our panels are roughly the 100 percent more efficient to install than drywall and tile. We used drywall on the ceiling and then the rest of the bathroom walls, to provide a bright white contrast to the black and light-wood look. Reducing costs while maintaining a modern look is what informed our selection of Acre by Modern-Mill for our no-tile shower surround.
Process
It is a hybrid space. This no-tile shower surround is a factory-finished product. Just like the walls in the rest of the basement that are plywood, it also left us with a unique, durable, attractive, affordable look. In the main basement space–now home to two home offices, closed off laundry and storage, a gaming/lounging/guests space–we used ¼-inch Lauan plywood and high-quality primed 1-by to create panels.
Compared to drywall, we interacted with these wall systems 3 times, maybe. Drywall requires a dozen passes–all of them physically difficult.
How to build this no-tile bathroom shower surround
Now, let’s dive into how we built the no-tile bathroom shower.
Tile? Heck, no.
Tile is often assumed in a shower, right? Or some plastic system that feels like a bus station bathroom. (So I just gagged on my lunch….ok. So let’s deep-breathe past that image.)
Tile is never required. Also, those plastic shower surround inserts have a very temporary vibe.
Tile–like drywall–is a 10 to 12 interaction project that has a lot of money attached to it. On the other hand, using sheet goods like Acre isn’t a mega-multi-step process. It’s about 50% recycled material/50% PVC material and it looks organic-ish. There’s a “grain” of sorts. Plus, I like it.
Rather than the 85,000-layers of tile, we clad our shower in Acre ¾-inch panels.
Paint? None needed.
Because I wasn’t planning on painting this, I pre-clad the uncaulked corners with tar paper–I’d use a flashing tape if I ever do this again–in case water or vapor gets through. It can then drain out of the bottom.
I also used 1-inch Acre deck boards to hopscotch the shower base and transition to the panels. It works. However, if I do this again, I’d rabbet the back of the deck board to saddle the shower base flange. It makes installation a little easier.
I used all-weather Spax trim-drive screws to make all the connections. Yeah, you can see the screw head holes. But only if you’re really looking.


Old House Detailing
We put a bathroom in a place where a bathroom was never meant to be. To hide the gas line and 1,000 wires and whatever, we also had to build a soffit. That soffit ran into the shower, so it needed to workable in wet service. So, I made the entire thing out of site-sized Acre 1×12 boards. You’d never know a bathroom was never meant to be there.
Shower Caddy
In addition to the shower surround, I also made a shower caddy for soap and shampoo with the cut-offs. Besides not having to mix thinset, set up a tiles saw, mix mud, grout, buckets, sponge, is there not to love about this no-tile shower surround project?
The How-to
Watch the video of this project for in-depth how-to steps and details about how we built this shower surround. Here are the highlights.
– We used 1-inch Acre by Modern-Mill deck boards and 4×8-foot 3/4-inch sheets along with our favorite Spax finish screws to create a cozy shower surround we install in hours, not days for a fraction of what a tile surround would cost.
– A track saw easily broke down the sheets.
– We feverishly mark out possible plumbing interactions and stay well away from them with fasteners.
– We install a back-up moisture barriers behind the Acre panels to deal with water or steam that might get into the wall system.
– Scraps make a cool shower caddy.
Benefits of a no-tile shower surround
It’s a fast-to-install, high-quality, good looking shower system than CAN be painted but does not HAVE to be painted. Here’s are the benefits:
- A DIY-able system that’s for contractors, too.
- Can be installed and completed in hours, not days.
- No need for cement board, including lugging, cutting, installing; dust clean-up.
- No need to deal with tapes, mesh or surfaces that need to be skimmed.
- Don’t need thinset, buckets, trowels that need to be stored, cleaned and stored and cleaned a gain.
- No need to worry about tile, tile saw, or tile saw overspray.
- Don’t need grout, grout sponges.
- Gain time that could be spent doing other things.
- Make happy clients even happier.
- Keep the budget low to make those happier clients super happy.
So now what you will see is BUDGET, QUALITY and TIME overlap in a Venn Diagram of awesomeness for shower walls that integrate easily with a shower base or bathtub flange, won’t leak, and that you don’t have to finish if you don’t want to. But can if you do.


