I’m starting a new trend, perhaps you’ve never heard of it: DIY Fitness.
It’s a blend of three things I love—makin’ stuff, fitness, and saving lots of time.
With all this adult-ing to do: Mortgage, lawn mowing, feeding cats, and my work life of DIY where I need to fix the sillcock (yes, that’s a real thing) I need as many hours in my days as possible. I’m assuming the same is true for you.
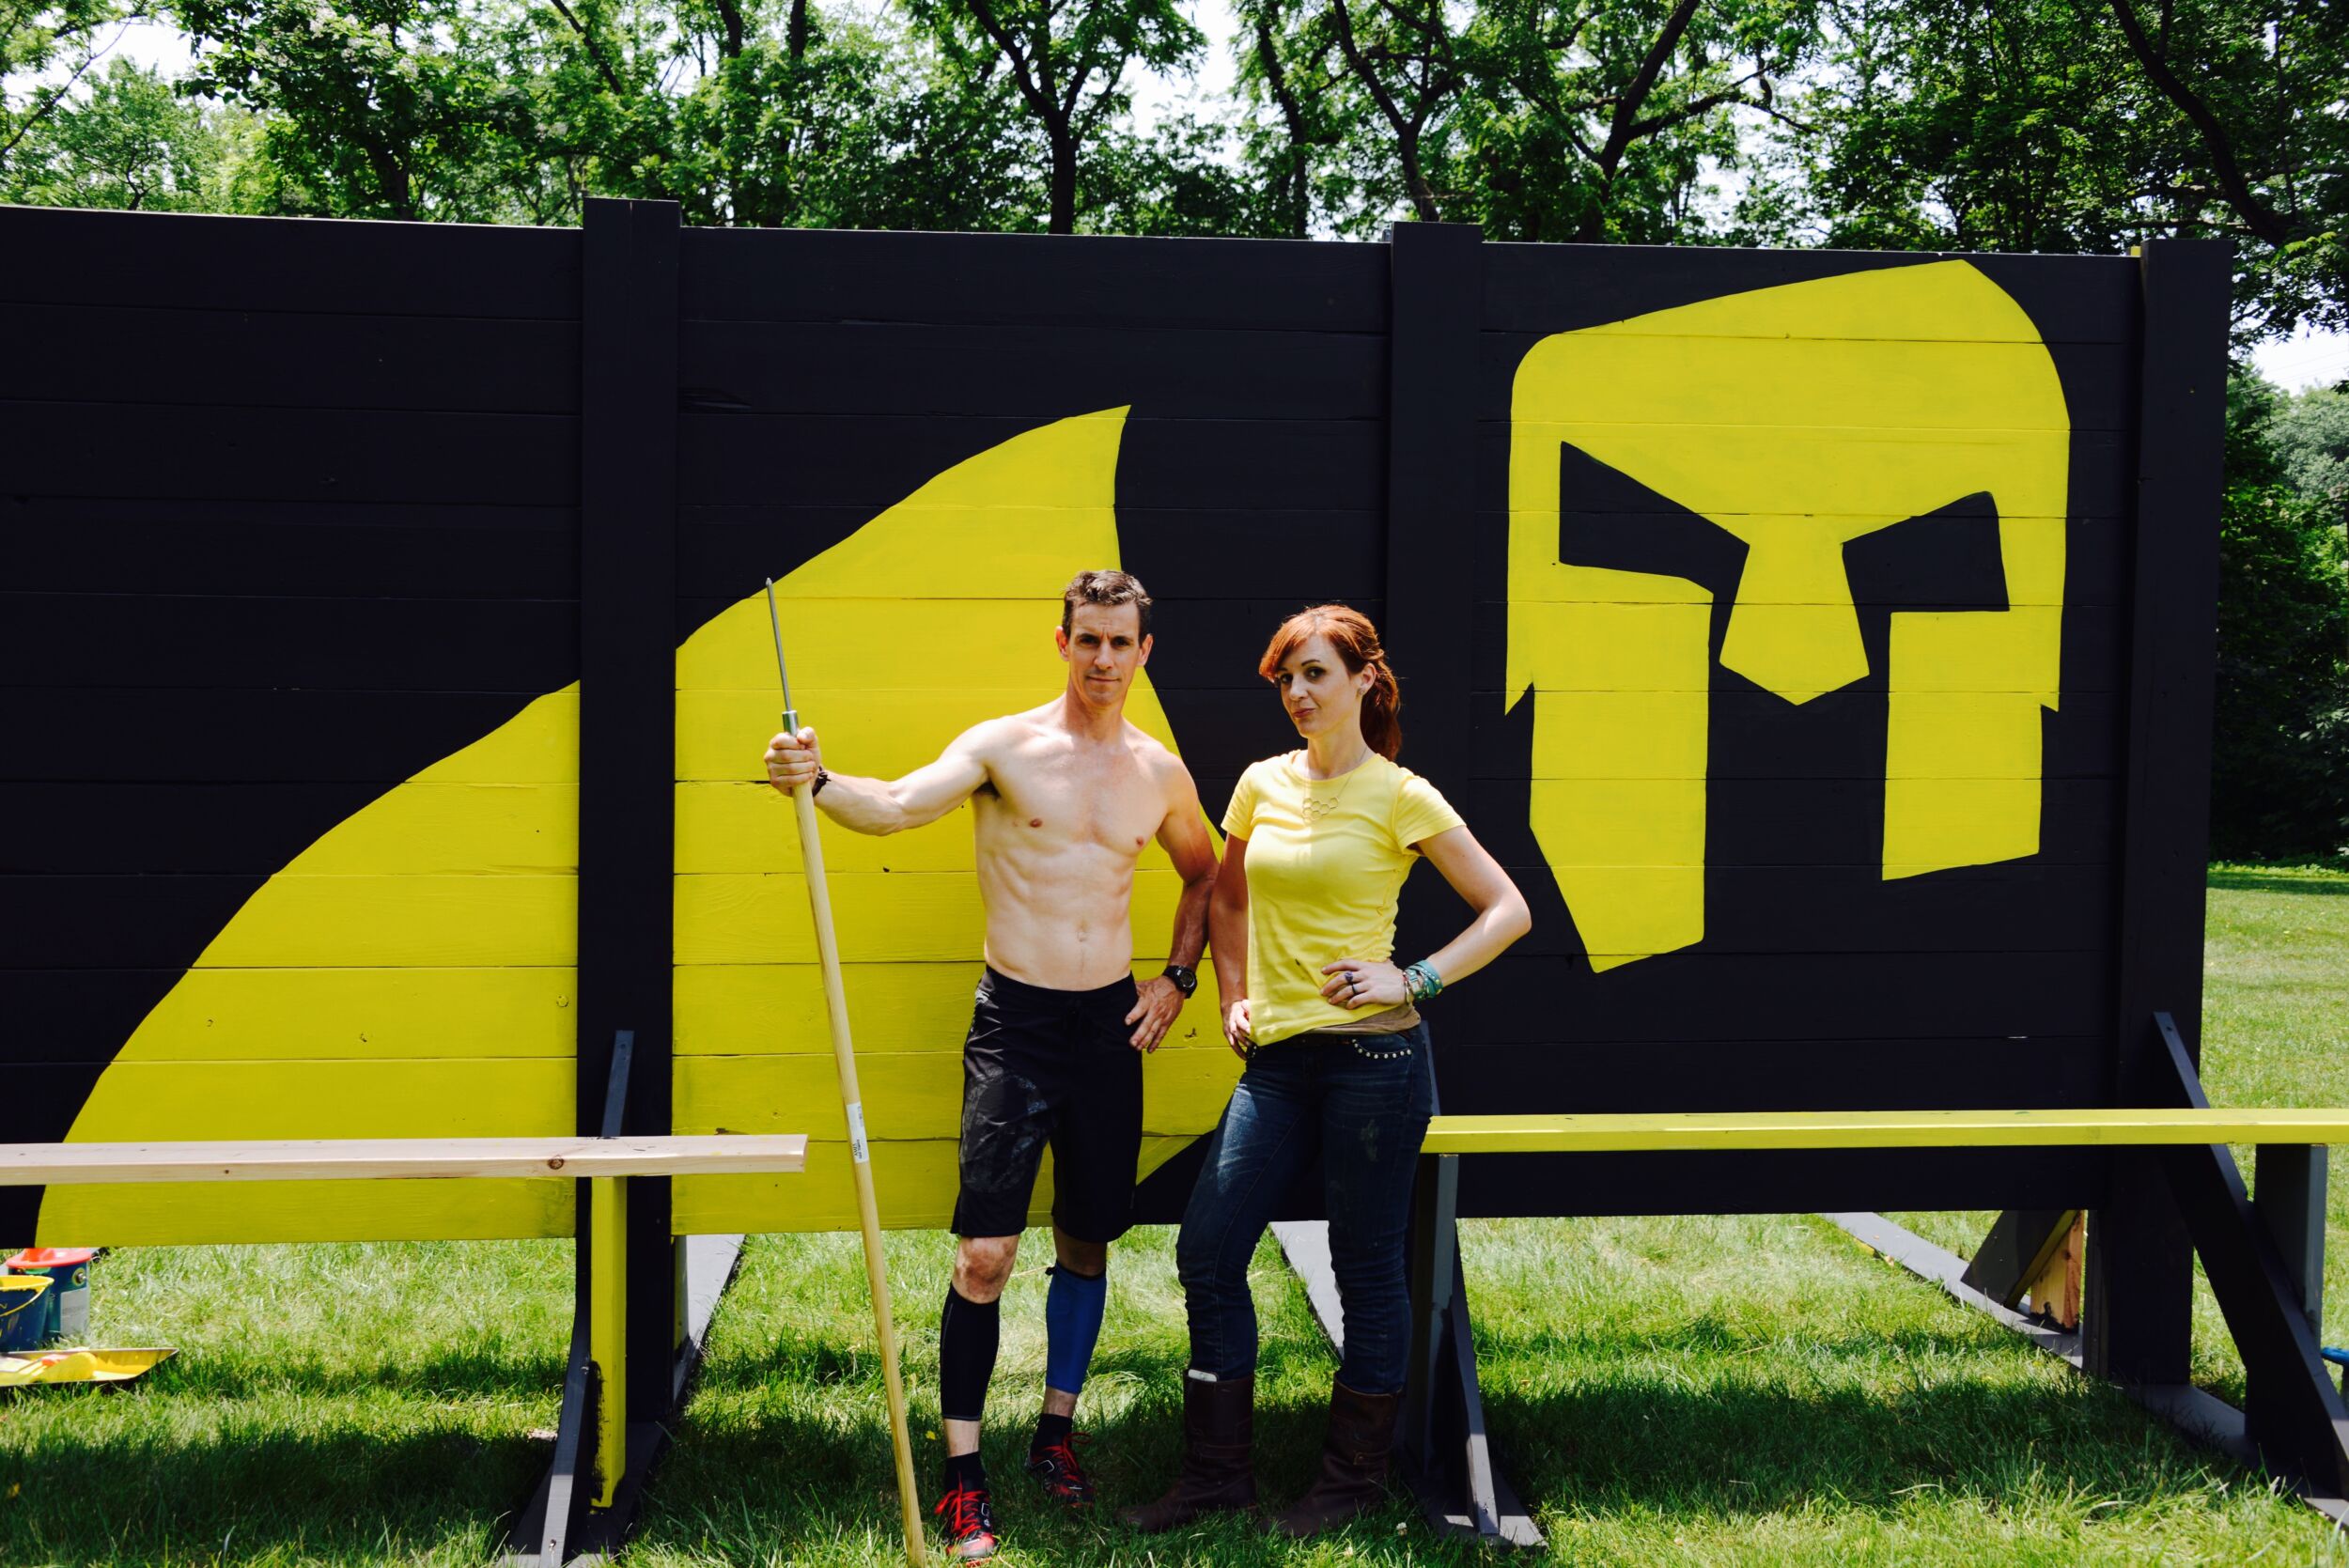
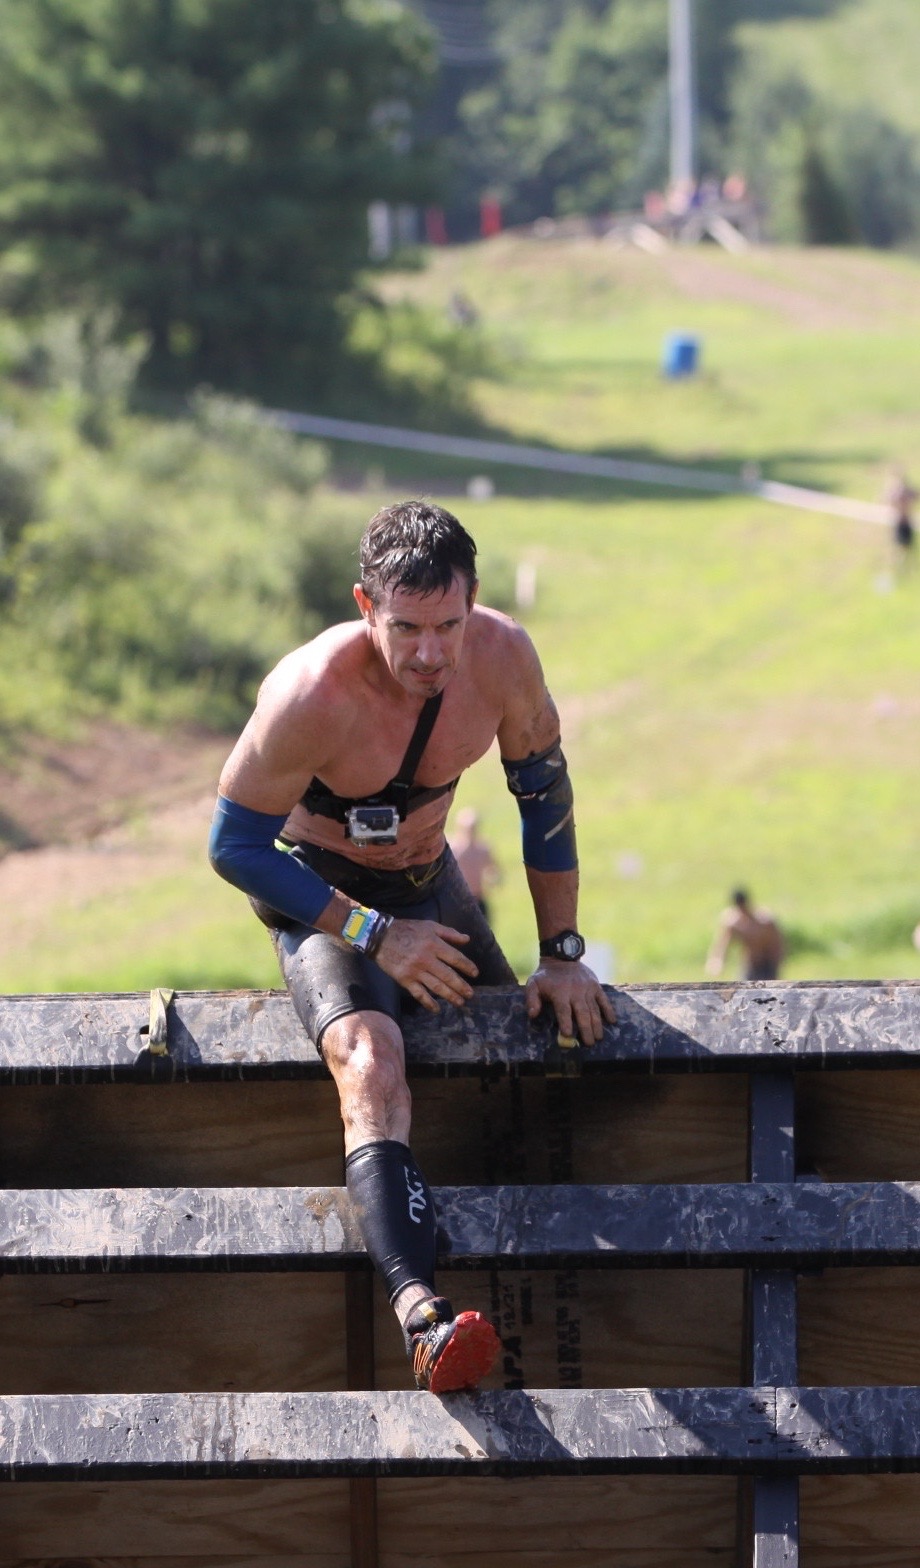
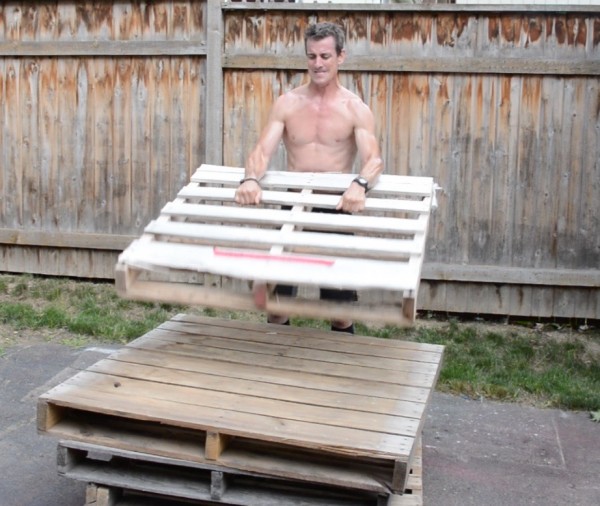
That’s where my DIY Fitness came from. It works for me and my life and my yard. Also, I compete in Obstacle Course Racing, (I like Spartan Race) and they hurl some weird stuff at you. The best way I’ve found to train for it is to do weird stuff too, like with pallets. So, to fully startle my neighbors, and do some cool workouts, I built a DIY OCR training rig.
Design
The mojo here is to build up three layers (plies) of lumber into one outriggered thunder-bolt of a post. How the post gets ‘thunder-bolt’ is the connections for which I use Spax PowerLags. More on that below.
How-to
I call this ‘2-by timber framing’. No complicated joinery or angles required. All the material—pressure treated Southern Pine (see more pressure treated pine projects here) are off-the-shelf. I used two 2x10x16 and one 2x8x16 for the main post, laminated together in an ‘I’. For the outriggers, I used 2x6x8 and 2x4x8.
The fastener’s that fuse the lumber together are critical in this project. I use Spax PowerLags and Spax HCR-X outdoor screws to make them. They’re like bolts, but better.
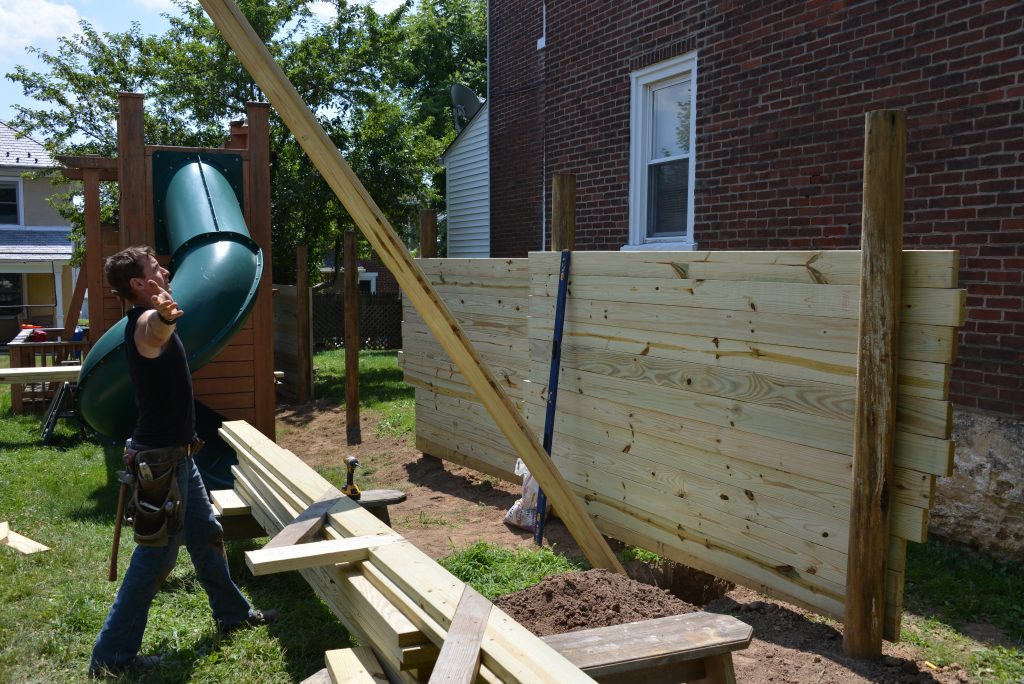
1 — Locate the post and dig the hole. While the fence I secured this to is also thunder-bolt, the earth is the biggest ballast, so I made sure to use ground contact-rated pressure treated lumber. I dug the hole—watch this video about how to dig a hole—36-inches deep and poured a concrete footing.
2 — I laid out the pull-up bar rop climb outriggers from the bottom of the hole. So, if your hole is 3-feet deep and you want the pull-up bar six feet above the ground, you make it 9-feet up from the bottom of the post when you build it.
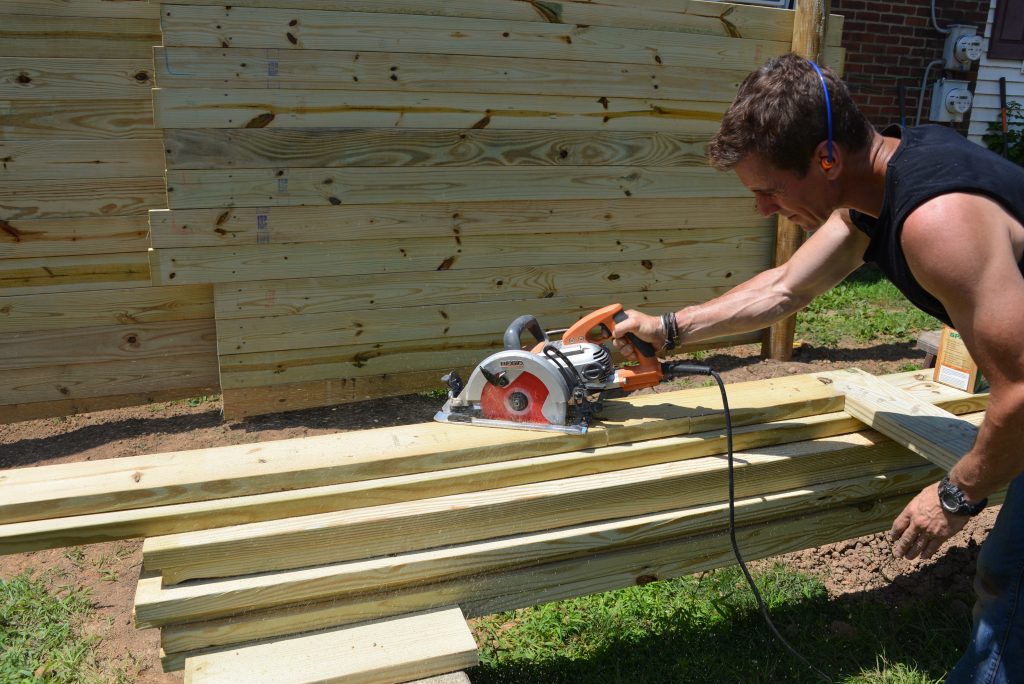
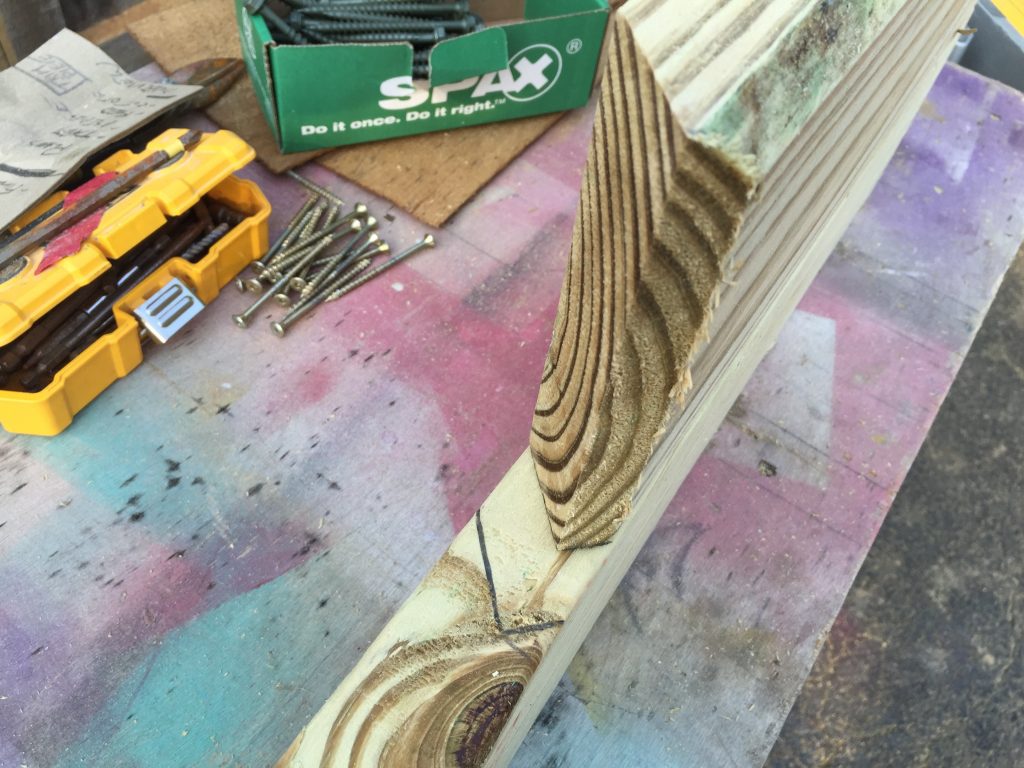
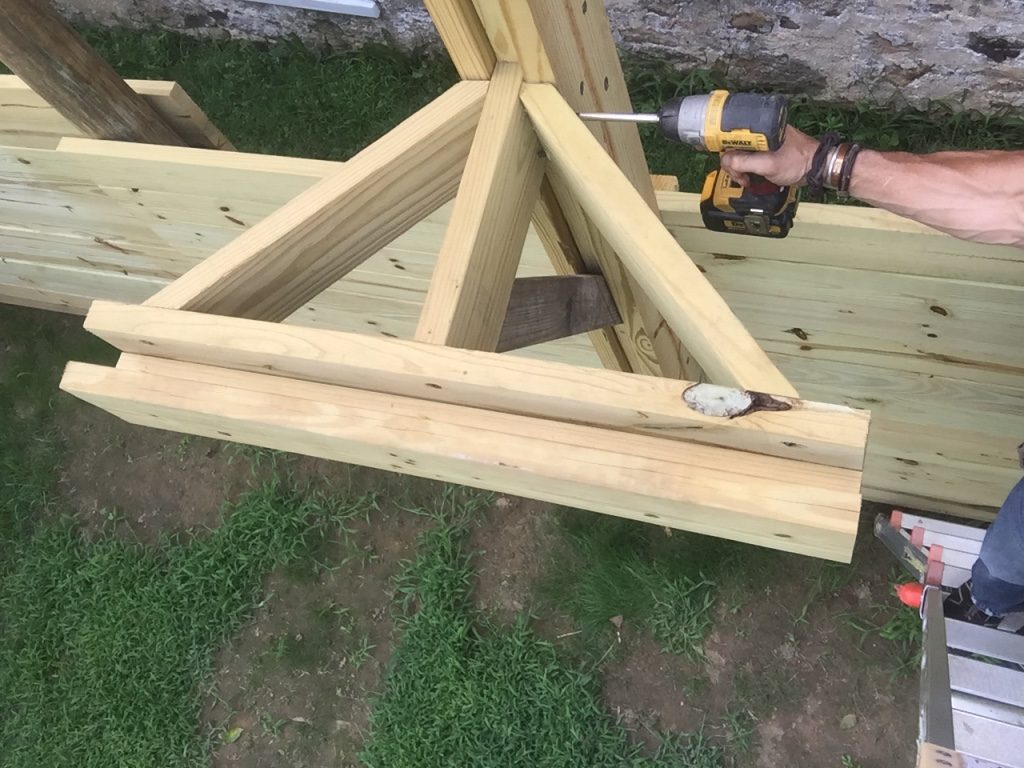
3 — I trace the angled outrigger brace then cut the center ply (2×8) in place. This keeps the joints tight and double-secures outriggers and angle braces. Adjust your saw depth to 1 1/2-inches.
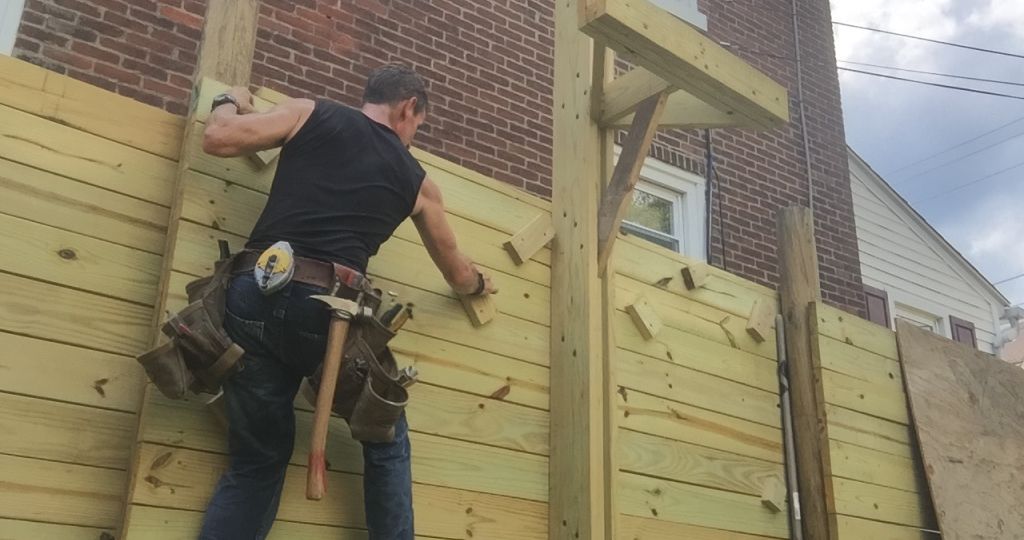
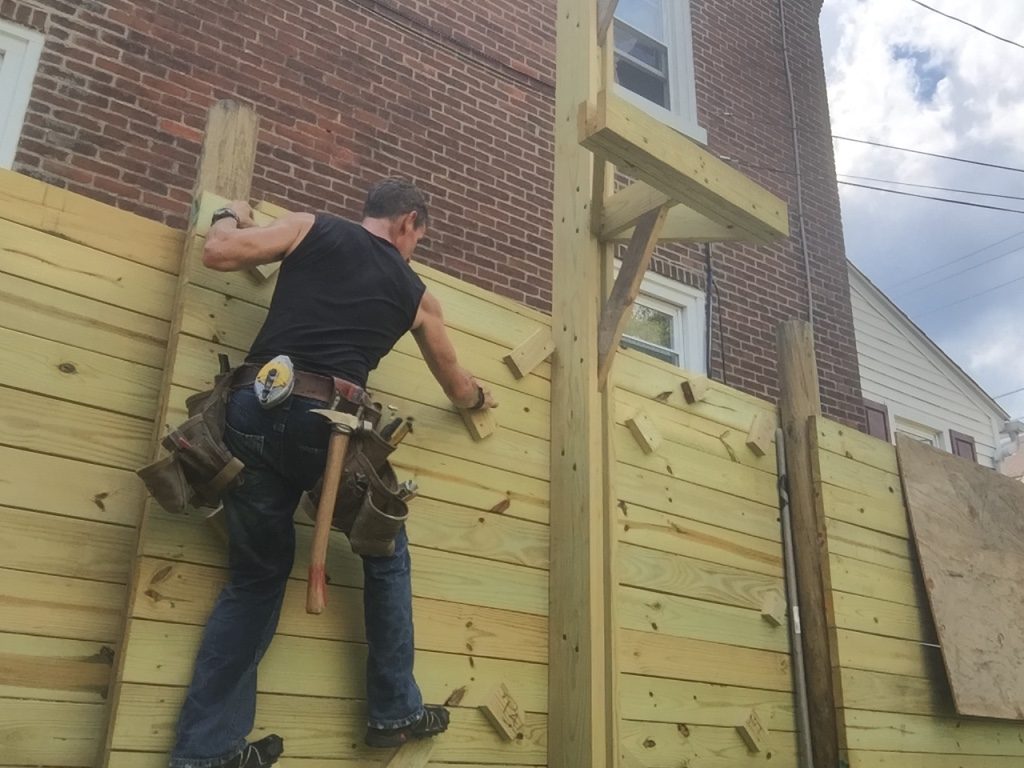
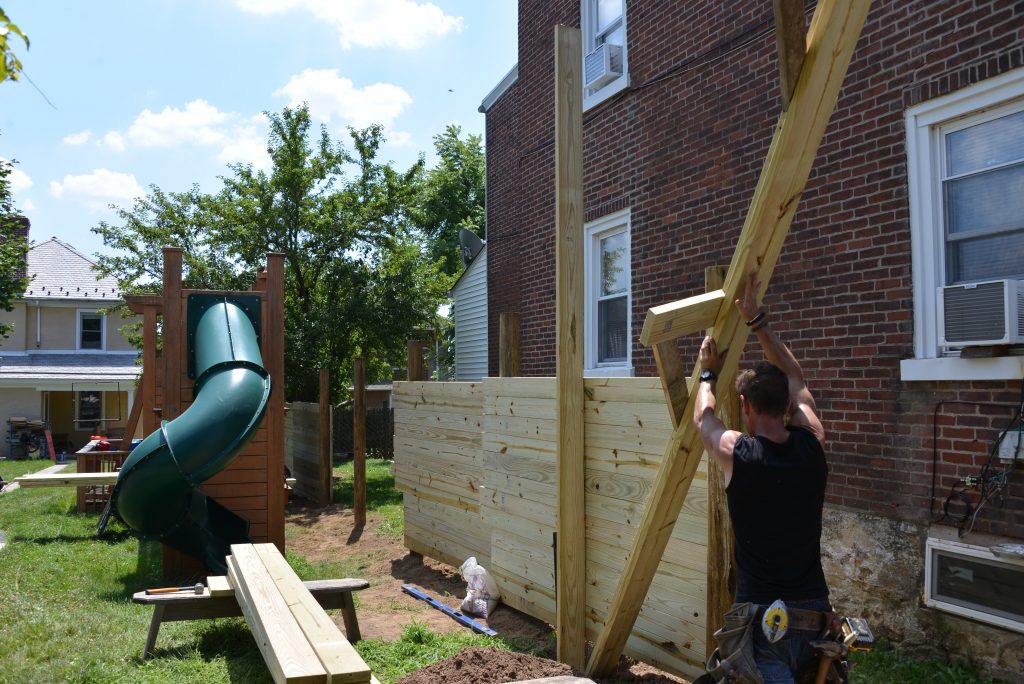
5 — After setting the first part of the post, I set the second section. Having the first part up enables me to manage the heavier portion of the post more safely and accurately.
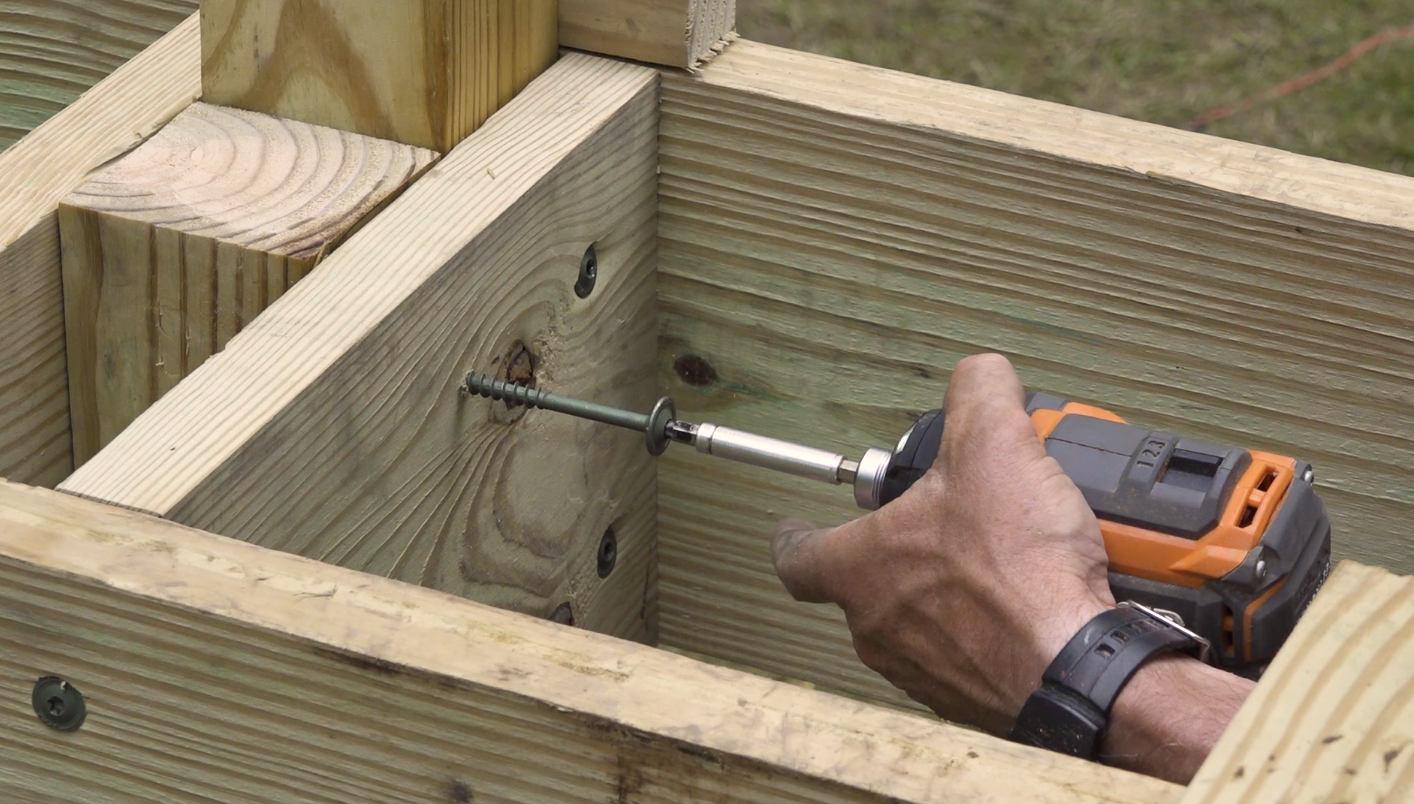
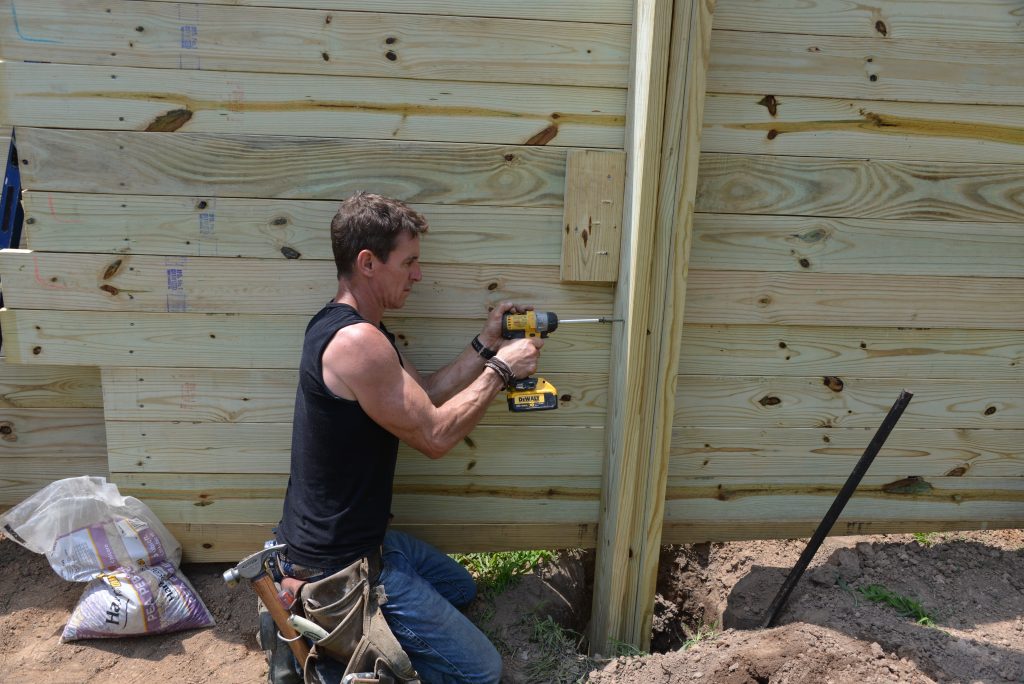
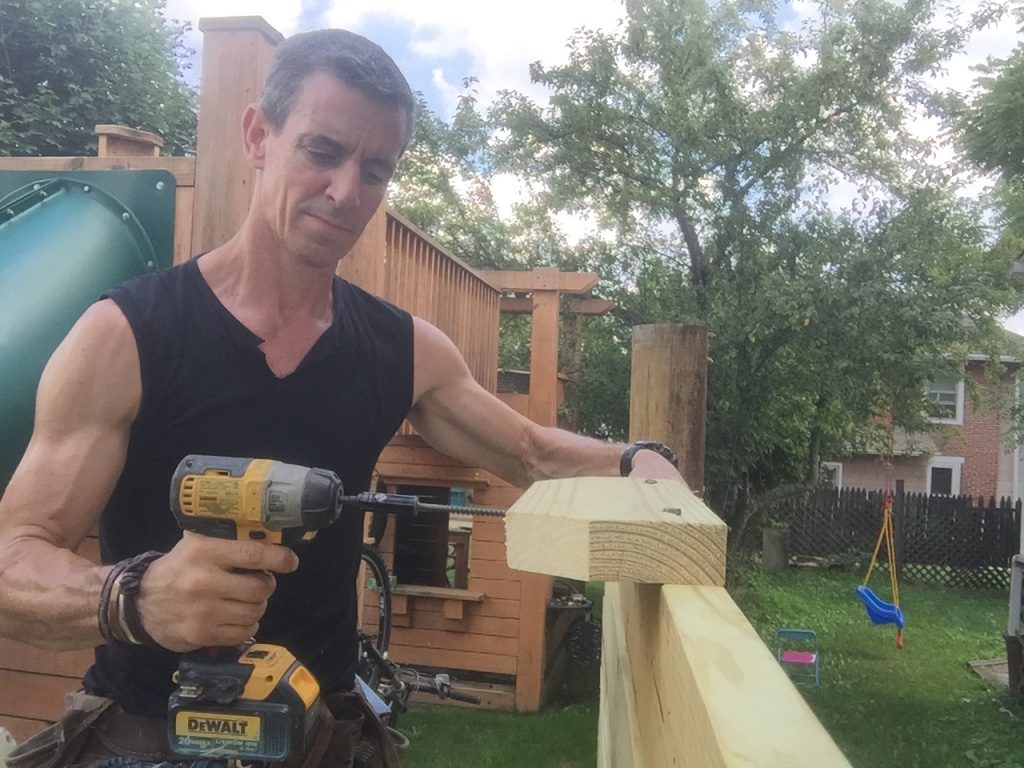
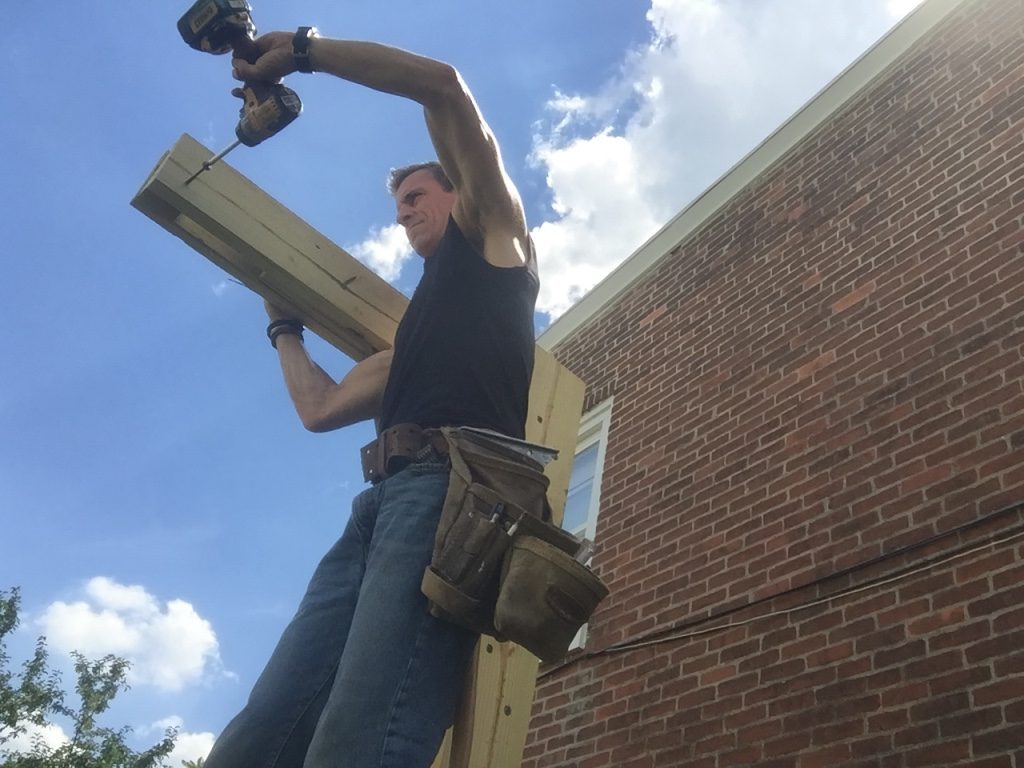
7 — With the post parts in place, I fuse it together with 5-inch Spax PowerLags. I LOVE these things!
I use two every 16-inches or so. I fasten from both sides. I call it ‘wood welding’. Note the block: I use that to position the first layer of the post during installation.
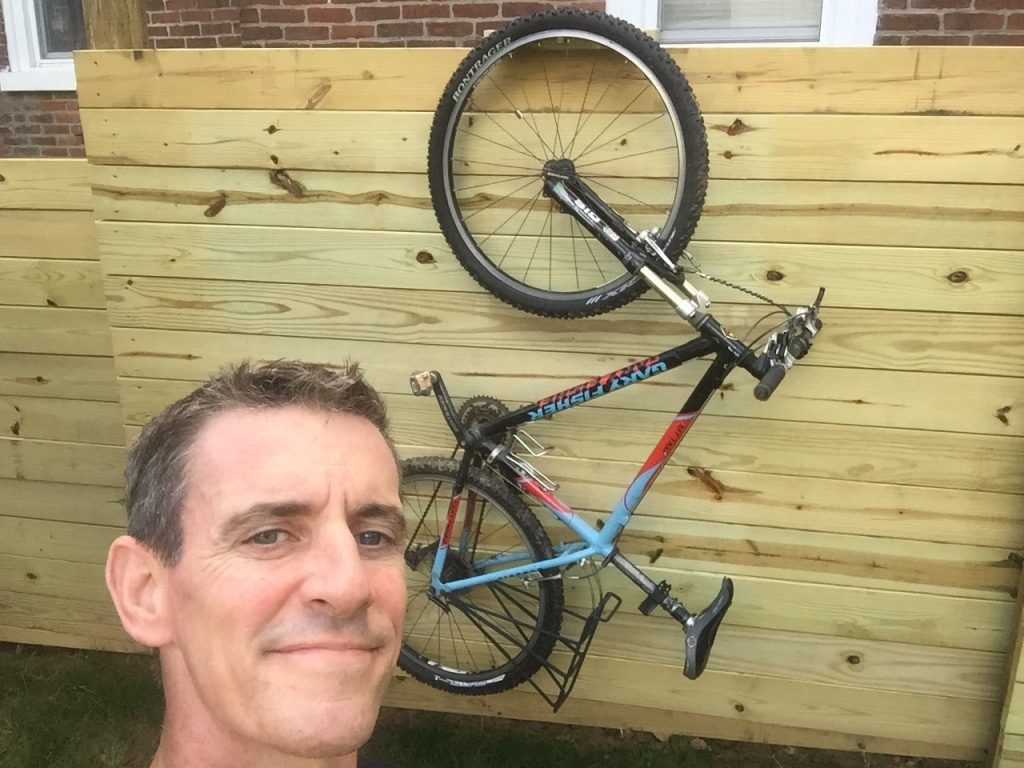
8 — The rig also serves to centralize some things. A block lagged to the top of the fence serves as a place to hang a mountain bike. This is not a great way to care for a mountain bike, however, it is better than letting it sit in the yard.
Another look at the bike hook.
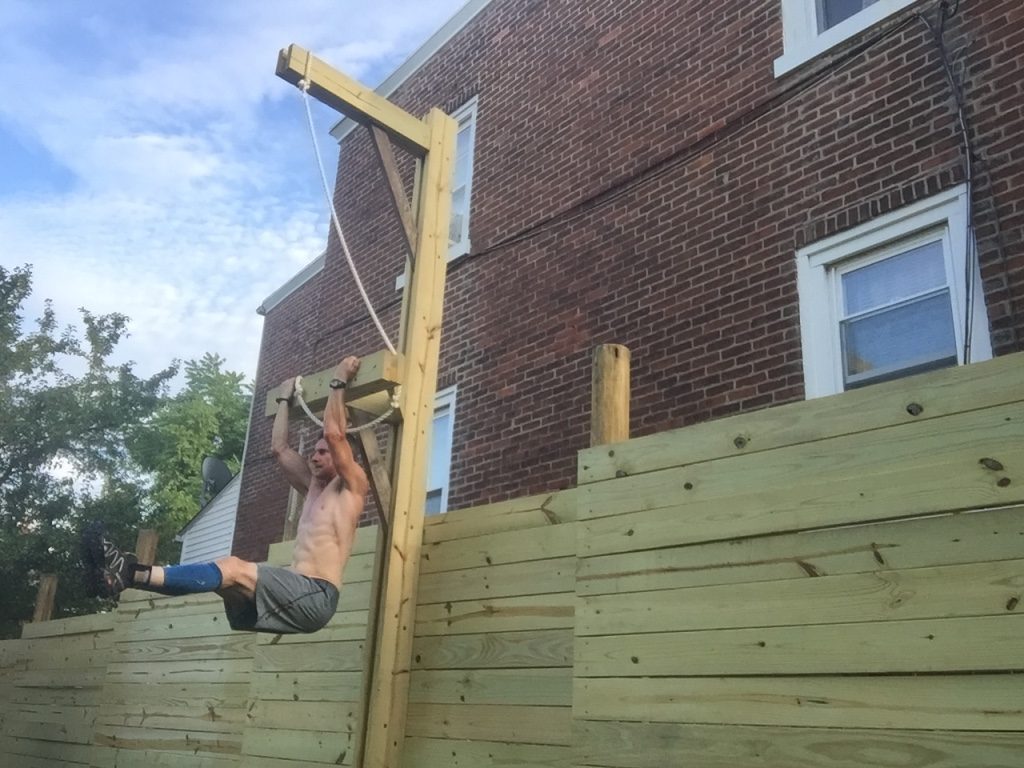
9 — Pull-up bar detail. I use my miter saw to cut diagonals that engage the pull-up bar/ab hanger to the angle brace.
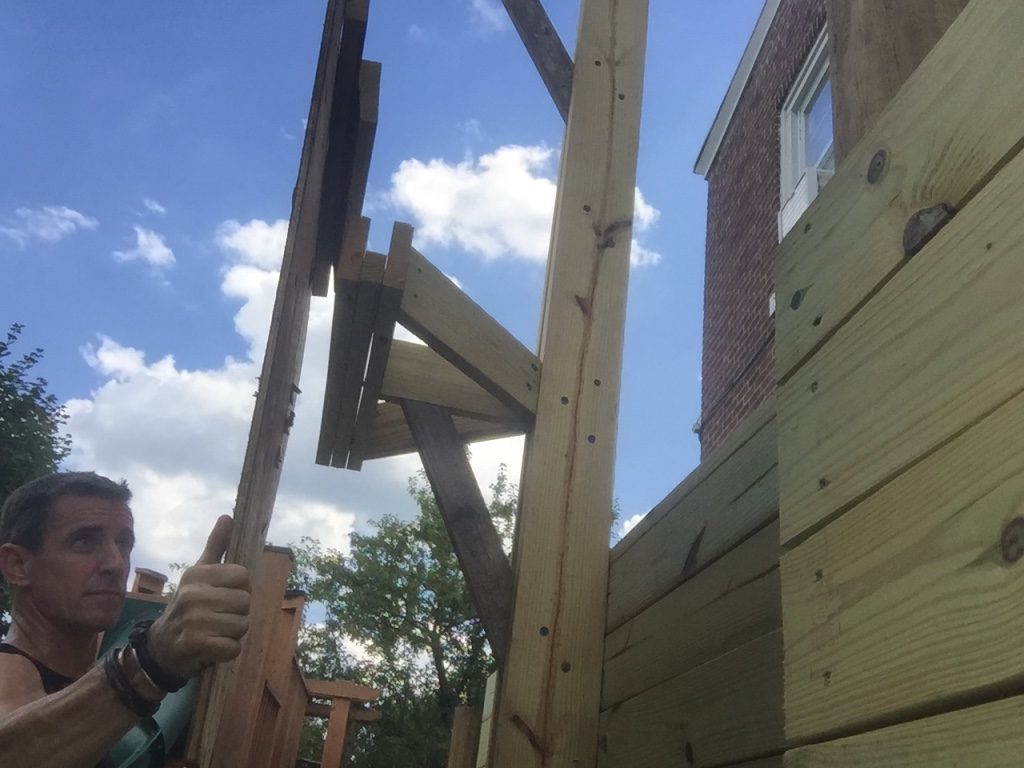
10 — The pull-up bar is three plies too. The center channel creates a hand-hold and serves a second purpose. More on that below.
Here’s another look at the pull-up bar assembly. I drive PowerLags through the stabilizers into the outrigger.
11 — A channel at the end of the rope climb outrigger provides a secure place to lash a rope.
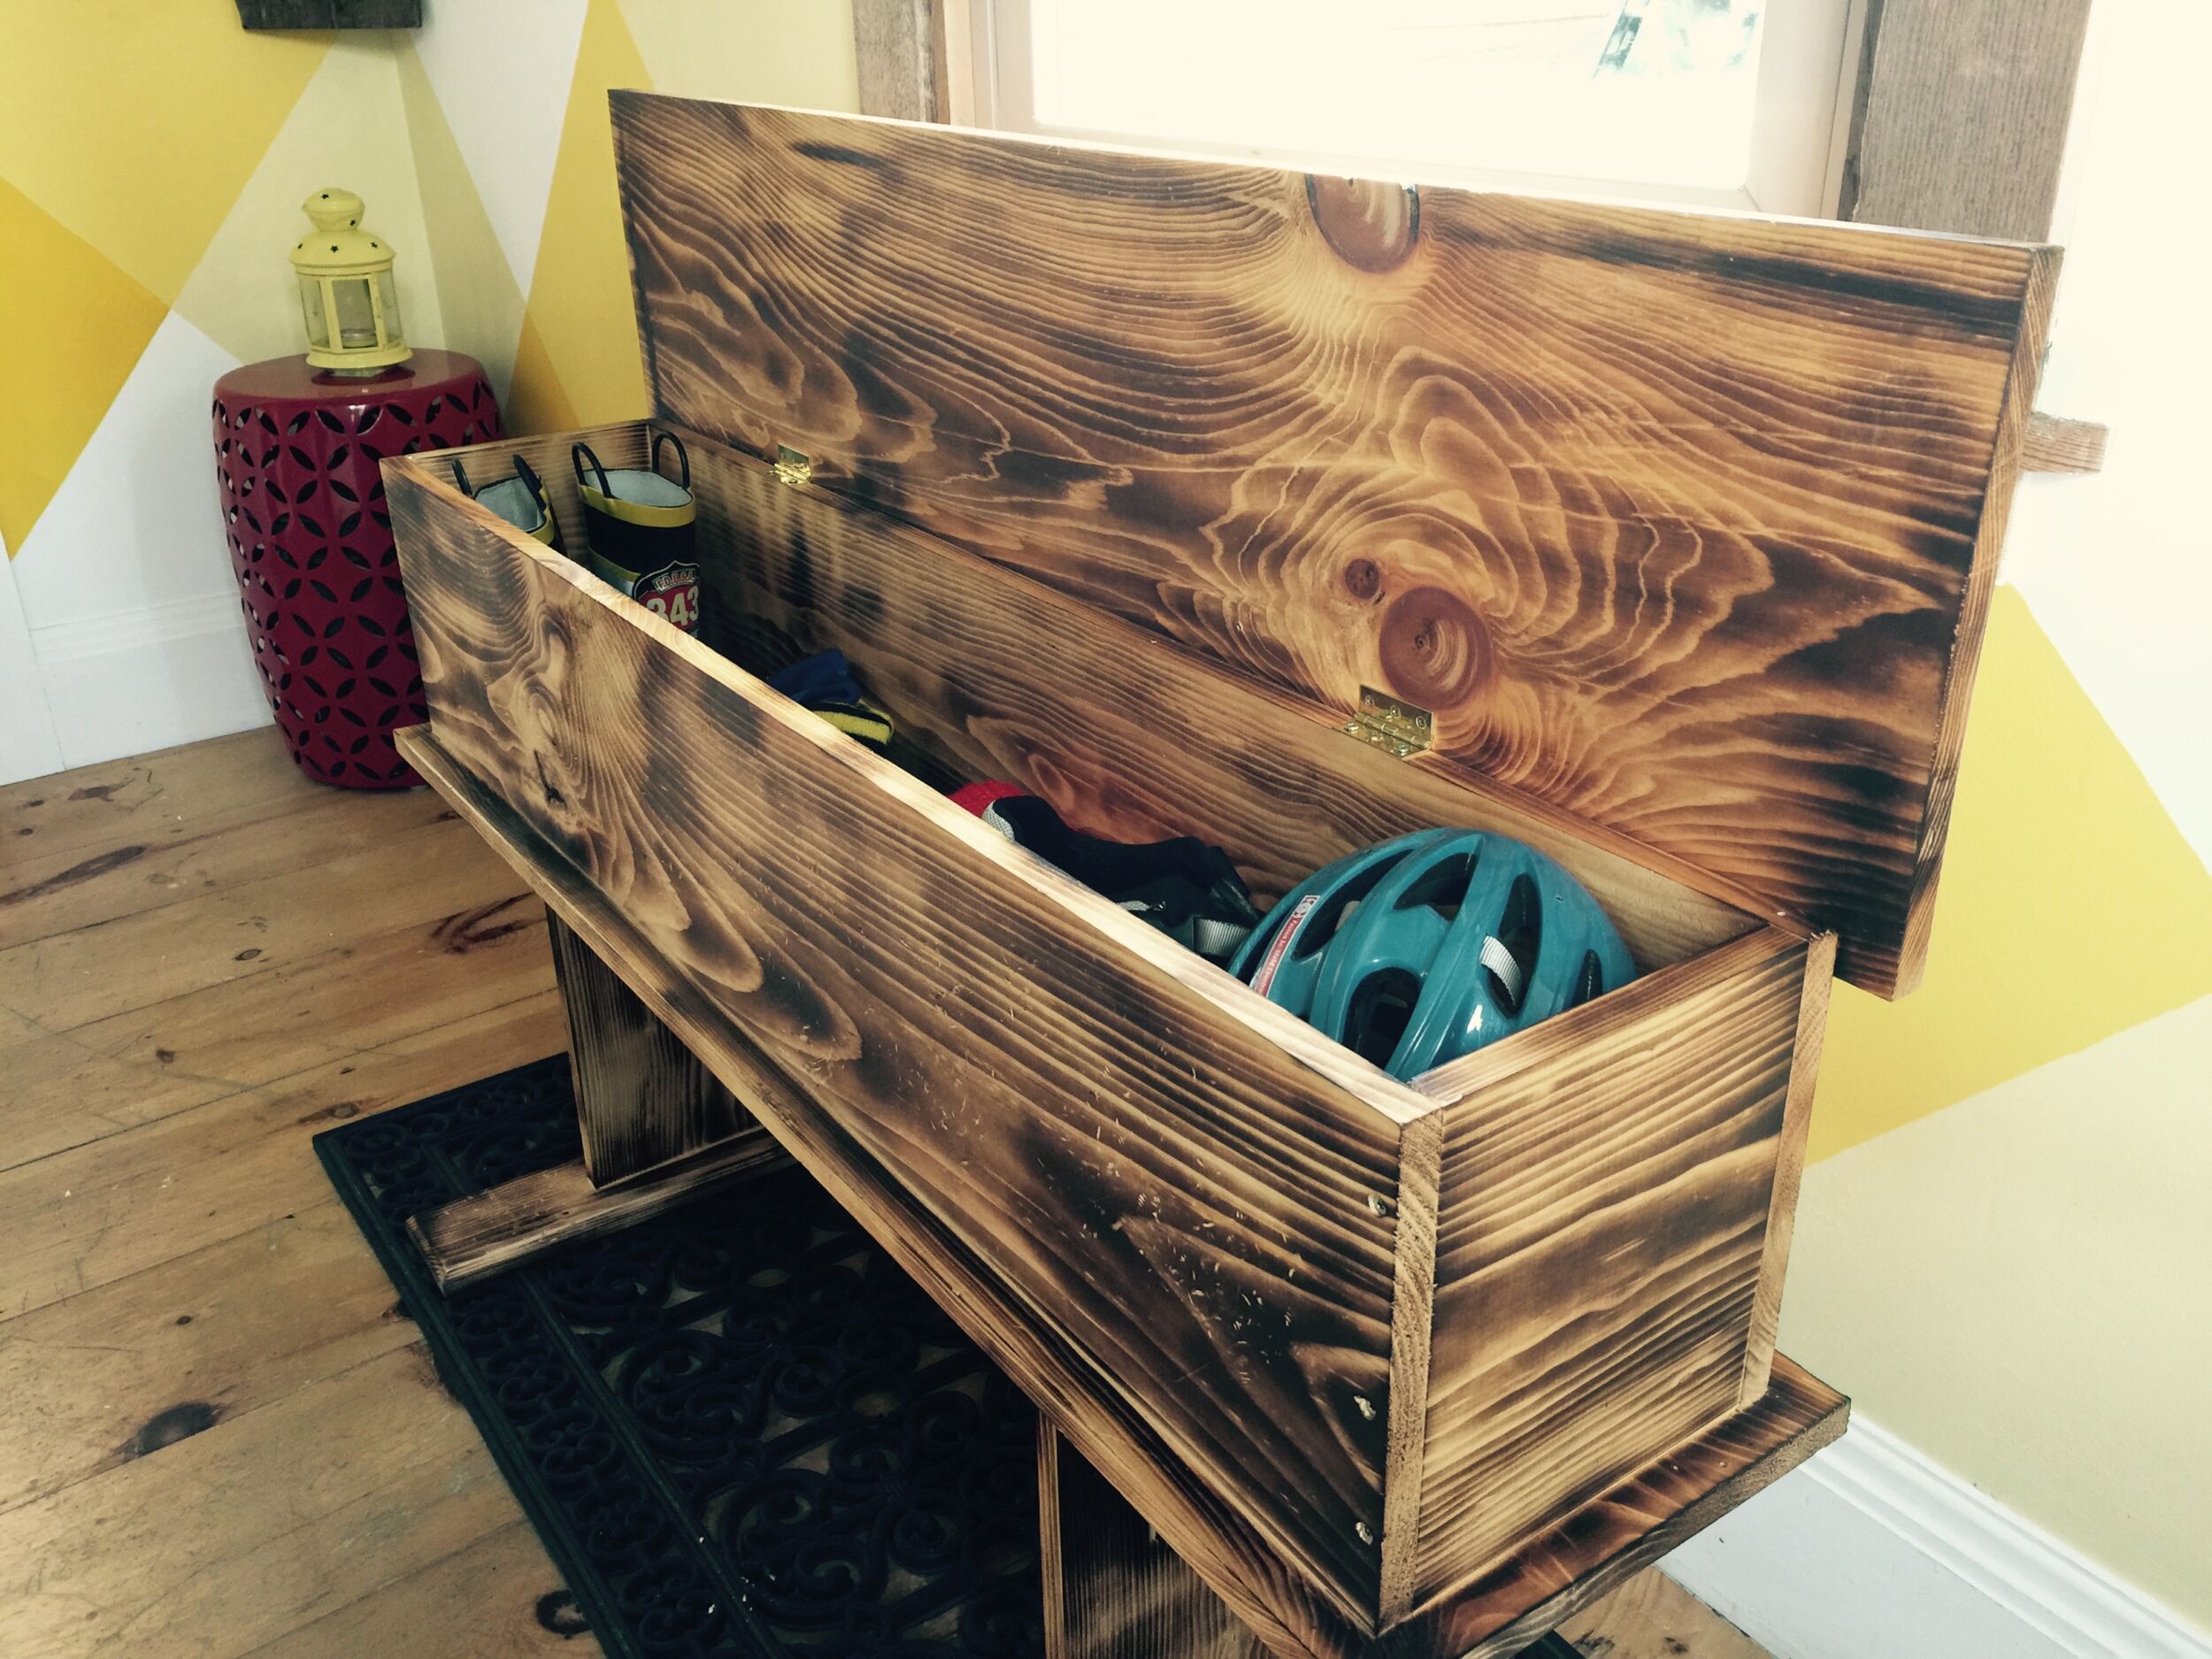
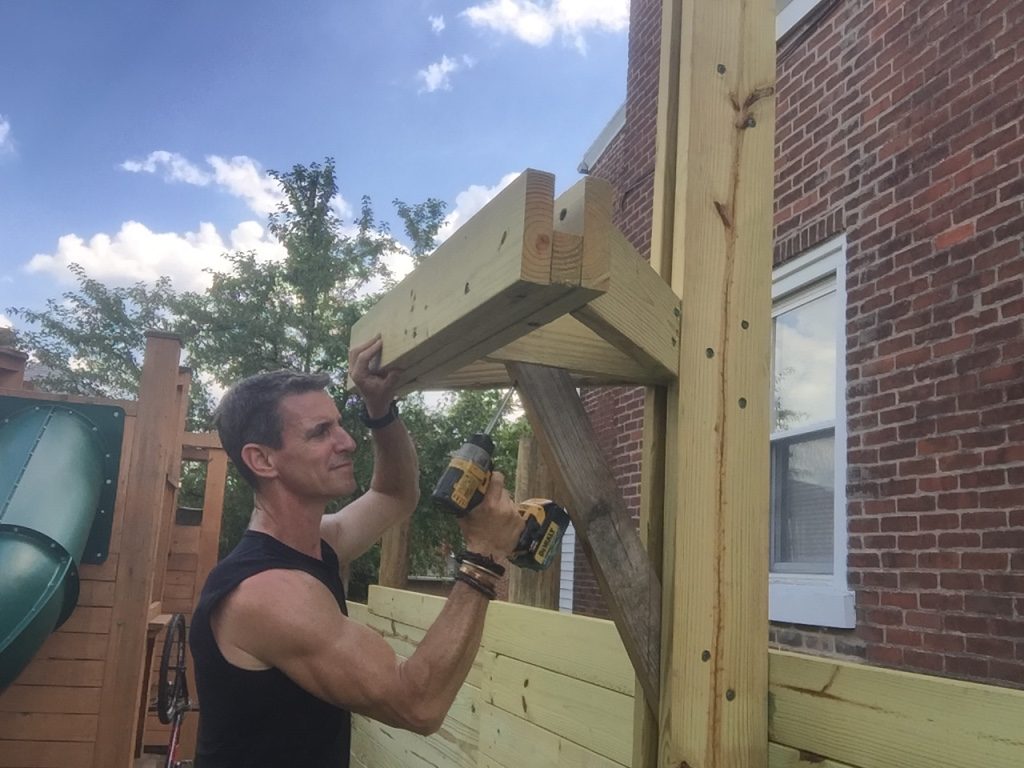
12 — Finally, the dip station—here’s how to make the brackets. It also serves nicely as a place to put things, which is something I need to work on. As a trend, it’s evolving.
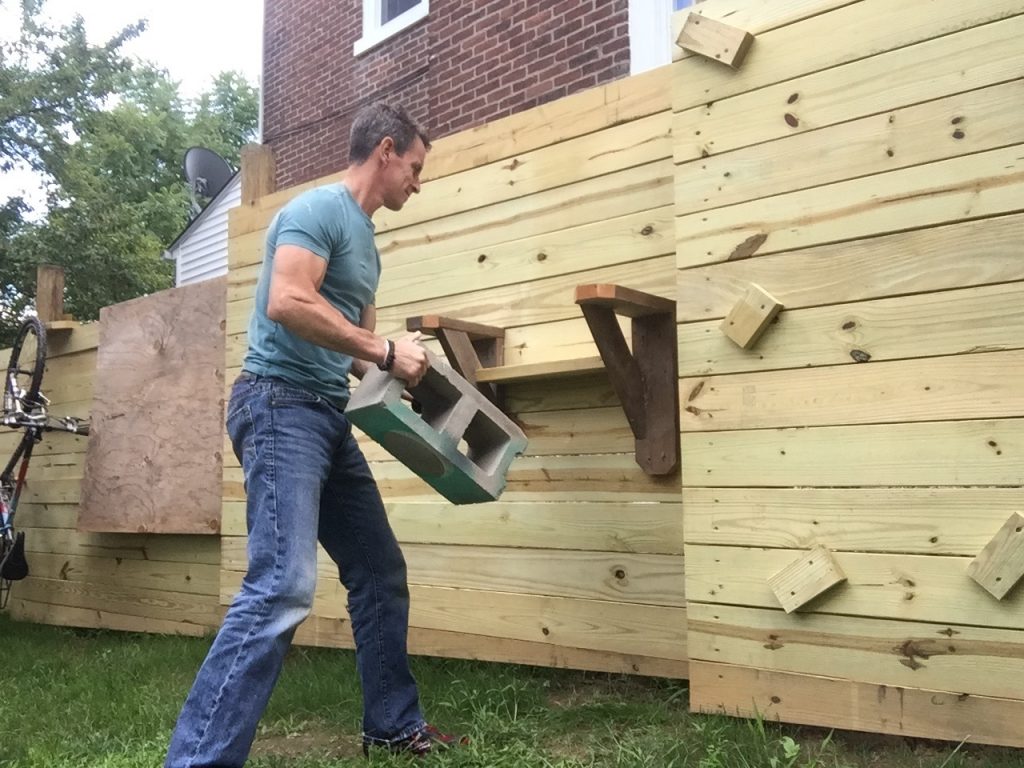
The brackets are awesome for dips.

Another look at the spear target. I beveled the ‘hook’ on the table saw so it would just fall in the channel in the pull-up bar.
Another shot of the spear target. Watch this video for how to make a Spartan Race spear.
If you guys got this far, you’re all-in for OCR, DIY Fitness and making life better. Thank you. 110%.