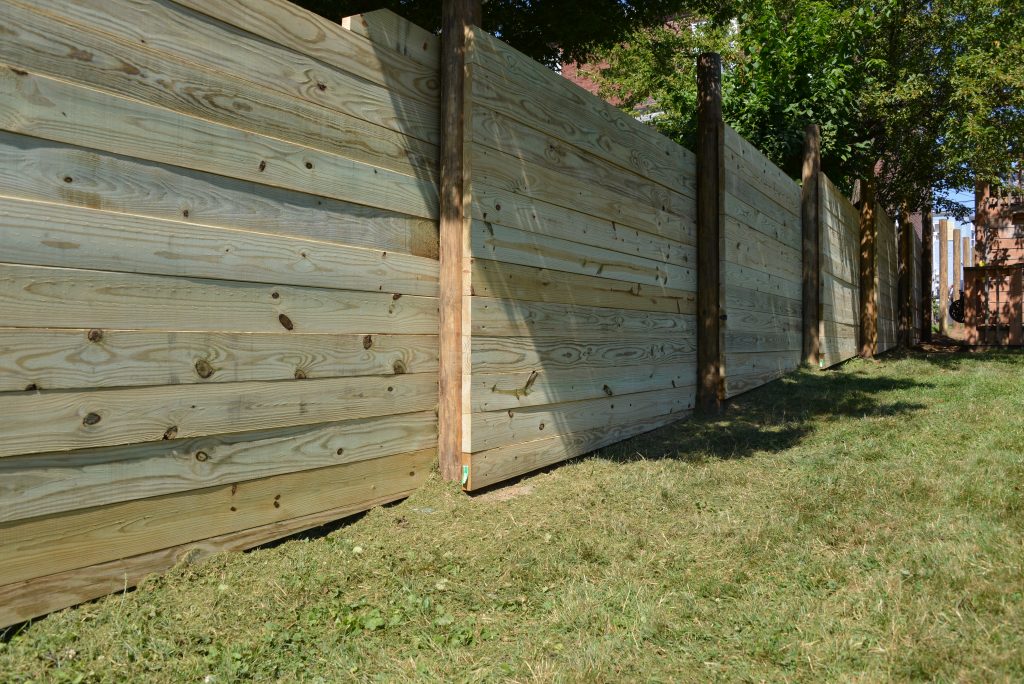
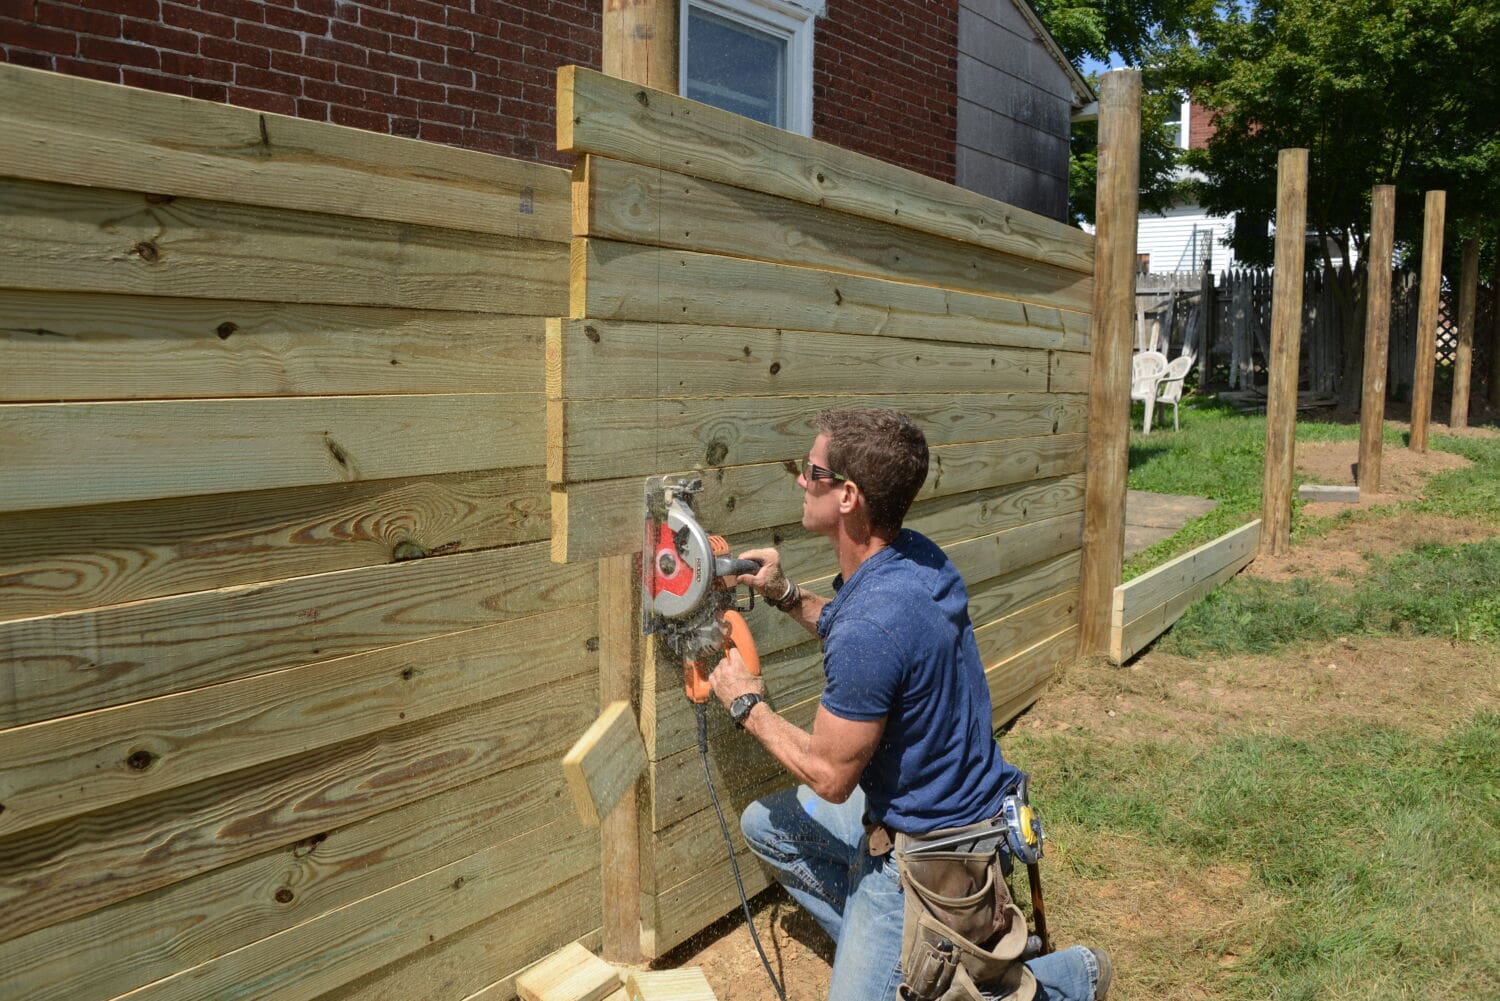
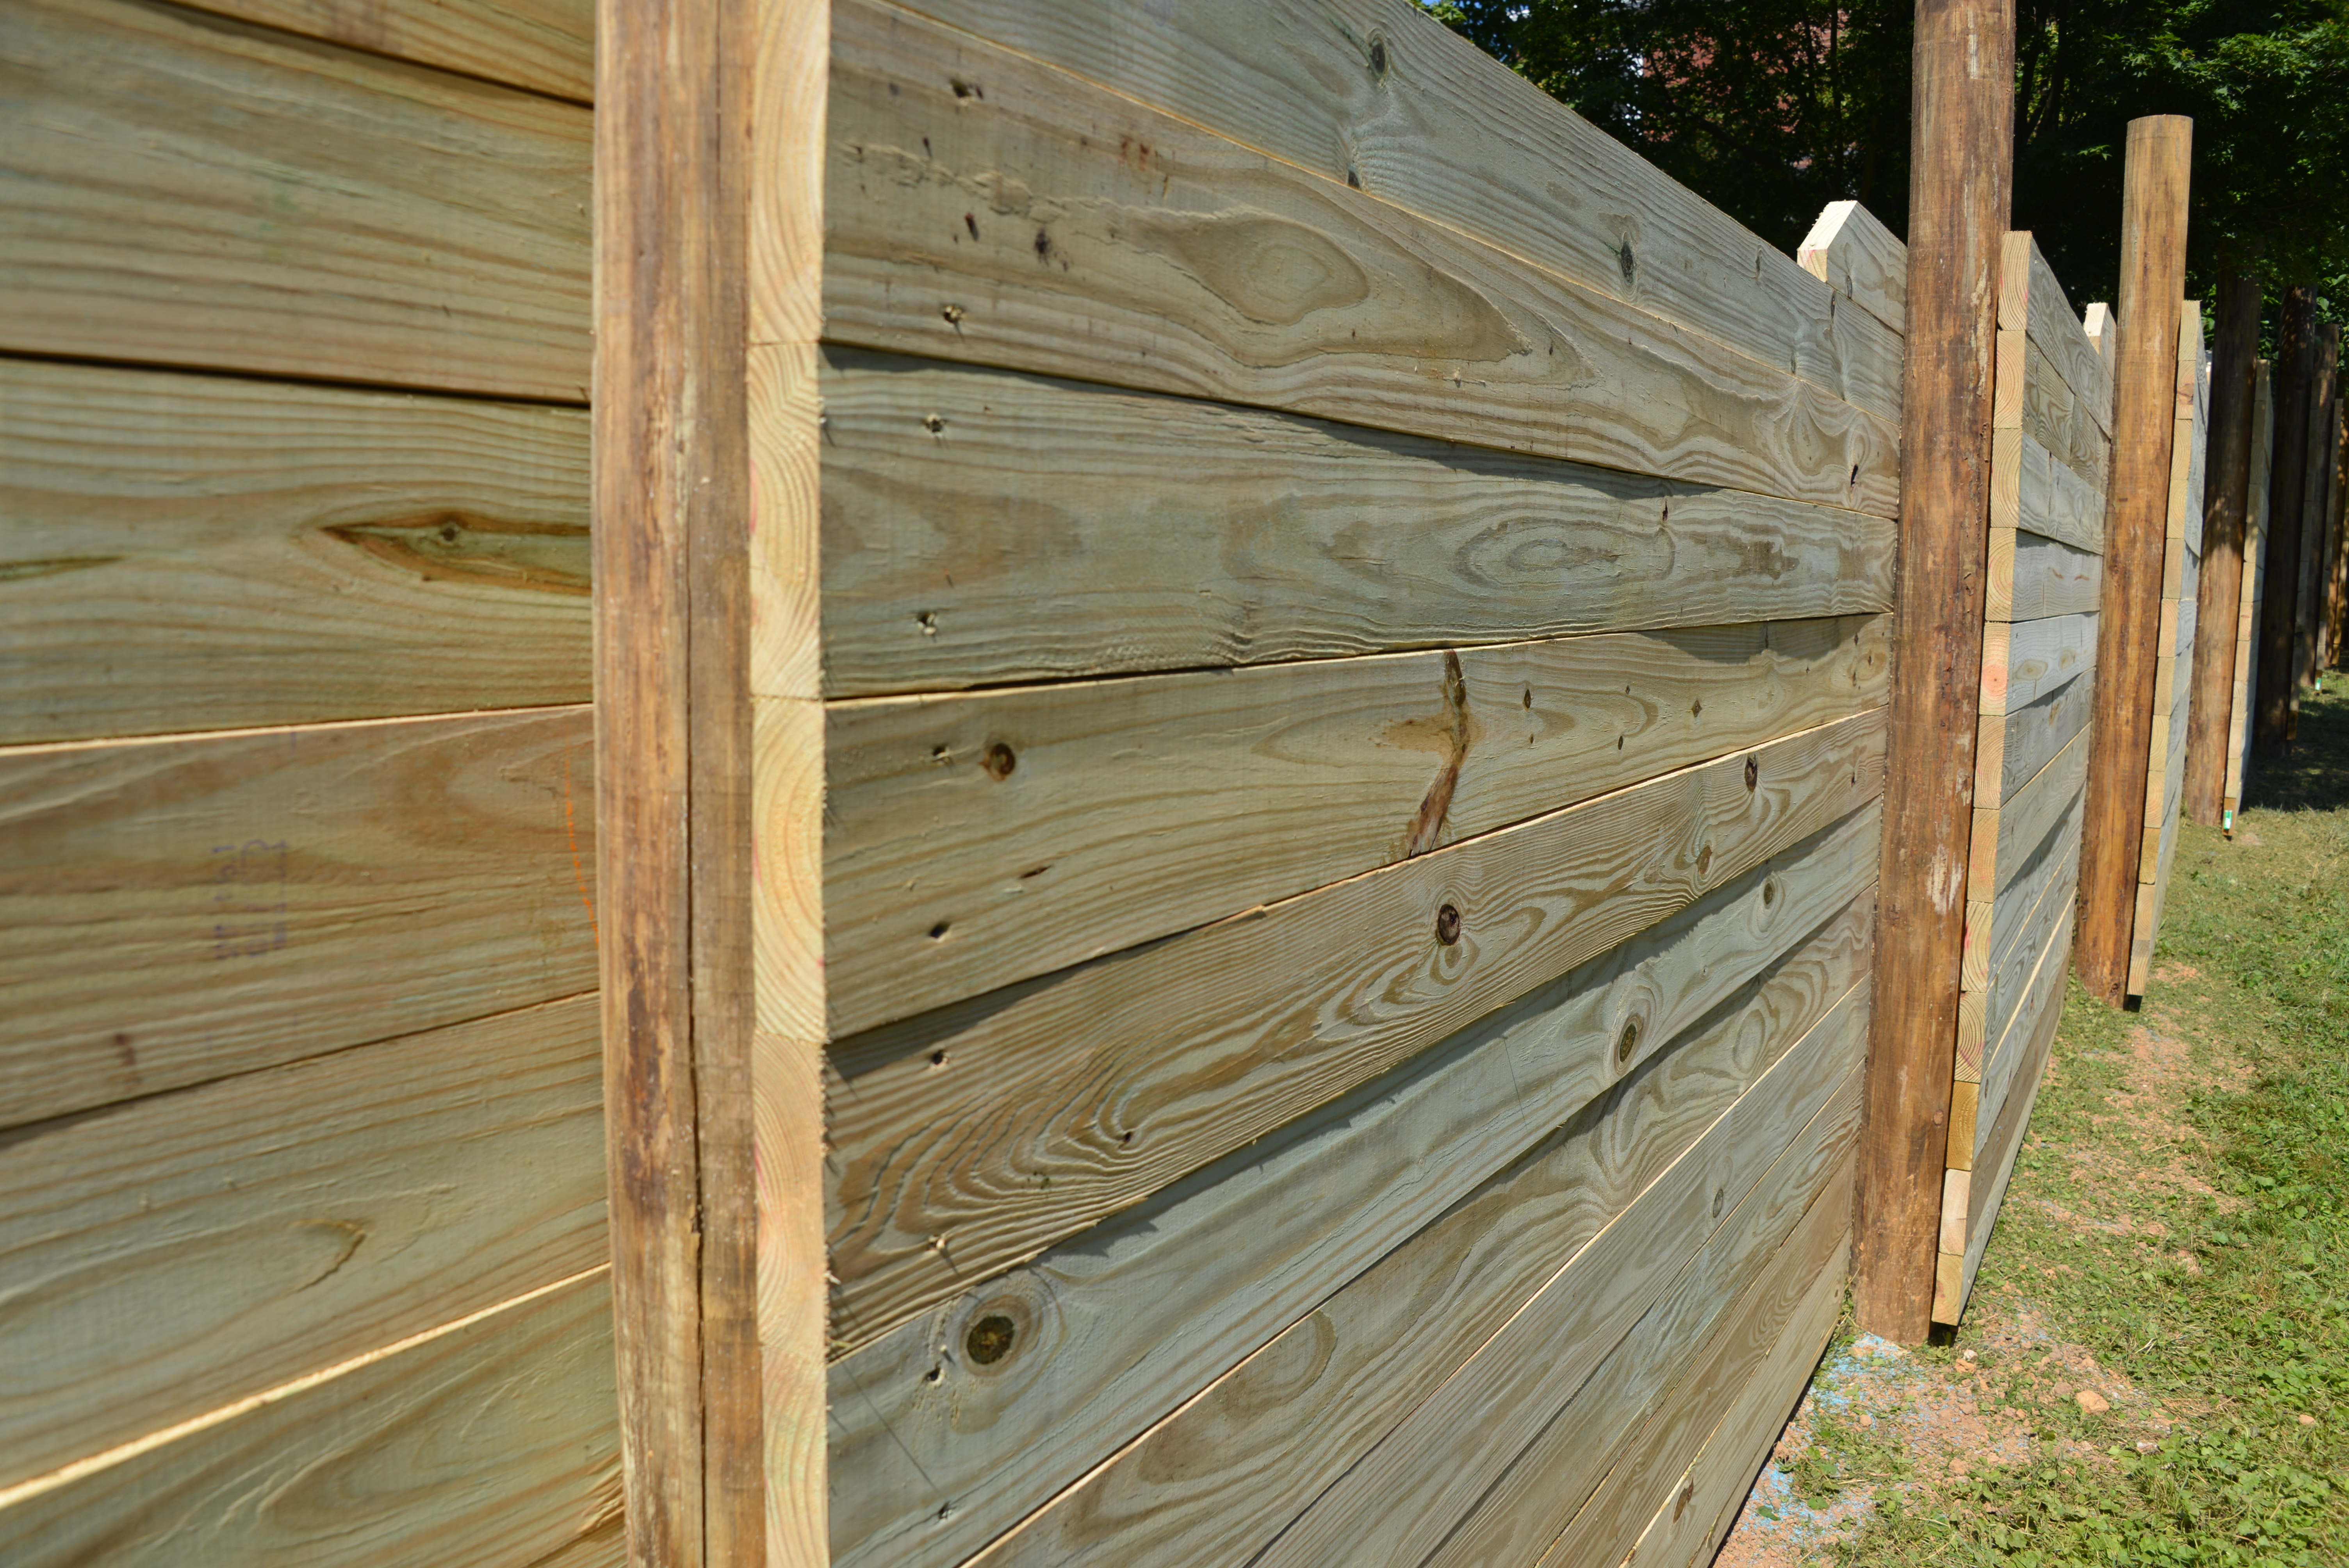
When I build a fence or design a landscape project, I love creating with wood. It’s my paint brush and my pallet. For this fence, I used round posts and horizontal planking for a stylish, unique look.
Building with wood is a little more to me (I sound like Dr. Seuss…Perhaps Christmas is a little bit more…). But it is: It’s not just building something, but literally creating. OK, I’ll calm down. Still, it’s true, no other material I’ve worked with gives the versatility, strength, individuality, durability, and I’m reminded of that when I think about this fence design.
To achieve the blend of looks and performance I set out to create for this fence, I used pressure treated Southern Pine, rated for ground contact. Each board—installed horizontally on this fence—is simultaneously unique and dependably the same all at once. Awesome!
Unlike any other material, wood enables me to do this. From a design perspective, it’s pleasing. From a carpentry perspective, it’s fast and easy to install. Here’s how I do it.
Design Options
There are two primary ways to install horizontal slats on a fence like this: Follow the slope of the ground, or create individual panels with slats that are level.
Either one works, though there are certainly landscape variations and other design factors to consider. How you choose your fence design is a matter of personal taste.
When I build a fence I like the texture individual panels give, neatly stepping up or down the slope of the lawn. The carpenter in me feels this is a more purposeful look.
How-to
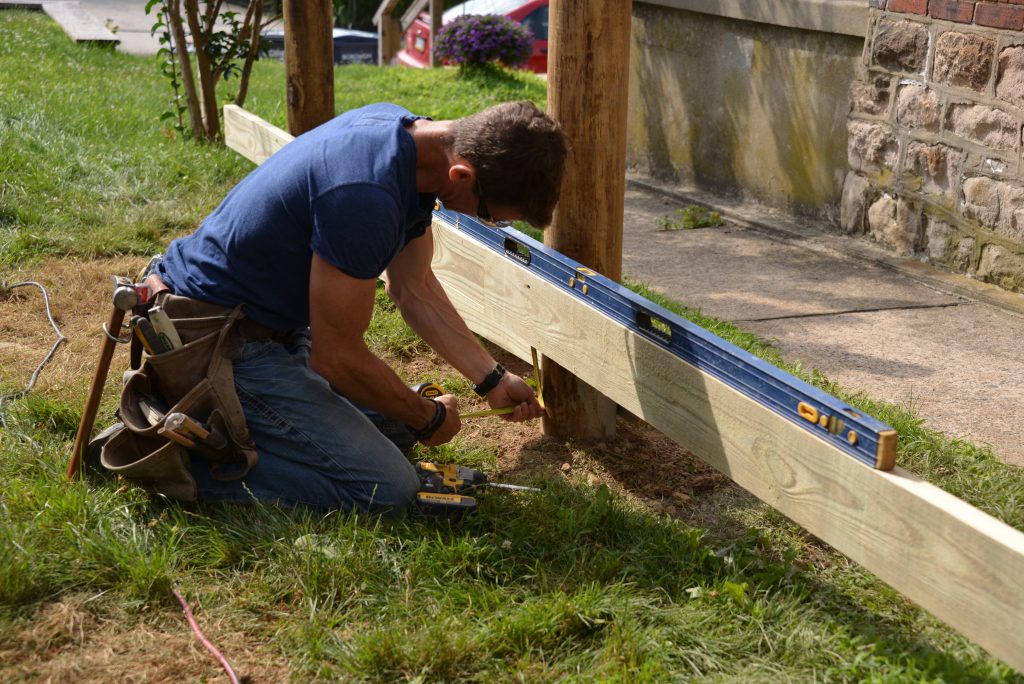
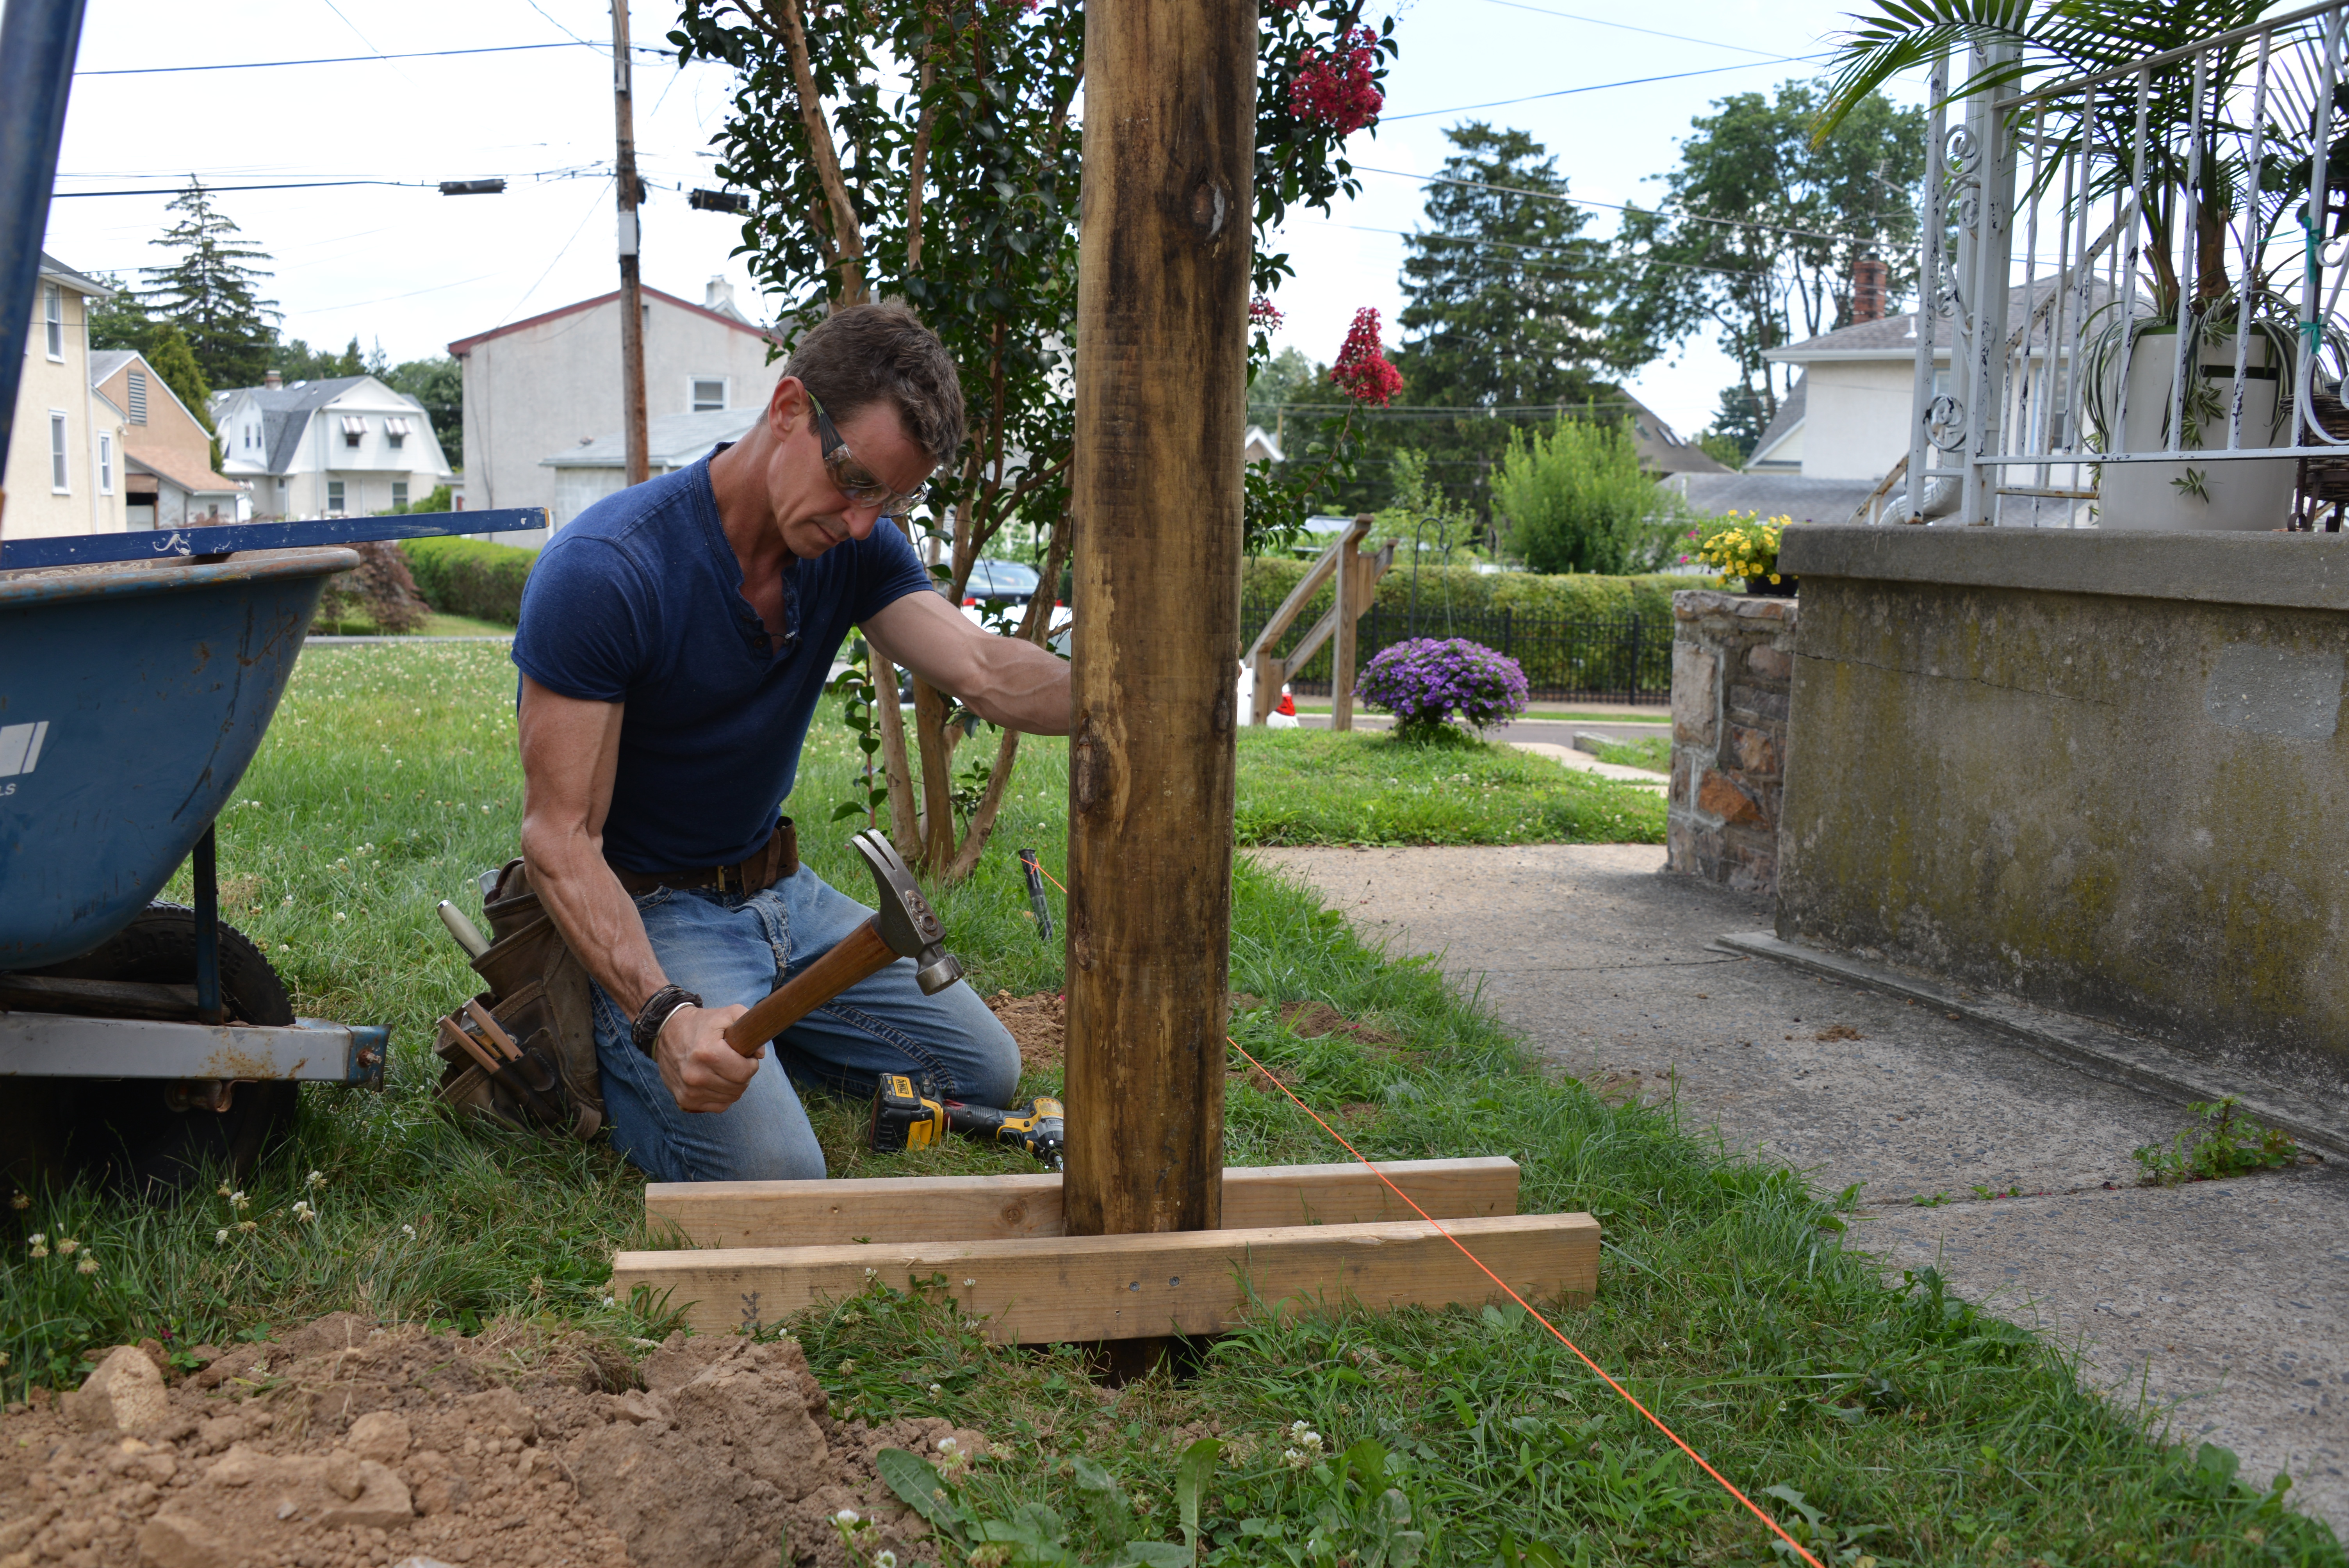
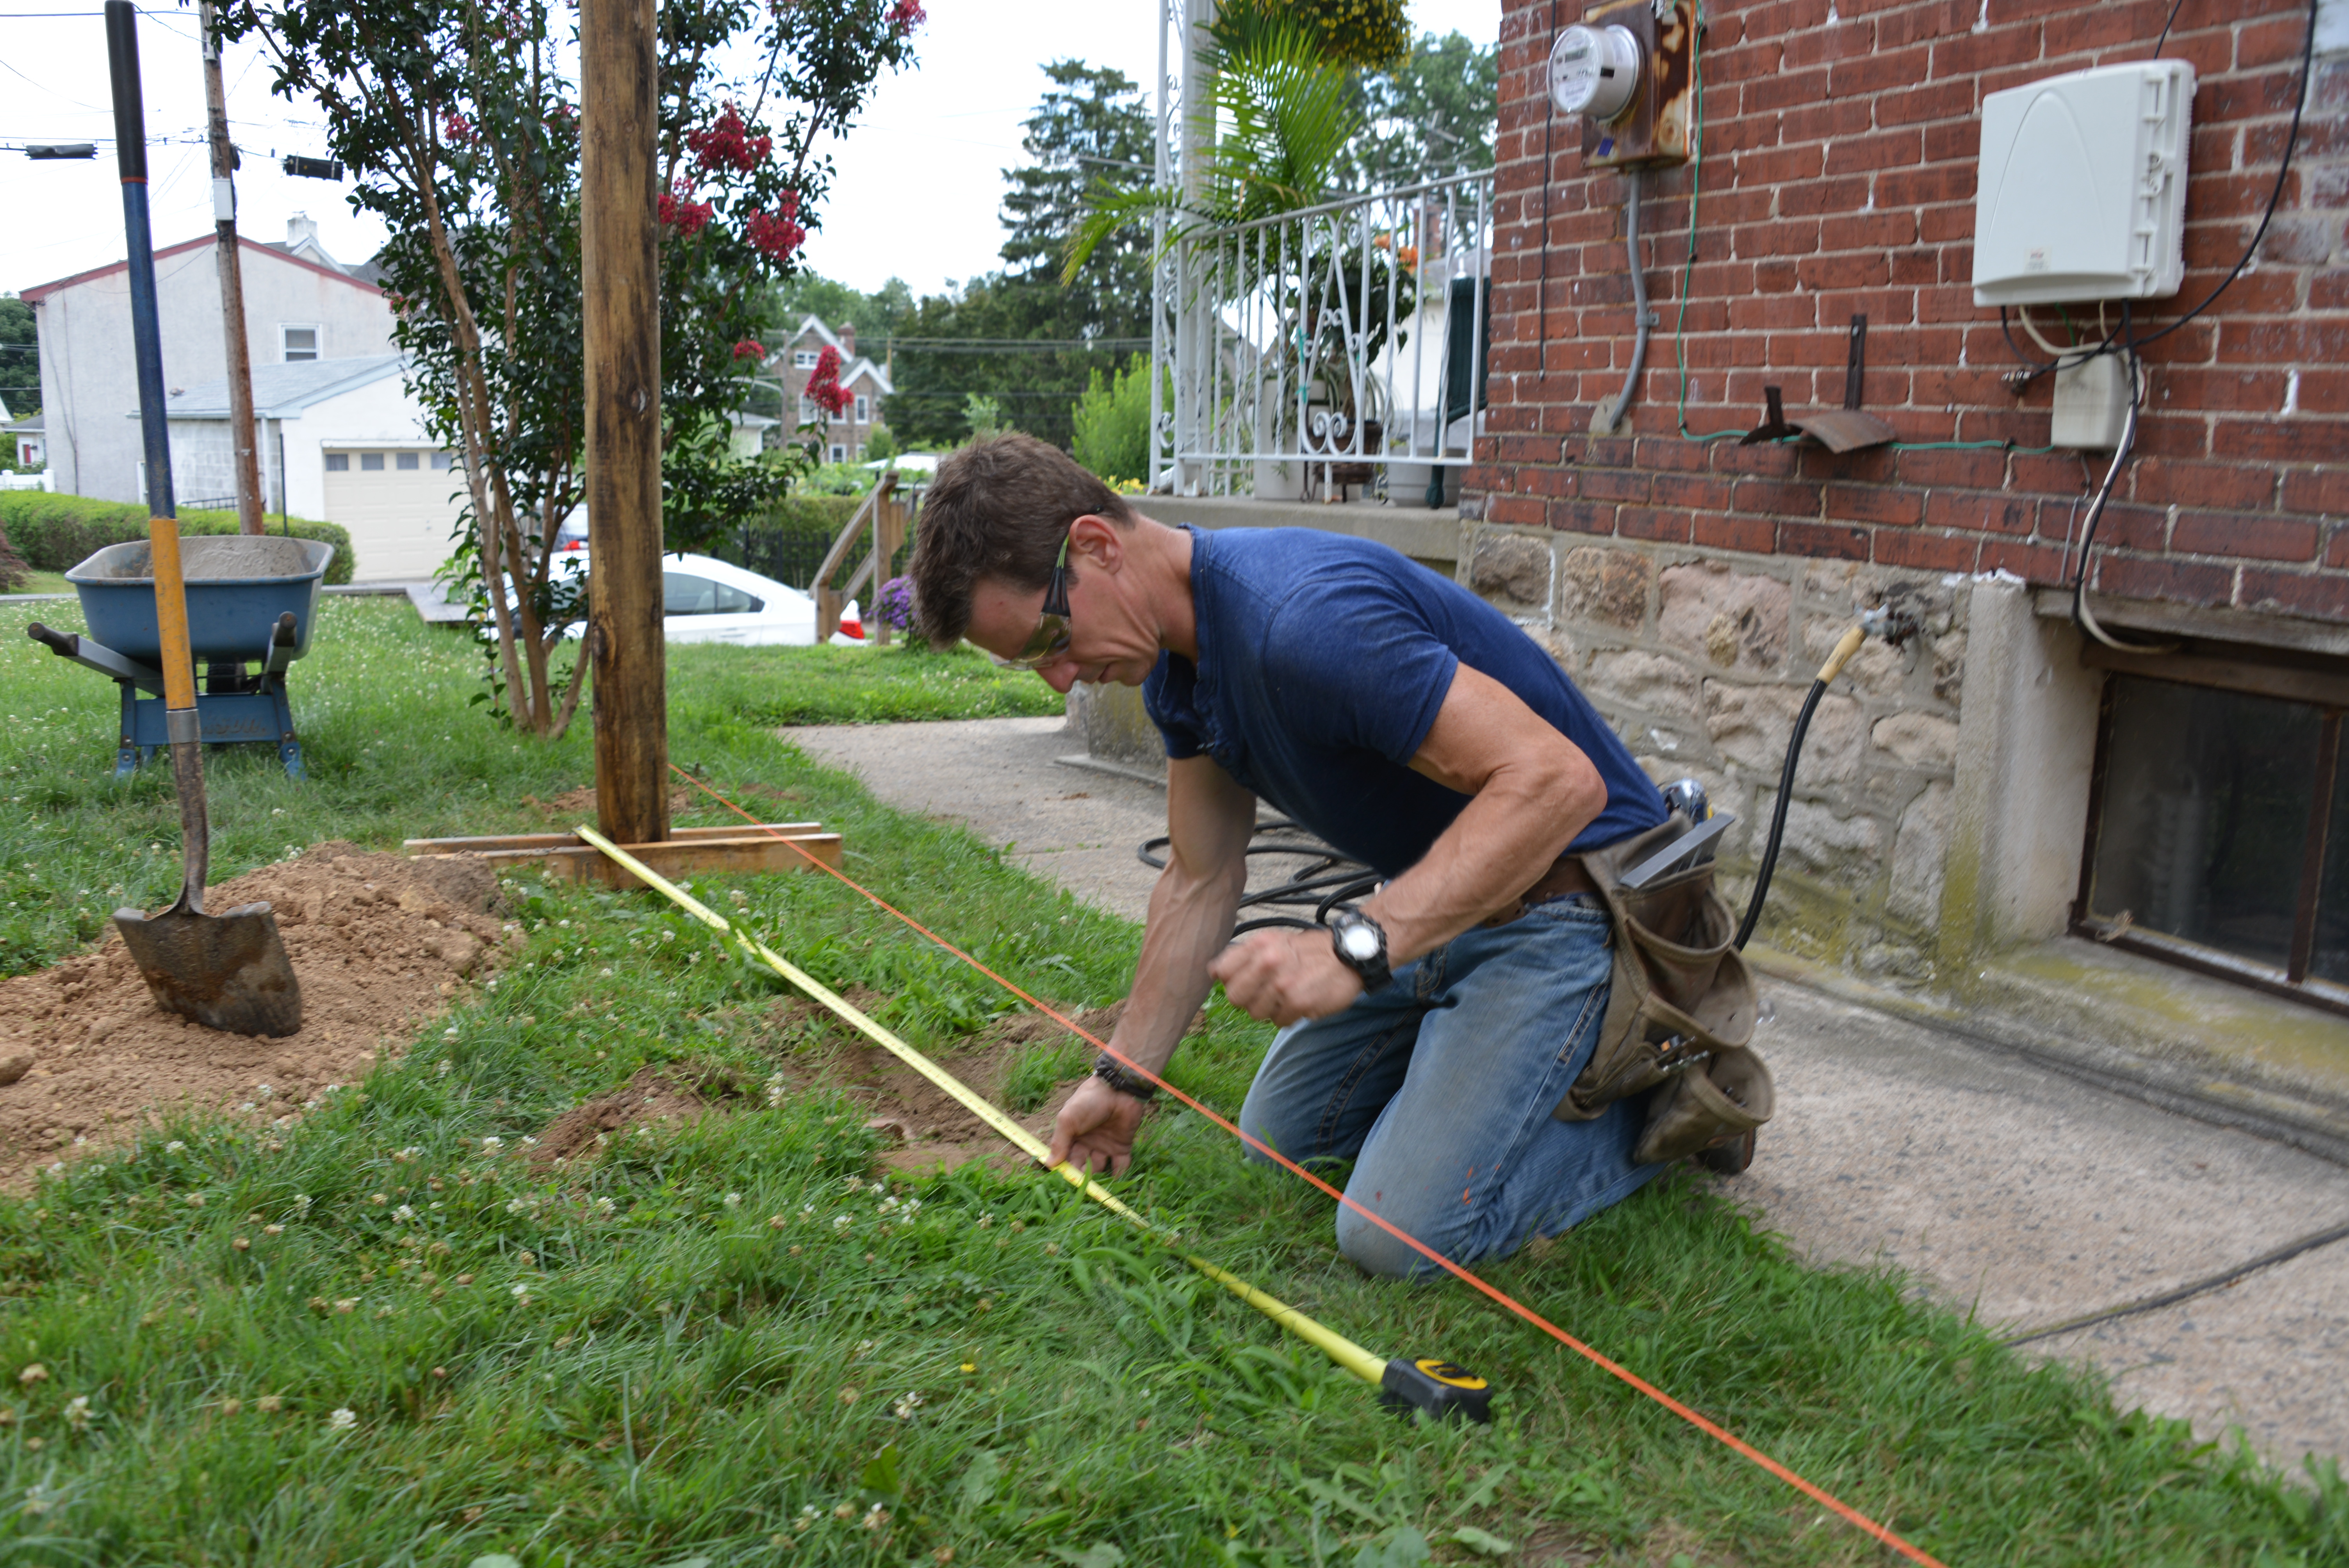
Follow the ground. Installing slats with the ground is pretty easy. Rip (that means to cut the length of the board as opposed to across it) a board 2-inches wide. This is used as what carpenters call a ‘stand-off’. It’s simply a ledge to create a straight a line and a gap beneath the the bottom board. Want to know more about why a gap is important? Check out this beginner’s checklist.
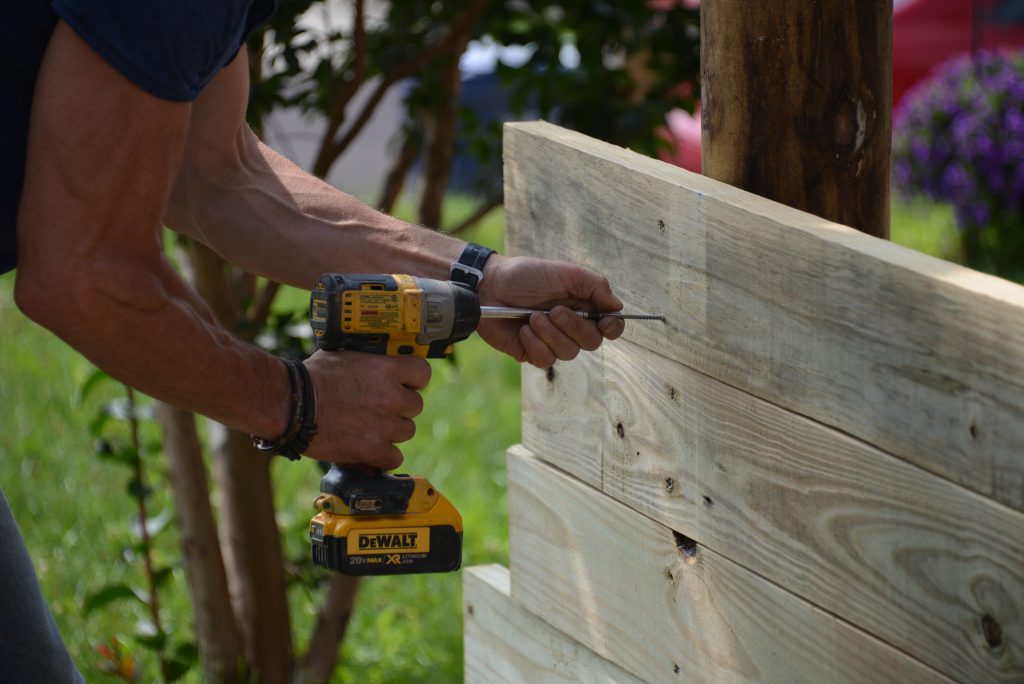
Fasten the stand-off between posts then start stacking slats on top of it. Once the slats are installed, remove the stand-off and use it for the next section. I used 2×6, ground-contact rated pressure treated Southern Pine on this fence. It’s a dense, durable wood perfect for this application and my climate, which has everything from steamy humid days to 3-feet of snow.
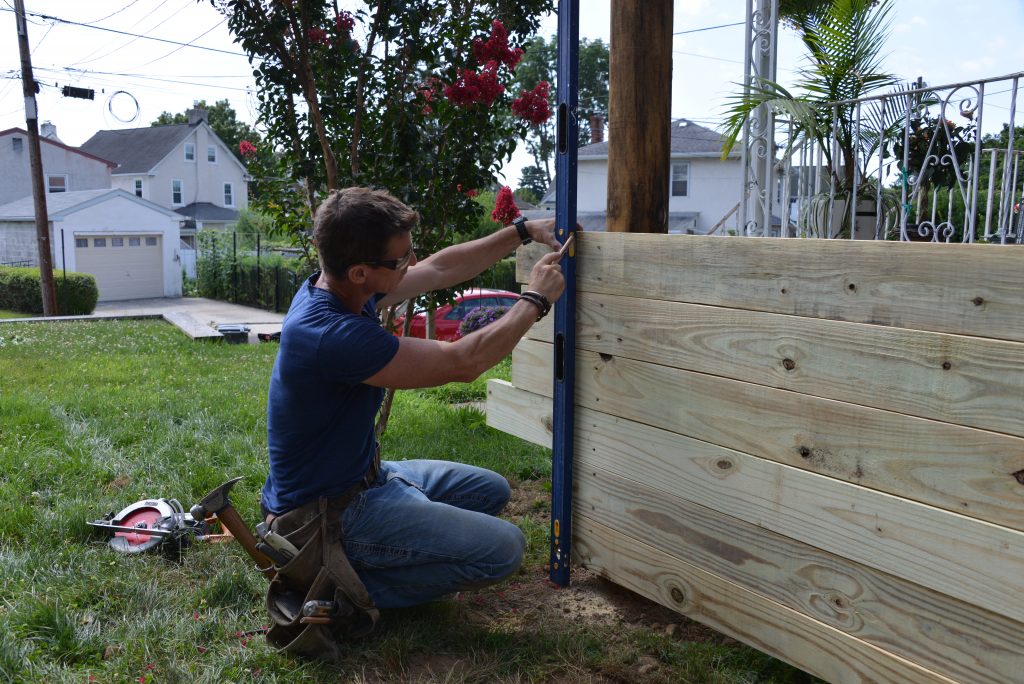
Panels. Creating a panel look with slats that are level—no matter what the ground is doing—is not much harder than following the ground and it gives a more controlled, detailed look in my opinion.
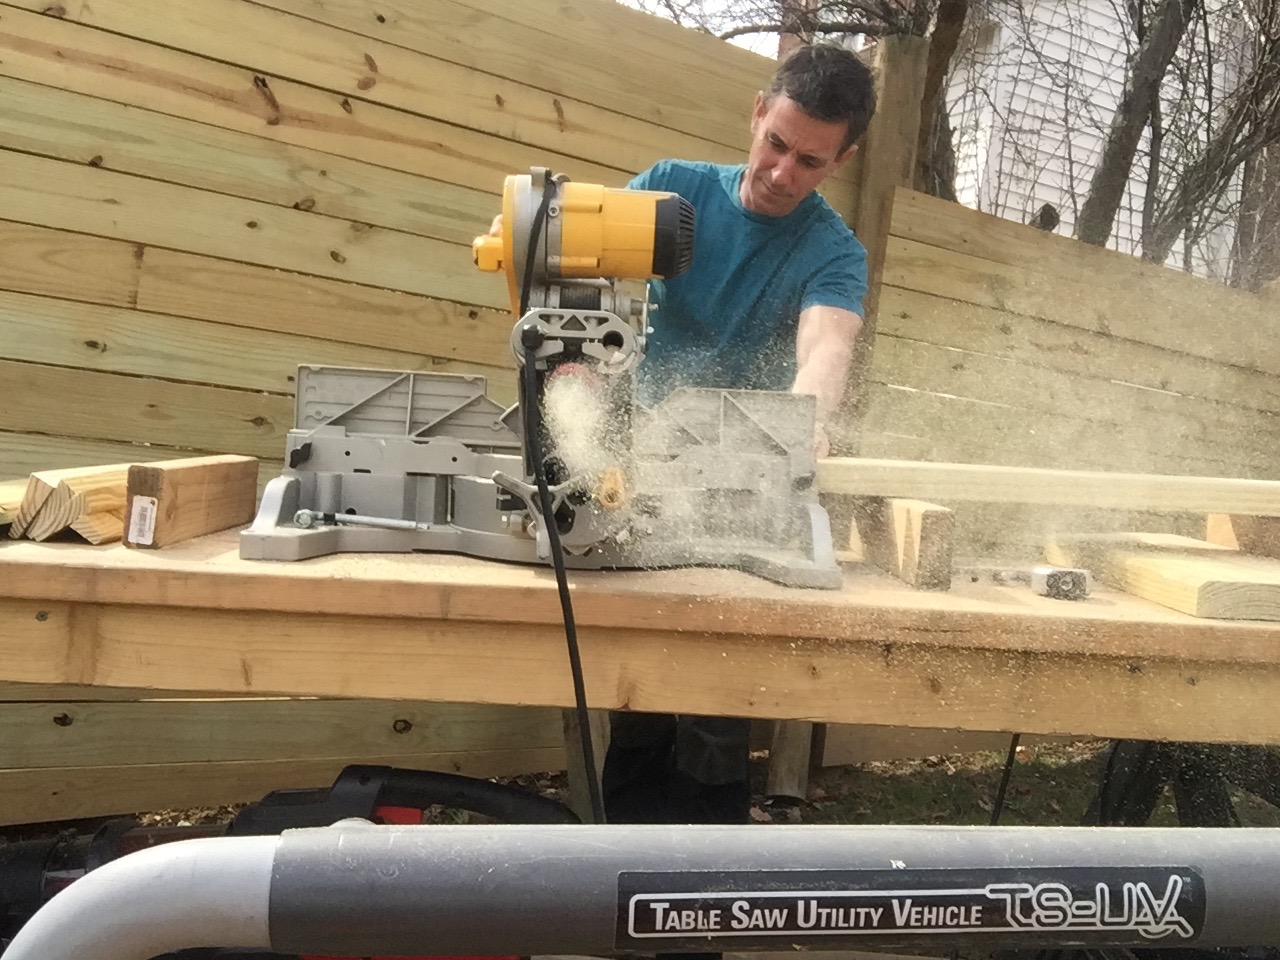
To figure out the shape of the tapered bottom piece, I set the first level plank. This shows the width of the of the tapered board in real life. I then match that shape on a real board and cut it. On this project, the shape worked out to be a 2×6 ripped (cut lengthwise) from corner to corner.
Three important details: The first level board needs to be cut to finished length before installation. I get that by measuring post-to-post. Easy. Then, the tapered piece needs to be cut to the same length, then you snap the line and cut. Also, I found it easier to remove the level plank and fasten the tapered piece to it by screwing right though the thin end of the taper into the board above it. I then re-install both pieces at the same time.
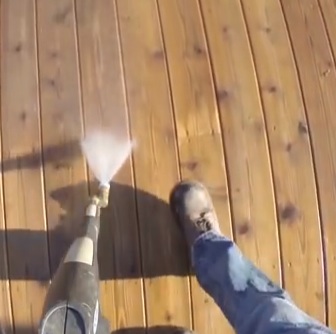
To protect the cut edge, I quickly paint on some copper napthanate and install the board.
If the ground pitches more severely than the ground on this project you may need to make some adjustments—using a wider bottom slat, like a 2×10 for example—to accommodate the ground.
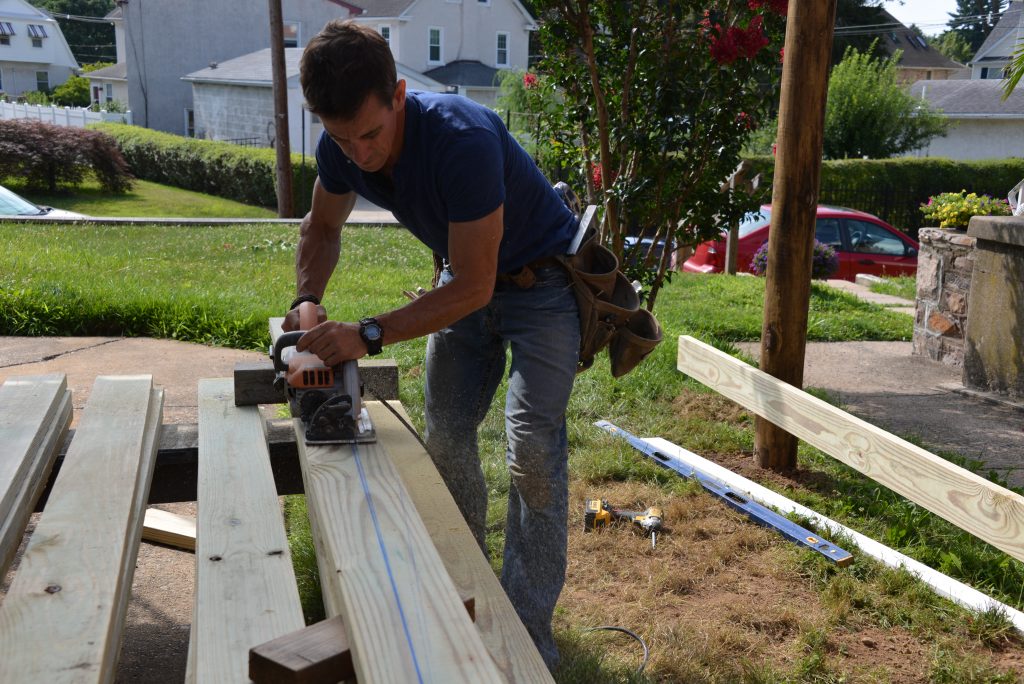
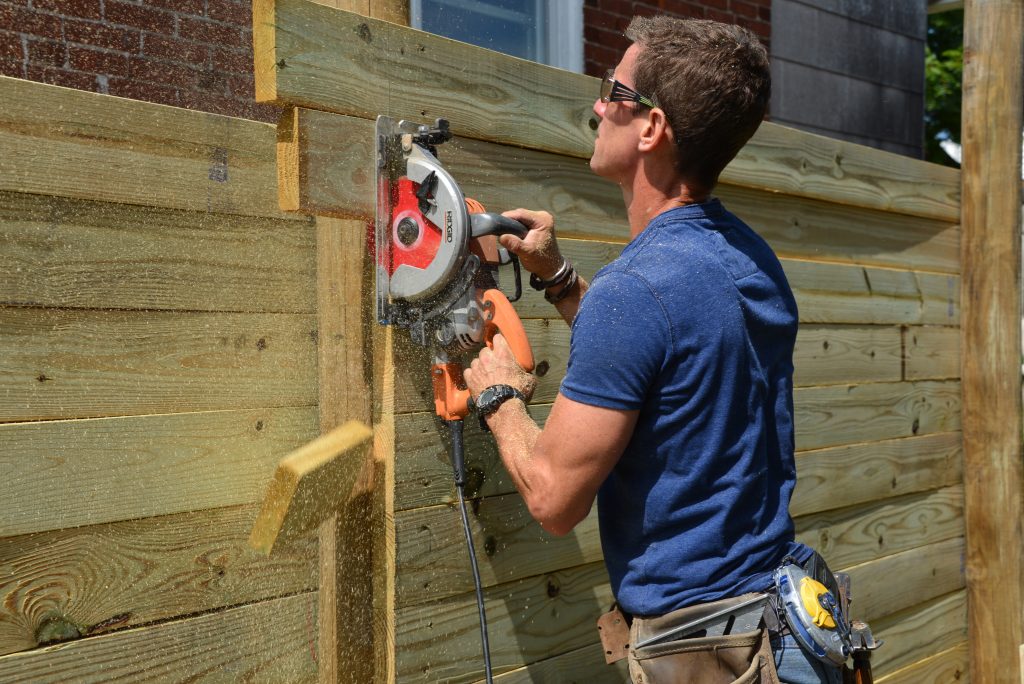
Planks. For a sweet, even edge on the planks, I take a trick from my deck building play book.
Much like deck boards, it’s easier and more accurate to set the first 2-3 boards at the finished length. Then, stack the remaining boards with the ends running long (by the way, when doing this I was nearly inspired to leave them. In a different yard, they’d look great with a ‘saw-tooth’ look).
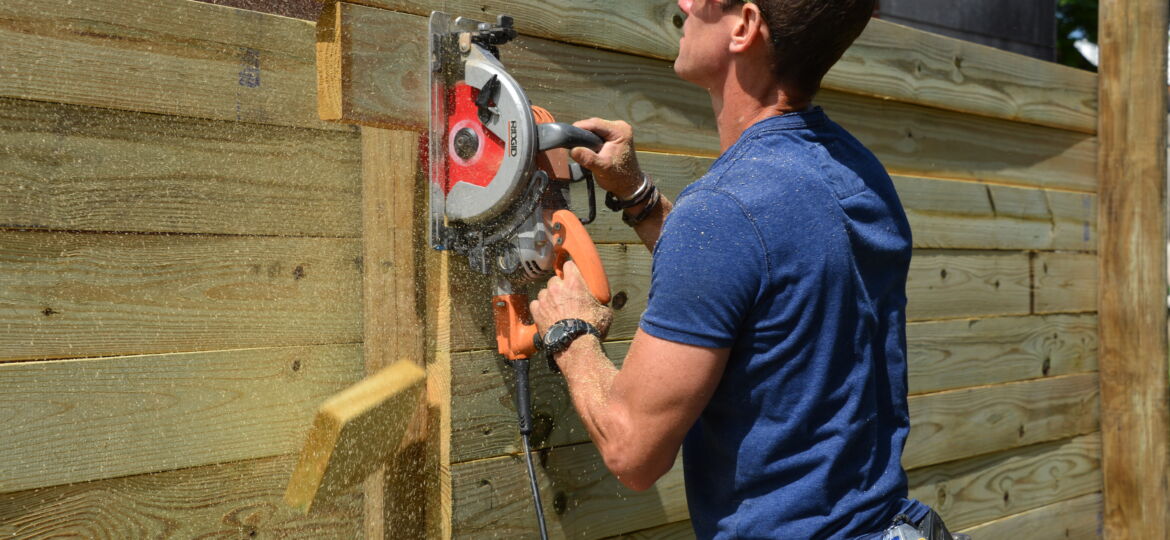
I used a level to mark a plumb (straight up and down) line from the bottom pieces up to the top board.
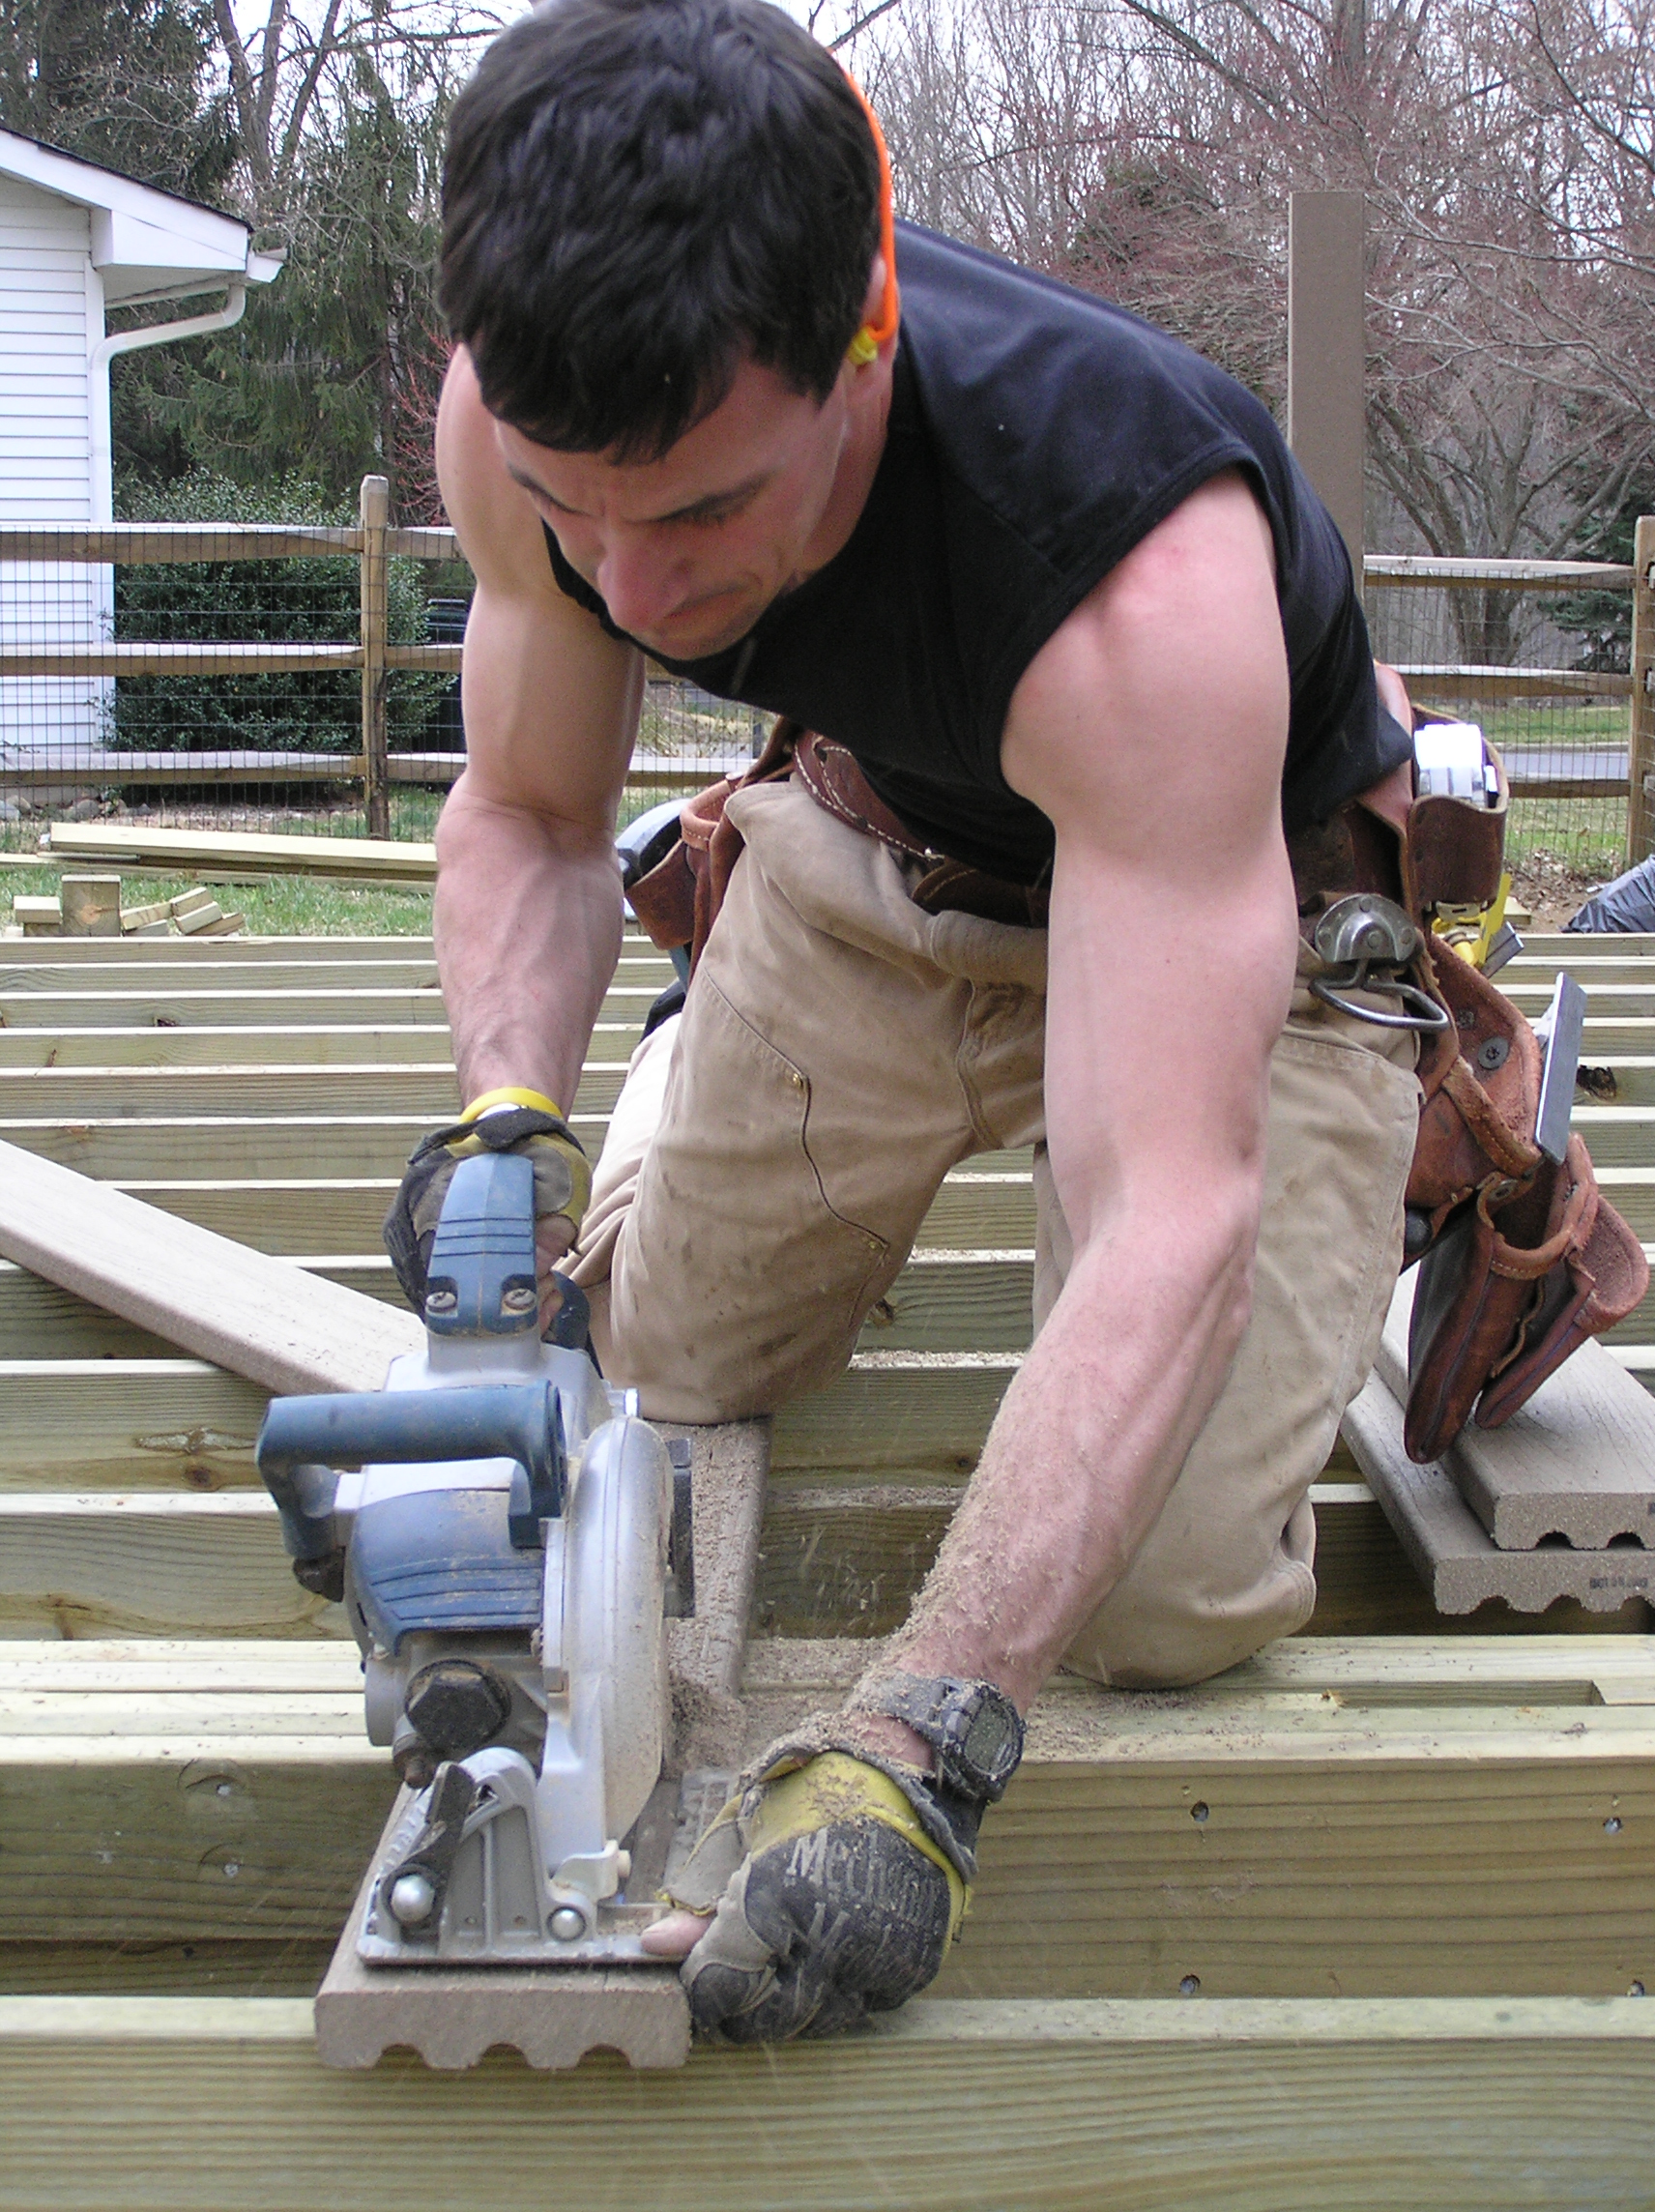
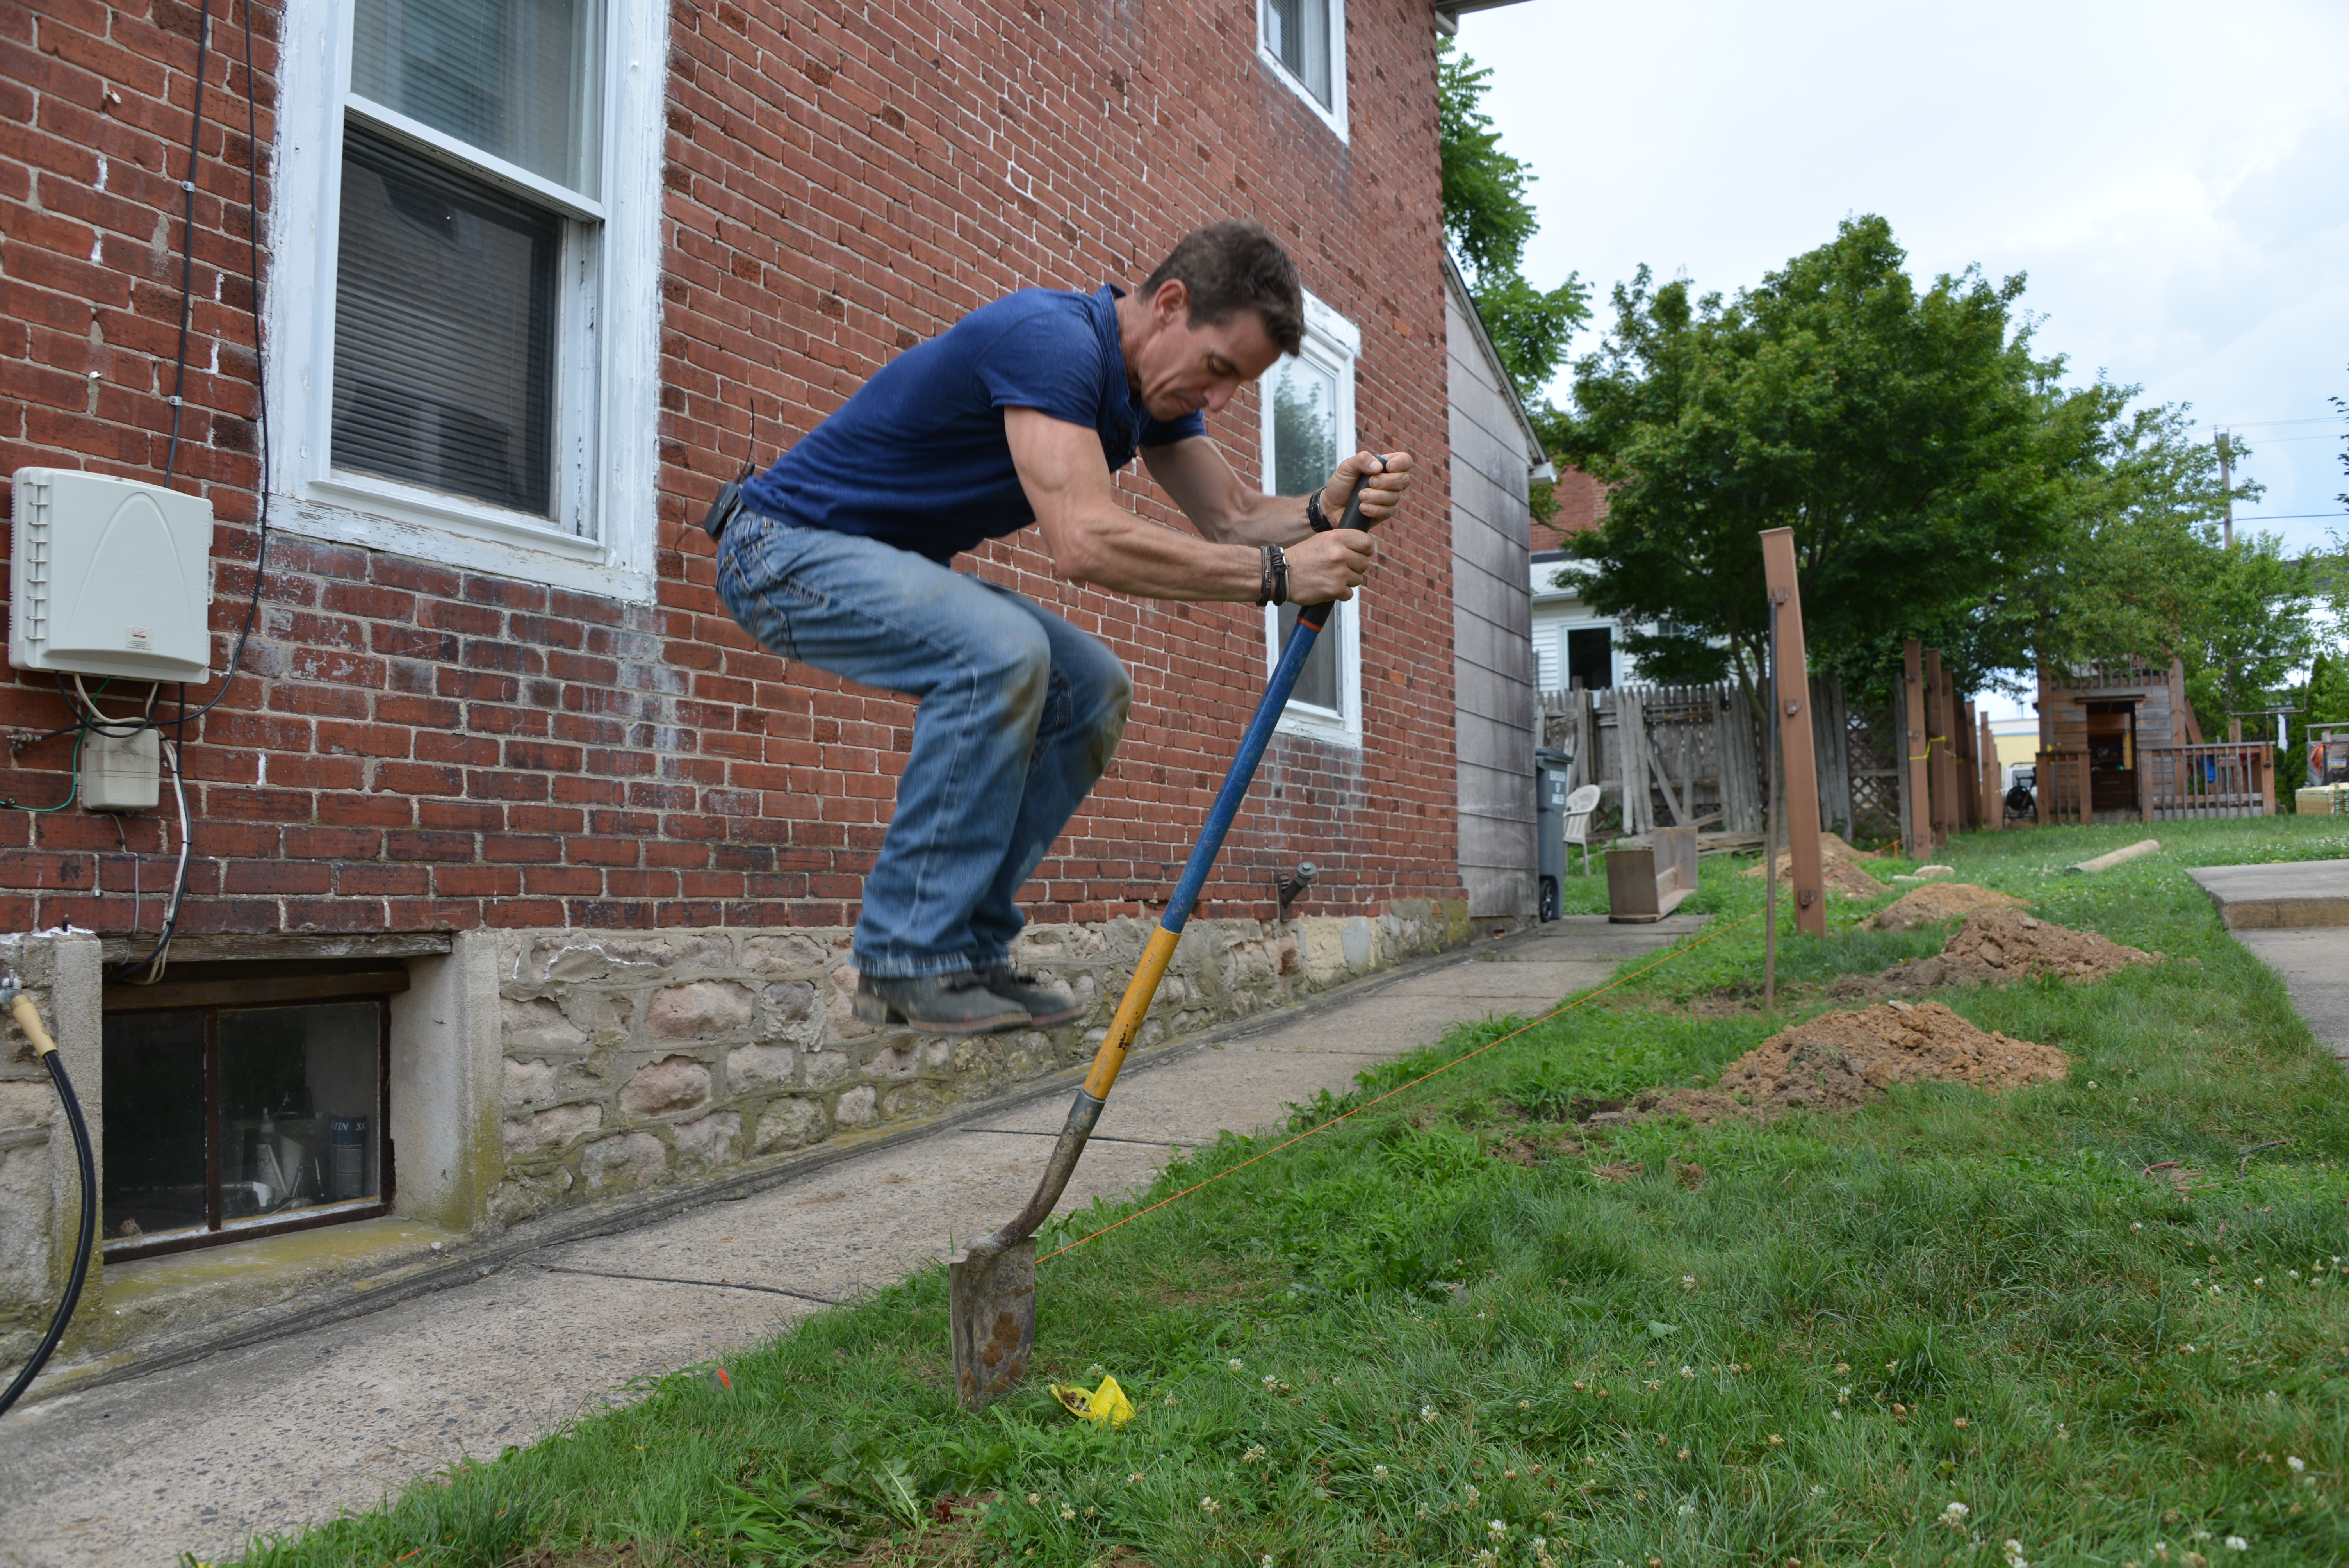
Carefully use a circular saw and cut in place. I posted a video on Facebook of how I did it. There were several comments about cutting up versus cutting down. I found it much easier and safer to cut from low to high.
One more tip!
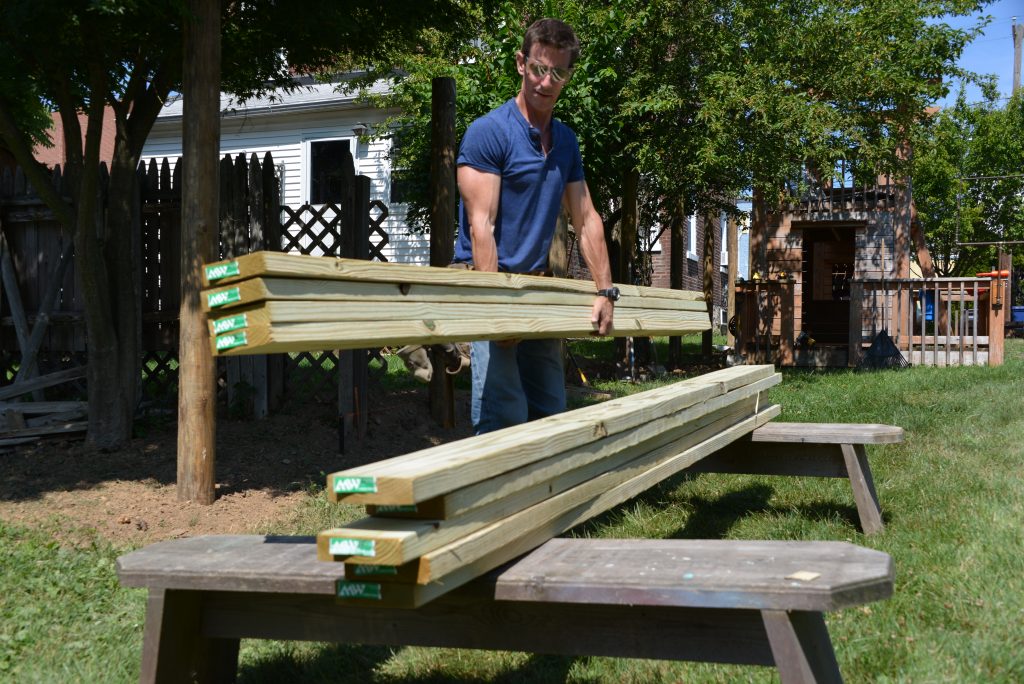
I like to stage materials when possible. One of my favorite ways to do this: My ‘garden bench’. Made of 2×12—these are Western Red Cedar but they can also be made with Southern Pine or other softwood—they’re incredibly strong and perfect for this kind of job. They’re also comfy to sit on at a garden party. Here’s how I make it.
Just like the fence itself, I can use wood to customize it’s strength, durability and beauty to what I want and need it to do. Love it all day long!


This is some really good information about how to install a fence. I like that you included photos of the process. It does seem like a good way to help people understand how to do it. I would want a professional to put up a fence for me. I would be scared that I wouldn’t install it right.