Shoe molding can really dress up a room or help finish off a new flooring project. And with a few DIY tips, it’s easy to make the most of a molding project.
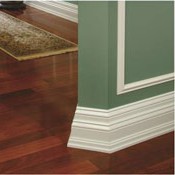
Most shoe molding is a thin, rounded-over molding strip which looks great. But you don’t have to use it. Pick a molding that you like and that matches the look in the room. We like a 3/4-inch by 3/4-inch cove molding.
We’re not usually fans of pre-painting molding, but for shoe molding it’s a time saver. Before making any cuts set your molding up on saw horses and spray paint the first coat or two and let dry. Once installed—especially if installing it over carpet—this will make applying the final coat in place much, much easier.
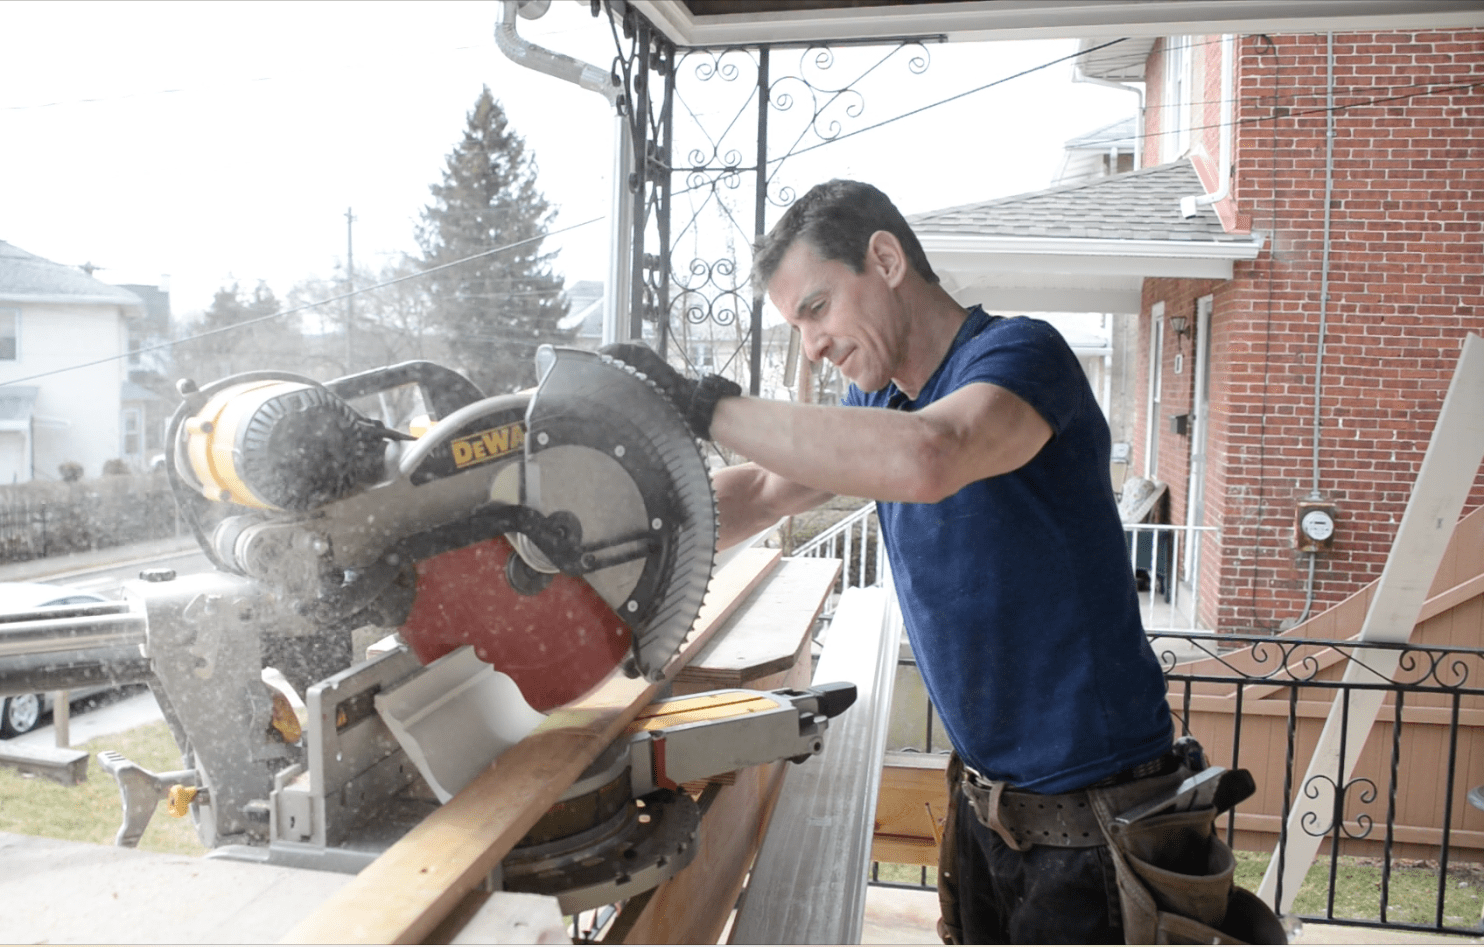
The right tools for the job will help make your project come out great. Shoe molding is easily cut with a hand-powered miter saw. A powered miter saw works great too. Using a pneumatic finish nailer is safe and fast and helps prevent damaging the molding with an errant hammer strike during installation.
Using the right cuts in the right places gives your project a refined, professional look. Outside corners get miter cuts. It’s usually best to cope-cut inside corners. And finishing off a run with a return gives a crisp, refined look.
For more information on shoe molding and other projects, or to connect with a contractor, visit HomeAdvisor.


