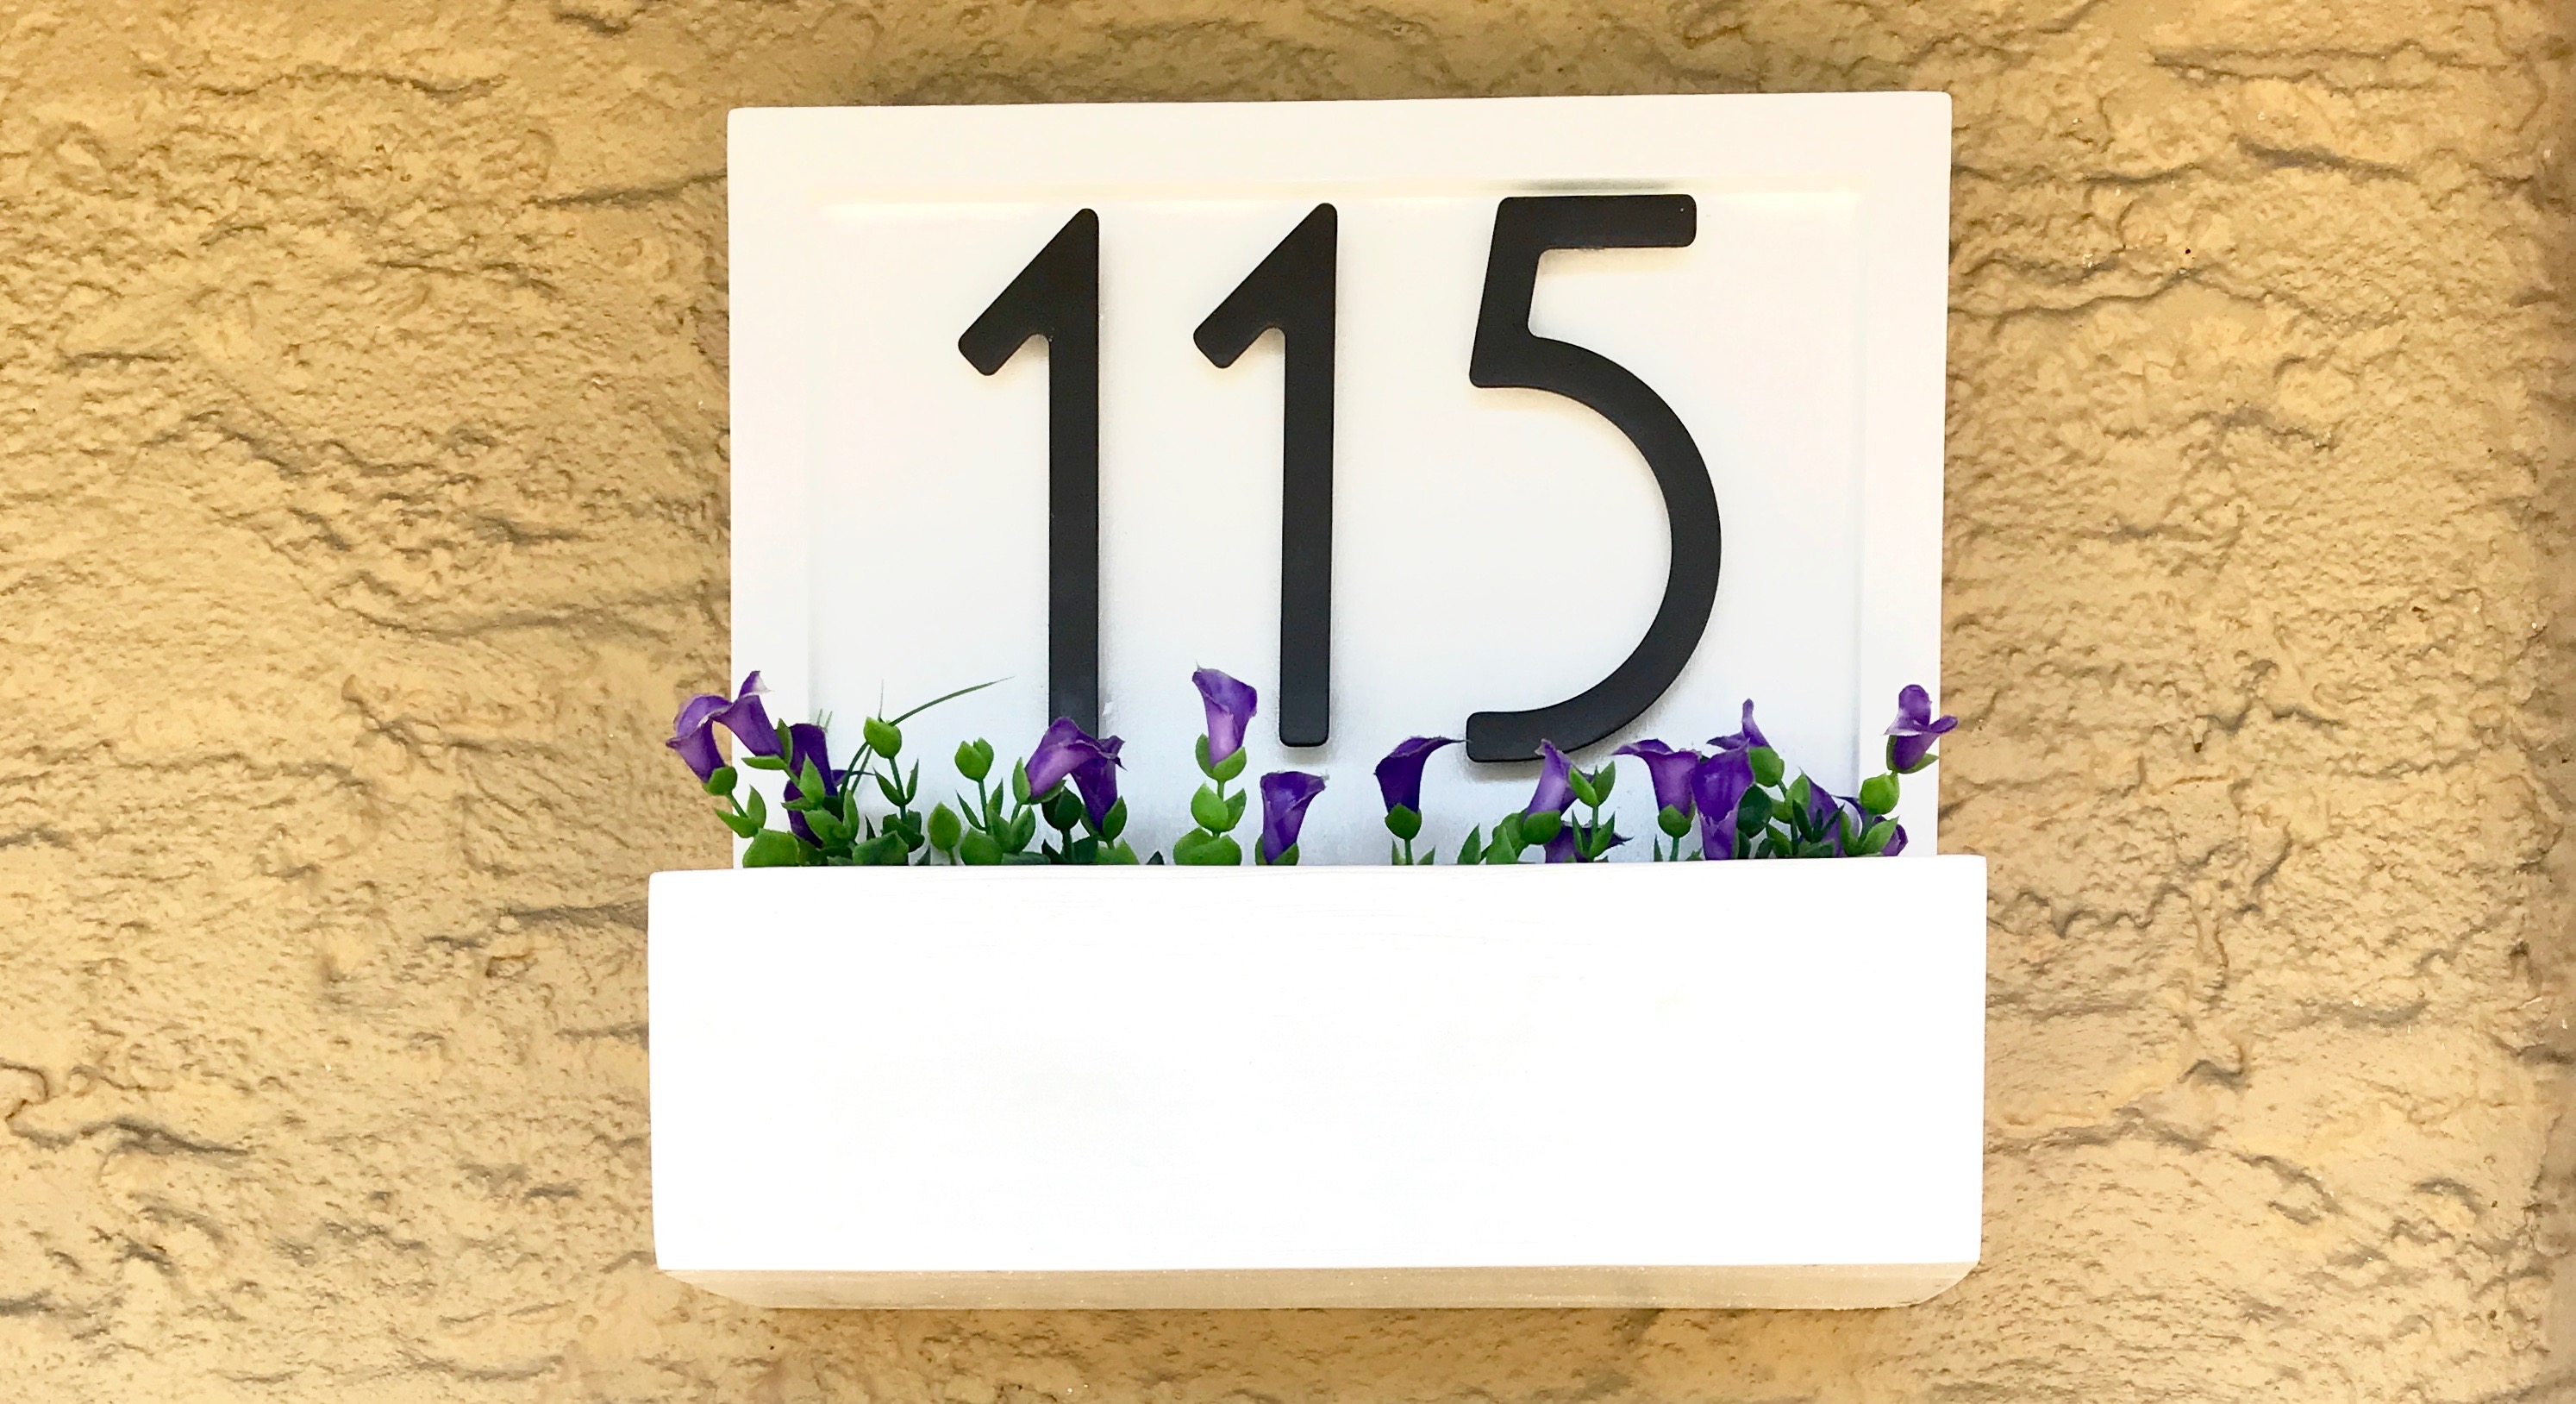
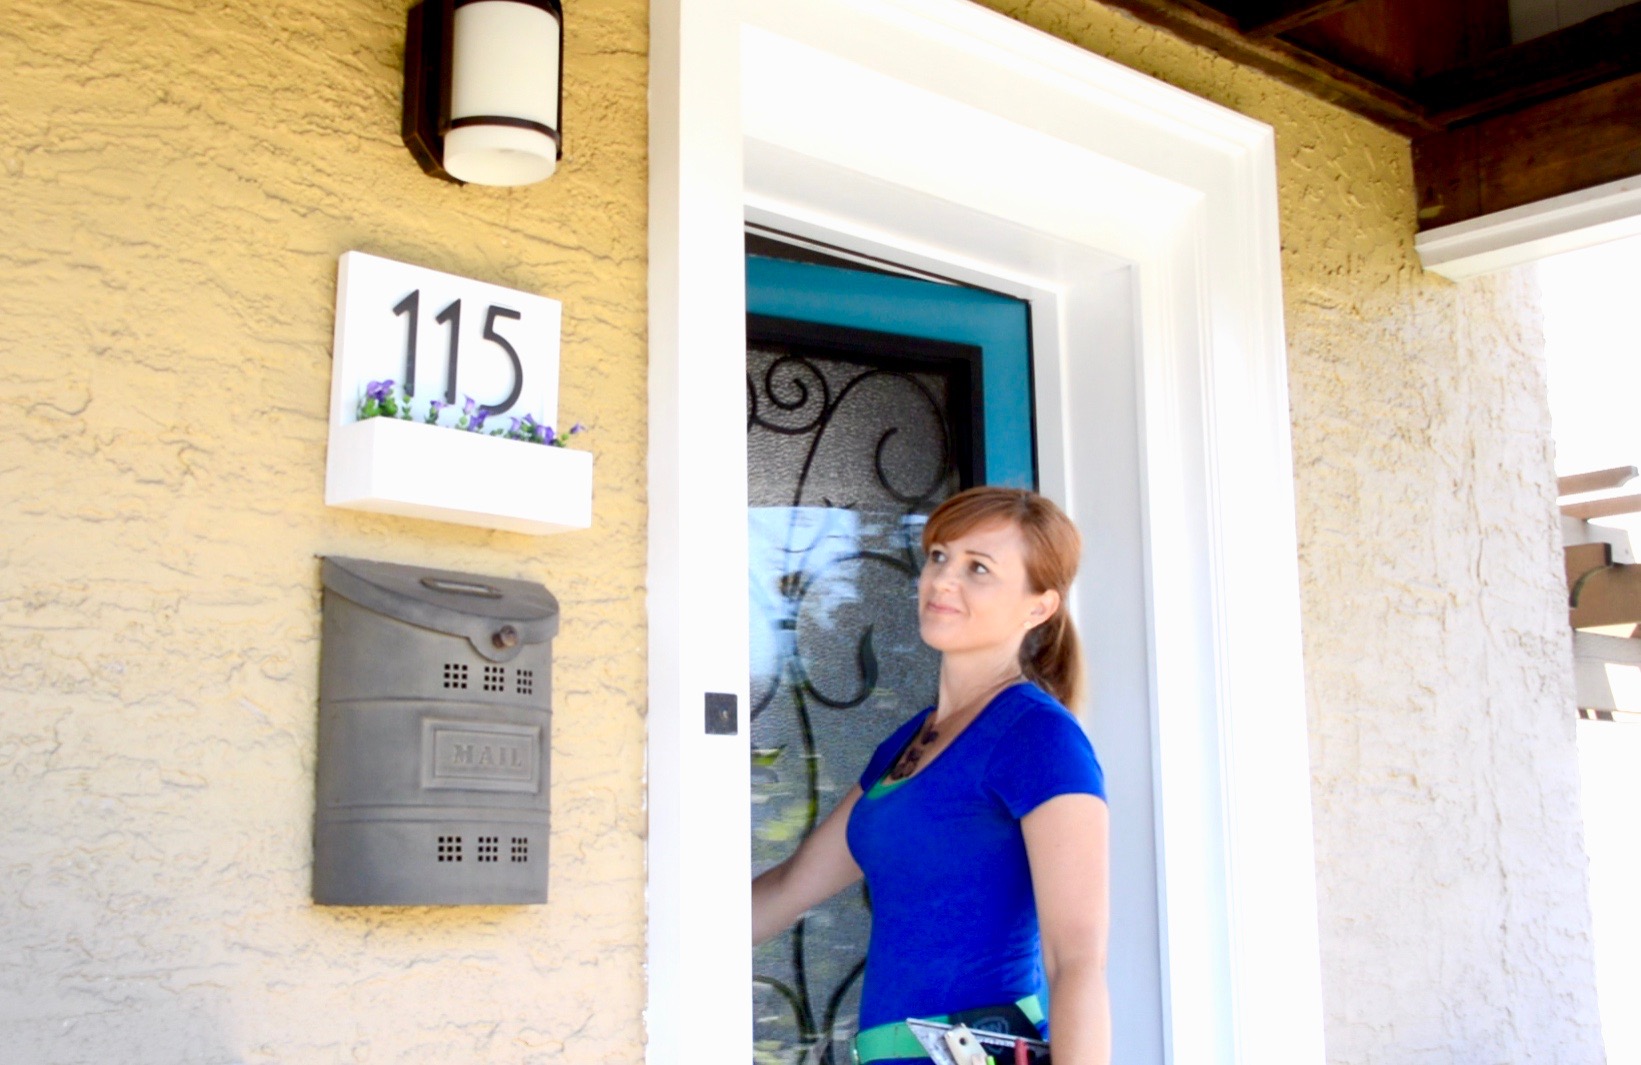
A little flower box is a fun way to display your house numbers
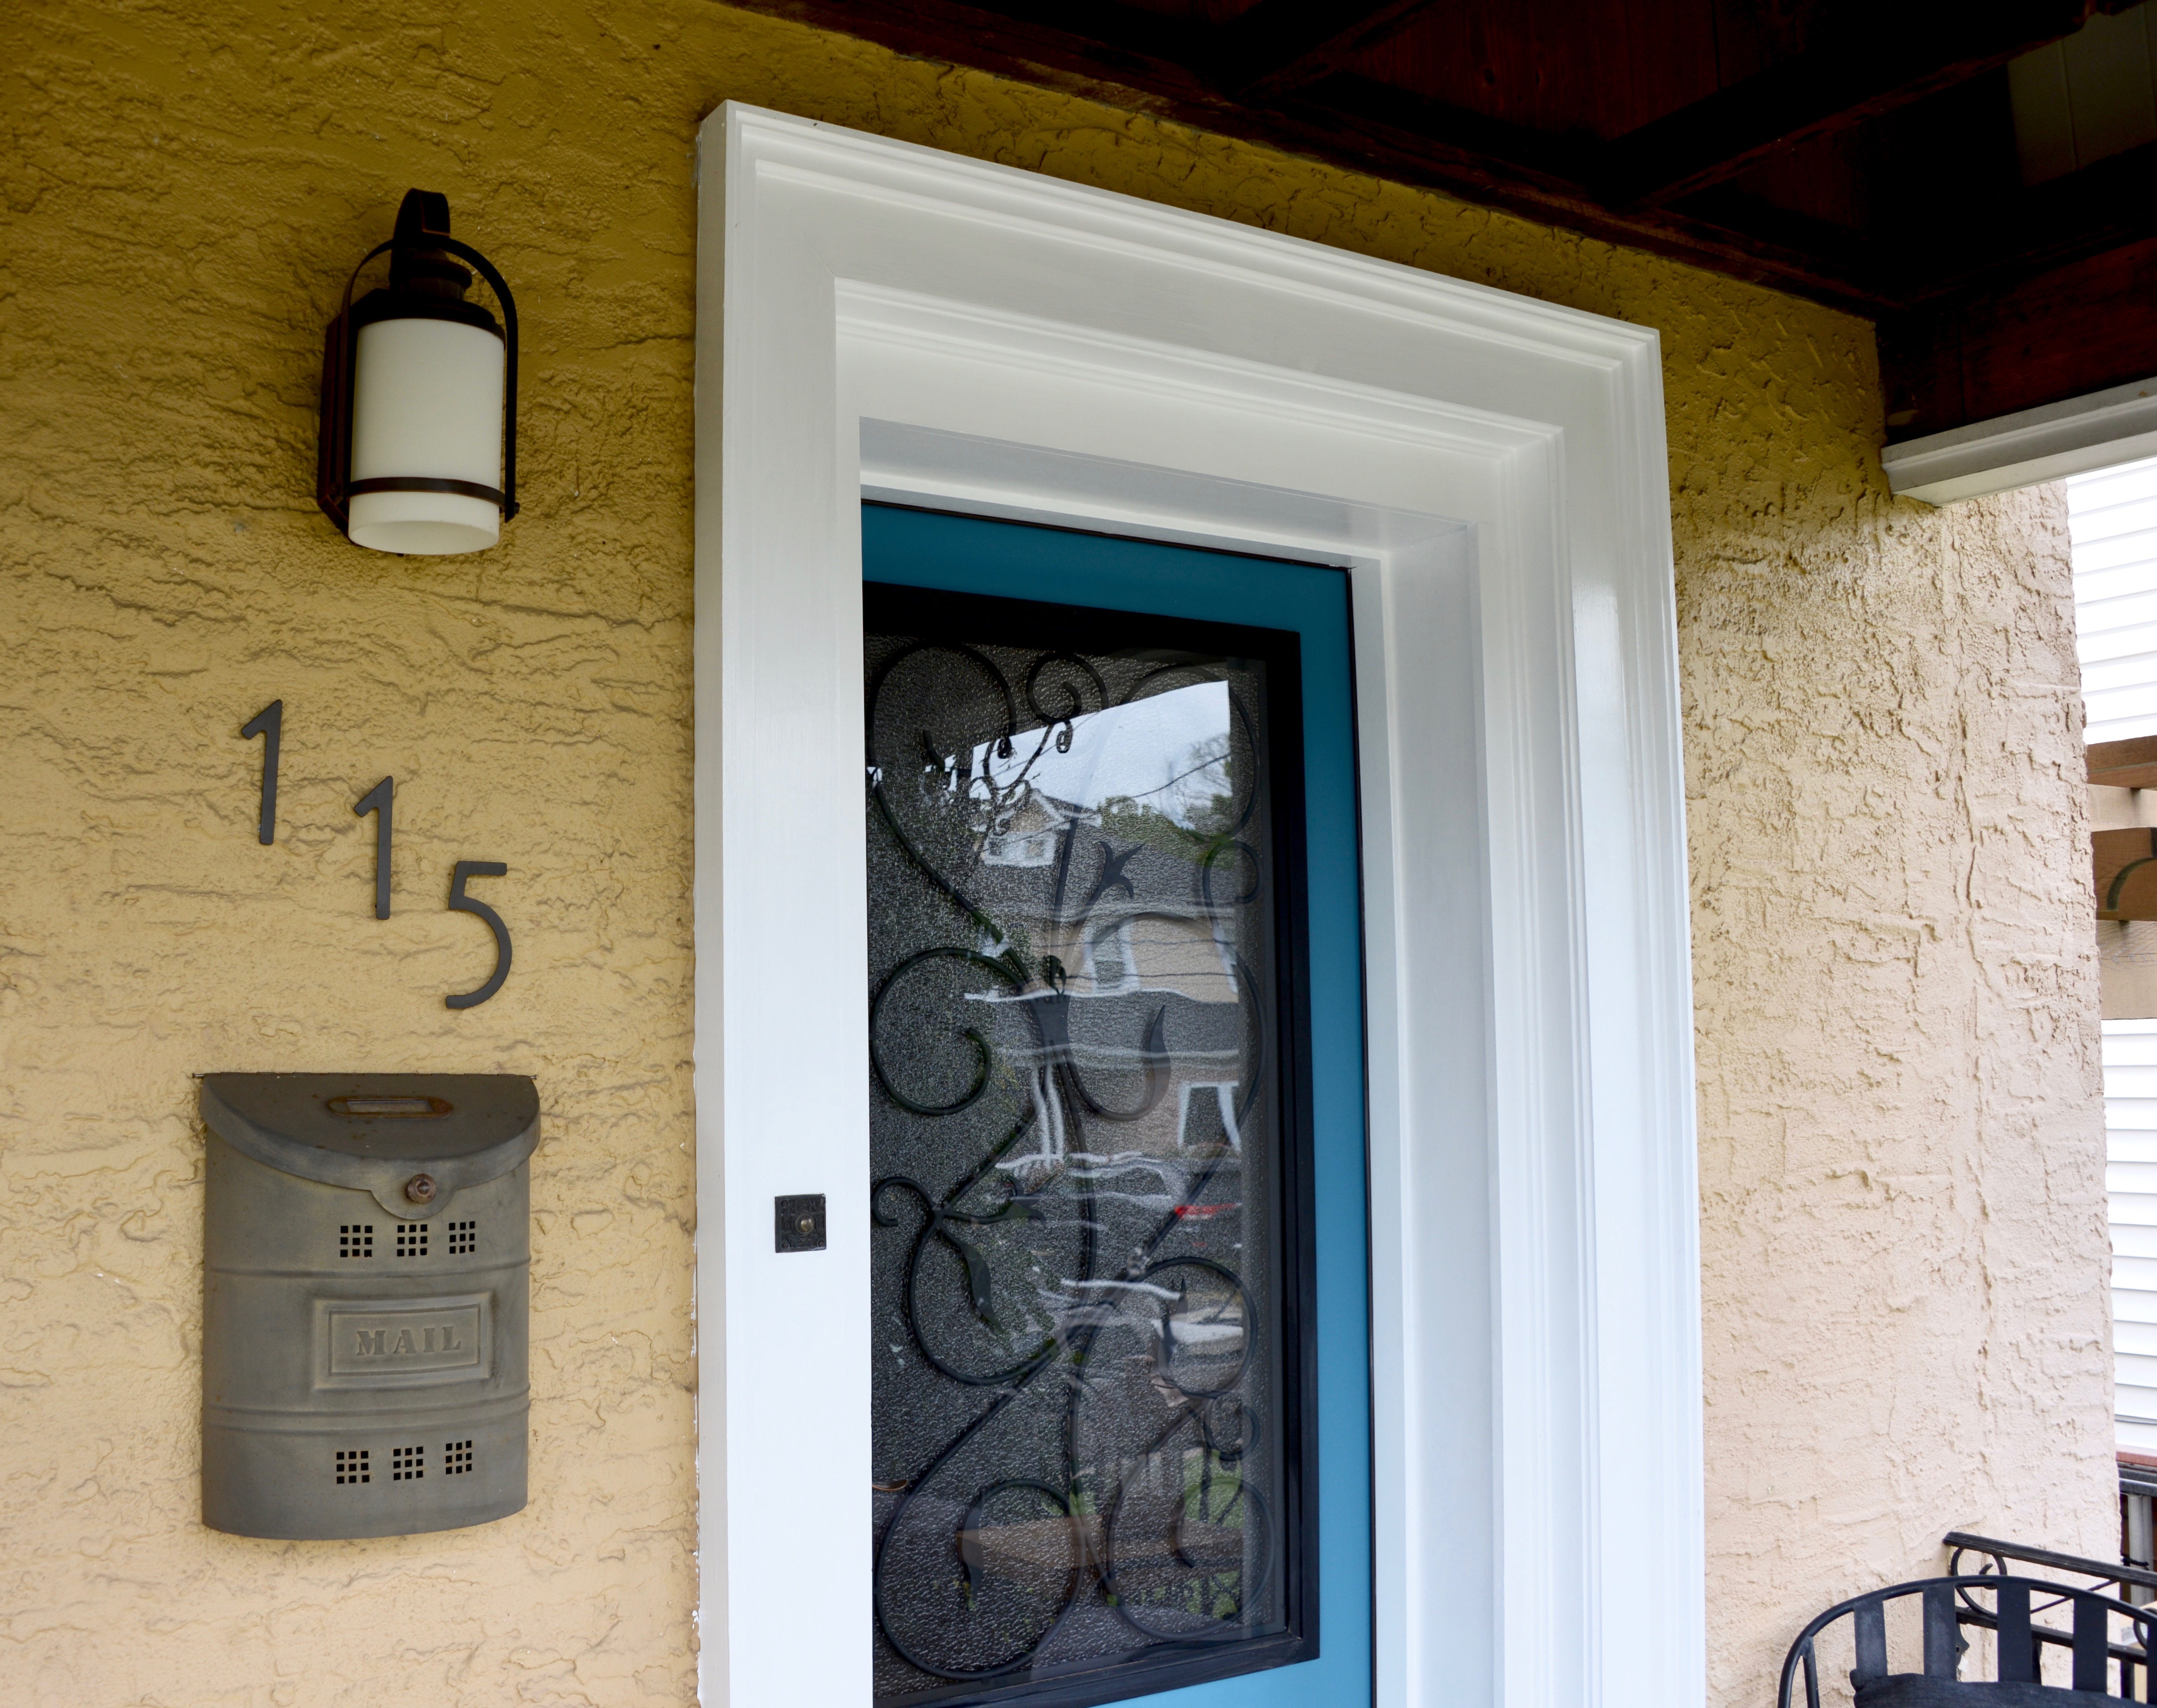
I’ve loved our house numbers since we put them on the house, about a decade ago. I spent more time than necessary researching options for house numbers, and contemplating fonts. (Yes, I’m a font geek.) Our house is early 20th century, and a fairly unadorned American Foursquare, so my thought was that it’s best to try to go with the fonts of that era.
While I’ve loved the numbers, I have never been quite satisfied with the lack-of-background to make the numbers pop against the yellow house paint. So I decided to make a little flower box to display the house numbers.


How much time do you need for this project?
Making a flower box is an easy carpentry project, and depending on your skills, it could take an afternoon to build. And then another day to wait for the paint to dry and install the flower box on the house.
What supplies do you need to make this project?
I had everything in my workshop for the project. I’m lucky that we do so many projects that we have an extensive inventory of almost everything I need. But, if you aren’t a lucky duck with a well-stocked shop, here’s what you need.
- house numbers
- 1×12
- trim (I used flat stock)
- sandpaper
- tape measure
- pencil
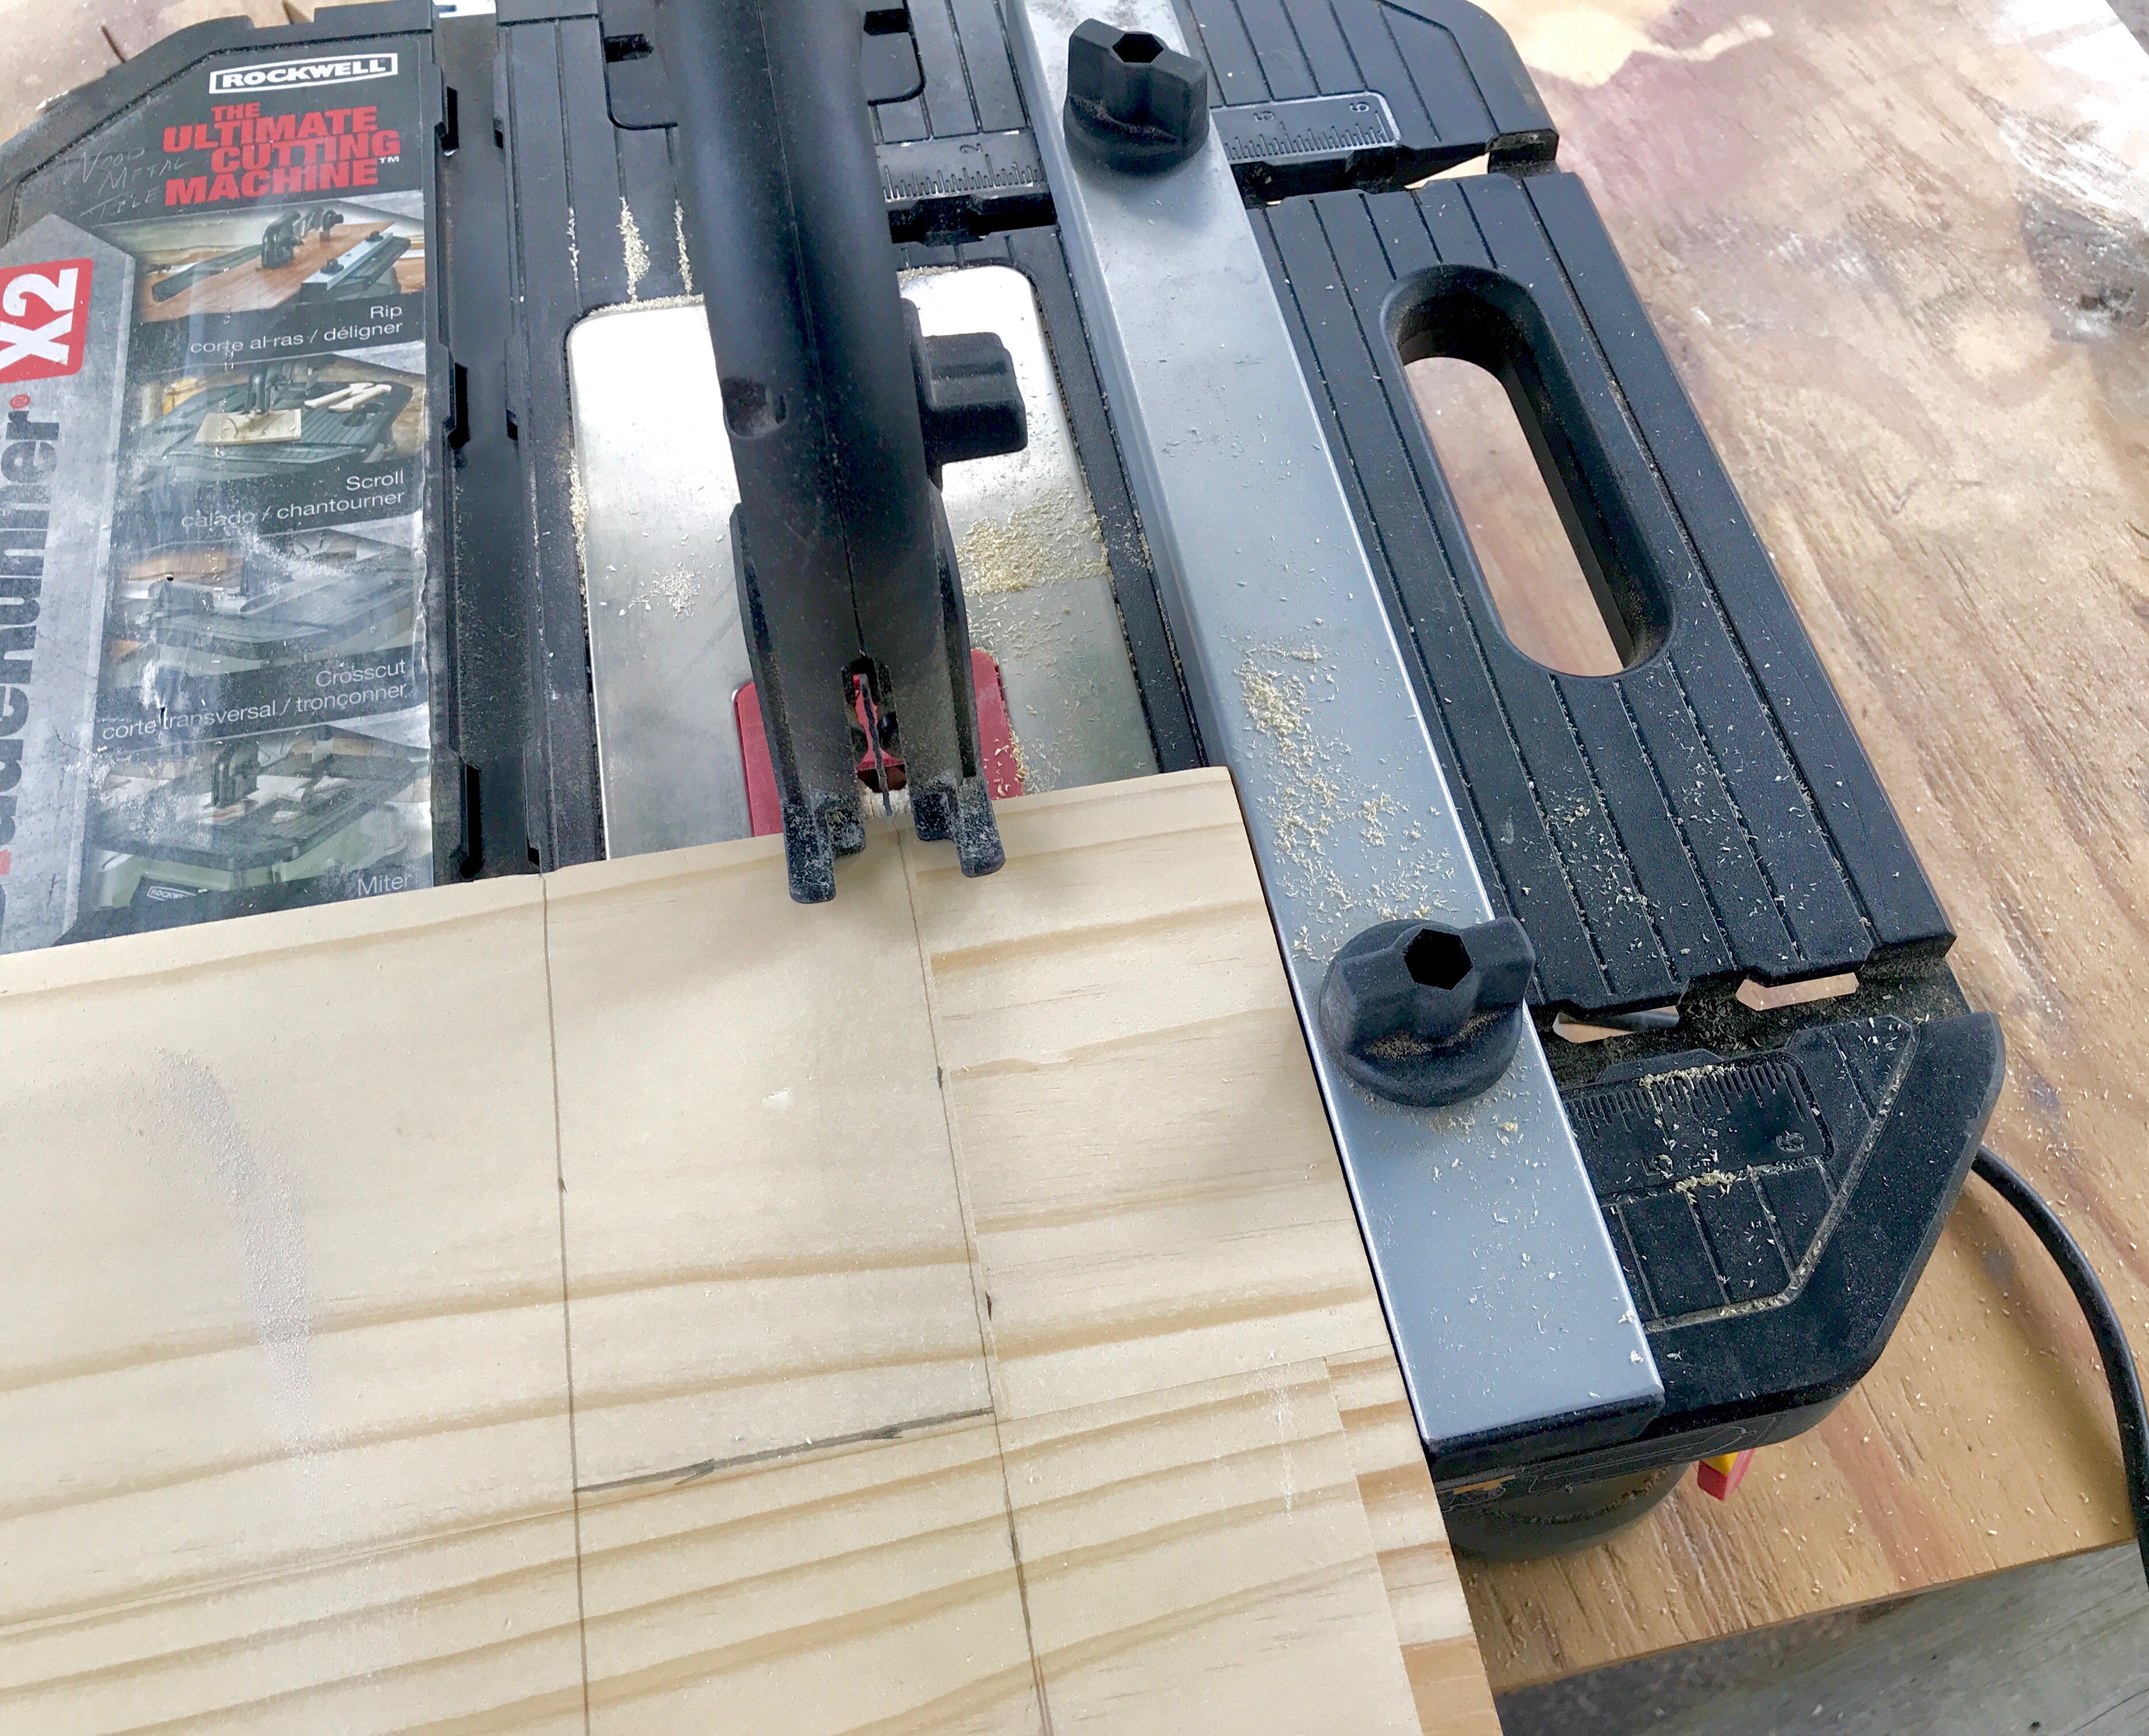
- saw to cut the trim and 1×12 to size (I used Rockwell’s BladeRunner.)
- construction adhesive (I used Gorilla Glue’s construction adhesive.)
- paint
- clear waterproof tape (I used Gorilla Glue brand.)
- flowers and soil
- fasteners or picture hanging supplies to attach the flower box to the house
What are the steps to this project?
The first step to making a flower box for house numbers is figuring out the size of the flower box. The desired size will help shape your shopping list and the size of each piece that will need to be cut.
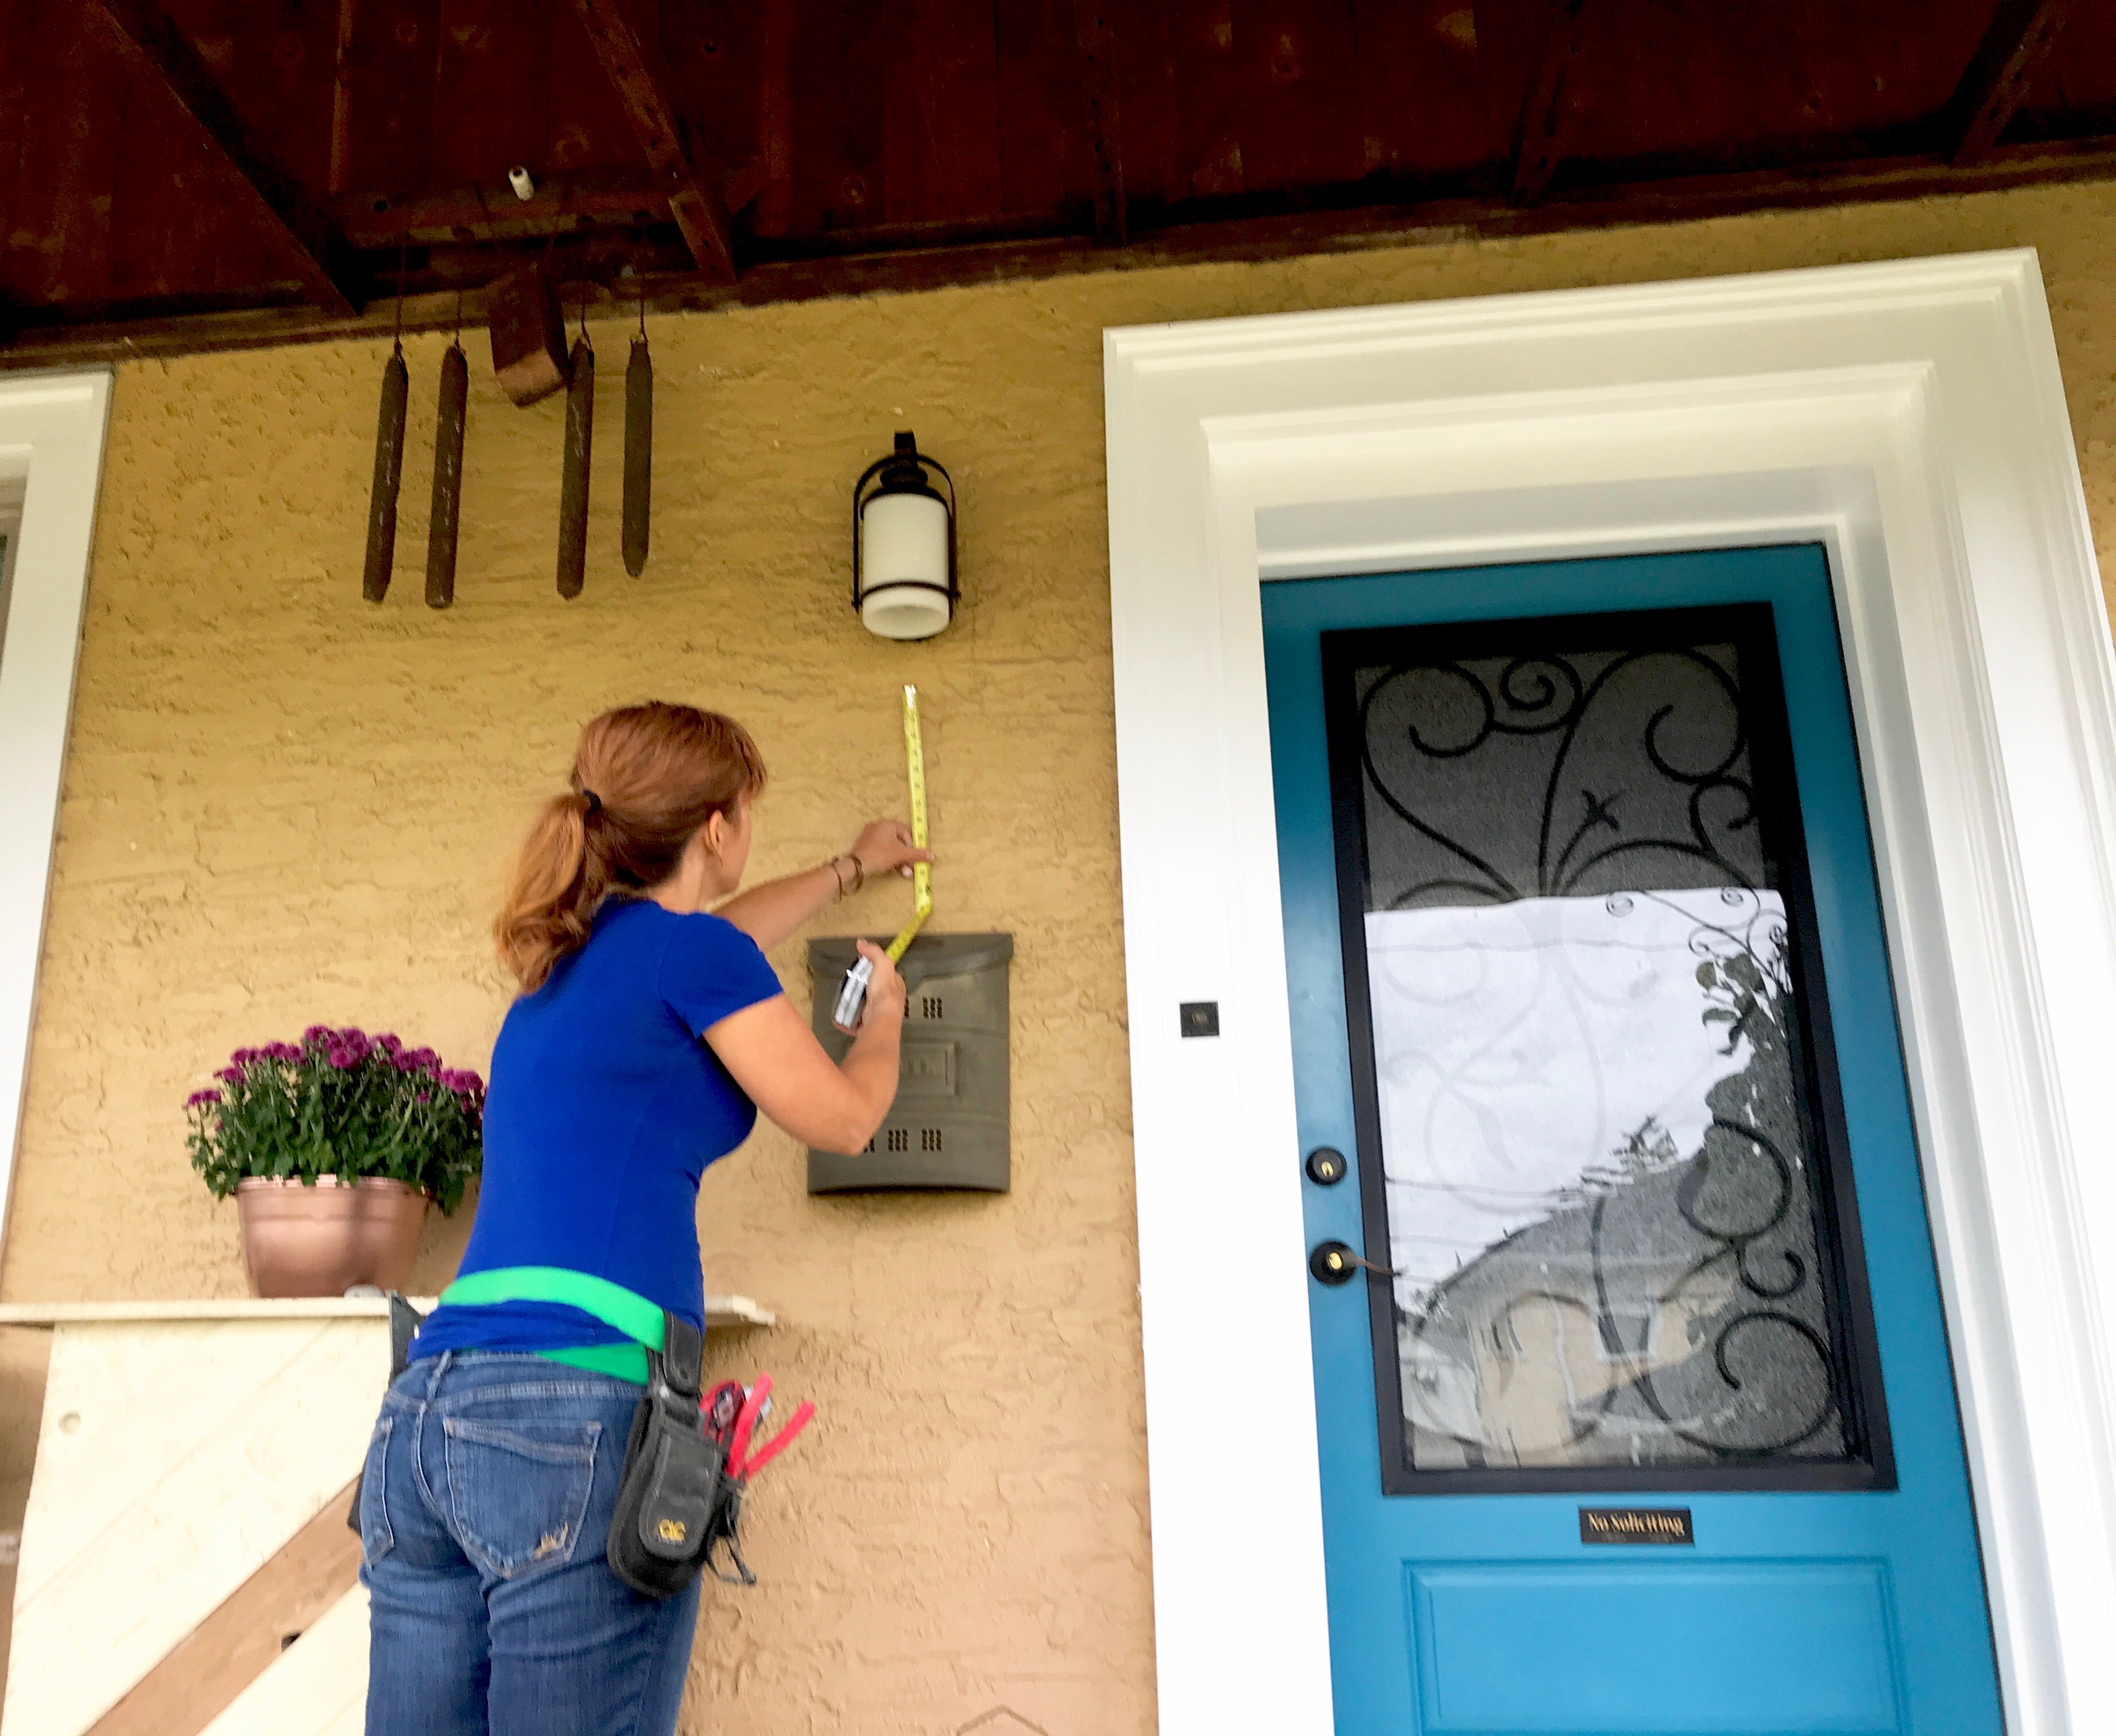


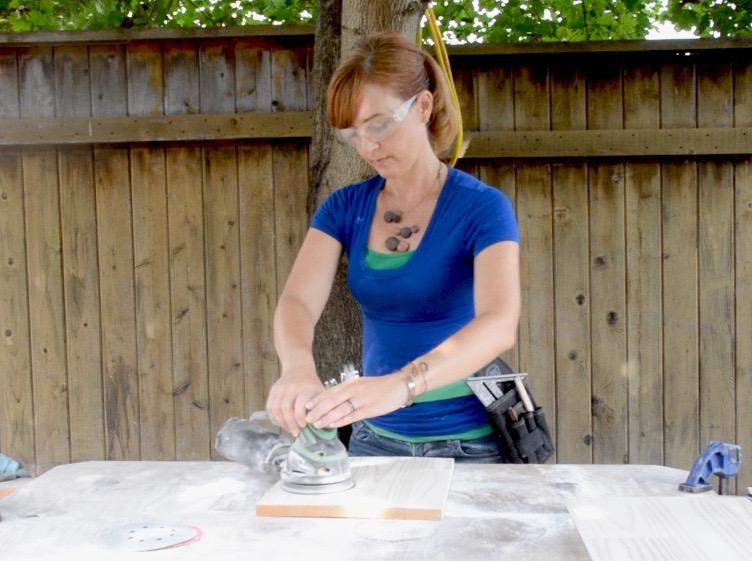
After knowing the maximum size for my flower box, I went into our workshop to see if I had any 1×12 or trim cut-offs from other projects that would work for this project. I was lucky to find a few boards, but they needed to be sanded so they would be ready for paint later.
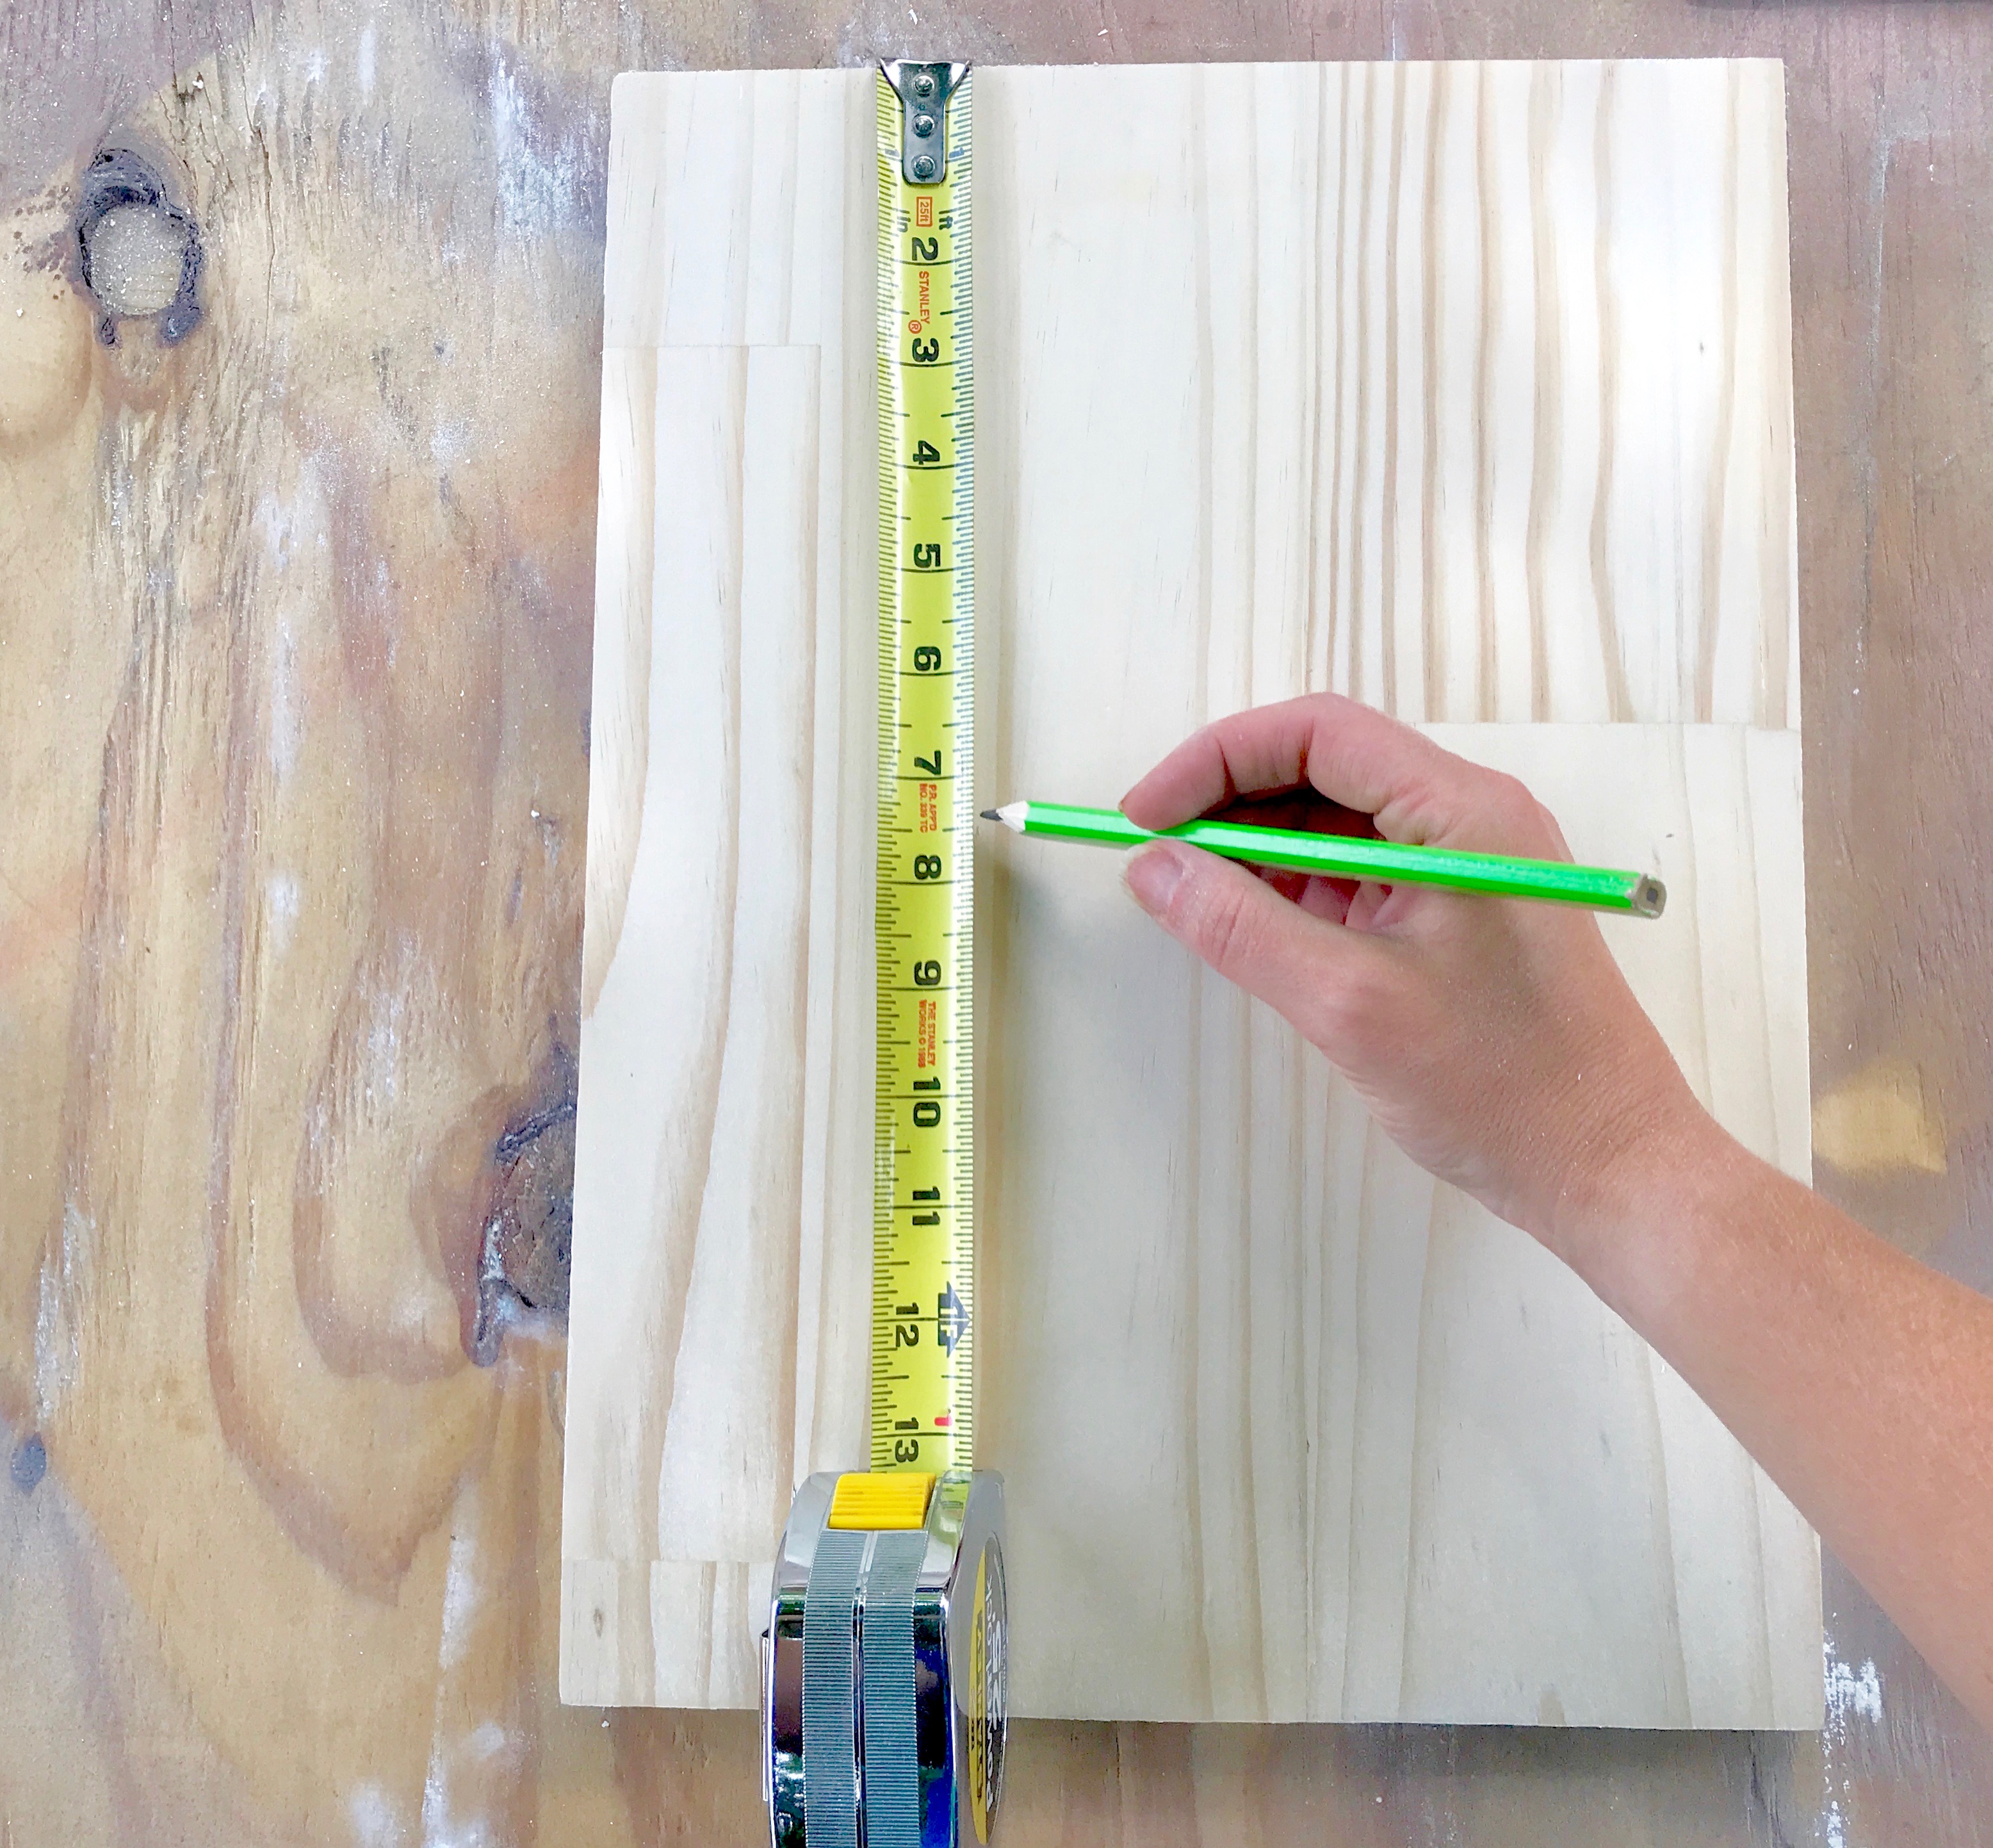
After sanding the wood, I measured and marked the pieces I needed for the flower box. The flower box needs a back, bottom, sides, and a front.
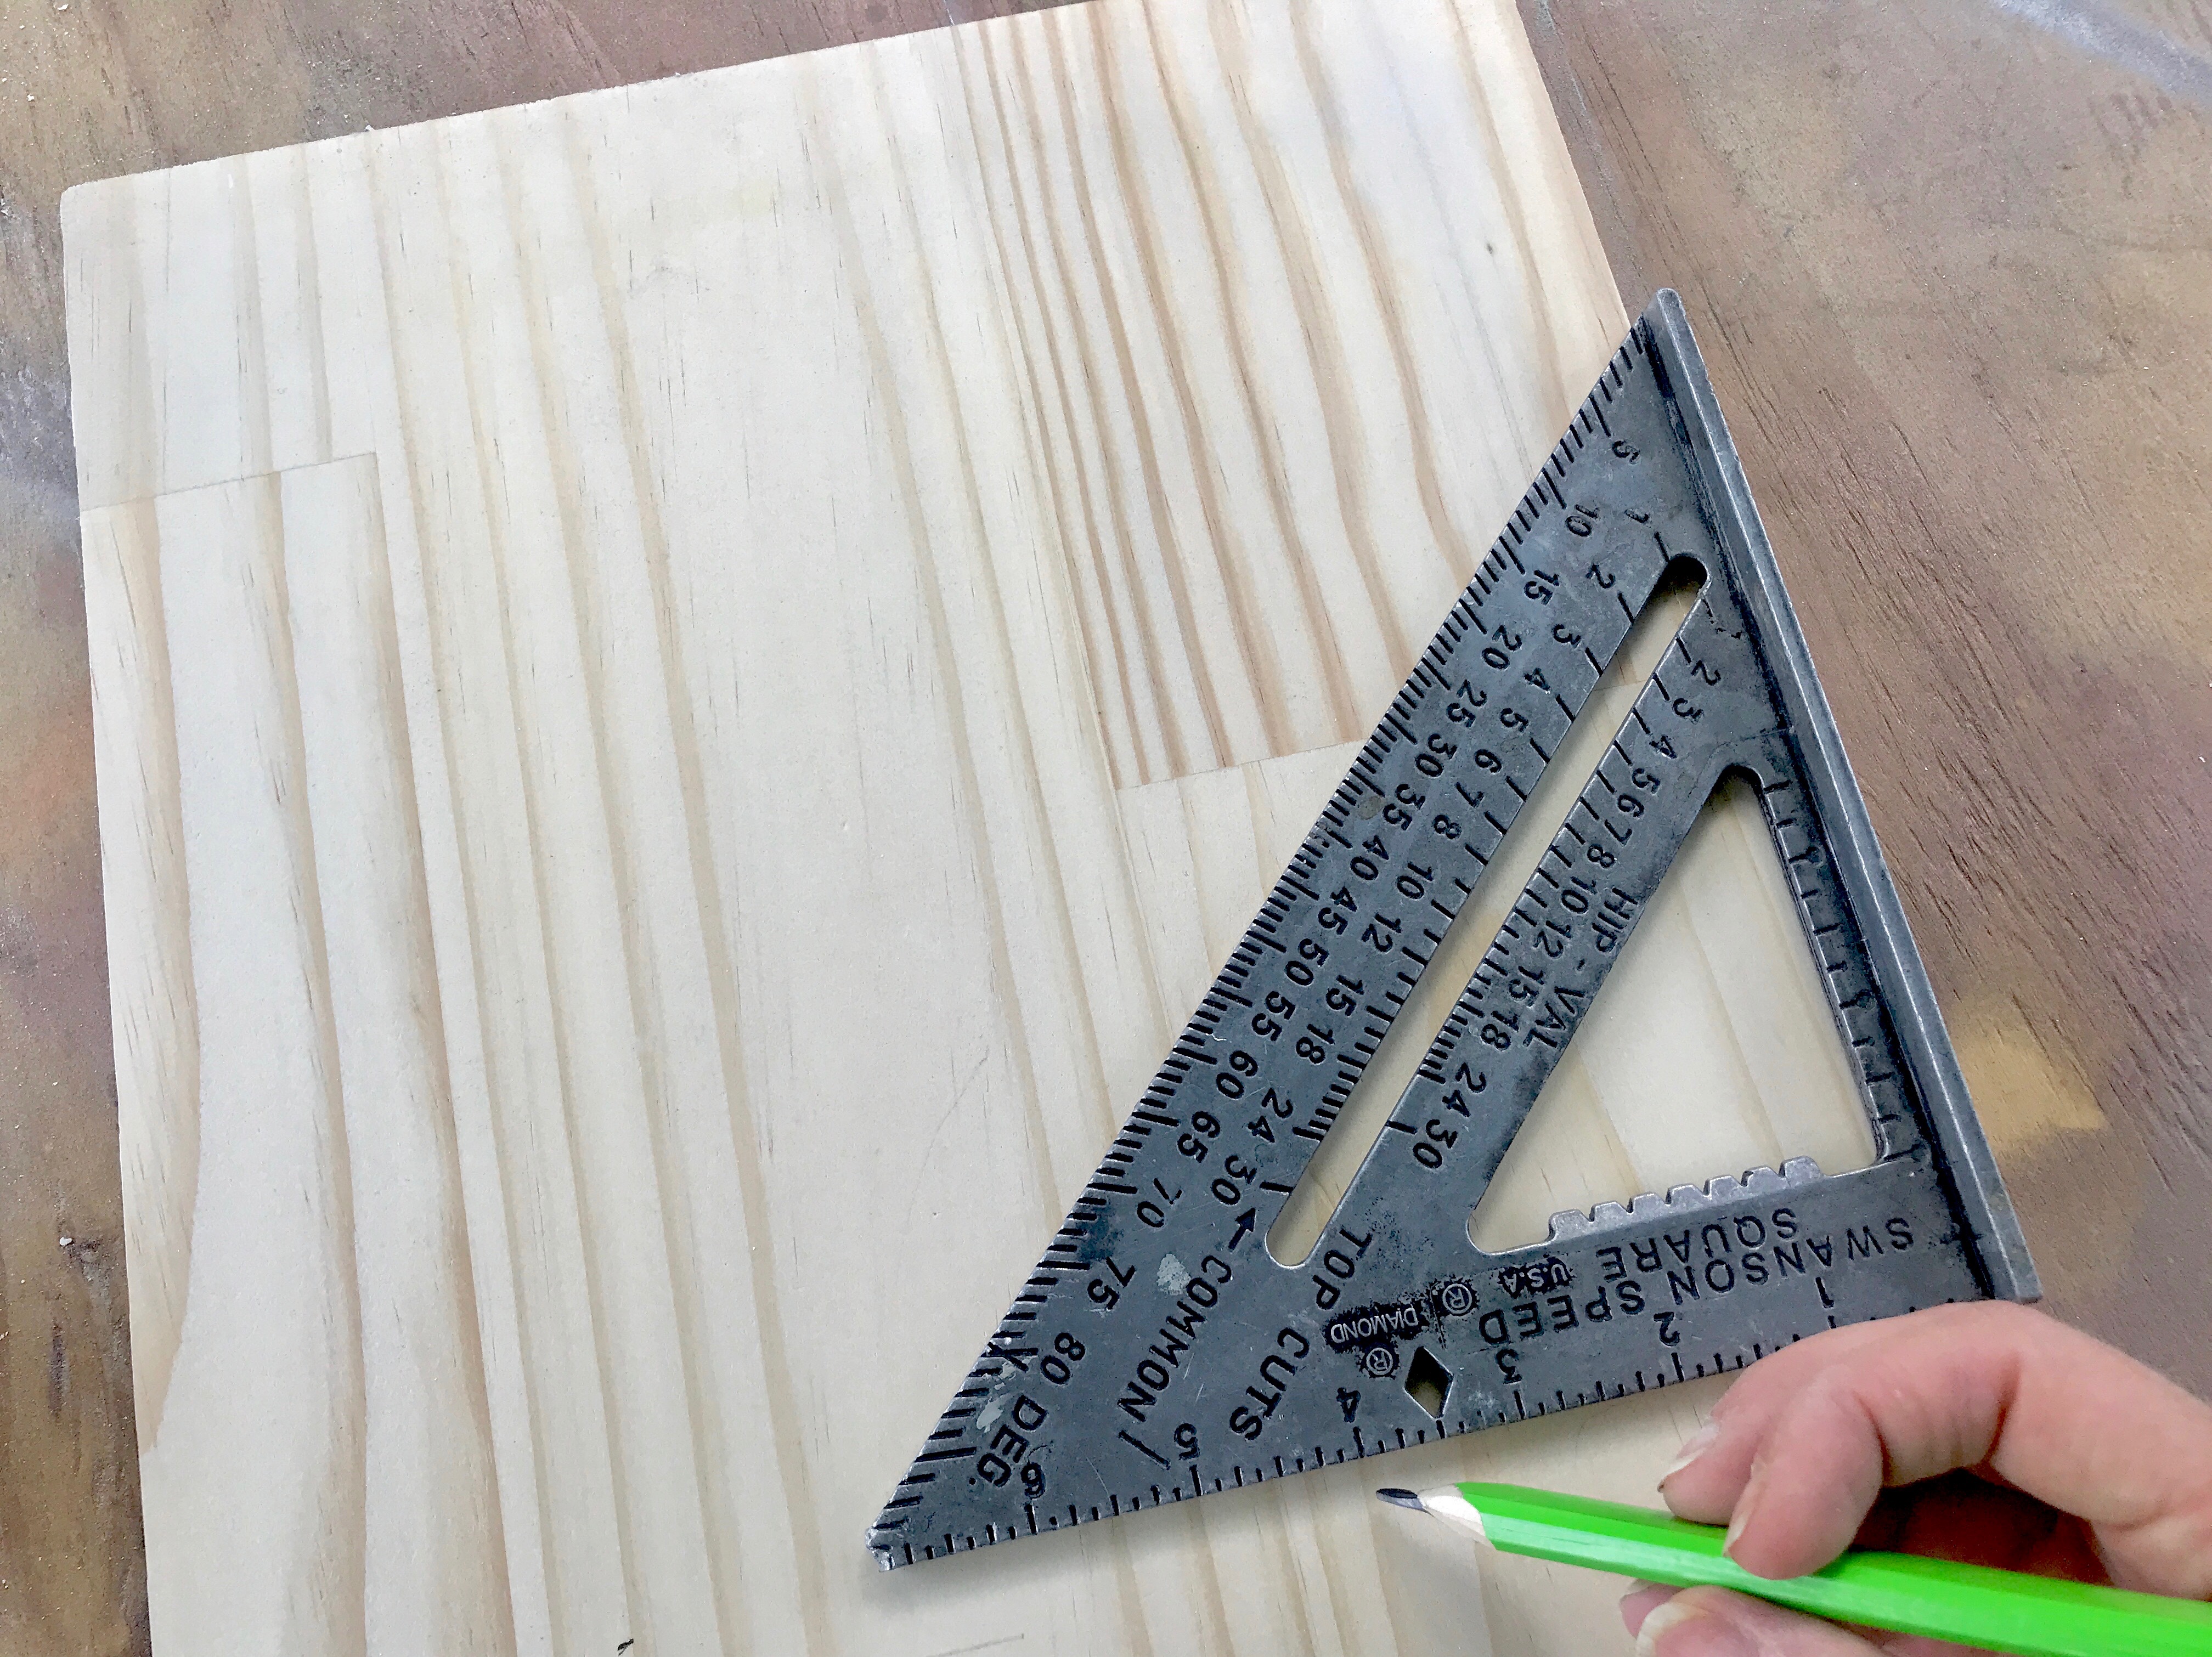
I use my speed square as a quick way to mark straight lines.
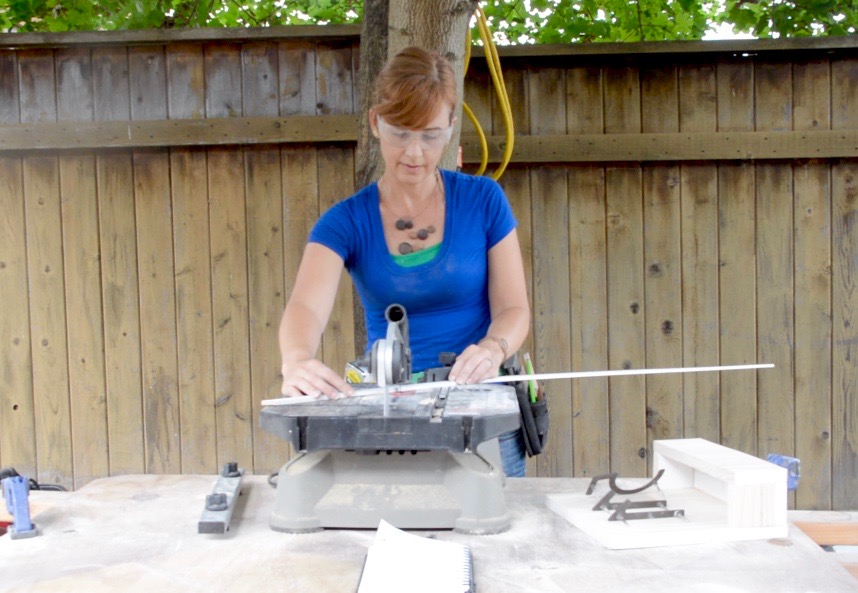
I used a Rockwell BladeRunner to cut the all of the pieces to size.
For the trim pieces, I set the saw at a 45-degree angle for mitered corners.
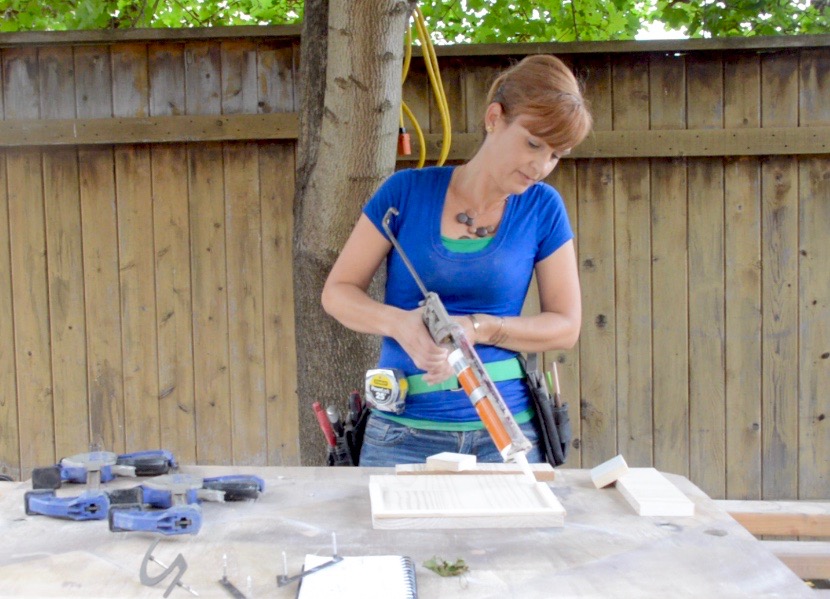
To avoid seeing fastener heads, I used construction adhesive to attach the pieces.
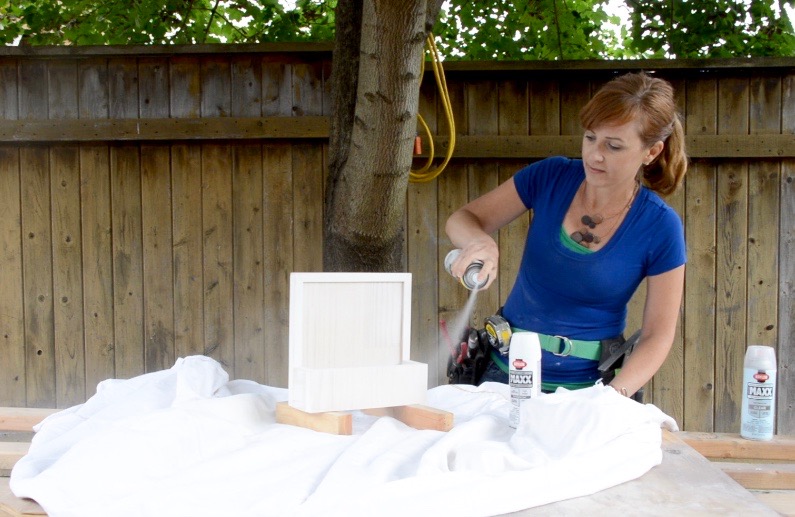
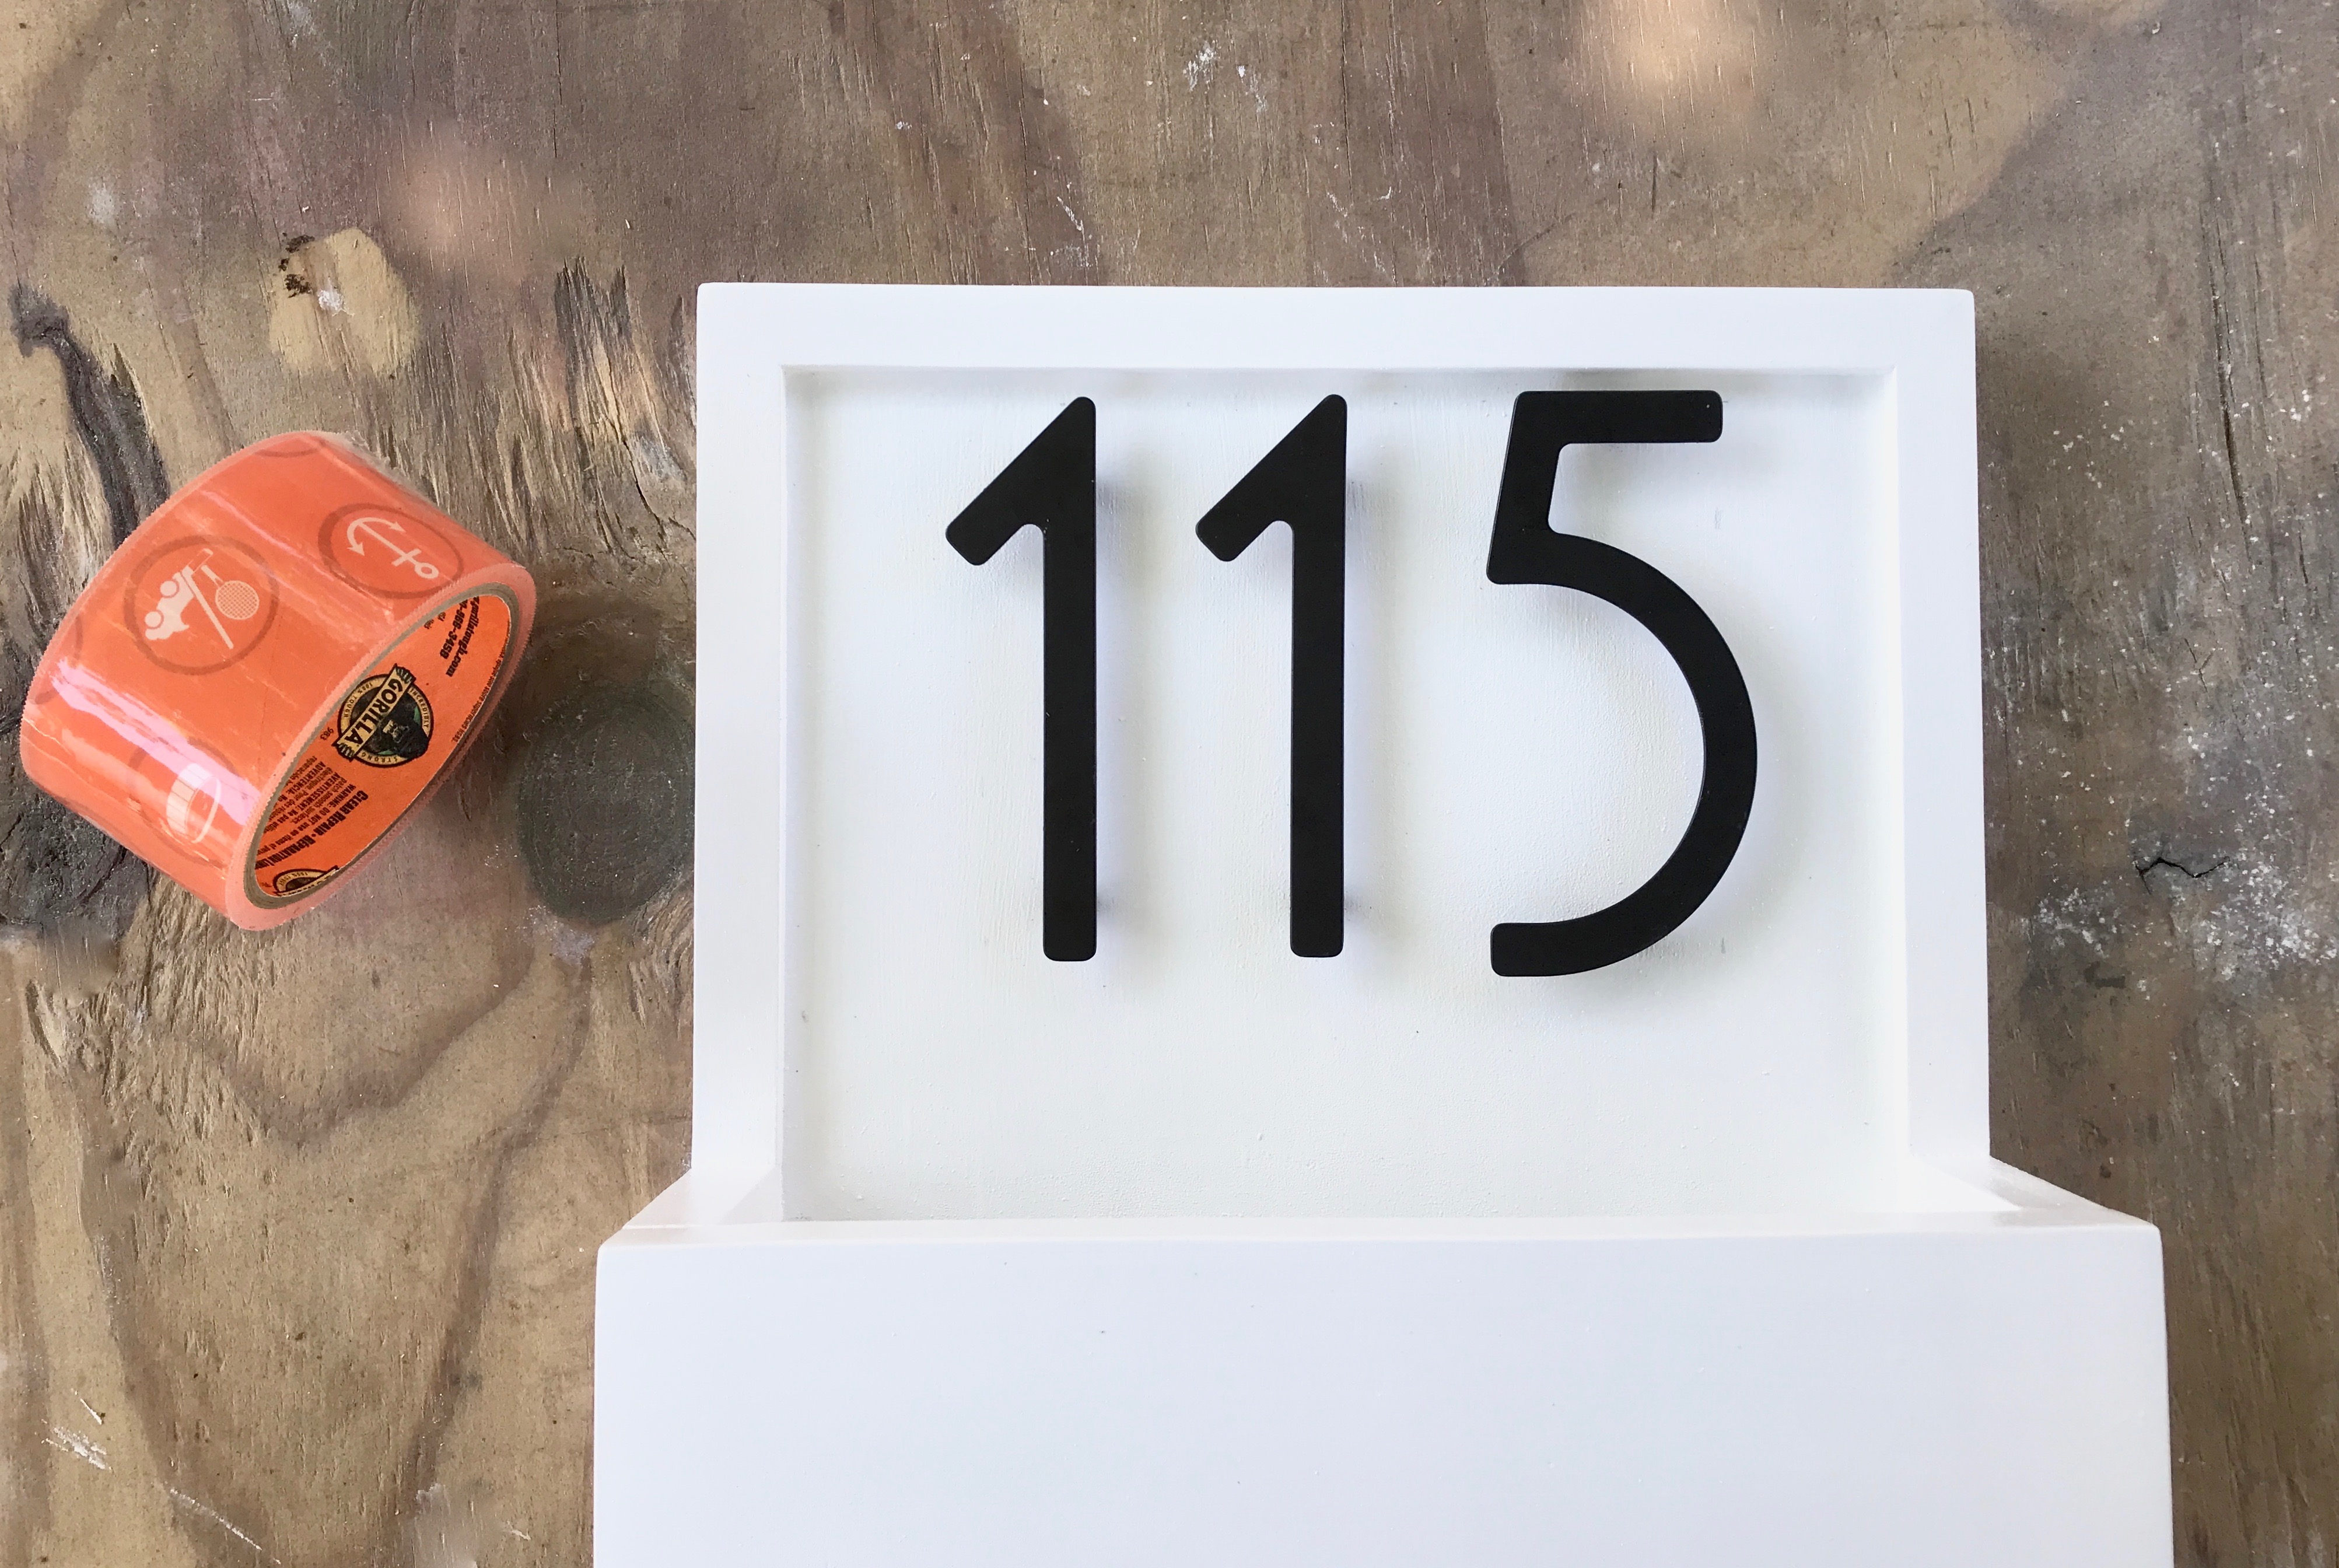
After the adhesive was dry, I painted the flower box. I chose spray paint to make the paint process a little faster. First I primed, then painted with white gloss, and then sealed it with clear gloss.
When the paint was dry, I attached the house numbers. I’m happy with how the numbers pop against the white background.
Since it’s a flower box, I want to be sure the box part is extra protected against water. I lined the inside with waterproof clear tape. I used Gorilla brand for my flower box.
I’m happy with how the flower box makes the house numbers more visually prominent on our home. And the little flowers make me smile a little extra.
