There are a million man cave design ideas and projects out there. And this is one of them. Few, however, are finished with fire.
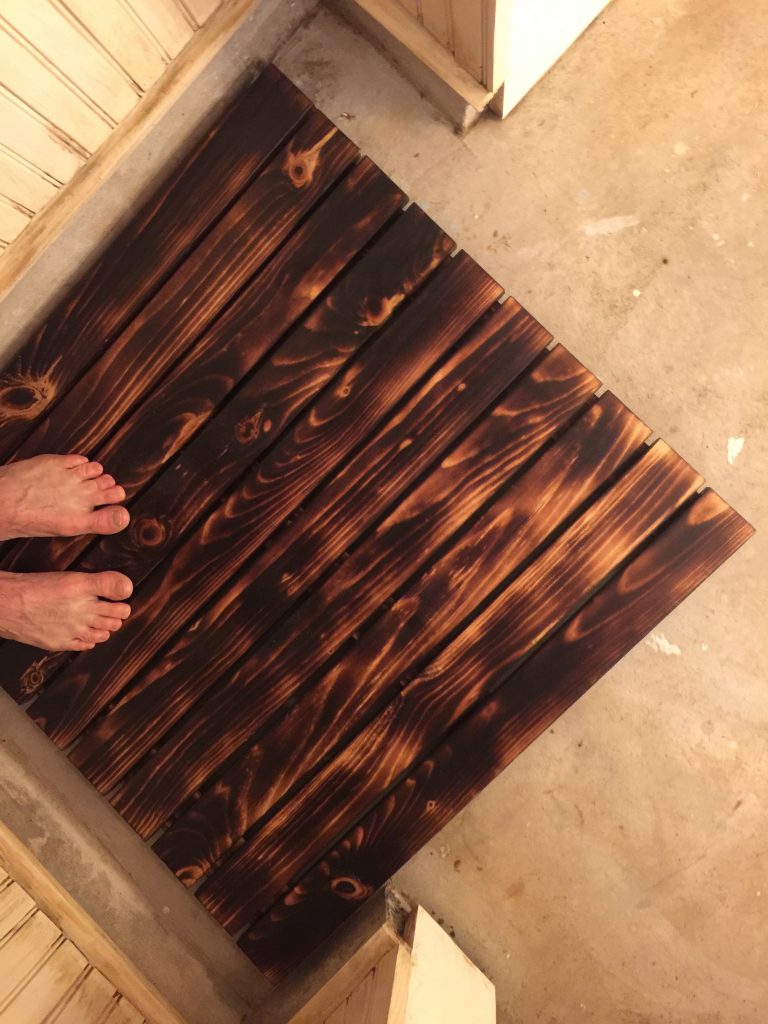
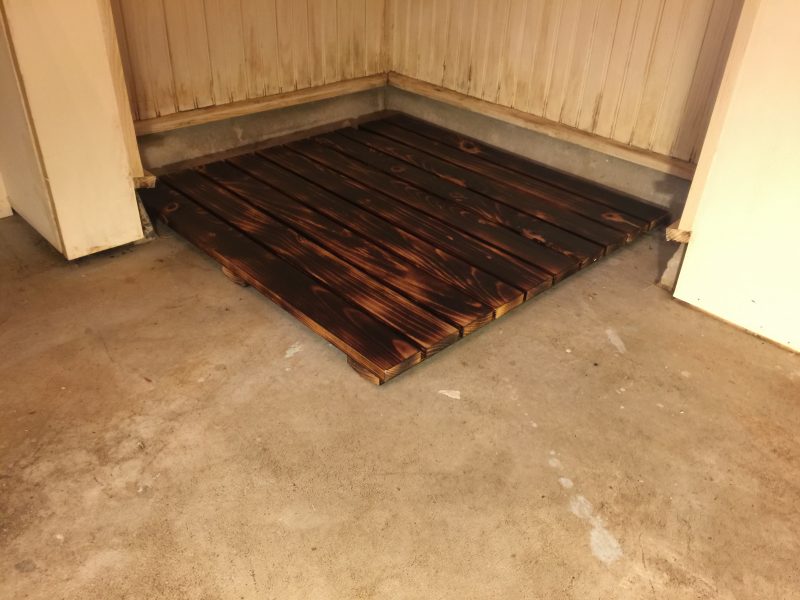
Made from two of my favorite things to design with—wood and fire—I think this bath mat is a fun way to get a coolness into the bathroom. My son (Jack, 8) and I are using this on our shower floor. Our floor is concrete and kind of cold and gray. It needs new awesome and this is it.
The bath mat, however, could be used for where you dry off or in front of the sink too. A little back-of-the-bev-nap math says that it’s 7,000 times better than a rug. So there’s also that.
Here’s how we fired ours up.
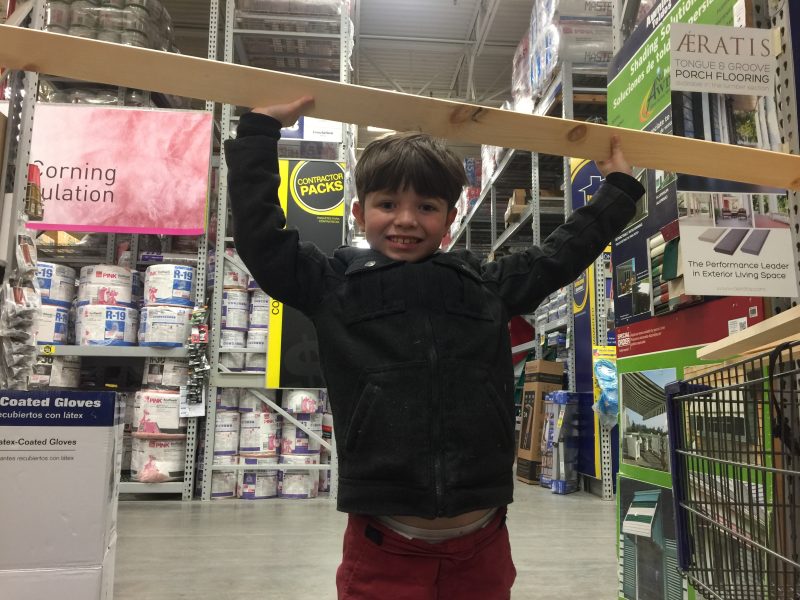
Shopping List. (7) 1x3x6 pine boards
1-1/4-inch screws
Bernzomatic torch and propane fuel
Tools!
How-To
First, measure the space. My advice is to not try and make the pine bath mat fit too tight. Leave at least an inch all the way around. Ours ended up being 28-inches x 28-inches. I got two slats out of each 1x3x6. Since labels and staples are a pain, I started in the middle, then cut the factory ends off. It helps to be pretty exact here. I used a pattern piece to line up all my cuts.
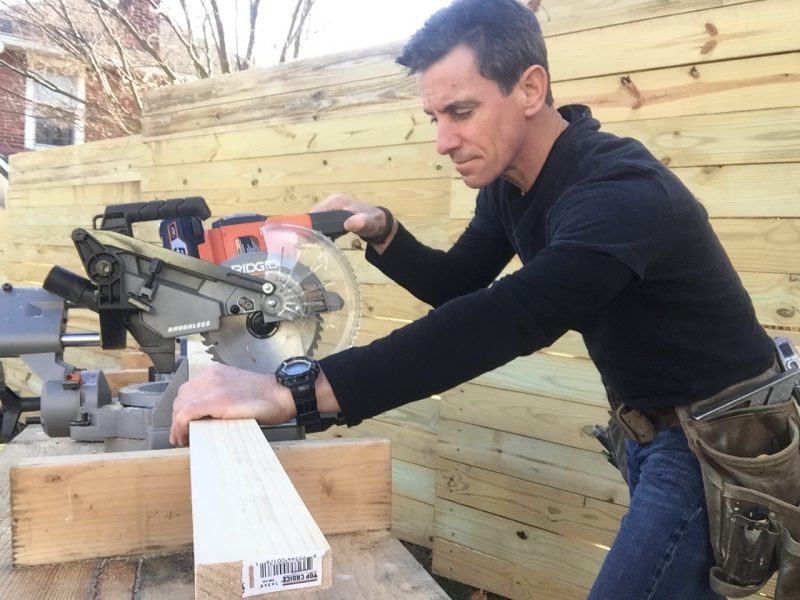
My pattern piece is the first piece I cut. I then use it as a guide to line the blade up to all the other pieces. This is not the best way to do this, but it is better than measuring each piece individually, I think.
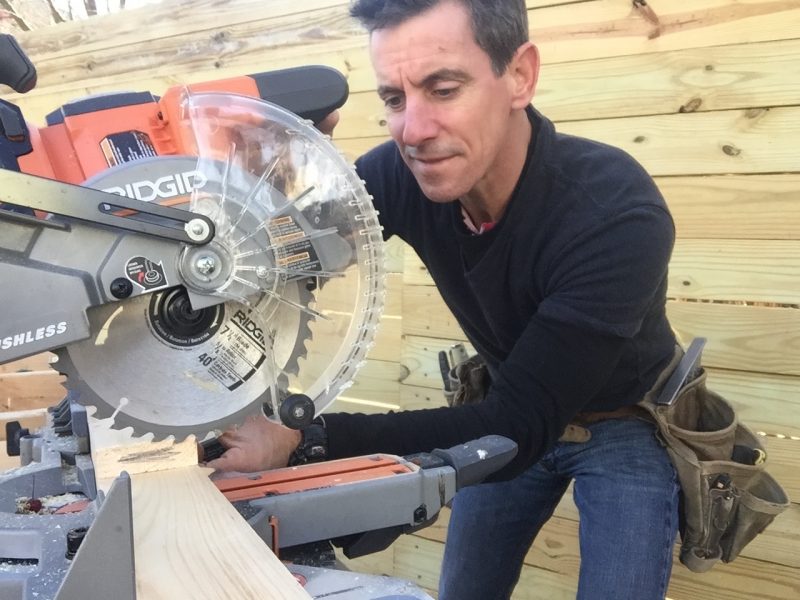
Lining up the pattern piece. The end of my pattern piece is smudged with pencil to make it just slightly less invisible. See it near the teeth on the saw blade?
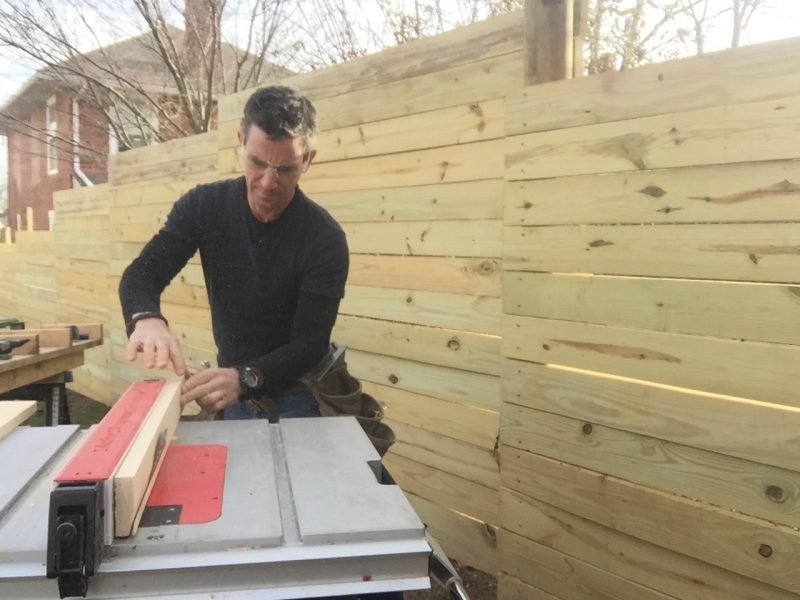
I call the bottom pieces ‘runners’. They sit on the floor. The ‘slats’ your feet touch are connected to them from the bottom. So the runners aren’t sitting in—or trapping—water, I cut a 12-degree bevel on each edge of the board.
Quick Tip: For a nice bevel cut on a 1×3, tip the blade 12-degrees. Adjust the fence 1/2-inch away from the blade. It should leave about a 1/4-inch wide flat strip down the center of the board.
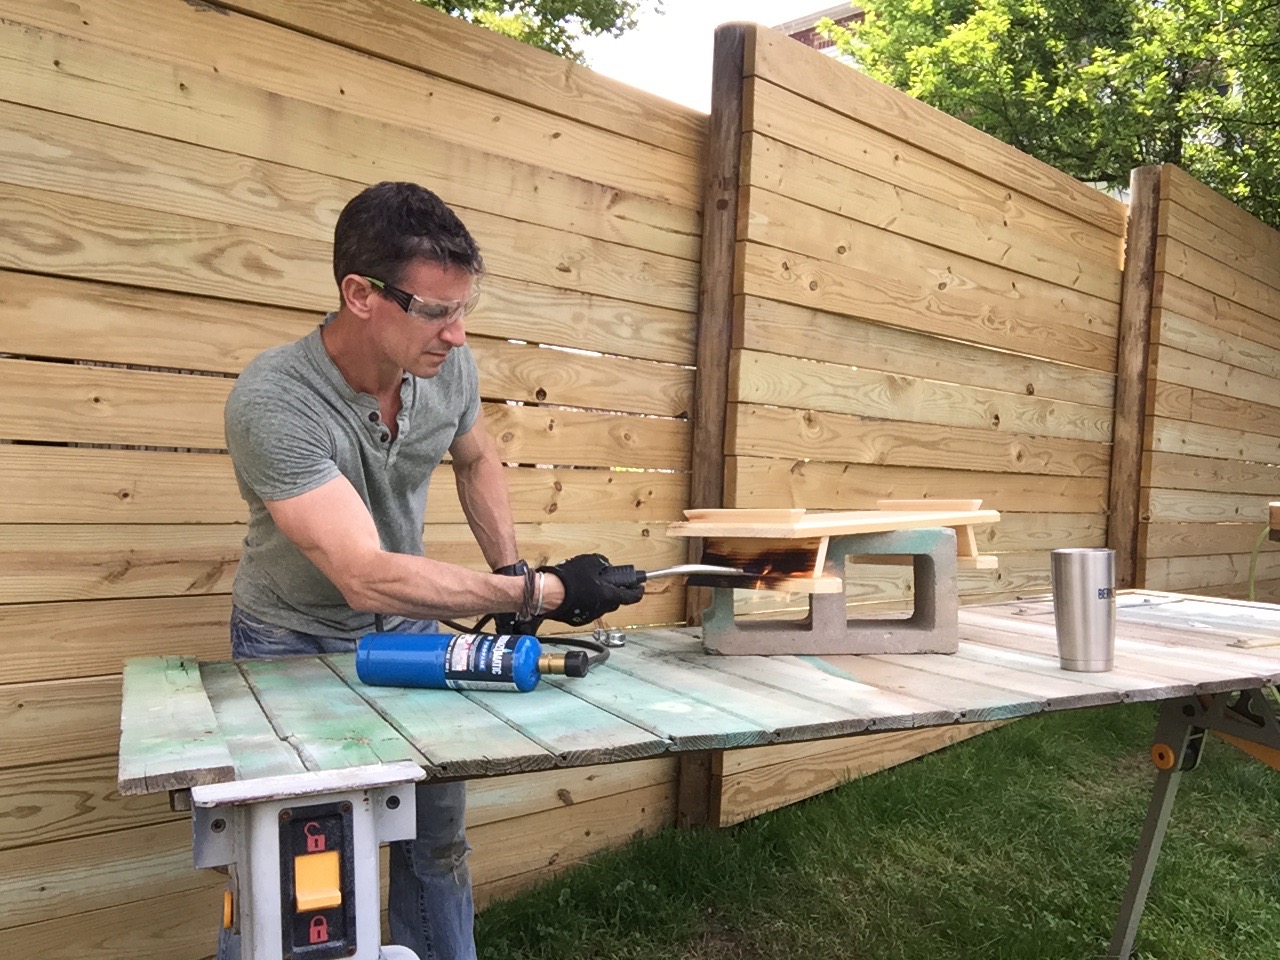
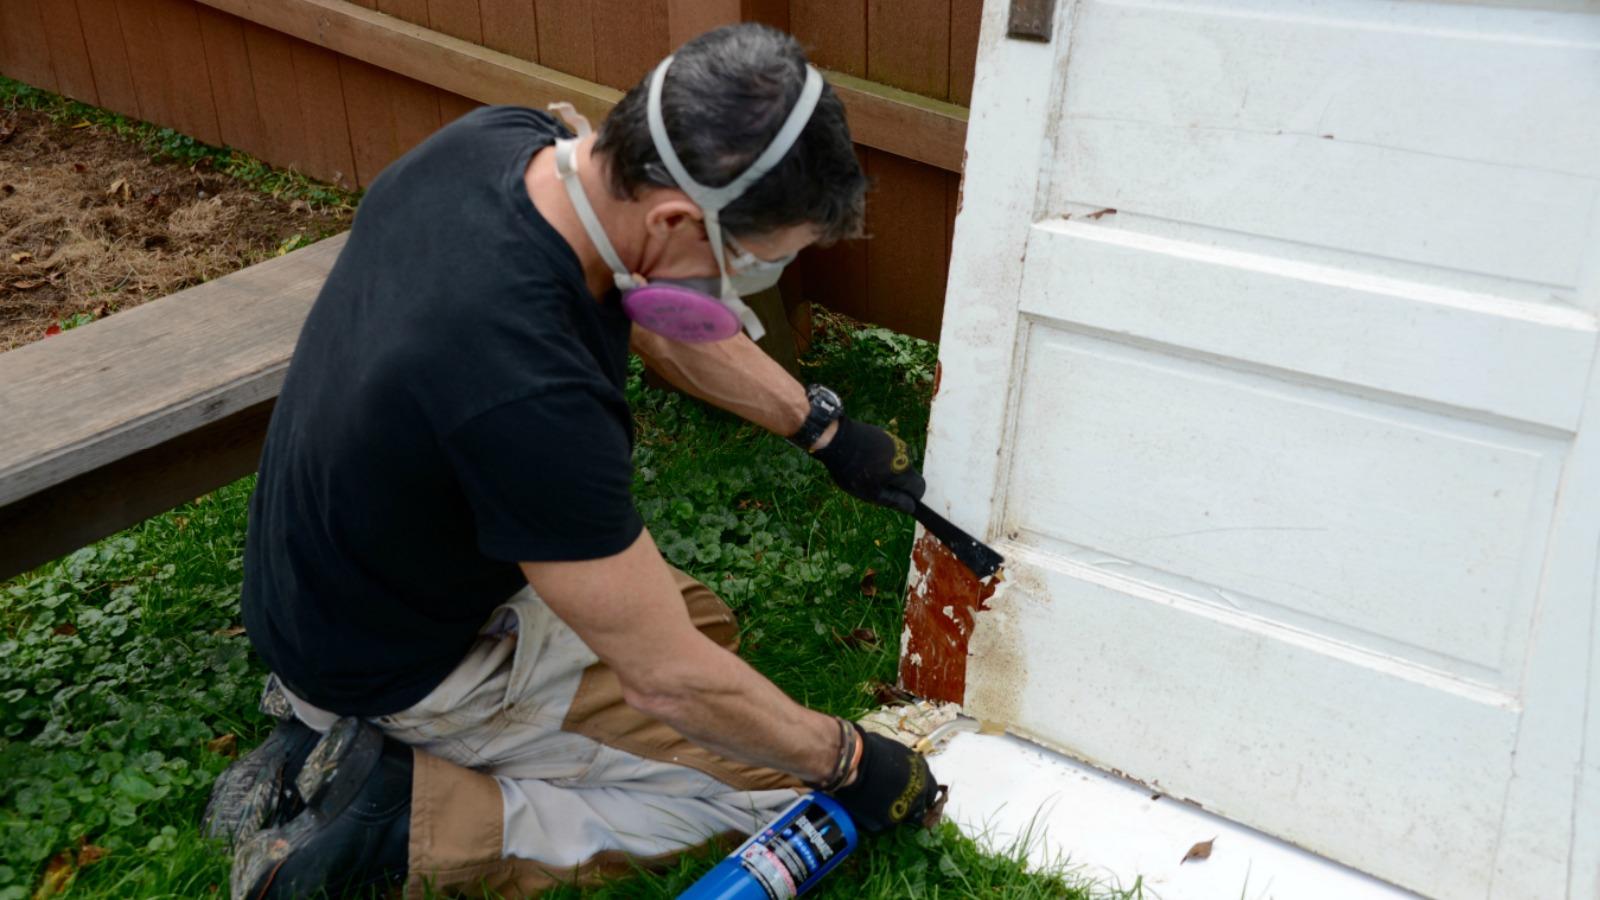
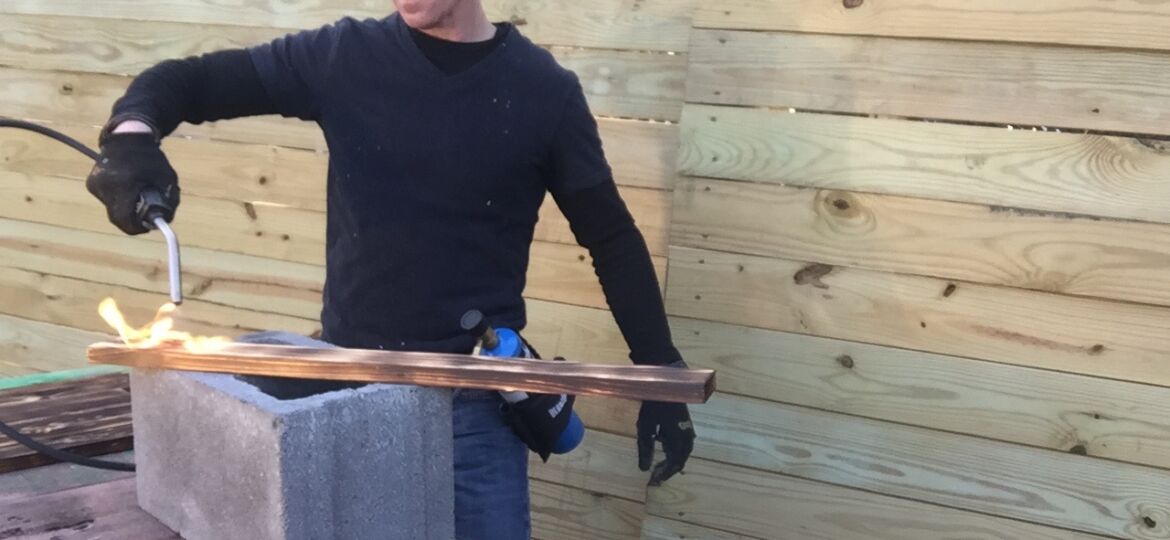
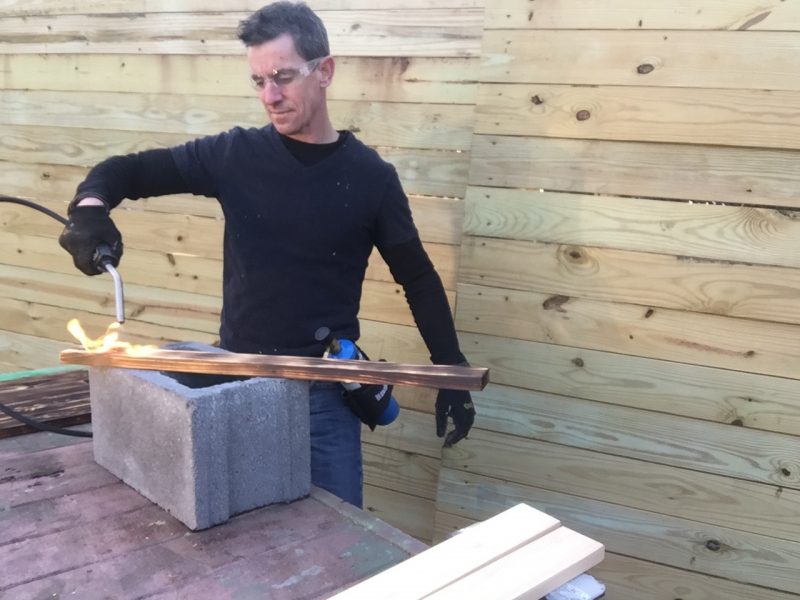
With all the pieces cut, it’s time to char!
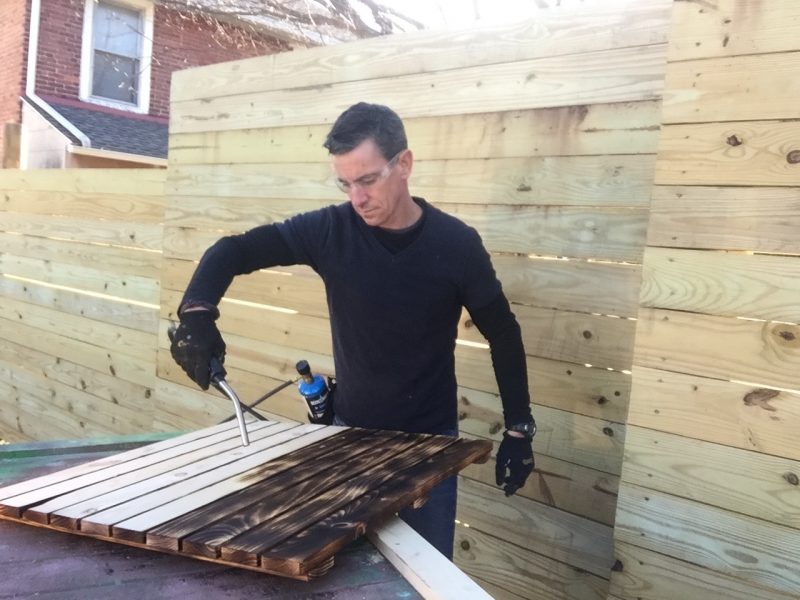
Pine boards take on instant awesome when torched. I used Bernzomatic’s extra-sensational BZ8250 torch with propane fuel for this.
I oriented all the pieces, so that their best side—no chips, dings, gouges, etc—were up, then I applied the heat. I like this torch for lots of project, but especially for DIY like this where the torch head is mostly upside down. The tank holster is awesome. Hands-free man cave-ery.
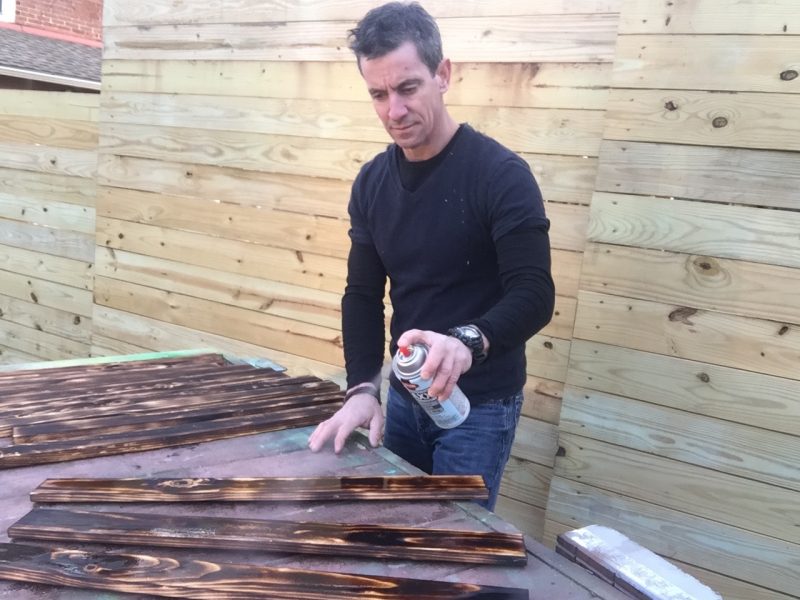
Charring the wood will actually help protect it. However, since most of this bath mat won’t see the light of day, I clear-coated the runners and bottoms of the slats before assembly. It’ll help keep water from absorbing and getting stuck in between the sections. I used Krylon MAXX for this; two quick sprays and everything has a water-repellent seal on it. It dried fast and helped me keep on working with nary a cup of man cave coffee between coats.
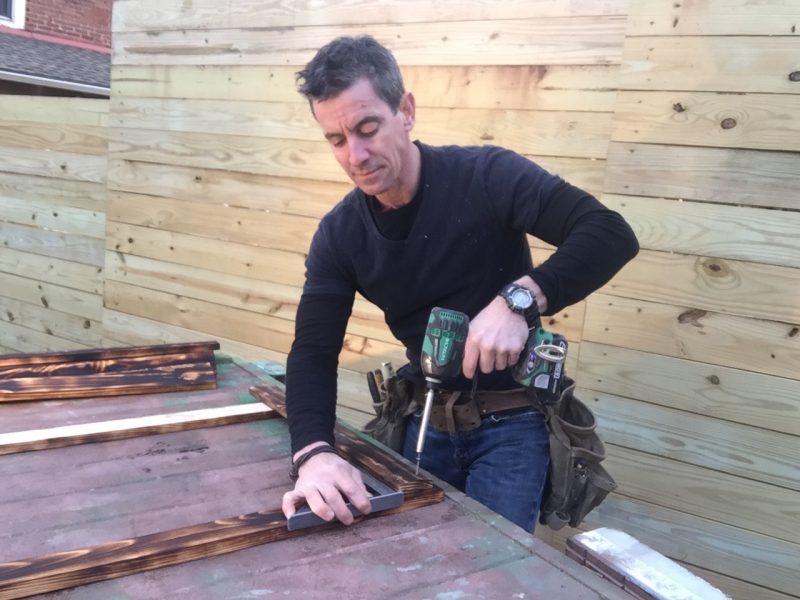
Building upside down. It can be a bit tricky. The idea is to fasten one runner to one slat. Use a square to make sure they’re 90-degrees to each other. I also fasten through the bevel. This way, the metal screw can’t touch the floor. Don’t overdrive the screw and punch through the front of the slat.
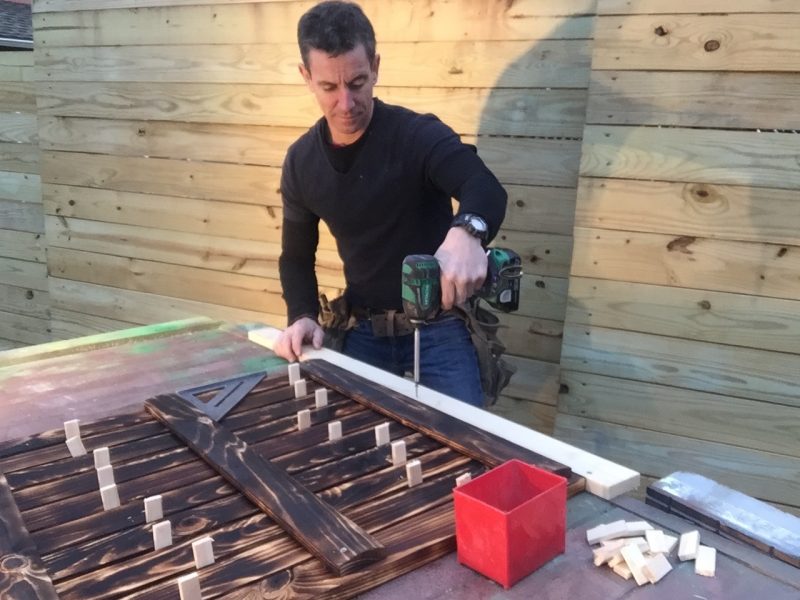
I dry-fit the pieces to make sure they’ll all fit. I use 1/4-inch spacers to create gaps that spread the boards to the desired 28-inches and also let water through. The straight-edge screwed to my work table enables me to make sure all the boards line up. Alternatively, you could just fasten boards a few inches long and trim them to length, kind of like building a deck.
One of Jack’s favorite Pokemon characters is Charizard. I don’t know much about Charizard but it was pretty much all I could think about while I charred the top of the man cave bath mat. If I were smart—fat chance—I would have cut out a Charizard stencil and used it as a theme for this piece.
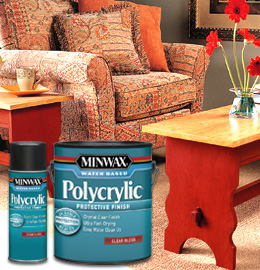
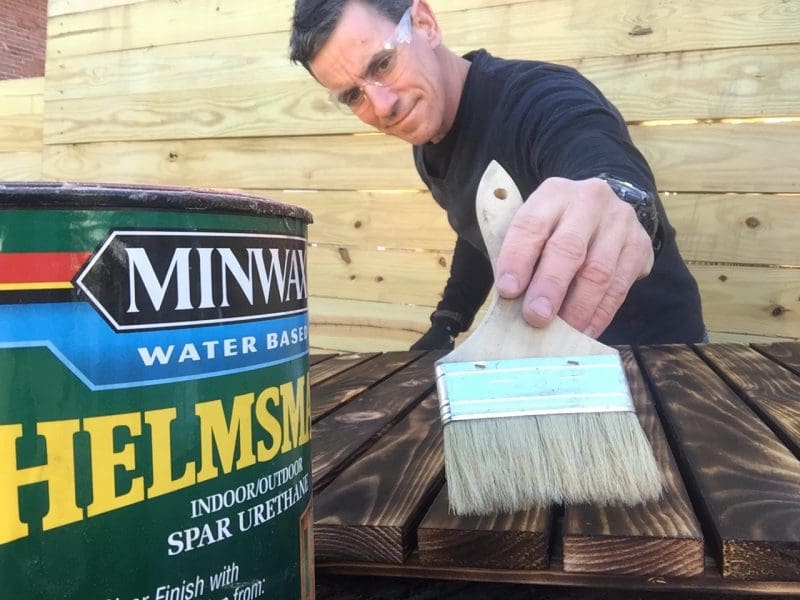
To add a little more protection and make the wood easier to clean—it seems ironic that soap and detergent leave the most residue in the bathroom, anyway—I brushed on a few coats of spar urethane.
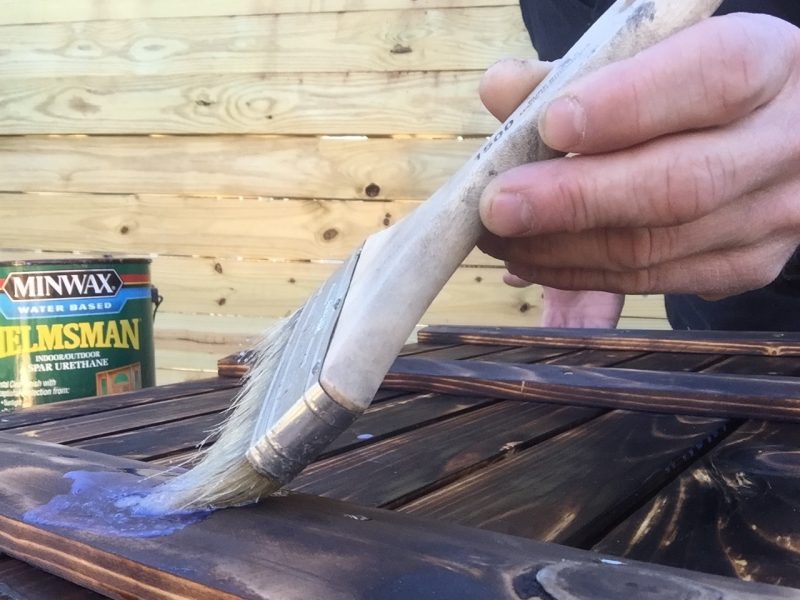
 It doesn’t matter in my man cave because the floor is concrete, but just to be thorough I really soaked any penetrations in the wood—mostly screw heads on the runners—with urethane. I gobbed up the countersunk screw heads and brushed off the excess. The screw heads will eventually rust unless you seal them in caulk and I’d feel terrible if somewhere down the road they managed to stain your grout or fiberglass shower pan. The urethane also seals any wood fibers and keeps them from absorbing water.
Because no shower pan is flat, you may want to shim or add one of those gummy silicone thingies to a runner; sort of the bathroom design equivalent of sugar packs under a wobbly table leg.