
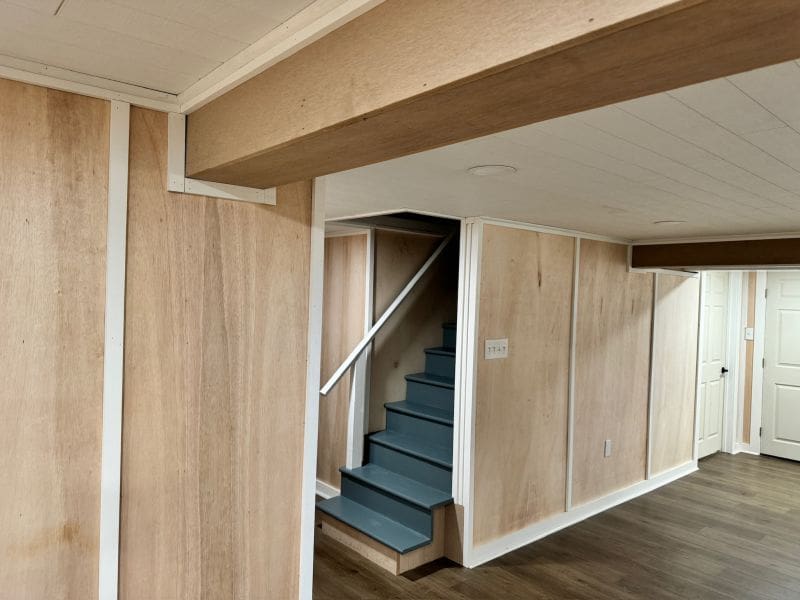
Basement remodeling projects can be worthwhile endeavors that create life-changing square footage in a home. However, a basement renovation project can also be time-consuming, expensive, and frustrating–at times. Our goal as licensed contractors and home improvement content creators is to minimize the time, money, and stress involved in updating your basement so you can enjoy the extra space without getting any lingering PTSD along the way.
Before you get started on basement remodeling.
Assuming the typical sparsely spaced bare bulb fixtures or decades old fluorescent tubes I see in the lion’s share of my basement remodeling projects, I GUARANTEE you didn’t see all of the stuff you’ll have to fix, move, adjust, delete, and work around. From demo to ceiling details, at some point any or all of the tools that were in your way and you thought you didn’t need any more…You’ll probably need to get them back out–again–from the garage or shed.
The reason you won’t see everything at first? We’re typically dealing dim lighting of an unfinished basement that has a bunch of stuff stored randomly everywhere. It’s usually just lit enough during the first basement remodeling inspection and client walk-through that it’s just dim. The “dim” lulls you into thinking that you saw things in detail, but you didn’t and you can’t. Ask me how I know. So we always snap photos. It might not make sense right now, but it’s usually easier to see everything when it’s in a photo and not in real life.
So we always snap photos. It might not make sense right now, but it’s usually easier to see everything when it’s in a photo and not in real life.
Our basement remodeling walkthrough goals
The two main things I focus on at an initial client walk-though for a basement remodeling project–and this applies to you if you are DIYing a basement renovation–are big picture design elements and obstructions.
However much light you have, get more: a LiteBand, a flashlight, or a worklight.
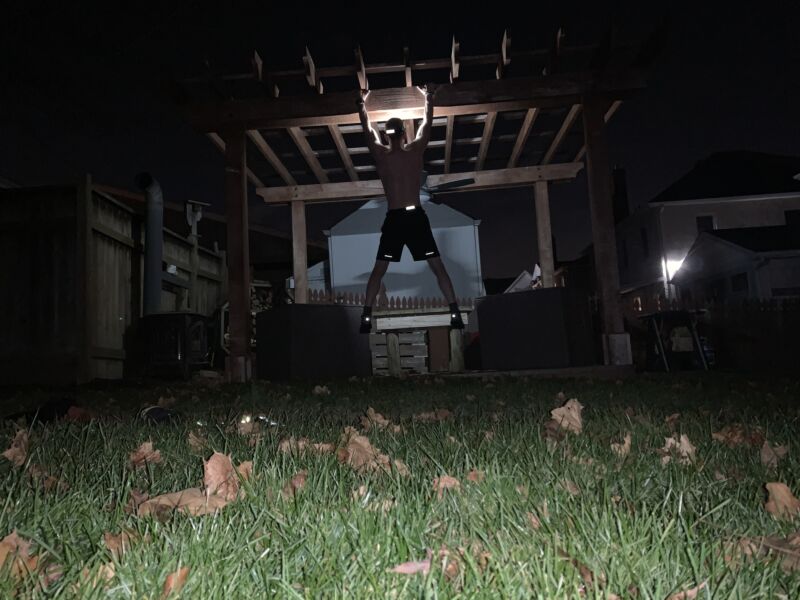





Even in an already-finished basement that looks quite livable like I saw on my last client meeting–there are “can lights” in the ceiling and everywhere–I need to counter-light them from below. With my flashlight as an ersatz laser-pointer, I traced points on the generously tall 11-foot basement ceilings (this is SuperHouse) to point things out to the customer.
My bright, narrow beam of light revealed speakers painted the same color as the ceiling. Invisible to the naked eye. And totally in the way 3 months from now when I interact with this ceiling. My light revealed a conversation it would take several steps to have LATER that it only took one to reveal NOW: “I see the speakers, too. Not needed. Please remove”.
Mapping out what’s in your way–what can be moved and what can’t–is as almost as important as the design you’re also ginning up in your mind’s eye while you dream up your own (or client’s) man cave, gaming space, guest bathroom, kid space, home home office, or all of the above.
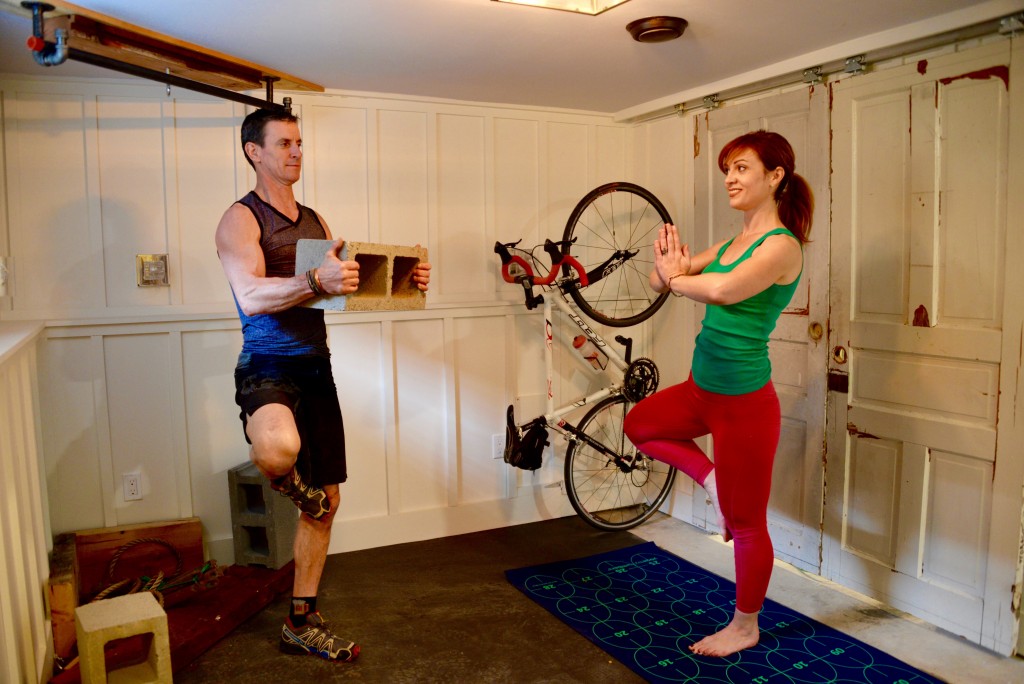


Basement reno: Scan 1.
I suggest thinking about the general layout and design. For example, the bathroom goes here, the office area goes here, the TV goes here, etc. I call this Scan 1. Big picture stuff. Then go back (Scan 2) with the light to look for the monkeys in the wrench: Under-joist copper pipe and wire. P-traps from previous repairs. Old device boxes, coaxial cable and ethernet runs. Doorbell or garage door opener wire. Drain stacks are a big one as are gas pipes. Anything that’ll impede your progress as you install systems, mainly in the ceiling area. But also trace the perimeter. Look for an access port to the perimeter drain if one is present.
Make notes. You can make most obstructions work just fine and on budget while the room is open. The idea is to make the least work out of making them work. What costs more time, money and customer satisfaction–nevermind a little embarrassment–is having to ask constant questions to get approval–from the client or your spouse, being stymied every few feet and so on.
So, how do you gather all this intel while you’re designing at the same time? Separate the creativity from the data gathering.
Basement reno: Scan 2.
Trace each joist bay with your flashlight and look for those copper pipes–they’re about the same color as the framing; invisible with light from a bare bulb that’s 20 feet away. If you’re like me (pray that you’re not) it might be best to do this without also having to field questions or chit chatting about other things. As a general rule, I politely ask to be alone so I can focus and measure alone. That’s when I’d do Scan 2.
Make more notes. Think about workarounds–anything from moving items like drain lines or wires (even if you have to junction them in a “blank” box). Think about soffits and how you’ll make them–or just that you have to make them.
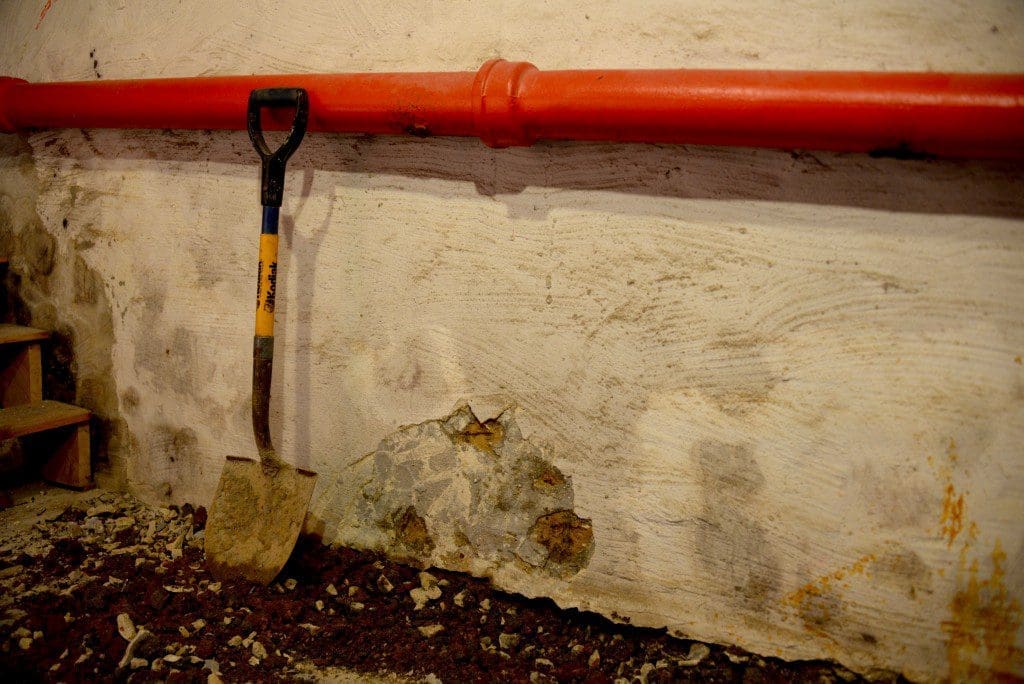
Or, think about not soffiting things at all. HVAC trunk lines + lower ceilings = hulk of drywall? Paint them the same color as the ceiling. Cast iron drain line jank up your wall system? Leave it exposed and paint it red or black. Celebrate it.




The party is more fun if you know it’s coming. And don’t worry. You’ll still miss stuff, no matter how careful you are. We’re not trying to be perfect. But we’re trying to get as close as we can and get on to the next project while having a little fun and making homes better along the way.
Basement remodeling video playlist
Check out our series of basement remodeling videos on YouTube to find out more details that can help you have a successful basement project.
Watch this playlist on YouTube

