We’ve been seeing a lot of Easter egg ideas lately as egg prices have soared. Have you considered learning how to make concrete eggs? They last an absurdly long time, and you can paint and decorate them any way you like. It’s also a fun way to teach kids how to make concrete and we used little ice cube trays to make concrete action figures and fun shapes. Plus, concrete can be awesome to change the way you approach Easter egg decorating.
Note: This article was originally published on March 21, 2016.
I love making art with my son Jack, because I love seeing his creativity explode.
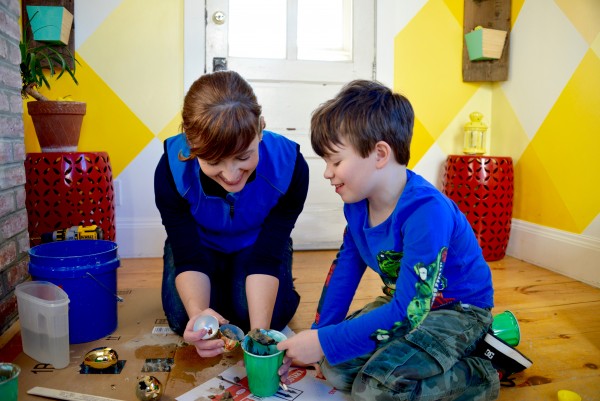
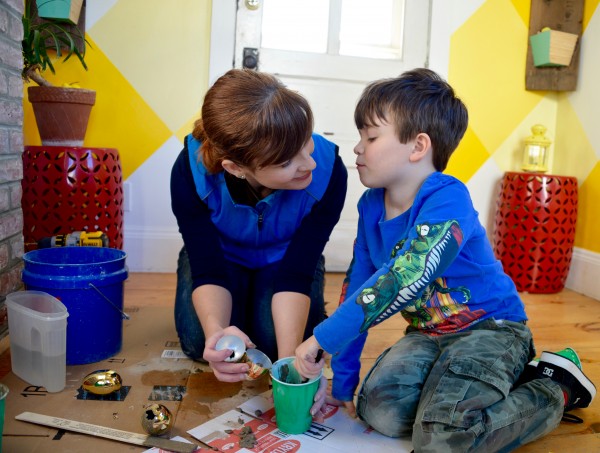
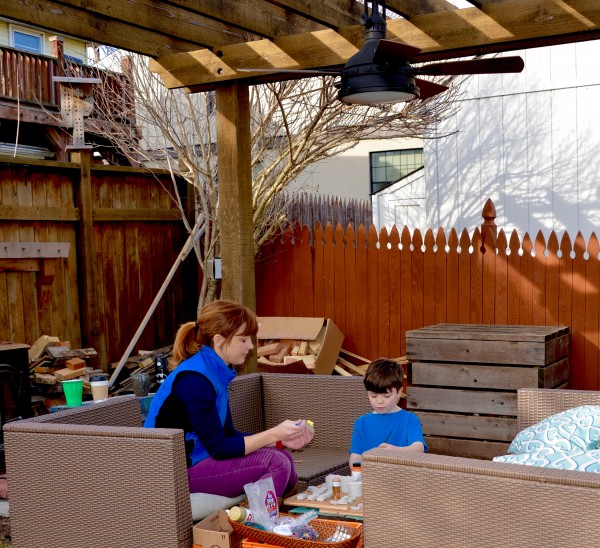
Our friend Sara Bendrick suggested we make concrete shapes for a fun DIY Night project a few weeks ago, and I was so inspired by the idea of making little shapes that I asked my 7-year-old Jack to make and decorate eggs and other shapes with me. It was fun to share with him how concrete is made, well in a very small scale.
Click here to see how we made concrete shapes with Sara Bendrick
How to make concrete eggs
Set up the work area
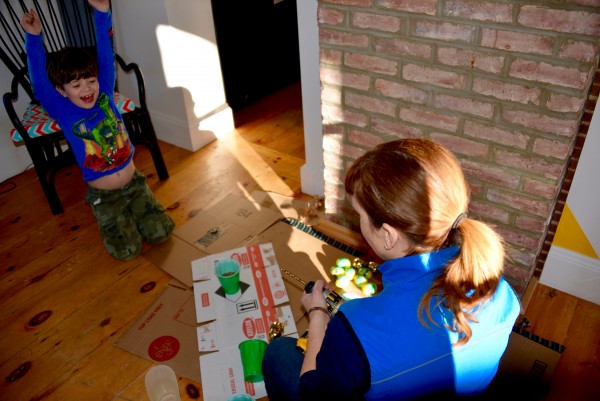
I placed cardboard on the floor in our Sunroom so we could work on the floor together. Then I gathered the supplies we needed.
Countersink to make pilot holes
Solo cups to mix the concrete
Water
Concrete pigment or paint and embellishments
Prepare the egg molds
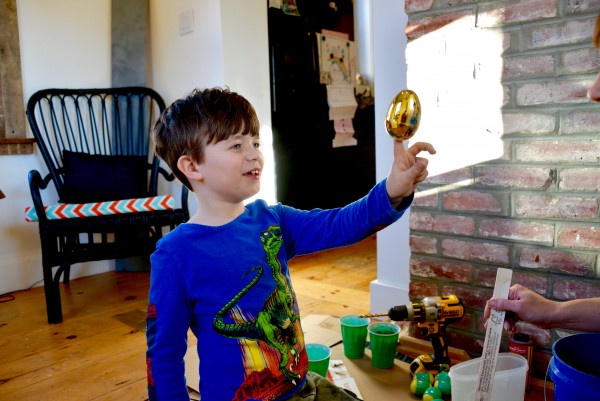
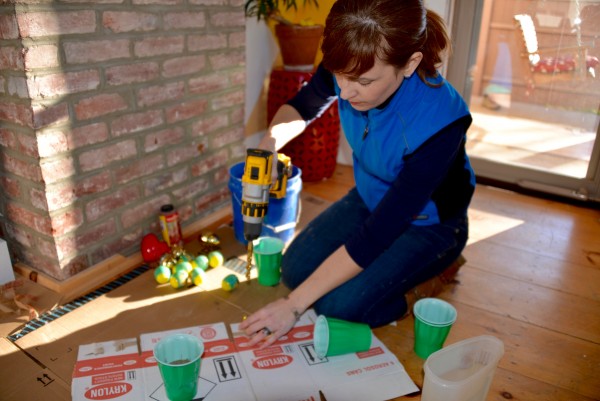
The first step in how to make concrete eggs involved prepping the egg molds. In order to get the concrete into the egg molds, I needed to make holes in the eggs. So I carefully used a countersink to drill holes into the tops of the eggs.


Mix the concrete
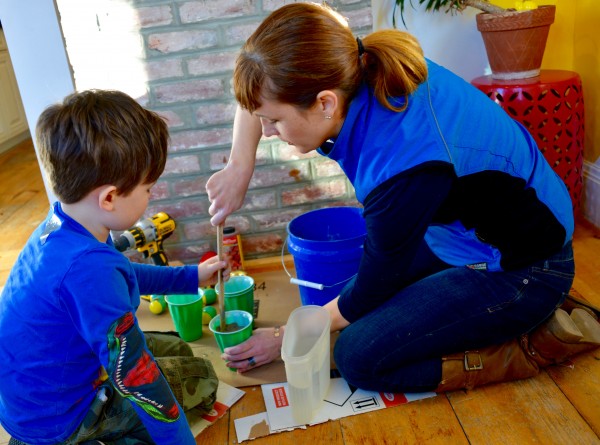
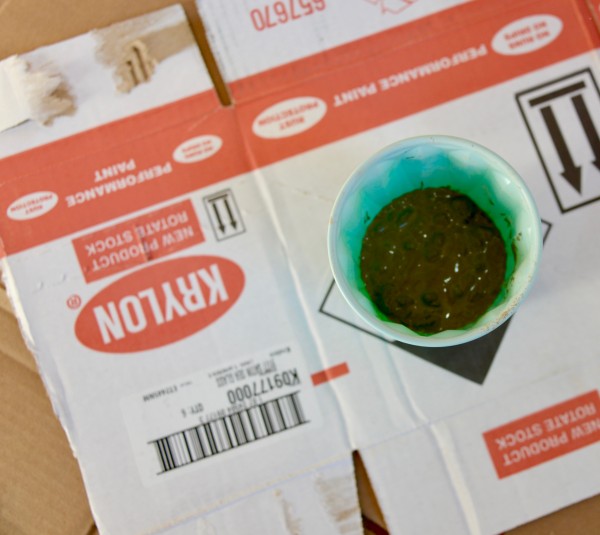
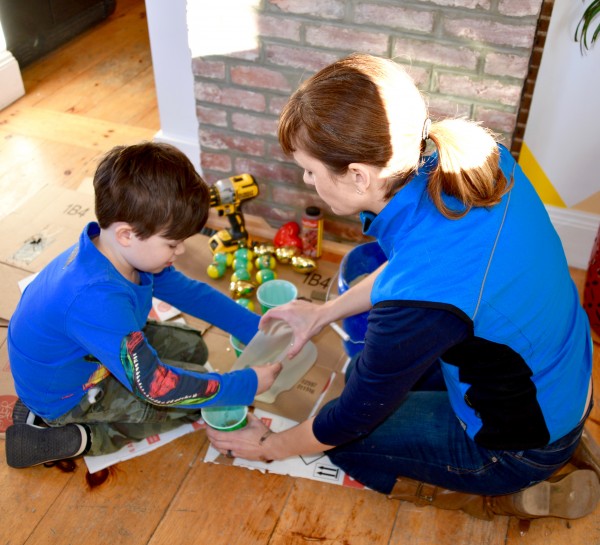
Unlike the usual way of mixing cement, aggregates and water, we used a concrete mix which already has the aggregates in it, so it just needs water. After mixing the concrete, we then let the mix sit for about 10 minutes. This allows a chemical reaction that strengthens the mix.


Pour the concrete into the egg molds
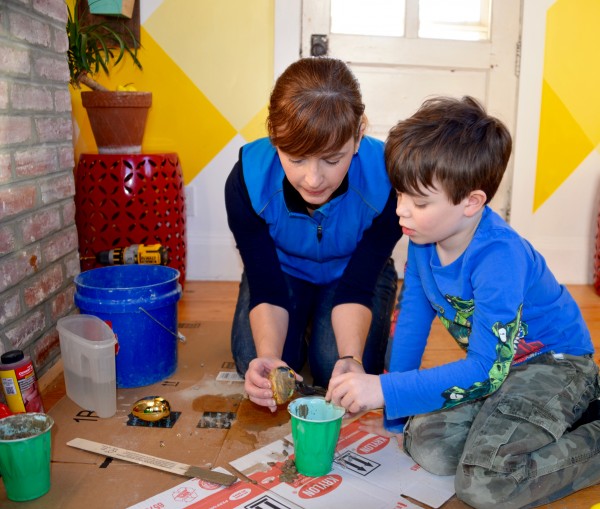
After we waited 10 minutes, we remixed the concrete mix. Next, we needed to pour the concrete into the eggs. It was a slow and steady process to get the concrete into each egg hole. While filling the molds, we shook and tapped the eggs a bit to agitate the mix so it settled and filled the entire egg.
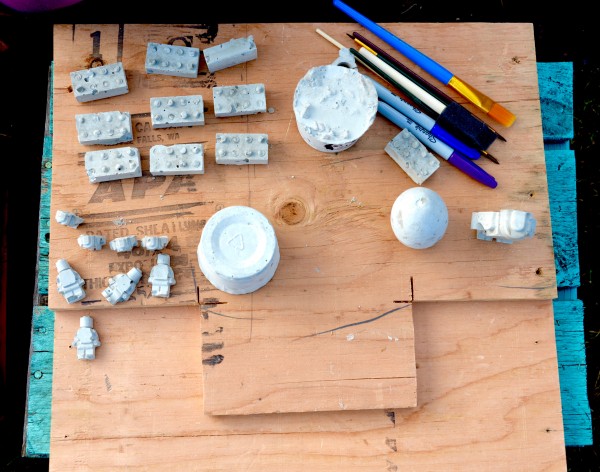
We then poured the rest of the concrete into little action figure molds so we could make little concrete guys.


Waiting for concrete to cure
After we poured the mixture into plastic eggs and other molds, we waited… Until we could take them out of the molds and decorate. The cure time depends on the weather, and the thickness of your concrete mix. We also recommend checking the label of the concrete mix for guidelines.
Pop out the concrete eggs
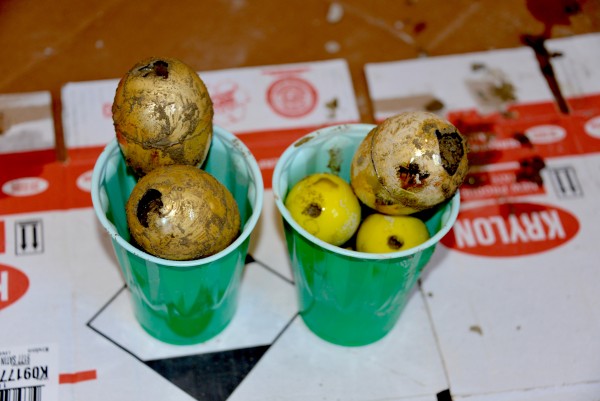
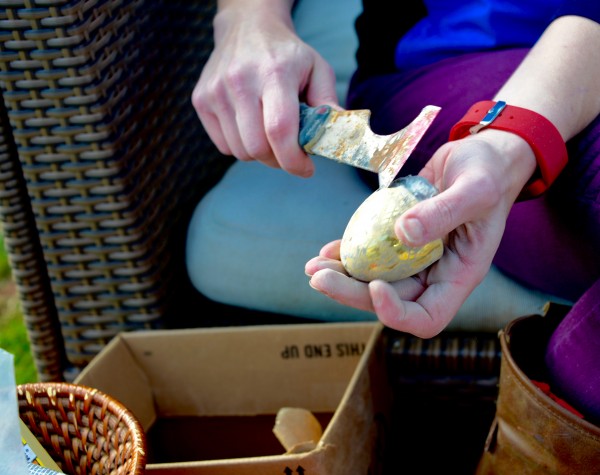
We let the concrete eggs and action figures sit for a few days before we popped them out to decorate them. I wanted to be sure they were ready. And we were delighted after we got them out of their concrete forms.
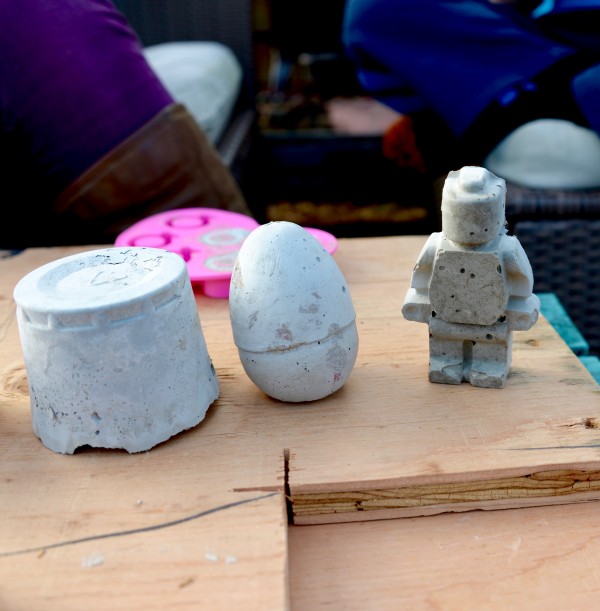


Decorate the concrete eggs
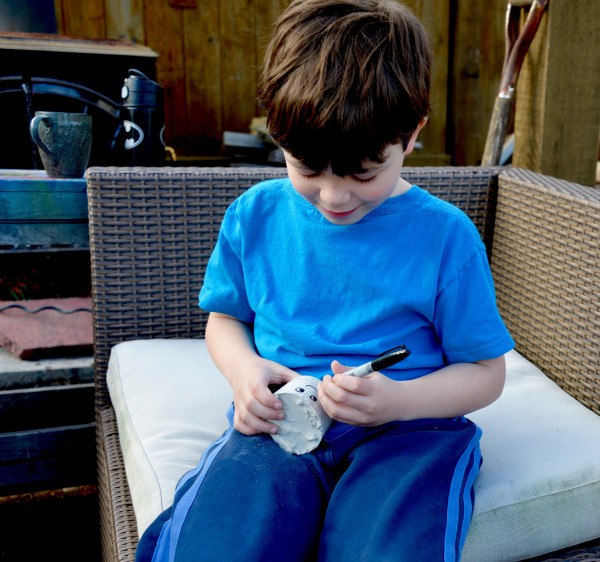
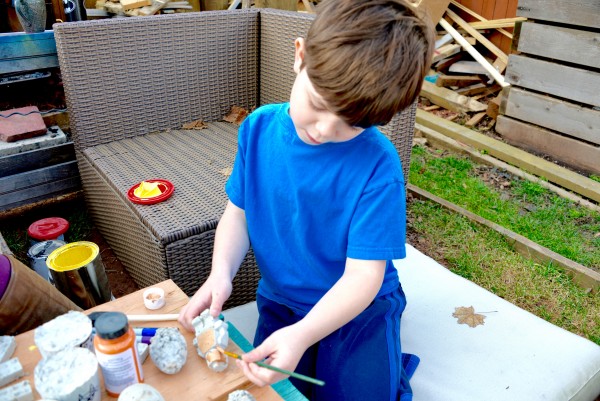
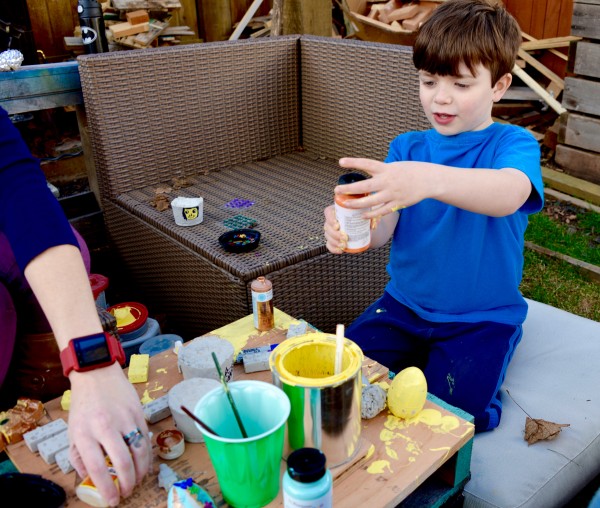
We used markers, glue, embellishments and paint to take our little grey creations on a ride with our imaginations.
I definitely recommend this Easter egg decorating project for the 7+ year old kids. And concrete eggs are perfect for my Spartan husband to hunt on Easter, too.


Talk to us.
What do you think of this project? Do you think you’d make concrete eggs for Easter? How about concrete action figures?
Click here to see how we made concrete shapes with Sara Bendrick

