
When you want to remove molding from a door or window, the big challenge isn’t so much getting the molding separated from the wood and the wall; it’s separating it without causing any damage. That’s the trick.
So with the help of OLFA (OLFA sponsored this article’s production but not its content; that’s all ours), we get to share some of our tips and tricks for adding new trim.
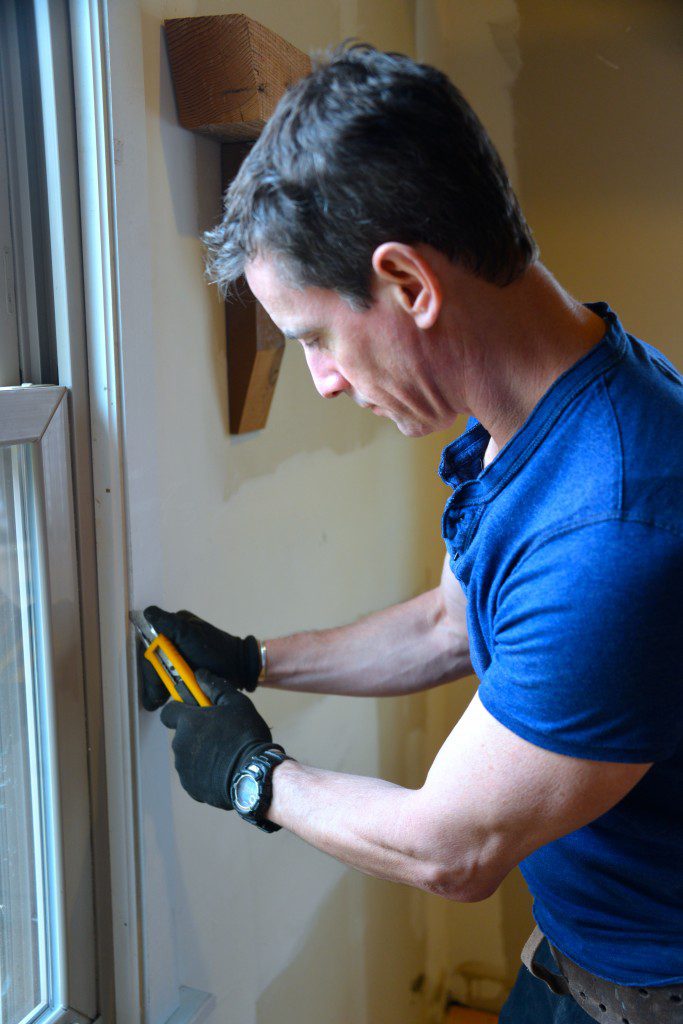
This kind of DIY demo isn’t so much about muscles and macho as it is about know-how and patience. And knowing what to undo—and how to undo it—to remove molding without wrecking the wall around it.
First thing to do is to cut the caulk both on the wall and on the jamb. If you think the blade in your utility knife that you last used who-knows-when is sharp enough, you’re probably wrong. A nice sharp blade is key. I usually take a few passes, cutting carefully, holding the knife at such a angle that I don’t cut anything behind the molding that won’t be covered back up with new molding. In other words, a a slight angle so the tip of the blade points behind the trim.
Tip: In a hurry? Slow is fast here. A quick moving utility knife is just asking for trouble.
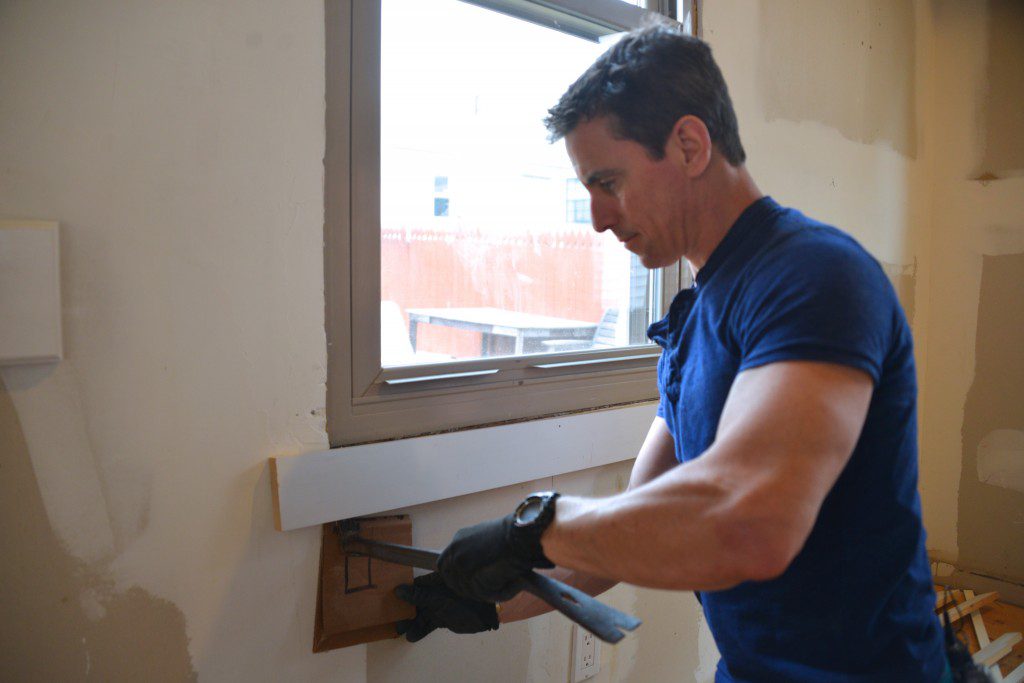
Next, I use my painter’s tool or a sharp pry bar to get in behind the trim, then pry gently, just to ‘break the seal’ between the molding and the nails—not to yank the whole piece off.
Anywhere the bar will fulcrum on something visible, I use a pad. Or I try to sneak the edge of the tool in where trim will cover and pry from there. Hefty cardboard folded in half is good at protecting drywall from being crushed—which does not take much effort when you remove molding.
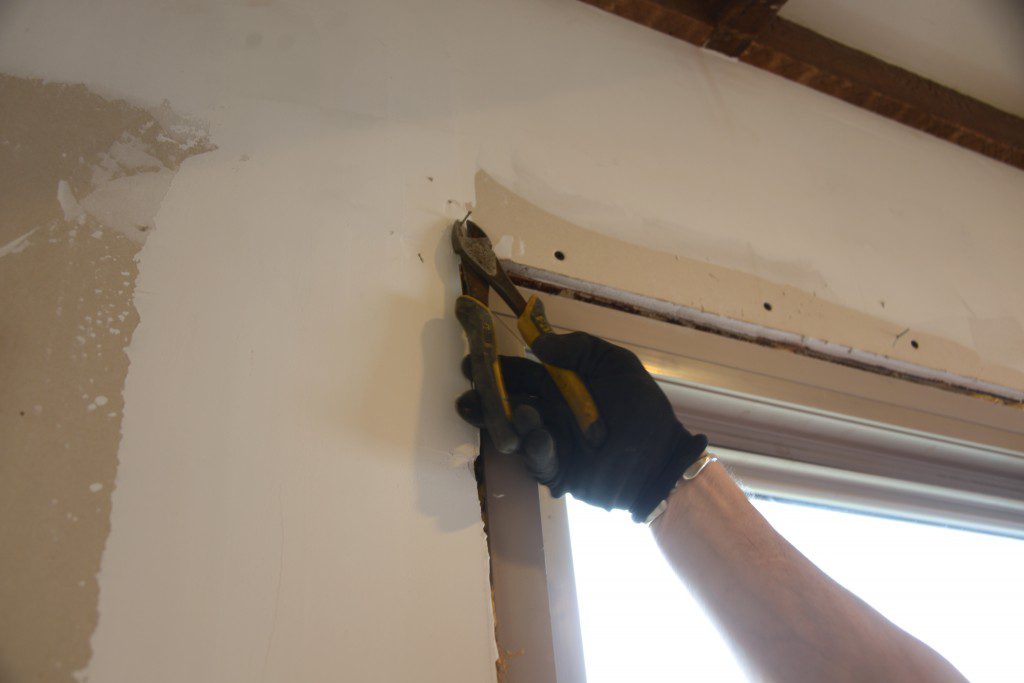
Invariably when you remove molding, a few nails are left behind. They just pull right through the wood. I find it best to cut the nails with my dikes (shorthand for ‘diagonal cutting pliers’). A tap with the hammer sets it flush.
Once all the molding and nails are removed, there’s usually a strip of caulk left on the walls and jamb. I like to go back with my utility knife and cut it off so it (A) doesn’t show when I install new molding or (B) hold the new molding off the wall.
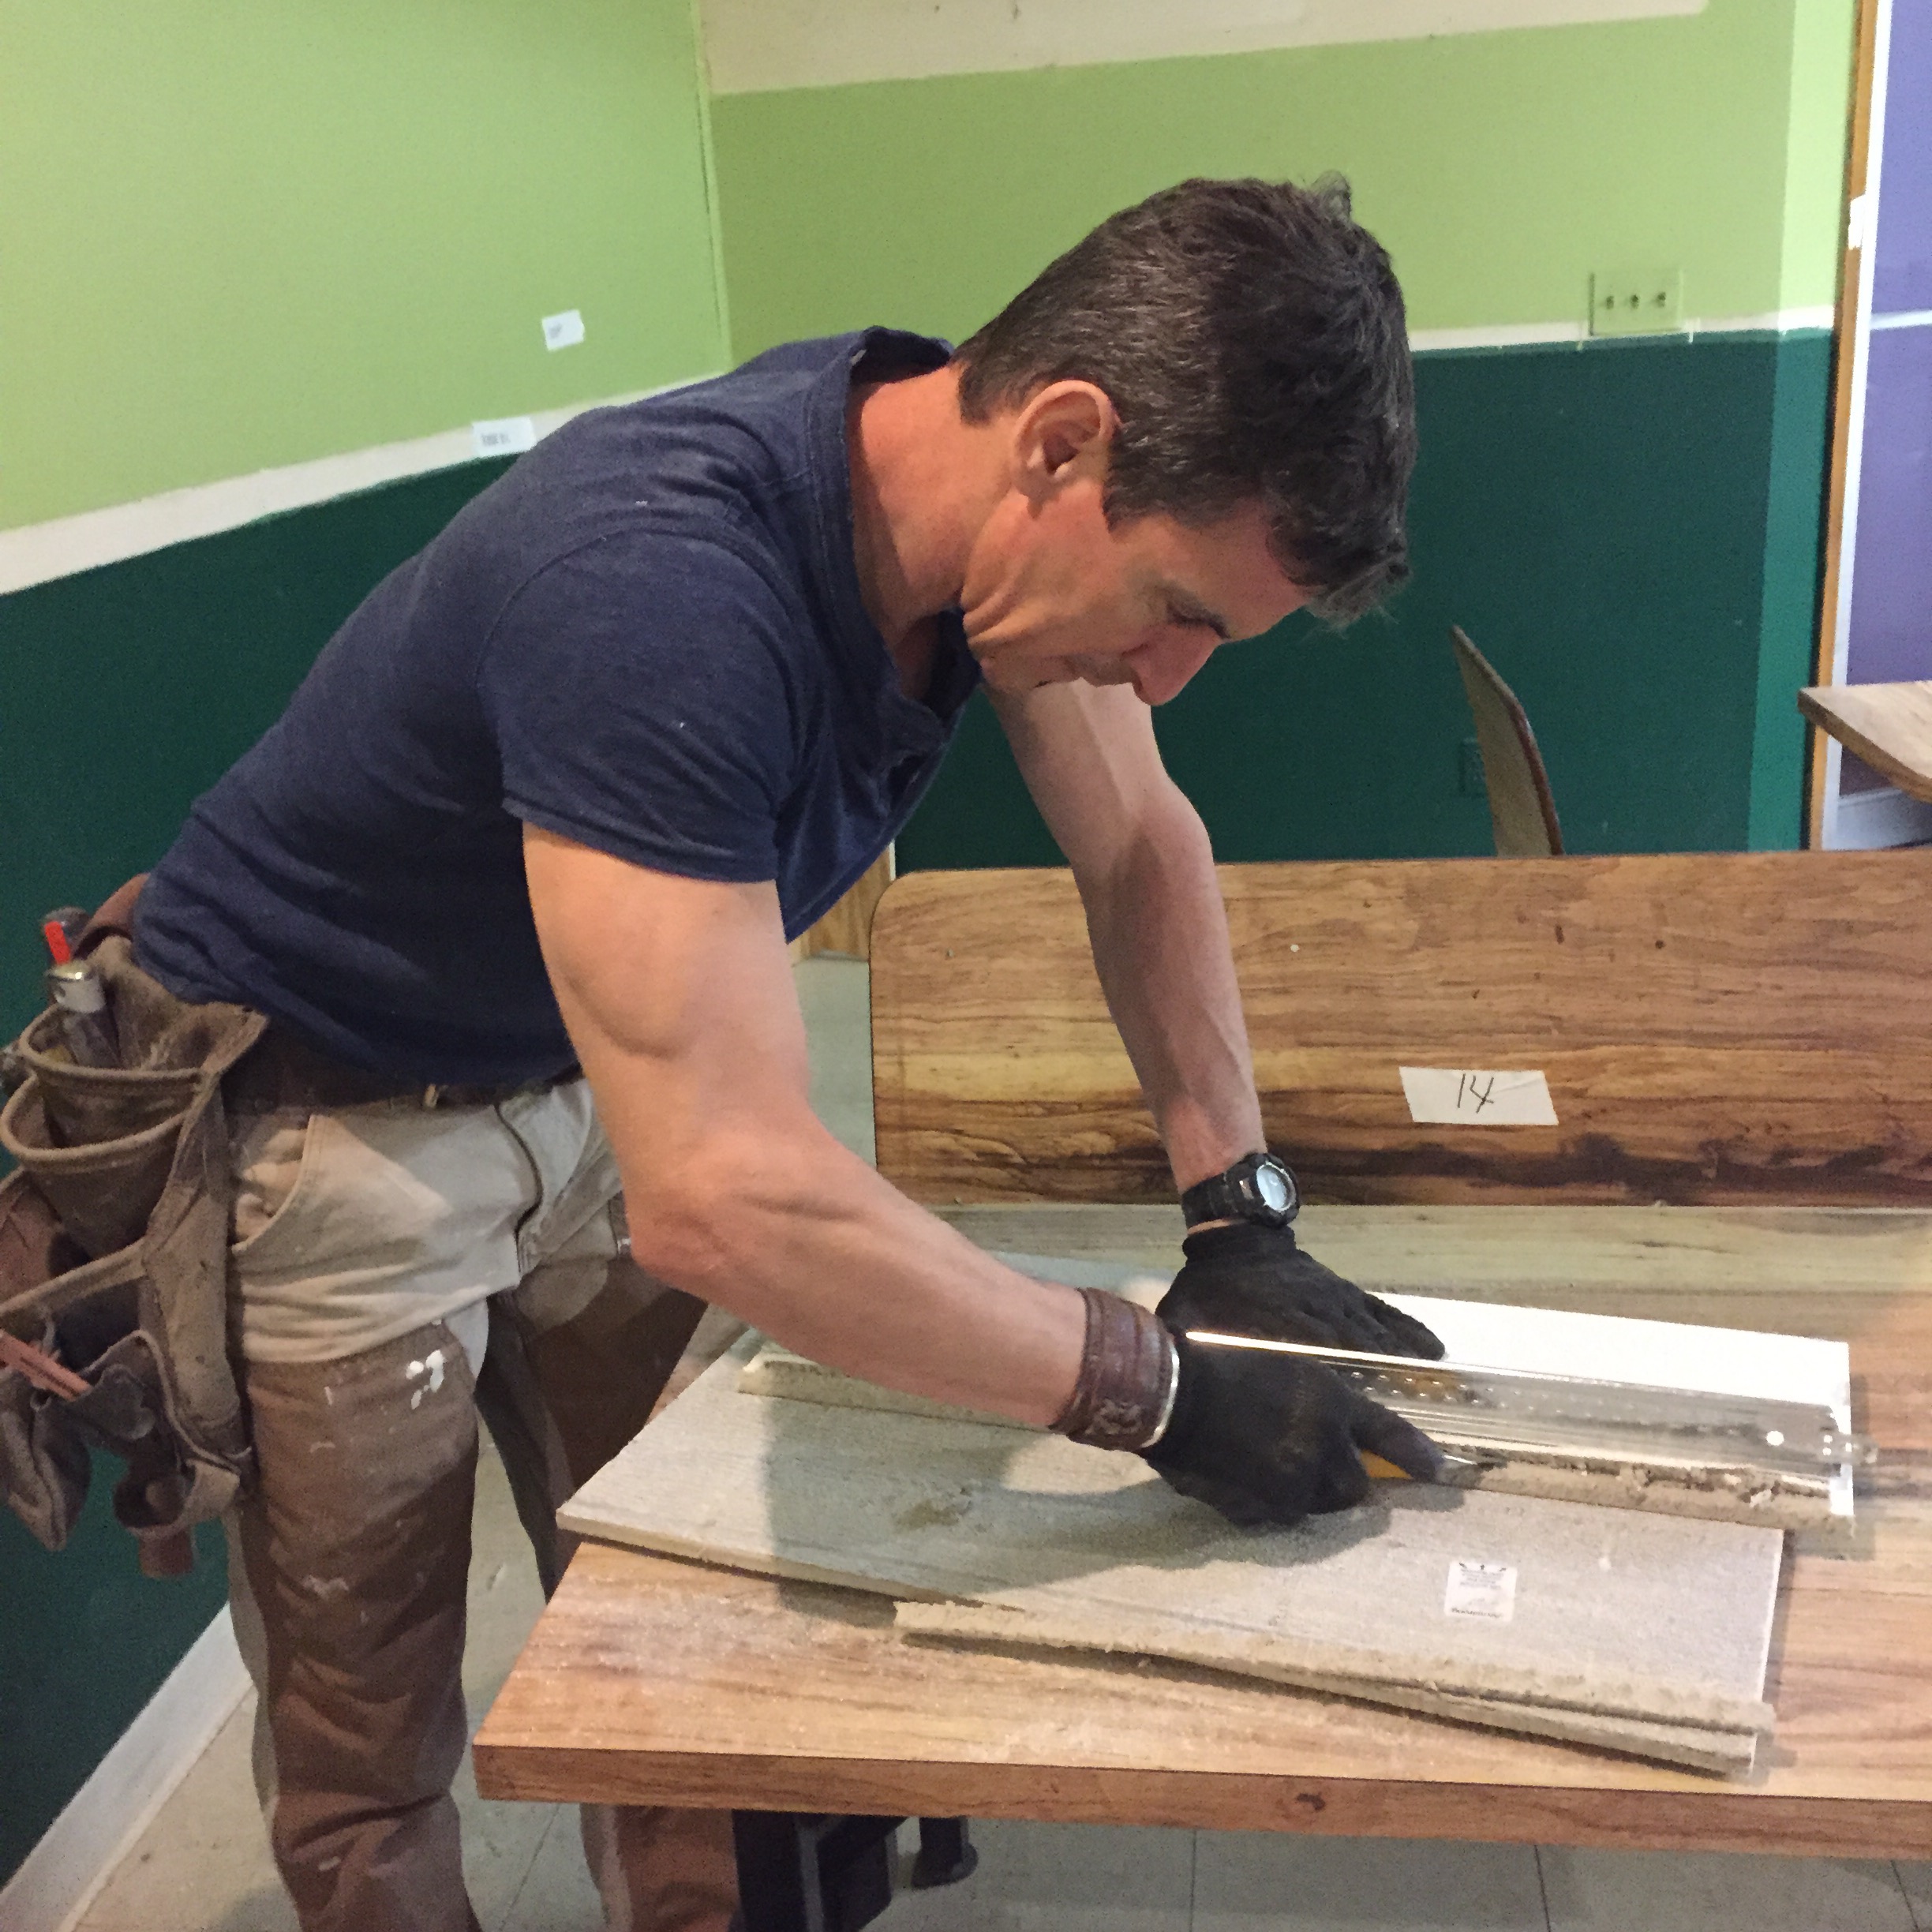
One great way I’ve found to do this is with the OLFA-knife I used here. I can extend the blade, exposing a long cutting edge that both reaches the entire bead but also flexes to ride flat along the wall enabling me to cut it as close as possible. Sharp blades, which the OLFAs have, also help quite a bit.









[…] uses but I’m keeping it simple. Focused. One thing. One layer at a time. The same way I take a house apart that I want to remain standing and liveable. I don’t smash the shit out of it with a […]
[…] we build and remodel, we want grace and staying power. We want any remodeling and molding project to look good from the street—and even greater from 6-inches away. That means the […]
[…] tiles. These look great installed but, like anything, need to be worked a certain way. The OLFA utility knife made much quicker work of this project for us than a typical utility knife. Not only because I can […]