Need to update your shed? Here’s how to update a shed with a ramp and some gardening features in a weekend.
Sometimes the hardest part of DIY projects is building up the momentum to start them. Once you’re in it—and this happened on this project—it becomes easy to see that little changes can make a big difference. And if you really look deep, life lessons can pop out of a simple landscape project.
You don’t have to change the world to change your world. Just work on a little part of it and see what happens. Of course, there will be times when a professional like a roofing expert or an electrician is needed and is absolutely the best choice, but for smaller projects, why not try them yourself?
For now, though, here’s how we made over this shabby shed and tips for how you can do your DIY projects too.
What’s in this article?
Watch this shed video
Quick Note: We partnered with Fiskars on this project. The design, how-to, and opinions are MyFixitUpLife’s.
The Before
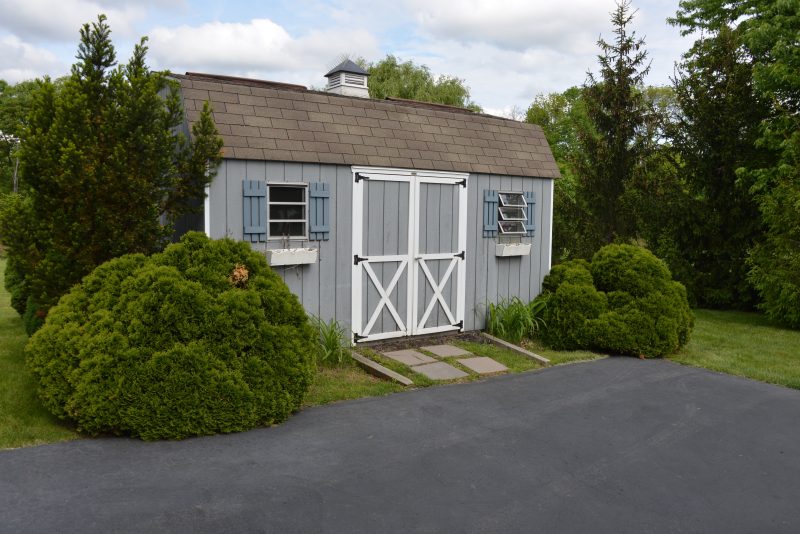
Landscapes need color, but they also need something a little more subtle—space. The arborvitae in front are misshapen and crowding the corners. The yew in back is practically growing inside the shed.
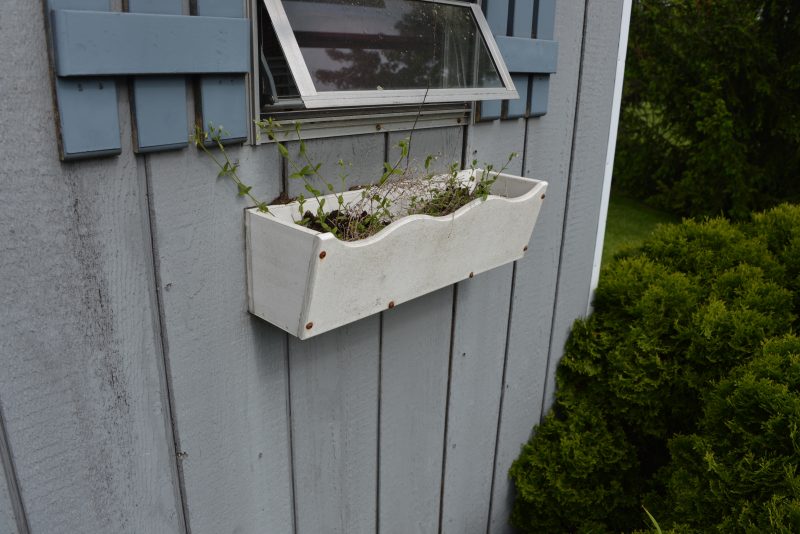
You can see the shrub crowding the corner and the poor, abandoned window box.
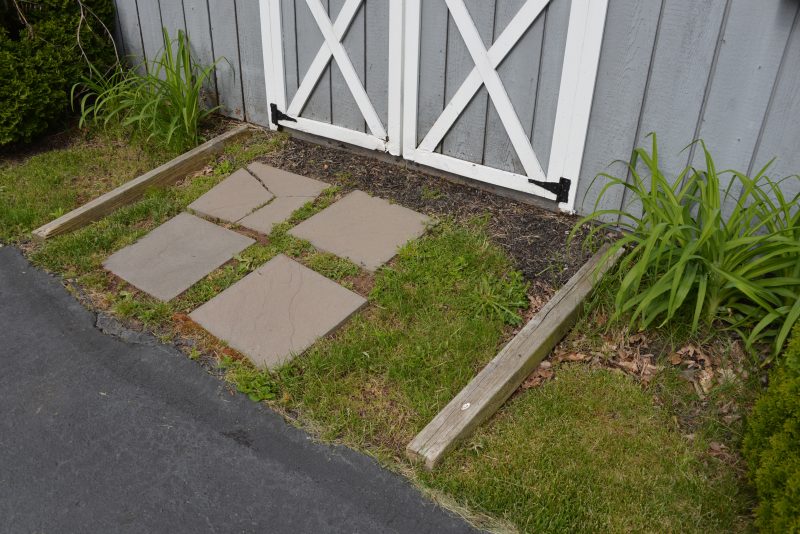
Besides being installed haphazardly, this ramp is just crowded by grass and green. OK, enough! Here’s how we took a little DIY weekend -umph and created a colorful more pleasing space by giving everything just a little room to be.
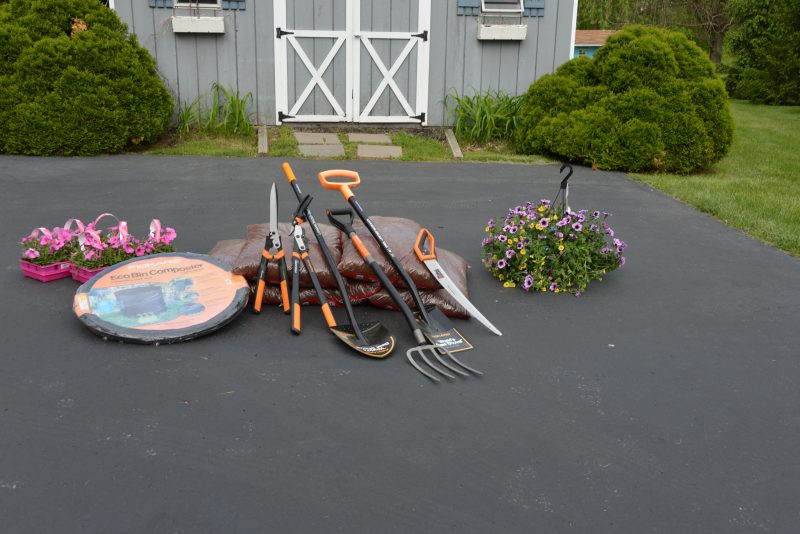
Let’s talk tools
The All-Steel shovel, spade and fork did the heavy lifting, everything from edging to sod removal to transplanting the lillies. The hand pruners and hedge shears helped things take shape. Petunias provided the pop around the door without crowding the landscape. I split a hanging plant to populate the window boxes
Might as well say it now: Landscapes move at the speed of Nature. I could have shaped the shrubs into perfect orbs, but it would have been a ton of work and left them sticky and brown until they filled back in. Same with the space on either side of the door. I could have popped in a mature plant for a big, insta-change. It would be overgrown in a season or two. Instead, I went subtle. Petunias, not power.
Take care of the landscaping
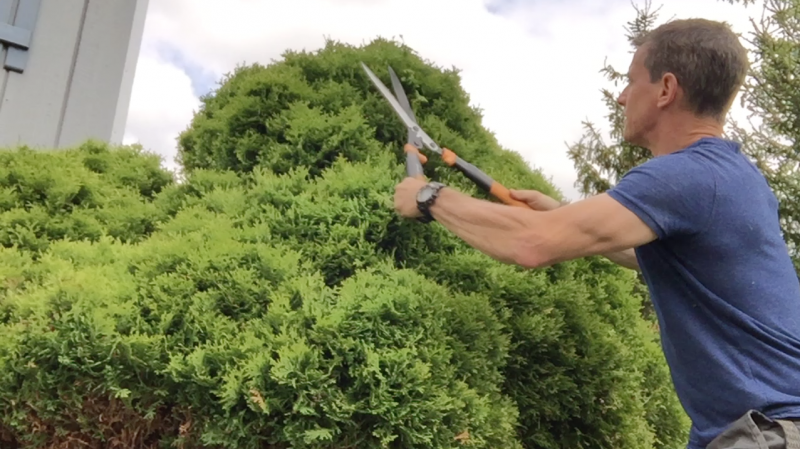
The first step in creating space in a over-shrubbed landscape is to ‘lift’ bushes that are growing on the ground. I used the PowerGear2 hedge shears to reach in and under the plant to snip off the bottoms around the perimeter of the bush, sort of the equivalent of a barber shaving your neck. This created a gap between the ground and the shrub that makes all the difference. Now, this can be lifted further at the next pruning without de-greening the plant.
Build a shed ramp
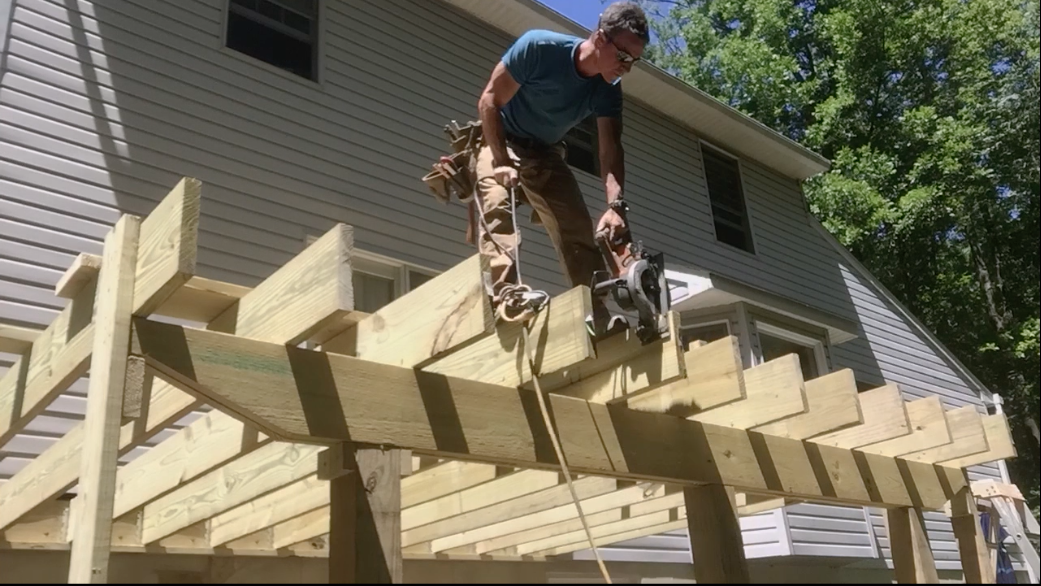
In the world of DIY projects this ramp alone may qualify as a weekend project, depending on your experience. It only took me a few hours, but, as they say: I’ve only been doing this a long time.
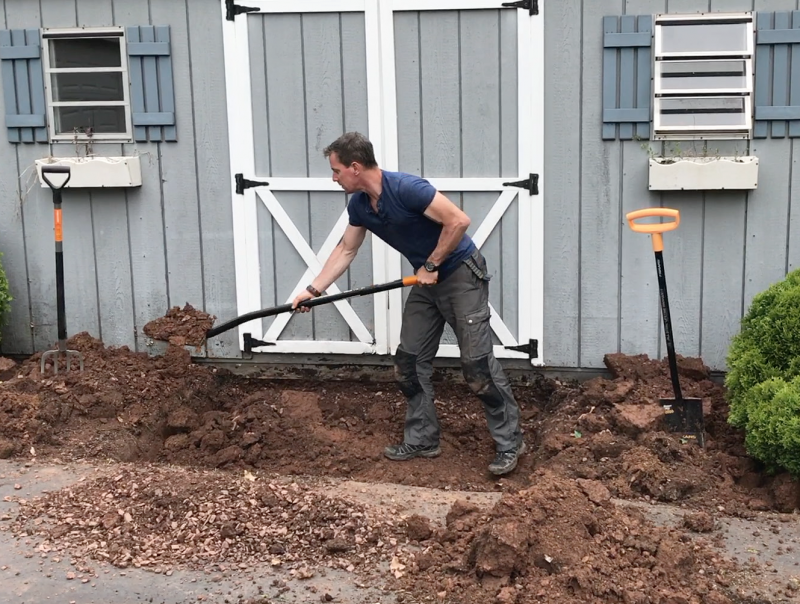
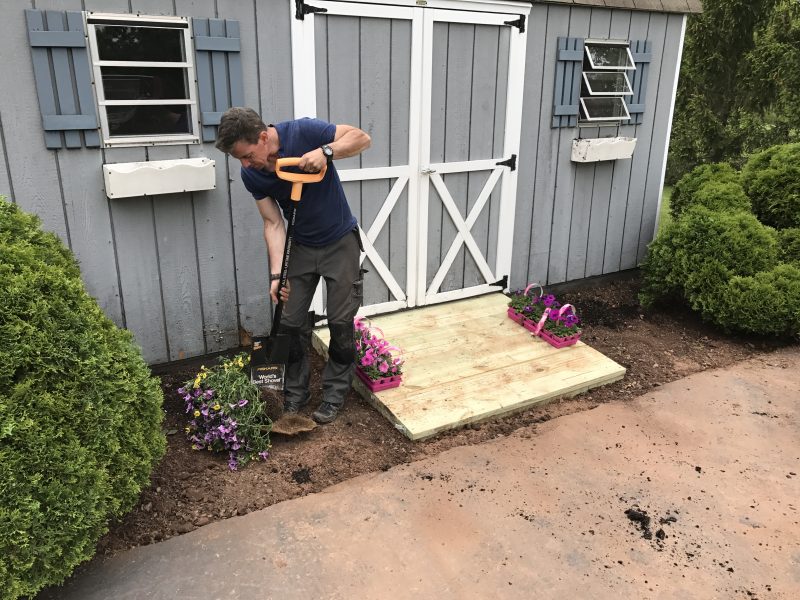
Anyway, I dug out a space for the using the All Steel Shovel, Spade and Fork. It’s temping to try and just cut channels in the earth for the ramp framing, but in the end, it’s not worth it. Something will inevitably be in your way.
Adding the shed ramp, again staying with the theme, created space. Not only does it deliver the utility of a smooth entry into the shed (better than rolling a lawn mower over bumpy pavers) but it’s a different color and texture than the surrounding plants and grass. It creates a frame of sorts for flower beds on each side.
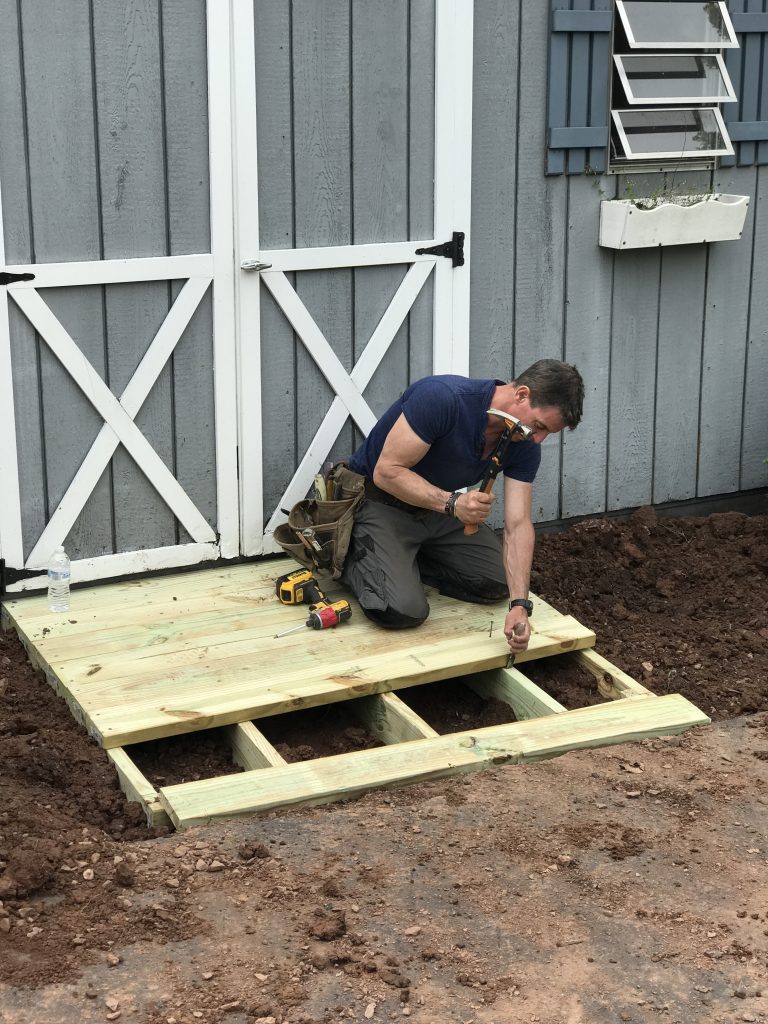
When using wood in the landscape—this is pressure treated Southern Pine—make sure it is rated for ‘ground contact’. And, install decking tight (I’m using a hammer and chisel here to pull a slightly warped board tight to its mate) so that when it dries out, there are nice, even gaps between boards.
Create an edge between landscaping and shed ramp
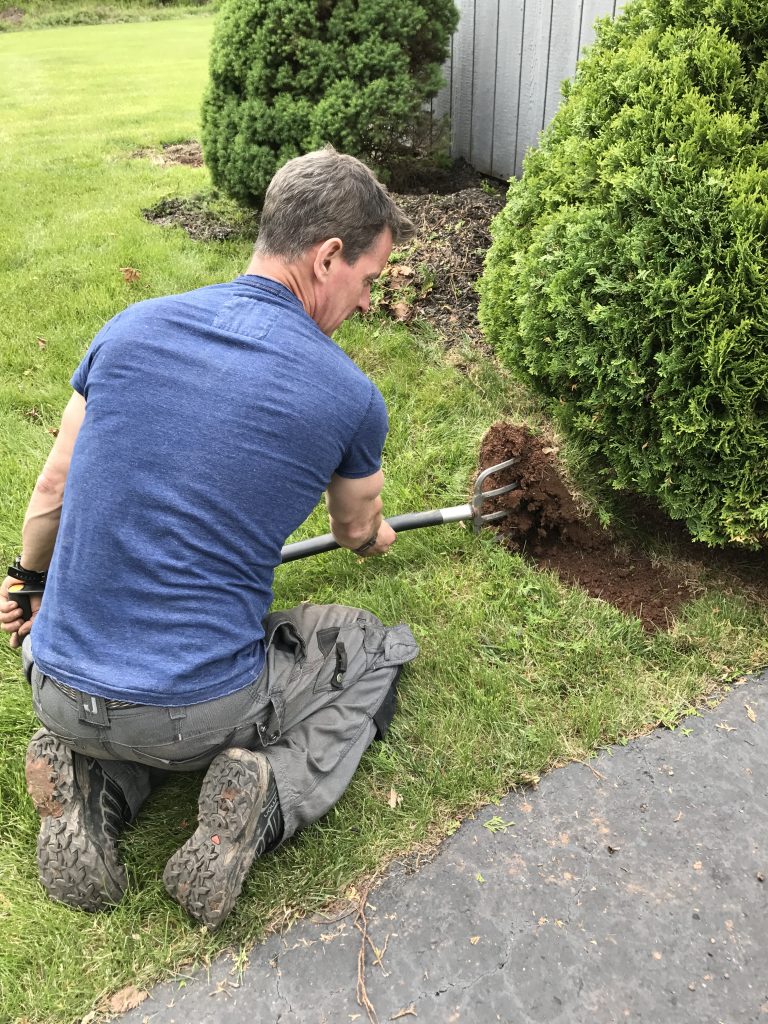
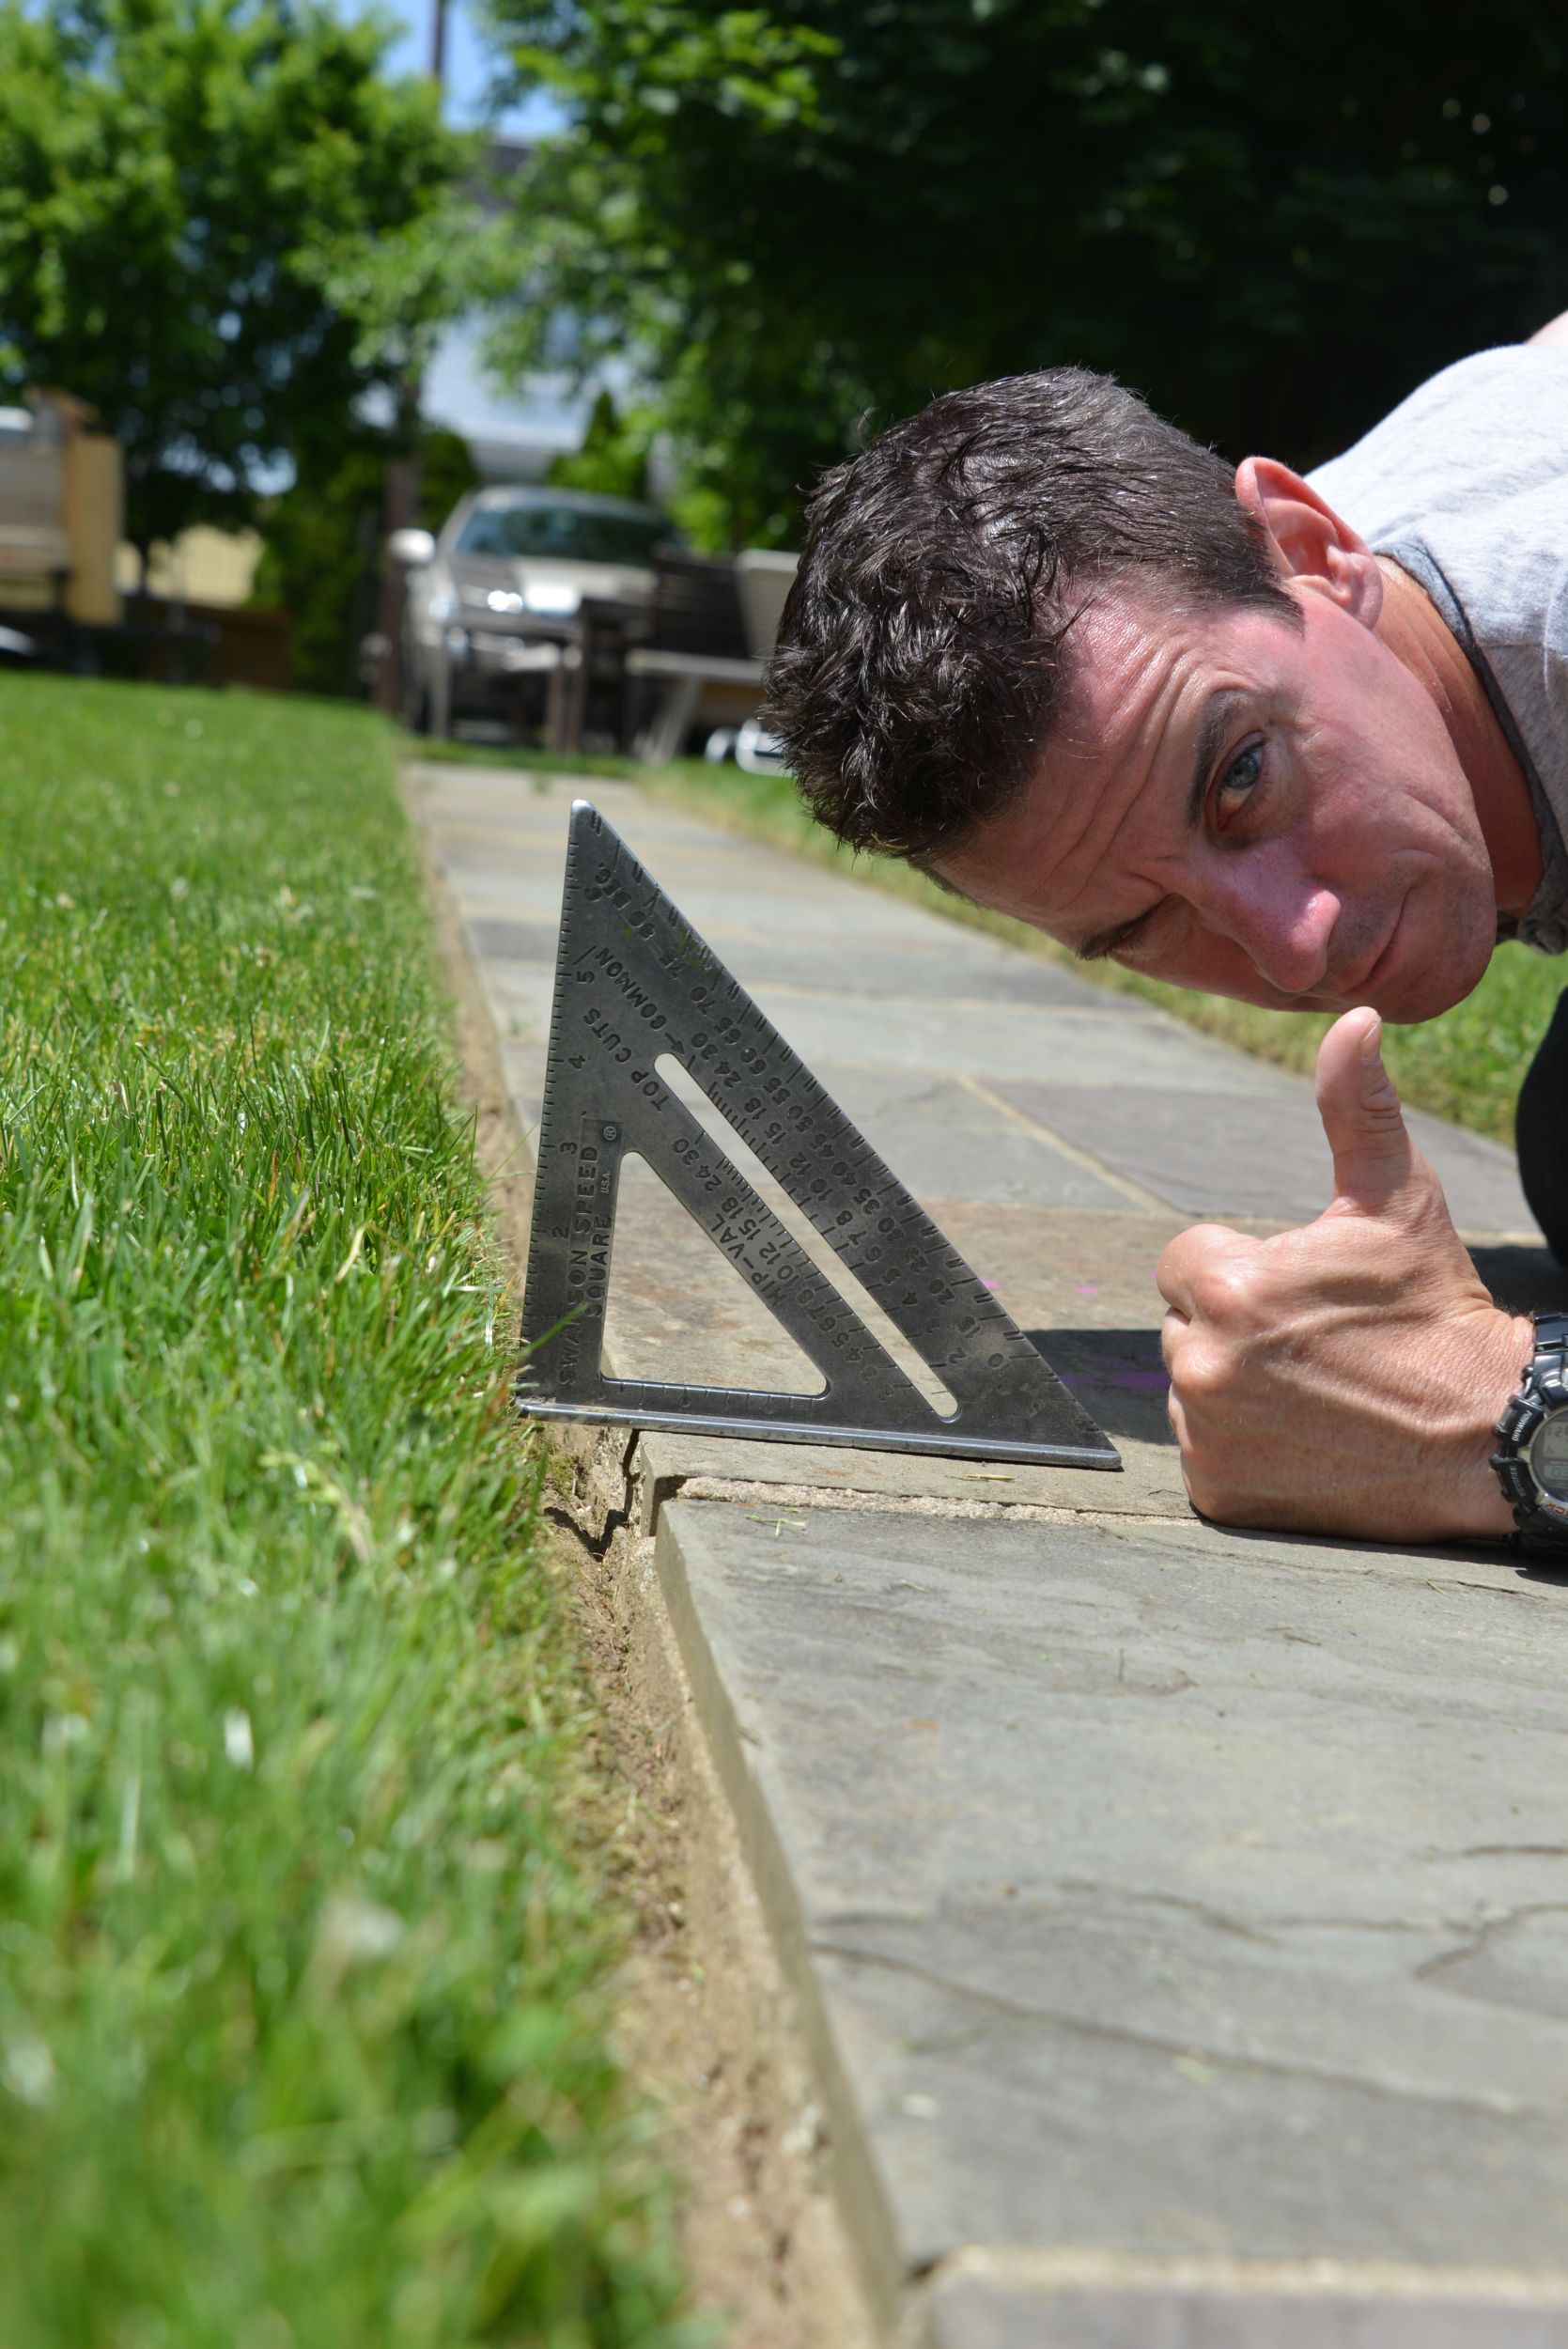
The next step in creating space is cutting an edge to create a line between lawn and plant bed. I cut the edge with the All Steel Spade—a tool of beauty—and twisted out the sod with the pitch fork. Why have I not owned a pitch fork before? What a time-saver for pulling up sod and a ton of other DIY projects I can think of!
Add color to the landscaping
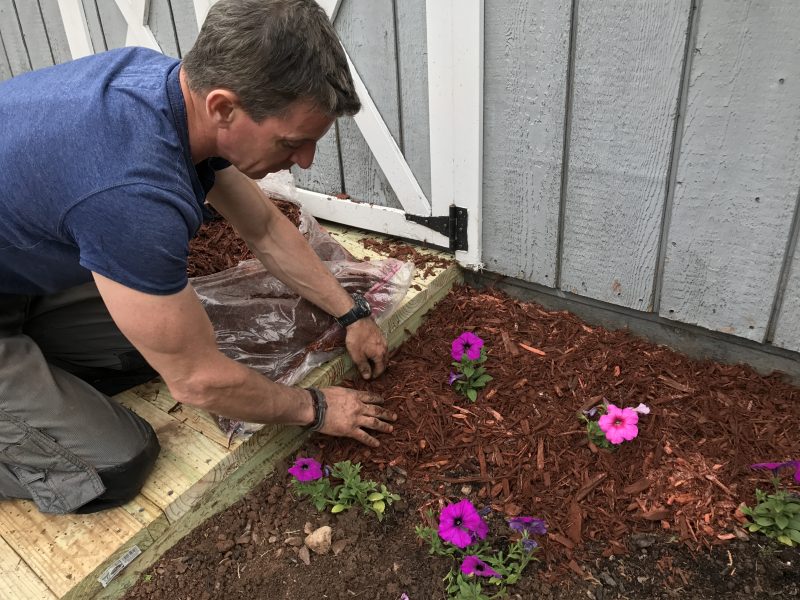
This was a bit of an experiment. I wanted color quickly in the window boxes because they were just empty, so I bought a hanging basket plant and divided it. This was a shock to the plant to be sure, but with a good rain and watering it should last and fill out the boxes all Spring. Also, in a tight space like this, I like to work from the building out to minimize walking on any new plantings.
It’s just so tempting to go all-in and add another bush or flowers that’ll bloom soon, but less is more in small, crowded spaces in my book. So I added a dash of color with pink and purple petunias, red mulch, and the advice to the homeowner that he and his wife could plant bulbs in the Fall if they want bigger, perennial color. For now, let’s make it nice and let it all settle in.
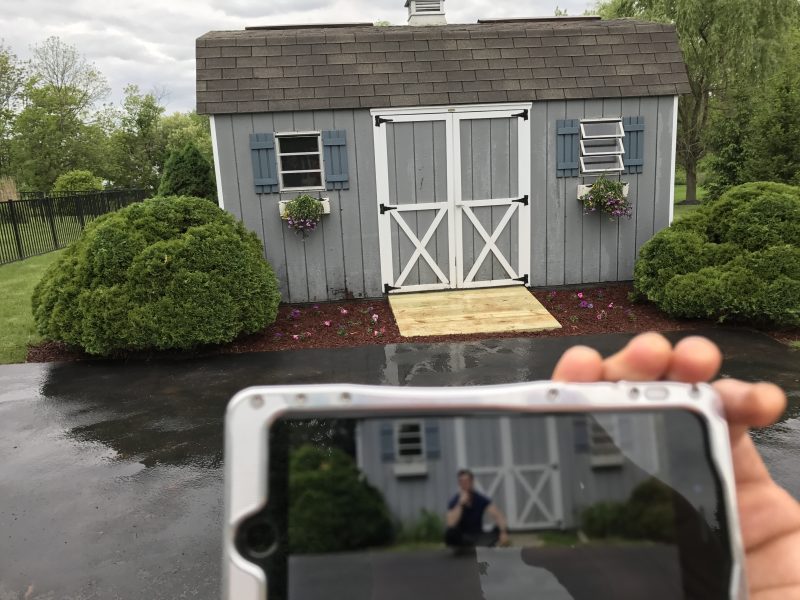
From shab to shed. The homeowners see this every single time they pull into or out of the driveway. Curb appeal isn’t just to sell houses or compete with the Jones’s. It’s about enjoying life, one little step at a time.
