What DIYer doesn’t have schemes and dreams of checking a finished basement off their DIY project list?
But a finishing a basement is also easy to screw up. Royally. The idea is to work like an ace. That’s why you’re reading this.
Fire. Chances are pretty good your house will not catch fire. But if it does, a little fire-blocking between floors can help you, you know, live.
Fire-blocking—sometimes call ‘draft stop’—doesn’t really block a fire; it slows it down. A strip of plywood along the joists at the basement wall is most of it. I use a 1/2-inch ply and my beloved narrow crown stapler to install it. If I’m using 2×4 studs, I rip the plywood to 3-inches so it stays well behind the front plane of the wall later on (see below).
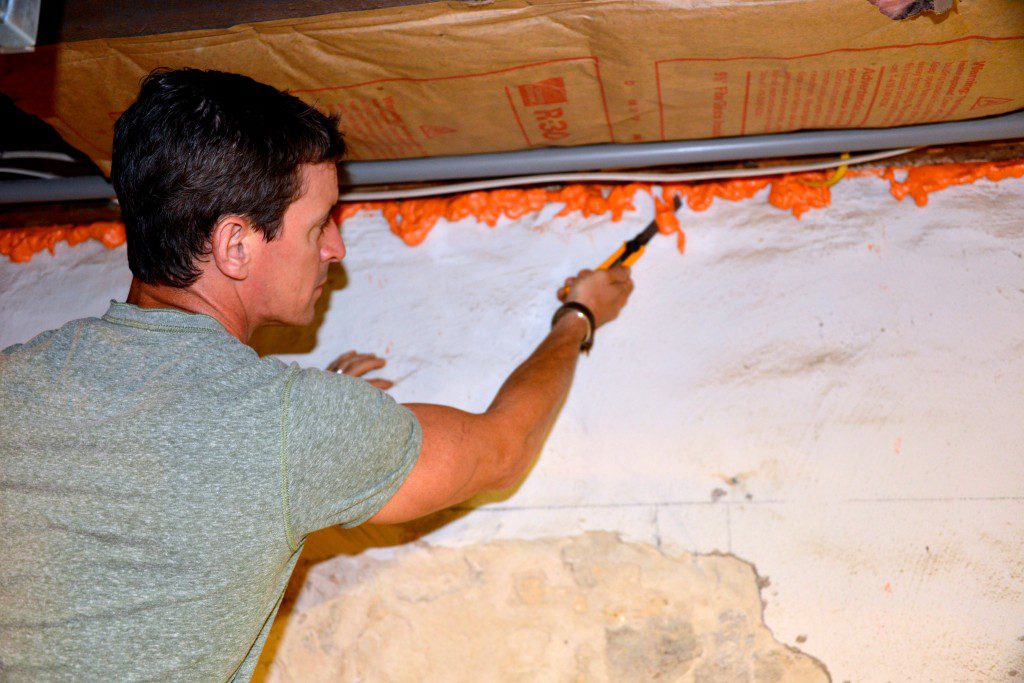
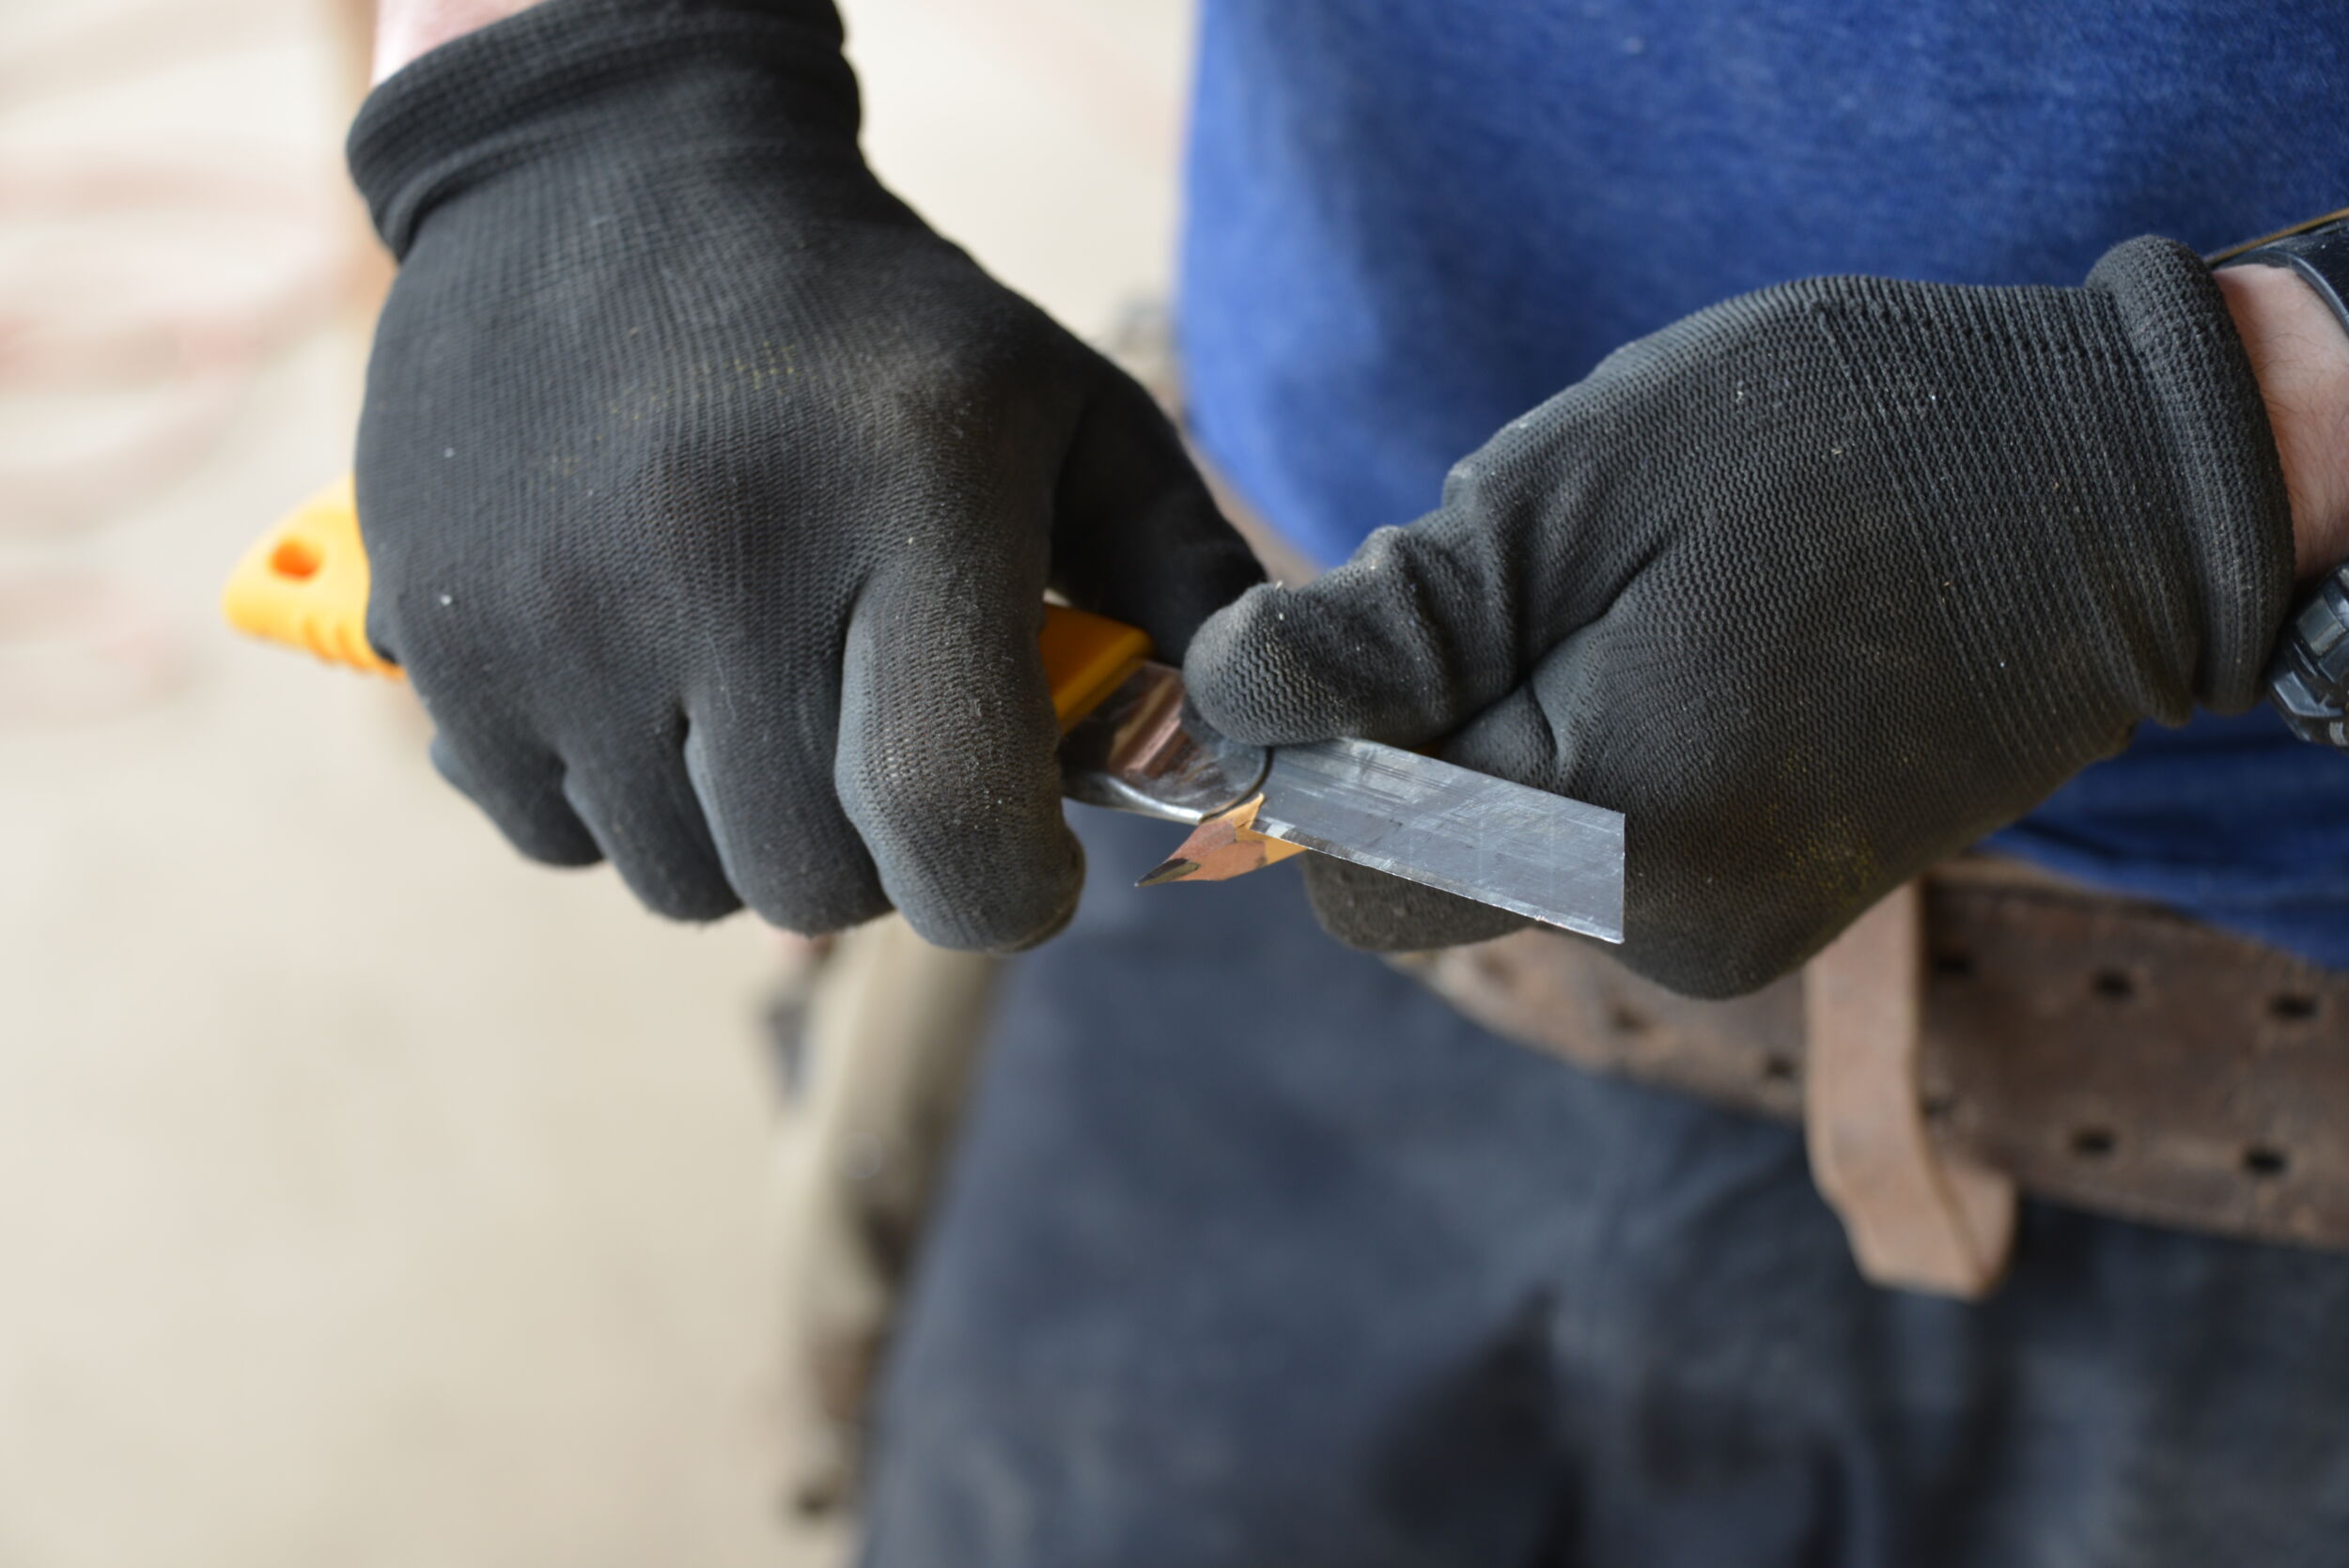
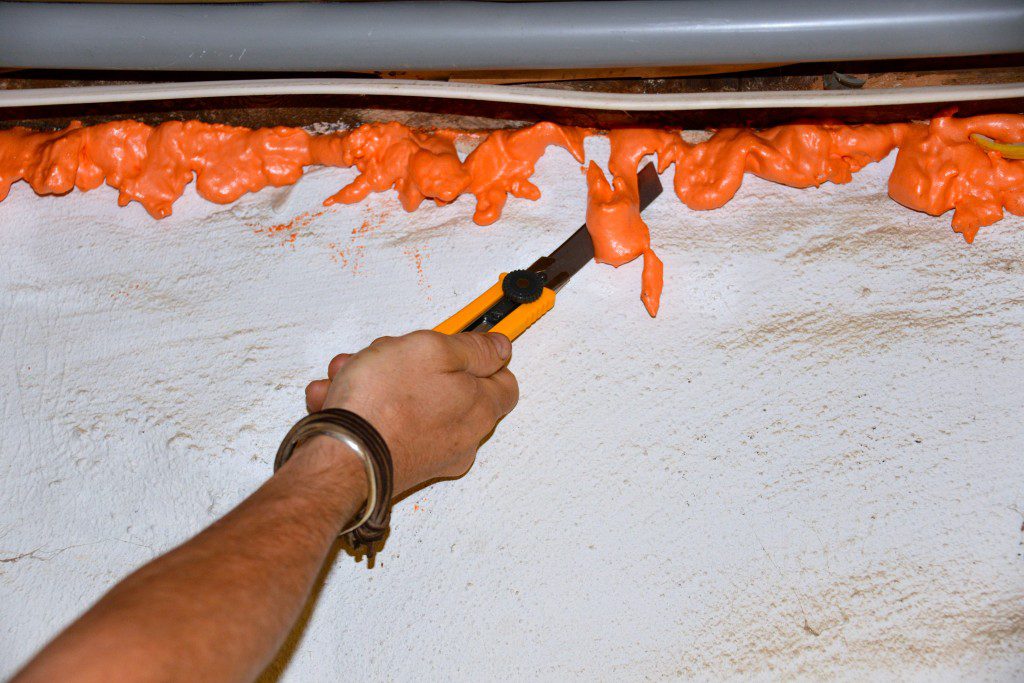
Next, fill the gaps. We used fire-rated expanding foam here because the stone wall is gnarly and there are huge holes. For more uniform gaps, say on a concrete wall, you can use fire-rated caulk. The foam does what it does and dries in expanded blobs which will—trust me—eventually be in your way framing. This is where we used the OLFA knife and then asked—Are you kidding me?!
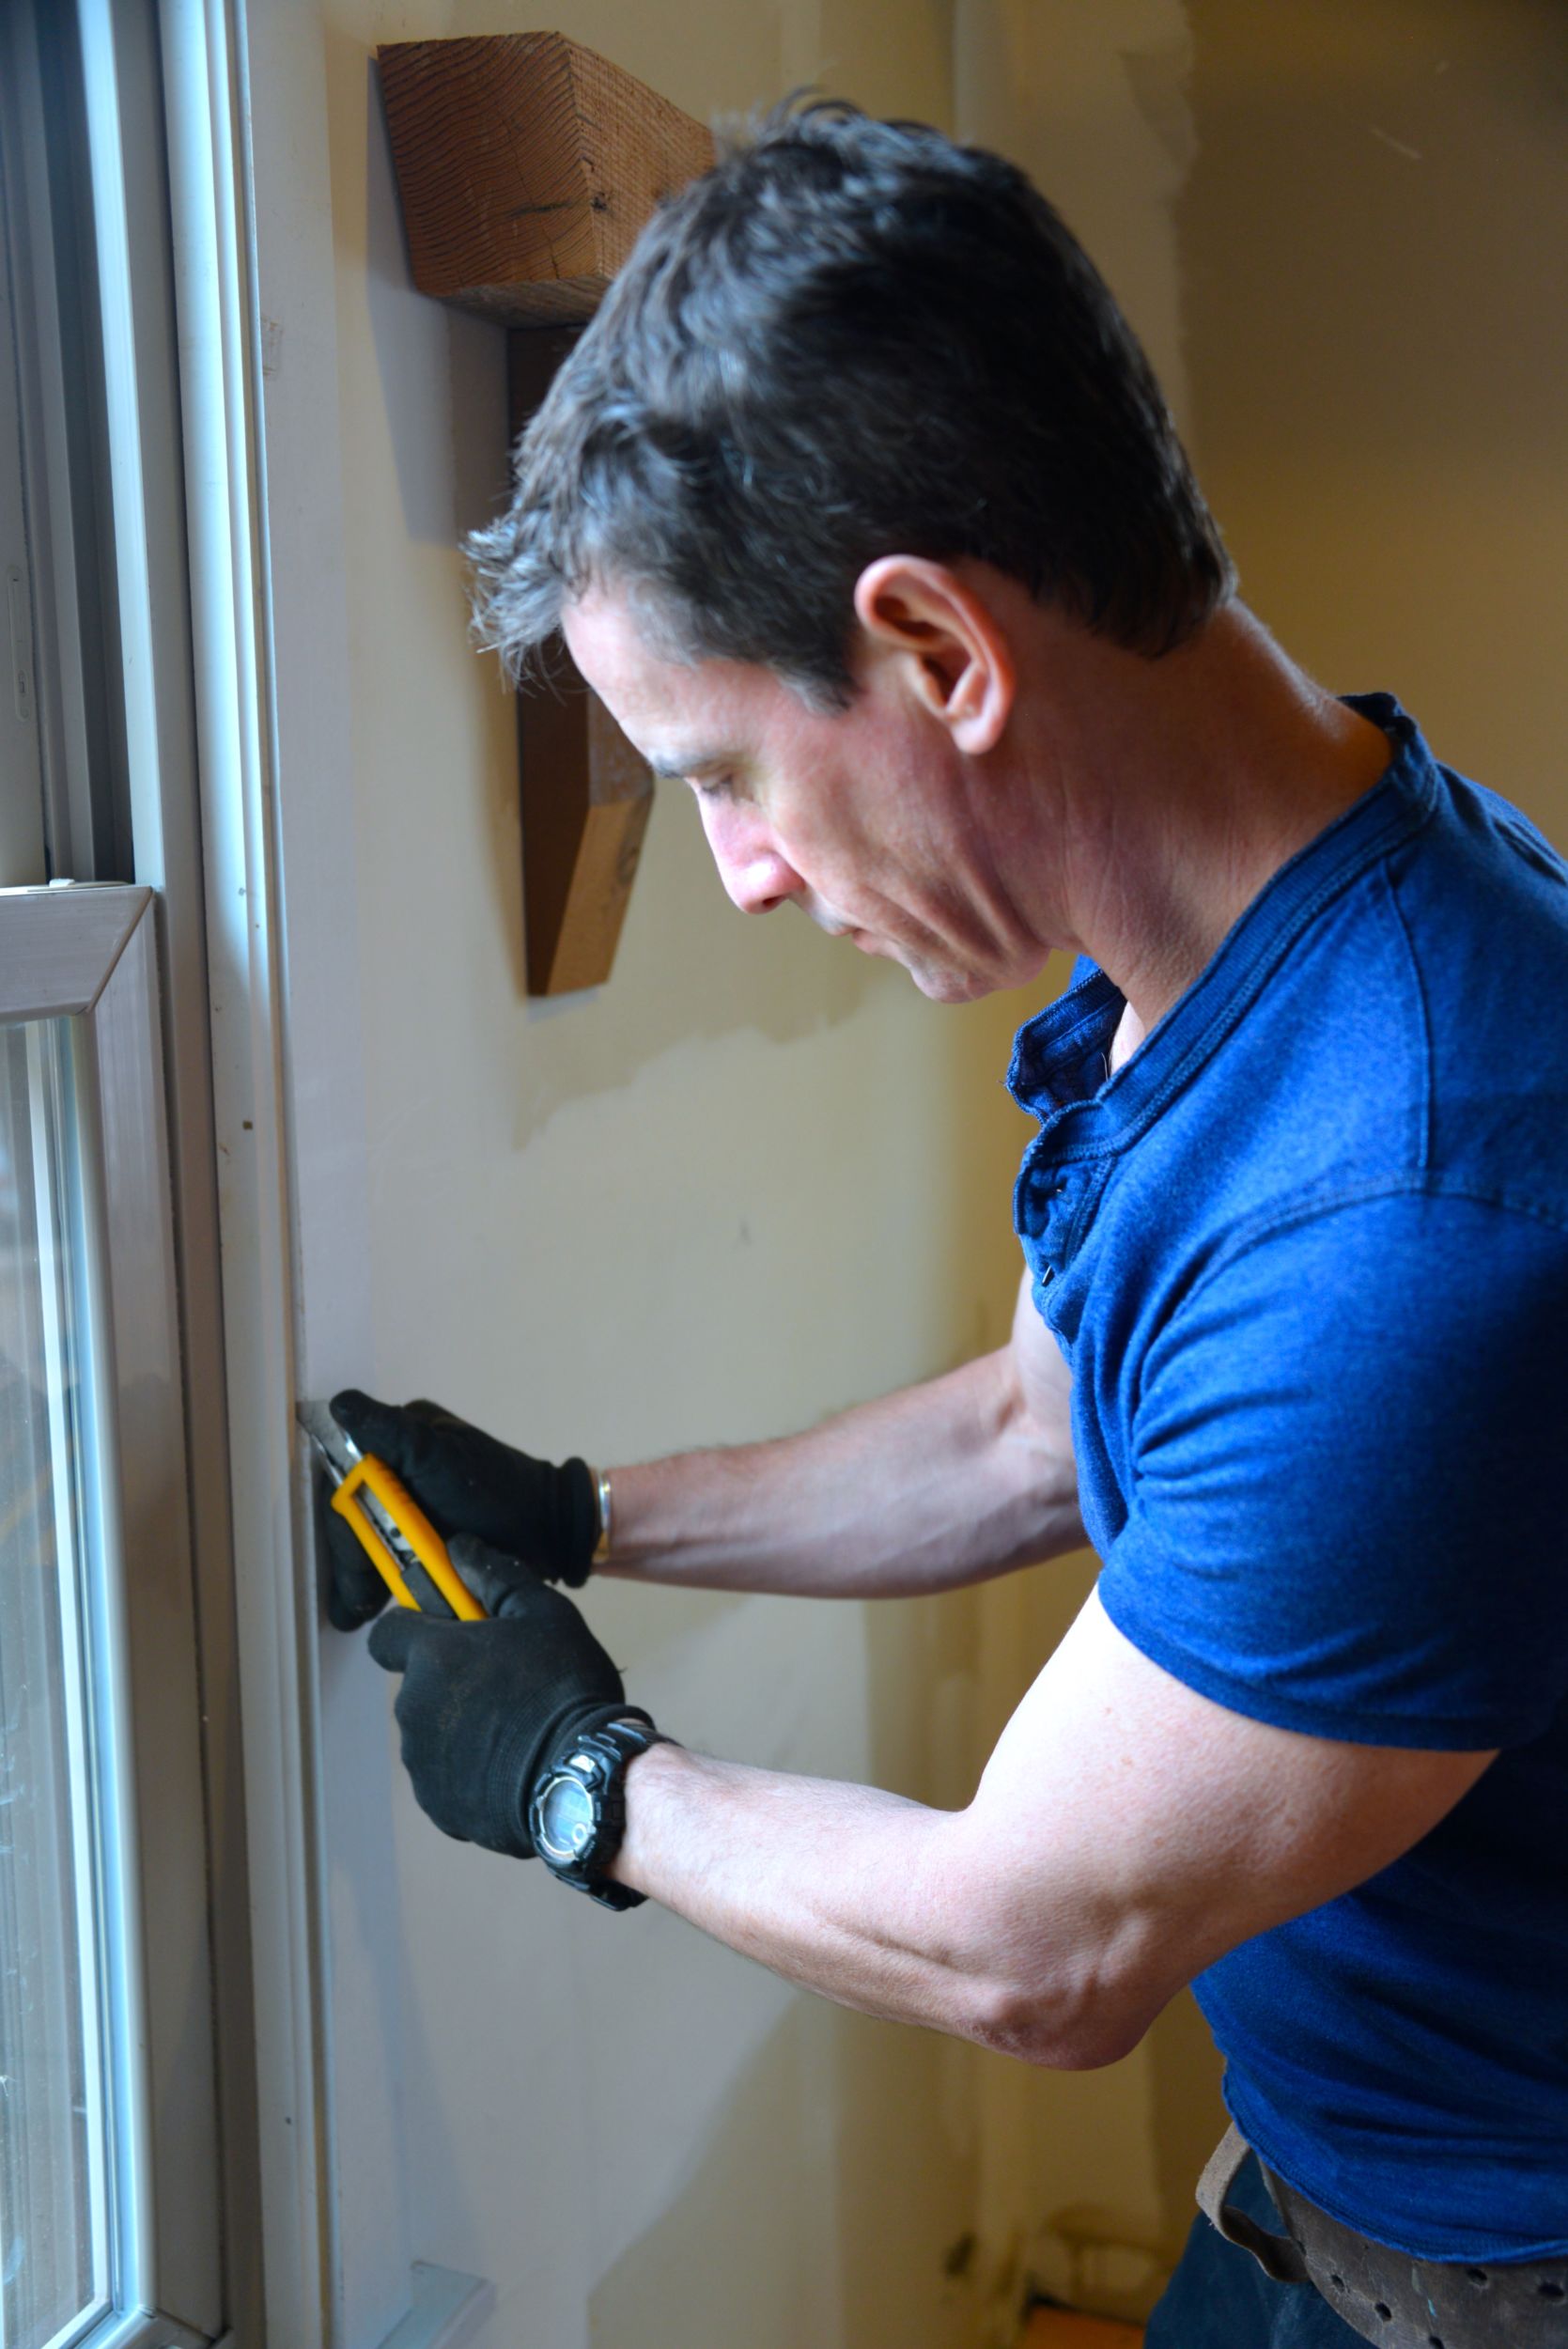
Cutting foam over-spray with the OLFA was easily the simplest foam removal I’ve ever done. Slide the long, sharp blade behind the over-sprayed foam along the wall, then along the ceiling, and it practically jumps off. That is (A) not an exaggeration and (B) simply not happening with other tools.
Water. Water comes in many forms, but the one that can do the most damage is when its vapor coming through your foundation wall. Every. Single. Day. Just ask The Handiest Man in the World. He knows of such things.
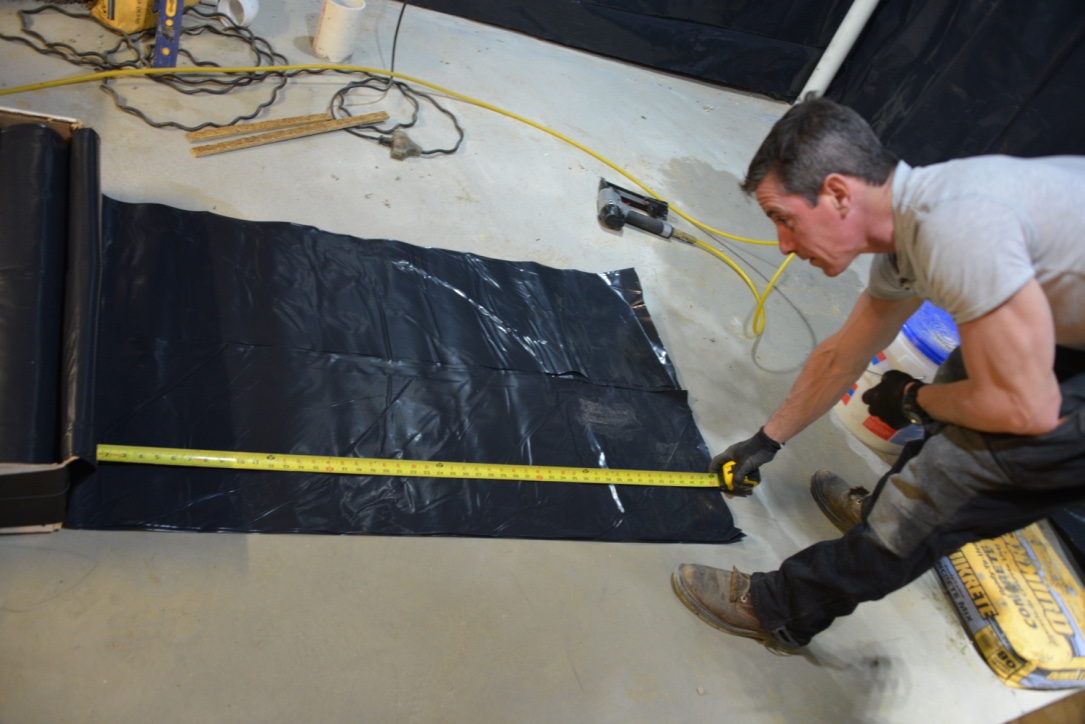
Combined with winter temperatures and heated air migrating through the wall studs and insulation, it can often become a mold factory. The best way to isolate this moisture/temperature circus-moldimus in many areas is to simply hang a drape of 6-millimeter plastic sheeting from ceiling to floor behind where the framed wall will stand.
‘6-mil’ plastic as it’s called can be frustrating to cut and to manipulate. Here are a few tips for cutting sheet plastic. Fastening it can be a headache too. This extra layer helps keep moist air out of your wall system and insulation—and away from the mold food that are your walls studs and drywall (unless you use these coated red studs like we did…mold resistant baby…Love ’em).
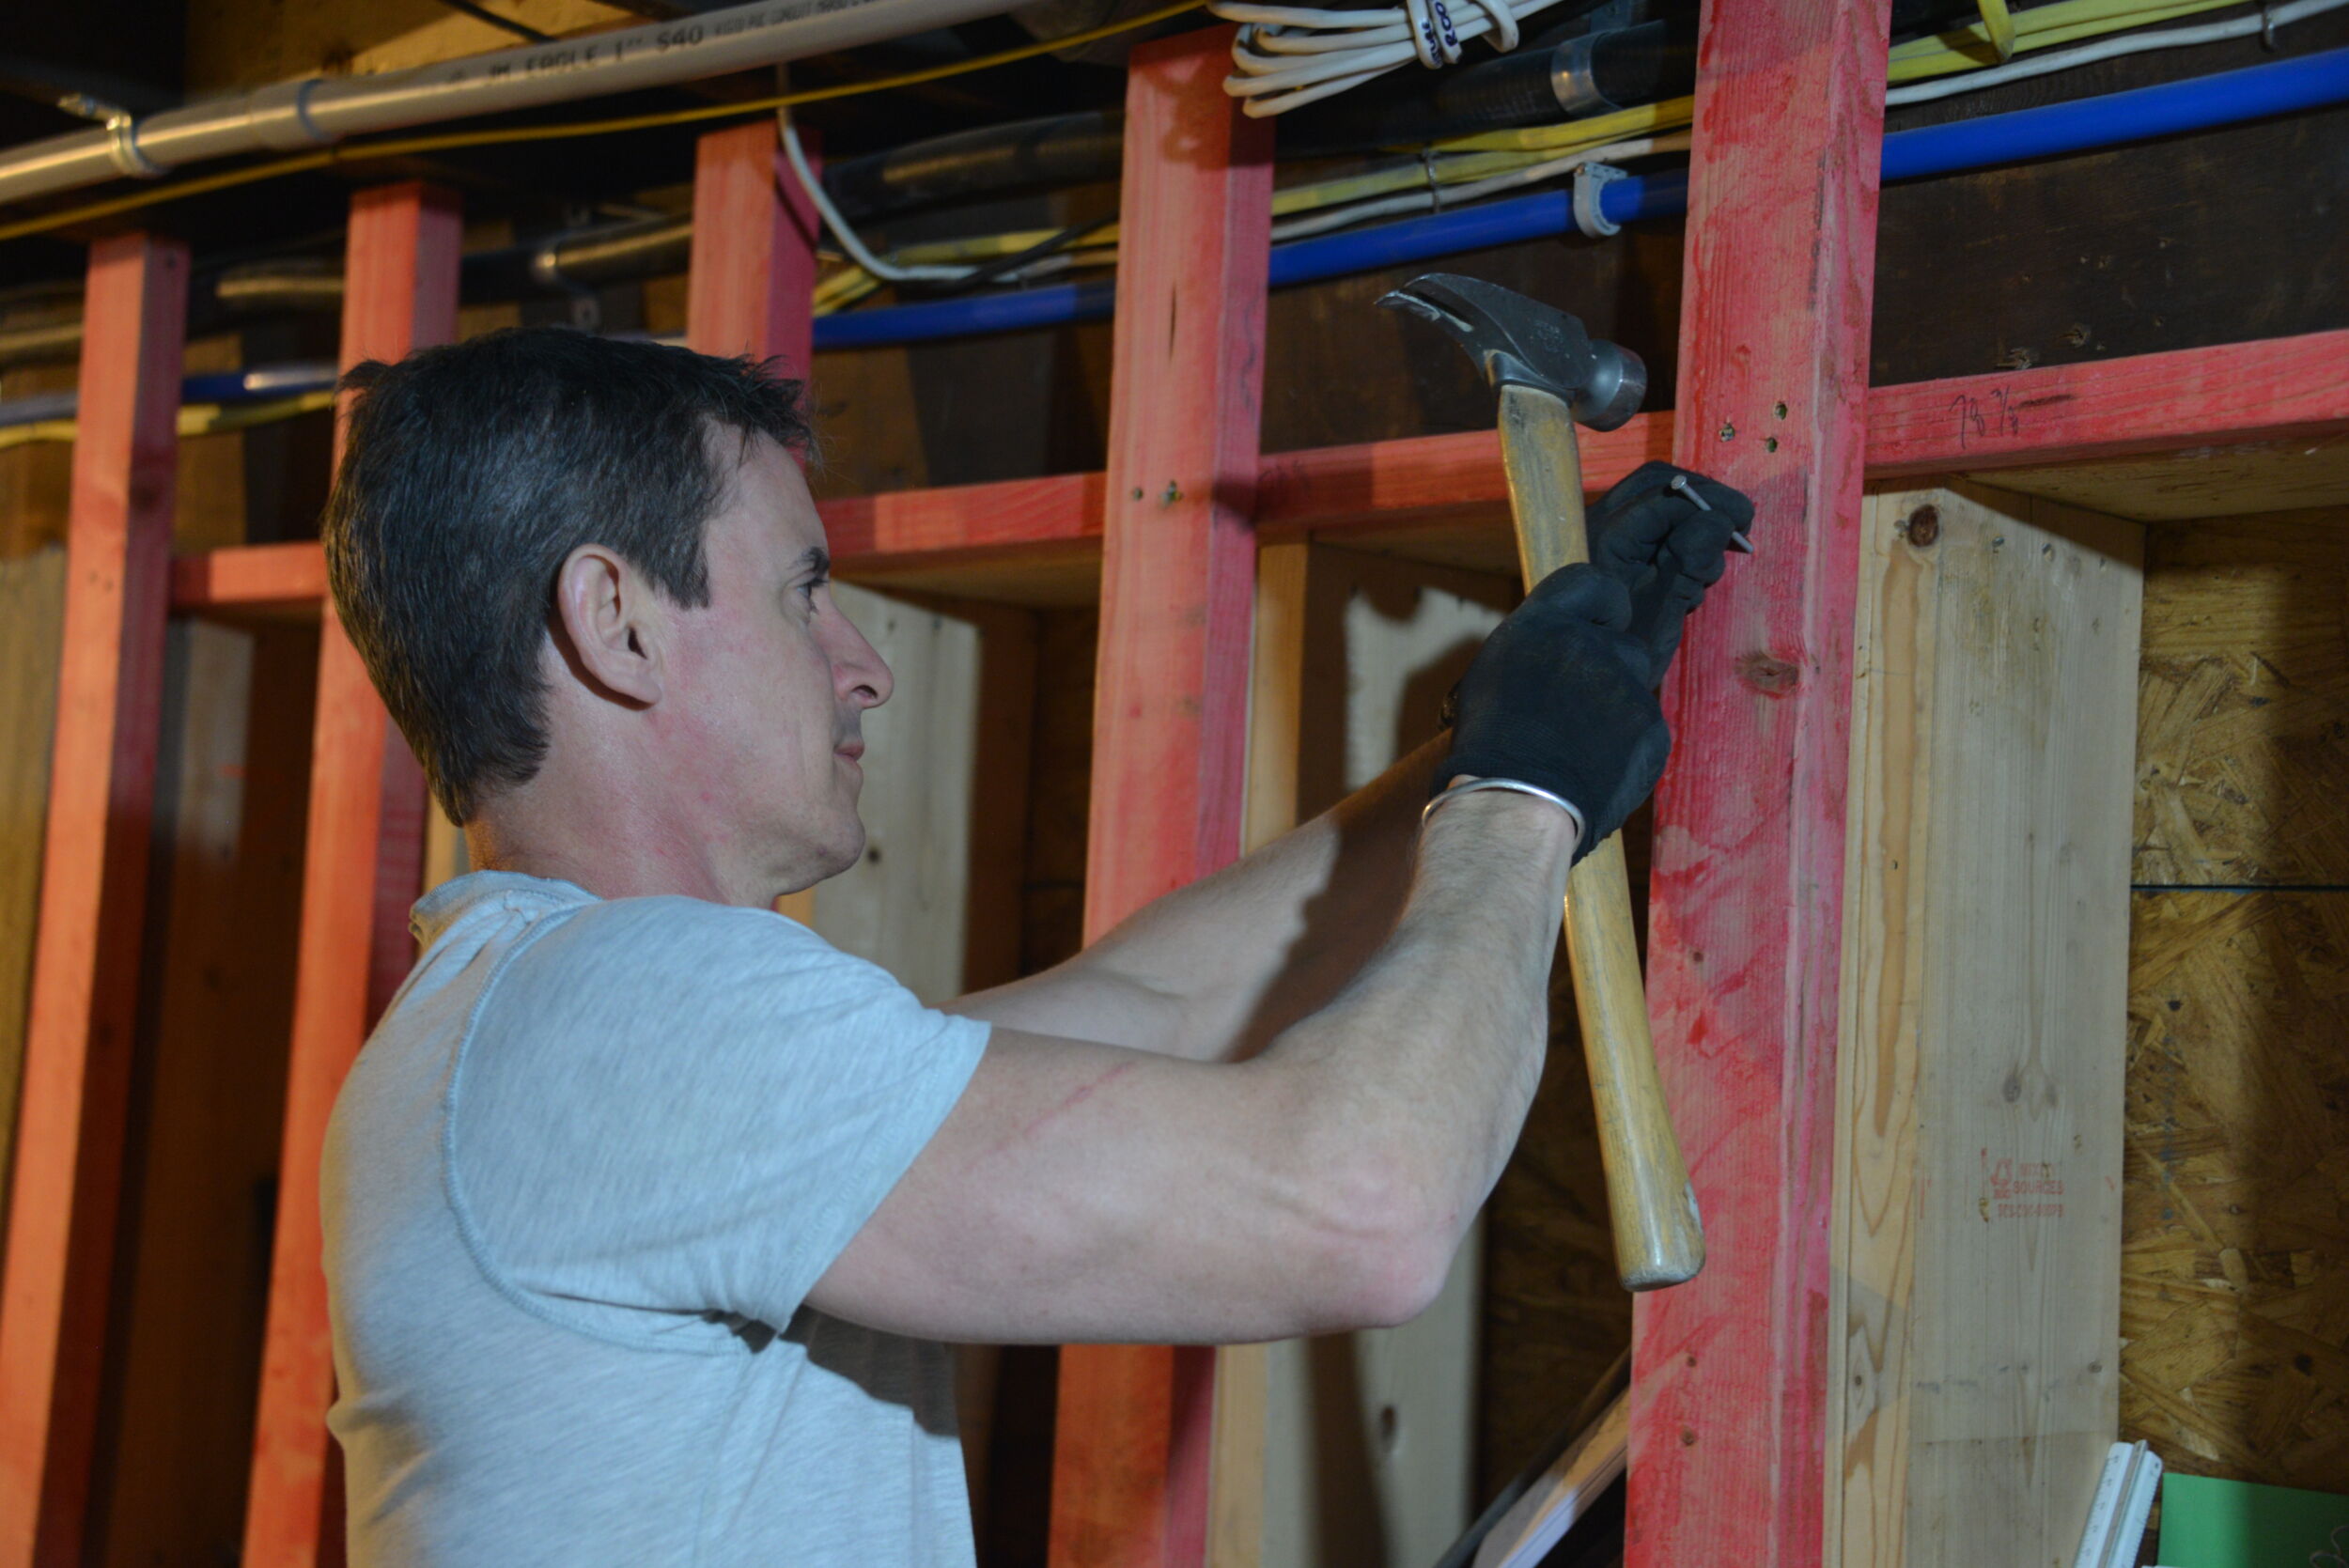
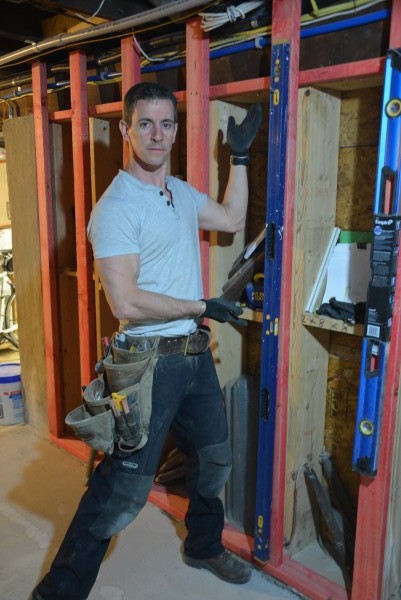
Wall studs. If you framed a few conventional walls back in high school and tipped them into place for an addition or shed or something, the only thing that transfers from that experience to this piece of home ownership is laying out studs on 16-inch centers. The reason is geometry. And chaos theory.
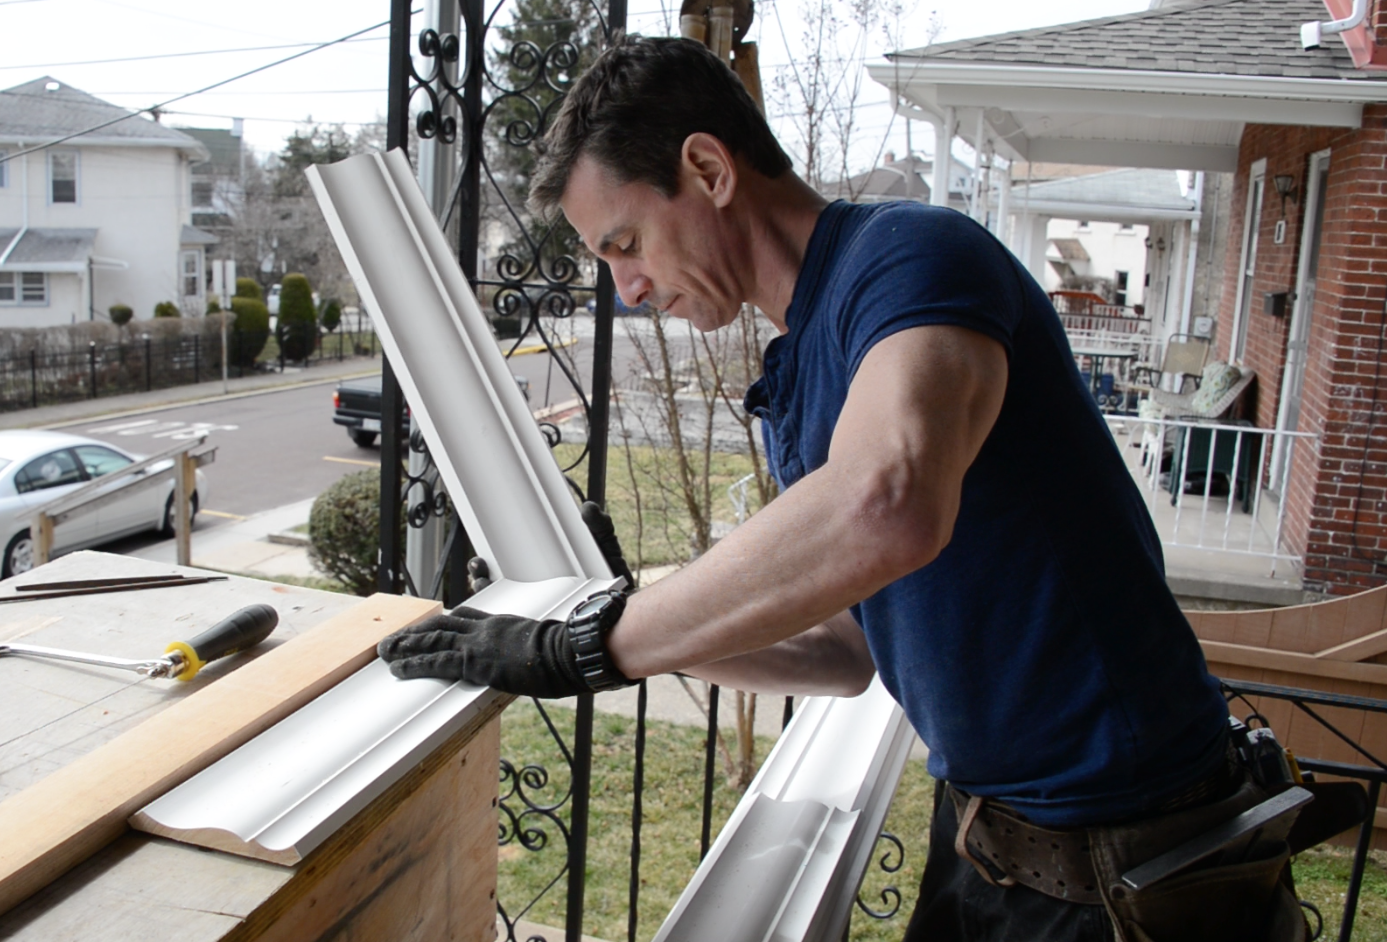
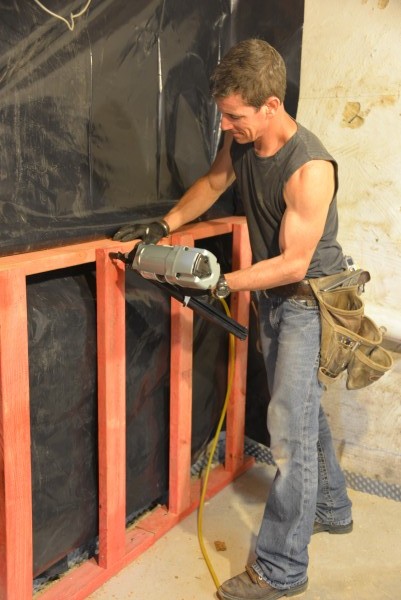
It is far better to locate and fasten the top and bottom plates, then individually cut and install studs and blocking. It’s how Mike Holmes does it. And how lots of people who know what’s going on do it.
To deep-dive it: The pre-built wall starts out not fitting because it is longer from corner-to-corner than it is from flat end to flat end, so when you tip it up the ceiling is in the way. Add in a hump in the floor slab and you’re extra doomed. And, if you’re having the ‘bigger hammer’ thought, un-think it. Waste of time and effort.
Another thing about studs. When you layout your plate location, hold it away from the wall 1/2- to 1-inch. The gnarlier the wall (like this stone wall) the more you need an inch of play back there because there will be some boulder or lump you can’t see now but that you’ll need the room for later to keep the wall straight.
Bathroom. If you’re installing a bathroom in your finished basement, right up there in importance with the toilet and sink and shower head is a vent fan. While your walls may be a source of moisture you can’t control, your steamy shower is a source of moisture you can control by simply venting to the exterior. Air King makes great vent fans and, just as important, is a heap of know-how when it comes to getting the right fan for your space.
Permit. I thought I’d bury this one at the end, unnumbered. Please, please get a building permit for a finished basement project. Sure, it’s beer-thirty when everything is done, but building it properly and having it inspected is a priceless piece of mind because the point of it all is to enjoy it, not to hack the system, then hack your house and your family’s safety
[evp_embed_video url=”http://myfixituplife.com/wp-content/uploads/2015/06/IMG_4375.mov” class= “no-background”]

*Quick note: The finished basement how-to is all MyFixitUpLife how-to action; this piece is sponsored by OLFA. In other words, this is how we really do this project and we’re not making anything up for a sponsor.
