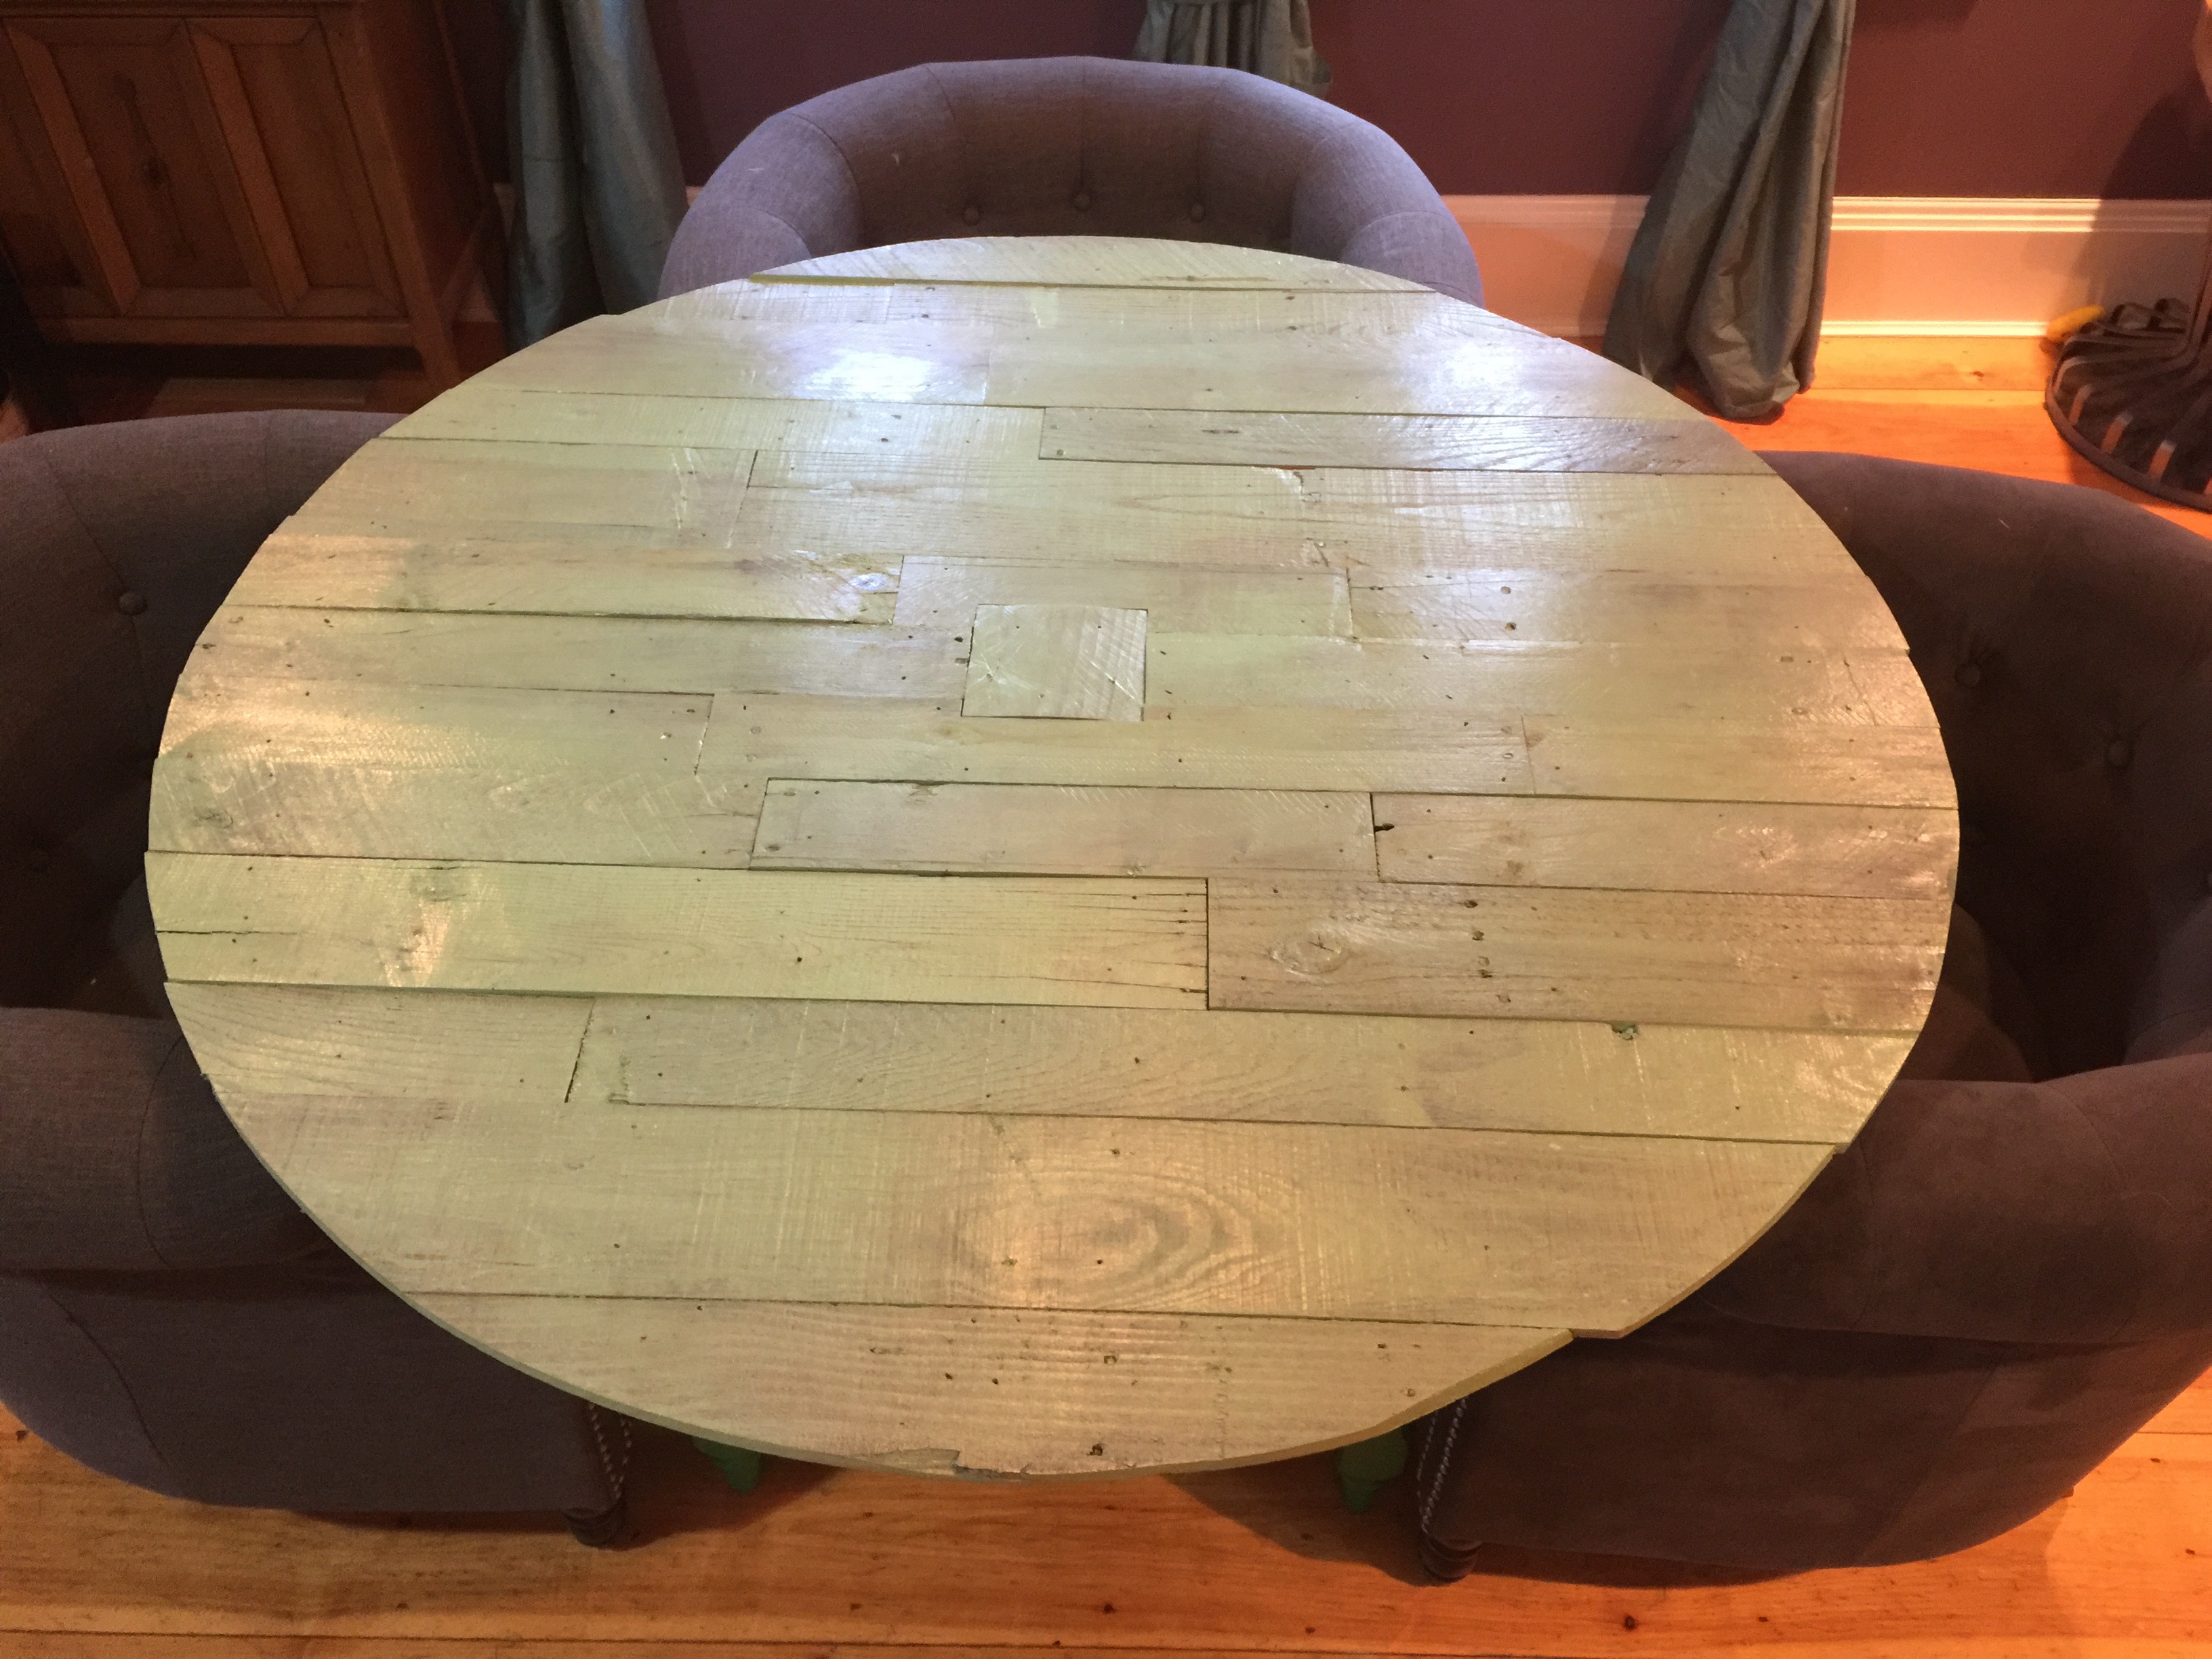
Before you start applying stain to a treasured wood table, dresser, or armoire, make sure you are confident that you’ve prepped the wood properly so that you can achieve the look you want. Here’s how to stain wood furniture.
Erin asks:
Hey! Can you share some tips about refinishing old furniture? Stains/paints? What is the best process? Thanks!!
Answer:
The antiqued/refinished furniture look is hot right now and you can save money buying un-finished furniture from woodworkers, on-line stores, and other places. You can also score big in your grandma’s attic, yard sales and the always dignity-producing/story-worthy dumpster dive (in my favorite—and perhaps only, come to think of it—junk-to-gem dive, my mom and I noticed a guy bring about $2500 worth of holiday decorations to his curb, still in the boxes they were bought in; they weren’t there long.)
Anyway, staining can be a fun project, but you have to know what you’re getting into first because it can get away from you fast and ruin the piece.
How to Stain Wood Furniture
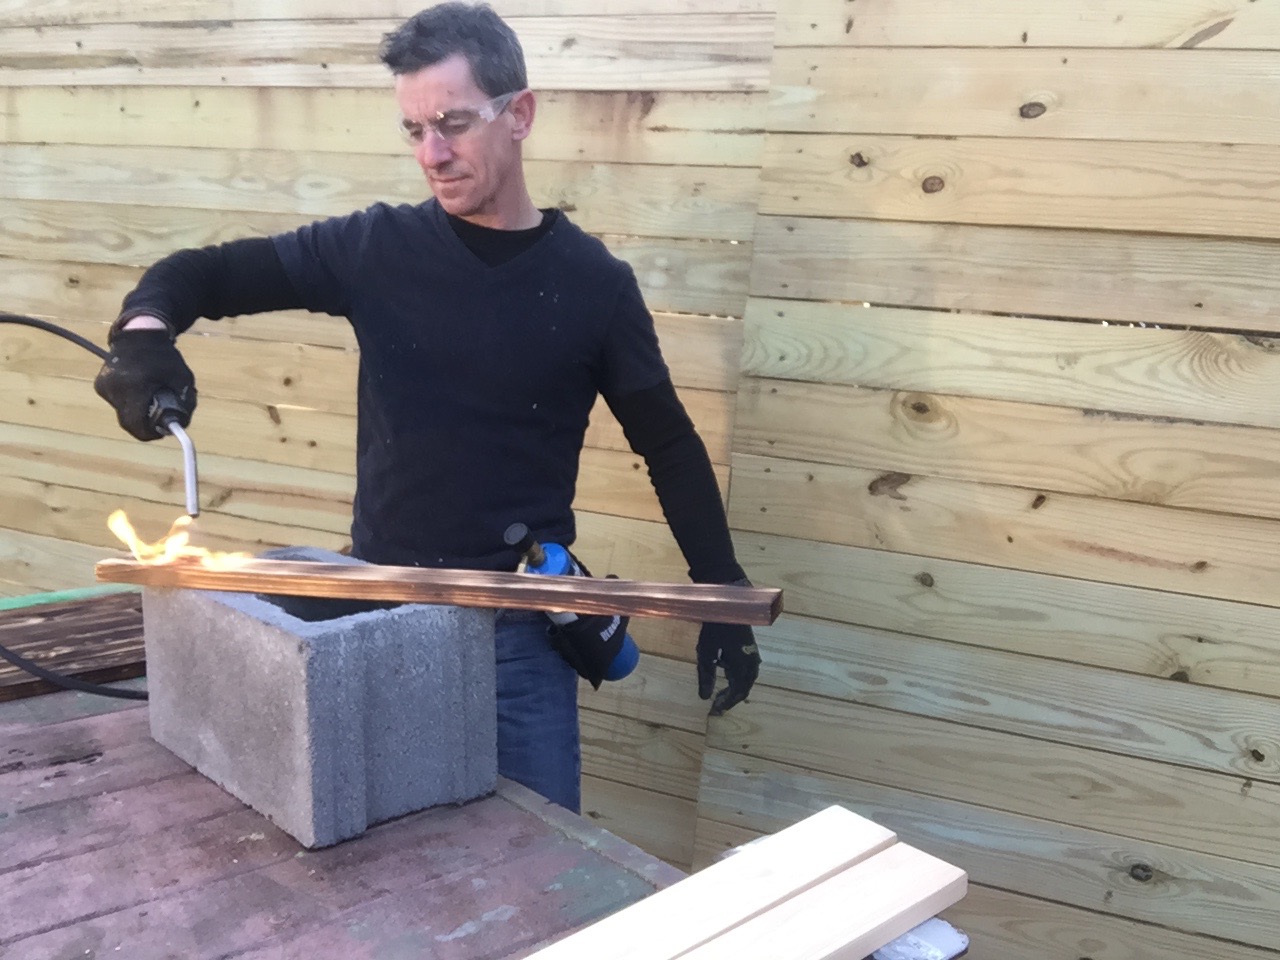
The simpler the furniture’s lines, the easier it’ll be to sand down, remove a previous coating and to stain. For more complex shapes—especially for a piece that requires finish removal—think about a dip and strip process to remove the finish. Beyond choosing the right color, we follow these steps.
1—Sand the wood.
This opens the grain (or pores to make it akin to skin,) kind of like getting a facial. Sand all surfaces that get stained—nook AND crannies.
2—Remove dust.
Use “tack cloth” to pick up all the dust. Wipe down all surfaces that you sanded. Very important. You can also blow it off with a compressor and blow gun nozzle.
3—Apply Wood Conditioner.
Kind of like a primer for bare wood (or staying with the make-up leitmotif, foundation), wood conditioner enables the wood to accept the stain evenly.
4—Apply stain with a brush.
Check the stain’s instructions for required brush type or foam pad.
Apply with, i.e. parallel to, the grain. Make sure you read the directions on the can before starting and that you know what your pot life and dry times are.
6—Once dry, apply clear-coat finish.
This can be brushed, sprayed on or applied with a foam pad.
Finally, enjoy. Your new furniture now has your signature on it.

