
If you own a home, it’s helpful to know how to tape drywall. Holes in drywall happen—for lots of reasons—and knowing how to fix them well is like money in your pocket.
First thing is having the right tools. Of course, there’s tape. We also use three drywall knives (6, 10, and 12-inch) and apply three coats of joint compound. We have a ‘mud pan’ for the compound and a 2-gallon bucket and margin trowel for mixing and cleaning.
For smaller taping projects we use ‘setting type’ compound you mix yourself because the dry times are faster. For larger repairs and entire rooms, we use pre-mixed compound because it’s easier and faster to work with. Tip: Setting-type compounds tend to be much harder to sand than mixed compound. We’ve had good luck with DAP’s FastPatch30.
Next, reasonable expectations. This is where a lot of people not familiar with how to tape drywall go wrong. The first coat is only for bedding the tape and should be ugly. Pretty happens in coats two and three.
To tape, wipe compound on the seam. I wiggle the knife to flatten the compound evenly. Cover the seam just a little wider than the tape (and yes, I like paper tape).
Then set the tape in the compound with your fingers. next wipe it down with a 6-inch knife. This ‘beds’ it in the mud. I take a few passes to make sure I’ve squeezed all the compound that’s going to come out from behind the tape. This prevents bubbles in the tape as well.
To make your drywall repair disappear, apply a second coat with a 10-inch knife and do your best to burnish the edges by flexing the knife a little. Let dry, then lightly sand. Add a third coat with a 12-inch knife. Let that dry and sand it. Our Hyde dust free sander with sanding sponge attachment worked great for making this a nearly no-mess job.
You’ll see that when you know how to tape drywall it takes a little finesse, but it’s well worth it when you can make an ugly mess beautiful in just an afternoon.


Watch this video on YouTube




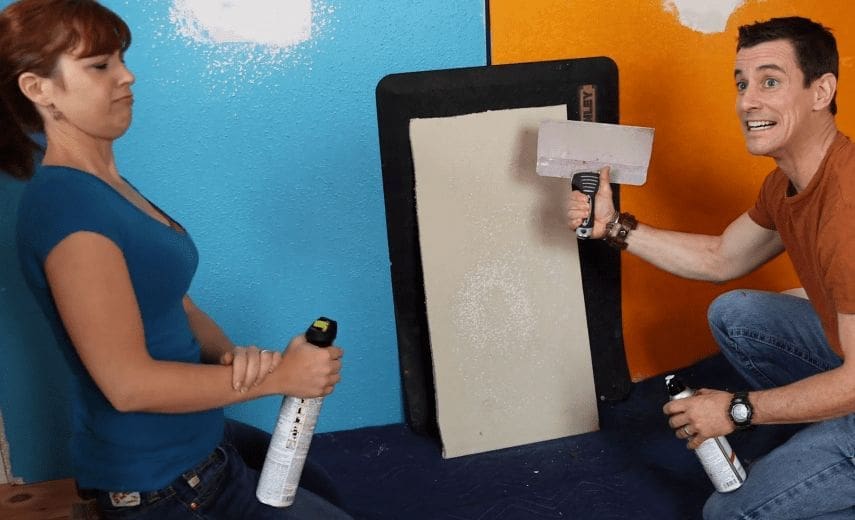

Hi Megan — Thank you for checking in. YES, the right tools are certainly the key to the castle when doing DIY. Below is a list of things we used in this video. All tools (not compound) are available at http://www.HydeStore.com. We used:
-Pail (for mixing ‘setting type’ compound)
-Margin trowel (the tool we used to mix and scoop the compound from the pail)
-Pan (the stainless steel pan we used for holding the compound
-3 drywall knives: 6, 10, 12-inch
-Sanding sponge
We also used our Stanley Utility Mat as a drop cloth. Far better than a drop cloth in this application, we use it for everything from DIY to sit-ups. No kidding — http://www.homedepot.com/p/Stanley-24-in-x-36-in-Utility-Mat-S-UMT-24X36-ST-BLK-E/204504035
One other thing: When using setting type compound, I suggest ’45’ or ’90’ if you’ve never done it before. This delivers ample quick dry times but also plenty of time to work. Also, clean all tools between coats. Here’s a video on clean-up tips for projects like this. — http://myfixituplife.com/DIY/diy-painting-how-to-clean-up-without-making-a-mess/
Please let us know how it turns out. Post pictures or other questions on our MyFixitUpLife Facebook page. Thanks for checking in. M&T
Taping dry wall looks a lot easier than I’d imagined it would! You mentioned that having the right tools is very important. Where can you find all of the tools that were mentioned in this post? My husband is away for the rest of the week and I’d love to surprise him by patching up all the drywall by the time he comes back! Thanks for the post! Your instructions are so helpful!
[…] or tablet) it gets me the peek I need to get work done. And it totally minimizes the amount of drywall repair I have to do to […]