Whether it’s cute or scary, Halloween is my favorite decorating season.

There are just so many possibilities when it comes to fun and scary Halloween decorating that the artist-girl who rules my soul is as thrilled as a happy blissed-out pumpkin exploding with candy bars and glitter.
I’m not even exaggerating.
So when I started dreaming about how to decorate our porch this year, I started thinking about combining a few of my favorite spooky elements and seeing what happens.
My 7-year-old Jack announced that I did a great job making the front porch spooky, so I’m sharing what I did to make my little boss happy with my scary Halloween decorating efforts.

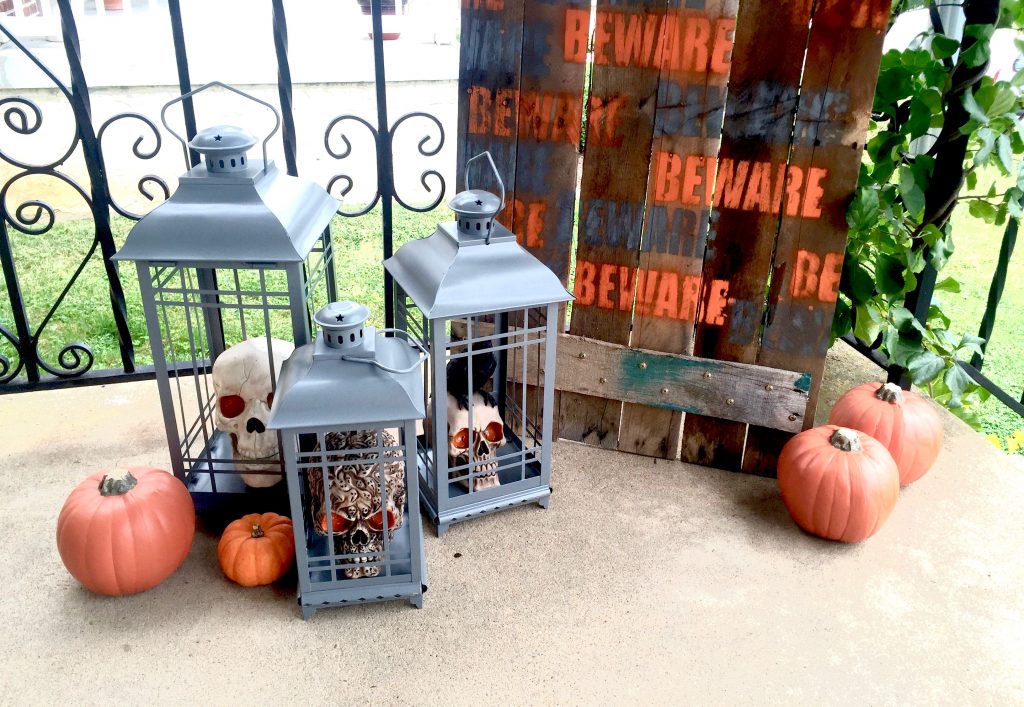
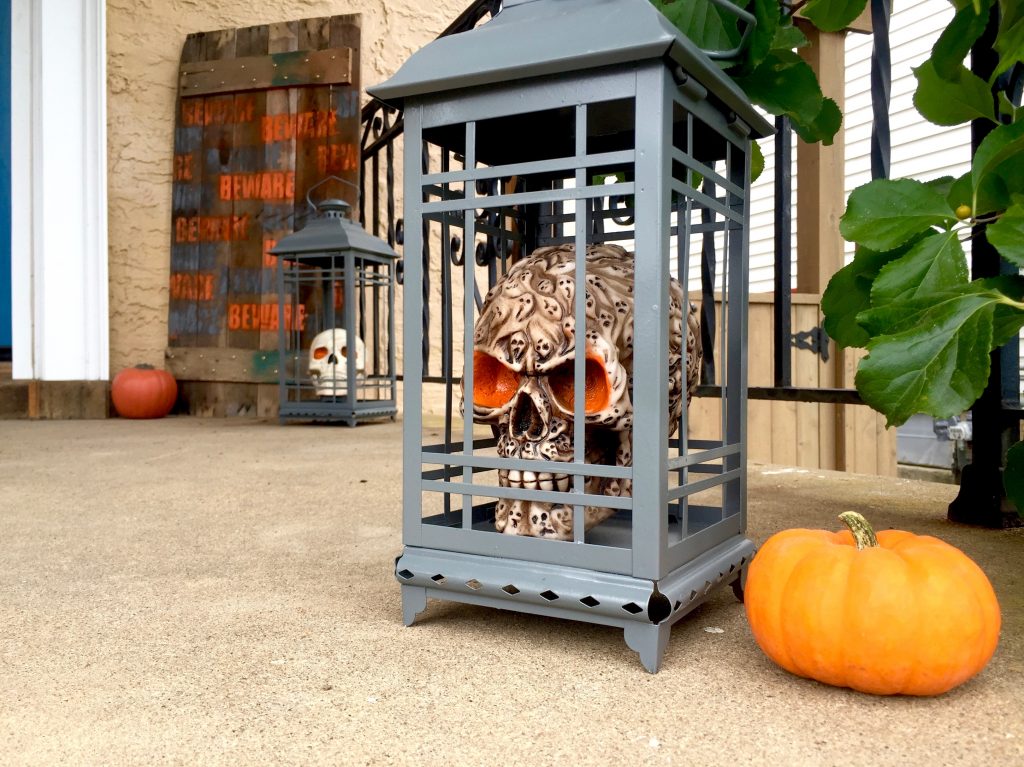
I haven’t used skulls in my Halloween decor before, and with my son’s current obsession with jump scares and creepy things, the idea of using skulls became a natural fixation for this Halloween. (Thank you, Jack!)
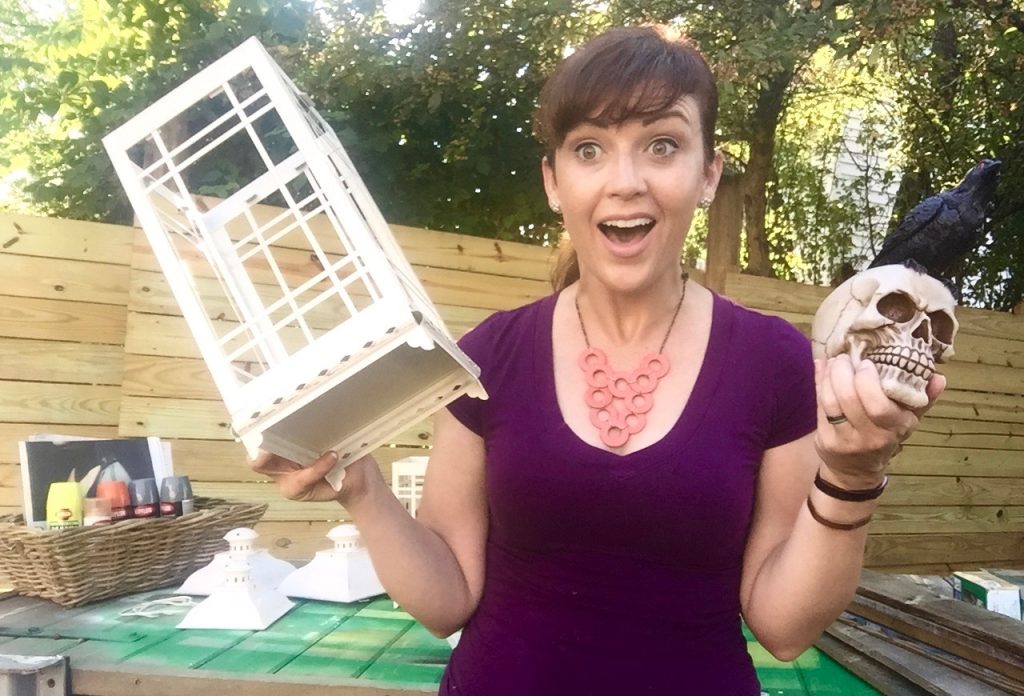
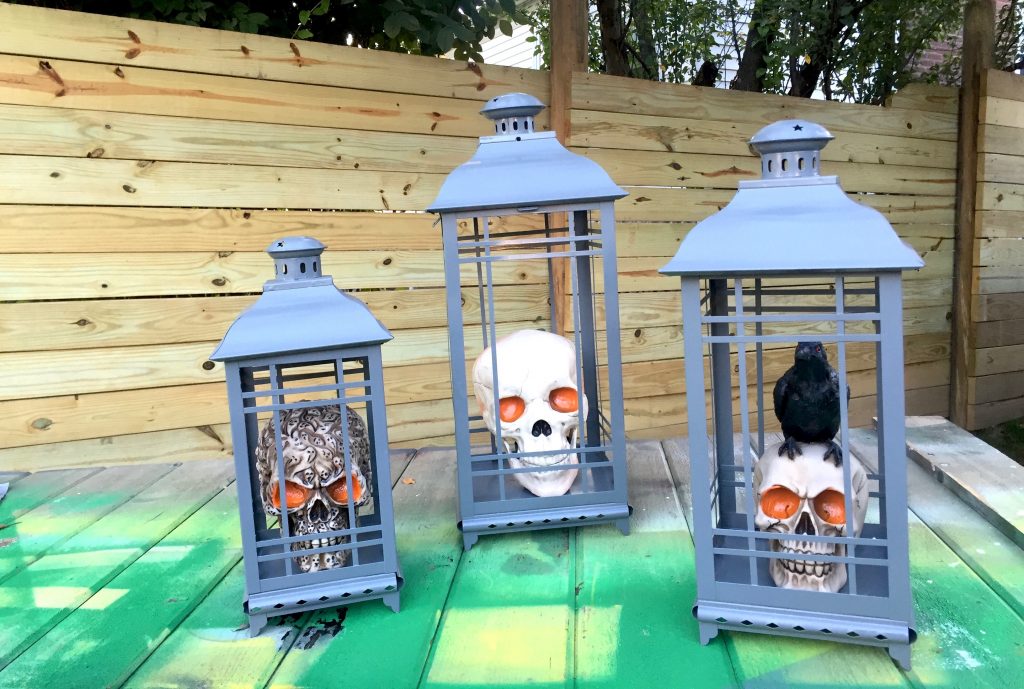
The skulls could have been in planters or simply lined up on a little table, but I wanted to do more. So when I found a set of lanterns for less than $70 on Amazon, I was pretty psyched. (It’s more than what I usually like to spend on decorations, but after making my spooky-scary Halloween decorations, I know that I can reuse the lanterns for everyday use or another decorating project.)
Before hitting the ‘Place your order’ button for the lanterns, I searched and found three skulls that would fit inside each lantern for less than $20.


While I love the lanterns, white just isn’t the right color for skull lanterns. And since Krylon® is one of our favorite quick update tools, I decided to update the color to Gloss Smoke Grey in their Krylon SUPERMAXX® All-In-One. The paint bonds to everything, from plastic and laminate to what I’m mostly using in this project: wood and metal.
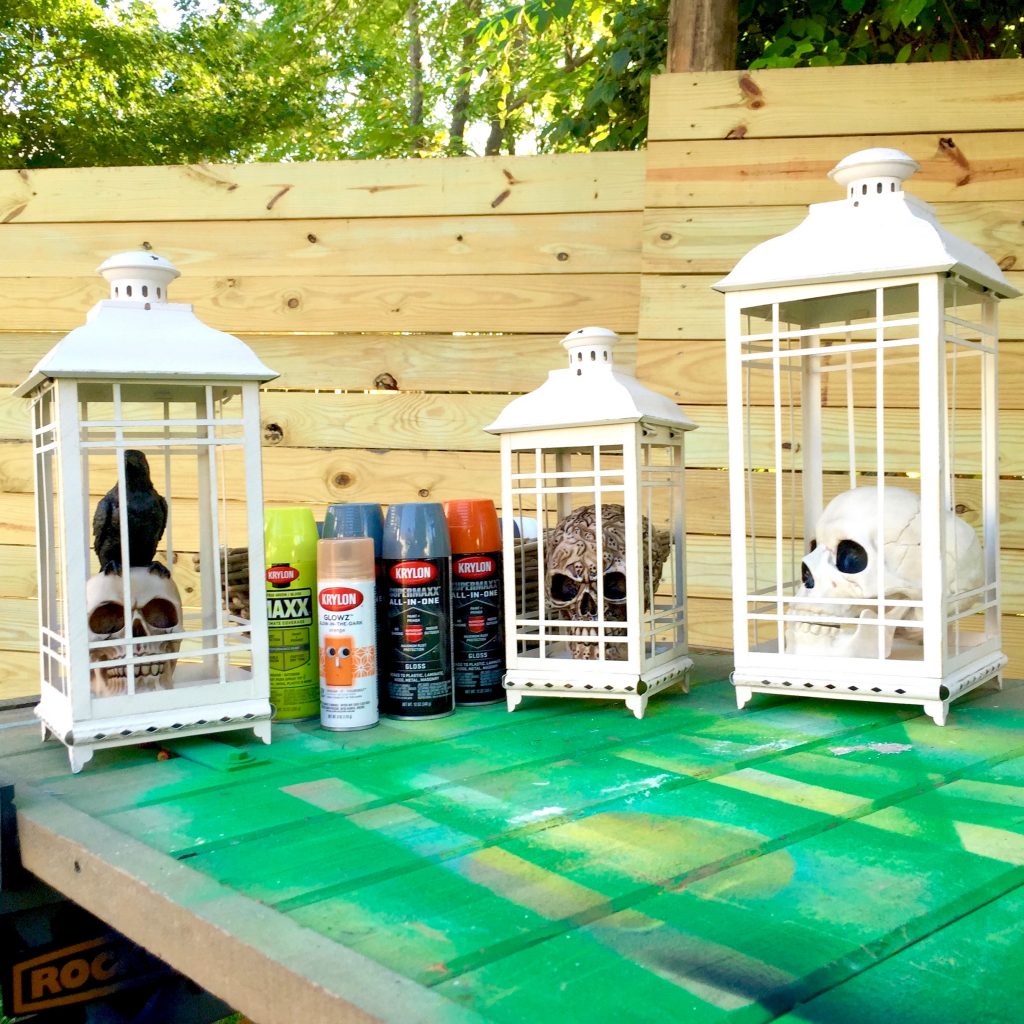
I grabbed cans of SUPERMAXX All-In-One in Gloss Mandarin, Glowz® glow-in-the-dark orange, and CoverMaxx Citrus Green, too, as I want to add some color pops with the deep grey.
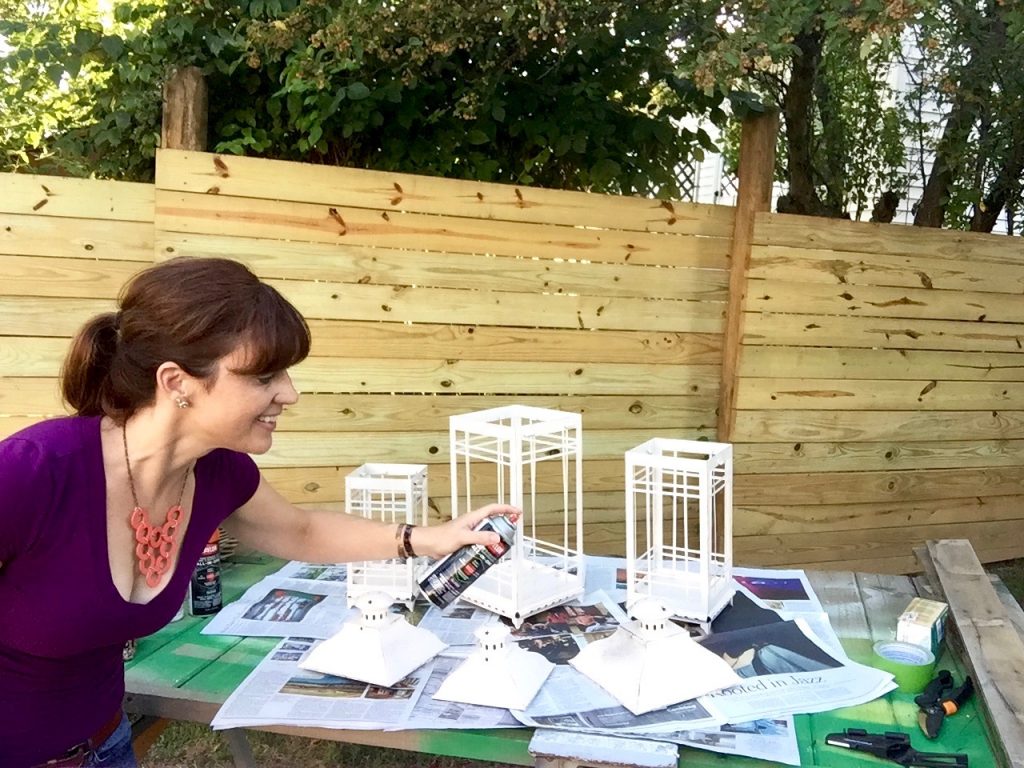

Painting with spray paint is so fast and easy. The most important tip I can share is to use light, sweeping coats. The lighter the coats, the quicker the paint dries, and lighter coats mean no drips. The product label has tons of good tips to make sure you get the application you want and safety instructions that are important to review, too, before you start spraying.
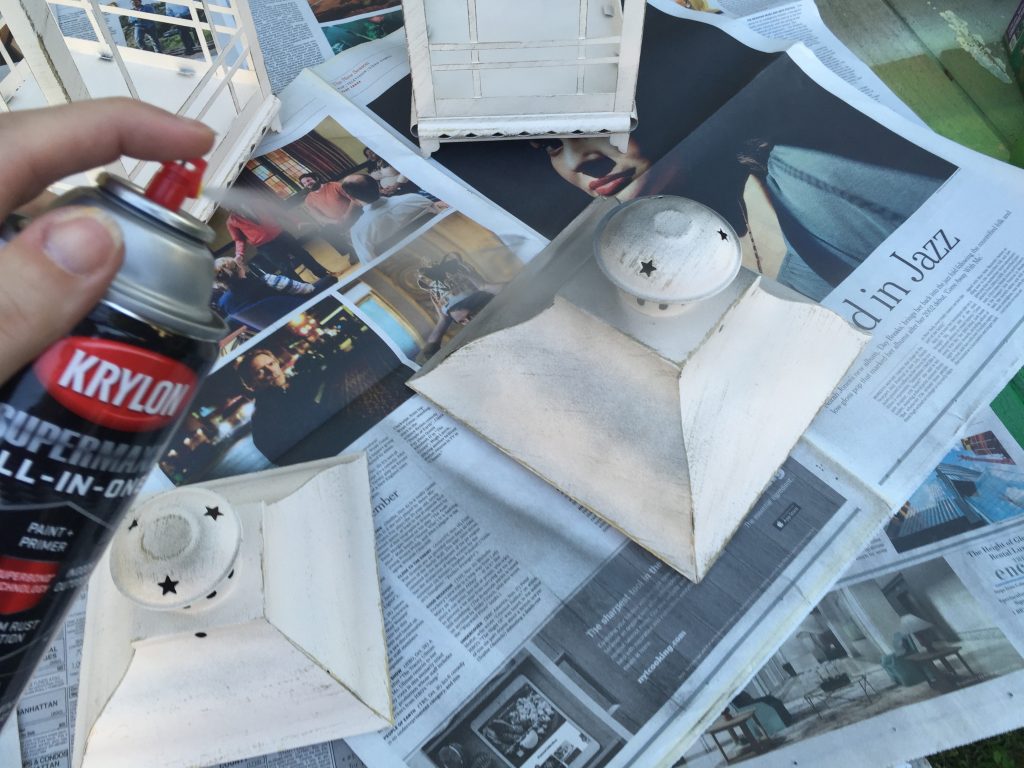
Between light coats of grey spray paint on the lanterns, I worked on the skulls. While the skulls are spooky without any extra updates, I wanted the eyes to glow-in-the-dark. After taping the skulls with painter’s tape, I coated the eyes with the SUPERMAXX All-In-One in Gloss Mandarin.
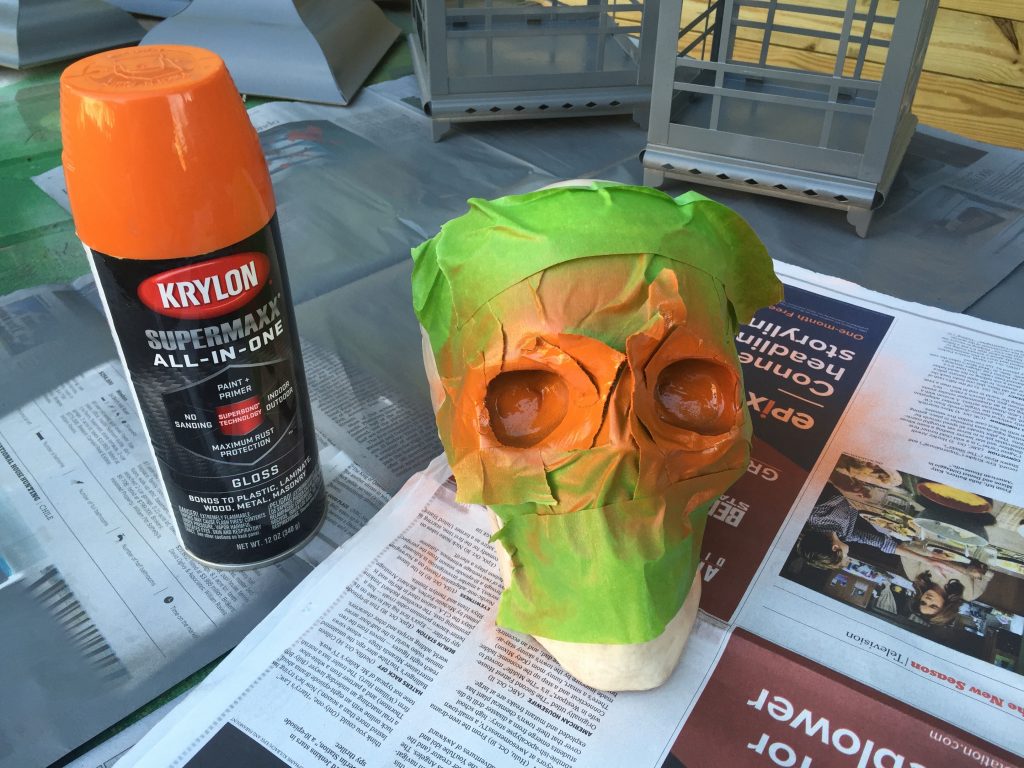
After the eyes were set in the orange, I then applied coats of the glow-in-the-dark Glowz paint in Orange. I think the glowing eyes will definitely add the spooky that will charm our neighbors and trick-or-treaters.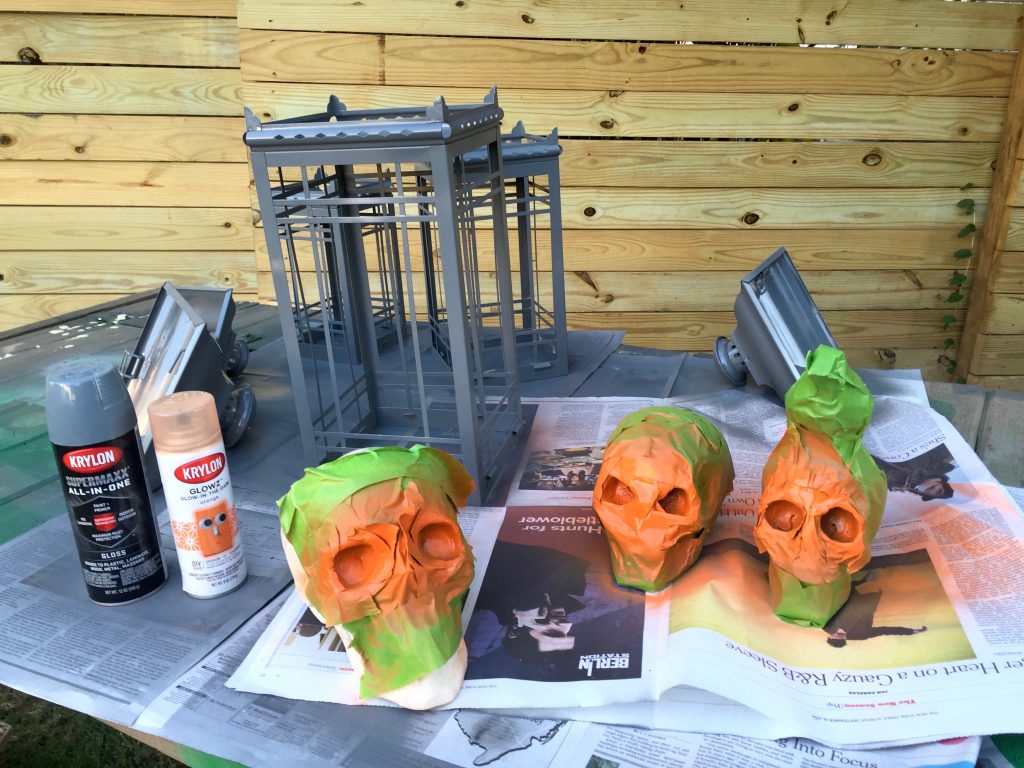
After the lanterns and the skulls were dry, I was psyched to put the skulls inside the lanterns. They look way spookier with the new paint colors.

Whenever I get started on a decorating project, it is hard to stop.
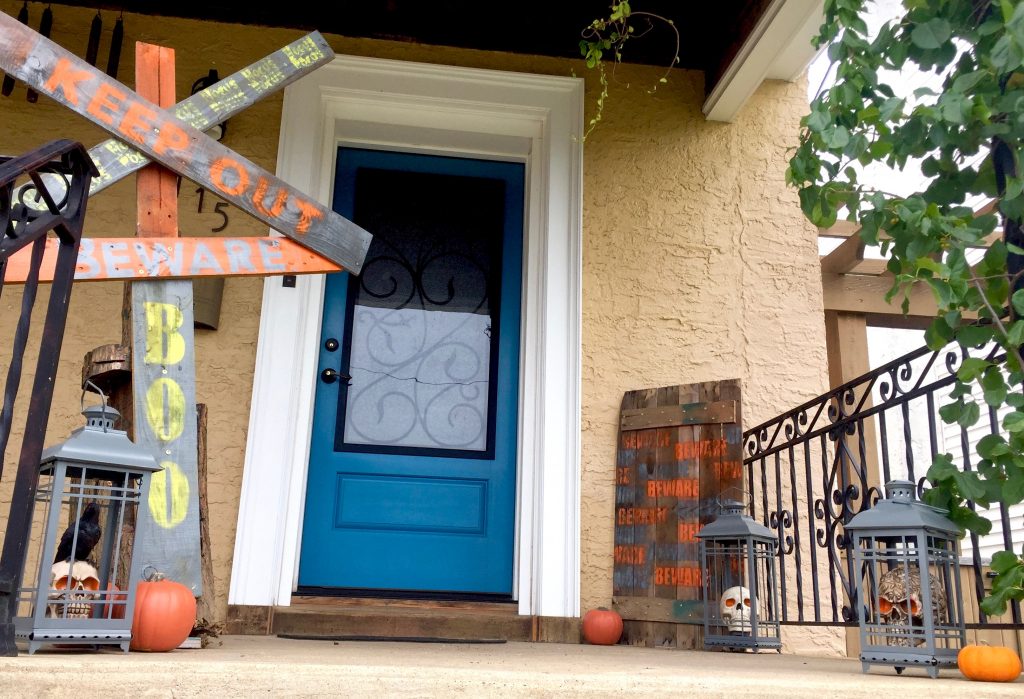
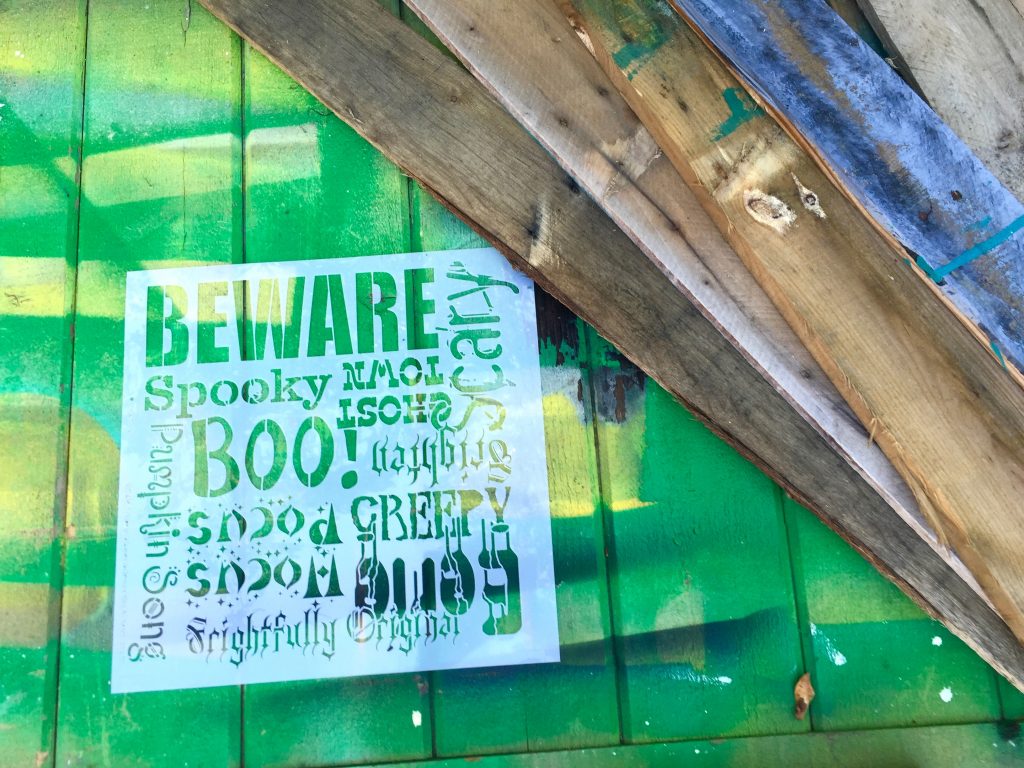
For this project, I wanted to create a few more elements for the porch, so I grabbed some pallet wood and stencils to make creepy Halloween signs.
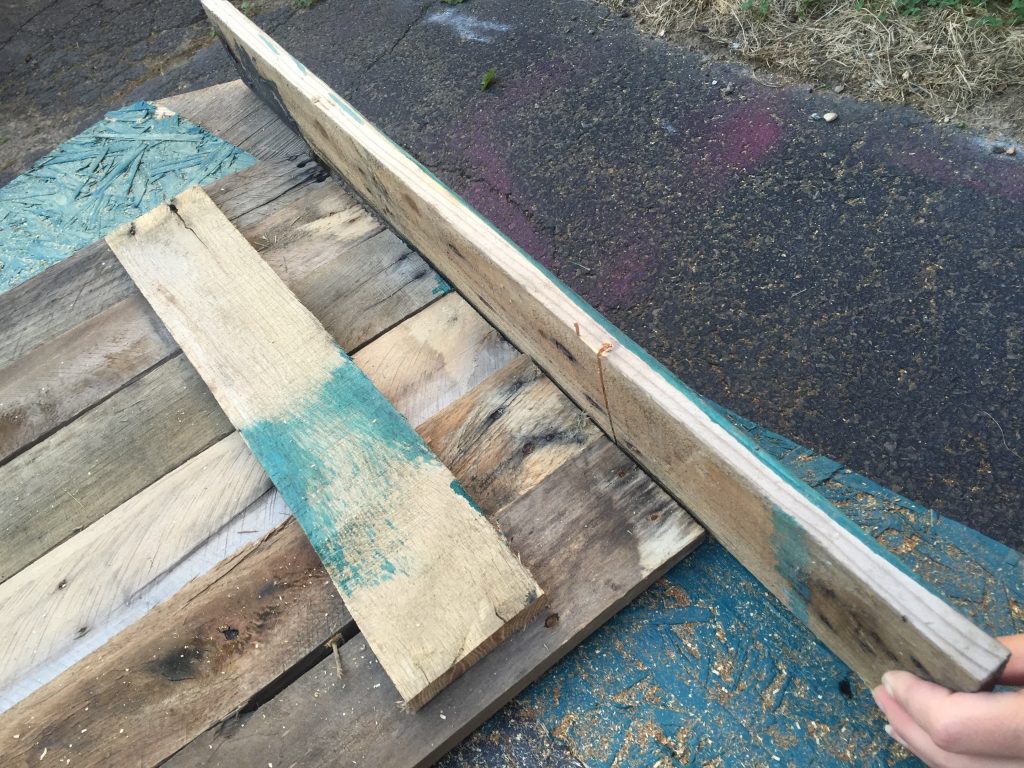
Making a sign with pallet wood is fairly simple. I just needed an impact driver, fasteners, and my cordless miter saw.
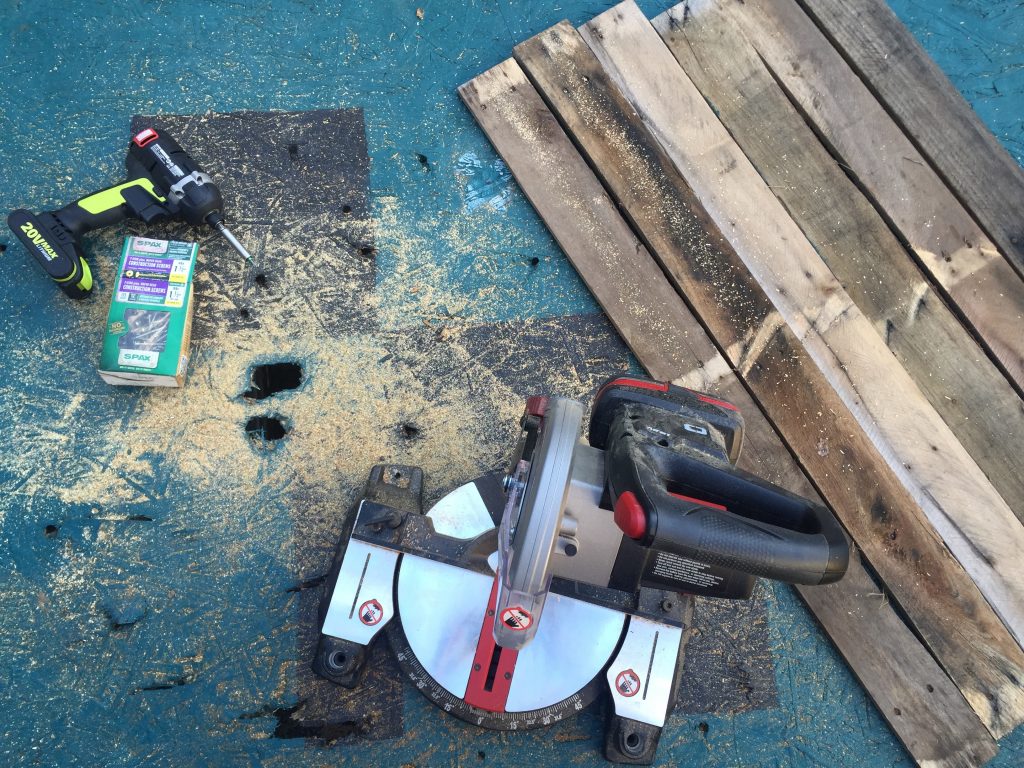
Since it is a Halloween sign, the wood does not need to be perfect. The imperfections make the sign creepier and aged. I used the pallet wood to help space and align the perpendicular braces to attach the pallet wood together.
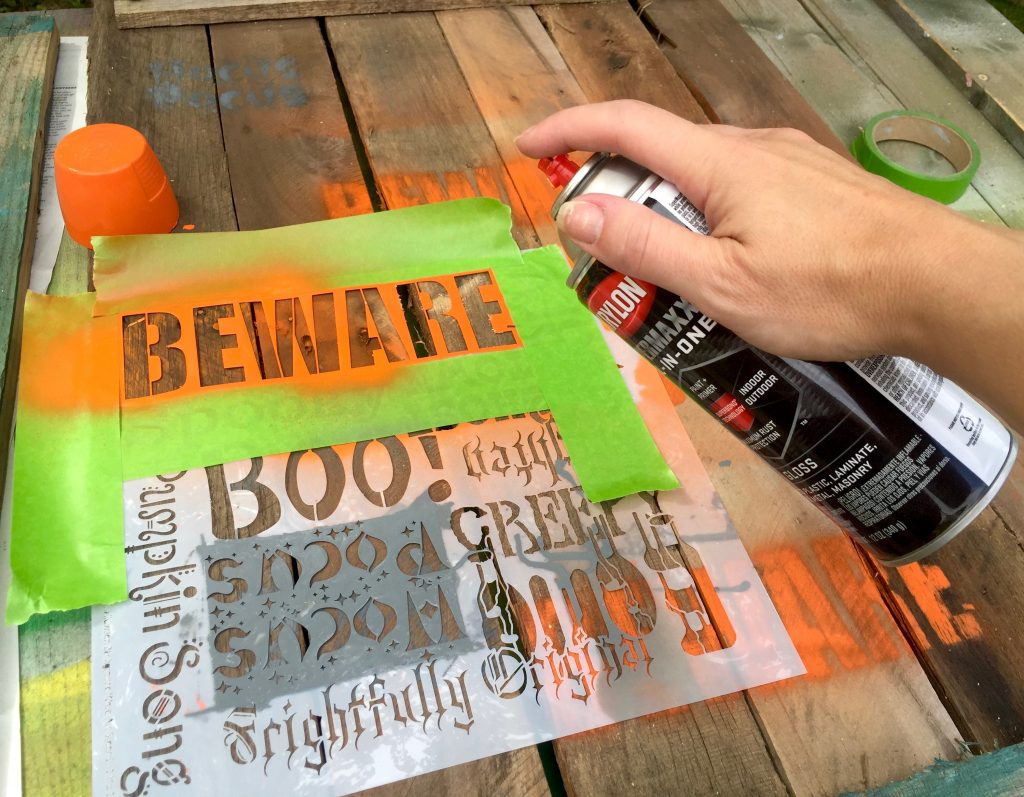
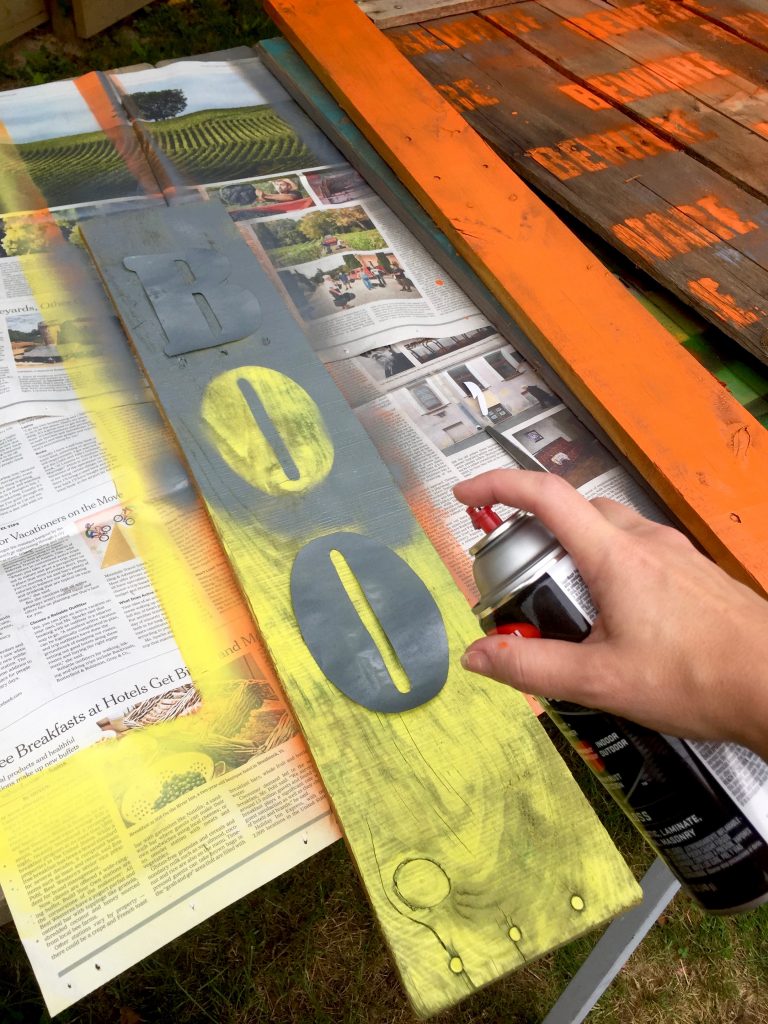
I had a stencil with Halloween words, so I chose the ‘BEWARE’ stencil and spray painted the word over-and-over again on the sign.

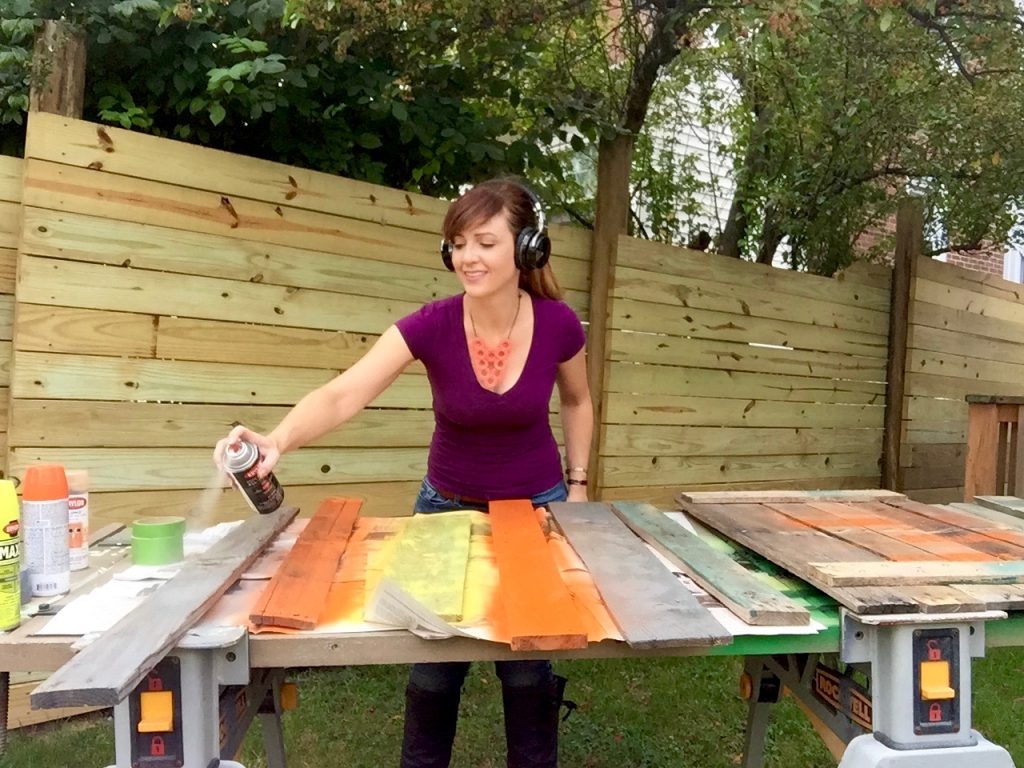
Using the pallet wood in an organized panel inspired me to use more pallet wood in a less organized, and spookier way. So I painted a few pallet boards in the orange, grey, and citrus green paint colors that I’ve been using for this project.
I wanted to use some larger words for these boards, so I printed words and cut out my own stencils.
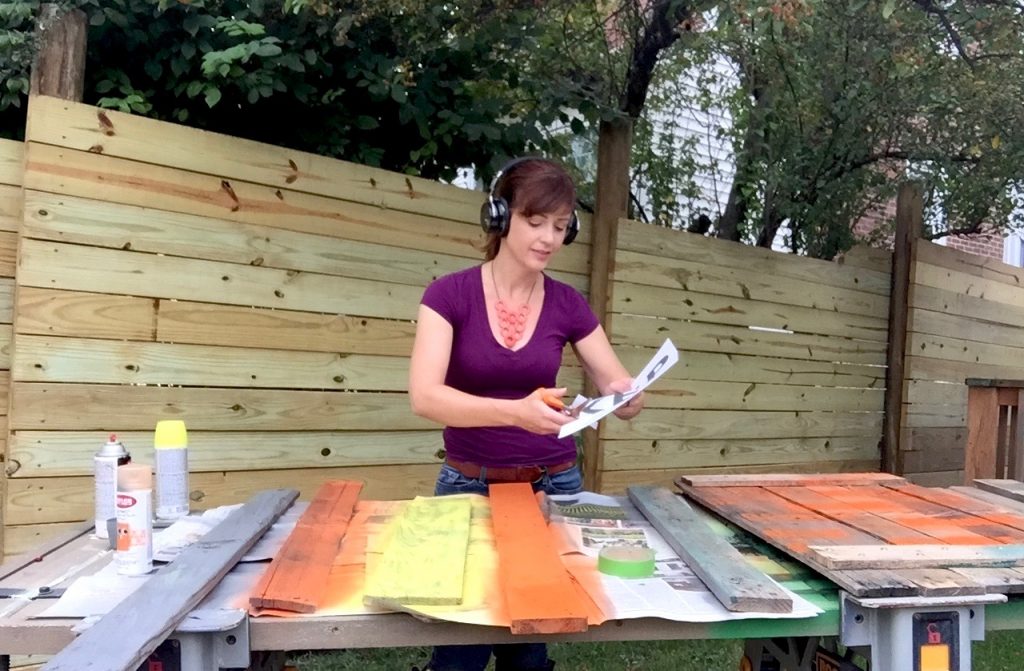

For these larger letters, I taped them to the boards with painter’s tape. Using quick dustings, I added the color for the words on the pallet boards.


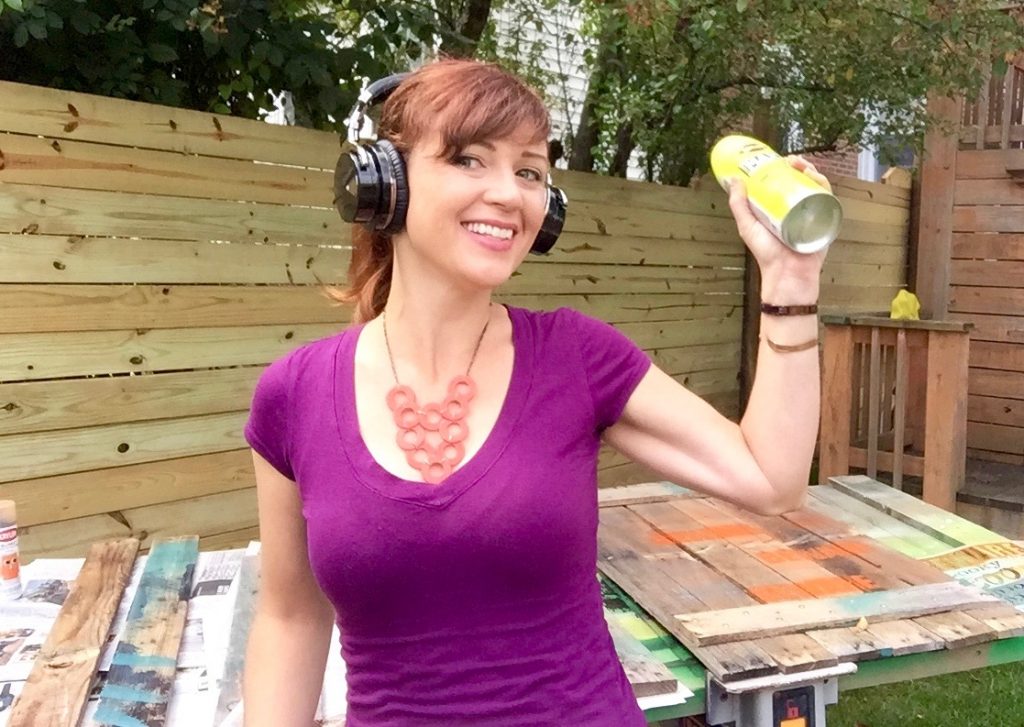
One of my favorite parts of spray painting is the little shake breaks during a project. Getting a really successful finish requires more than just the pre-project shake. Shaking mid-project keeps the paint consistent and the project looking its best.

So what do you think of my spooky Halloween decorating?