We all need holiday decoration ideas. And as much as I love stringing garland (I don’t) I’m more at home making stuff with tools. If you are too, I hope you’ll like and share our holiday yard pyramid.
Stuff
For me, holiday decoration ideas are more fun when they’re made from lumber.
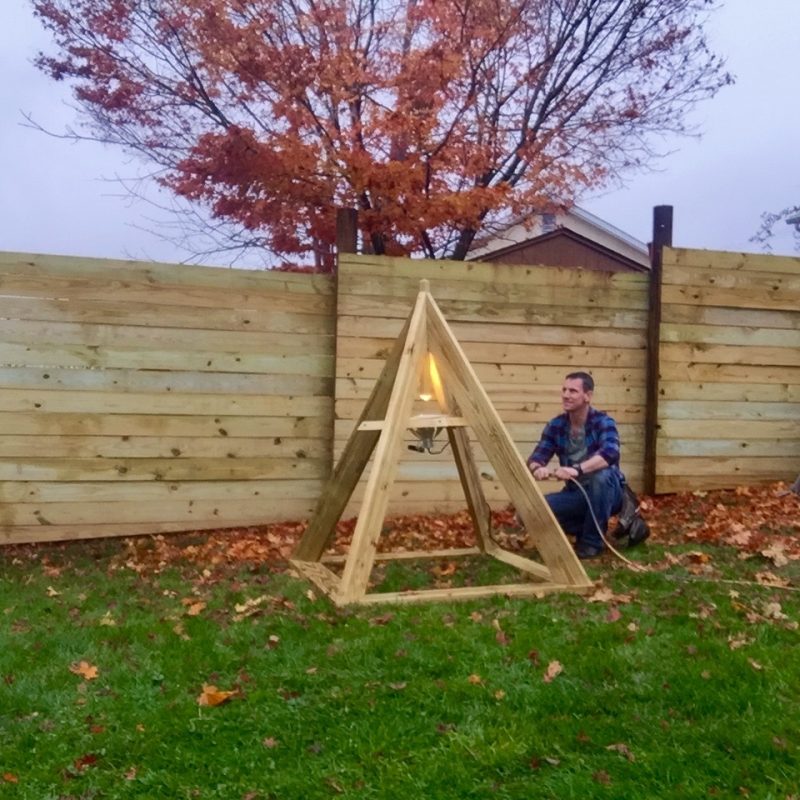
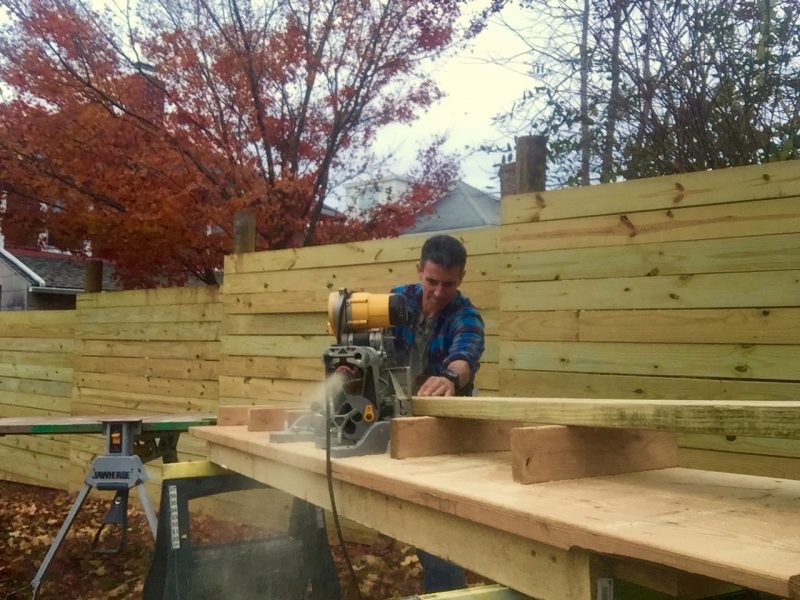
I made this out of about seven 2x6x8 pressure treated Southern Pine boards and 3-inch screws. You can use a circular saw to make all the cuts—and I did for the prototype—but if you have a miter saw, it’s a lot easier and faster. And in true carpenter fashion, the Vegas-esqe lamp that makes my holiday decorating ideas Luxor light up is a simple work light and LED bulb.
How-to
On this pyramid, the top angle is 60-degrees. The bottom angle is 30-degrees. It’s about 5-feet tall and 4-feet wide at the base.


If you want to change the shape or size of your pyramid, it’s easy. The main thing to know is that the top angle + the bottom angle has to = 90 for it to work. For more on angle magic made easy, check out this video.
Not that this is impossibly finicky—it isn’t. But when you get into angles meeting up at a single point like this, little weird things can add frustration and mystery to what otherwise seems simple. To make it easier I only measure and mark one board, then I use it as a pattern for the remaining three. This helps keep them as close to the same length as possible.
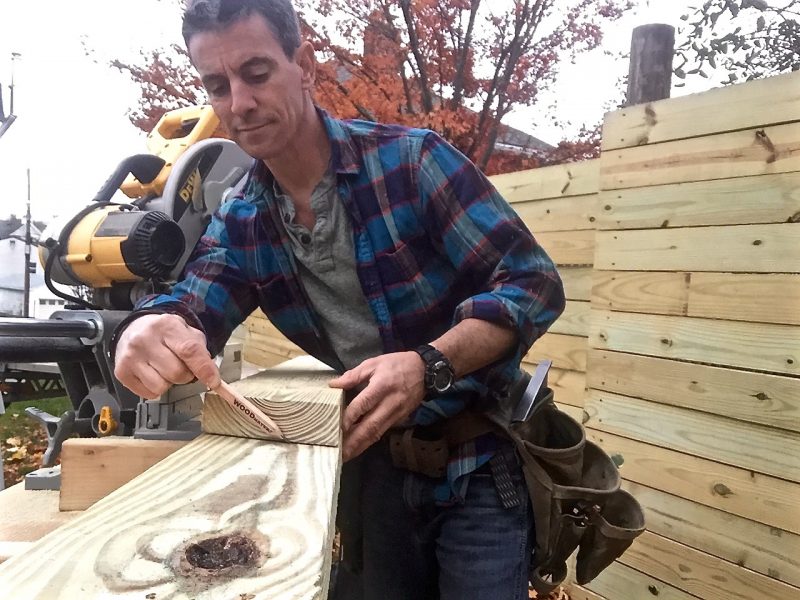


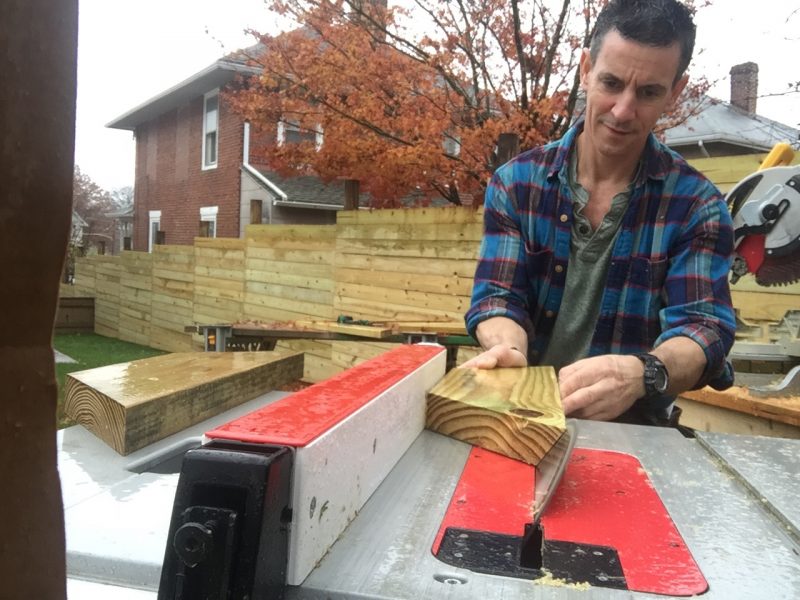
A ‘keystone’ of sorts is the center of the pyramid. Again, you can make this with a circular saw, but I cut mine on my table saw. It’s 1 1/2-inches x 1 1/2-inches. It’s 24-inches long.
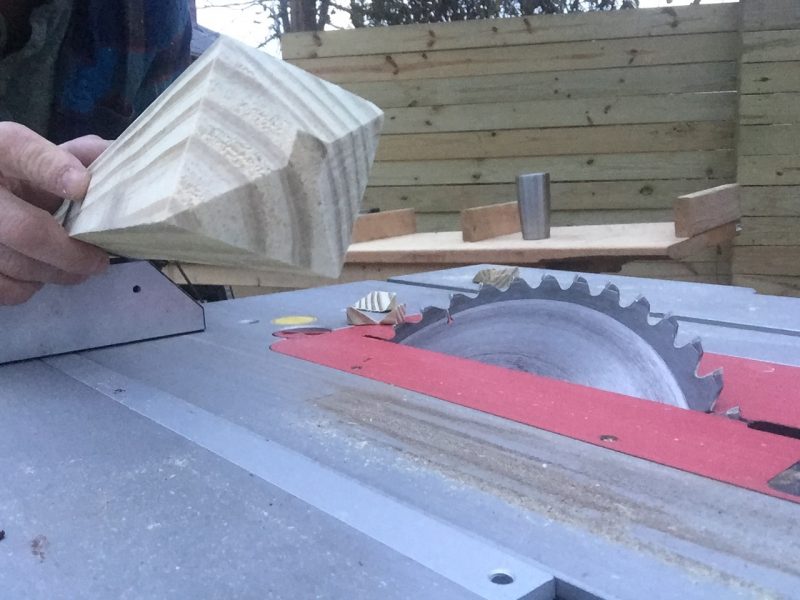
I also cut a mini-pyramid on the top and bottom, again using the table saw and miter gauge. I could use the miter saw, but the table saw is easier. This how-to video explains more.


Even though this pyramid is about 5-feet tall, it’s still table top DIY to me. Obviously I’m not talking the kitchen table. Even though the pyramid base is bigger than the table, I can hang the corners over the edges and still work accurately. In fact, it’s easier.
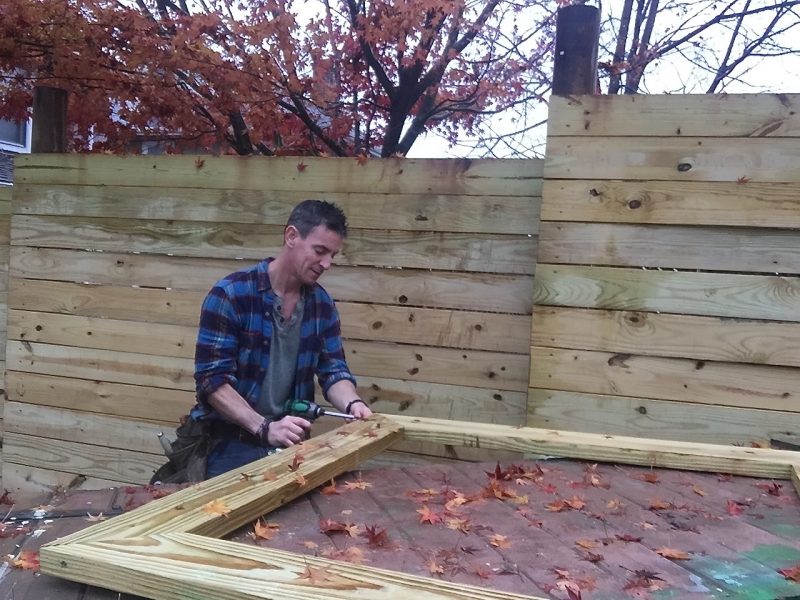
The base is four pieces of 4-foot long 2×6 cut at 45-degree angles. I screw them together through the outside edges of the miters.
Tip: Possible frustration point here. If your miter saw is just a little off or you cut the angle just a bit wrong, it’ll be hard to make the base what I call ‘picture-frame perfect’. This is pretty much to be expected. What I do sometimes is partially drive the screws in each corner. Then get the pieces lined up as best I can, then sink the screws all the way.


The ‘keystone’ is the key to fastening the legs. I held the peak of this keystone 2-inches up from where the legs meet. I assembled two legs on the table (in a V) and the other two with the piece standing up.
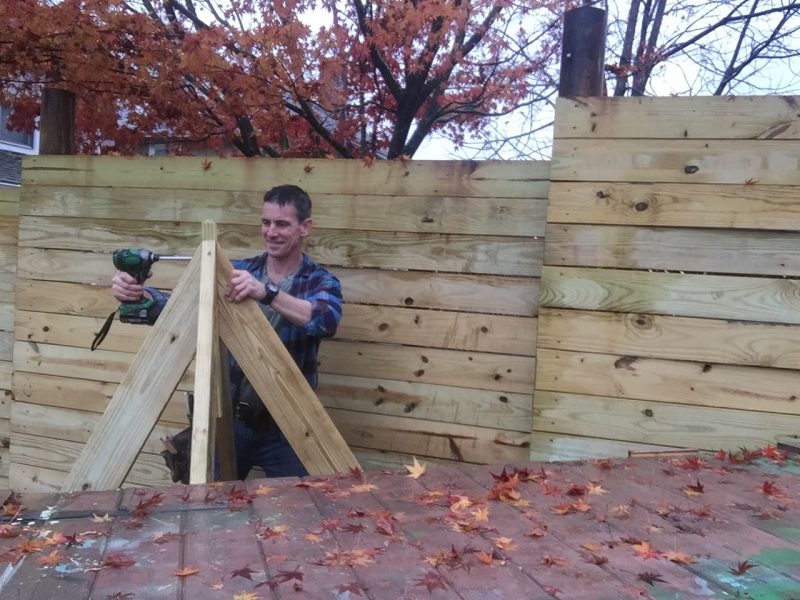


Even though they’re a bit heavy, attaching the legs to the base is a lot easier on the table than on the ground.
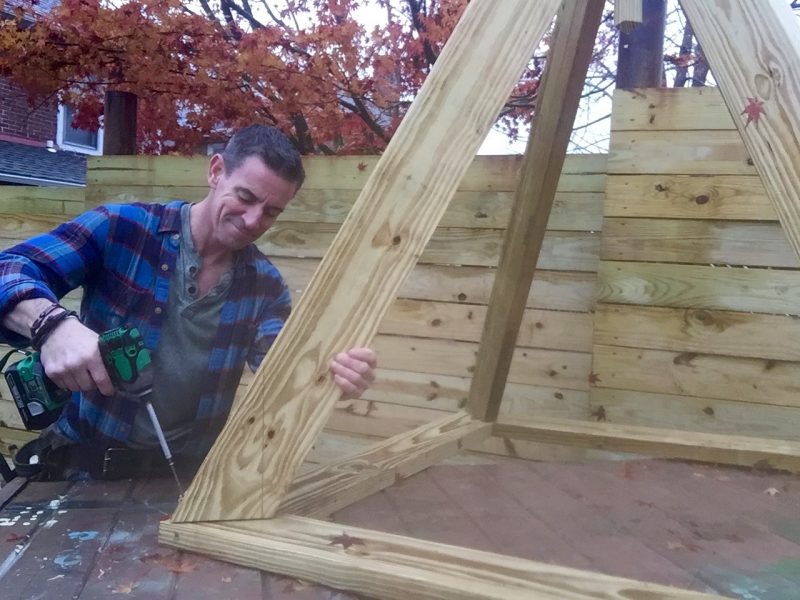


Quick note for when holiday decoration ideas meet DIY projects: TOOLS! I used my countersink a lot on this project to drill pilot holes. I use it all the time. Find out more about it here. It’s a tool pouch must-have.


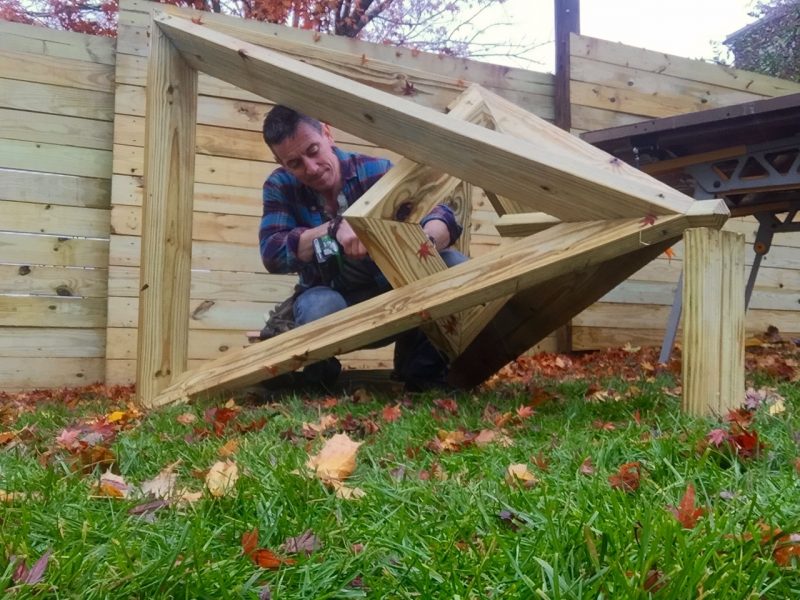
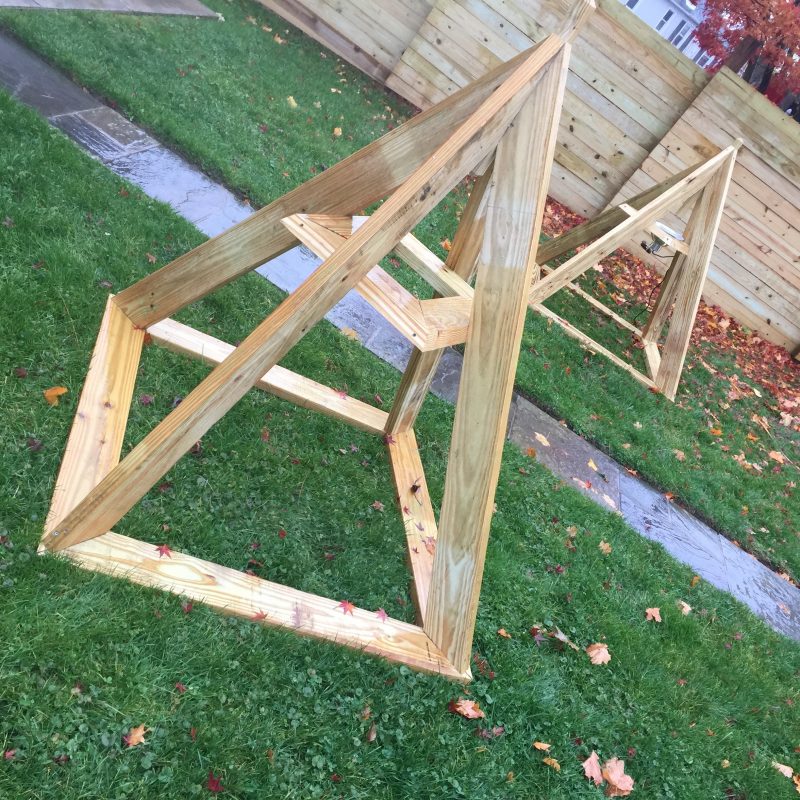
The shelves are 20-inches long with 45-degree miters on each end. Cutting a bevel—30-degrees—on the outside edge enables them to fit inside the pyramid.


Installing the shelf alone is one of those jobs that kind of requires three hands. By leaning the pyramid on its side, I was able to line up all the angles—when the bevel on the shelf aligns with all four legs, I am happy. Then I fasten from beneath the shelf into the legs. This really stabilizes the piece too. Now it’s all locked together. Umph. Take that Pharaoh!


Bam. Beauty. Light the night. And, obviously, don’t light the night when it’s raining. This particular light is not rated for exposure to precipitation.
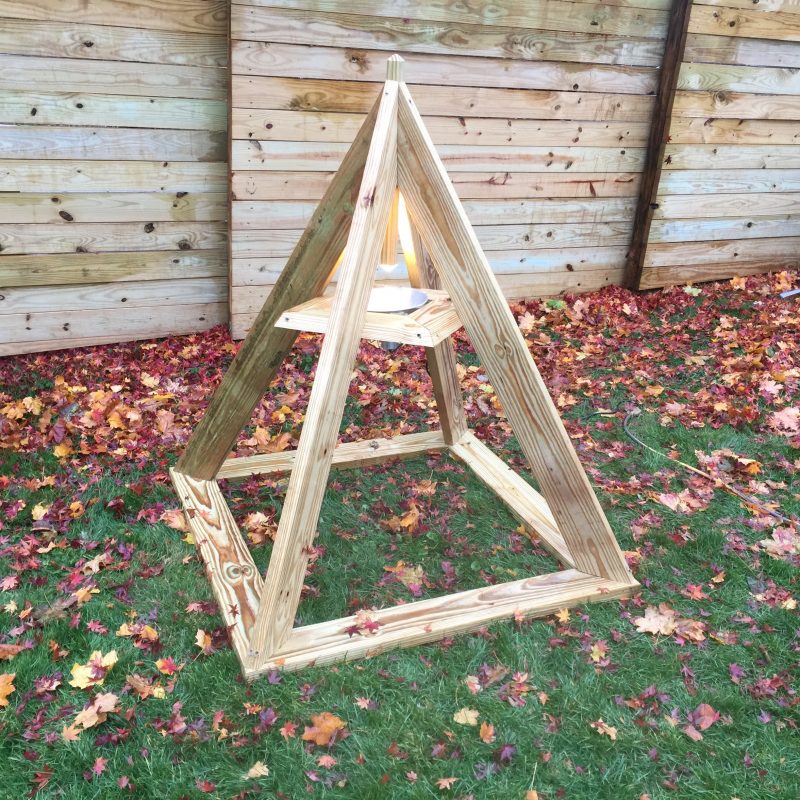


This is the prototype. I used a circular saw for most of the cuts on this one.
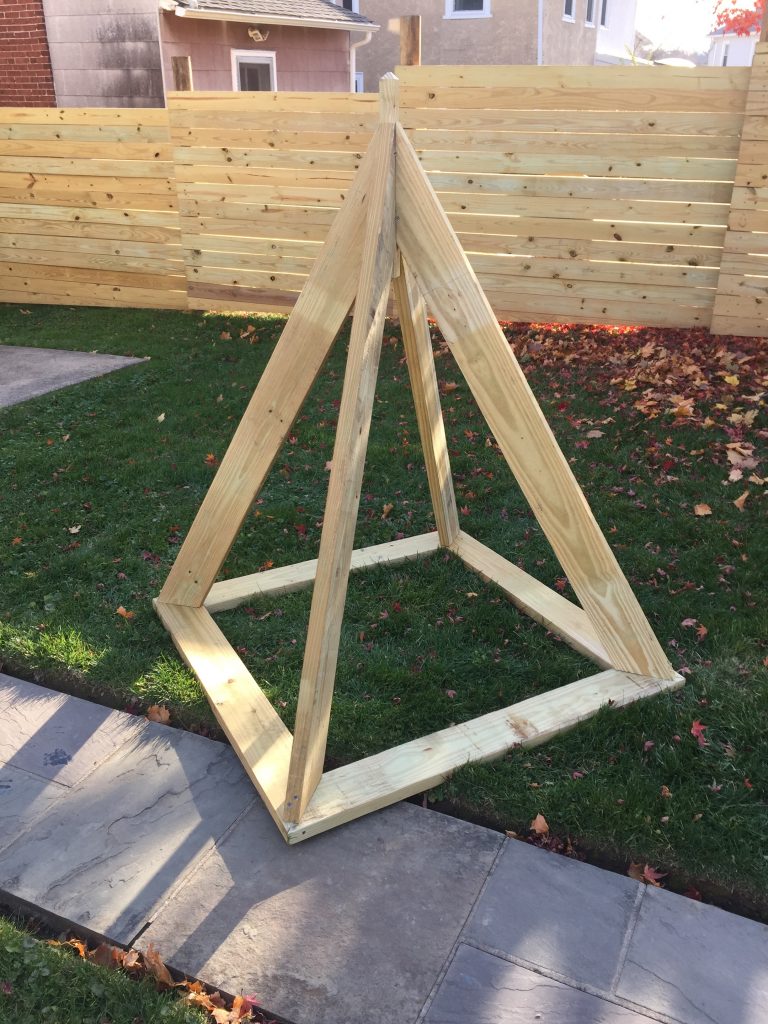


Holiday decoration ideas meet the Giza Plateau. Equinox geeks unite!


The design, how-to and opinions in this blog are my own. It is produced in association with Wood, It’s Real.

