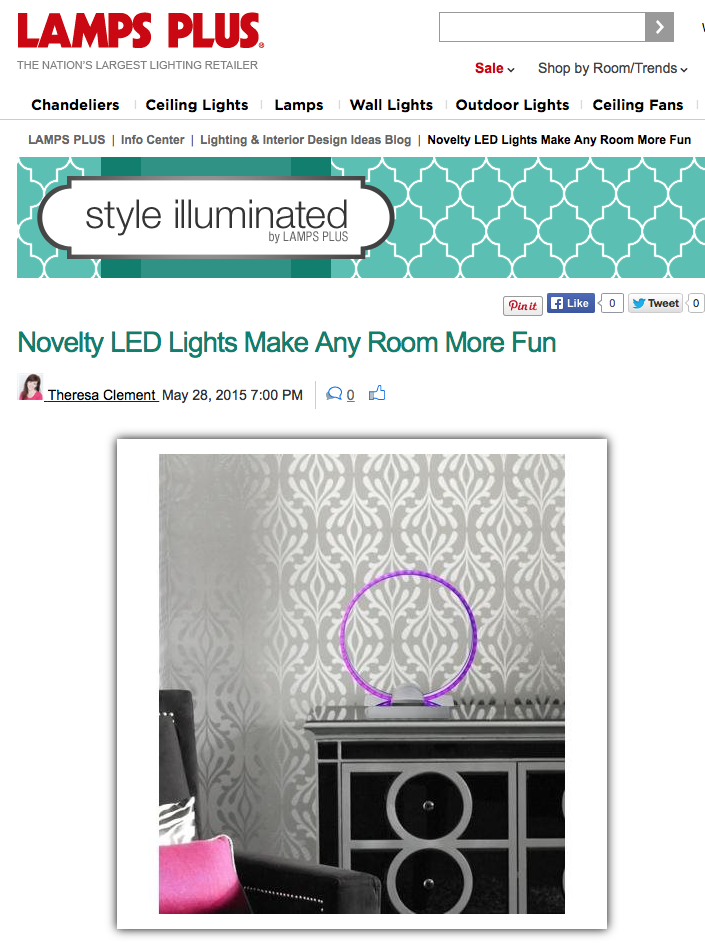
Novelty lights–like the hover lamp–aren’t just for frat houses and bar decor.

The way that options for lighting have changed in residential design over the past 20 years completely blows my mind. Just taking a year away from keeping up with the changes is like taking a year away from looking at smart phones. It takes a bit of concentration, and oh-wow moments, to get up-to-speed.
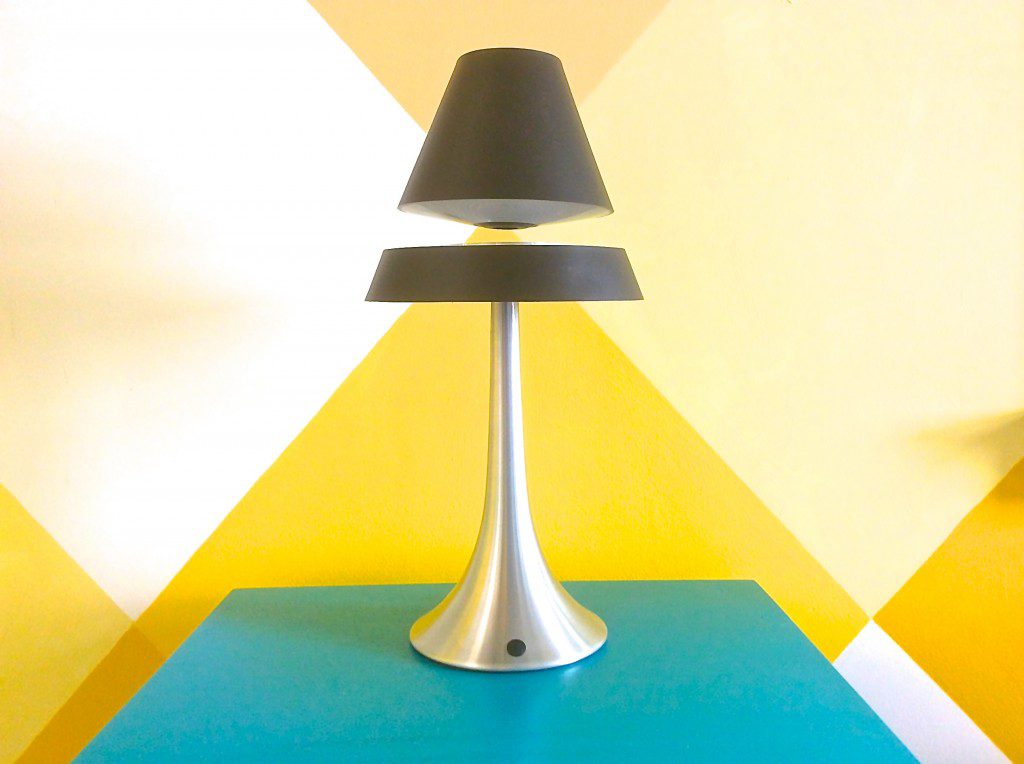
So when I saw a hover lamp, I immediately wanted to try it out. And it did not disappoint. It took me about 5 minutes to set it up. My 13-year-old nephew also set it up, and I’ll admit, in less time.
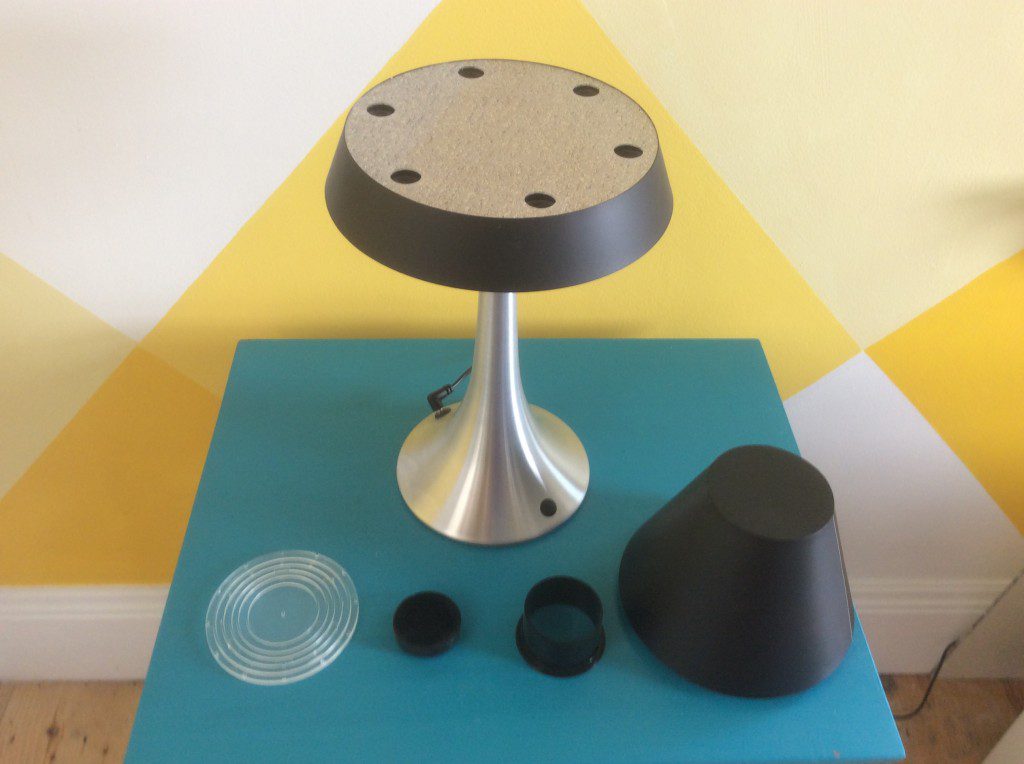
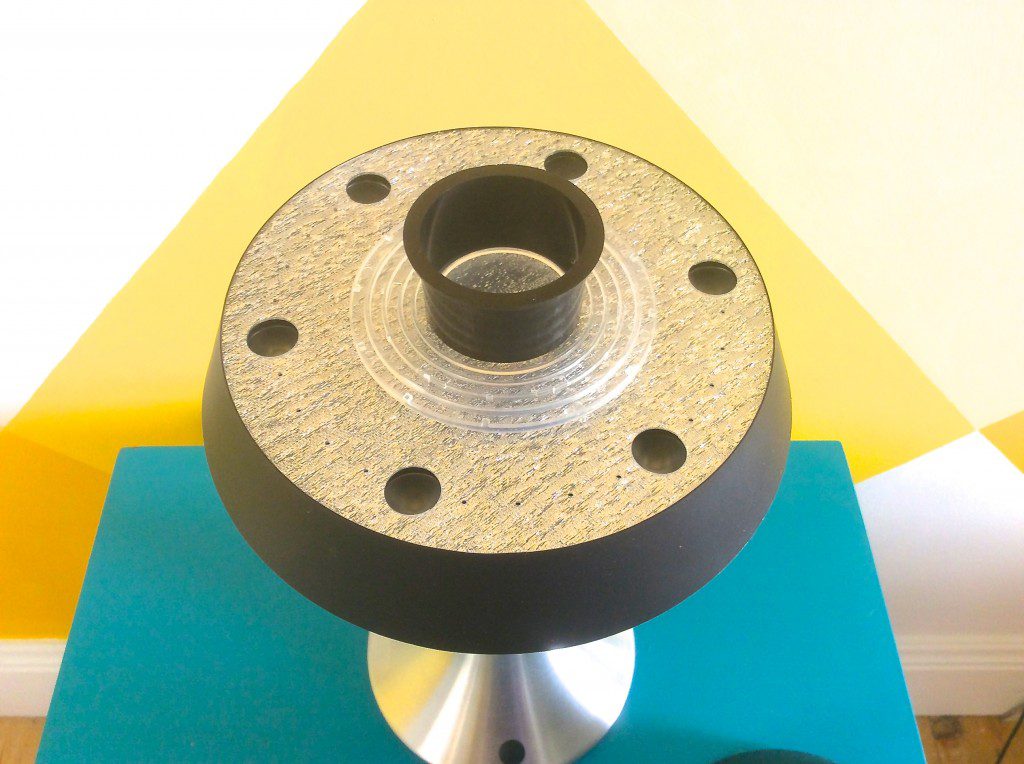
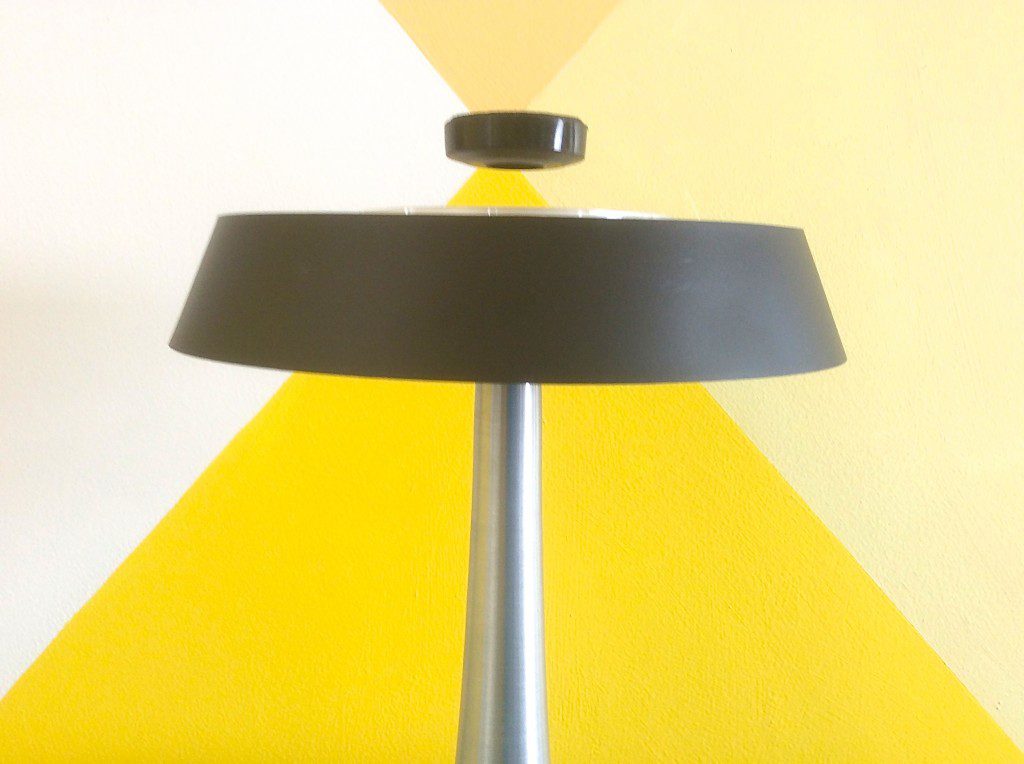
The shade hovers over the lamp base. And you can make the shade spin over the base. There are three lighting options, the base lights, the opening between the shade and base light, and then you can have both spots light at the same time.
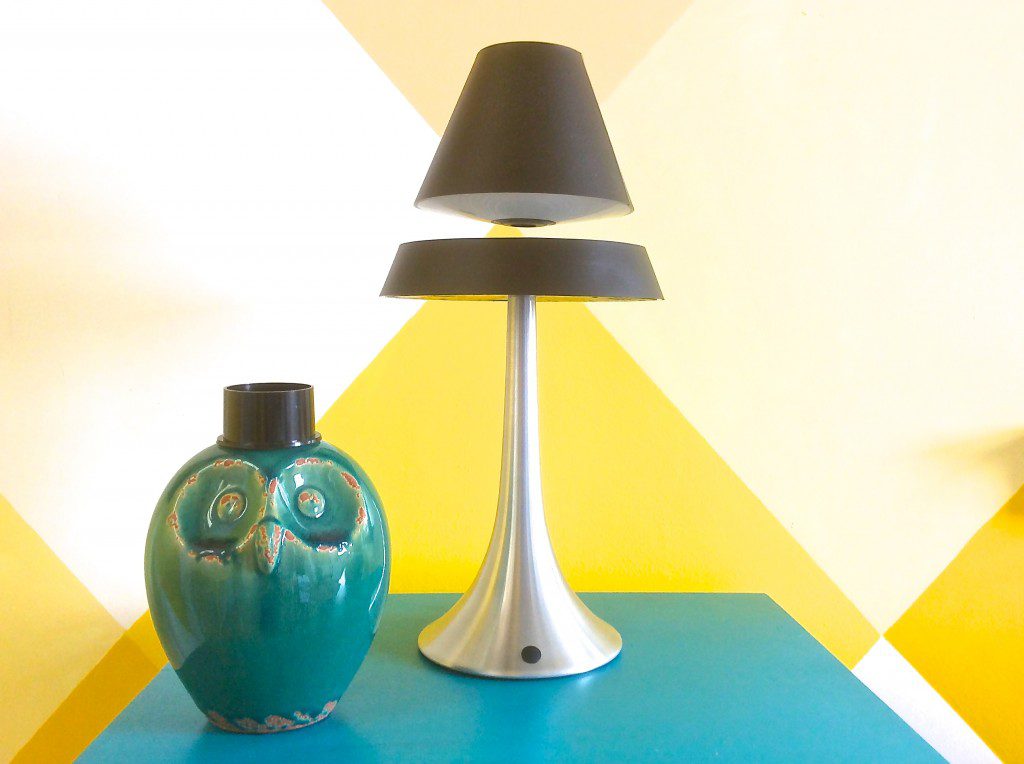
The only thing is that if the hover lamp is unplugged or knocked into (a very possible option in our home of kids and cats), you’ll need the little black cylinder to re-set the magnet. So our owl now dons it as a top hat. I think he looks quite nice.
If you haven’t looked at novelty lamps lately, indulge your inner child and scope out the hover lamp and other new lights on LampsPlus.com, and check out my latest blog on LED novelty lamps.
And let me know what you think about novelty lamps in the comment section.
Click here to read more by Theresa on LampsPlus.com.