If your DIY home improvement goal includes trim or an architectural feature wall, this little pro tip will help create the look you want without having to spend hours trying to force a bumpy wall into becoming flat.
Few walls are completely flat.
If the walls in your home are flat, the rest of us are jealous.
Most walls have never been flat, and many develop bumps and bulges over time. Homes are made of organic materials that are susceptible to the changes of the environment: moisture, pressure, impacts, and everything else a wall encounters standing next to a busy family.
When does a lumpy wall matter?
If you are just paining a wall mural or fun paint pattern, then you can avoid dealing with most of the lumps and bumps. For those who are just installing baseboard and crown molding, humps and bumps can prove challenging but manageable.
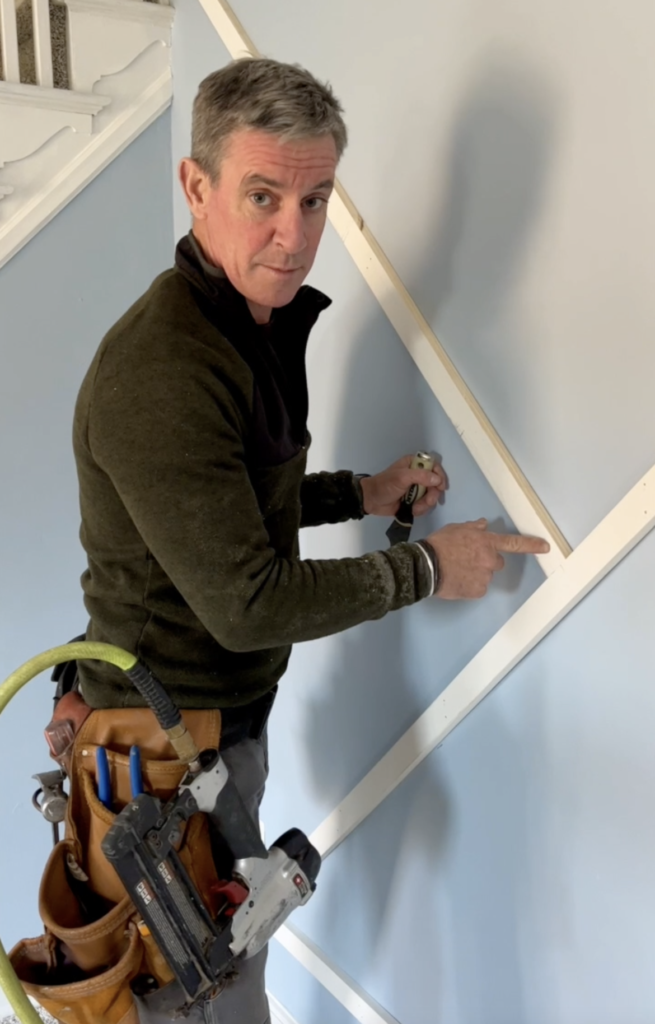
Then there’s those of us who want to have a bit of fun making a 3D pattern on a feature wall. With all of the crossing up and down and back and forth across a long wall, those traffic patterns are bound to encounter a few non-flat spots along their way.
Why does a bumpy wall matter?
A finished 3D architectural graphic wall element can be dazzling when executed with care. Since our eye grazes the surface of the wall that’s closest to us, it’s easy to spot when pieces are not flush along the top surface. So, getting that top surface as flat and smooth as possible is the goal.
When trim runs along a dip, it will recede from the top surface of adjoining trim. This dip then creates shadow lines that interrupt the eye’s traveling along the top surface. The goal is to eliminate this shadow line.
What’s the pro tip?
Achieving a pro look with a feature wall can be as easy as grabbing shims and placing them strategically behind any dips in the wall.
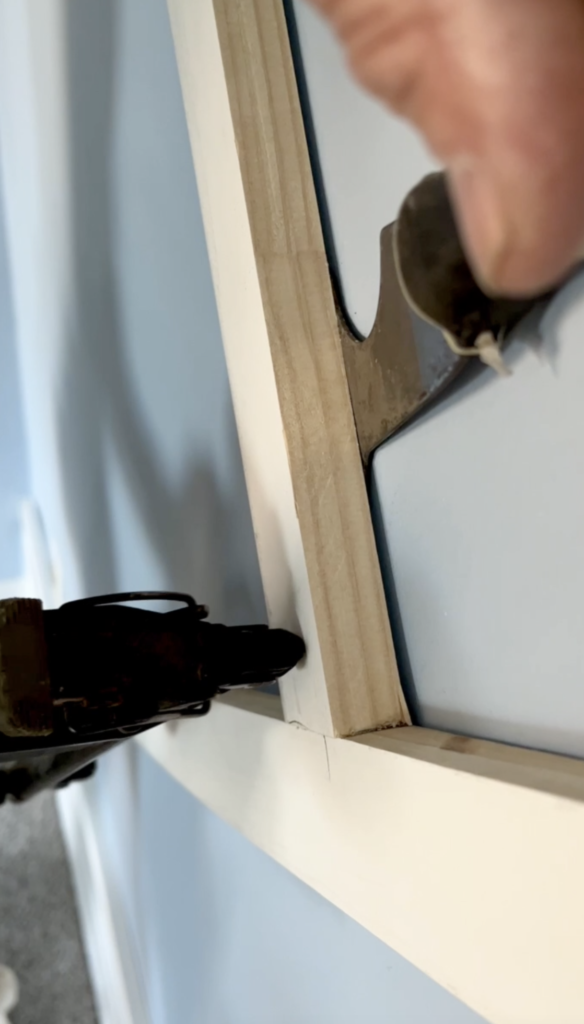
Shim method: Slip the shim underneath the trim piece and adjust it until the trim’s top surface is flat to the adjoining trim. Then, pop a few trim nails into the shimmed trim. Score the shim along the edge of the trim, and then remove it.
Multitool method: Slip a multitool underneath the trim piece and adjust it until the trim’s top surface is flat to the adjoining trim. Then, pop a few trim nails into the shimmed trim.
Fill the nail holes and then paint as usual.
About the Author