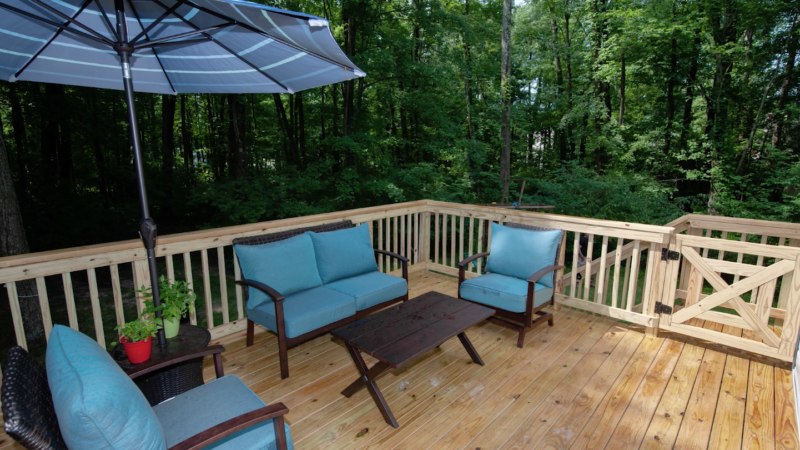
One of the things I love when building a deck is that I get to combine rough carpentry with trim details. Part 3 in MyFixitUpLife’s How to Build a Deck Video Series focuses on some finer points of decking, stairs and rails. So I hope you’ll scope it out and let me know what you think.
What’s in this article?
Watch How to Build a Deck Video, Part 3
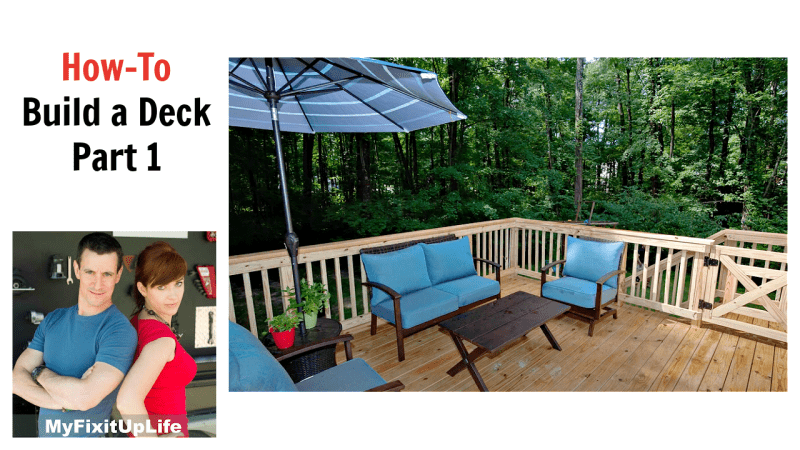
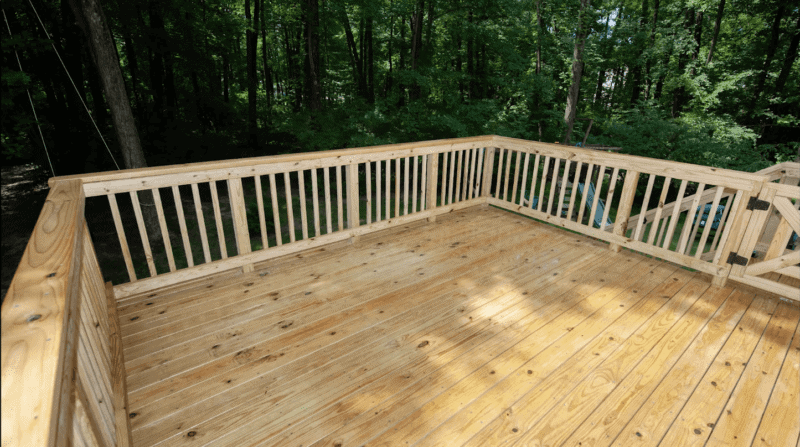
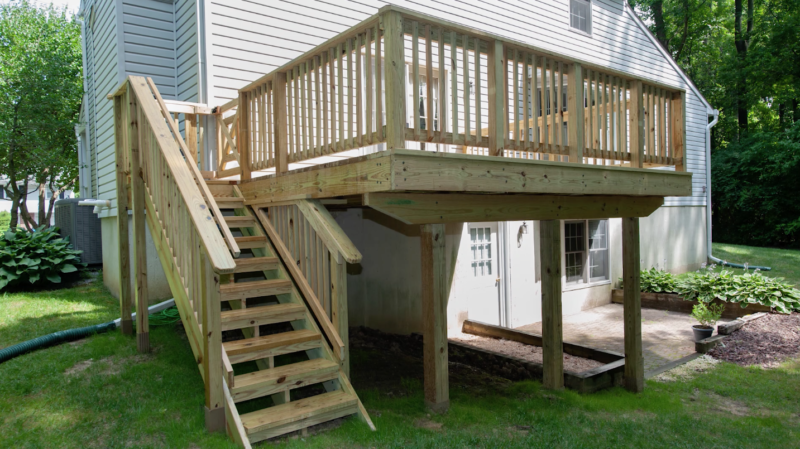
Aaaaand, beauty shot. Can’t resist.
Wood decks look good. They feel right. Plus, they’re fun to build. I used pressure treated Southern Pine for this entire project from structure to rail to trim details because the homeowner wanted it and I like building with wood. Awesome.
Decking
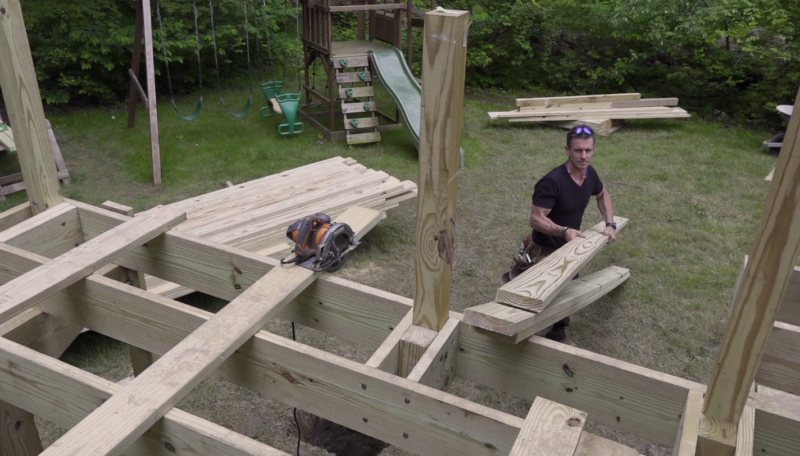
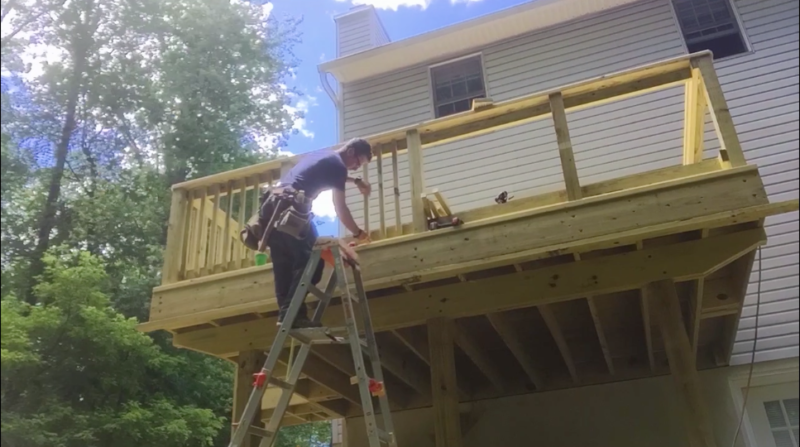
Load boards, but not too many—5 or 6. As you load up on the deck, flip them good side down.
Use upside down deck boards as a work platform when building a deck. Flip them over and then install. I’m using the ever-awesome #10 x 3-inch Spax HCRx-coated screws of utter awesomeness. Yeah, this video explains why.
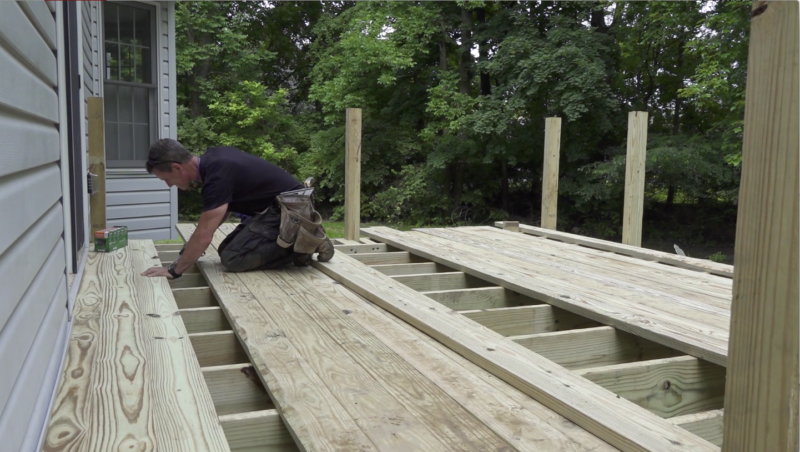
When you build a deck, the details count before you might notice them. While decking, make sure you’re running parallel with the front band joist. If—also when, it happens on every deck ever—adjust to make up for differences by slightly gapping the out-of parallel side over several boards. As the decking dries and gaps open up, then the discrepancies are invisible.
Decking around posts
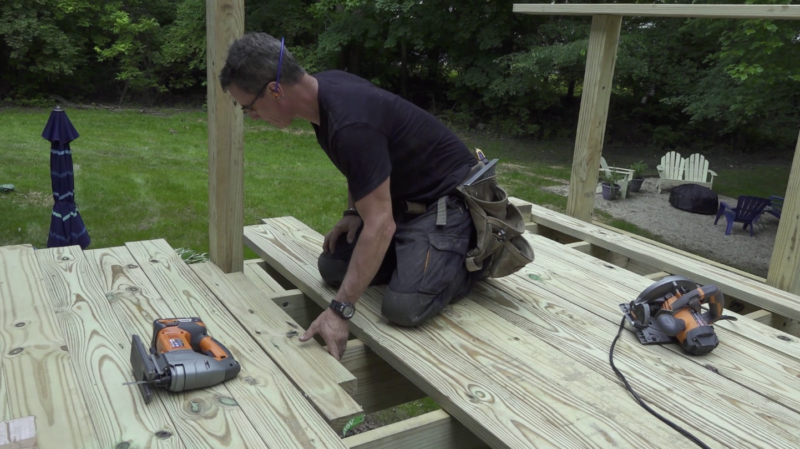
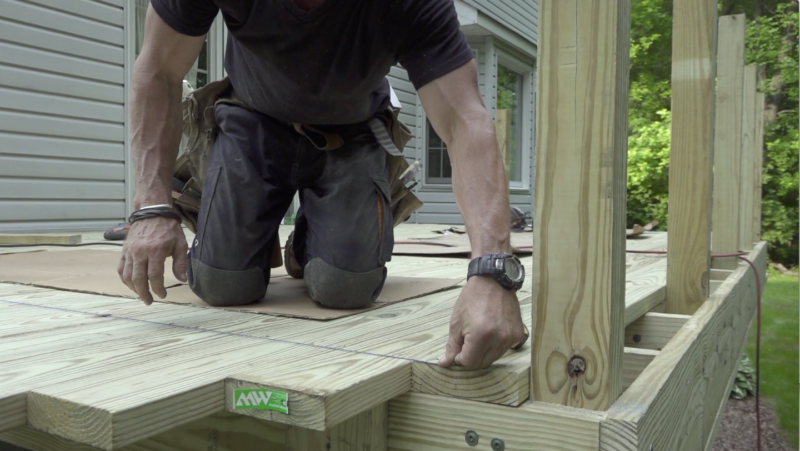
I like “housed” posts when I build a deck. That means I install them inside the deck framing. To make sure the decking fits around them when building a deck, I make templates instead of using full deck boards.
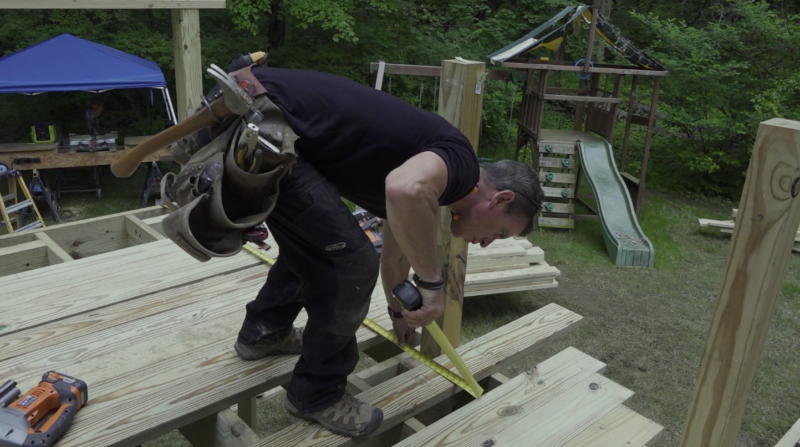
I like to use my posts as a little work bench. Here I’m transferring the marks from the template onto the actual piece.
Cutting decking to length
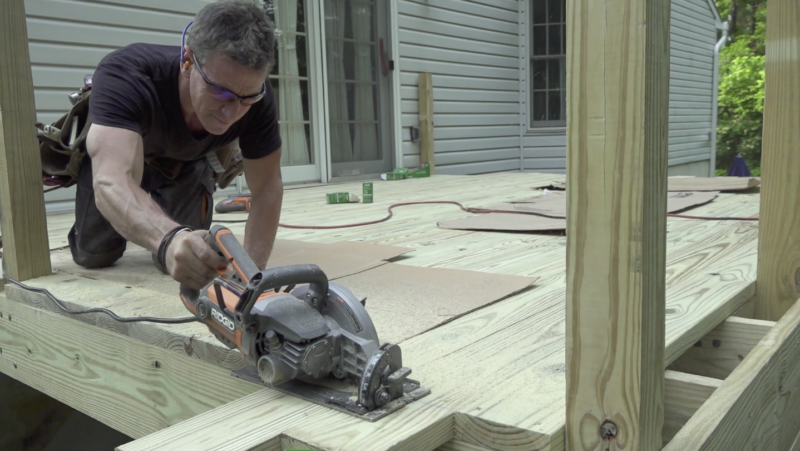
Run the “field” of deck boards long. And then cut the first three and any that intersect with a post to finished dimensions (more on this is a sec). Snap a line and cut. It’s the best way to install decking when you build a deck. Also, I like 2×6 decking and use it whenever I can.
Because I am an idiot (and I was taught to do it this way) I cut the deck boards flush to the band joist on this job. There’s no reason for this, since it’s better to give the deck boards a 1/2-inch overhang. There’s no risk of knicking the band joist with the saw and it’s then easier to make the cut.
Guard rails
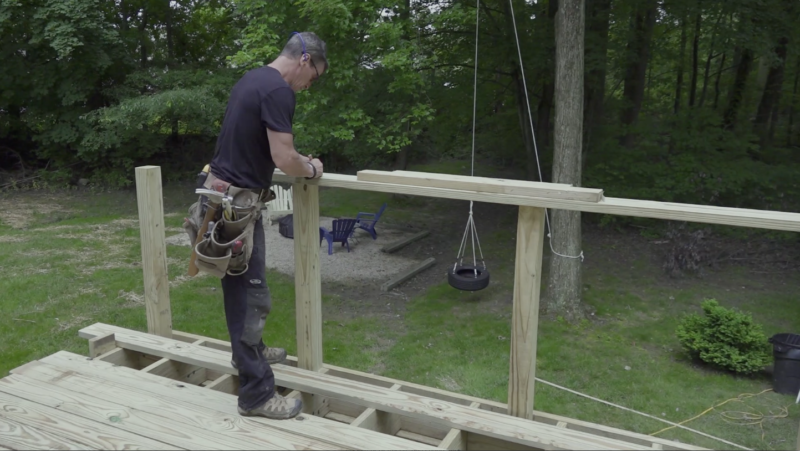
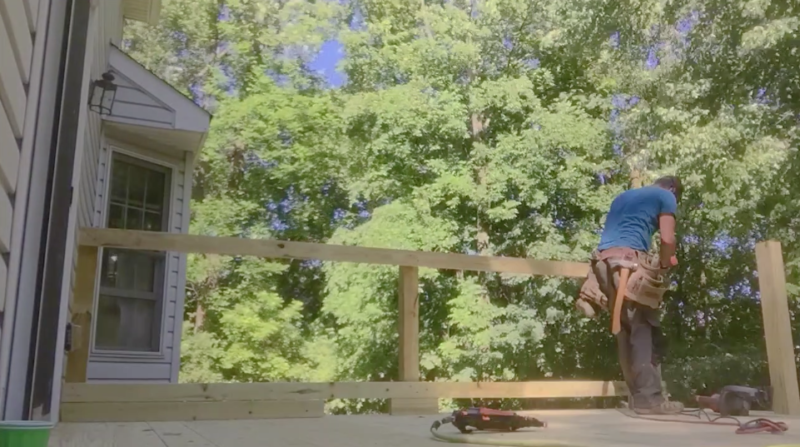
Rails have rules. The big one is that a 4-inch sphere can’t fit through them anywhere. So to accomplish this on the bottom rail—and to give a gap to blow away leaves and debris—packing it up on 2-by blocks works nicely. I go into more detail on how to mark the rails in the video.
Top caps
Miters open up for about a million reasons, but mainly because wood moves across the grain more than along (or parallel) it. For this reason, I finagle a way to butt join my top caps. They’re both fastened to the posts and rail from the top and pocket screwed from the bottom.
Balusters (pickets)
Installing pickets at 5-inches on center creates a gap a 4-inch sphere can’t fit through. I use #10 x 2 1/2-inch Spax screws to make the connection.
Stairs
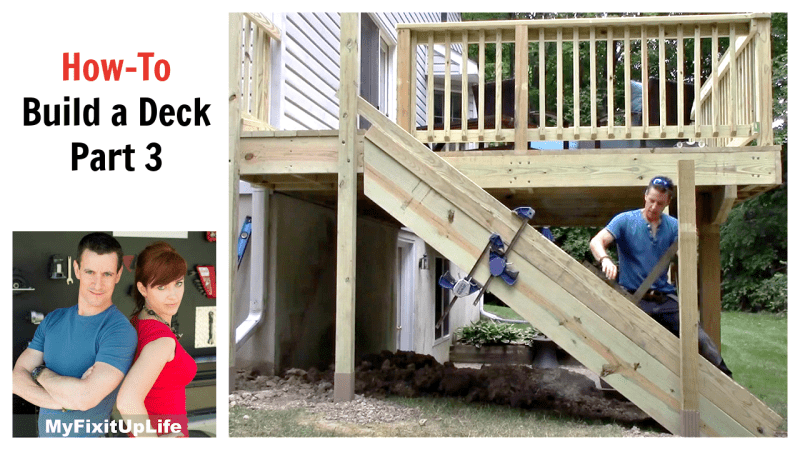
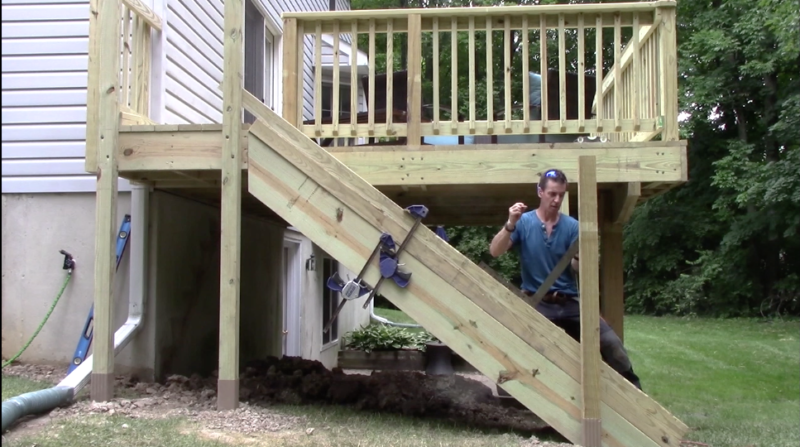
The stair posts need to have both the correct angle and the same height as the deck posts. To transfer the angle, use two 2x4s (you can screw them to the posts; I clamped them) use a framing square to transfer the angle. This doesn’t necessarily match the height from above. Confirm that by measuring up the from the nosing of the stair tread. There’s a bit more to it, but that’s in the video too.
The long point of this angle that transfers the rail from the deck down the stair should land directly above where the stair stringer meets the band joist. Put it anywhere other than there and you’ve created DIS-similar triangles which means the stair rails will not be parallel with each other and that’ll effect the pickets.
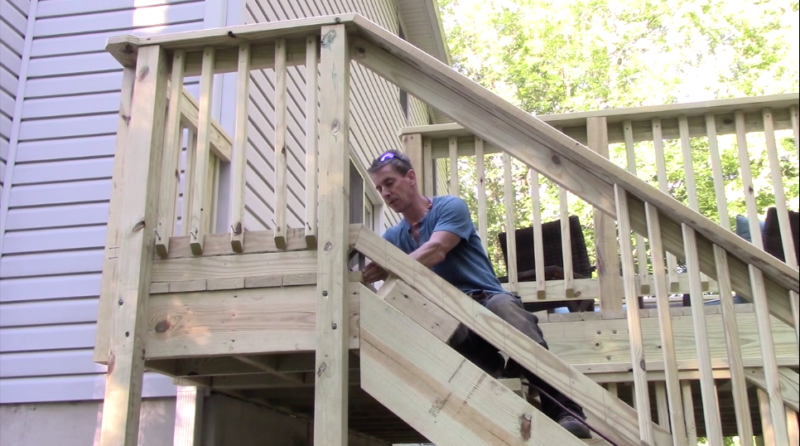
I like to put the post one stair back and overhang (cantilever) the top rail cap plumb up from the first stair. It’s very hard to measure accurately (and alone, my preferred working style) so I cut it in place.
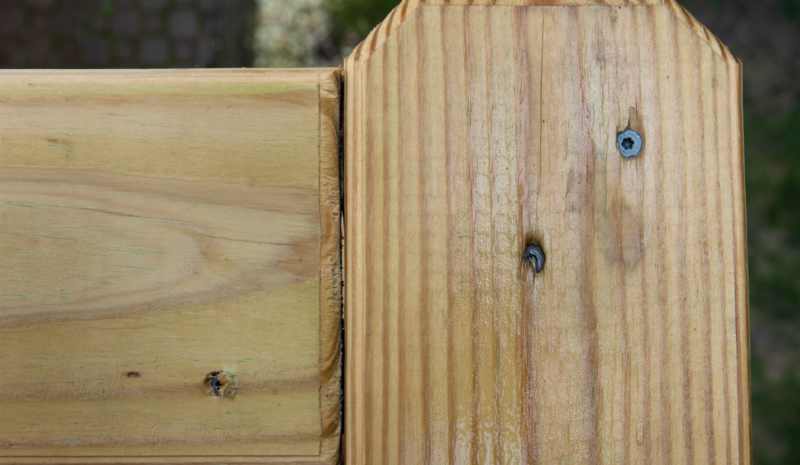
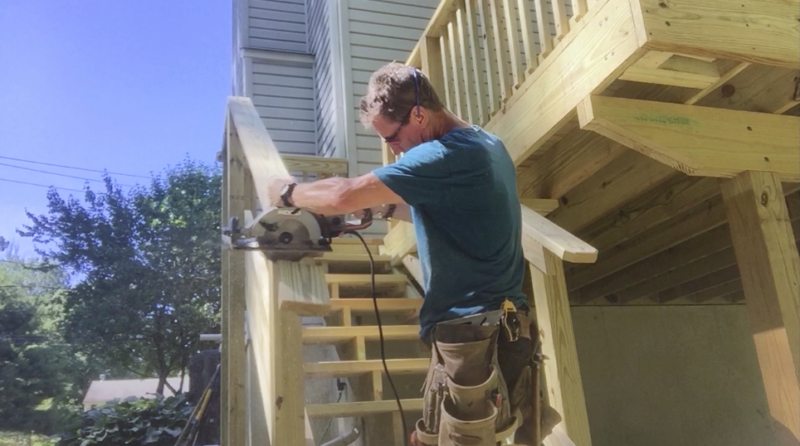
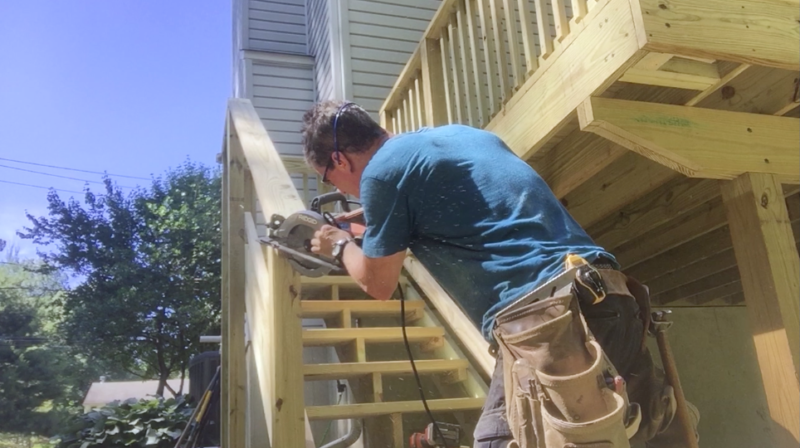
Whacking 45s off the end of the top cap gives a nice, finished look. I also run a router to ease the edges. Not necessary, but fun.
Stair railings
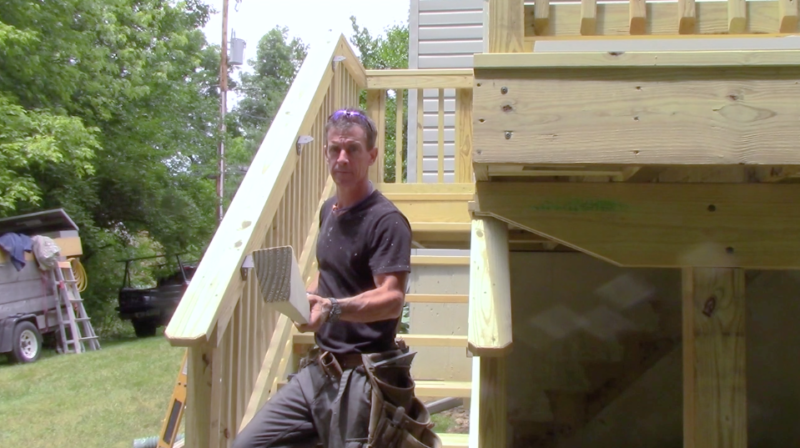
Stairs must have what’s called a “continuously grapsable hand rail”. I make mine on the table saw, beveling an angle on each side of a 2-by. I forget how many degrees it is, but the piece is 1-inch wide on the bottom and 1 1/2-inch wide on the top. Then sand it and install it atop right angle steel brackets.
Check out the “How to Build a Deck” series
