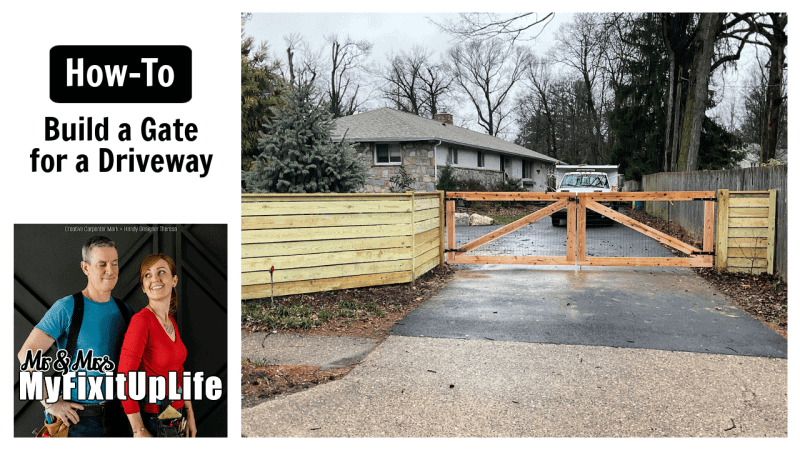
You can build a wood driveway gate as a weekend project, but it will likely take most of the weekend to complete. Here’s what you need to know to build an affordable DIY driveway gate from wood.
Building a gate across a driveway is a DIY-able project. There are, however, some pretty important milestones we need to hit or the gate can sag, be out of level with the opposite panel, and/or the hardware won’t operate correctly. But with some careful planning, double-checks, and the tips in this video it is not impossible to zap together a cool wood driveway gate system. Here are some of the things I did on this driveway gate project to make it spring to life.
Here is the driveway gate how to
- Dig gate holes at least 36 inches deep. Deeper is better. Gravity never takes a day off. Call 811 before digging.
- Pre-paint gate hardware, if desired, at least 4-passes
- Apply Post Protector sleeve to gate posts.
- Set post in hole “wild” (we’ll cut it later). Make sure the hole isn’t so deep that the post is actually too short
- Place one bag Fast Set concrete around the base of the post.
- Do this for both posts. The concrete acts as a mooring.
- Backfill holes. Concrete still cures under the dirt.
- Tamp in ~~1-foot lifts. Use the blunt end of a digging bar and just squash the air our of the soil. It’s hard work, but it’s worth it. Don’t tamp too hard (“too hard” is anything much more than letting the weight of the digging bar itself fall from 8-10 inches above the dirt) or you’ll definitely move the post where you don’t want it to go.
- “Dry fit” gate hardware against the posts and lay out gate sizing based on the hardware projection from the posts–not post-to-post, but hardware-to-hardware.
- Assemble gate panels. I like a “stepped” joint for this way better than a miter.
- Install diagonal, tracing from bottom, so the low end drives towards the bottom hinge.
- Hang panels.
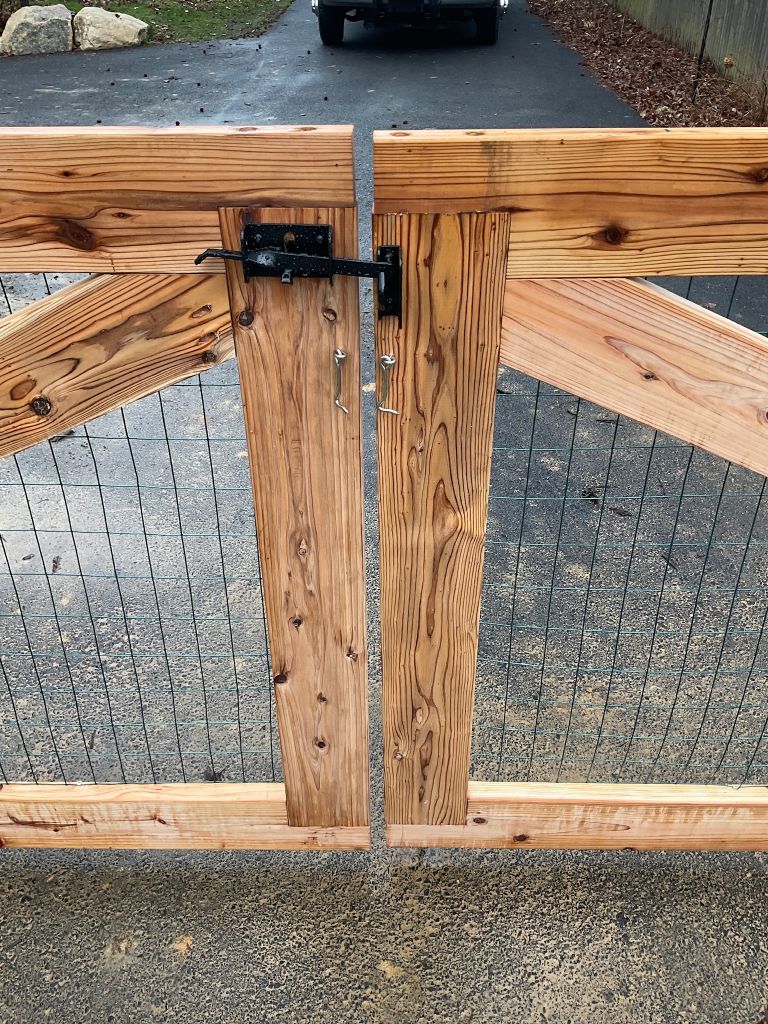
- Install gate hardware.
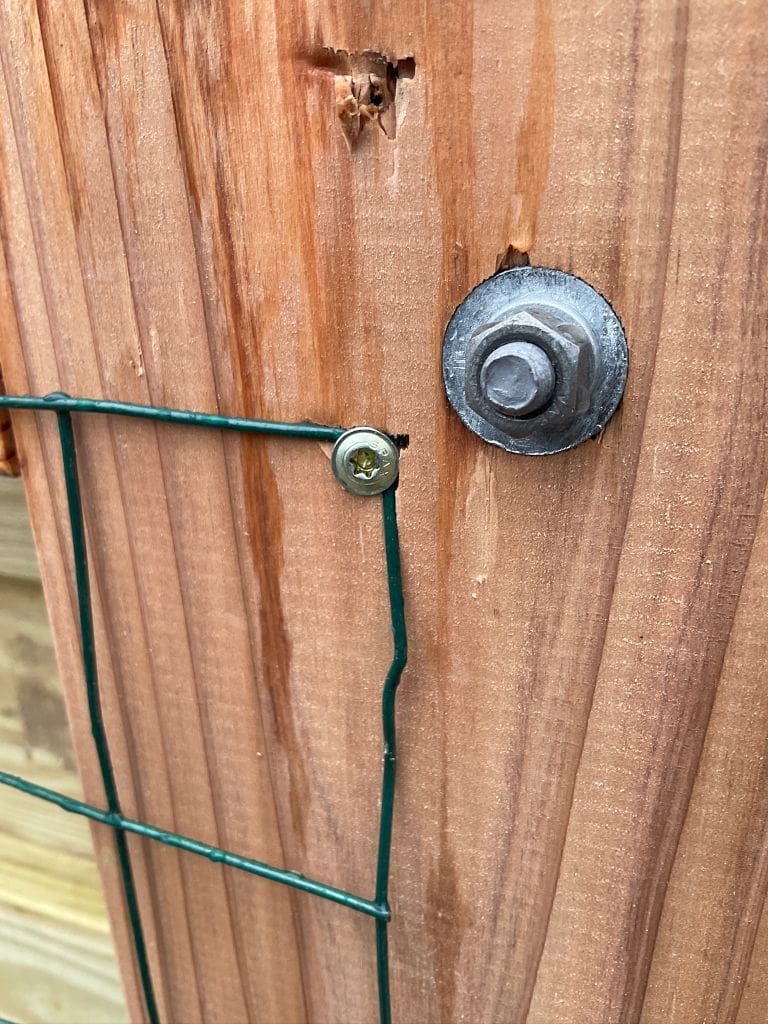
- Install screening if needed. I like washer head screws for this.
And there you have it. Is this next-level driveway action? Yeah. If you need to keep kids or pets separate from the street, building a gate across your driveway is all-day-DIY.
