Got grapes in your gardening plans? Here’s how to build a simple grapevine arbor for your backyard.
Problem
We have a mature grape vine that needs something to climb on. The old arbor, a hasty-ish install to de-claw a nosy neighbor, got outrun by the growing grape.
Solution
A new, sturdy, proportioned arbor. Built to last.
Demo
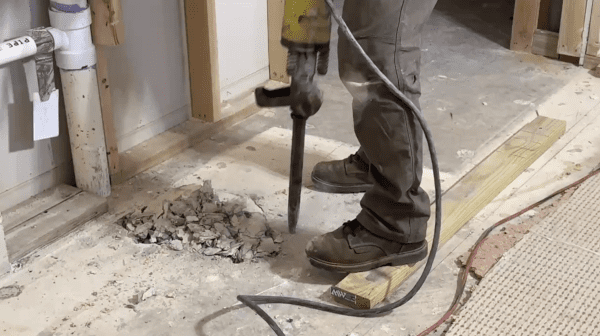
I could just say “I took the old arbor out” but where’s the fun in that? I wouldn’t be able to talk about a tool I use when other tools you’d think would work kinda don’t. And every time I pick up this tool, the scenario is the same.
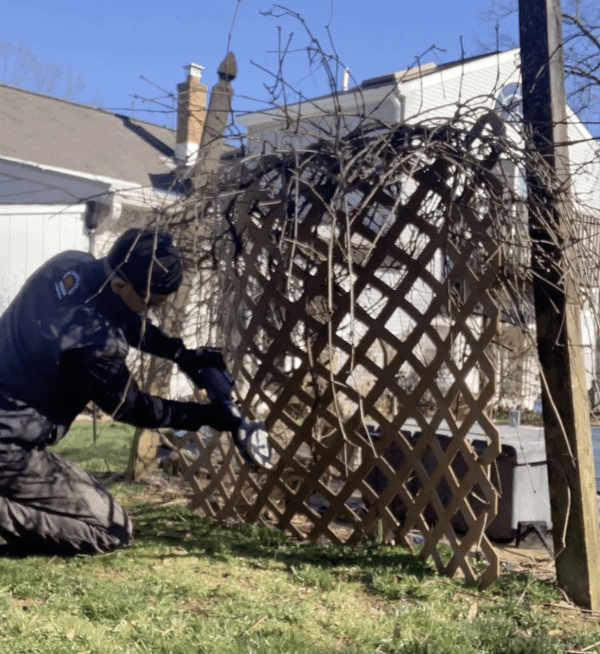
The tool, of course, is my Dremel cut-off saw. It’s prey: the vinyl lattice I needed to cut away from the grapevine that had grown through it.
Snips? Popeye would have trouble lasting more than a few cuts. Oscillating tool? Yeah, kinda. But Father Time would be tapping me on the shoulder at some point. Circ saw? Sure, maybe. But shards of vinyl would be flying and I couldn’t get it where it needed to go.
Who ya gonna call?
Yup, the Dremel saw sailed through it and let me make the close cuts I needed to make.
Posts
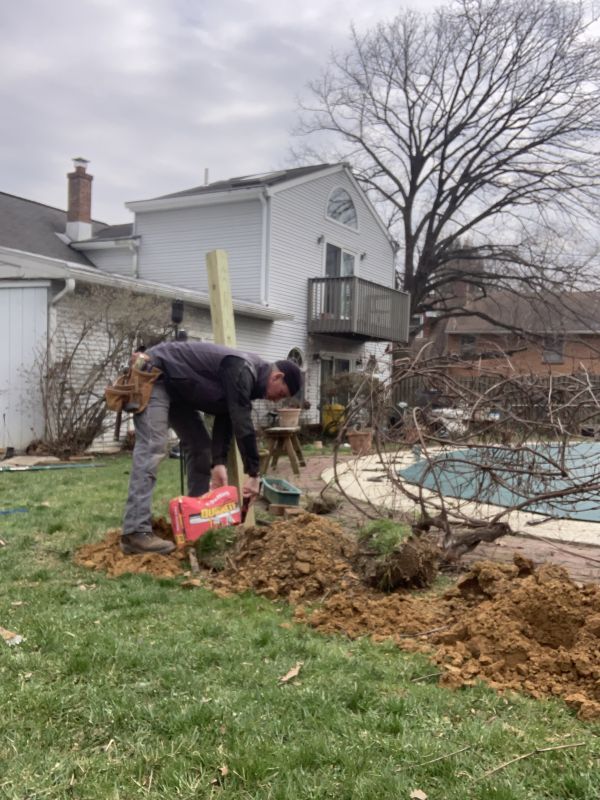
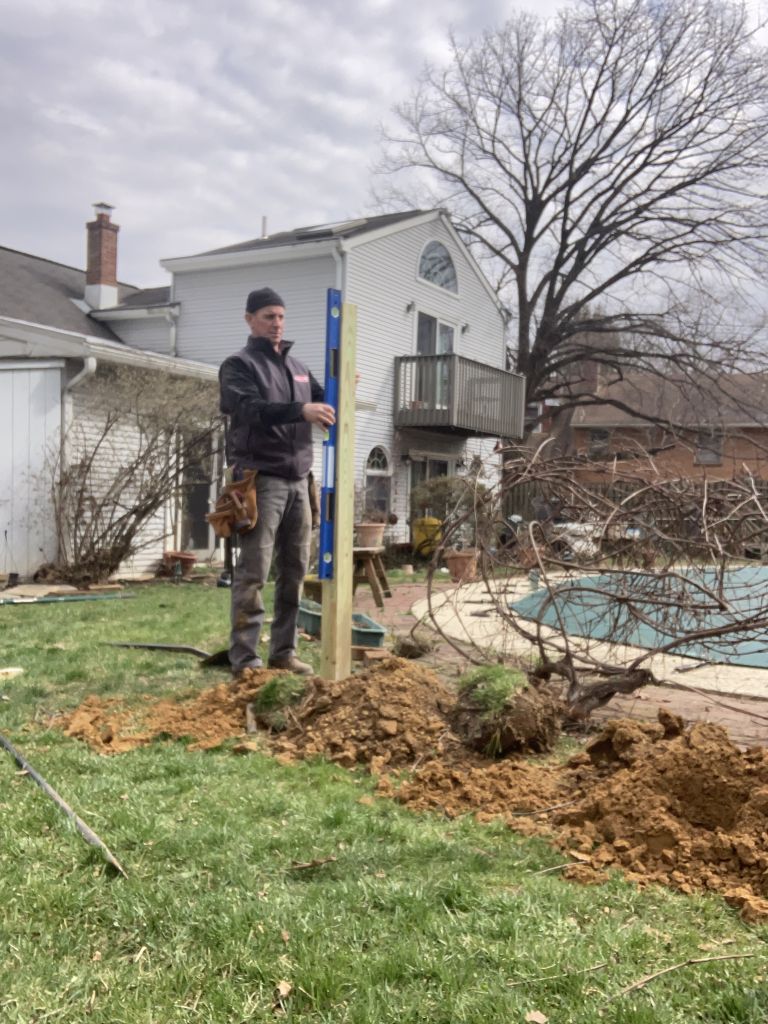
For the new posts, I dug the holes 30-inches deep–fence post depth around here.
Then I stole a “trick” I don’t like from fence builders. I got the post on layout, then poured and tamped ½ a bag of fast setting concrete dry. The notion is that ground water will get to the concrete and set it at some point.
Whether or not this is true, I had no access to water to mix concrete and this isn’t a fence the wind can push on. Plus, tamping the concrete really locked in the bottom of the post.
Next, I set the posts plumb and backfilled, tamping a little as I filled the holes.




Rails
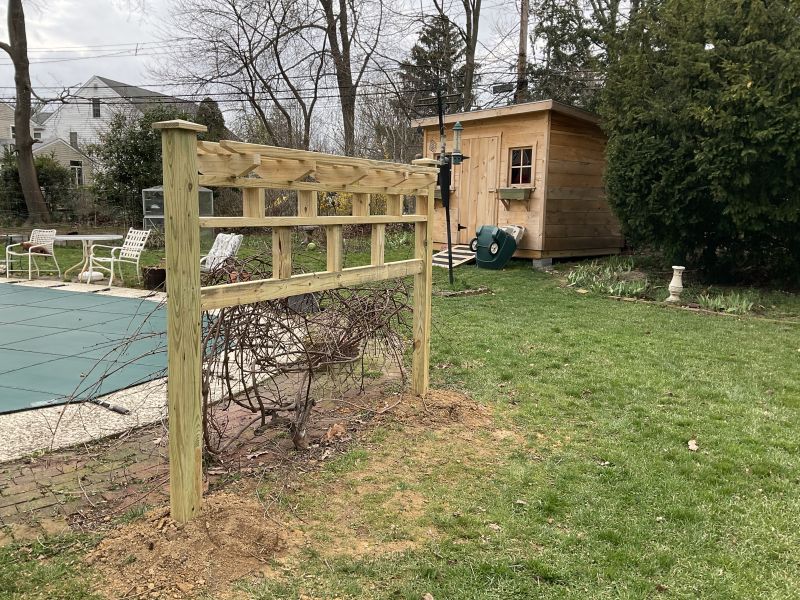
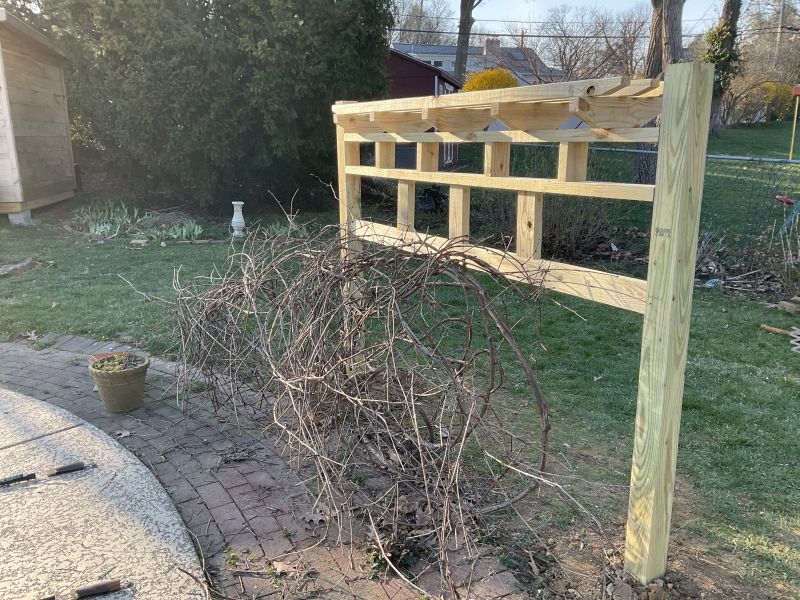
I think arbors should ascend. They don’t need to be the taj mahal, but their proportions should be pleasing. And that’s easy to nail with simple 2×4 and proportioned layout.
Ours was just a simple frame that resembles a little, compressed stud wall.
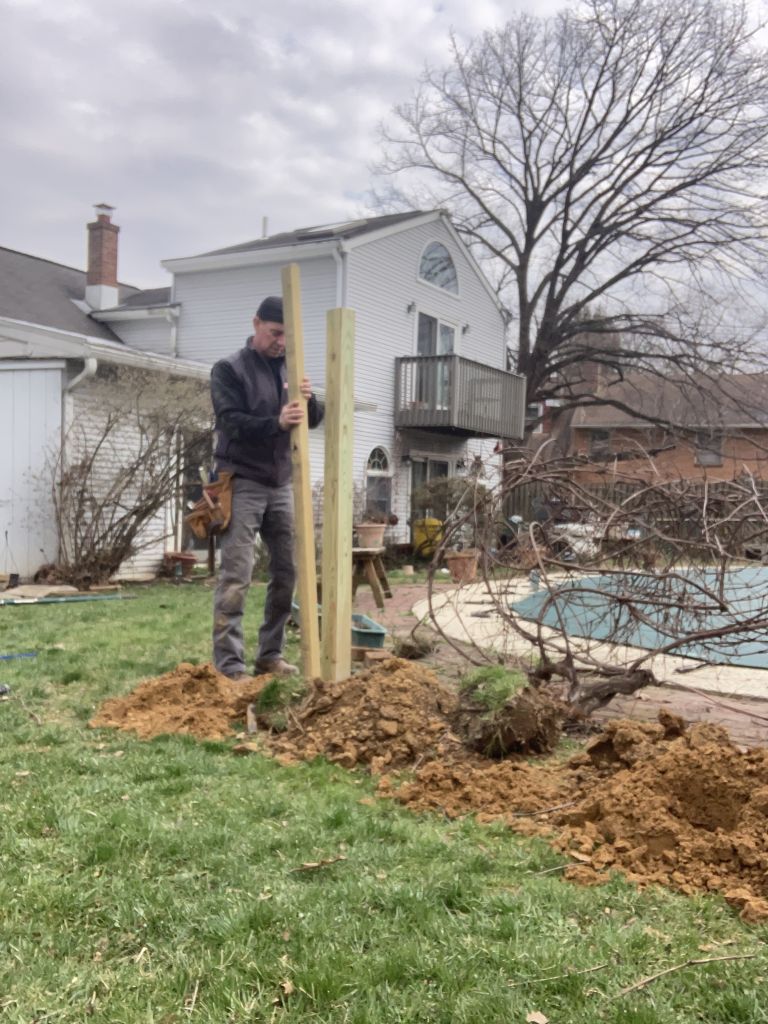
To check that the faces of the 4x4s faced each other, I placed a 2×4 on top. Annnnd, they didn’t. So I used the clamps I had for the next step as a wrench to twist them into parallel. Thank goodness the concrete in the hole was powder.
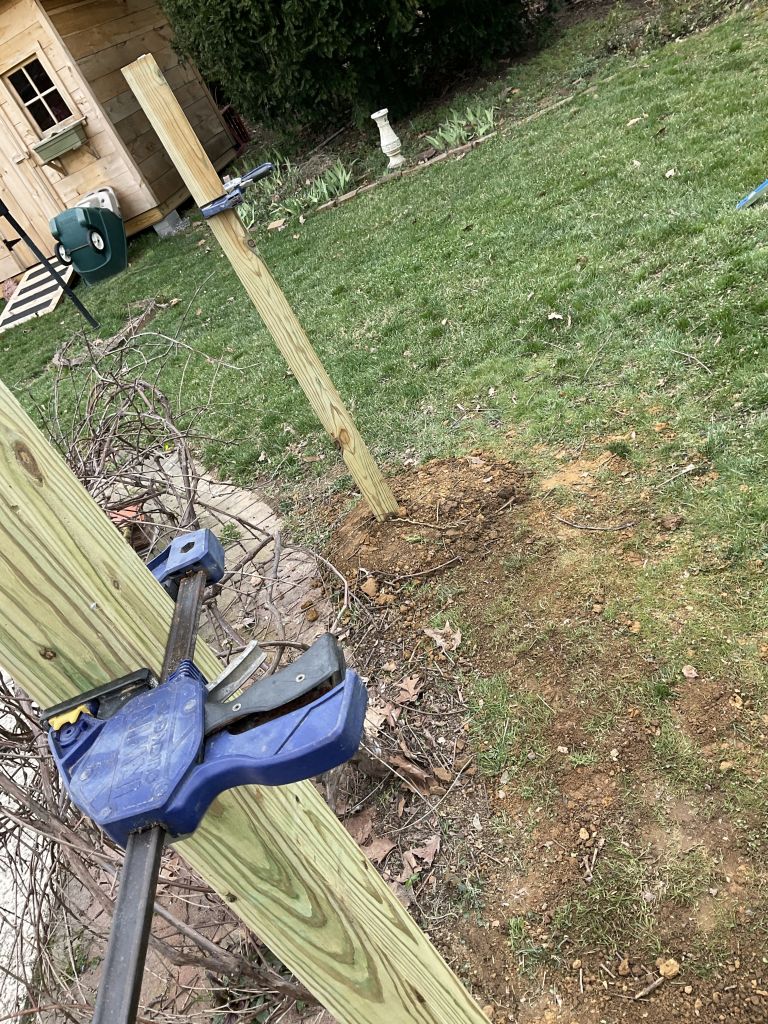


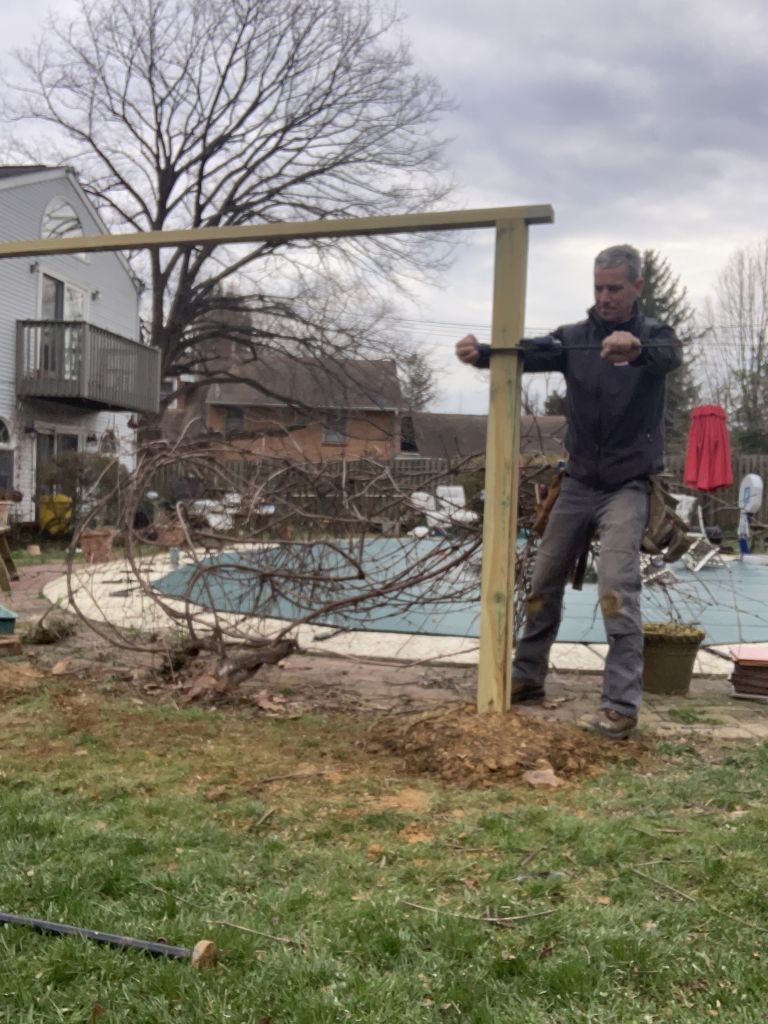


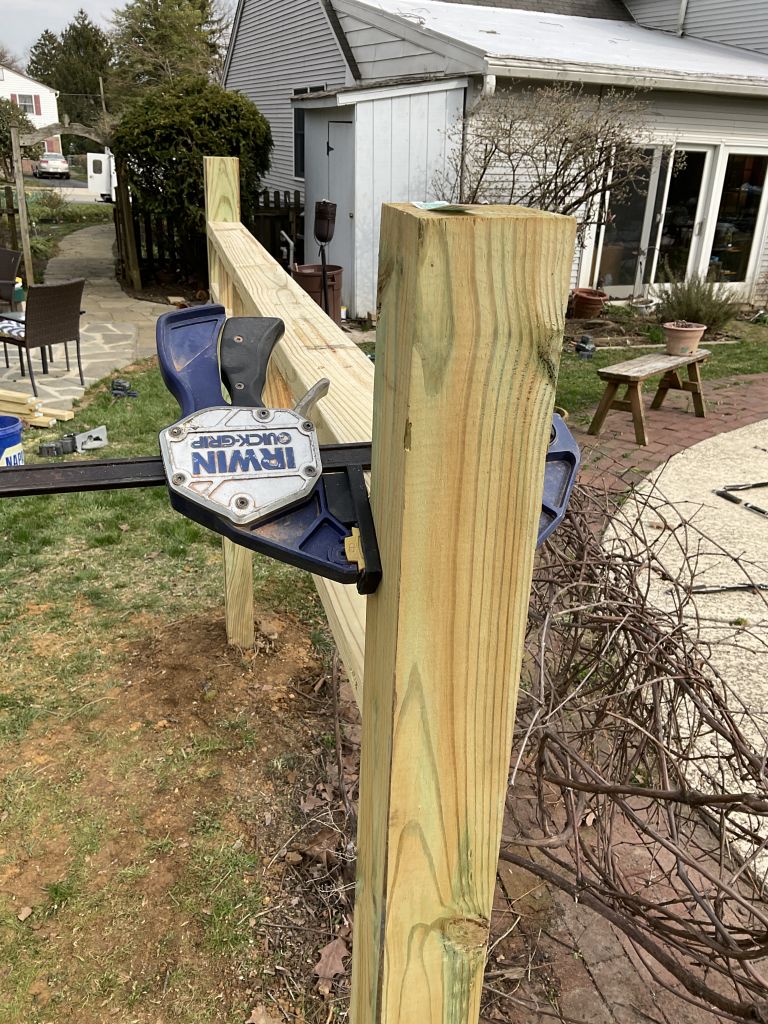
To attach the bottom rail, I used a clamp–always have a few clamps around–on each post to hold the rail while I fastened it level.
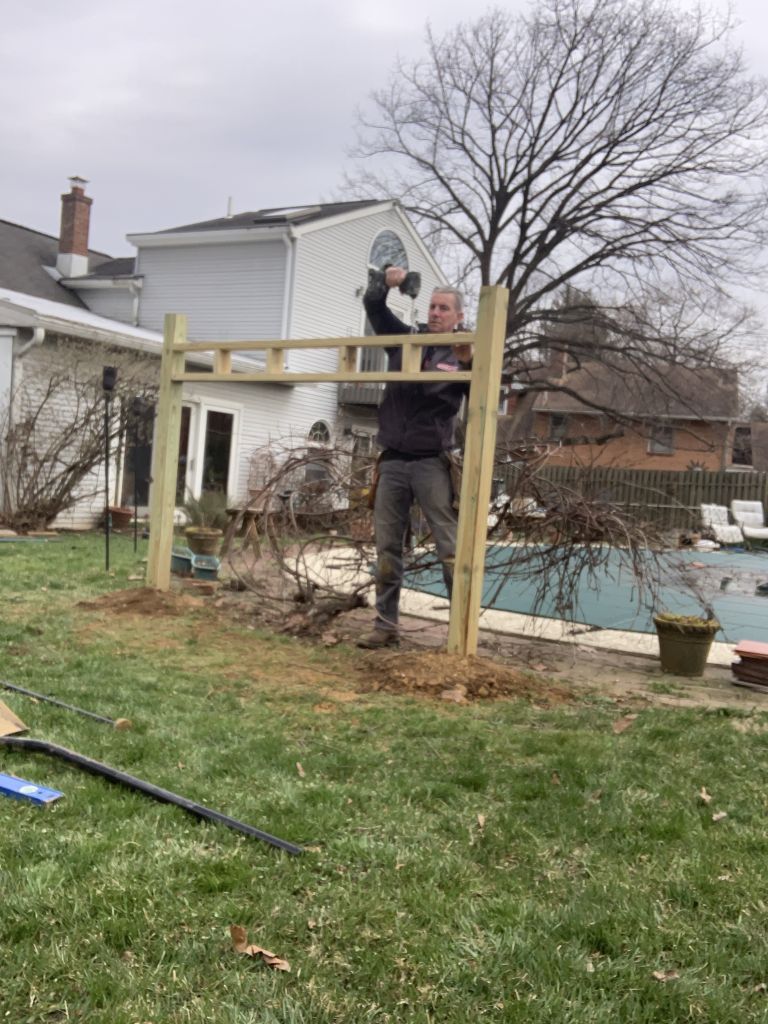
Next, I set the “studs”, screwing from underneath. Because the angle was so weird and the vine tried to tangle me up all the time, I pre-drilled a lot on this one. It made setting screws easier.
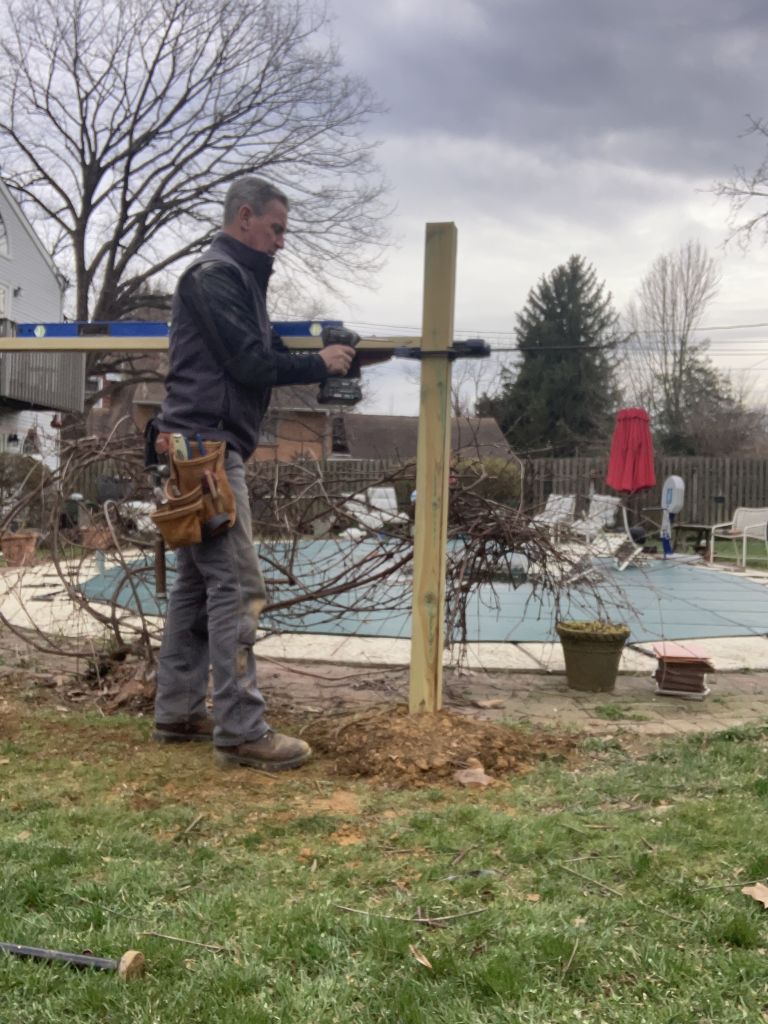


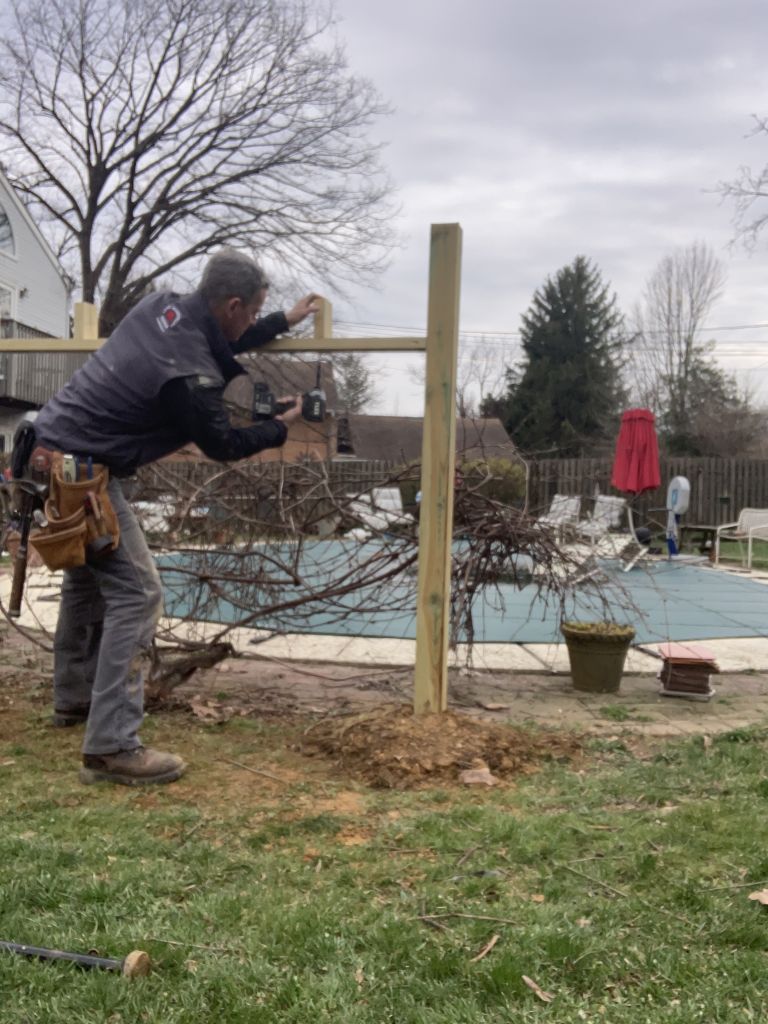


Then I set the top plate, screwing from above. I like a #8 x 3-inch Spax HCRx for this.
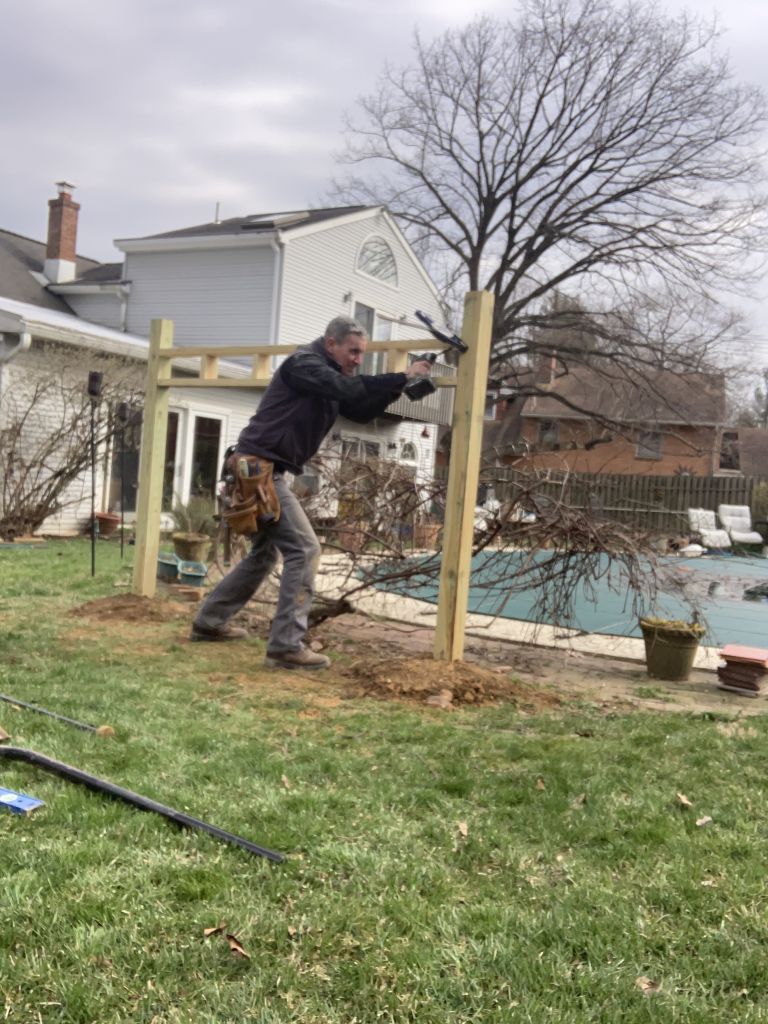
Tip: Things often don’t quite line up, despite the best of preparations. Clamps can persuade pieces to do what you want them to do.
I pre-drilled and fastened the top rail from the underside.






Posts, Rafters and Purlins and Post Caps
Set the rafters on the top rail. I know it’s just an arbor but it’s good practice to set them as evenly as possible to each other. Screws, again, come in from the bottom.
I run the posts higher than the rafter and purlin assembly so I can cut them in place.
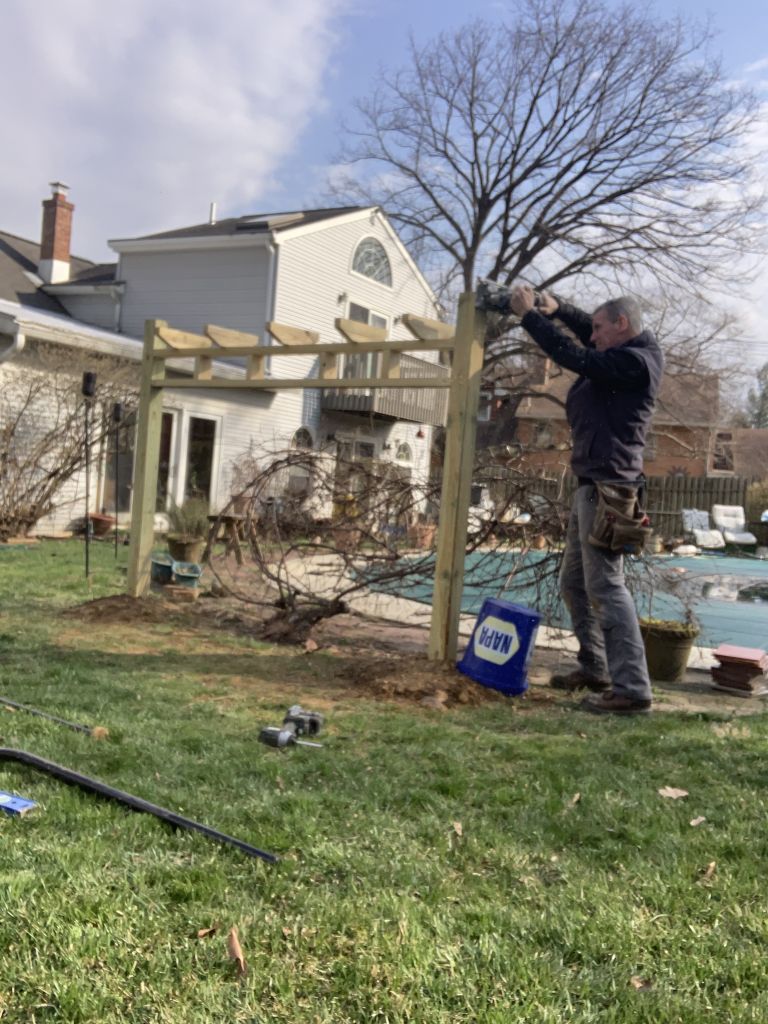


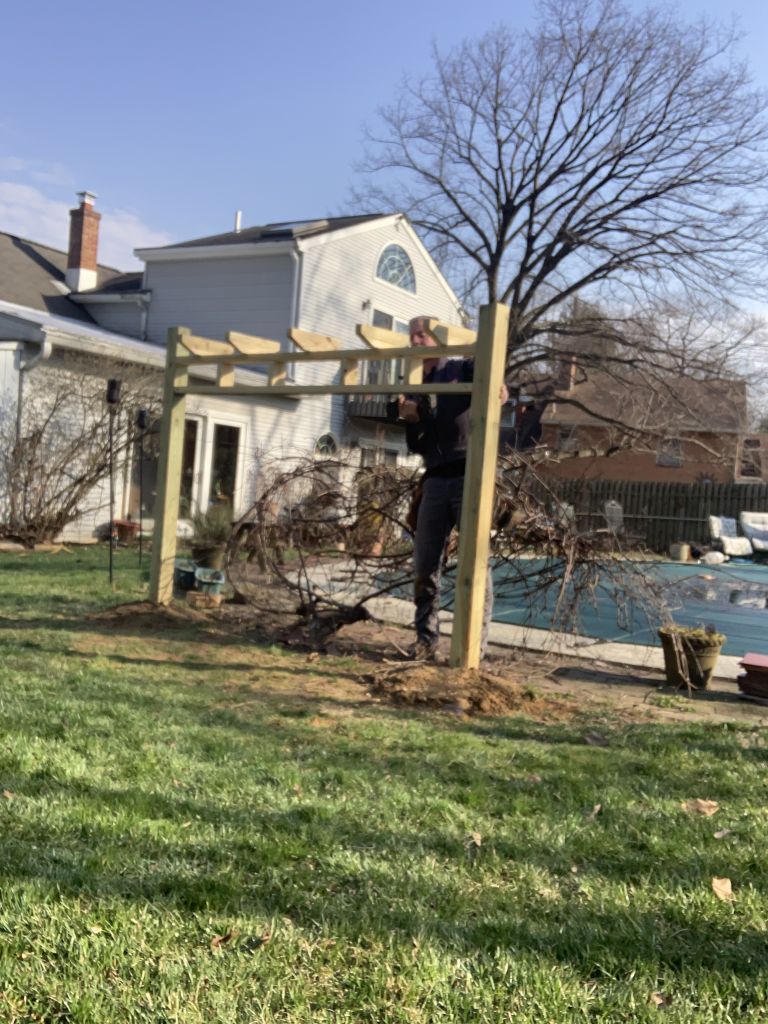


To complete the picture, purlins. I ripped 2×4 in half and got roughy 1¾-inch pieces I then stacked on top of the rafters with similarly tapered ends to lock it all together.
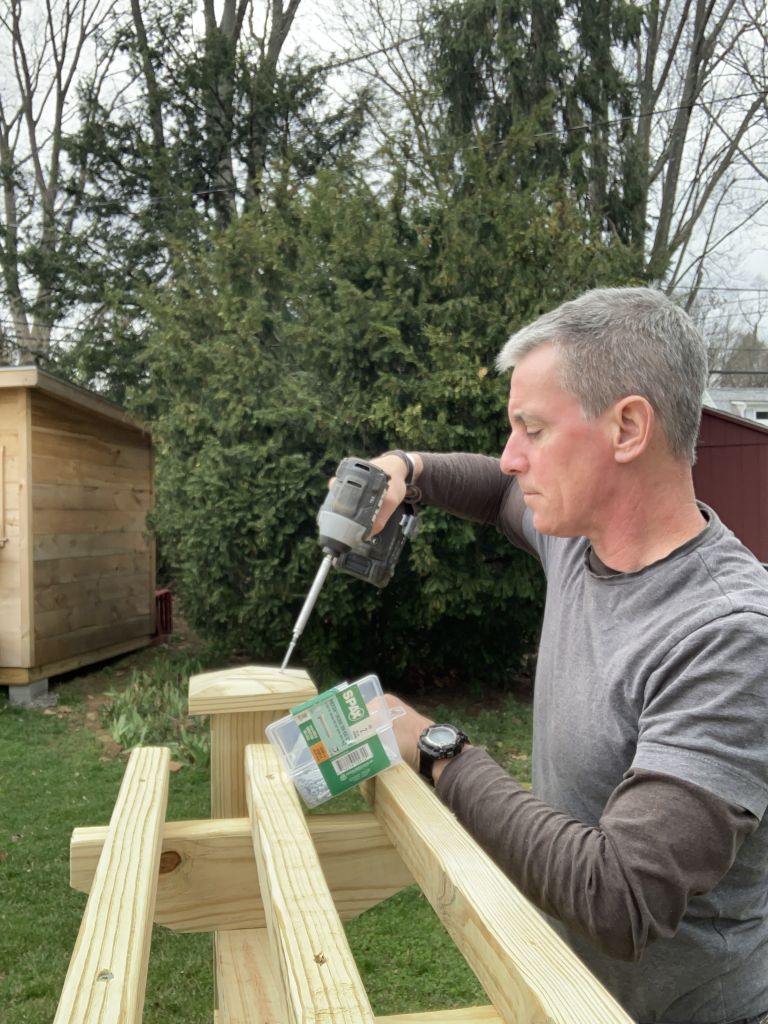
The last detail is post caps to keep the end grain of the lumber from absorbing water. You can watch my post cap video here to see how those are made. I fastened these with some new coated trim-drive finish screws I got from Spax and it looks awesome.




Dirt
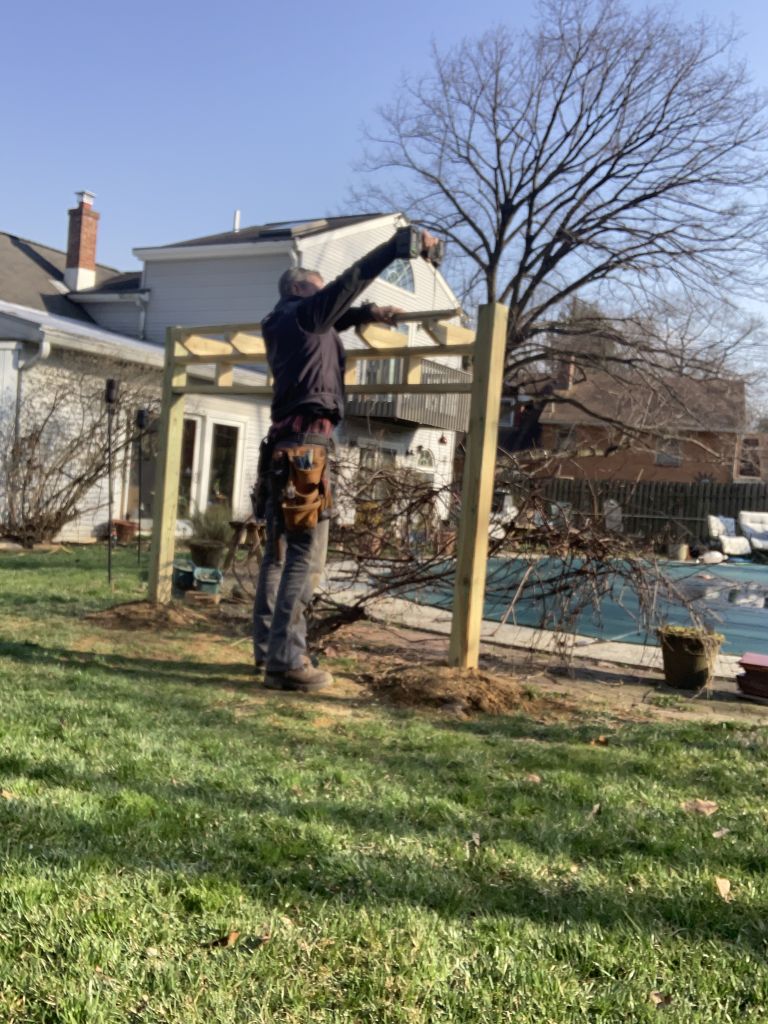
Note that there is a lot of dirt around the post bases. I purposely do this so that as it rains and the soil compacts, it can compact level to the ground.
That’s All He Wrote
Other than some zip ties to pull some of the main branches of the vine to the arbor so new tendrils can find it–and some nice weather so said tendrils can do their tendriling–that’s it.
K. Bye.




About the Author


