Whether you want to fix a chipped mug or know how to repair ceramic decor, fixing ceramic with epoxy and pastels isn’t hard. Here’s what you need to know.
Let’s talk some epoxy science.
Two-part epoxy is made from equal parts resin and hardener. After you squeeze them out, you then mix them together. When they mix, a chemical reaction happens between the resin and hardener transforming the liquid into a gel, and then a solid. This reaction creates heat.
As epoxy cures, the generated then heat builds up. Then the epoxy cures faster because higher temperatures cause epoxy to cure faster. So the epoxy is creating heat that causes it to cure faster, and faster.
So what’s the why-to to this fixing ceramic how-to?
When epoxy mixes with pastel powder, it fills in the gaps and secures chipped pieces with a color-match. It’s amazing how the cured mixture resembles ceramic and gives a seamless look to a decorative plate or treasured decor item.
And, unlike glue, you can sand, drill and paint cured epoxy. So if you add a bit too much or the shape isn’t perfect when it is cured, you can sand it to the correct shape.
Let’s talk safety.
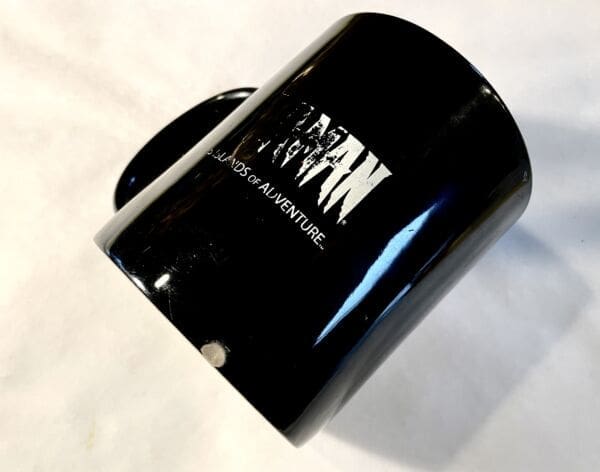
While I’ve used this method to fix the bottoms of chipped mugs, epoxy isn’t a food-safe chemical until it’s fully cured. So be cautious when working with the chemical, and keep it away from food prep areas. And wear gloves while working fixing ceramic or anything else with epoxy.
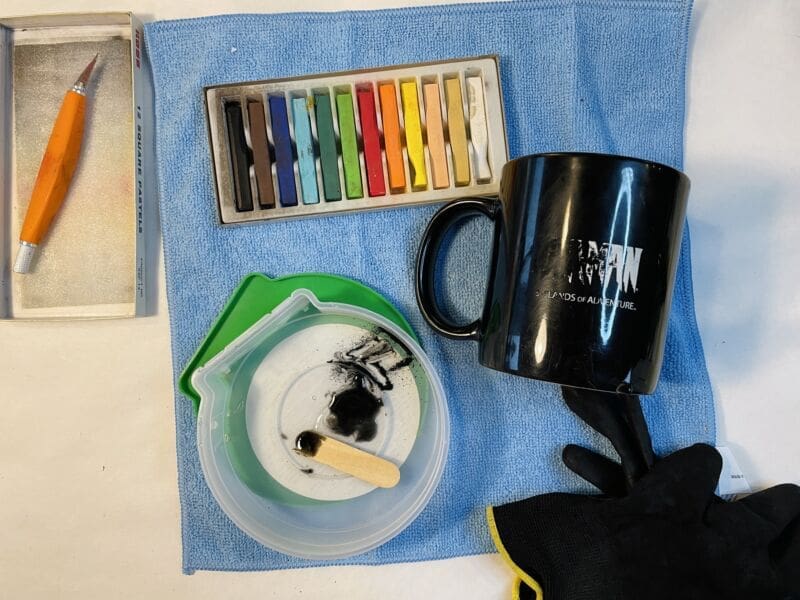
What you need: Tools and supplies
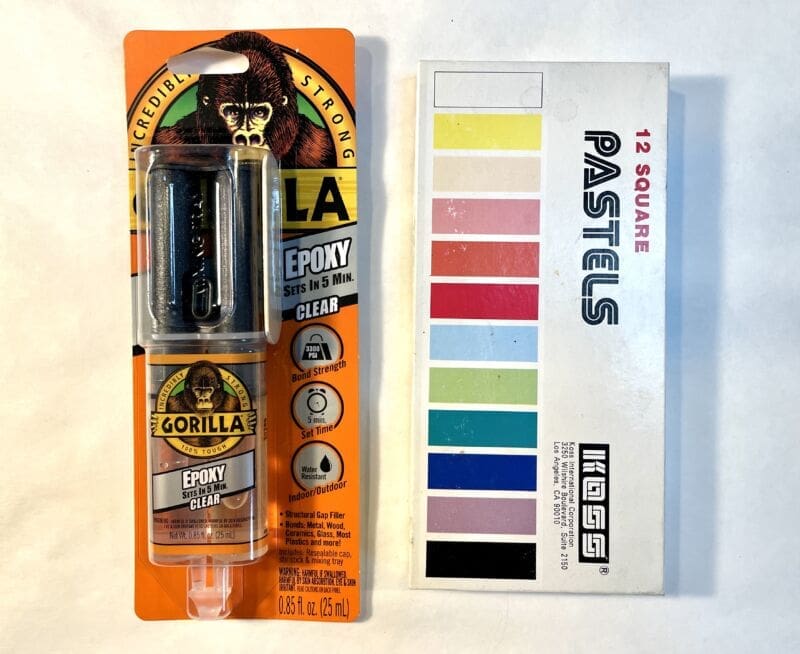
- Artist pastels
- 2-part epoxy
- Utility knife or X-acto knife
- Scrap cardboard or plastic
- Rubbing alcohol and a cloth
What are the how-to steps?
When it comes to how to repair ceramic or fix a chipped mug, there are two parts to fixing ceramic. The first part in how to repair ceramic involves reattaching any chipped parts.
Part 1 of fixing ceramic:
- Clean the ceramic with rubbing alcohol.
- Mix epoxy on a scrap piece of cardboard or plastic.
- Apply the epoxy to the ceramic edges with a toothpick or other fine-tipped object.
- Put the chipped piece back in place, then hold it for about a minute. There may be some lingering gaps. That’s ok. We’ll fix those, too.
- Wait about an hour before removing any excess epoxy with a knife edge.
After the epoxy is cured, it’s time to fix the lingering gaps. This part involves making a matching color with pastels and applying that with another epoxy mix.
Part 2 of fixing ceramic:
- Select pastels that match the ceramic’s color.
- Scrape pastel dust into a pile on a scrap of cardboard or plastic.
- Mix the pastel dust so that it is the same color as the ceramic.
- Mix epoxy with the pastel dust.
- Working quickly, use a toothpick or other fine-tipped object to fill in the gaps on the ceramic.
- Wait about an hour before removing any excess epoxy with a knife edge.
- Wipe down the ceramic mug and then set it aside until the epoxy is fully cured. (The directions on your brand of epoxy will include cure time)
- After the mug is fully cured, hand wash and let it dry.

And now you are ready to use your favorite mug again.
I hope this how-to repair ceramic with epoxy helps. If you’re searching for a quick-fix how-to, we’d love to help. Share your questions and comments below.
And check out more of my family’s MyFixitUpLife tips and how-tos to help make your house into the home you dream about.


