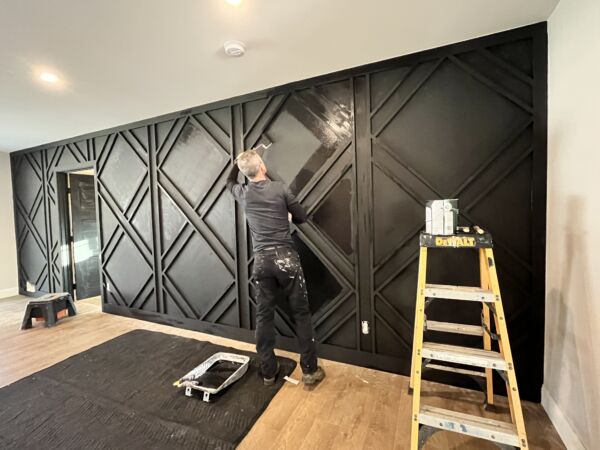
We love feature walls. From the simple to the complex, the ones we’ve done seem to have two things in common. The bang is bigger than the bucks. And, they’re not brain surgery. Sure, some skills and tools help, but compared to say, remodeling a basement or building a deck, they’re a very DIY-able DIY project. For this project, we installed a wood plank feature wall using adhesive. Here’s what you need to know before you attempt this kind of project.
A feature wall like this also had two unintended consequences–both good–we’ll get to below.


Design: Horizontal Or Vertical?
A feature plank wall that serves as an accent wall lands in one of two categories: Horizontal or vertical. Beyond just aesthetics, there are construction details to consider when weighing whether to install a plank wall horizontally or vertically.
Feature wall ideas


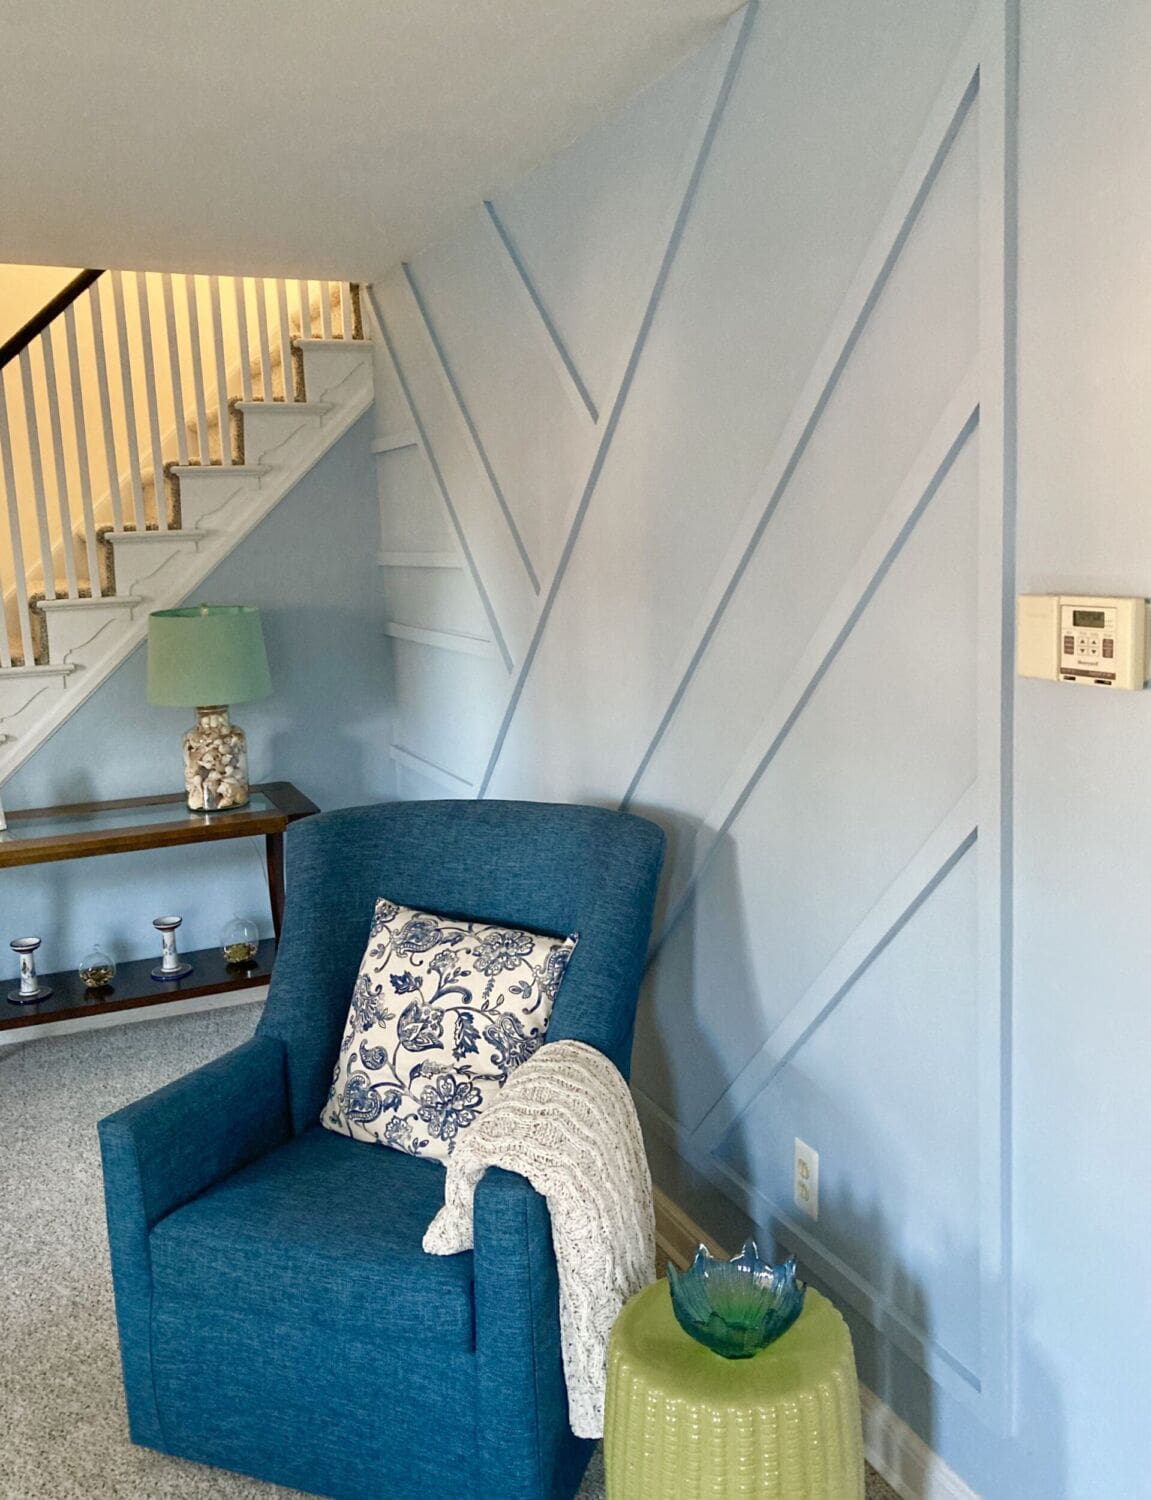


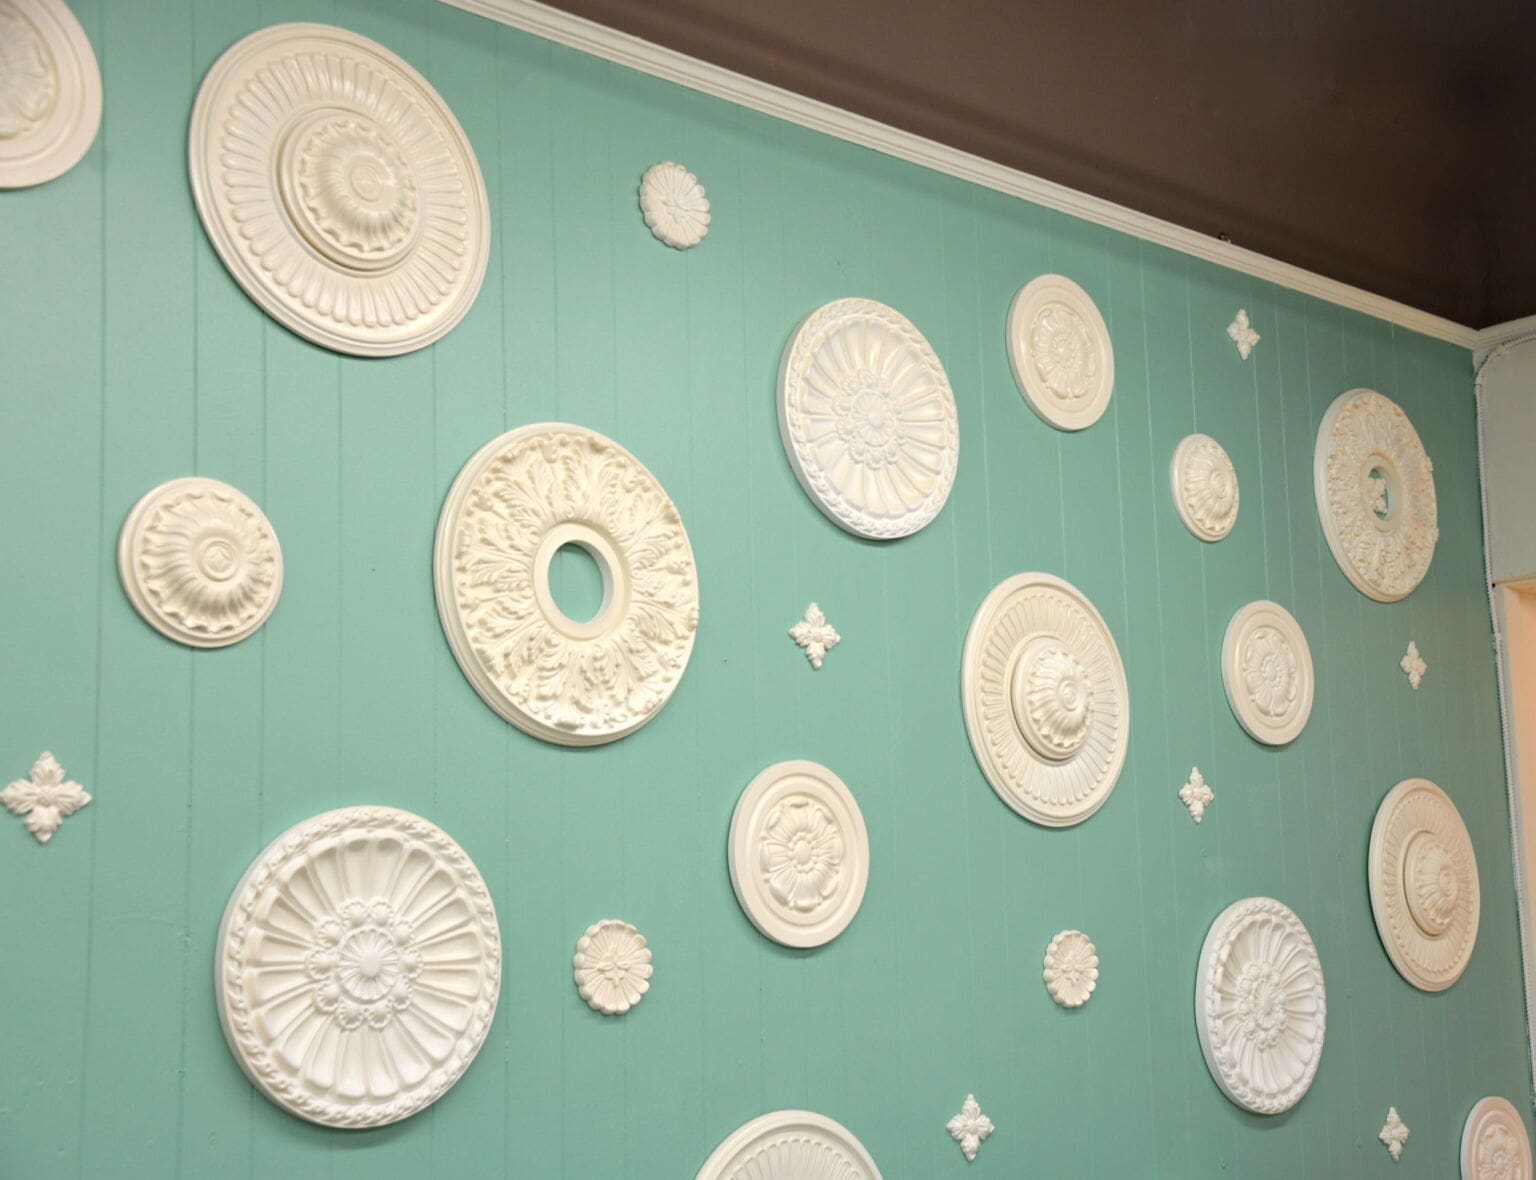


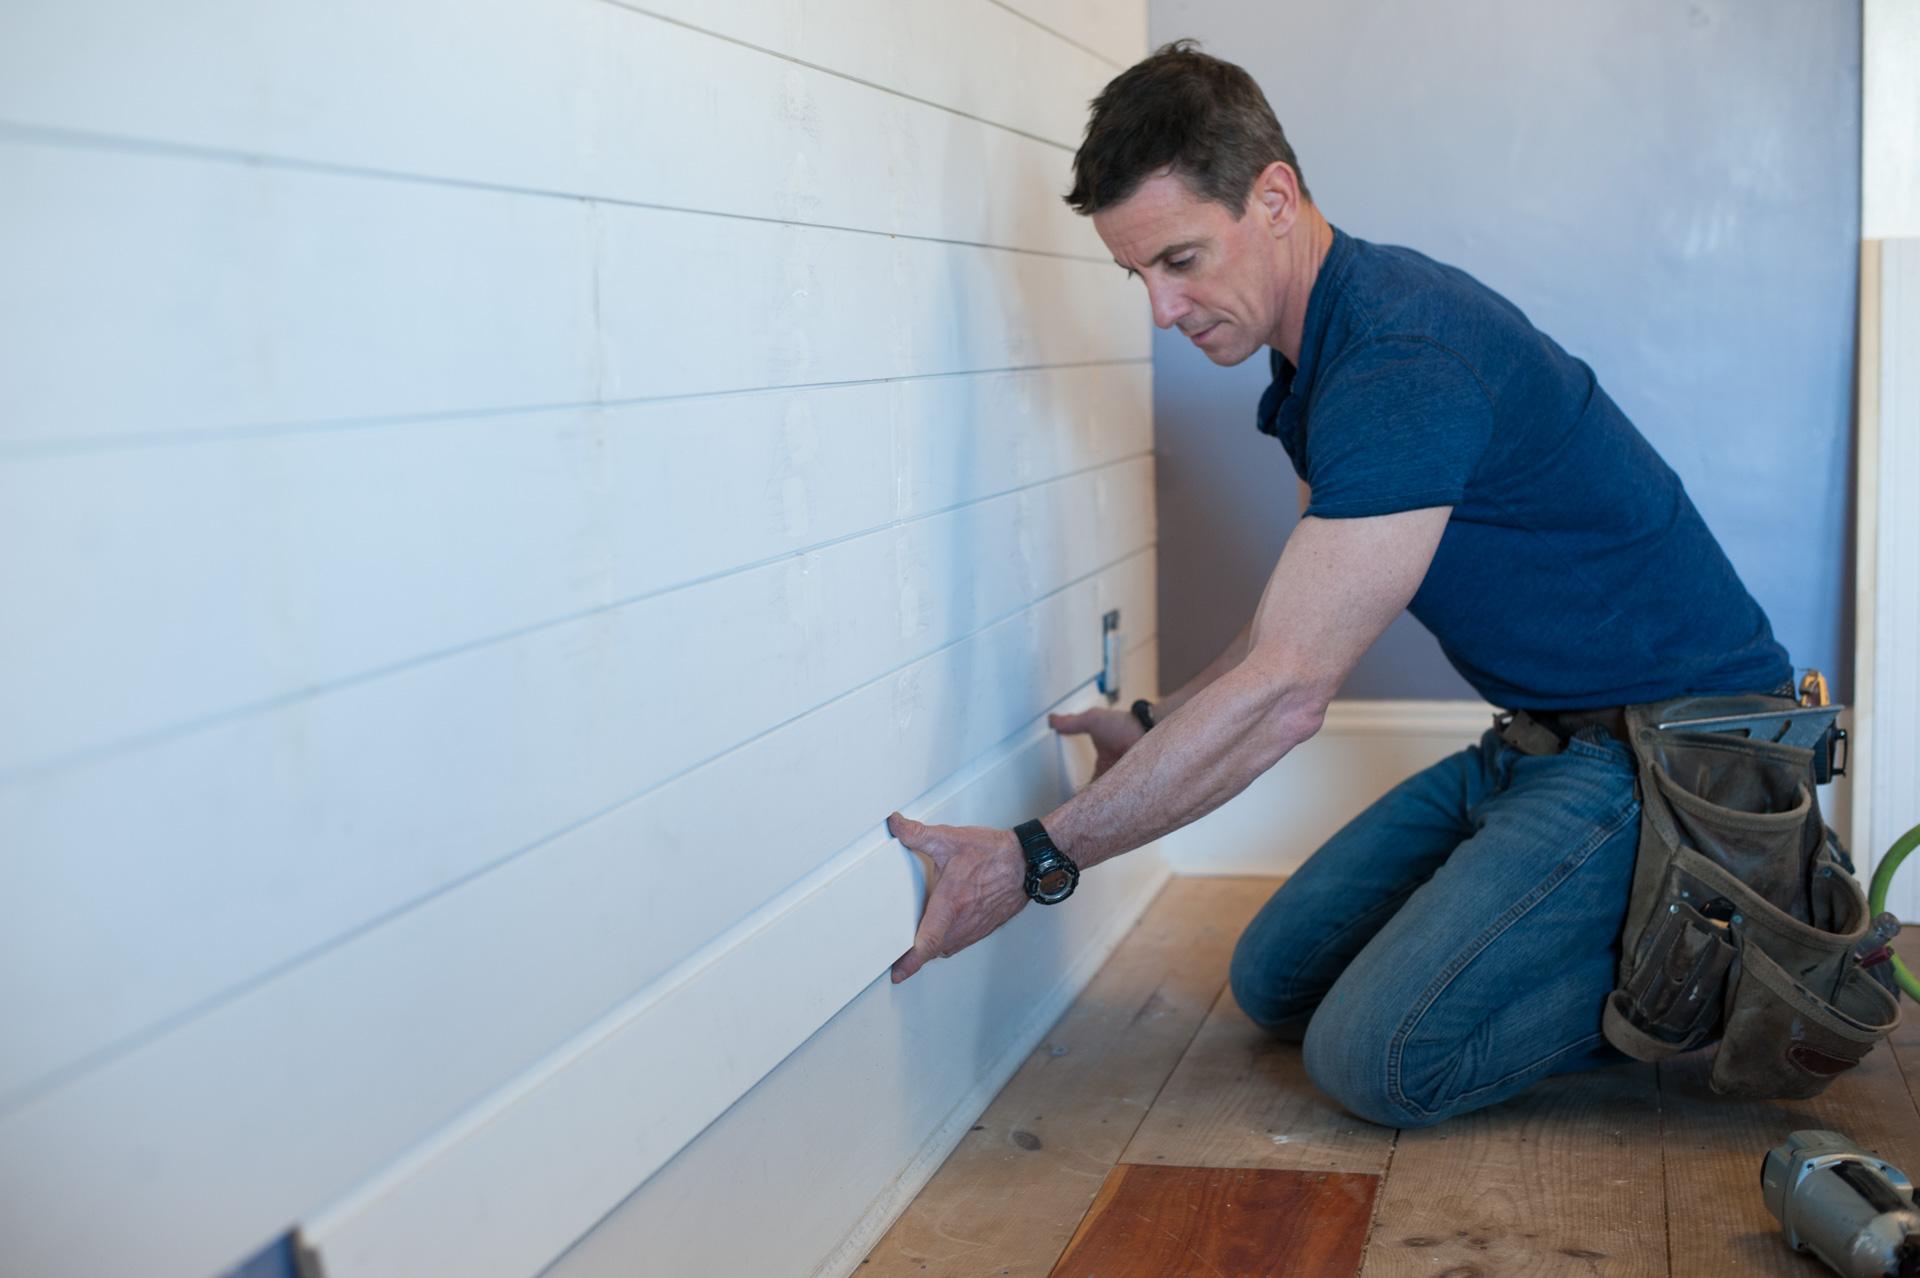


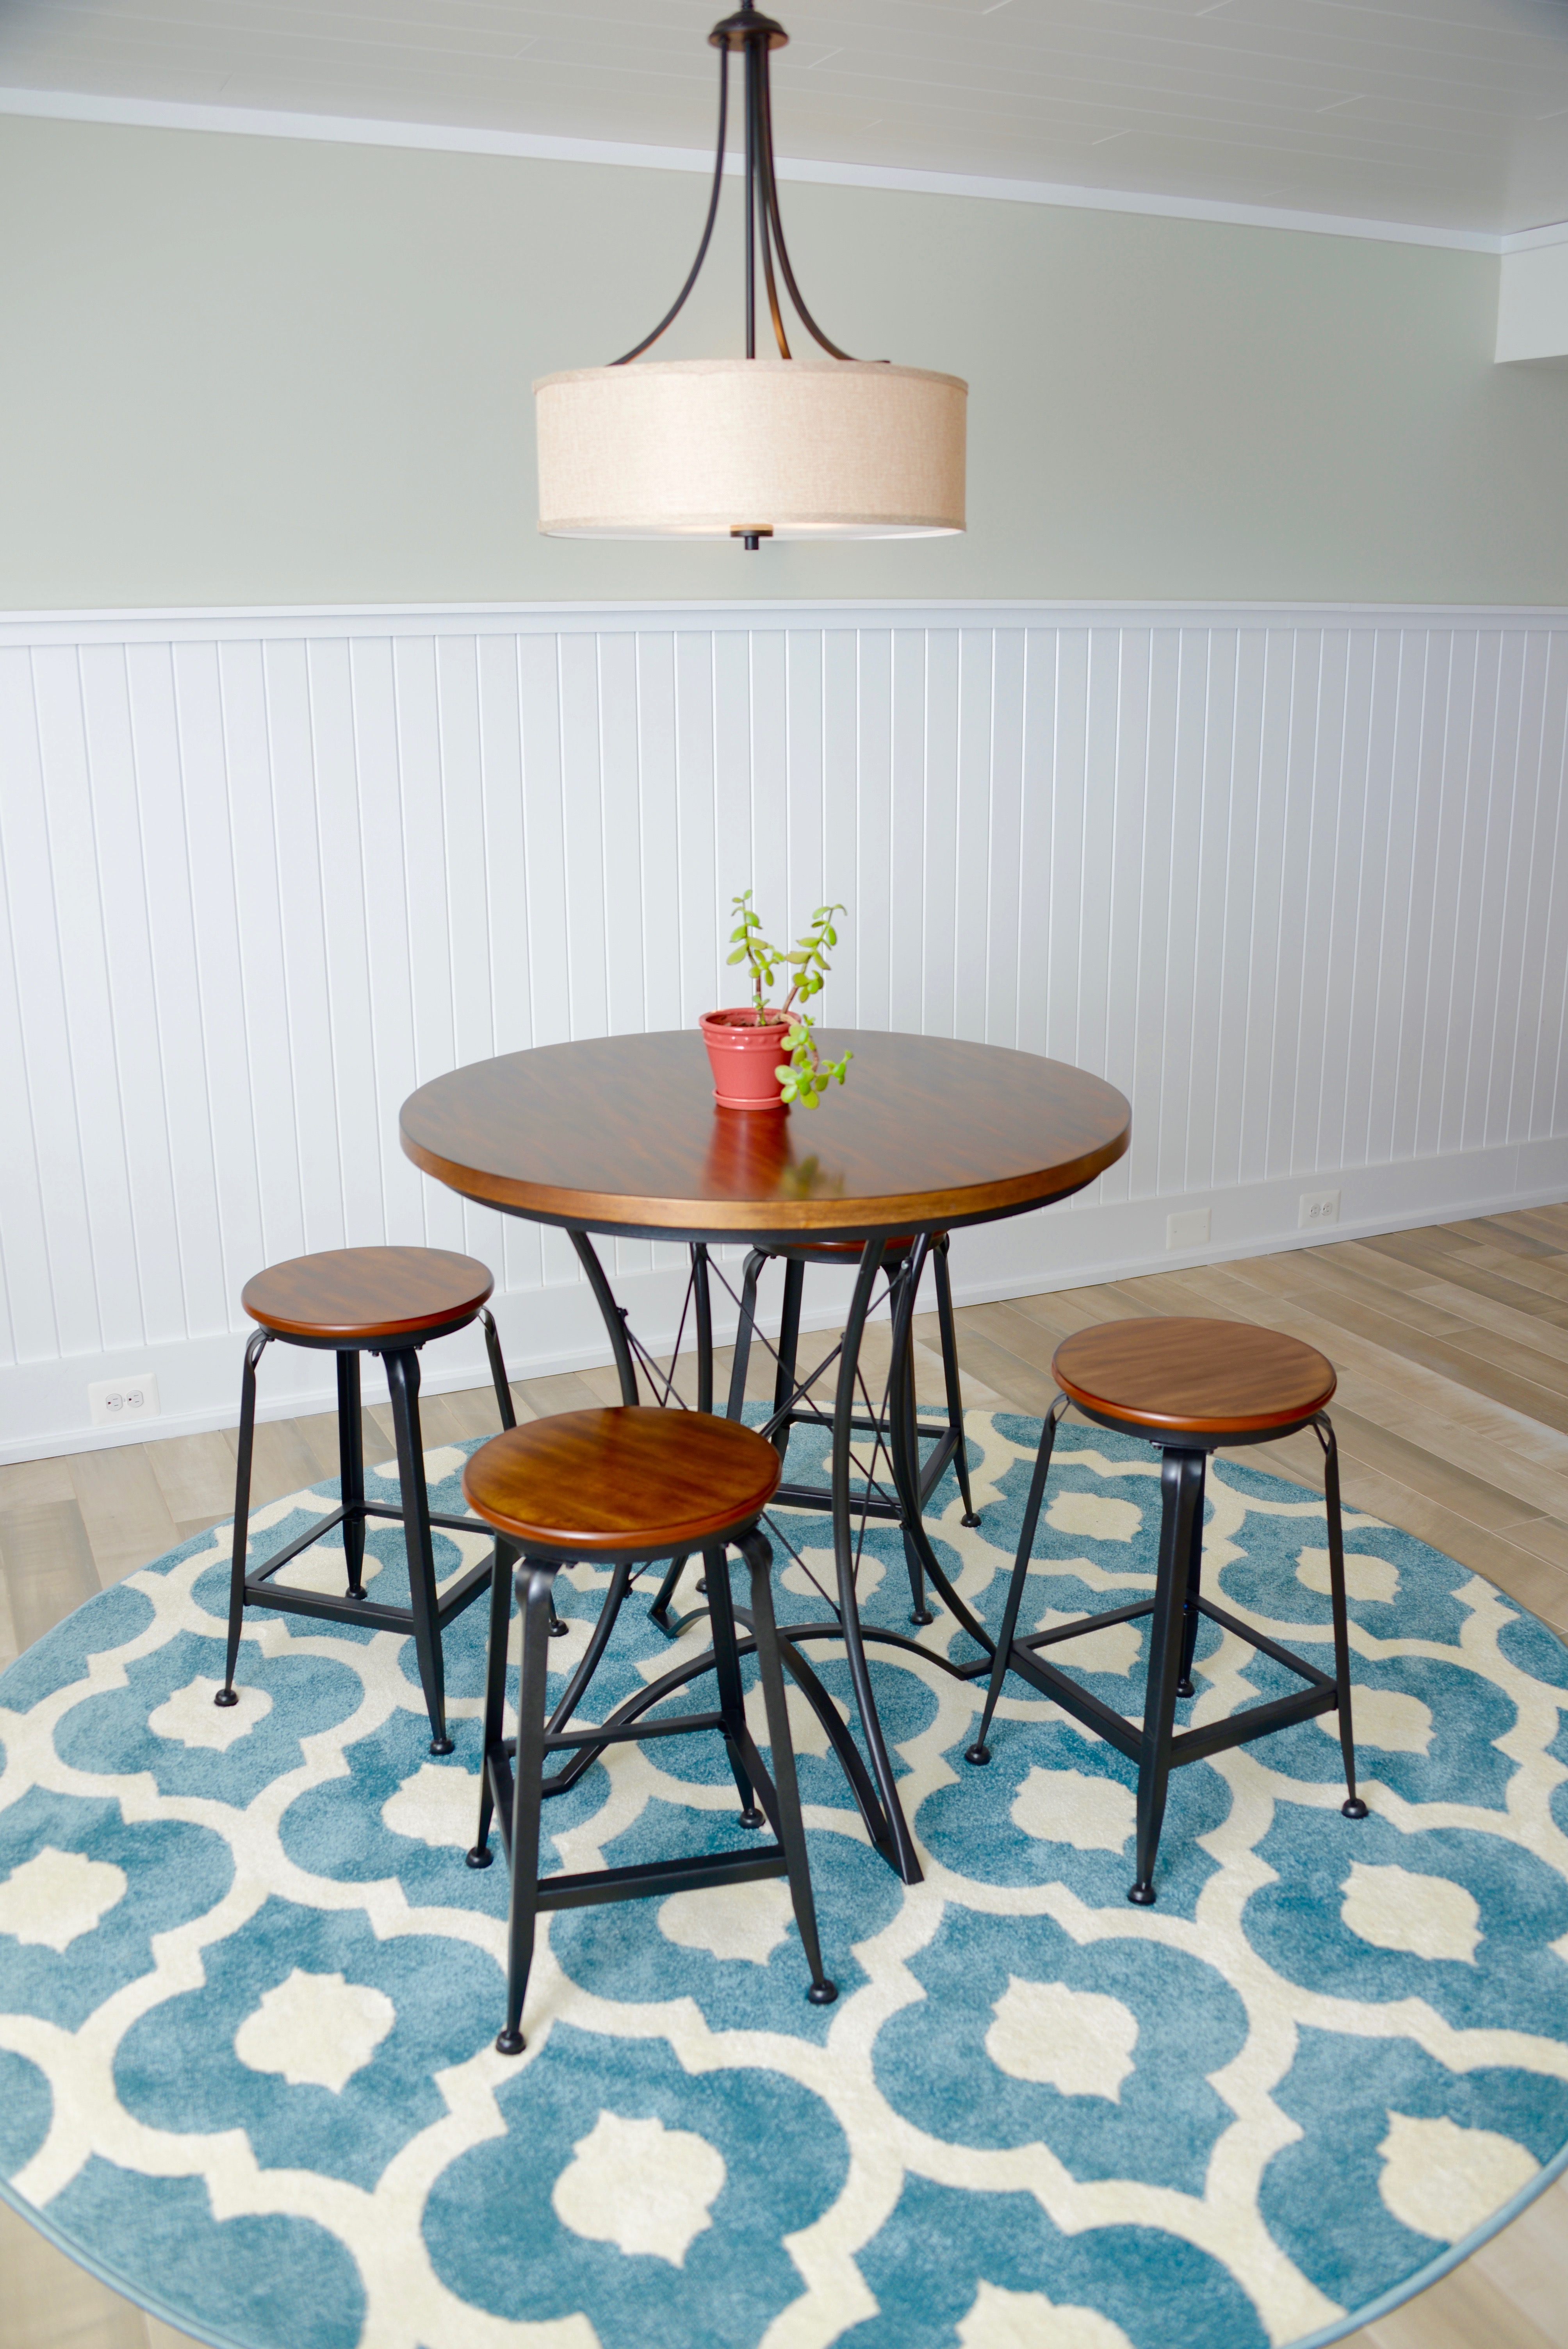




Horizontal wood plank feature wall
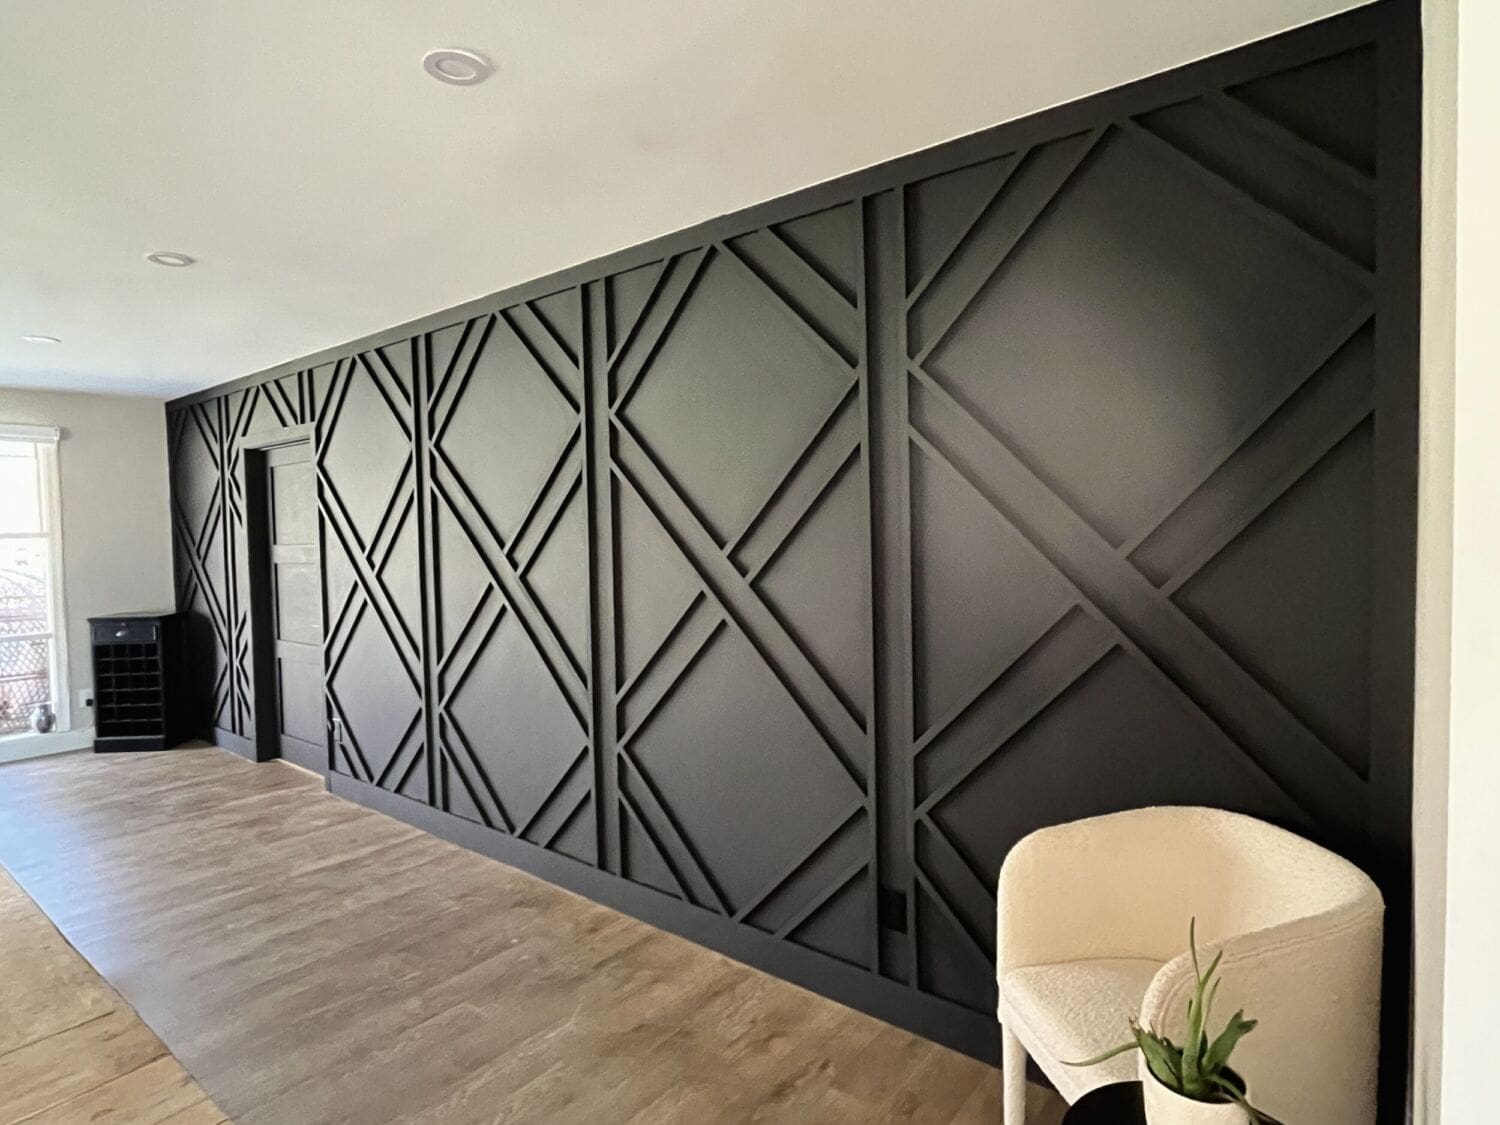
Horizontal feature wall installations include a variety of types, like a feature wall with a dynamic geometric pattern or a clean, crisp horizontal shiplap accent wall. What each very different look has in common is that they span across the wall framing. The result is a positive nailing surface for other types of feature walls that are less rigidly organized. Well, because a tongue-and-groove plank wall is pretty straightforward as far as repetitive installation.
Even on diagonal accent walls you can catch a stud, top or bottom plate, or an adjoining piece that has multiple mechanical connections.
In existing conditions, for your feature wall to work, you either have to yank the drywall or plaster–and that ½- to ¾-inch is going to haunt you on trim details later without a doubt–to add blocking or you need an end-around.
Vertical wood plank feature wall
Vertical is an entirely different kettle of fish.
When vertical feature walls are built into the design of a new wall system, it’s easy to prepare for a vertical feature wall. You just add ladder blocking every 2 feet up the wall. We installed a tongue-and-groove beadboard on a basement remodel like this. I love this detail.
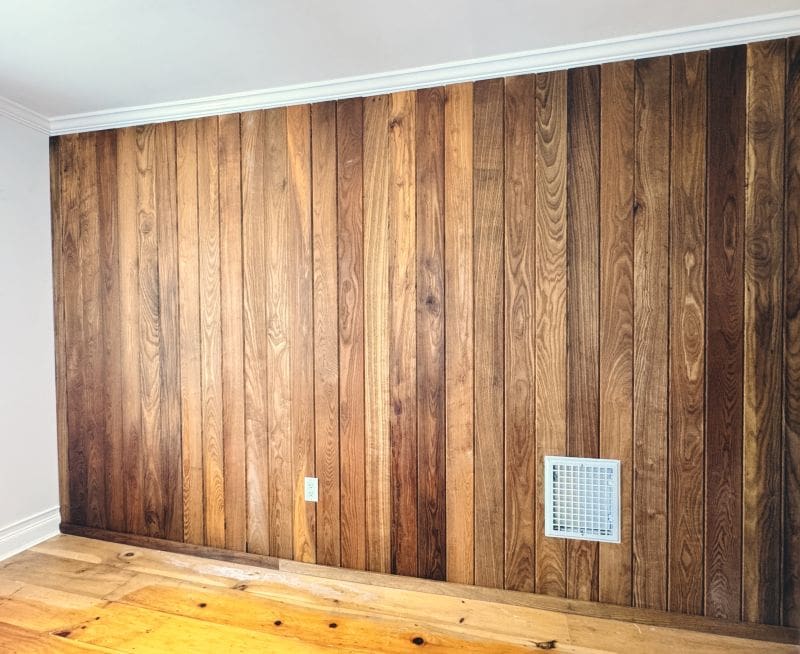
Everything about the V-Joint tongue-and-groove 1×6 we selected for this project screamed VERTICAL.
The lines “railroad” rather than “ladder” and make the room look taller. They calm the eye as you walk by it in the hall.
It’s impossible to explain but it feels right and it looks right.
But what about nailing to studs? Drywall ain’t gonna hack it.
Plank Wall Installation Solution: A Hybrid Approach
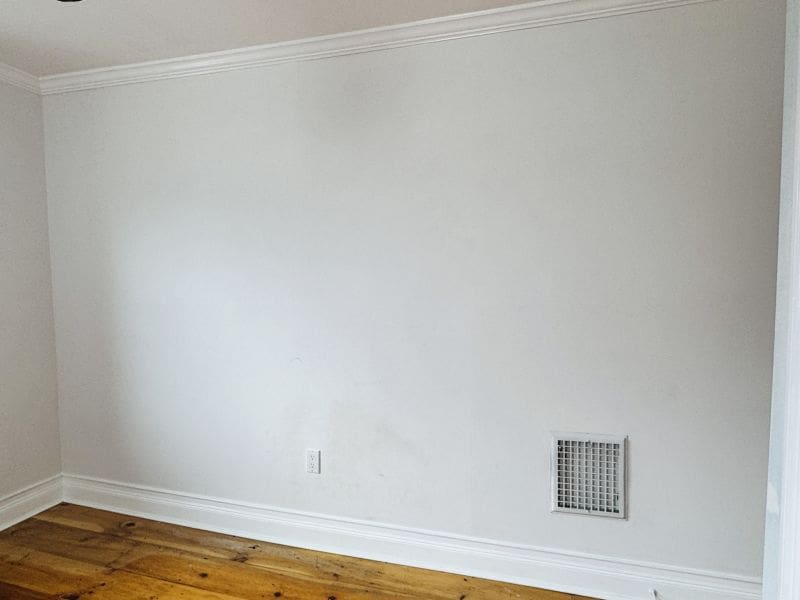
I really didn’t want to deal with a few things. This house is 120 years old. Framing is spaced randomly, the plaster looks like it was applied by a child (130 years ago, it might have been). Plus dropping drywall, dust, demo, trim details that you can’t unsee, so we made a choice to use a few fasteners and roll the bones on an adhesive.
Adhesive.
To be straight-up honest, adhesives have been mezza mezza at best. In my experience it’s not the main fastener. It helps, but I don’t rely on it. So I was circumspect to use it here. But we did. And the adhesive we used works.
Vertical Feature Wall: How-To
The first step in a project like this is to know what you don’t want to happen. That thing you don’t want to happen is sliver cuts and/or uneven cuts on each end of the feature wall. In other words, you can start with a full board on the left and run full boards to the right, then just rip the last one to fit.
The Jank Rating on that is 100%.
Start In The Center.
We used a pre-stained tongue and groove V-joint 1×6 for the wood plank feature wall. (It’s the same as the porch ceiling project we did last year.)
We cut a few scraps, clicked them together and determined the distance that 4 to 5 of them run. With this information, we could project what our end pieces would look like.
What Is “Center”?
Obviously, it’s the center of the space. However, you still have two further choices you can make to get your end pieces as robust as possible.
1 – Place the center of the center (or starter) board on the centerline.
2 – Place the leading edge of the starter board on the line.
Starter Board.
While we used Total Tech Adhesive and Sealant to set the field boards, there’s no such thing as an uncured adhesive that holds anything. So, to get us started–and even if we did glue it and wait for it to set up, we beat on this wall to install it, paint and drywall paper can fail before the adhesive–we set our starter board and caught framing at the top and bottom plate.
We also off-set it such that we could get a few finish screws in a stud. Fastening the first gave us a secure starting point to join the rest of the wood planks to the wall. Every now and again, we popped a few nails in a board just to make sure the wood planks were staying firm against the old wall.
Again, the 120-year-old wall is pretty flat but not dead flat, so there was some room for wiggle during the curing time. But, the boards never strayed and the adhesive we used—Super Glue’s Total Tech All-in-One Adhesive and Sealant did the trick.
Adhering Field Boards, Right.
Anything not otherwise demarcated (Left, Right, Starter, etc) is the “field.”
After setting our starter, tongue facing right, the idea is to apply adhesive to the back of the board in blobs and reflect that on the wall. Blob meets blob.
We slotted the first field board, bedded in adhesive and kept going. Because we had a mechanical connection with the Starter, we could do what all tongue-and-groove assemblies require: Gentle cajoling so that the groove can set over the tongue and close the seam.
Adhering Filed Boards, Left.
We used the same process only this time we stuck the tongue into the groove.
End Pieces
The T & G assembly is out the window with the end pieces. It’s too cramped and it just doesn’t work.
On the right side, we ripped the bottom of the groove off and just laid the piece over its adjoining mate.
On the left side, we ripped the tongue off for the same result.
Weird Detail
You’ll see in the feature wall video that this room has a crown molding we needed to deal with. It doesn’t make any sense, but it works. We just butt cut the T&G at the crown. It creates a consistent shadow line that works from our viewing heights.
Did Our Glued Wood Plank Feature Wall Work?
Despite my decades of nailing these kinds of projects together and having adhesive be kinda meh, this project is what we call on the job site “dead nuts.”
I don’t know why people call things that work this term, but it feels right.
We interact with this project daily–and it’s been months now; years if you’re reading this in 2029–and we’d know if this was a fail. It is 100 percent not.
Vertical feature wall. No drywall tear-down. No additional framing.
MyFixitUpLife Rating: Let’s GO.
Bonus: The wood plank feature wall actually improved the sound quality in the room, too. Our teen has been enjoying his drum set in that room ever since.


