It’s easier than you might imagine to make a flaming pumpkin that amps up your Halloween fun for neighborhood trick-or-treaters and their parents. Kids come back to our house each year and exclaim that this is the house with the pumpkin on fire.
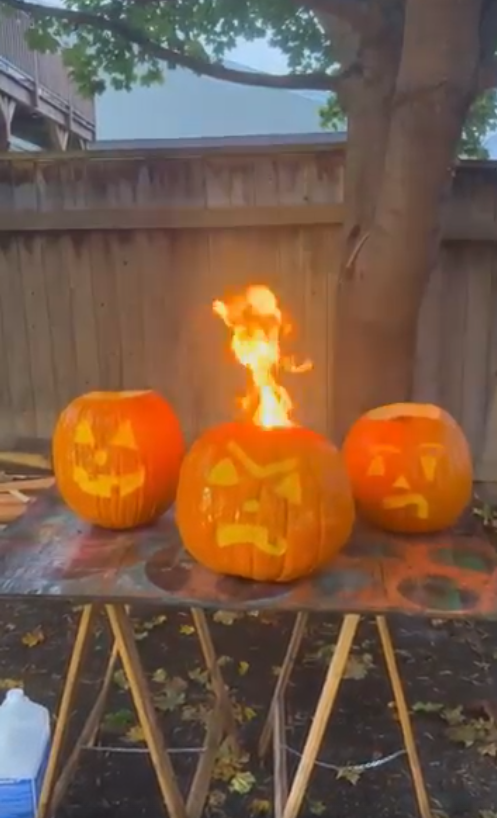
First Ever: Dad Has Fun Carving Pumpkins, Making Them Torches
I’m not really a Halloween Scrooge, but. after driving my truck to get supplies and working with tools all week, just about the last thing I want to do sometimes is drive my truck to get supplies and work with tools. Especially for stuff that has a 2-week shelf life.
And, cutting the armor-hard rind of a field-hardened pumpkin with a kitchen knife is hardly what I’d call next level work.
I do it, but its a heavy lift.
New Dremel tool makes it a new experience.
This year, Dremel sent us their pumpkin carving kit: a pen-like rotary tool (model 2050) with a reamer, coring bit and drum sander attachment. To be specific, this unit is for removing the rind, not plunging through the whole gourd.
Anyway, I’d be lying if I didn’t admit it was a little fun. And, Dremel has a whole section on their website dedicated to pumpkin carving where you can download stencils and get tips. Am I ever going to do this? Probably. I can definitely see grown-ups getting together and having legit pumpkin carving parties.
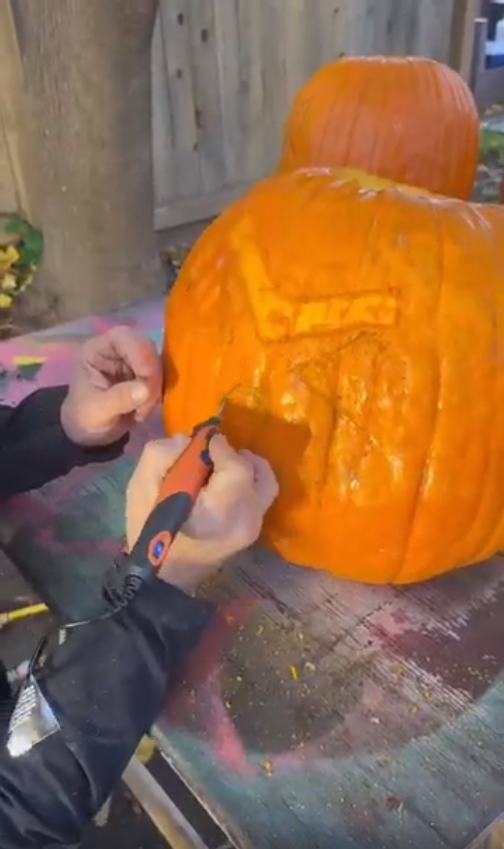


Other handy tools that help me with carving a flaming pumpkin.
I also landed on a few other tools that eased my anguish. The first one is a knife I use for cutting Rockwool insulation. Its sharp, slim, flexible blade–and handle!–made cutting the pumpkin top easier than any other knife I have ever tried.


And for the ickiest part–the gut scoop, I used my favorite spoon: a 14-inch Serving & Basting Spoon. It came with the 5-piece accessory kit for my Blackstone griddle and, yes I have reached that stage in life, I have a favorite spoon. But, it’s steel and it scoops. It’s stiff enough to chop the pumpkin fibers holding the seeds.


My son drew Happy, Sad and Angry pumpkins with a Sharpie Pro, an everyday carry, in my nail bags and we set out to try the Dremel on plant life. And, after a few minutes getting accustomed to the different cutter heads and how the tool handles–you will have pumpkin pieces on you, wear glasses–it was kind of fun.


The annual wrestling match using kitchen tools and wondering how badly I’m going to hurt myself if I lose control of the knife because cutting pumpkins just isn’t what it is made for is over.
To make it a torch, well that couldn’t be easier.
You’ll need a few basics: Toilet paper + enough kerosene to soak the roll + flame (it won’t explode; gasoline will, so will the pumpkin and maybe you, but kerosene won’t).
- Insert the full toilet paper roll through the top of the carved pumpkin.
- Pour enough kerosene on the toilet paper to soak it.
- Carefully light the toilet paper with a lighter wand, so you are a little bit away from the flame.
We learned this from a YouTuber named DaveHax. I don’t know if he invented it or not, but we sure didn’t.
Safety precautions make a flaming pumpkin easier.
Keep a fire extinguisher and bucket of water nearby while it’s flaming.
Never leave a flaming pumpkin unattended.
Don’t set the flaming pumpkin in the pathway of trick-or-treaters. Allow at least 4 feet between the flames and the path to the candy bowl.
Don’t set the flaming pumpkin on anything flammable.
OK, trick or treat time.
Watch how to make a flaming pumpkin video.
In this video, we build a flaming pumpkin and carve its face. We’ll show you the tools and supplies we used:
- Kerosene for the flame
- Sharpie Pro for the art
- Toilet paper for the torch
- Insulation knife for cutting the pumpkin
- Spoon that isn’t infuriating to scoop the guts
- Dremel tool and accessories for carving the face
About the Author


