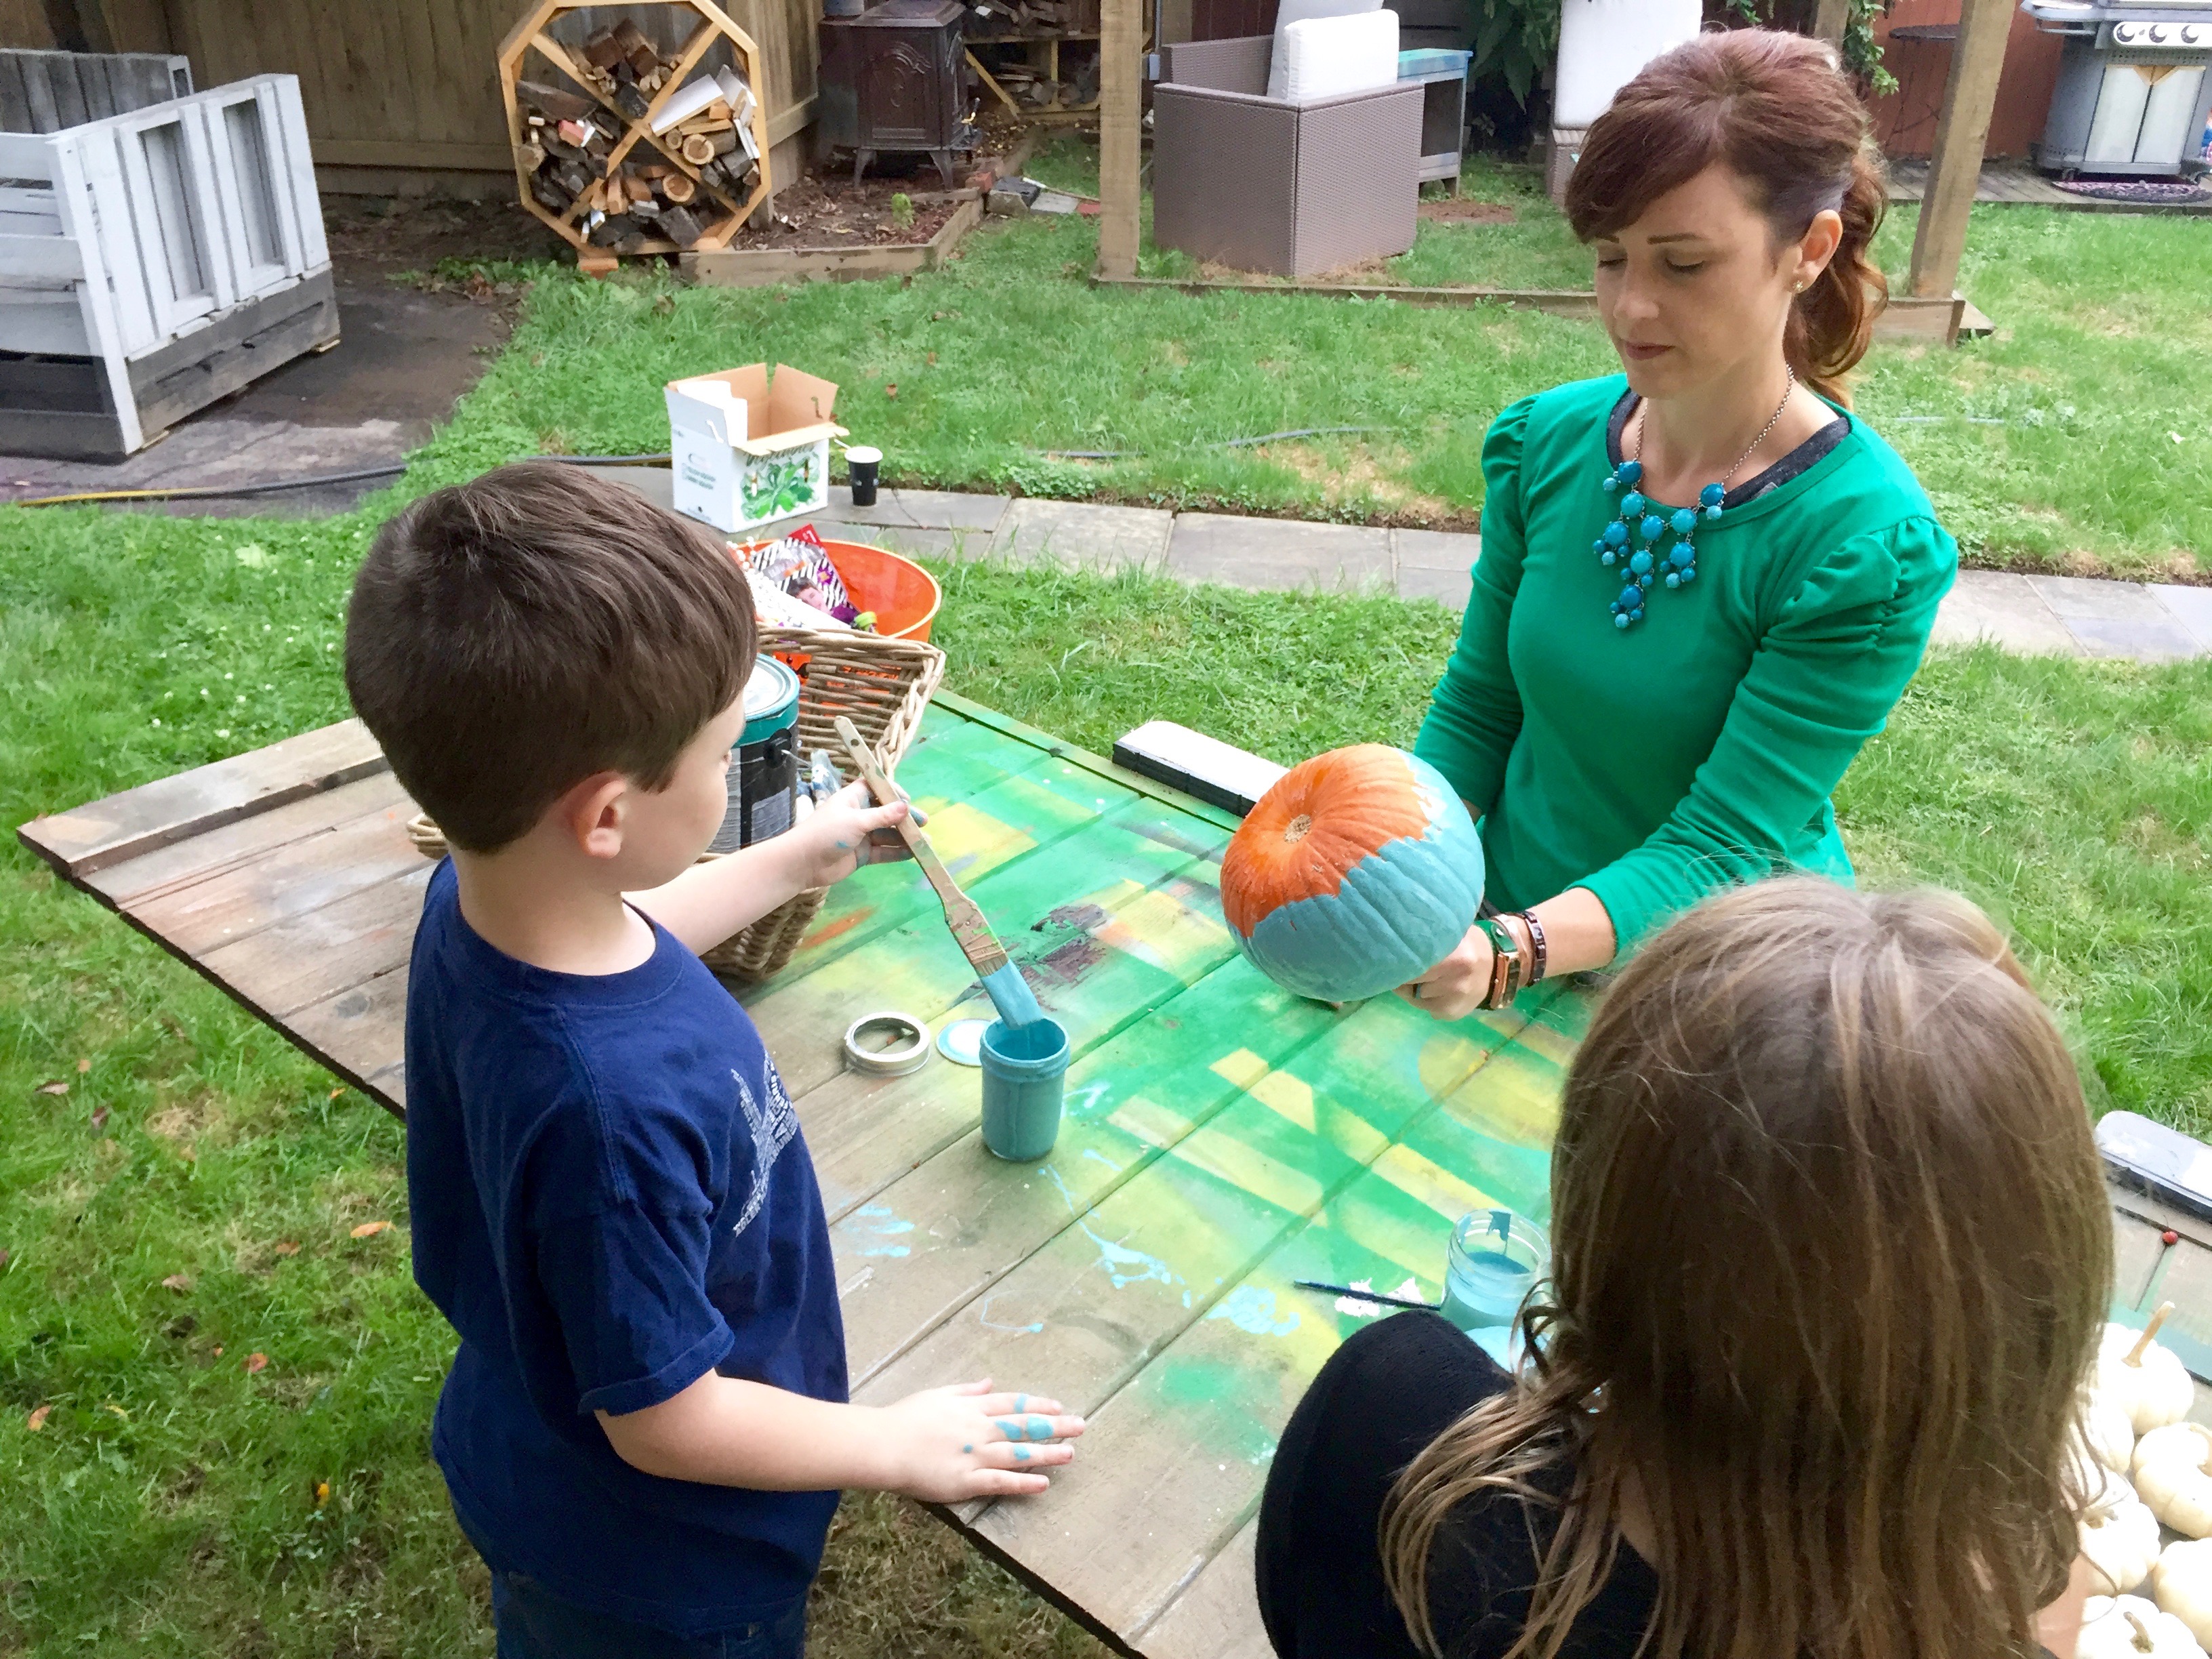
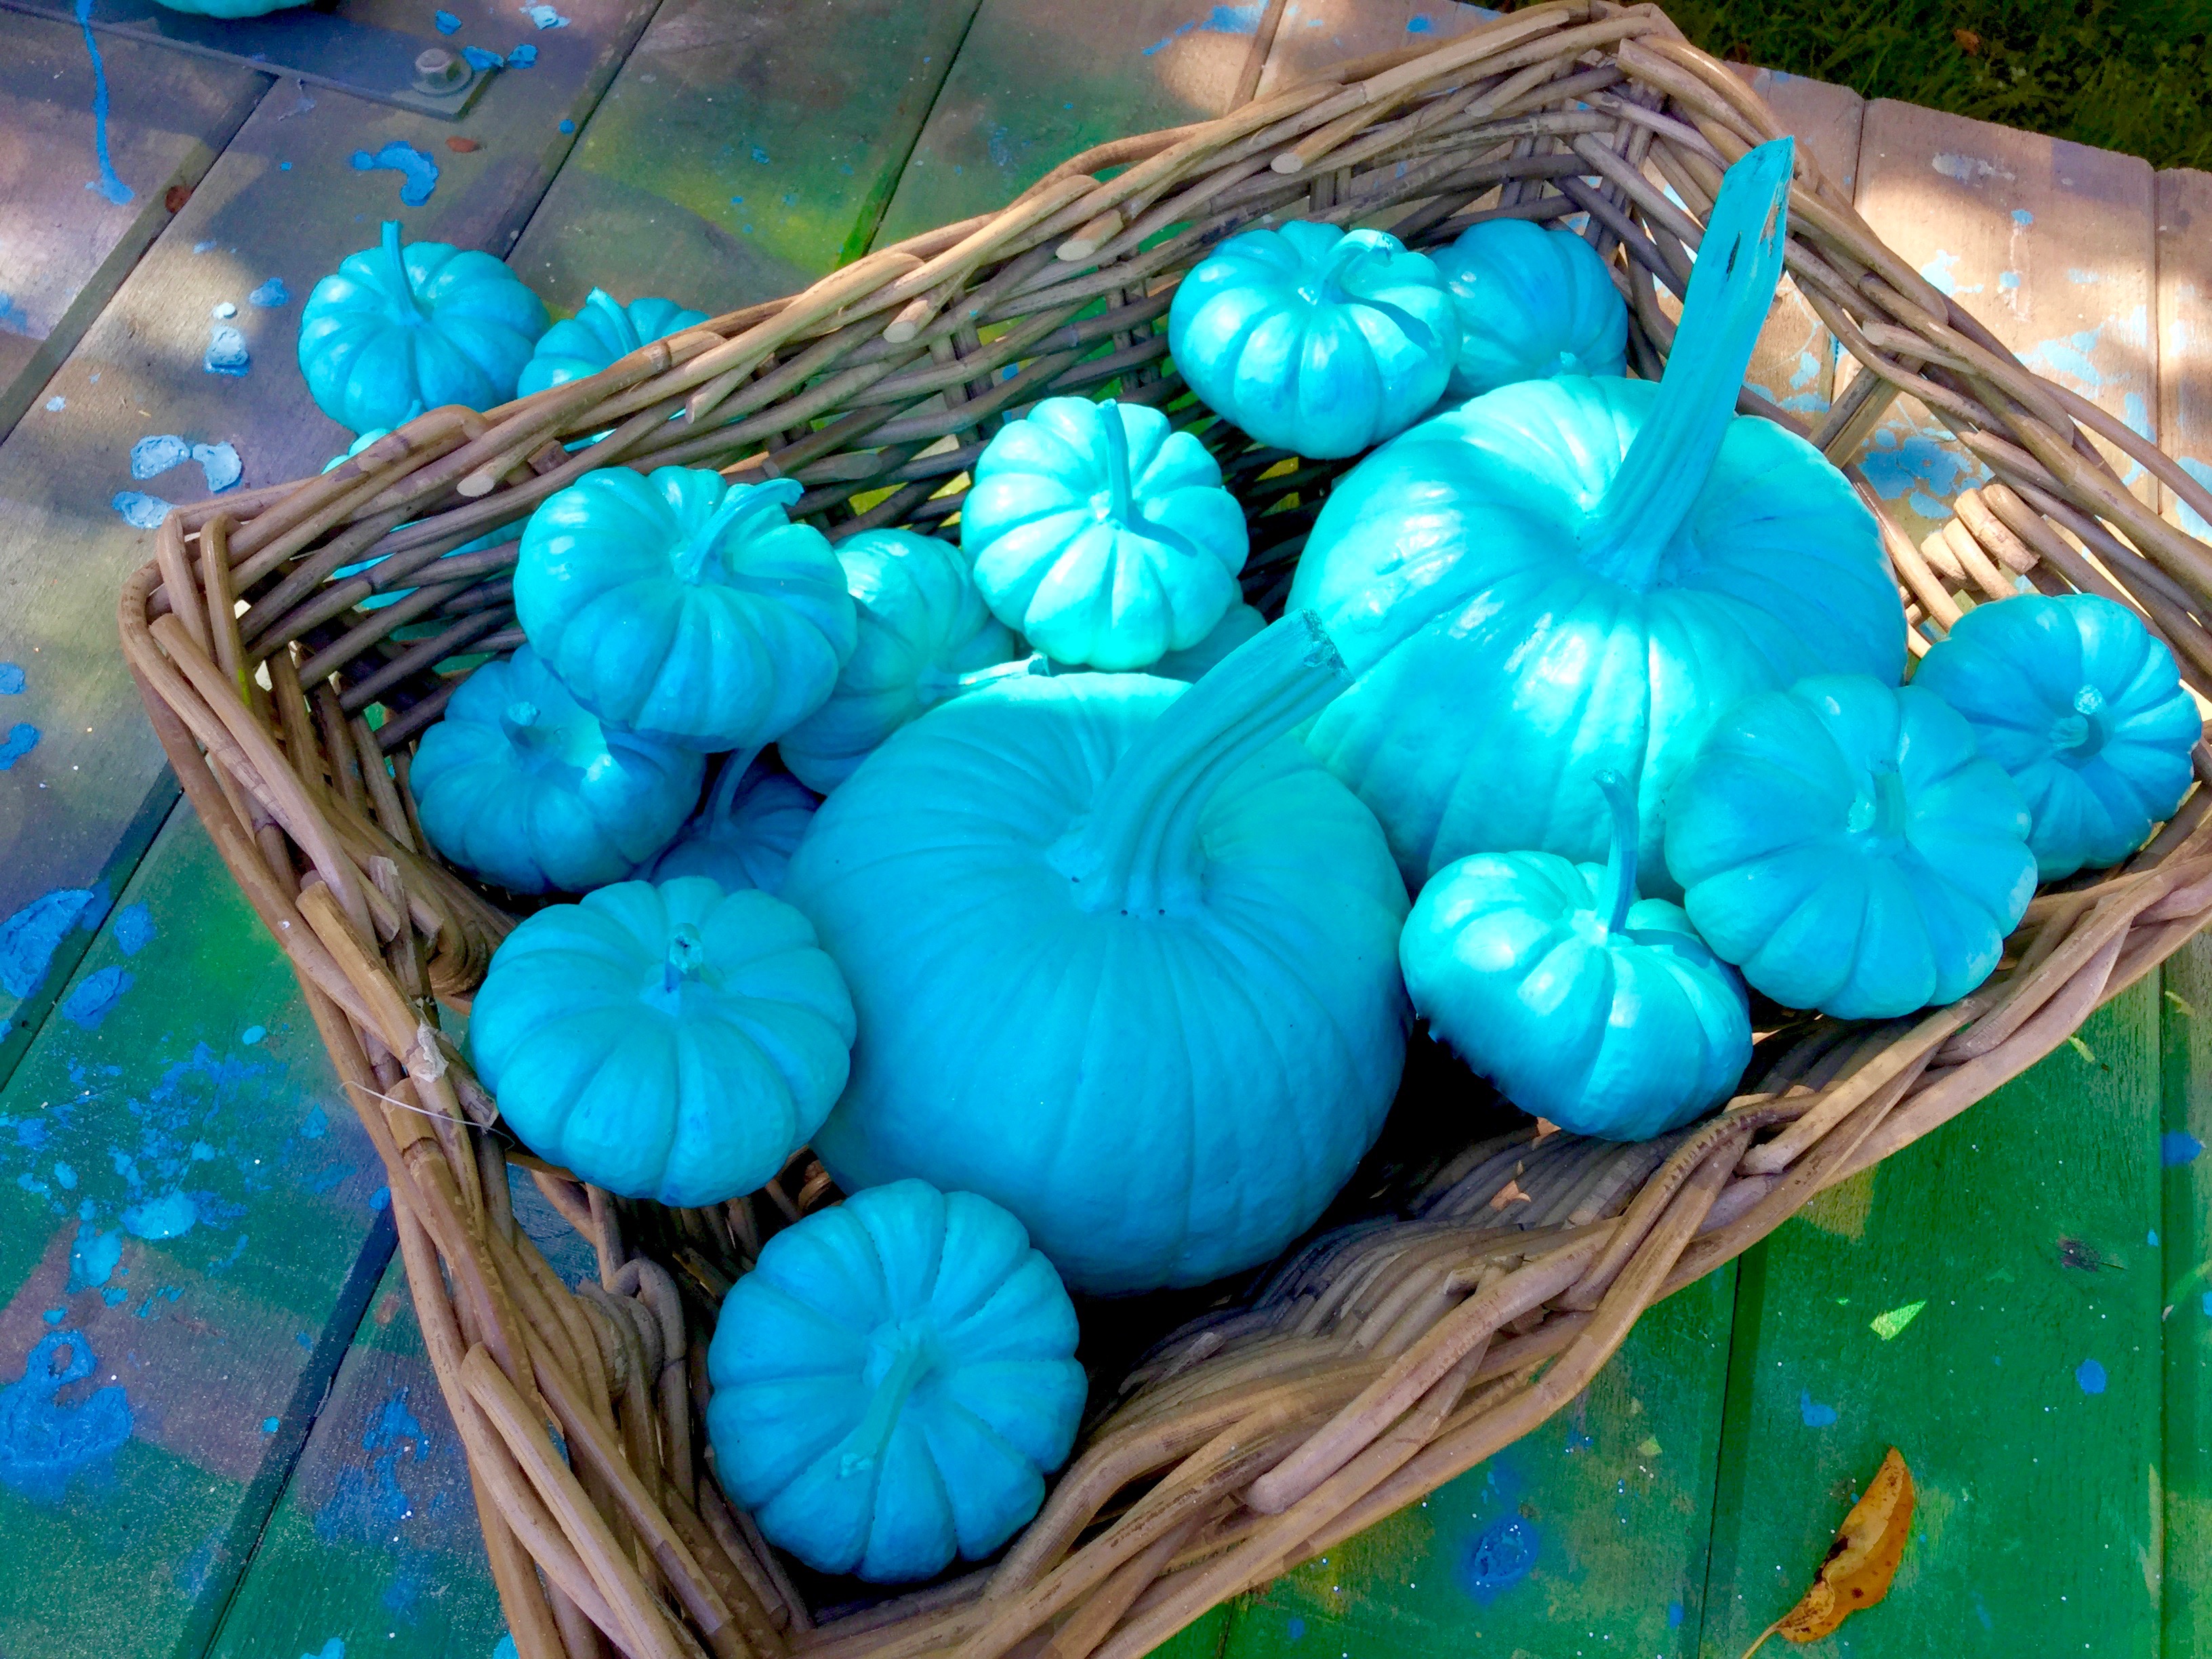
Want to know how to paint a pumpkin?
(And, think about using teal to help kids with food allergies. More below.)

It takes just a little prep to know how to paint a pumpkin with ease.
Before you get started. Pumpkins don’t require primer, but make sure the pumpkin is clean and dry before you start. If there is any dirt from the farm on the pumpkin, the paint will stick to the dirt and not the pumpkin. Then when the dirt flakes off, your painting isn’t as perfect as you’d like.
So what do you need to paint a pumpkin? After deciding on the color and whether you want to add embellishments like glitter or spikes or stripes, it’s about having all of the tools on hand when you get started.
- Paint in the perfect color.
- Paint brushes (small art brushes and medium sized brushes so you can both go fast and add details)
- Drop cloth or newspaper on a flat surface
- Patience to wait until the pumpkin is dry to paint the underside. Yes, you can put the pumpkin on another small paint can to get most of the underside in one painting session.
- Embellishments
- Water and paper towels for clean-up
I just learned about the Teal Pumpkin Project from the Food Allergy Research Education. I love this project.
If you put out a teal pumpkin on Halloween, kids with food allergies know you’ll have non-food treats on-hand. That makes the stress of trick-or-treating way lower for parents of kids with allergies and the kids who have to decide to either politely take candy they can’t eat or avoiding the night altogether. Some allergies are so bad that even touching the candy could cause concern.
For families with food allergies, check out the map on the Food Allergy Research Education website for more information about which homes in your area are planning to share non-food treats.
Happy painting!


