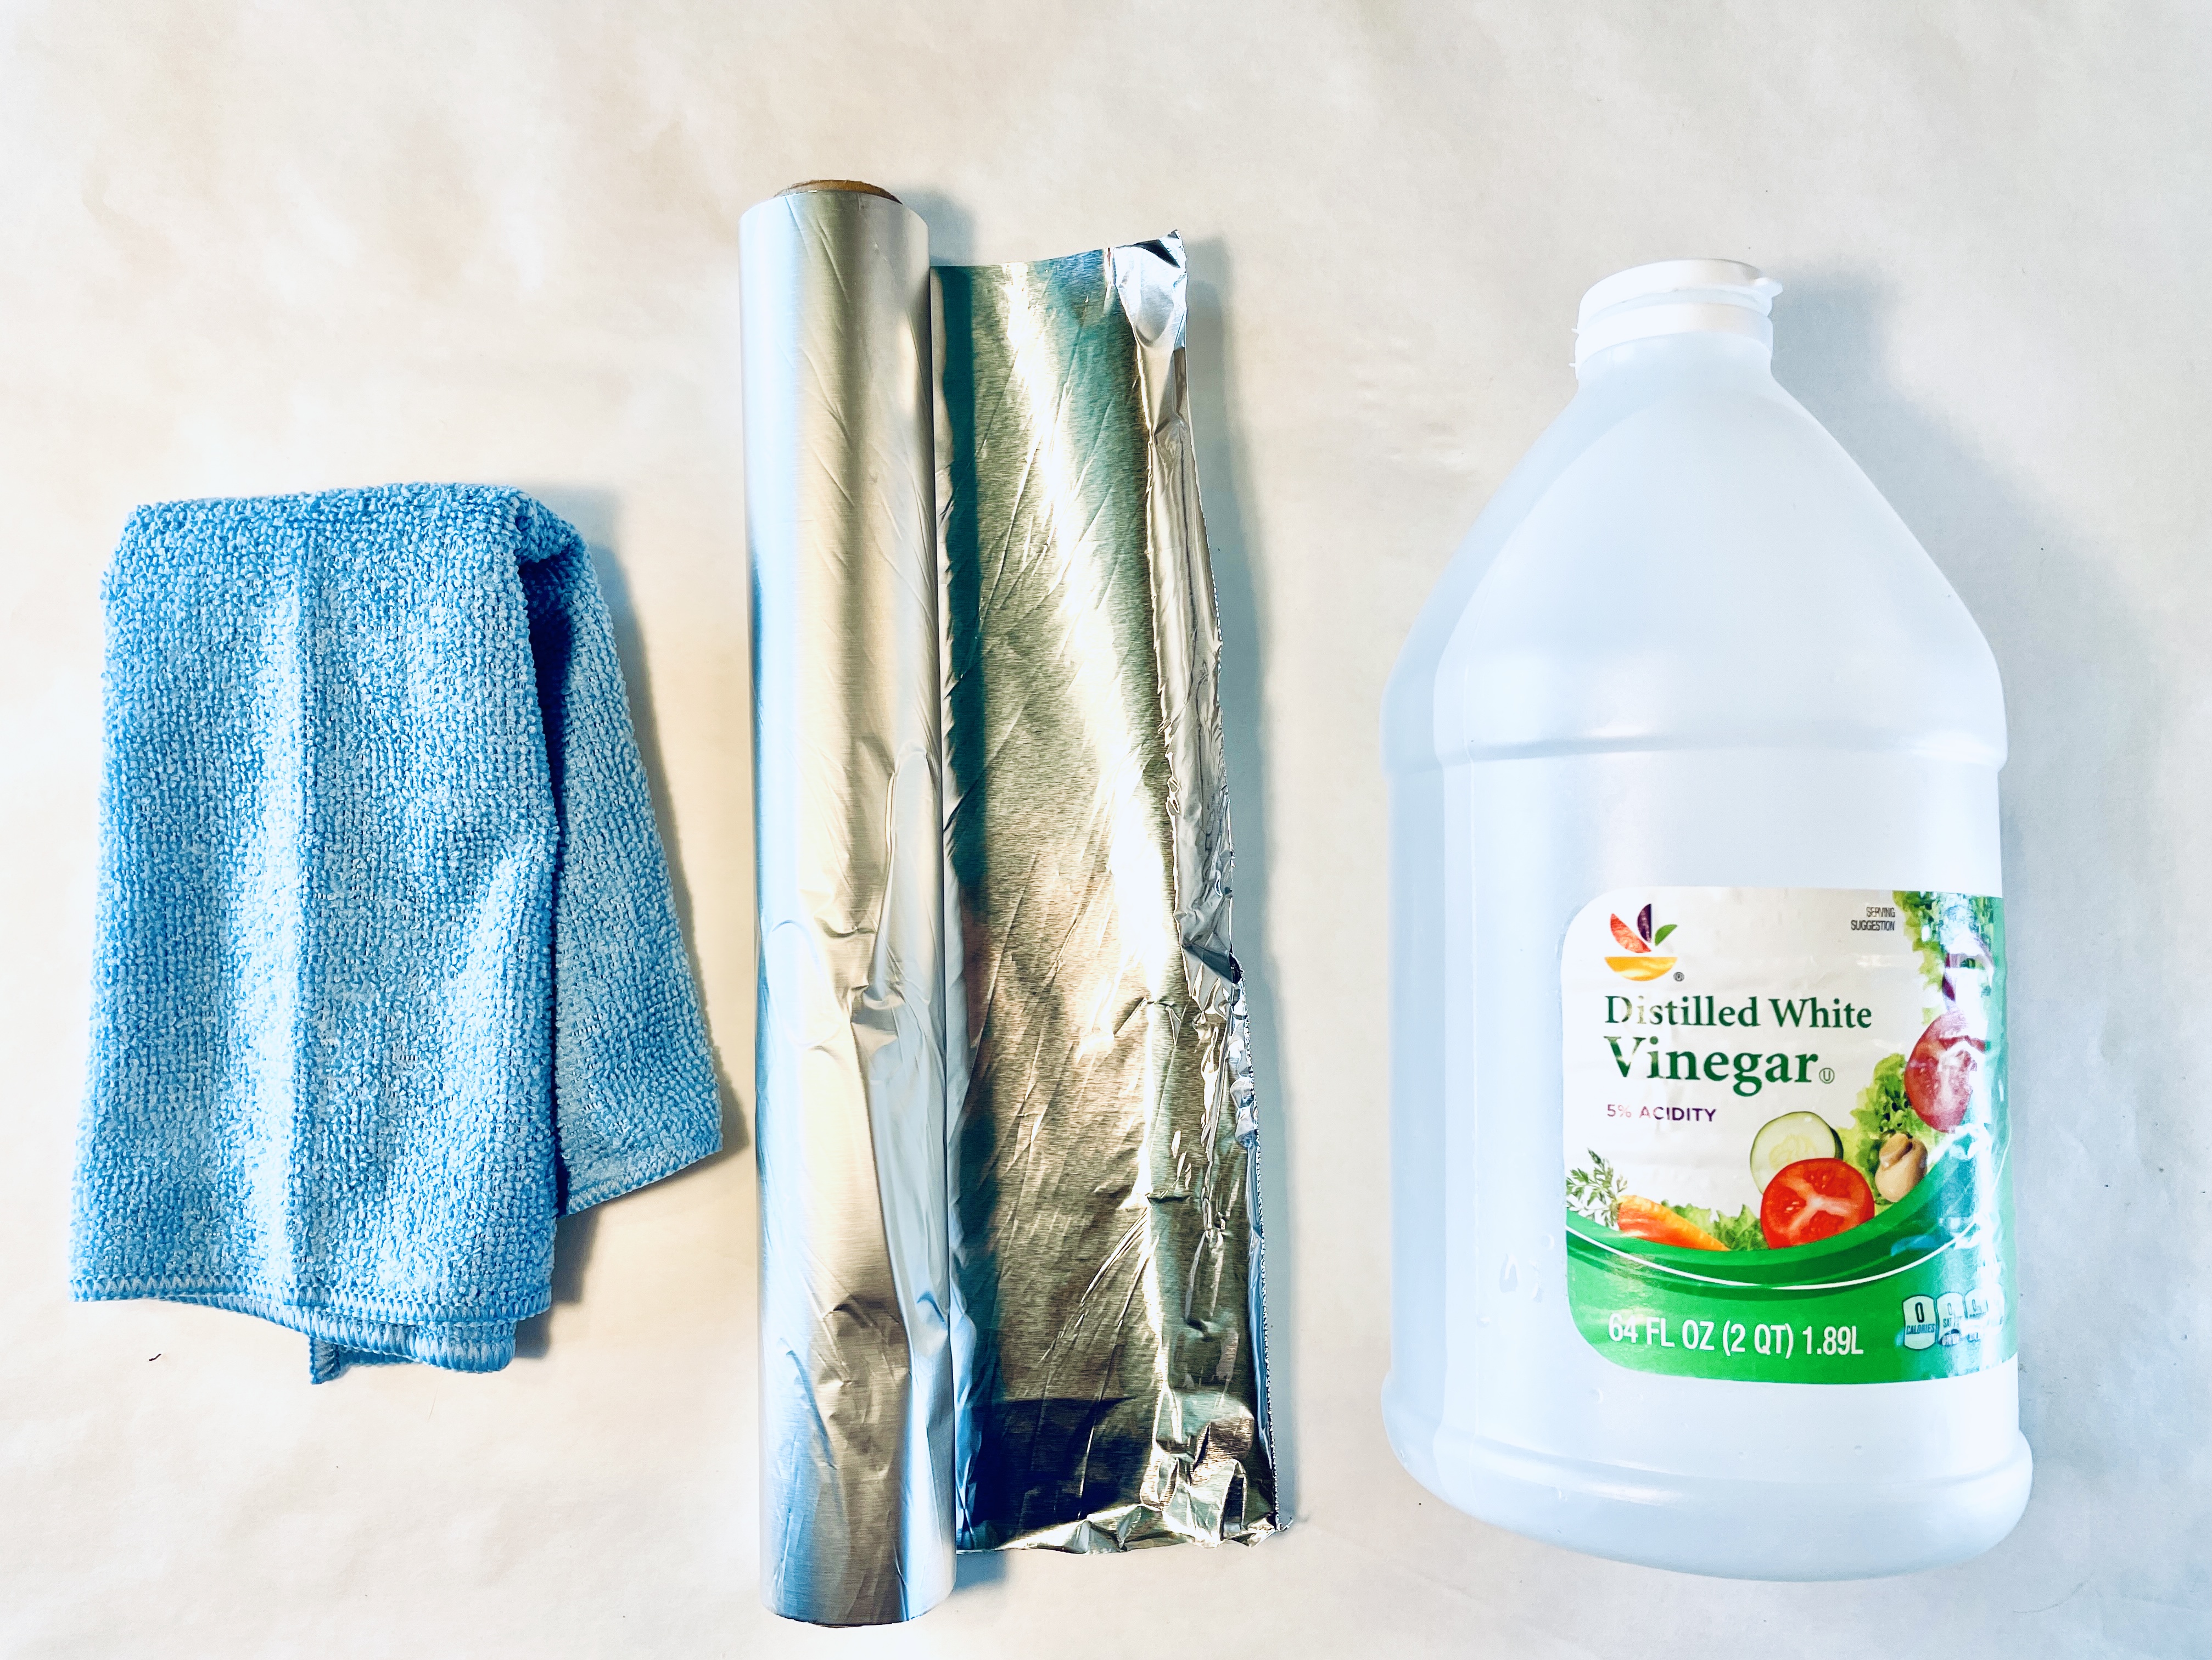
If the integrity of the metal object is still intact, removing rust can be easy and inexpensive with aluminum foil and white vinegar.

No, there’s no need to throw out rusted chrome or stainless steel or buy an expensive solution.
Why does aluminum foil work?
Rust is chemical reaction that is oxidized metal. So the cleaning goal is to un-oxidize that metal. While you could try to scrub it away, it’s best to treat the chemical reaction with another chemical reaction.
We’re basically trying to break up a metal-oxygen marriage here by introducing the oxygen to another more attractive substance. And oxygen likes aluminum more than other metals. It will always swipe right when it sees aluminum.
Unlike other metals, aluminum is soft. So it won’t scratch the surface of chrome or stainless steel.
And, while you can use aluminum without vinegar to remove rust, the vinegar helps speed the process by breaking down and dissolving some of the oxidized metal.
What are the ingredients?
This how-to involves common household ingredients that you may already own.
- Rusted objects
- Aluminum foil
- White vinegar
- Water
- Spray bottle
- 2 clean soft cloths

What’s the rust how-to?
Now we are ready to remove rust with aluminum foil and vinegar. This how-to may take just a few minutes if there’s only a little bit of rust. But if you have a larger item with more rust, the entire process will take longer.
- The first step to cleaning rust away is gathering the rusted items and placing them on a clean cloth.
- Create a 50-50 mix of water and white vinegar in a spray bottle.
- Spray the rusted areas with the 50-50 mix.
- Next, cut off a strip of aluminum foil that’s about 2 or 3 inches wide.
- Rub the aluminum into the rusted area. The surface should become smoother as you rub.
- After the surface is smooth and no rust remains, wipe off the area with a clean cloth so that it is dry.


Watch this video on YouTube
I hope this how-to helps you. If you’re searching for a quick-fix how-to, we’d love to help. Share your questions and comments below.
We’ll keep sharing tips and how-tos to help make your house into the home you dream about.

