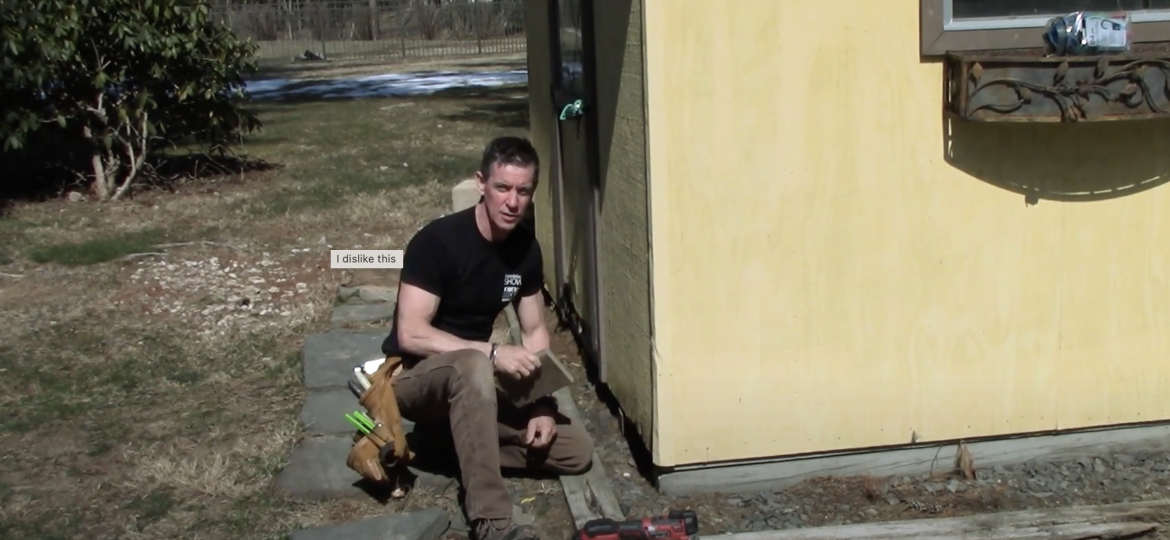
Here’s a question that we’ve been asked to fix: My shed is rotting at the bottom. How can I repair a shed?
Keep reading to find out the steps and watch the video that shows details and steps needed to know how to repair a shed that’s rotting at the bottom.

Why do sheds fail at the bottom?
When old sheds don’t fail at shingles that let water in, they fail at the bottom where the plywood or T1-11 (T stands for “texture”) siding wicks water from rain splashback and snow.
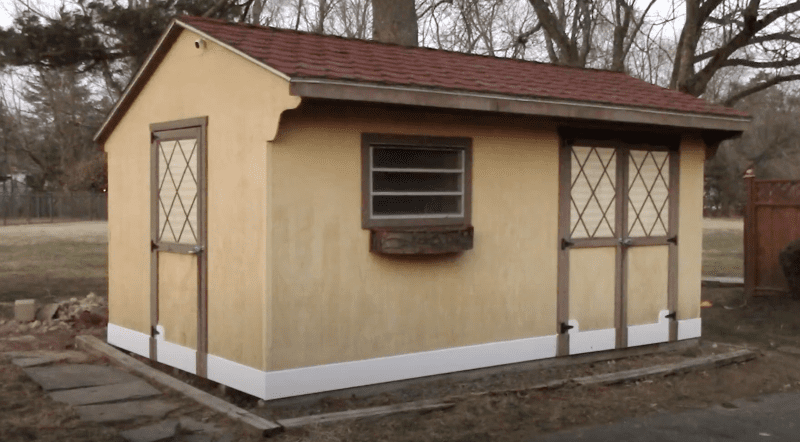
If the rest of the shed is in decent shape, there is a fix for sure. And I’ll share an inexpensive way to repair a shed that’s failing at the bottom.
Basic steps to repair a shed that has a rotting bottom
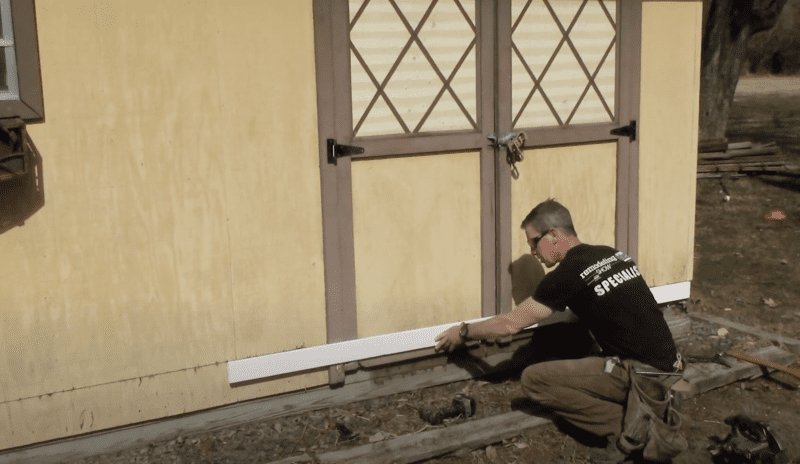
You can fix it with a “weather board.” This shed repair will buy a few more years of life from your current shed.
- Cut 11-inches of rotting cladding from bottom
- Cut aluminum corners
- Cut door trim
- Replace with PVC “weather board”
Tools & Materials
I use a bunch of different tools on a project like this. It’s part demo, part finish carpentry, part oddball. Tools I used in this video:
- Circular saw
- Chalk line (I love this little, 25-foot DeWalt chalk line. Perfect for 99% of what I do)
- Oscillating tool (High praise for this puppy, too)
- Diagonal cutting pliers (“dikes” in the industry)
- Flat bar
- Router
- Caulk gun (Dripless, all day)
- EYE PROTECTION
- 5-in-1 painter’s tool
- Awl
- Flat bar
- WD-40
- 1×12 PVC
How-To Repair a Shed
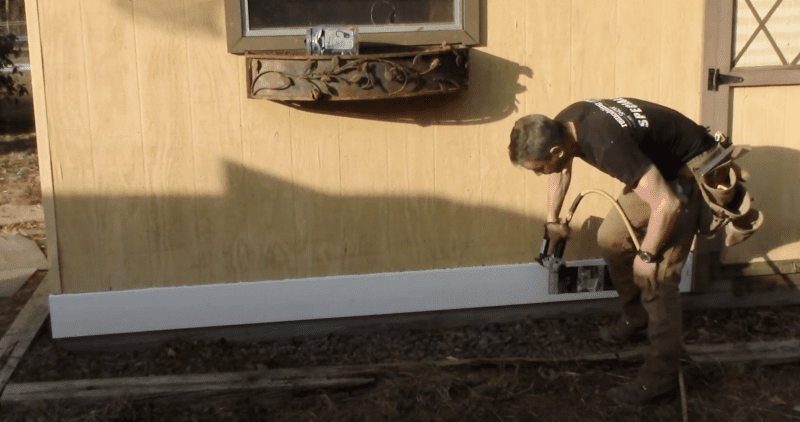

- Snap a level line 11 inches up from the bottom of the bottom of the siding.
- If your shed has aluminum corner “boards,” cut those with an oscillating tool switch a metal blade.
- Set your circular saw to just a little deeper than the siding thickness.
- Cut along the line. Try to view your blade through the body of the saw and watch its progress. This is not the easiest cut in the world.
- Remove the damaged siding and any remaining fasteners.
- Cut PVC to length.
- Route a 45-degree chamfer. You can only take off a little bit. We want the water that hits the siding to shed past it.
- Install weather boards. You can hand nail or finish nail this, but I like staples.
- Rejigger door hardware. Old shed hardware is often a mess. But it’s also usually all steel. Some adjustments and some liquid love is all it takes to make old young again.
About the Author