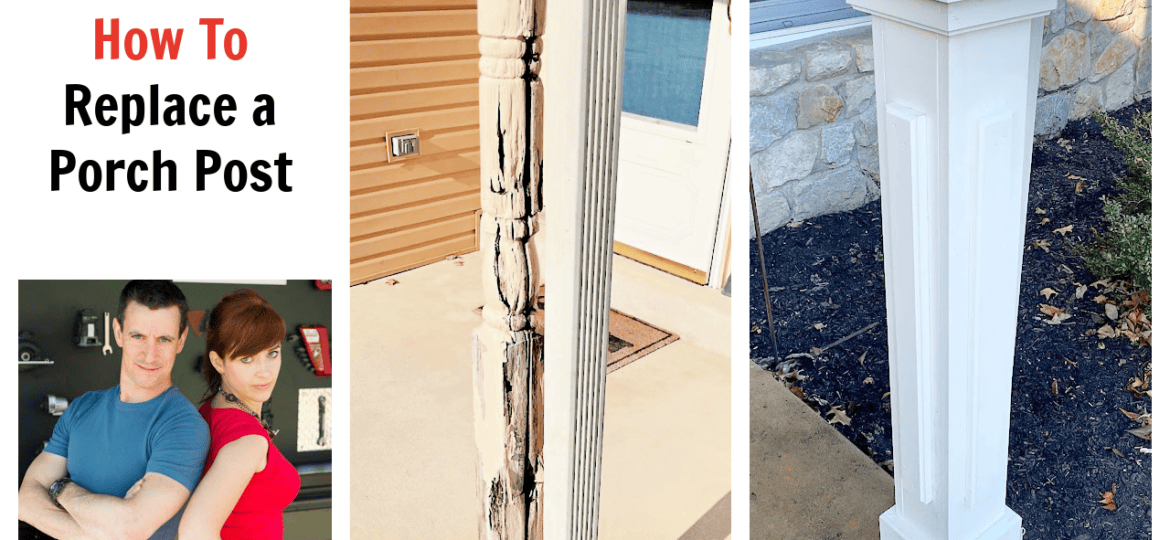
Want to see how to replace a rotted porch post?
Just about all the rotted porch posts I’ve seen share one thing in common: Water got into the end-grain at the base.
And as unsealed wood is wont to do, it drew the water up into itself via capillary action. Inside the post, the water can’t escape a system. And then it breaks the wood down, slowly decaying it from the inside-out.
So if you need to replace a rotted porch post—and dress the new post up with some fun trim carpentry—here’s how I do it.


Tools & Materials
Brad nailer and narrow crown stapler
Router and cove bit
Spax # 10 x 2 1/2-inch HCRx screws
(1) 2x8x8 PT
(2) 1x4x8 PVC
(3) 1x6x8 PVC


Watch this video on YouTube
If you enjoyed our video, subscribe to our YouTube channel for more how-to and DIY tips.
How-to
While replacing a porch post is a project that takes just about a day to complete, it’s important to make sure the entire project can be completed. This isn’t a project that can safely be left unfinished for tomorrow or next weekend. So make sure you have all of the materials and tools gathered before tackling this how-to.
Remove the rotted porch post
- Support existing porch roof, just to be sure nothing moves
- Remove existing post. Take care not to damage surrounding trim
Make the new structural part of the post
- Rip two 3-inch boards from 2×8
- Fasten together to create a 3×3-inch post
- Make 1/2 x 3-inch skids and staple to bottom of post
- Cut post to length and install
- Remove support
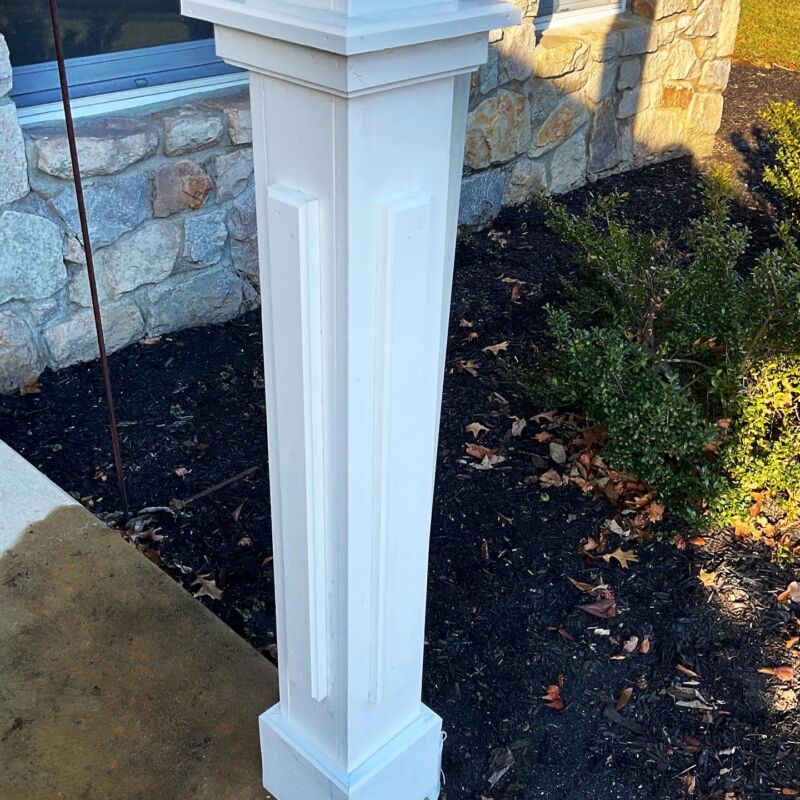
Trim and finish the new porch post
- Rip 1×6 PVC and box post
- Rip 1×6 into 1 1/2-inch strips.
- Route an edge and layer on post to create base and column wrap details
- Rip PVC and route edges to create a “raised panel” effect
- Fill nail holes, caulk and paint
Now the porch post makes the porch and entryway to this home look refreshed. No longer does the rotted wood detract from the curb appeal. It’s a satisfying fix that the homeowners–and neighbors–can enjoy everyday.
Have you replaced a rotted porch post? What did you do to prevent the new post from rotting?


