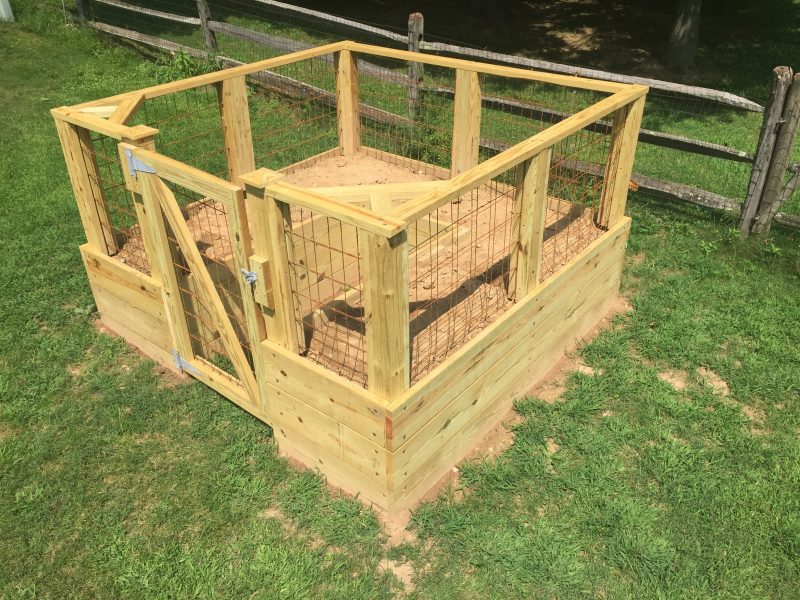
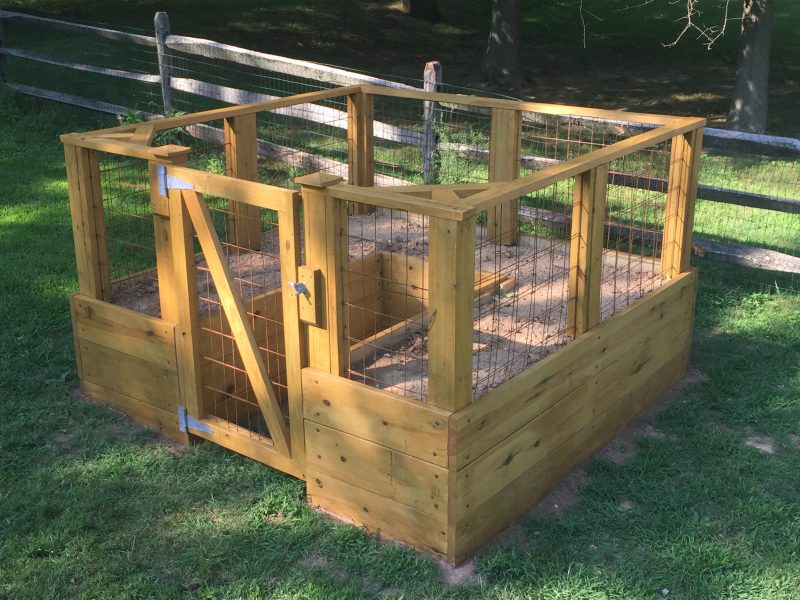
I love this raised garden bed. It’s awesome all by itself. Adding a stain and sealer makes it extra awesome. But, stain is still liquid with its inherent challenges. I found that using a brush, roller and tray—together—made the work easier and fun. Yes, I said fun.
Note: We partnered with Purdy Paint Tools for this project. The how-to and technique are 100% MyFixitUpLife-action. Makin’ stuff. It’s what we do.
Here we go: Some simple tools, tips and techniques to minimize frustration and get the coverage that makes you happy.
How to begin this staining project.
I’ve never stained one of these before. I don’t think anyone has.
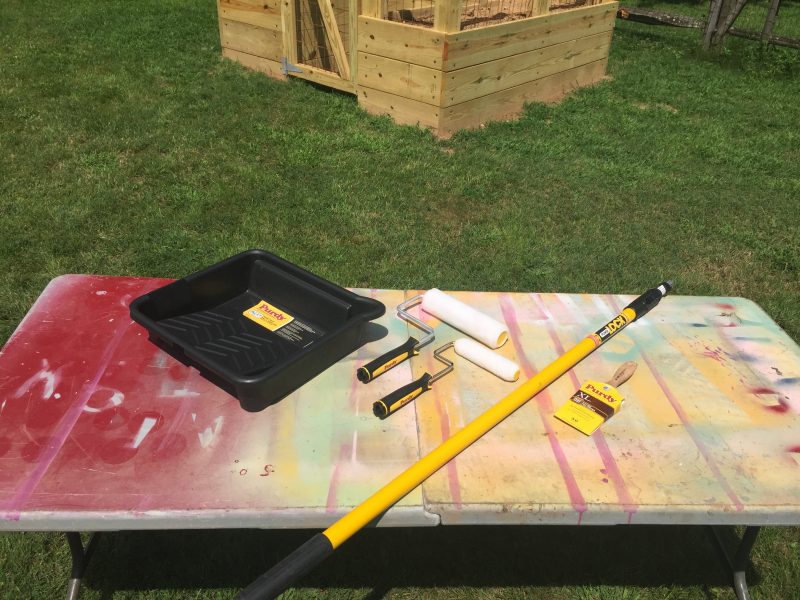
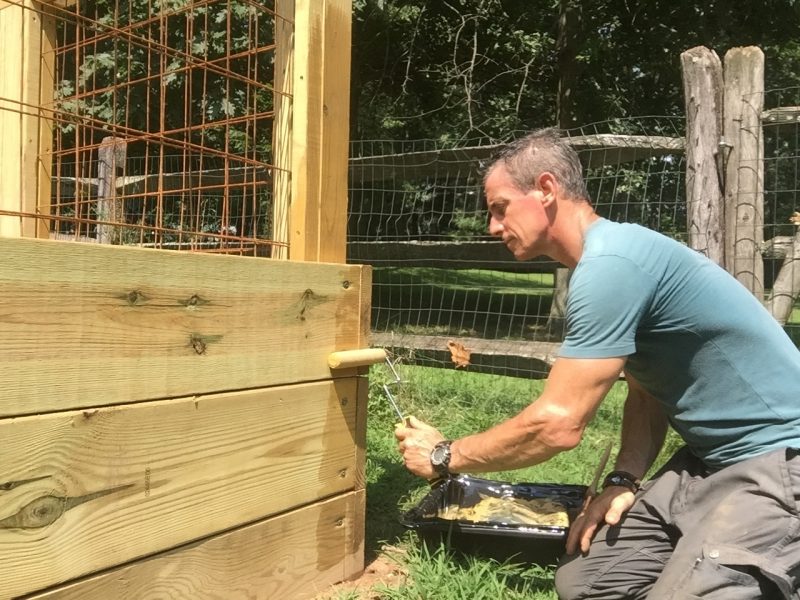
To cover my bases, I asked Purdy for a paint tray, disposable liners, a larger roller frame, and extension pole. I also made sure to have a smaller roller frame and a trusty 3-inch brush. The brush—and roller covers for both roller frames—are designed for all paints and stains.
Also, the table isn’t there just for the photo. It’s a work surface I brought to the job on purpose. It is always—always—better to stand up for refilling trays, cleaning out a brush or just having a place for coffee* than crumpling up in the grass to do the same thing. A table also minimizes the chance for spills by about a million percent.
*Coffee not shown, but you can bet it’s there somewhere.
Paint brush strategy helps.
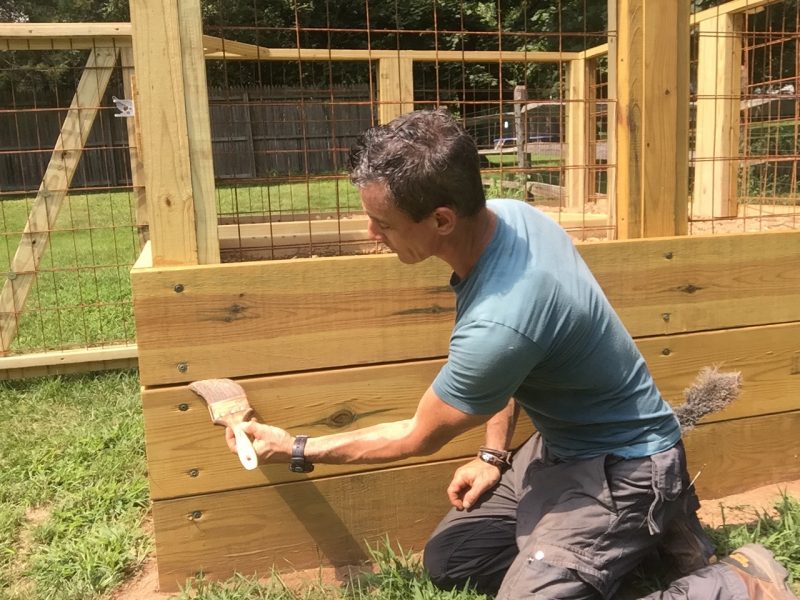
While I’ll touch on the Purdy brush in my left hand below, the brush I meant to show in more detail is in my back pocket and very important.
It’s a whisk broom (Note: It’s impossible for me NOT to say ‘whiskey broom’ in my head. Now you know…) Along with that, I also used a witch’s broom to tackle the dirt that was on the boards, mostly at ground level.
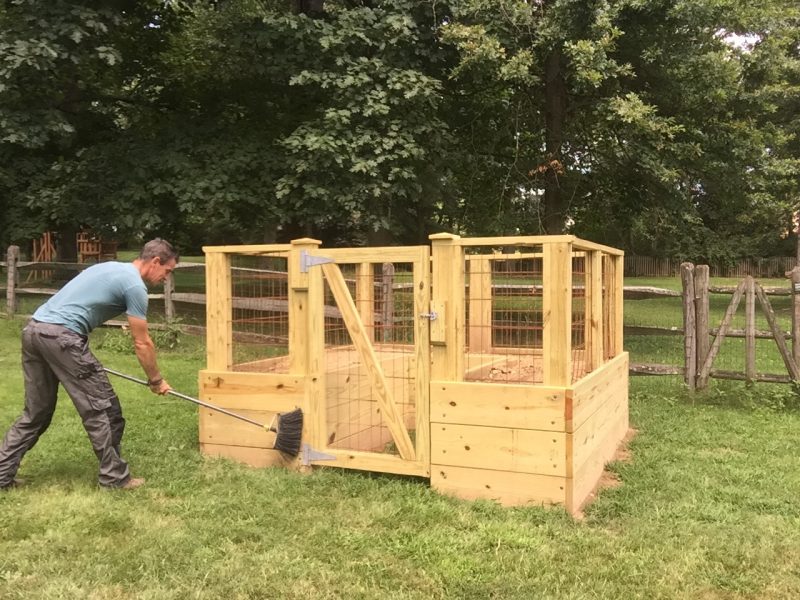
Since I had just built this, the wood was clean. However, it had a rained a few times and kicked up some dirt onto the boards.
So, I swept the light dust off with the witch’s broom, dug in near the ground with the whiskey. And where the mud was really caked on, I used a stiff bristle brush to really get the mud and dust off.
Older wood needs some help before staining.
If your raised garden bed has been in the weather for a while, you may want to consider cleaning it. I can say from first-hand experience that Thompson’s WaterSeal 3-in-1 Wood Cleaner works very well.
I was pretty focused on getting the dust off–it’s important. Staining dirt and dust is kind of a no-no area. OK, moving on.
Here are some staining tips.
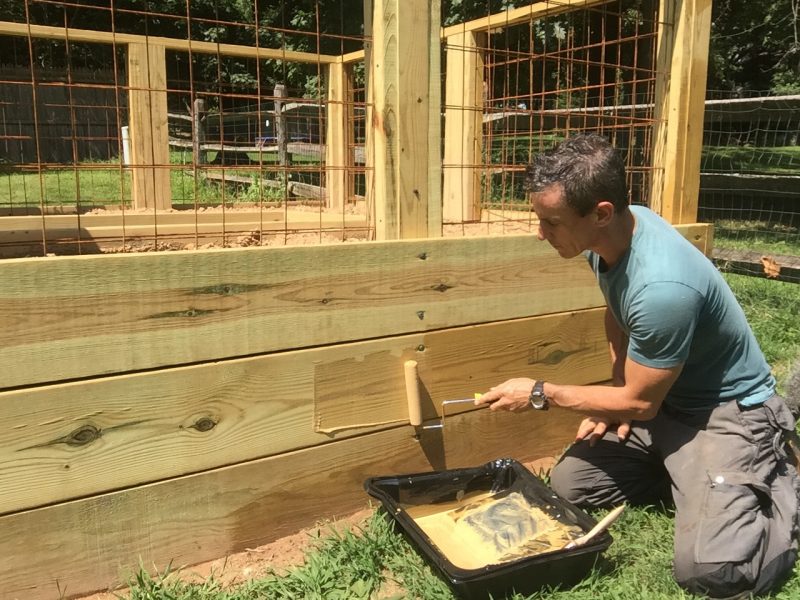
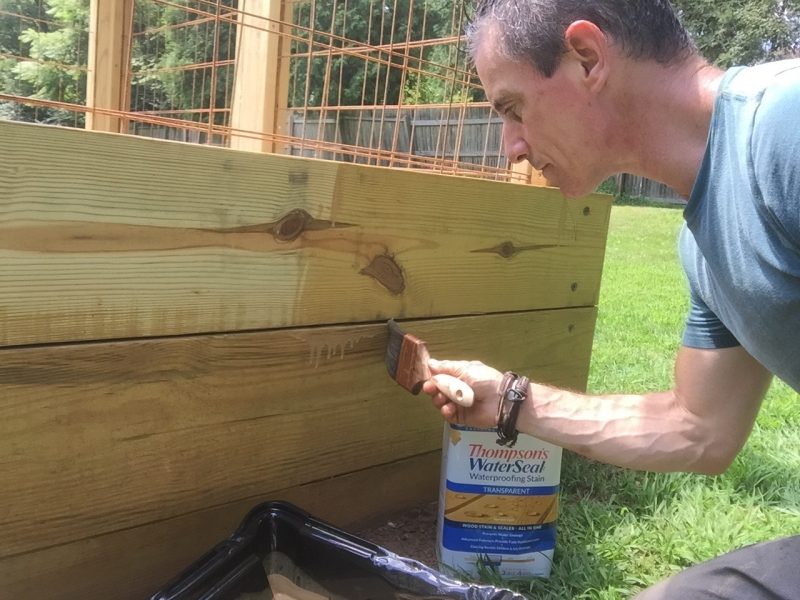
Gravity and liquid have a tenuous relationship. That’s OK, it’s easy to get them to play nice. I used the Purdy WhiteDove Jumbo Mini Rollers with the 12” long Purdy Revolution Jumbo Mini Roller Frame, which ended up being the perfect size for the sideboards. The Purdy 9” Paint Tray also held just the right amount of stain—I used Thompson’s WaterSeal Waterproofing Stain Transparent in Harvest Gold to add just enough color with lasting protection from water, UV damage, and mildew.
Because liquid sometimes wants to go anywhere other than where you want it to go, it needs gentle persuasion. Add the knobby screw heads and gaps between boards, and I needed to perfect my balance of tools and pressure a little.
Error: I overloaded the roller. Between the gaps in the wood planking, screw heads, and pressing too hard, I got some squeeze-out. Solution: Roll-on, then strike-off with the Purdy 3-inch XL brush then load less stain in the roller for Round 2. Simple.
I liked the mini-roller for soaking the end grain (the cut ends of the boards) which are more absorbent than face and edge-grain.
How I stained the raised garden bed.
Liquid likes to take advantage of us if we use too much. So, a couple things happening here:
First, I started on the back side of the garden. I’ve tackled projects I’ve never done before enough times to know there’s going to be a wild card. So I want to be sure I explore those cards on the most hidden face of the raised garden bed, or whatever the item is.
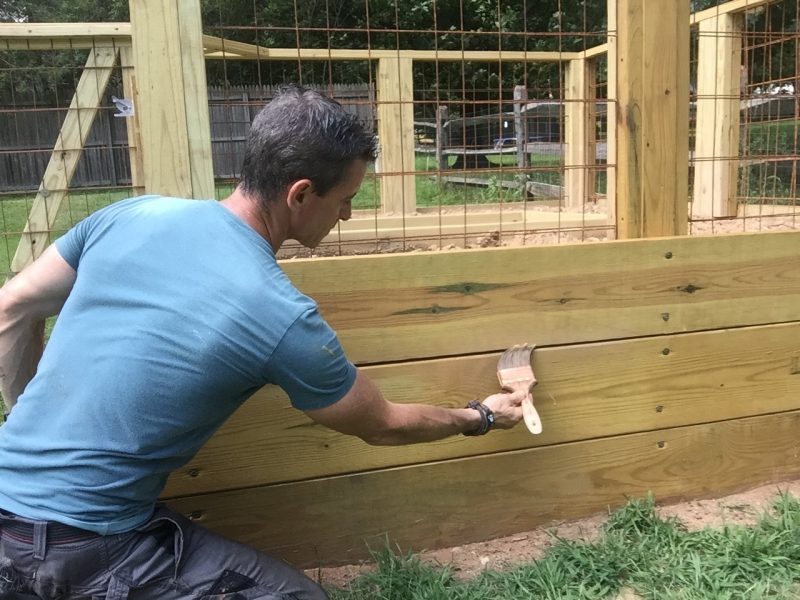
Here, it was clear I needed to coax the stain into the gaps between boards after pressing the roller too hard against the gap.
I used the back to practice. Now I can see how the liquid reacts with the tools and the wood and the textures. Now I’m dialed in. The tools and I are covering the gaps purposefully and much more cleanly now.
Which leads to this: If you’re working on a really hot day where Mother Nature does not want you to have any sweat left in your body, think about waiting until the temps go down. This will give you more time to get used to the balance between liquid, solid, brush, roller, wood and dry-time.
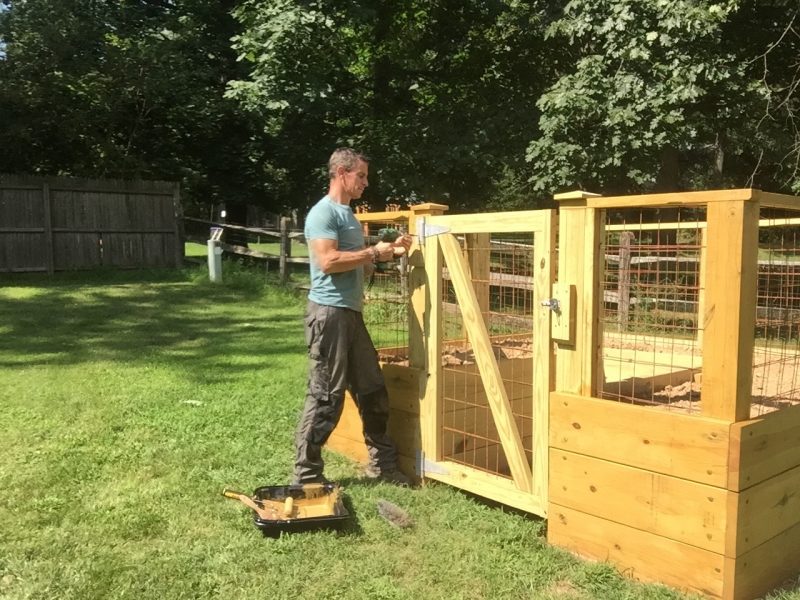
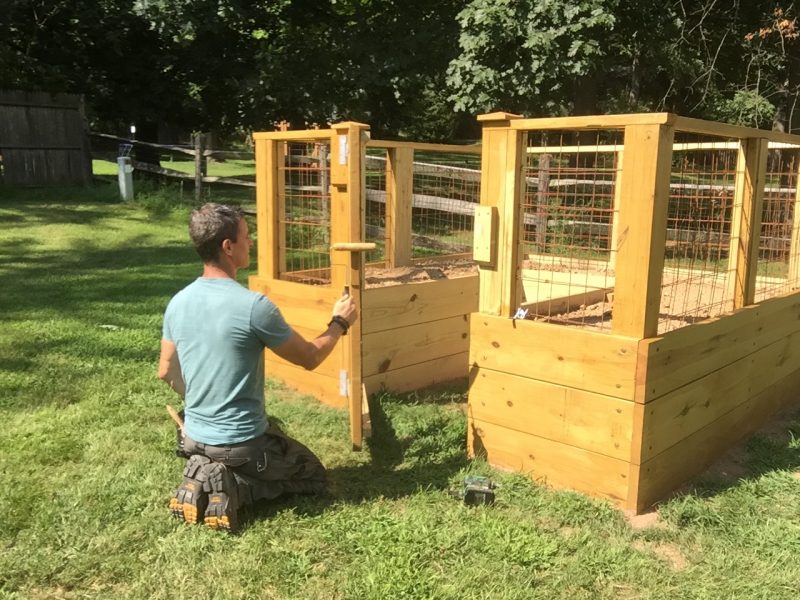
It can be frustrating to jump between tool types and activities. That’s also, sometimes, a signal it’s worth doing. Instead of trying to paint around the hardware, I removed it, one hinge at a time. I applied the stain, replaced the hinge, then repeated for the second one.
A few post caps finish the look.
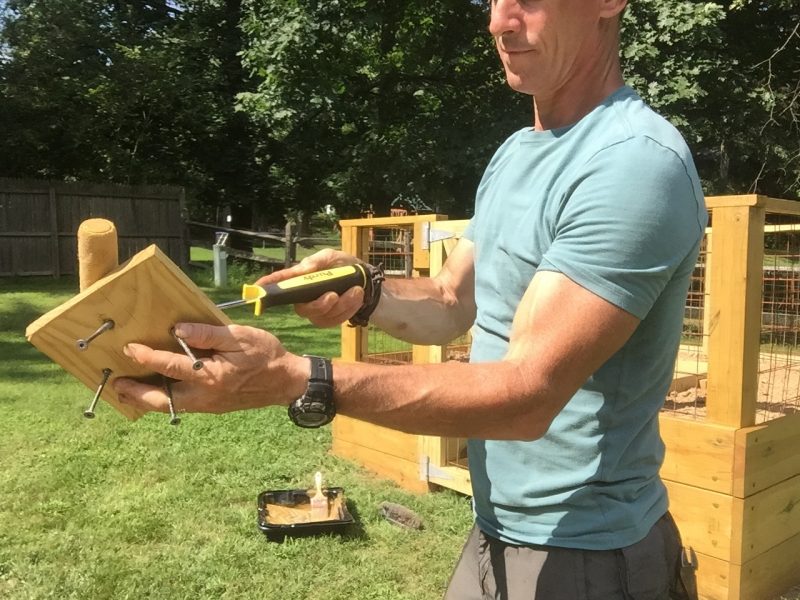
Probably because I am a dweeb; or maybe because the gate posts looked just a little lonely on the raised garden bed, I added post-caps (how to make post caps video here). Because the bottoms will absorb moisture when it rains or snows, I removed them (they looked like a 4-legged spider with screws for legs), rolled the bottom with the jumbo mini-roller and then sealed the end-grain of the post too.
A word on the Purdy Jumbo Mini Roller: I didn’t own a mini-roller because I’ve had so many clog, or the rollers don’t turn, or the roller cover is a mess. However, this roller frame and cover worked flawlessly and didn’t leave a speck of lint behind. So, now I do own a mini roller.
I gave a lot of thought to only using the XL Sprig—and I could have, almost—but the Revolution Jumbo Mini Roller Frame with a 6 ½ -inch WhiteDove Jumbo Mini Roller Cover was extra-awesome in certain places like on the edge and bottom of the gate. It glided over the wood easily without catching or stalling, and provided an even, smooth finish.
What are the tools we used?
Needless to say, it’s easier to stain a raised garden bed when there’s no garden in it.
Also, even though I asked Purdy to try out their bigger 9-inch WhiteDove Roller Cover and new POWER LOCK extension pole (which are awesome), on a project like this with so many direction changes, inside corners, gaps and contours, the brush was King.
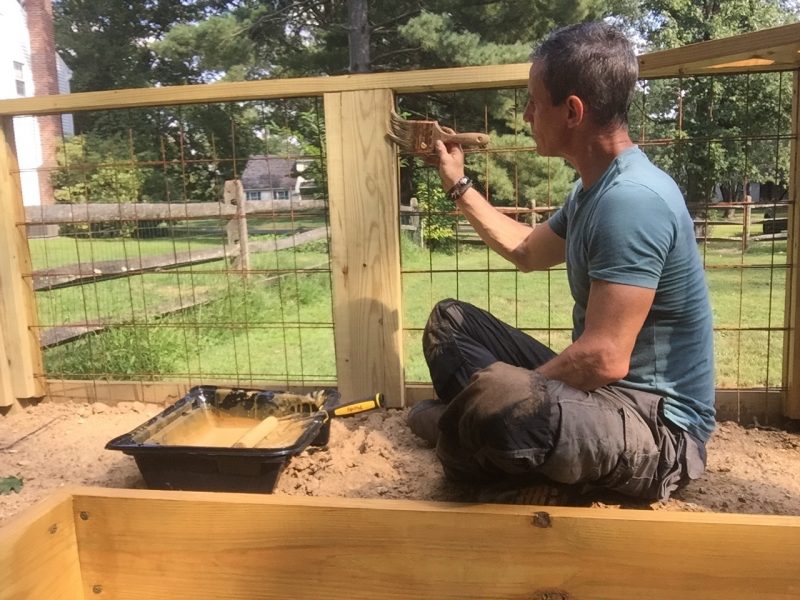
Using the dip-and-dab method—dip the brush in the stain, dab it on the roller tray to release drips—was fast, dependable and after a while, incredibly pleasant.
The Thompson’s WaterSeal Waterproofing Stain has awesome coverage. Nevertheless, it’s worth going back and looking for little areas that could use a dab or extra brush stroke. Like, for example, I took several beauty shots of this project before realizing I had missed about 1/3 of the right gate post.
Finishing in time is a job well-done.
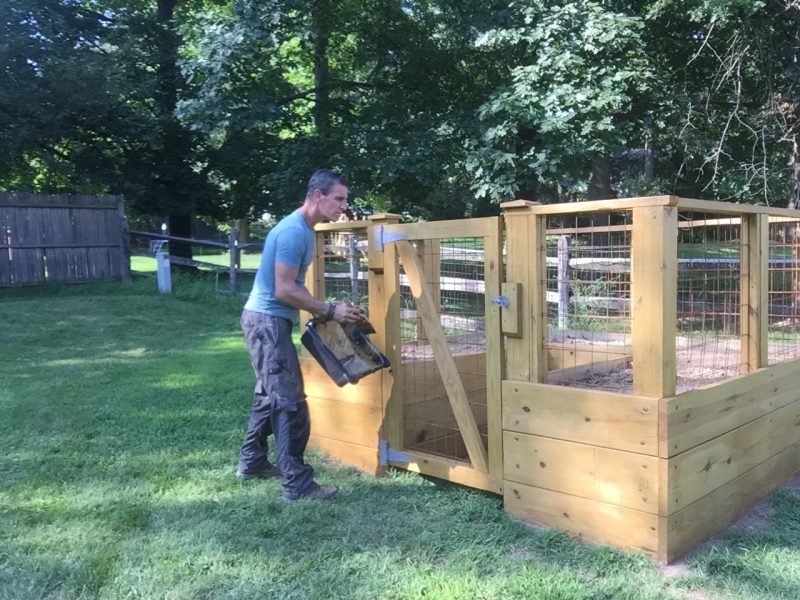
This garden was built just in time to get some goodness in the ground before our first, for sure frost. First, soil. A lot of fill came from a construction site: veggies like healthy, nutrient-rich soil to grow in, so I recommended our client till in some manure, peat moss and top soil before planting this year.
The carrots they’ll grow won’t be those machined, impossibly orange little blobs delivered in a plastic bag (yes, baby carrots are turned on a lathe). Just like any homegrown veggie, they’ll be beautifully imperfect, crooked, not always extremely orange, and they’ll come right out of the ground with real dirt on them that you wash off yourself.
However, I think a big part of this raised garden isn’t just the tomatoes and cucumbers and maybe watermelon that can be planted next spring, but the memories the lucky mother and daughter (who this was made for) will make from planting them together as a family.
About the Author


