Here’s a kitchen/bath project I call a marriage-saver.

Its not that it saves the marriage directly, I hasten to point out, but it short circuits one of those small, every day problems that can really get on couples’ nerves and make the bigger challenges of life seem much more acute than they really are. And if you’re not married or your life is otherwise kitchen and bath trouble free, then this is still a fun, easy project that makes life in either room uber-better.
That’s right, I’m going with uber on this one. Here’s how it squeezes out.
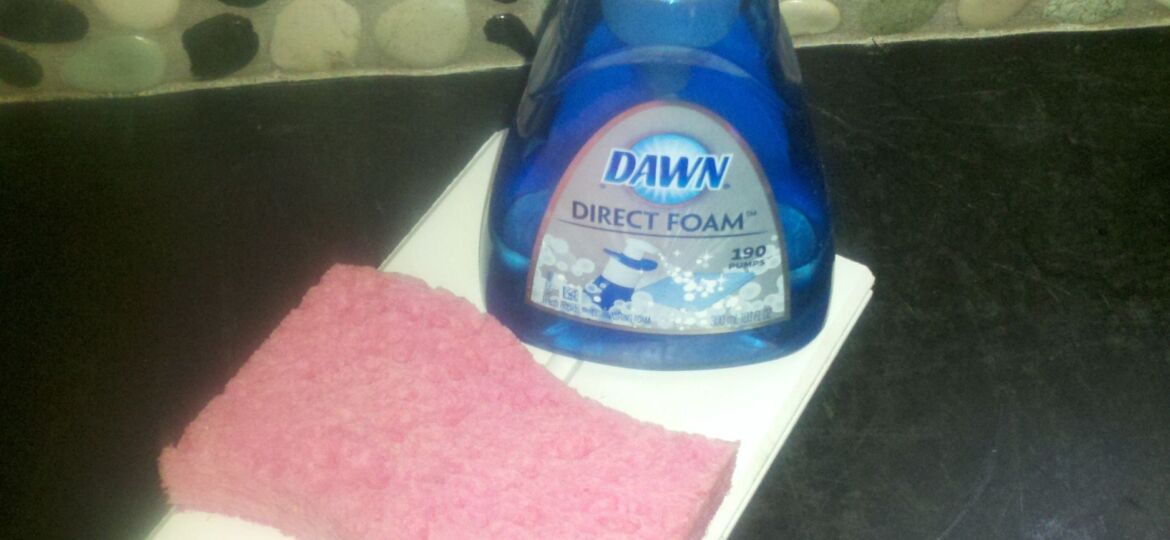
Problem. Theresa wants the kitchen sponge stored out of the sink rather than sitting in the bottom of the vessel.
I get it. It’s gross in the sink.
Compounded Problem. But I think the sponge is gross. I don’t want it on the counter.
Neither of us wants it leaking its schmutz into a saucer we re-purpose to keep said schmutz contained. That’s just transferring gross and making it even more visible. And gross.
So thus begins the “where’s the sponge now” game. Every time I leave the sink, it’s IN the sink. Every time I come back, it’s NOT. And vice versa for her.
Like water tricking down a cliff it can become a waterfall…
Grrrrr…..Wait…Is That a Light Bulb Over My Head?
Then it came to me. We had some PVC molding from a porch we remodeled left over in the shop and making a MyFixitUpLife sponge dish from it was the perfect solution. All you need is a 1×6 beadboard. Here’s what I did. My marriage and sanity already thank me.
- Cut a piece of 1×6 bead board 7 ½ inches long—not too big to be on the counter; big enough to fully be under the sponge. Turn the sponge the right way and you can store a small bottle of dish soap on there too.
- To get the piece off the counter—both for looks and cleanliness—I cut four 1 ½ x 1 ½ inch FYPON squares as “feet.” These are small pieces, so if using a power miter saw, be extremely careful.
- In the center of each foot, I counter-bored a ½ inch diameter hole half way through the blocks in the centers using a paddle bit and my impact driver.
- I positioned each block ¾ inch in from each edge and sunk a ½ inch Teks head screw in each foot.

That’s it.
The molding is clean and white, so no paint required. It washes off easily and it doesn’t matter if it gets wet—no staining, no smell, no nothing. The bead and bevels give some nice shadow lines that look terrific (a simple block of full-on 1-by would be a little too monolithic for our kitchen counter.) They also allow air to get under the sponge enabling it to dry without stinkin’ up the joint like our original problem was starting to.
For the 30 minutes or so it took me to make this, it has already saved us both double that in just being able to walk up to the sink and know—and like—where the sponge is.
Soak it up. It’s a marriage-saver.


