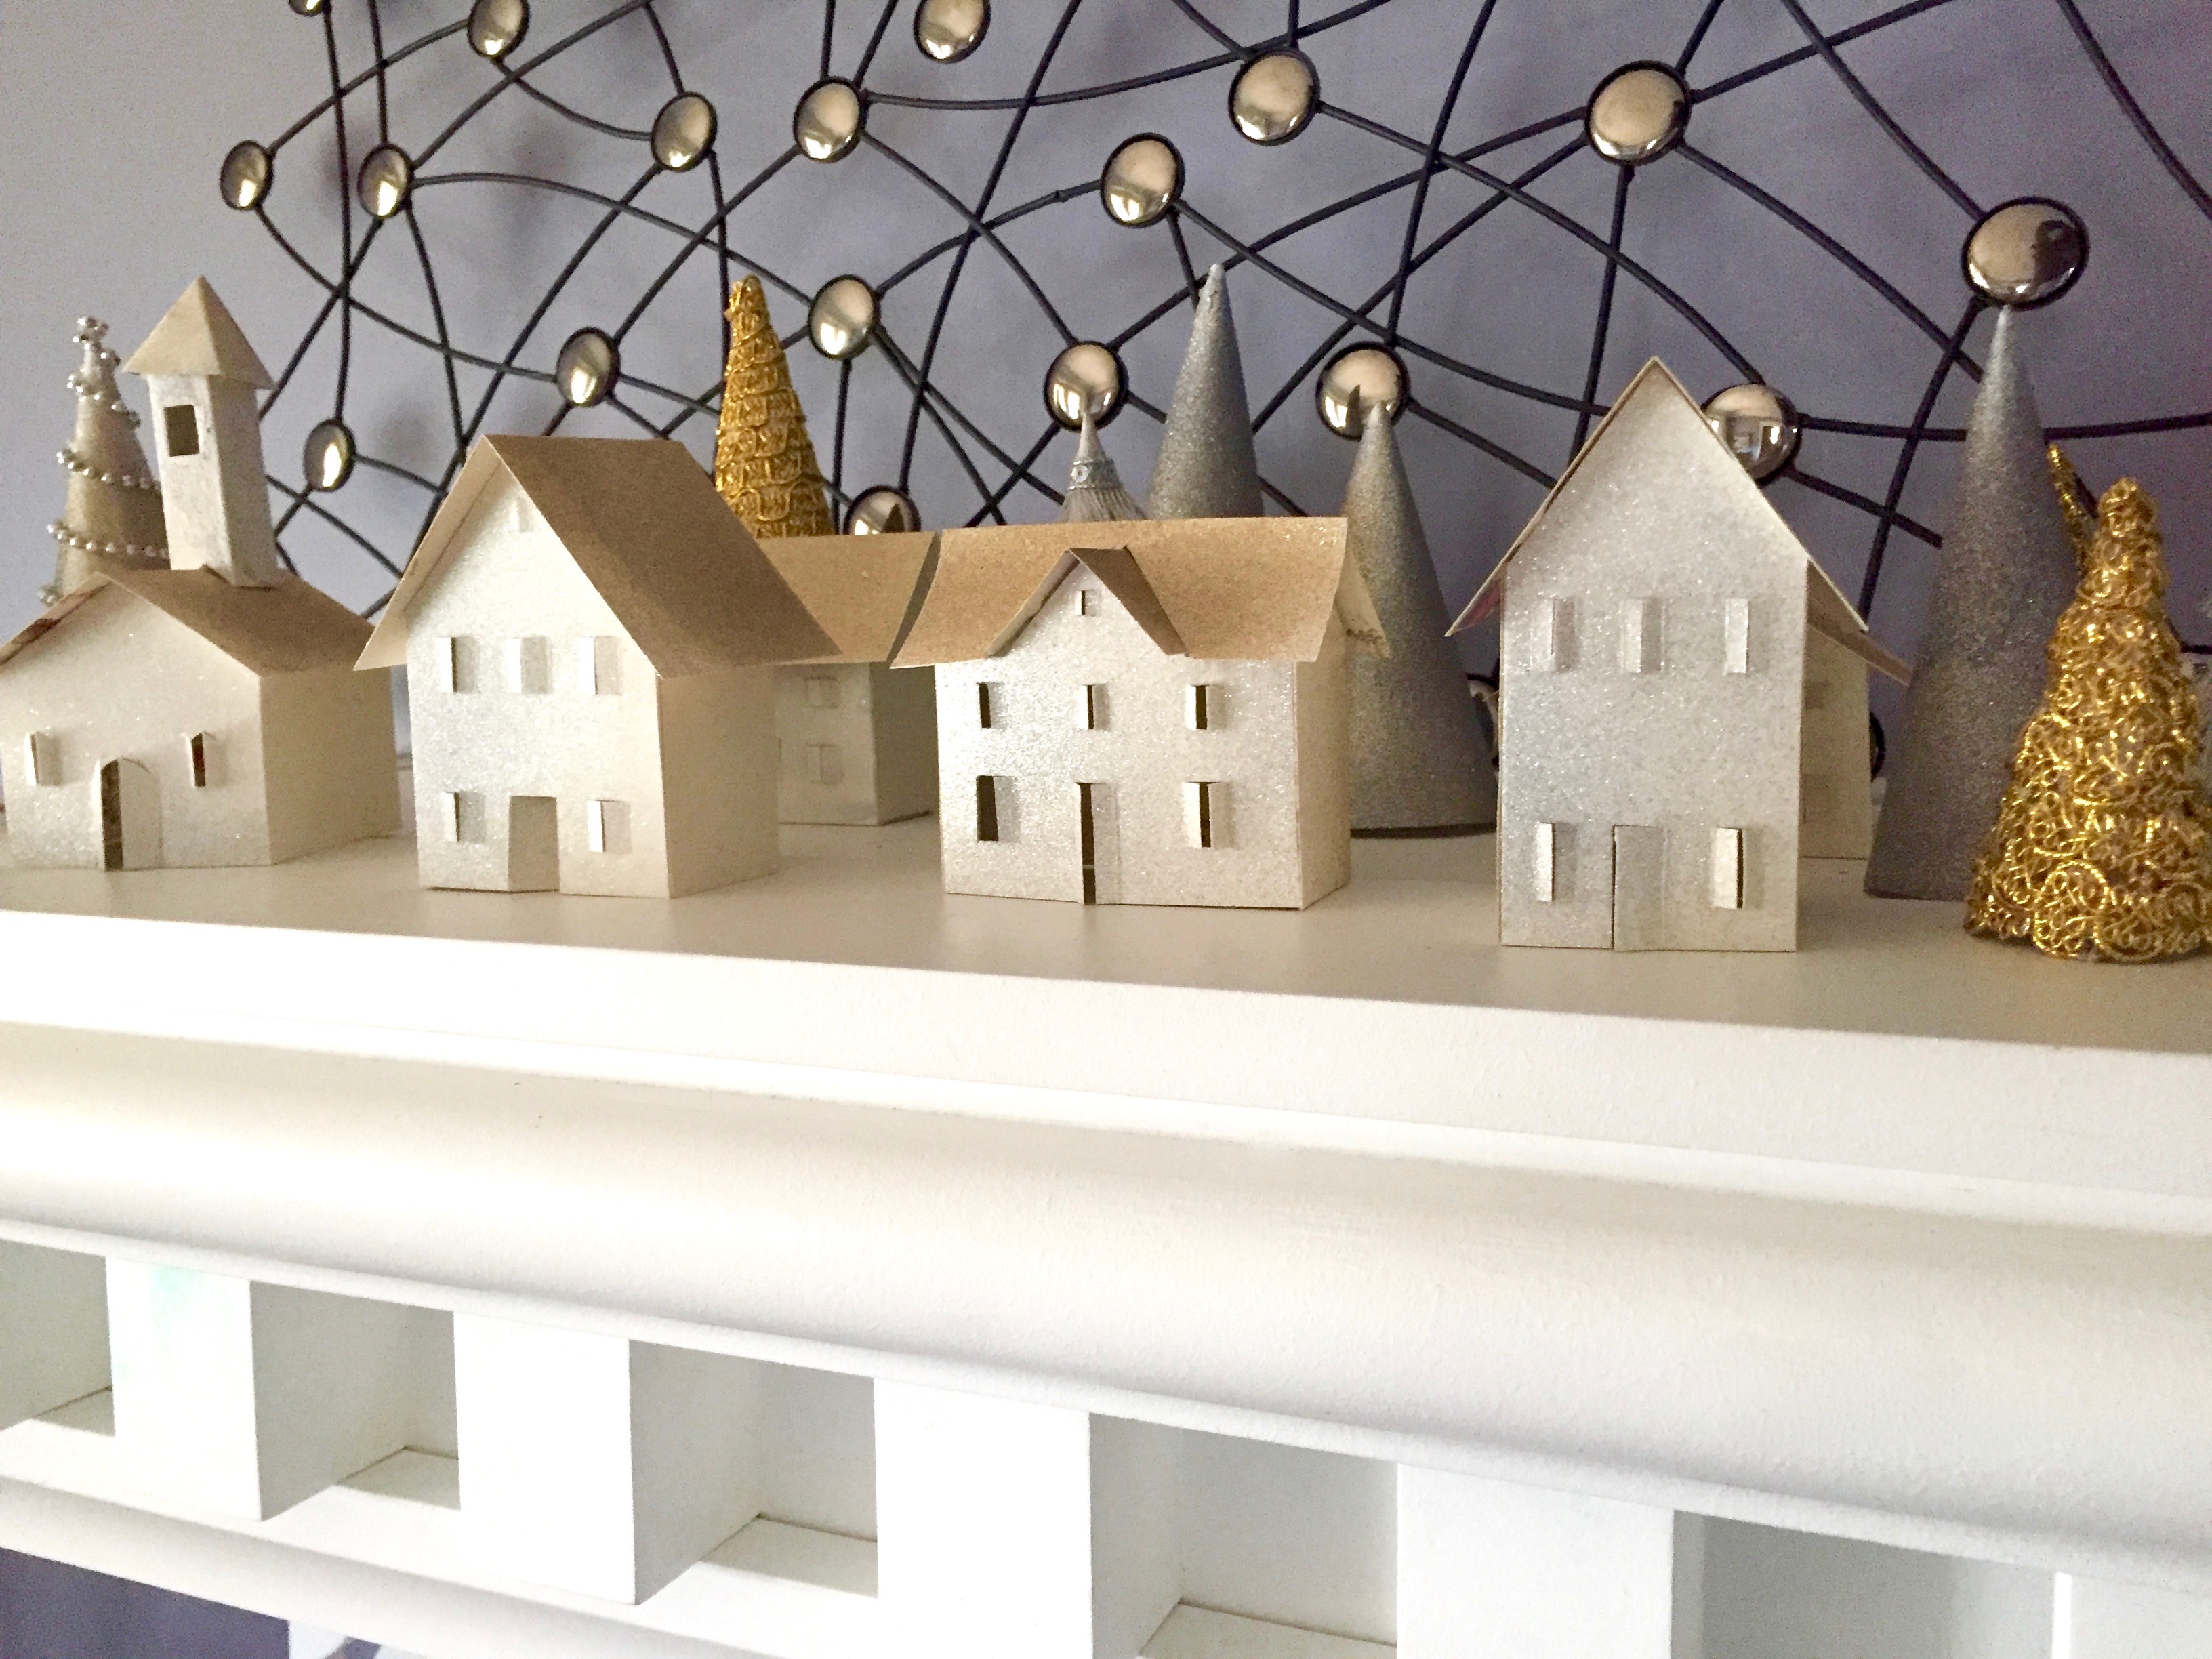
Holiday greeting cards and envelopes can be recycled, but it’s more to fun to repurpose.

It’s fun to make something out of something else, and I’m glad I had so many holiday greeting cards that had not yet made it into a recycling or compost bin.
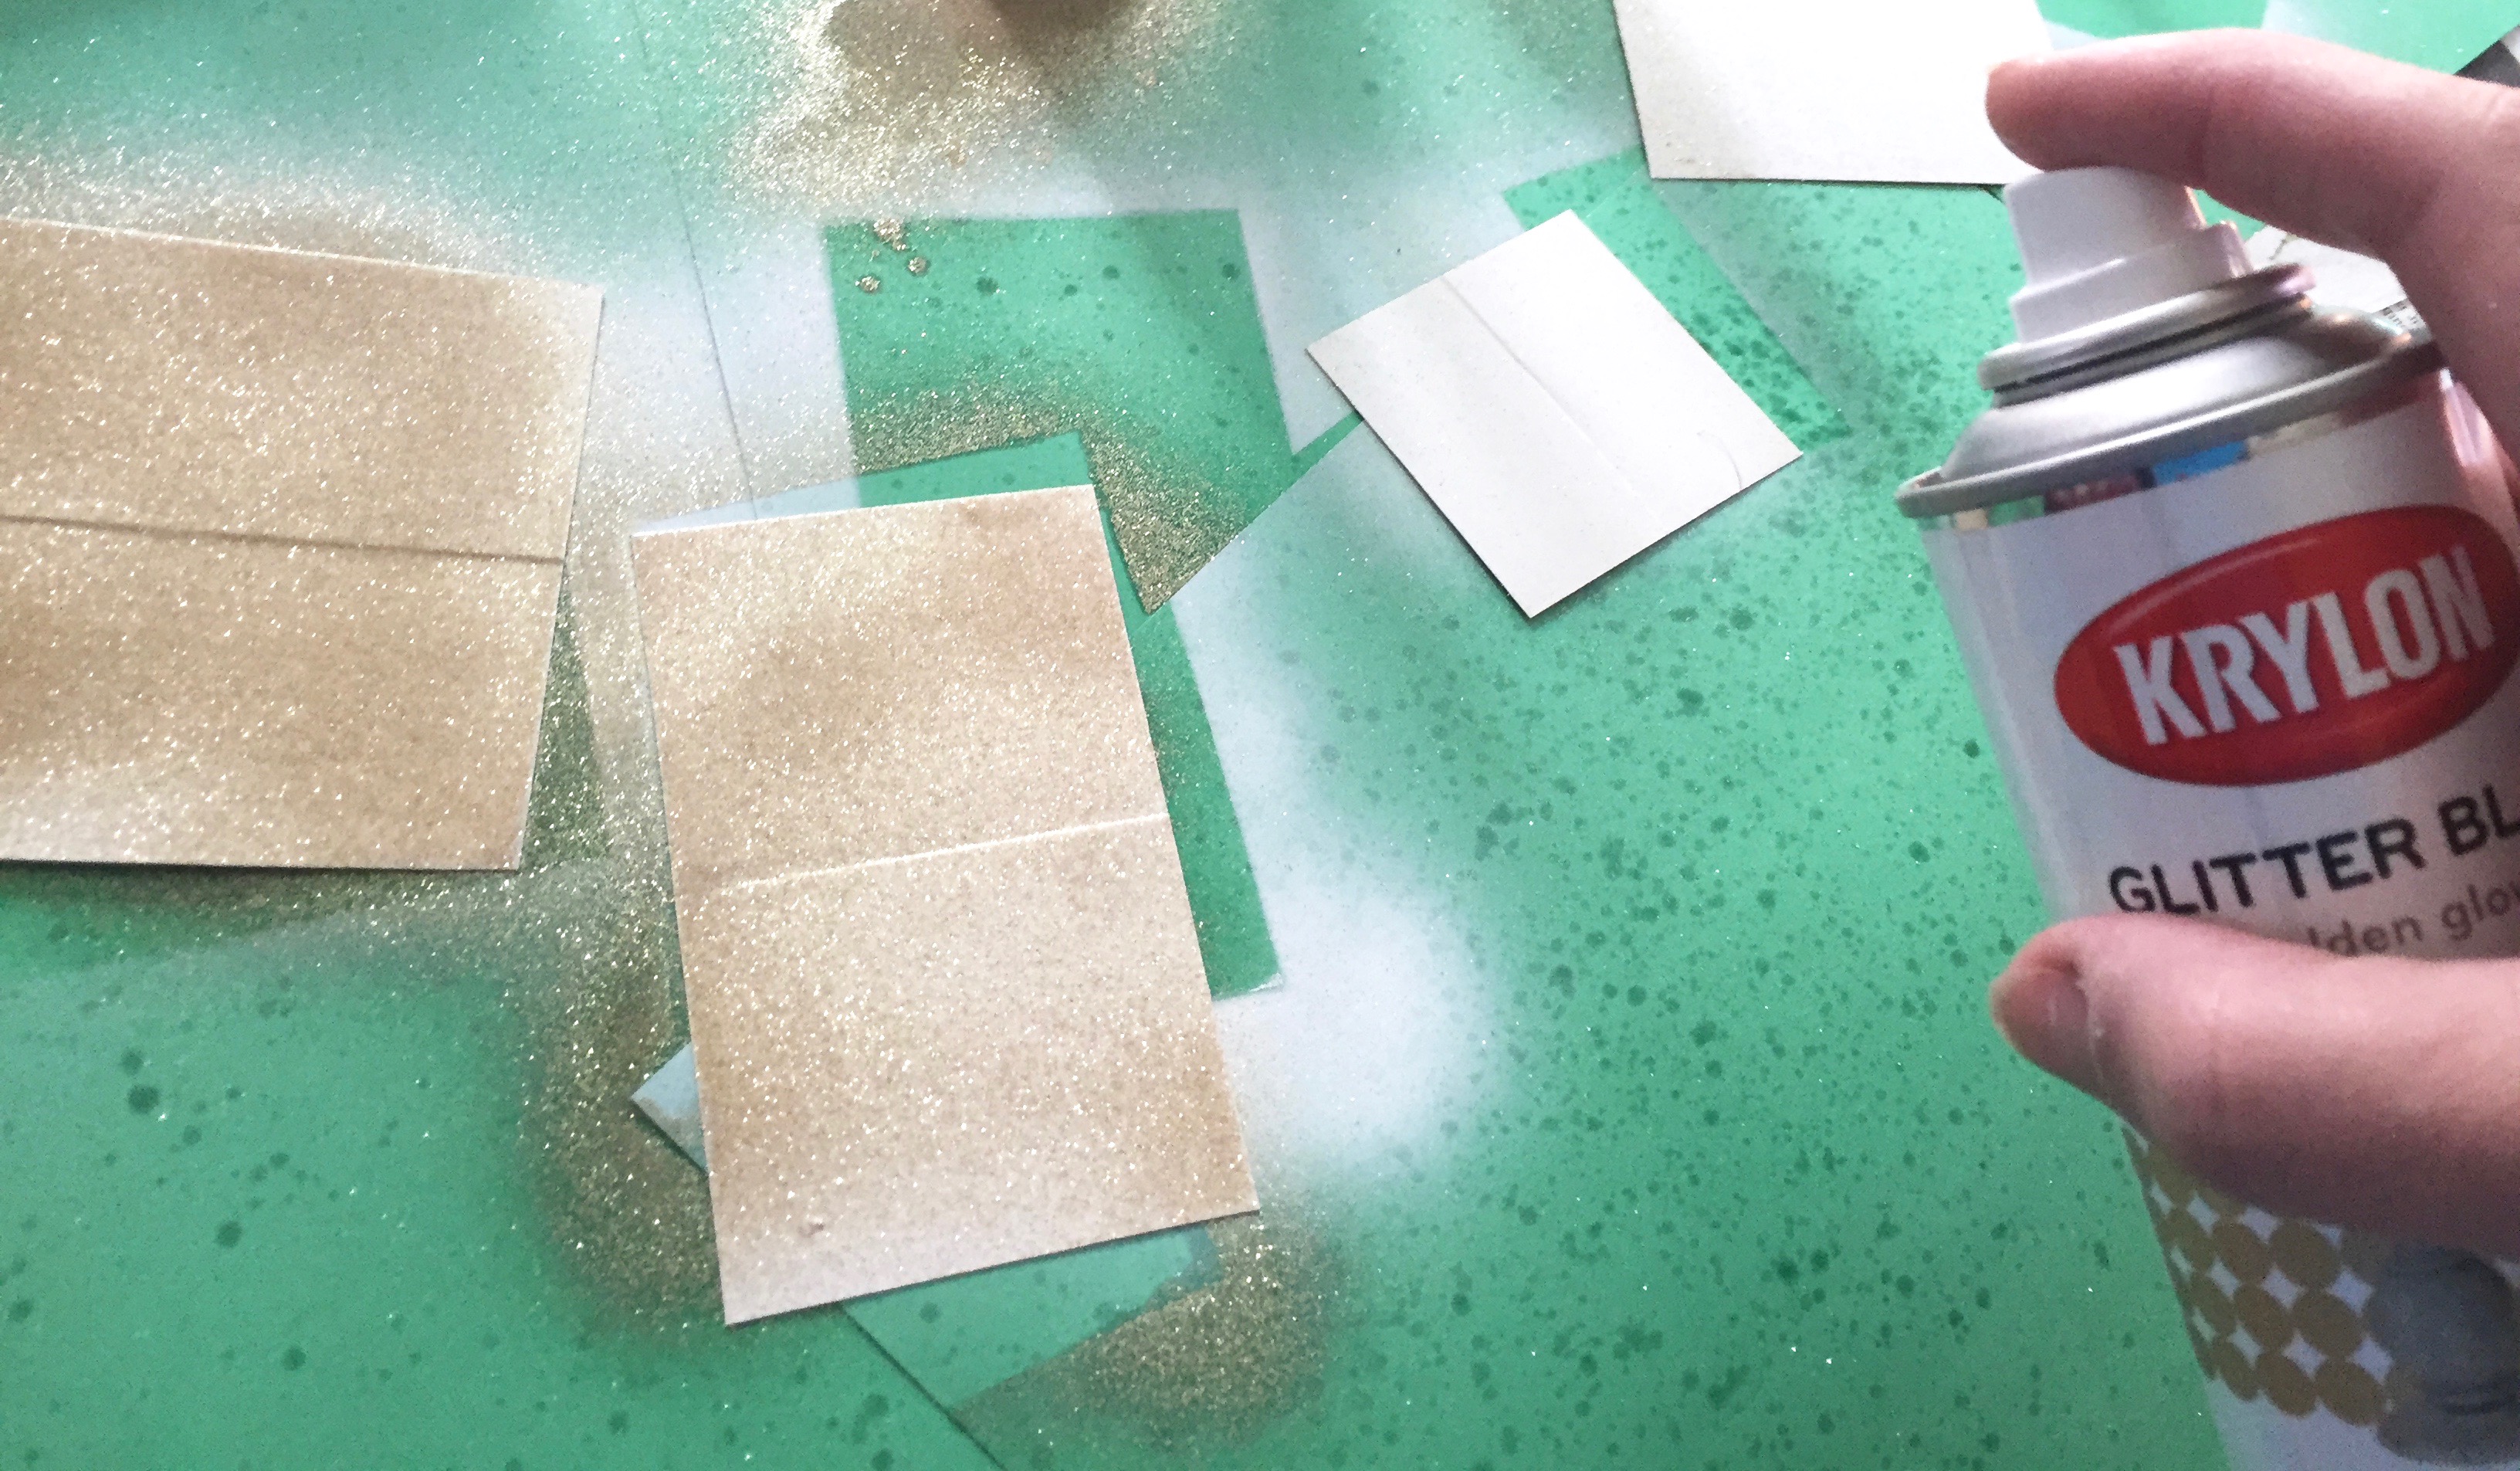
For this project, I wanted to make the little holiday village sparkle in silver, white, and gold. So I used Krylon® Glitter Blast™ spray paint. When painting paper and cardstock, it’s important to do a test spray, as paper can truly absorb more paint faster than another surface like melamine.
Here’s the how-to
How to make card trees
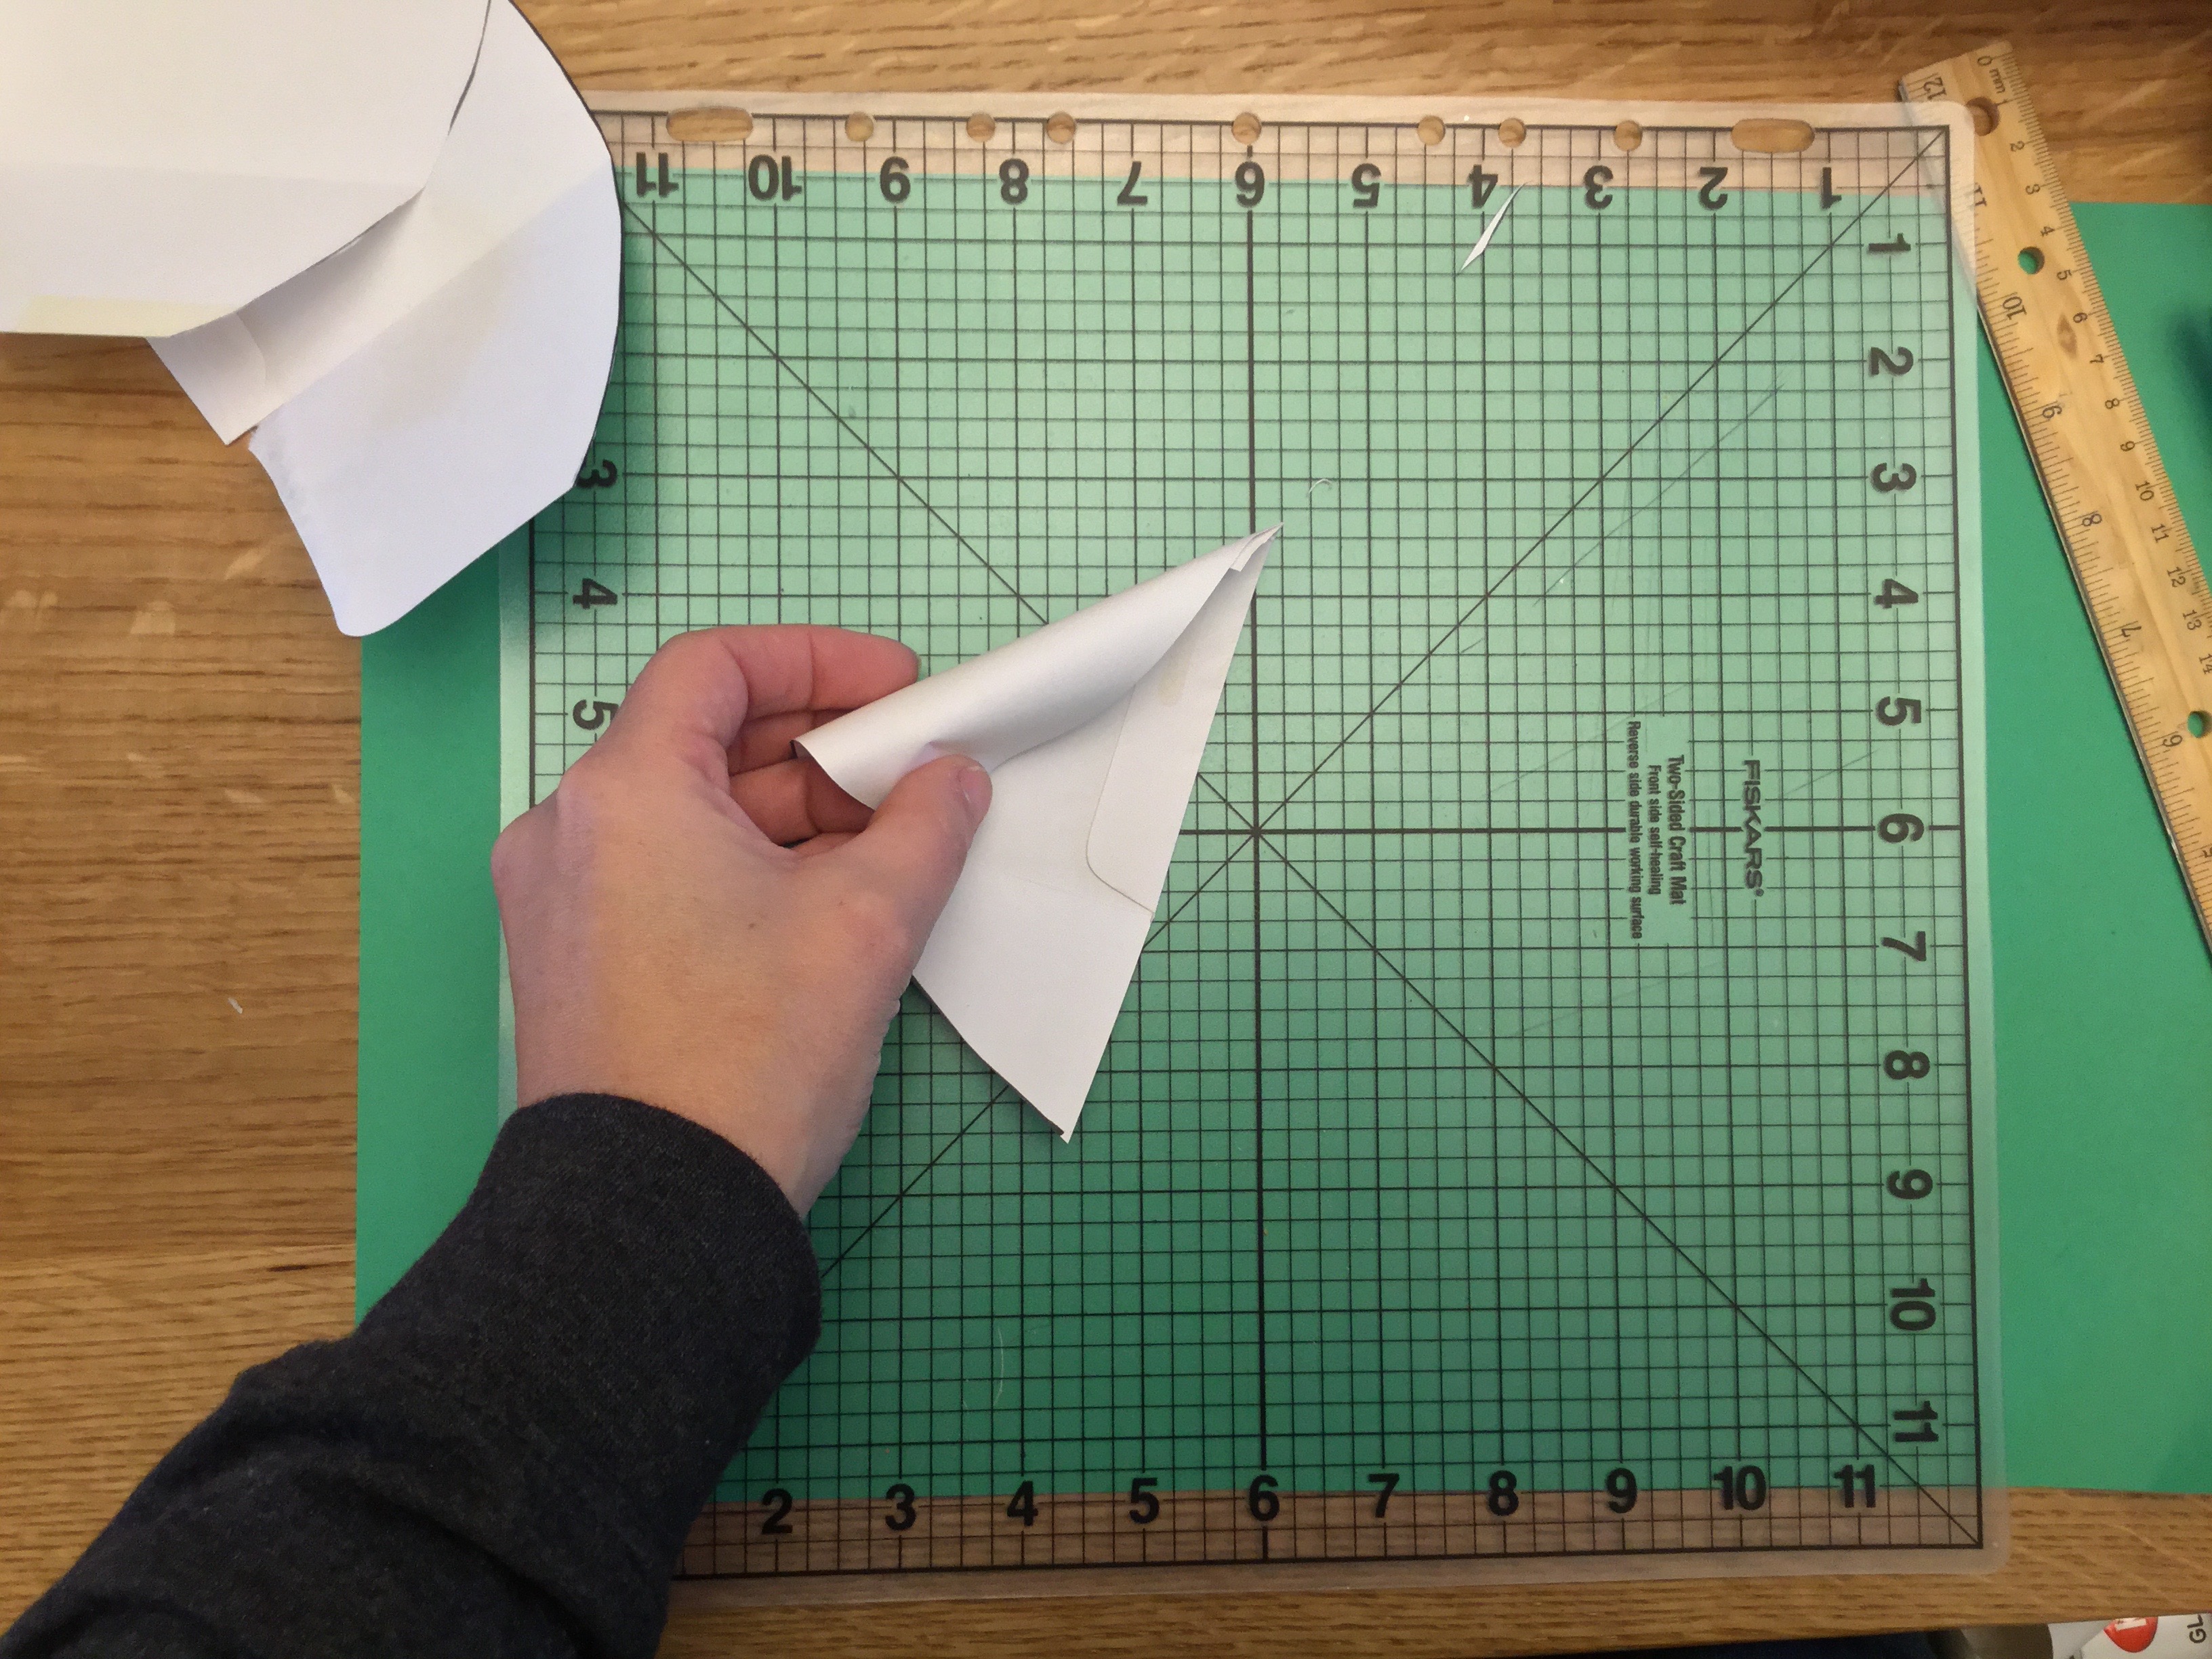
The first step in this project is making the trees for my little holiday village. Since the houses needed to have more precise corners, I used the envelopes for the trees. I opened each envelope on a cutting mat.

And then I rolled each envelope into a cone shape, marking the bottom so it would sit flat. I glued each little paper cone and set them aside for paint and embellishments.
How to make card houses
Next, I started laying out the card houses. The height of the houses needed to be proportionate to the tree cones, and also I wanted to take advantage of the fold of the cards as the roofs for each house.
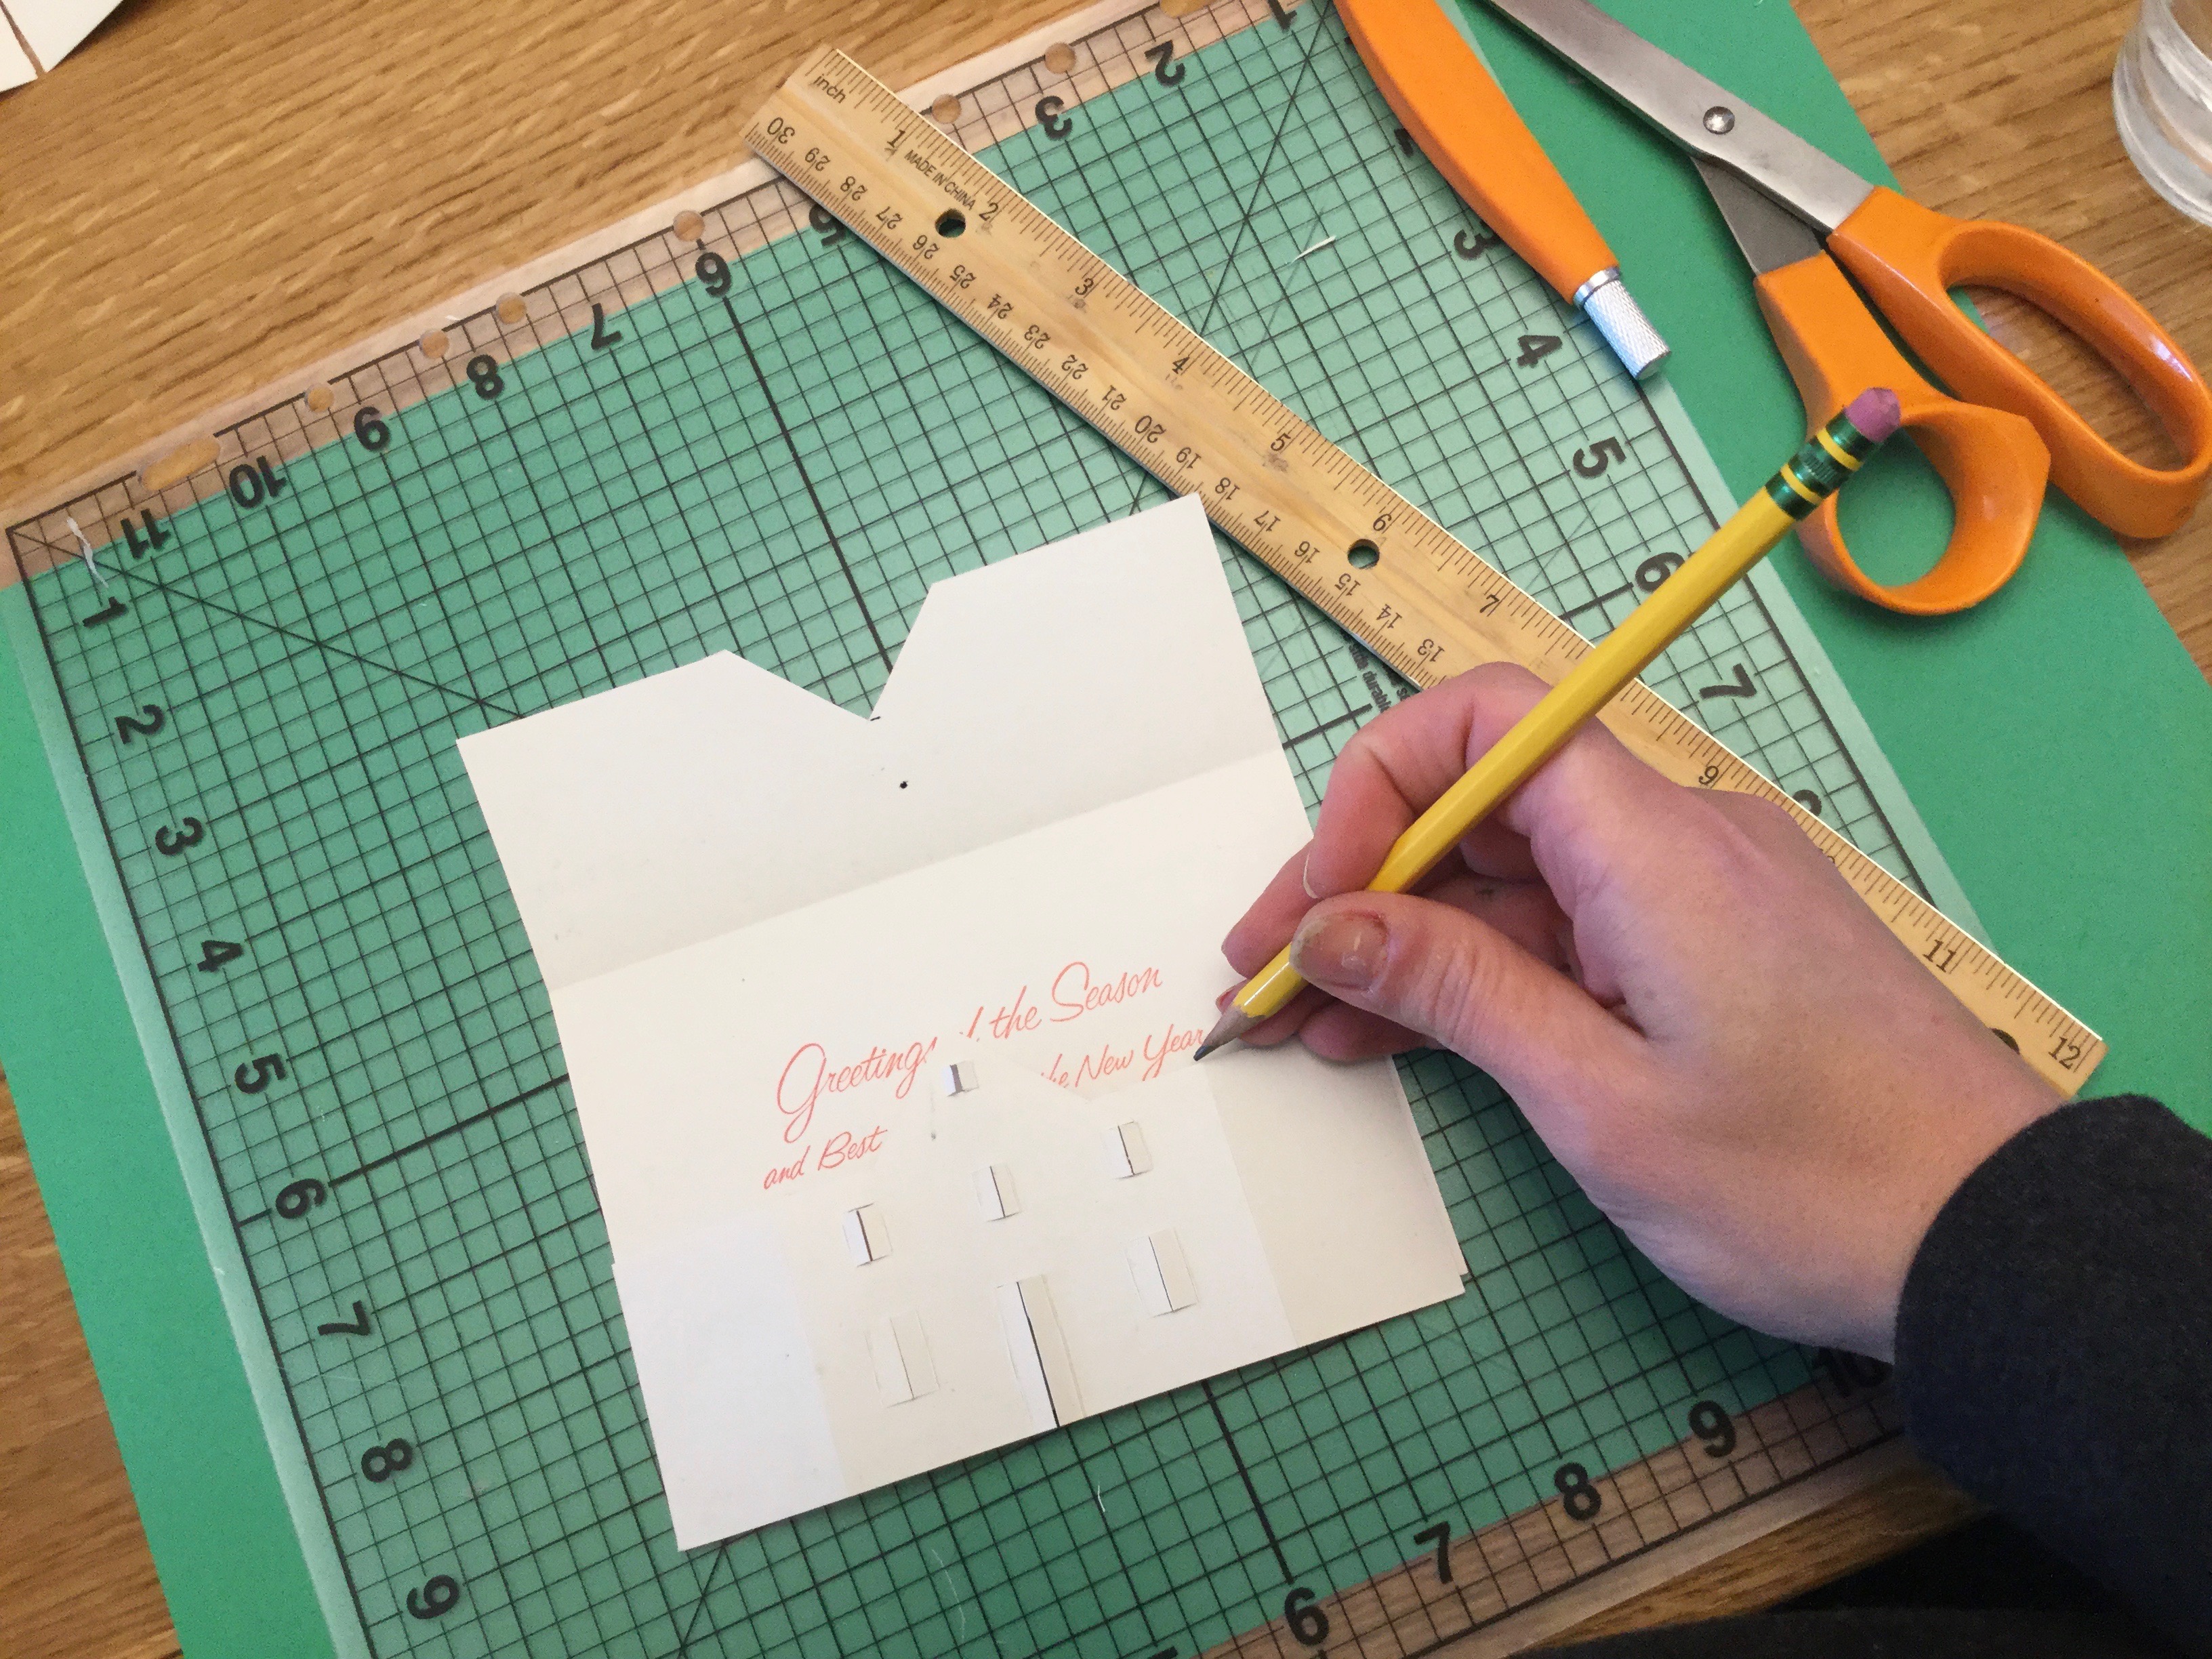


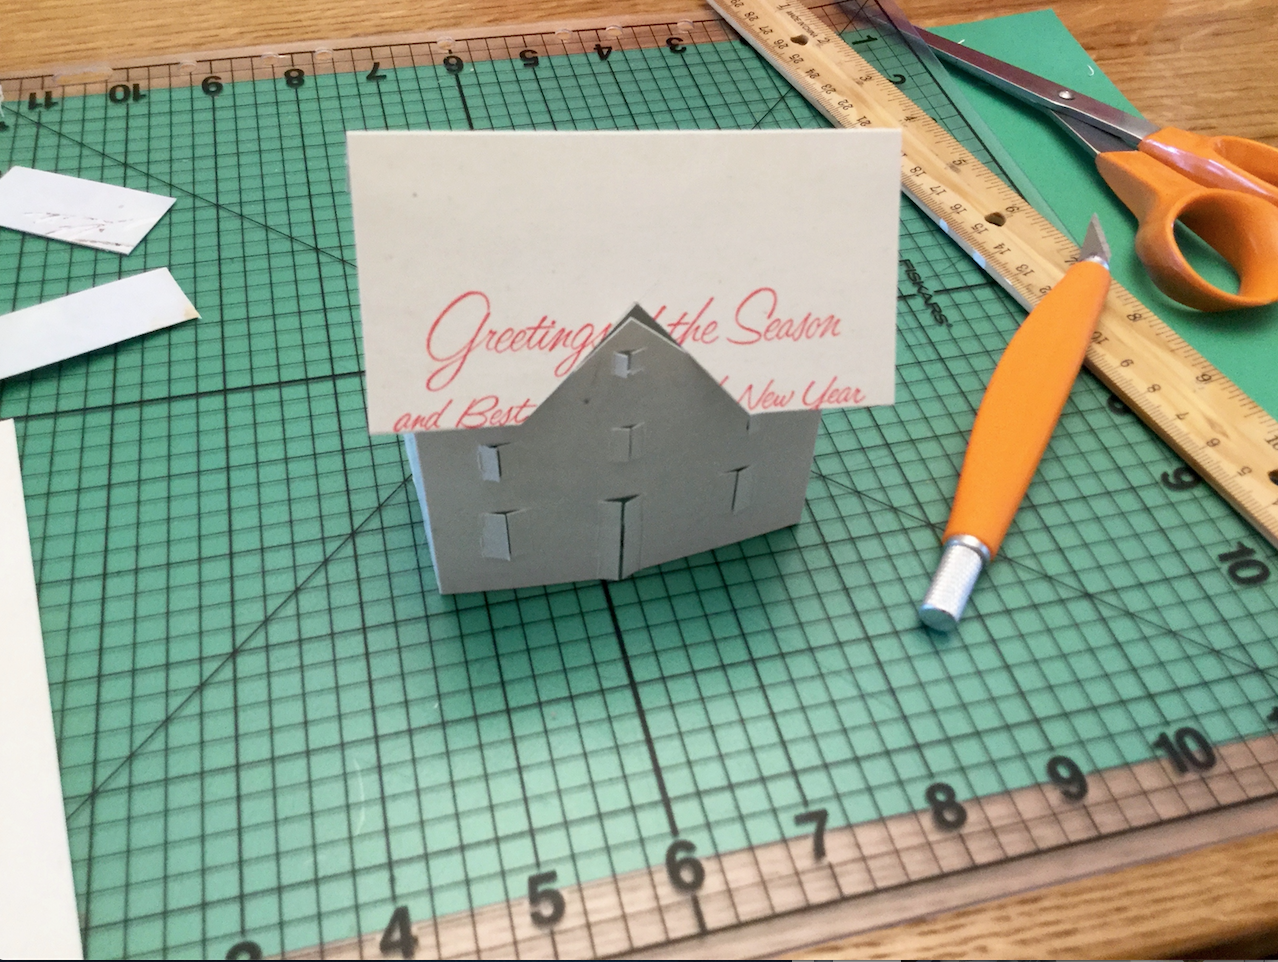
Each house façade determined the shape of the roof, and using the crease made making each roof so much easier.
If you’d like all of the how-to steps to this project, click over to Krylon. The steps and supplies to making this holiday card village are on this page.


How to paint the up cycled village
After cutting all of the elements out, I was ready to paint. I chose Krylon Glitter Blast in Golden Glow, Diamond Dust, and Silver Flash. I also had some Krylon Glowz® in White on hand just in case I got inspired to make some element glow-in-the-dark. When applying, always read the product label for proper application and safety instructions.
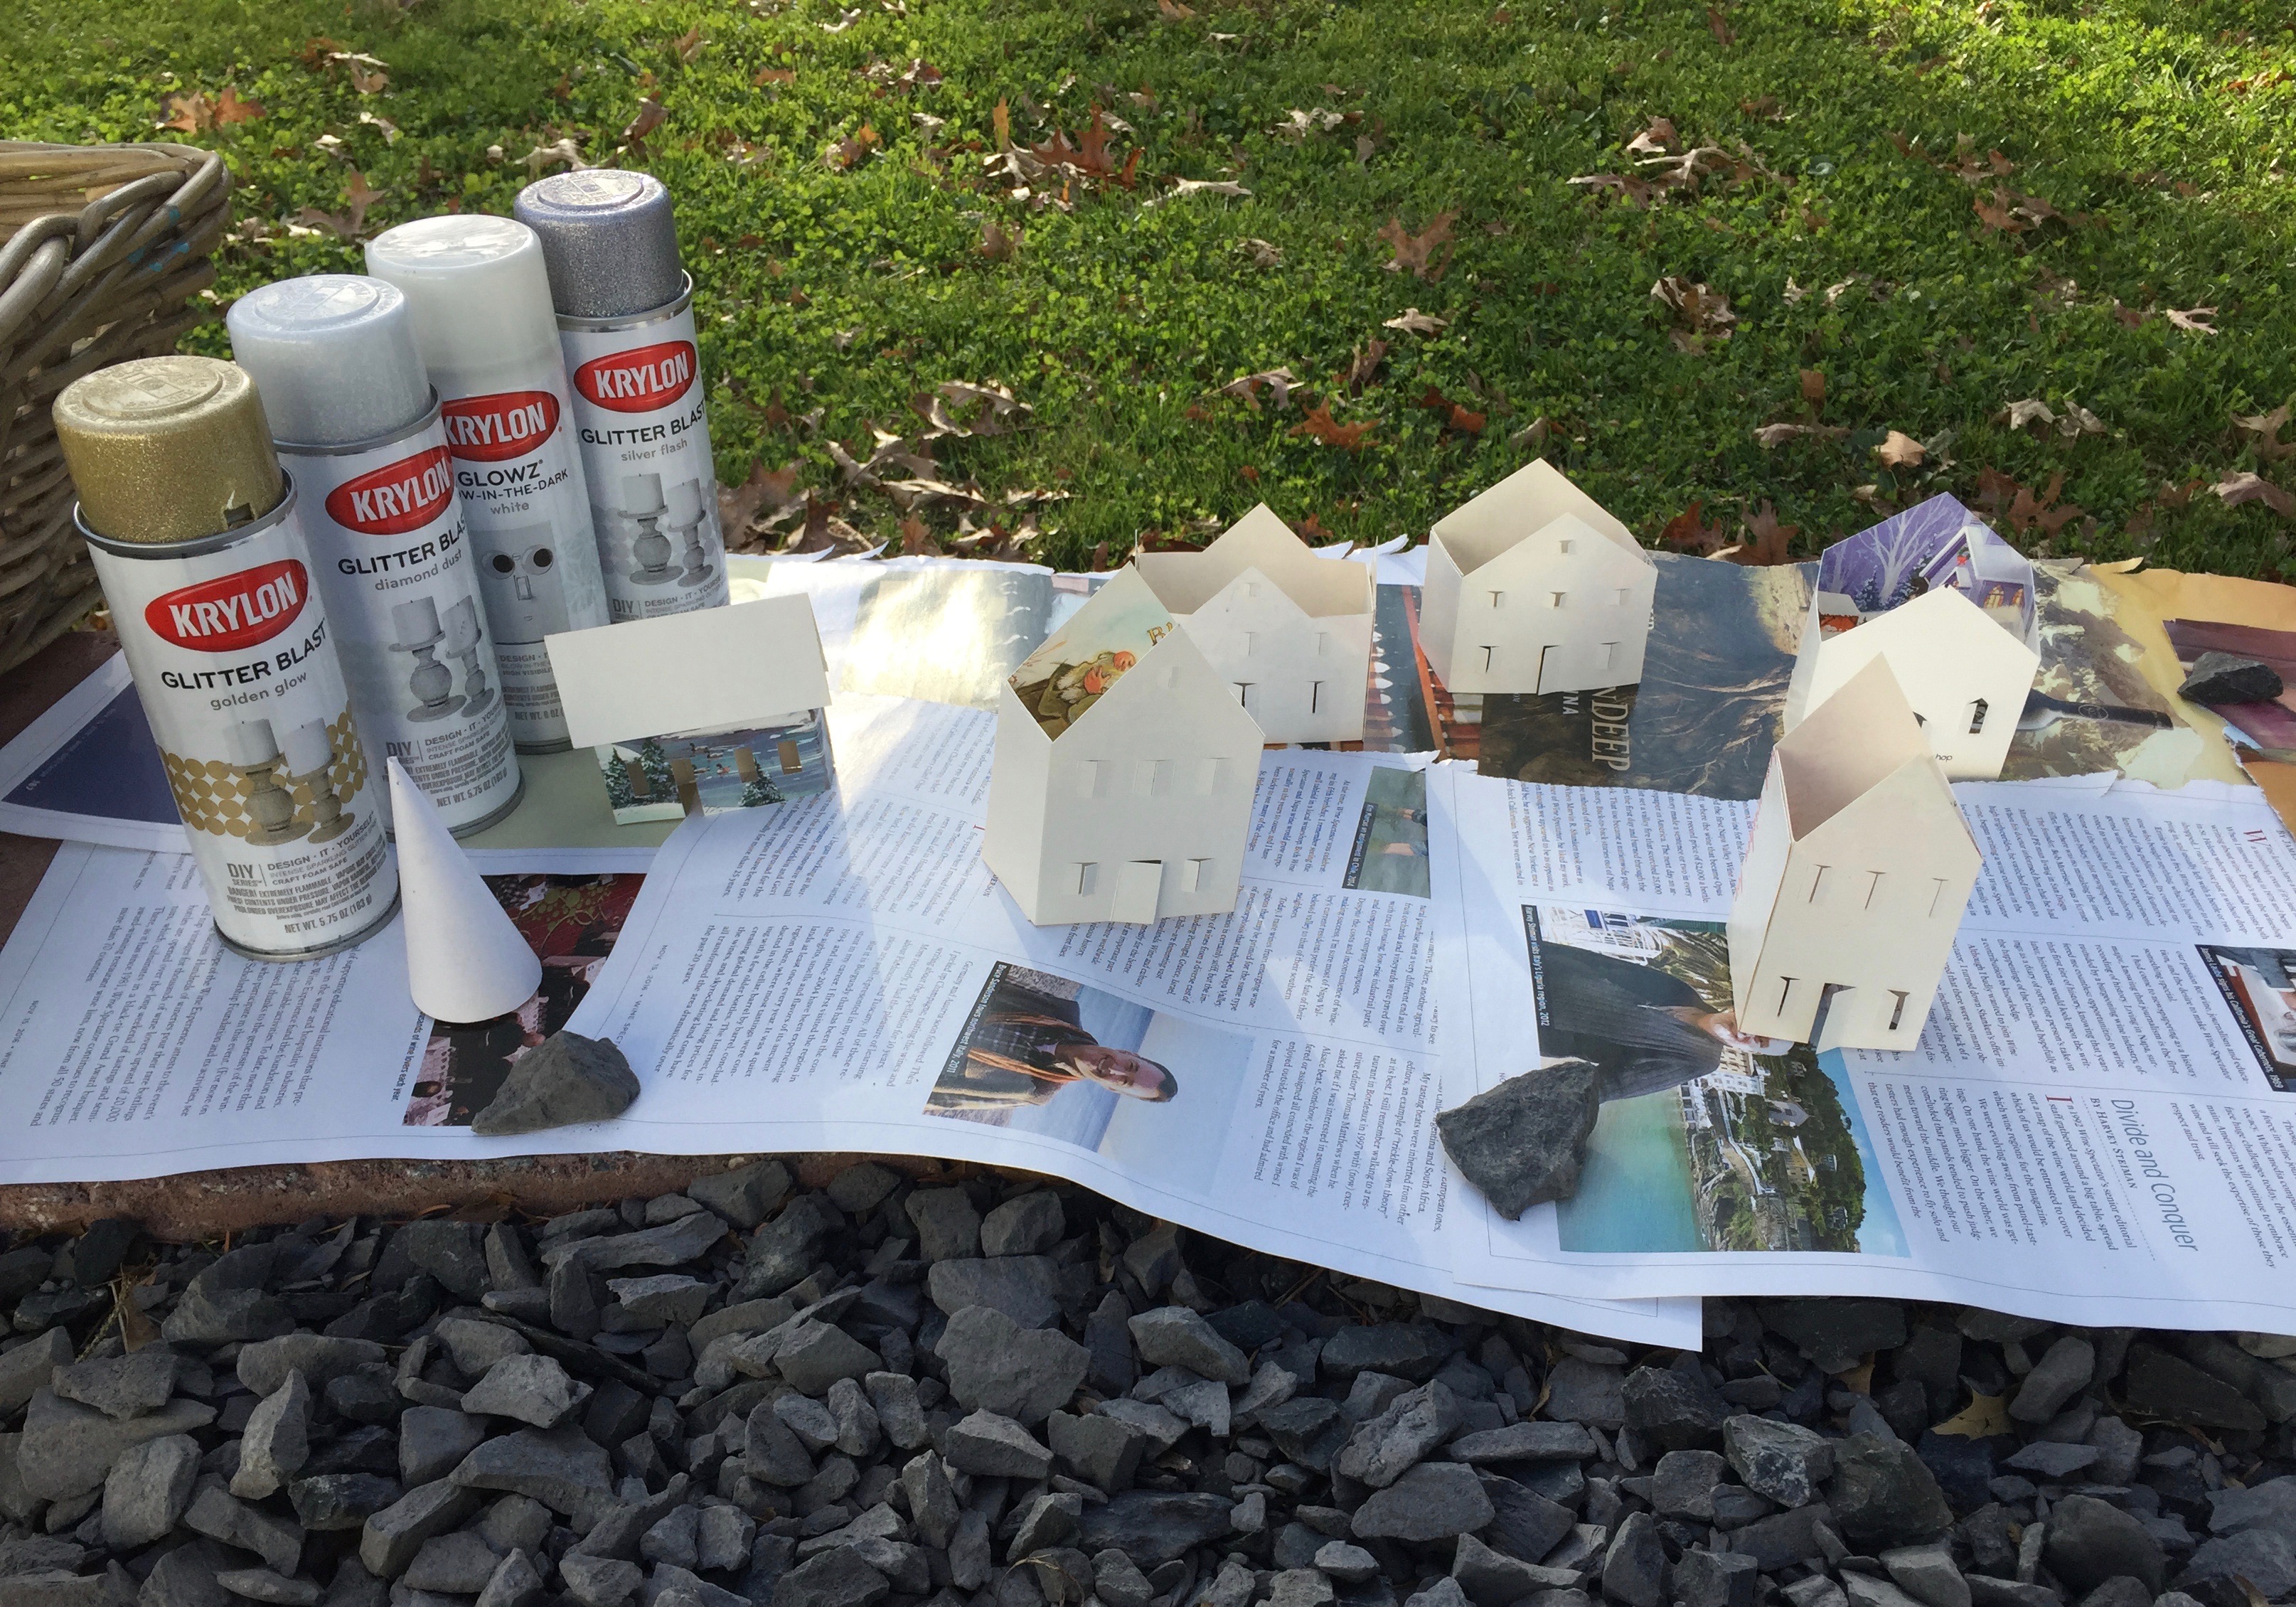


The Diamond Dust and Silver Flash are on the houses, and the Golden Glow on the roofs and trees.


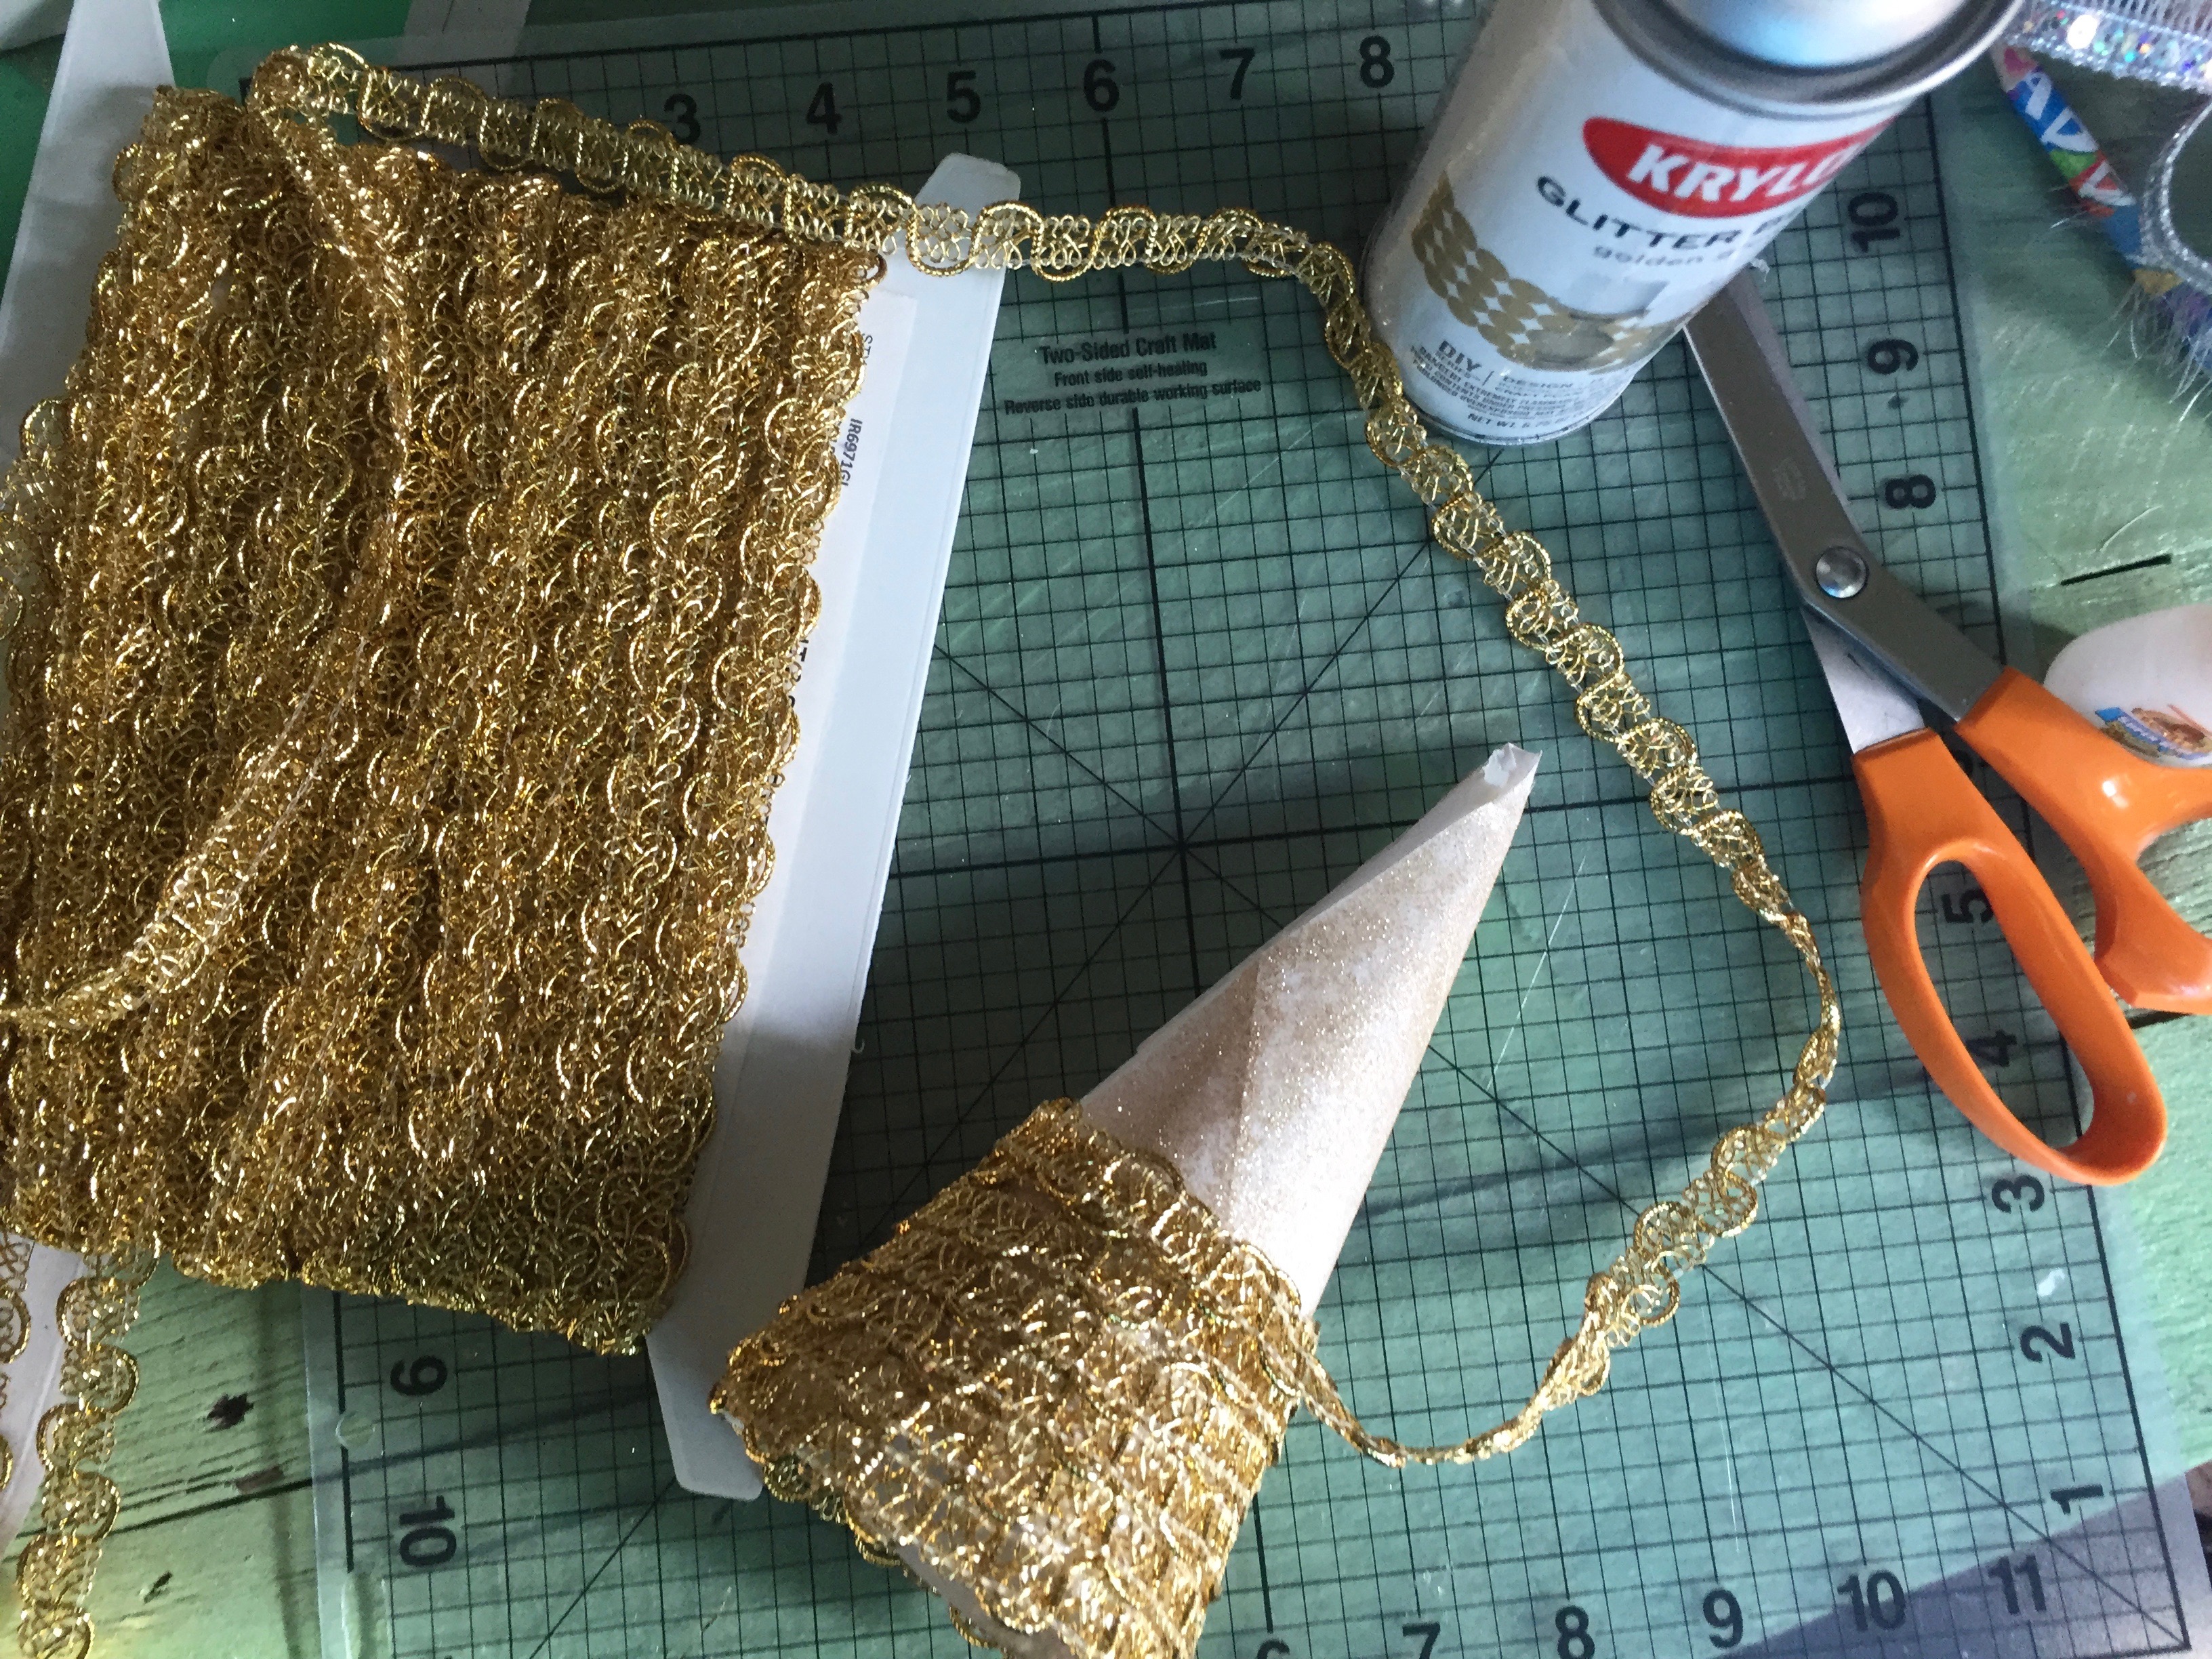
How to decorate
Some of the cone trees were painted, and some were painted and then embellished. I wanted to add a little bit of texture with silver, gold, and lace in the little holiday village.


The little holiday village is making me so super happy on our mantel. I have more leftover holiday cards, and the little village might be expanding soon!
Note: Krylon has provided me with some of the products used in this project. I was also compensated for my time and this blog post. All opinions and positions expressed here are my own and do not necessarily reflect those of Krylon. For more information about painting projects, please check out Krylon online.
