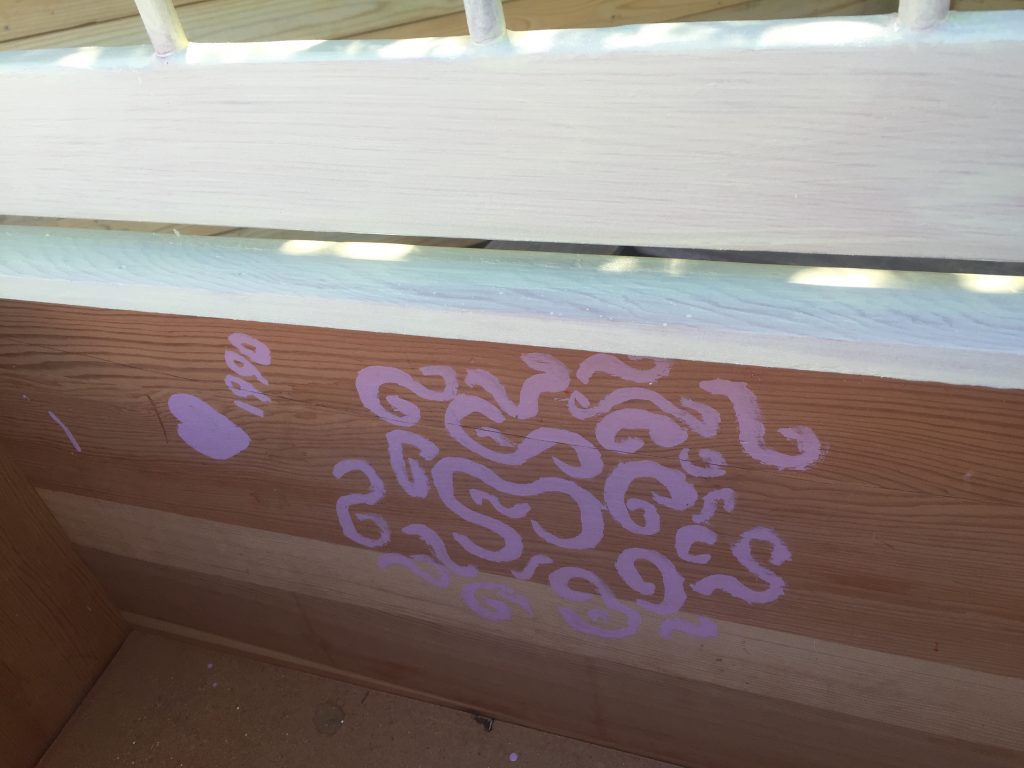
Let’s face it, upcycling projects are a dime-a-dozen. But DIY done with love, well, those have a price that can’t be measured.
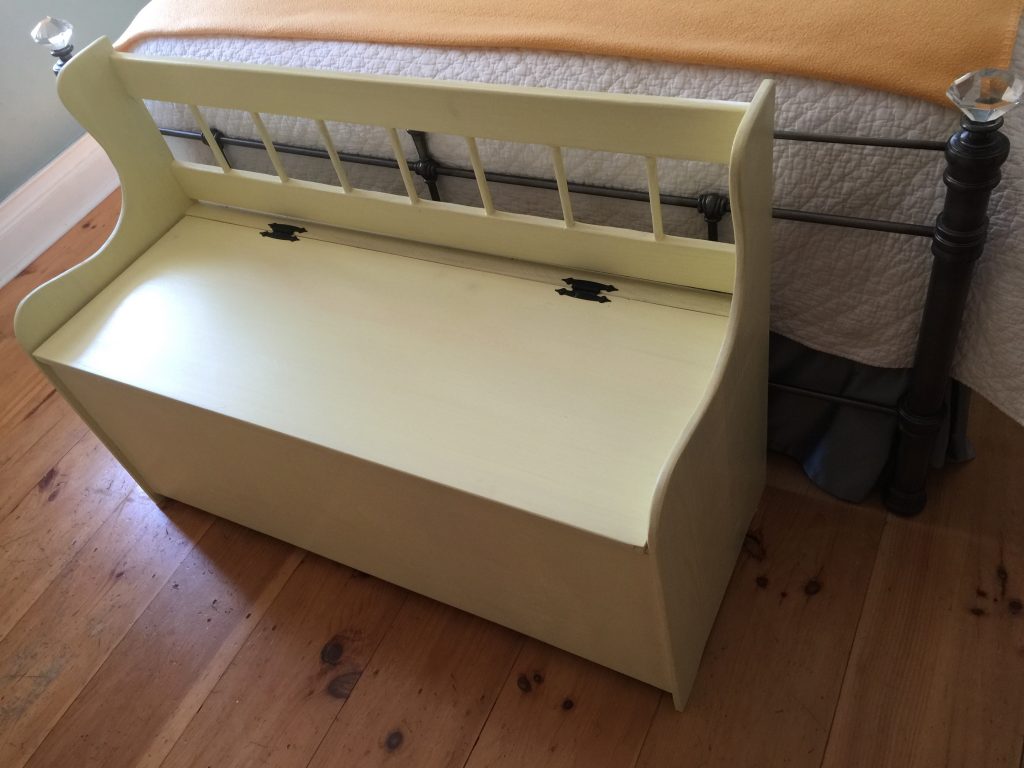
Theresa is not, to the best of my knowledge, a deacon. But she has a deacon’s bench. Her father made sure each of the children had one. Ed’s was blue, Liz’s was white. And Theresa’s, appropriately, was red.
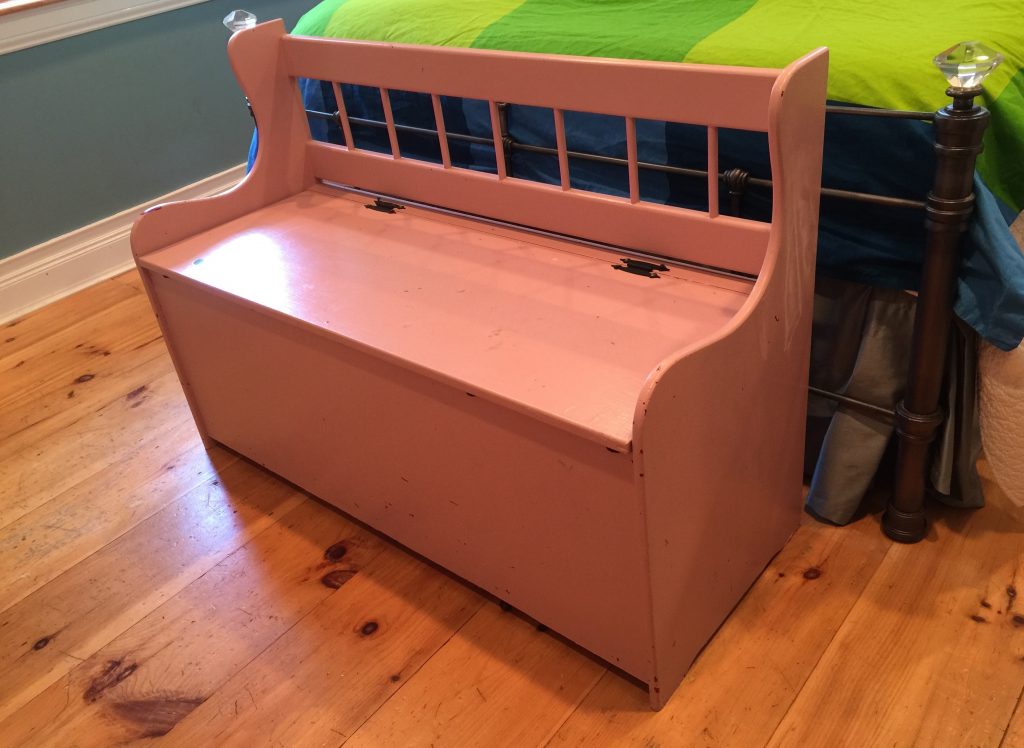
Until she painted it pink in a whirlwind of inspired DIY back in high school.
And pink it remained until recently when she realized that it was time to update the piece and selected the color Honeydew for the update.
Fittingly, just as she decided to do this project, her father Buz was nearing the end of his life and the end of suffering from Alzheimer’s. He passed away while I was working on this makeover, and I was able to share this finished project with my wife Theresa when she returned to our home after saying goodbye to her father.
While Buz wanted to give a deacon bench to his three children with love many decades ago, it continues on in a new color that I was again able to refresh and re-give, made with love, for my wife. At our core, we are DIYers who believe in the beauty of change, growth, and embracing Life’s new chapters, whatever and wherever this life’s journey takes us.
Sure, you might think I’m laying it on a little thick, but that’s what upcycling projects are for us. Sometimes.
A thing is more than an object. It’s a symbol of something bigger.
It seems just the right speed for Made with Love, Finished with Minwax and we’re glad to share this story. It’s ours, real and personal.


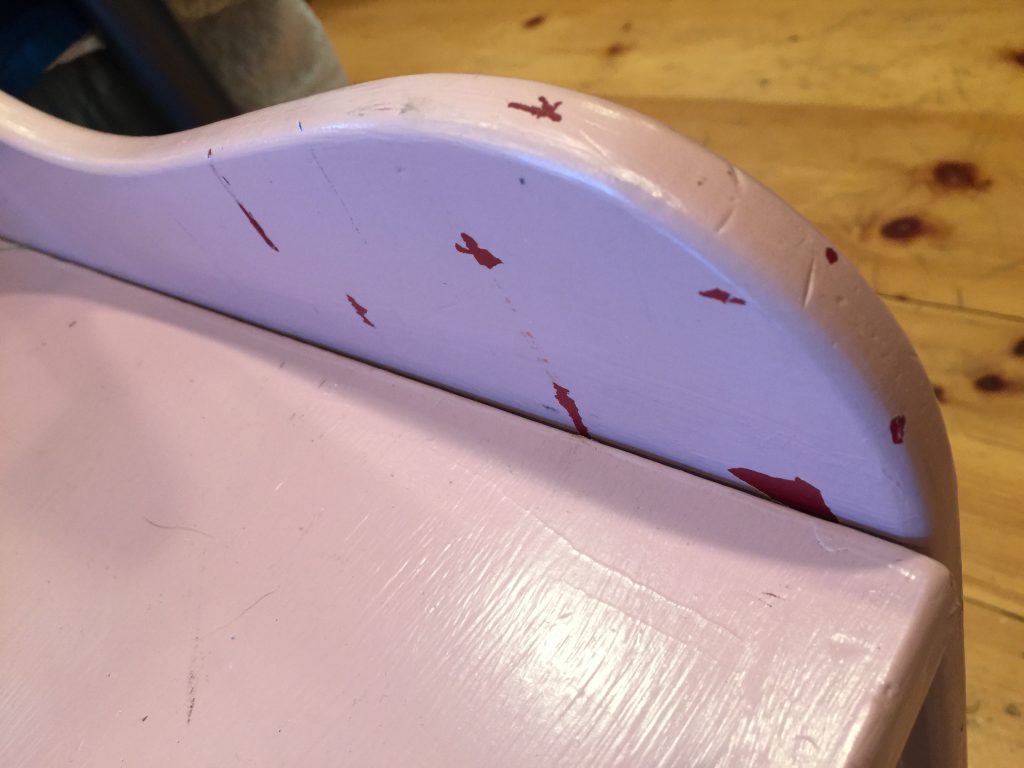
Some clues to what we’re getting ourselves into. Old latex paint hides factory-applied stain.


If it moves, take it off so it can be worked on separately. Also, find a spot where you can store things like hinges and screws so you know where to find them later.
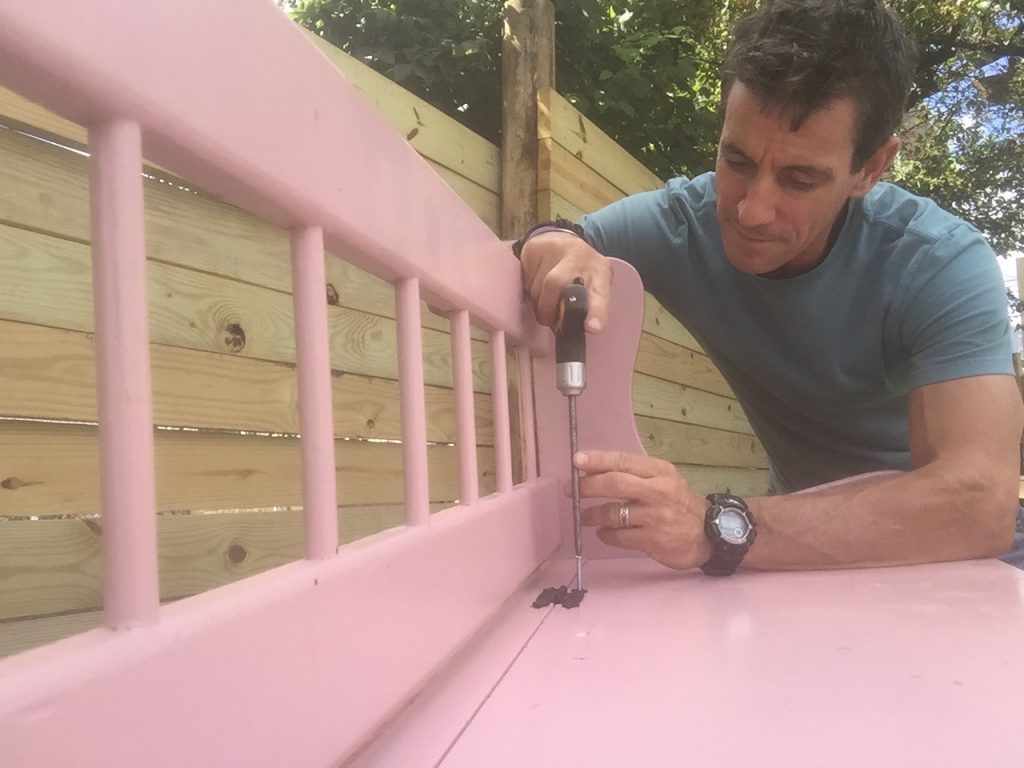


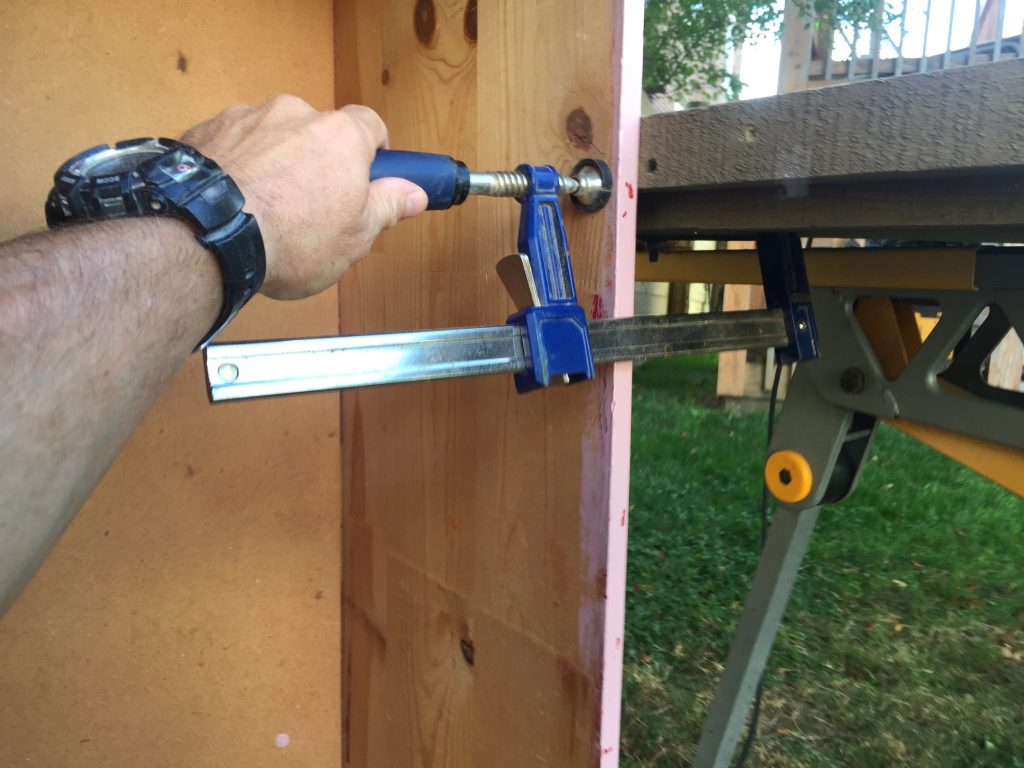
The main part of a piece like this needs to stay still while you work on it. And, because it’s big and requires getting at all the sides—I run into this on upcycling projects all the time—it needs to be moveable at the same time. To do that, I used clamps and a sturdy worktable.


It’s counter-intuitive, however, the very best way I have found to remove old finishes is with an old-school scraper. No joke, it’s ten times faster, cheaper and easier than other methods I’ve used. Yes, you will scrape your knuckles and sweat. Yet it is still that much better than melting paint with a sander and going through 3,000 sanding discs.
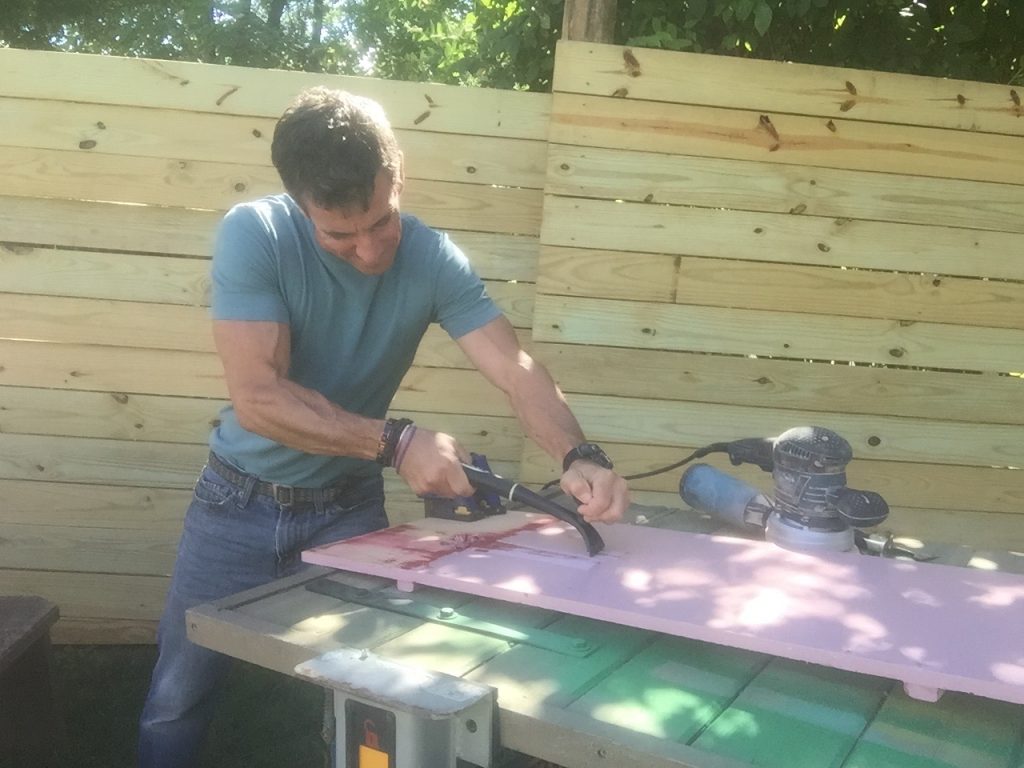


Because hand-scraping doesn’t melt or liquefy a finish, its much easier to manage. And don’t worry, there’s plenty of sanding. The scraper gets the paint off and breaks through the stain. To get to bare wood, sanding is a must. It’s also worth pointing out that I did this in stages. Even a small project like this is a lot to do all at once.
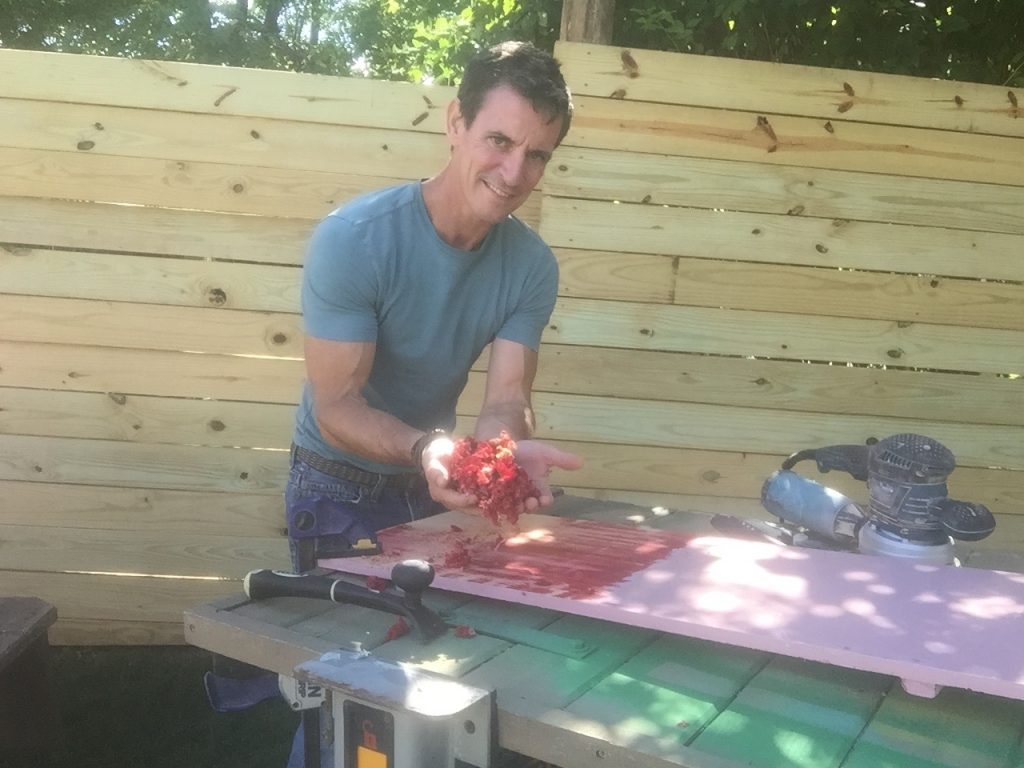


Because paint is ON wood and stain is IN wood, sanding is the next part. I used three grits of paper and a random orbit sander to release the pine this deacon’s bench is made from.
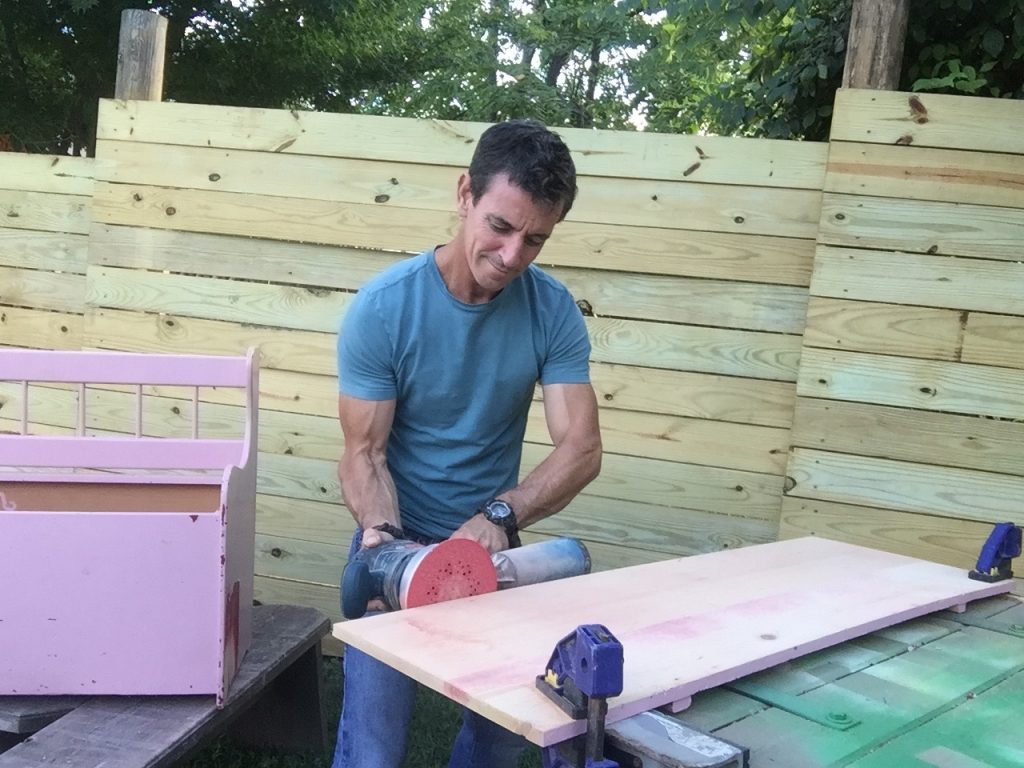


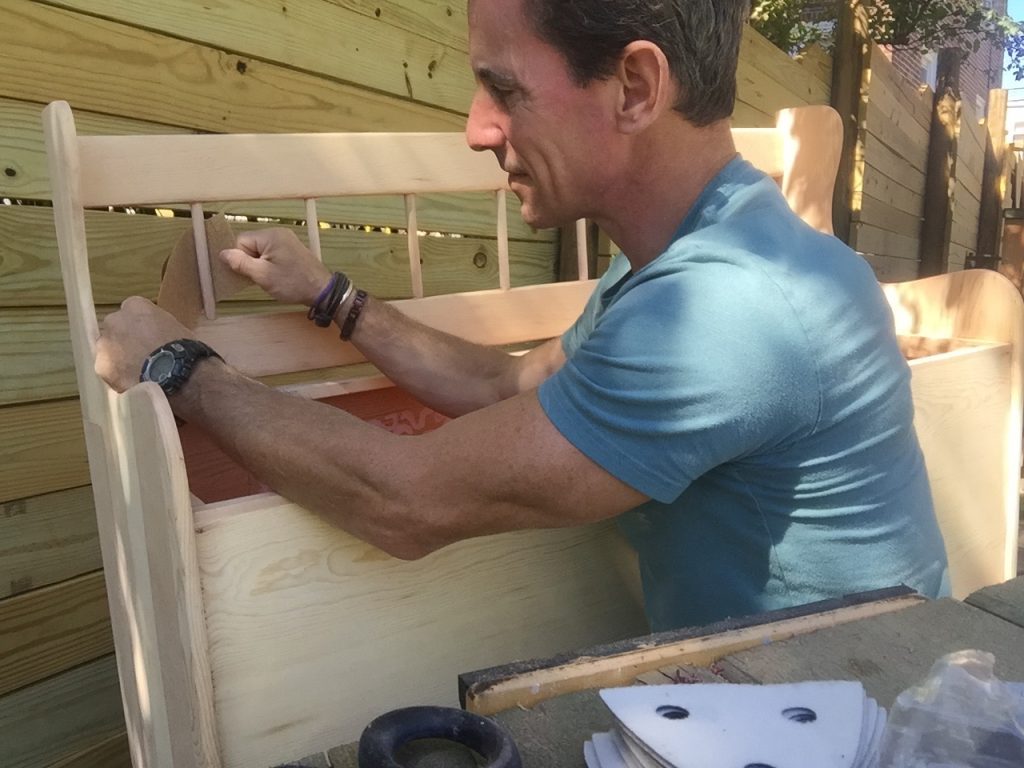
After more scraping, I used sandpaper cut into strips to get to bare wood around the spindles.


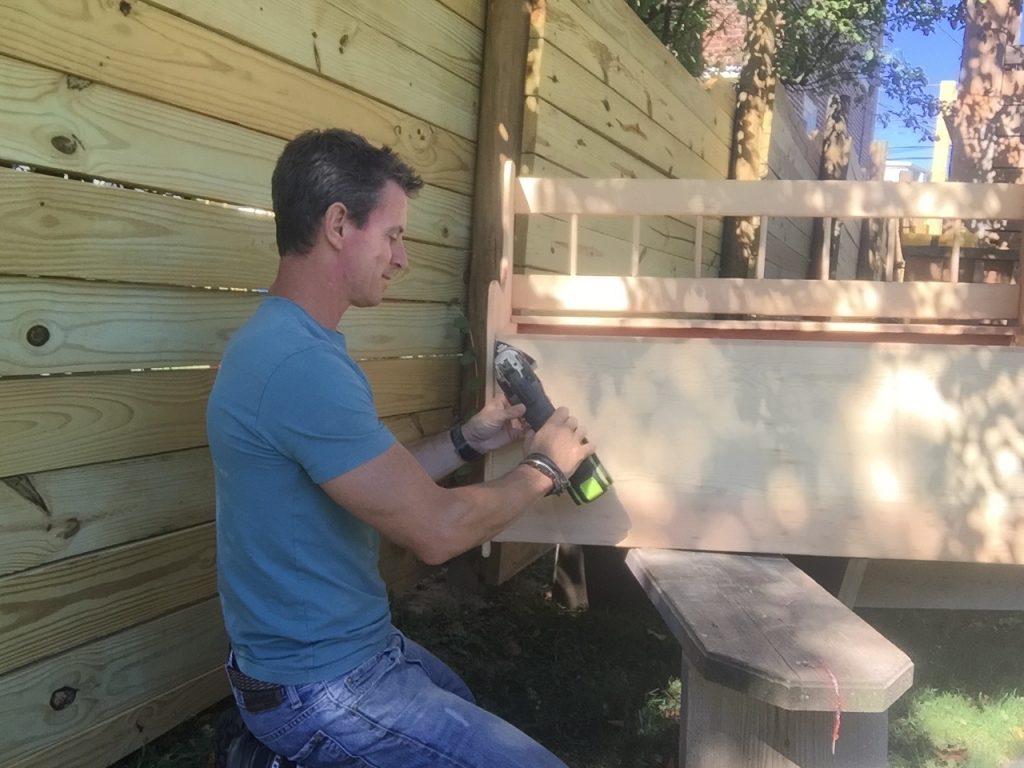
Oscillating sanders are sensational for DIY like this. Awesome for corners and crannies it seems like nothing can reach. When using one to sand, go easy, go slow and keep the sanding pad flat on the work surface.


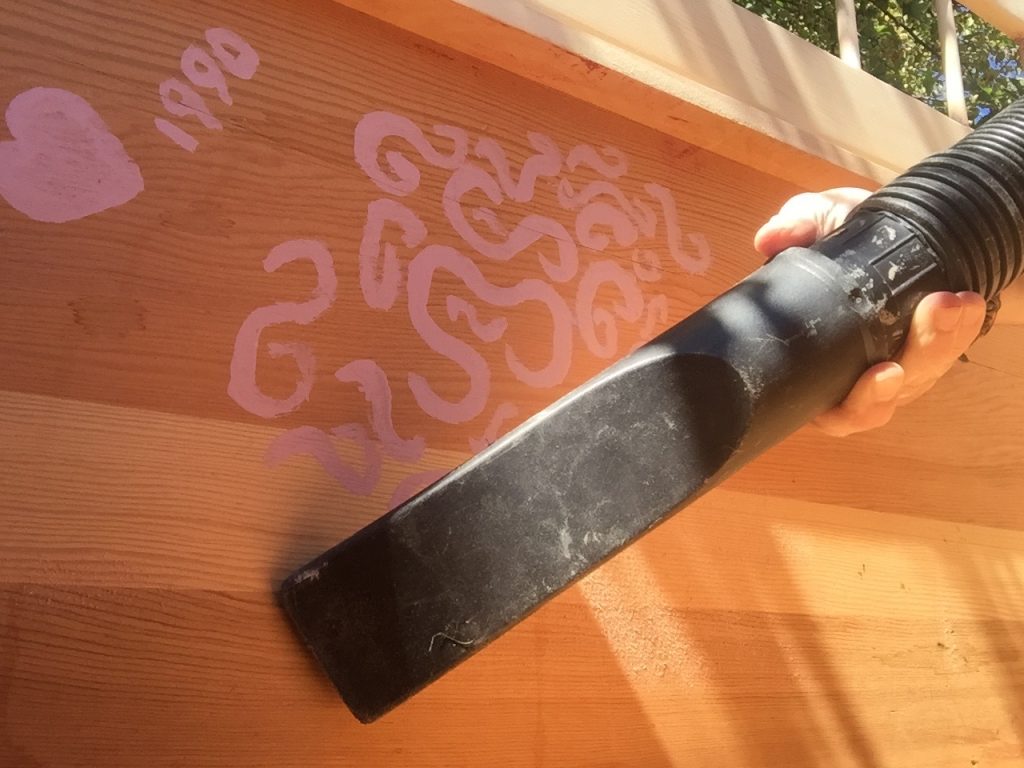
I use the shop vacuum after sanding, both to suck up dust and to blow it away. Why blow it away? Because inevitably there’s some small detail that got overlooked and I need to re-sand something. Instead of vacuuming the entire piece again, I just blow the dust away. It keeps dust off the work table as well. Very handy.


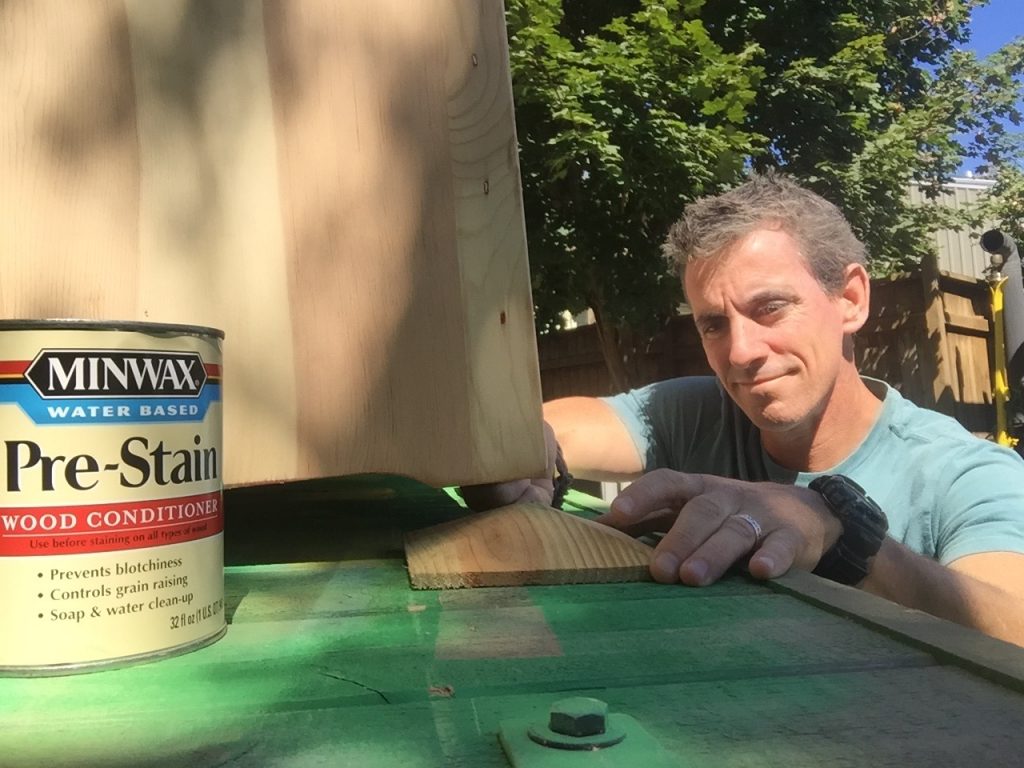
First step to color and cool, Minwax wood conditioner. It’s easy to apply and helps the wood take Minwax stain evenly. It dries nice and fast too. To help make things easier I prop up pieces I’m staining on homemade ‘pyramids’. Learn how to make them in this video.


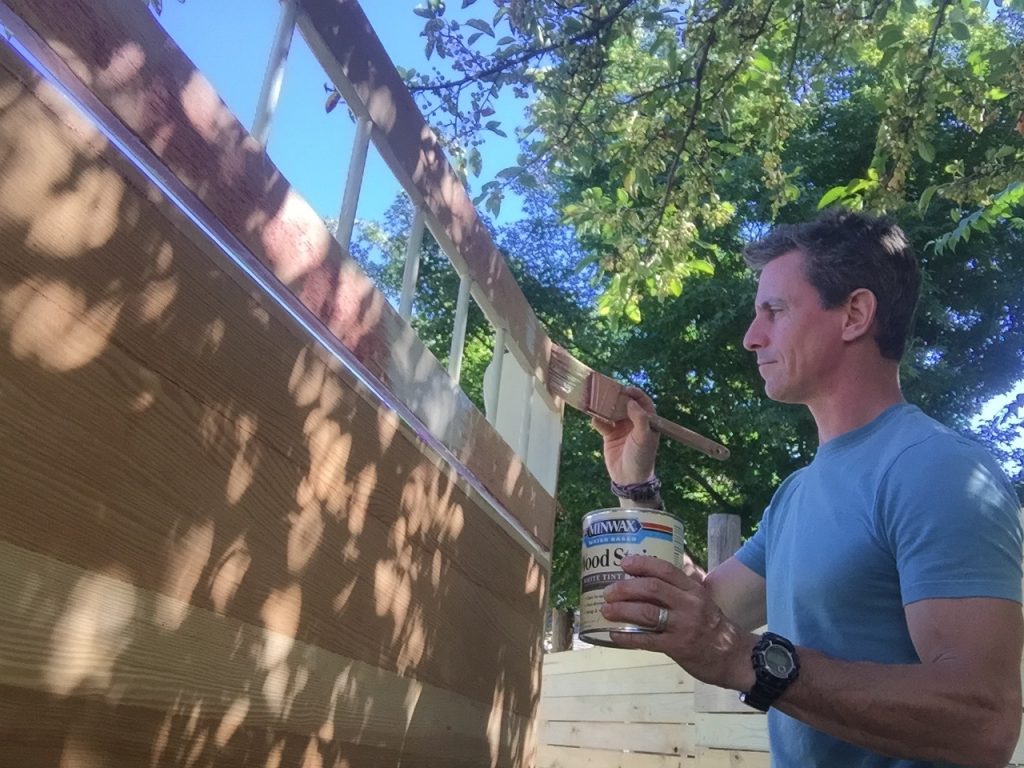
I love it when color goes on. For this project we selected Minwax’s Honeydew interior wood stain. I work from the top down and try to be as neat as possible. Nooks, crannies and spindles are drip-makers and the easiest way to avoid them is to brush the stain out. Since things drip down, I find it easier to work in that direction. Also, Honeydew lets some of the wood grain ease through the color. As a ‘wood guy’, this is something I love!
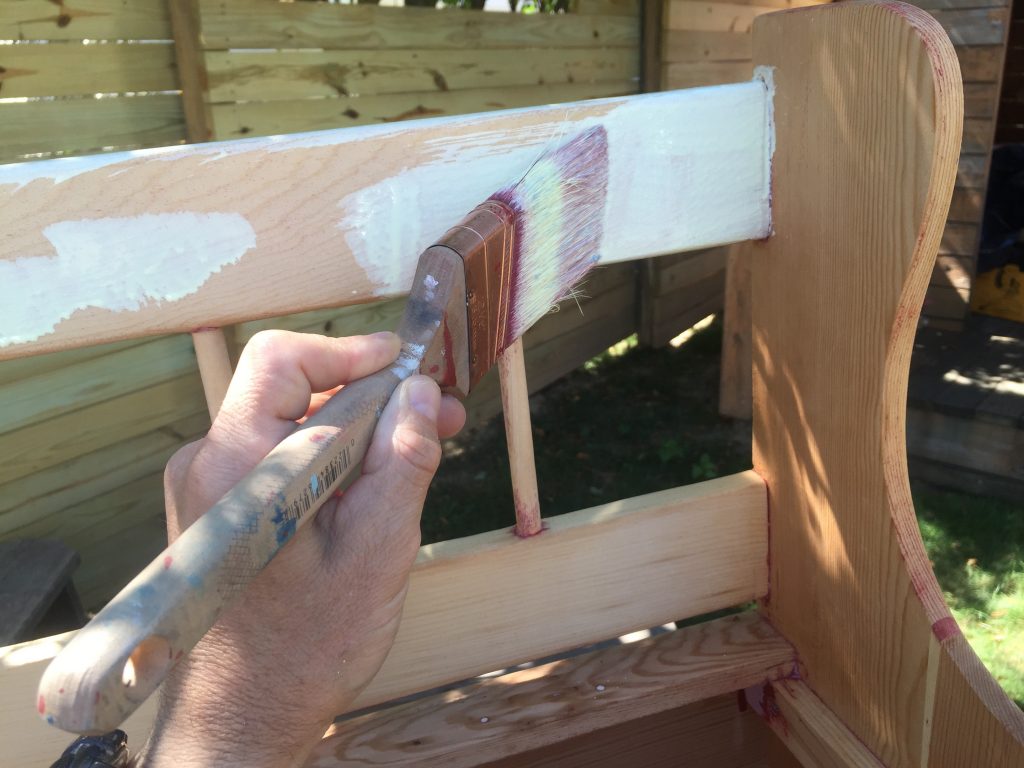


On upcycling projects like this, I get a lot of mileage out of the back of the piece. I test the best ways to remove the paint and when I’m applying the stain I can take a practice run. Also, I stain it because it may be visible depending on where the piece gets placed in the house.


And we end where we began. With the art and life and journey we’re all taking. Things change. And some things should never change. Like inspiration, joy, creativity. And being made with love.
